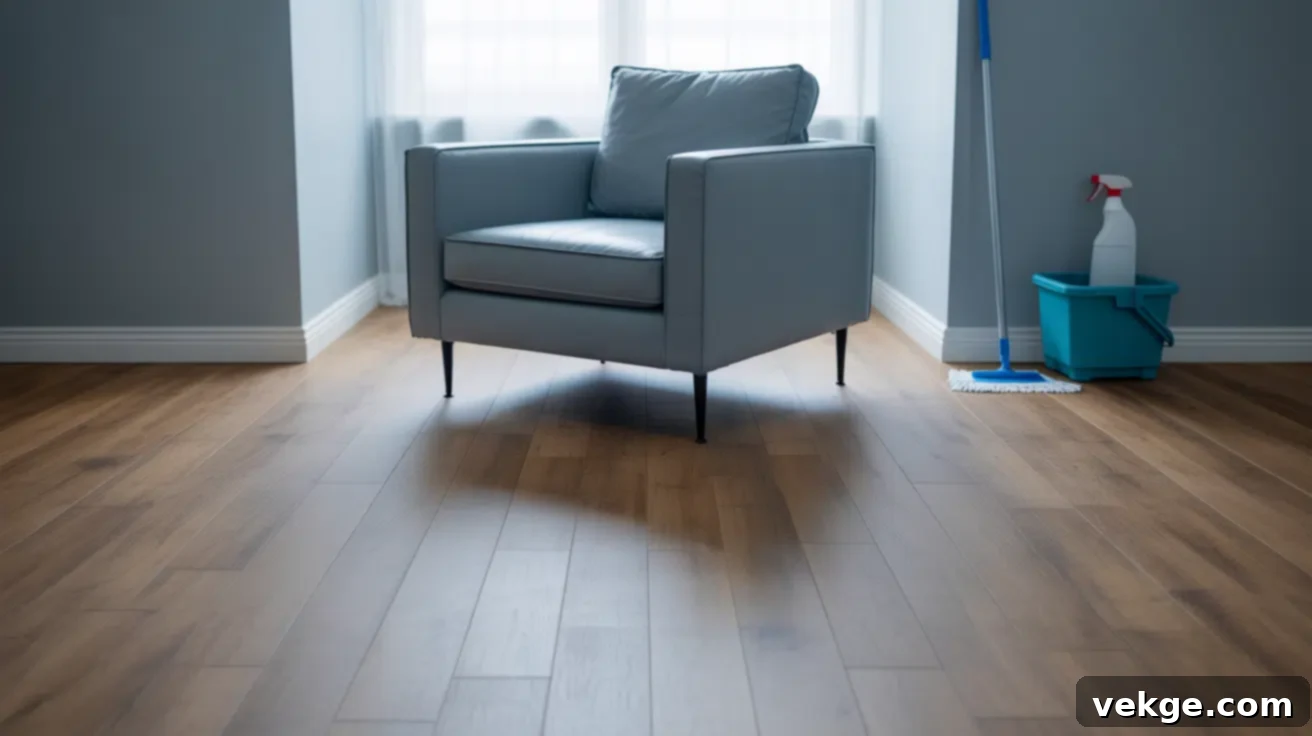
Ultimate Guide to SPC Flooring: Benefits, Installation, Cost, and Maintenance
Have you ever found yourself curious about SPC flooring and why it’s rapidly gaining popularity in homes and businesses? If you’re looking for a flooring solution that can stand up to the rigors of daily life – from unexpected spills and rambunctious pets to heavy foot traffic and fluctuating temperatures – all without breaking the bank, then SPC flooring deserves your full attention. It’s renowned for its incredible toughness, complete waterproof capabilities, and straightforward installation process, making it an ideal choice for high-moisture areas like kitchens and bathrooms, as well as bustling living spaces.
This comprehensive guide will walk you through everything you need to know about SPC flooring. We’ll explore its unique composition, compare it to other popular flooring types, list the essential tools for installation, provide a detailed step-by-step installation guide, break down the costs involved, and offer expert tips on how to care for your new floors. If your goal is to achieve stunning, long-lasting floors that simplify your life, you’ve certainly come to the right place.
What Exactly is SPC Flooring? Understanding the Rigid Core Advantage
SPC stands for Stone Plastic Composite, and it represents a revolutionary evolution in vinyl flooring. Unlike traditional vinyl, SPC is engineered with an ultra-dense, rigid core made primarily from stone powder and various plastic stabilizers. This core is what sets SPC apart, providing exceptional stability and resistance to impacts, making it significantly more robust than conventional vinyl flooring options you might be familiar with.
The construction of SPC flooring typically involves four distinct layers, each working synergistically to create a highly durable and functional surface:
- UV Coating/Wear Layer: This is the transparent top layer, crucial for protecting the floor from scratches, scuffs, and everyday wear. Its thickness is a key indicator of the floor’s durability.
- Design Layer: Beneath the wear layer lies the high-definition printed film that gives SPC flooring its incredible aesthetic versatility. This layer can convincingly mimic the appearance of natural wood, ceramic tile, or stone, offering a wide array of styles to match any decor.
- SPC Rigid Core: This is the heart of the flooring. Composed of pulverized limestone and polyvinyl chloride, this waterproof and incredibly stable core provides superior dent resistance and prevents expansion or contraction due to temperature changes.
- Underlayment (Optional but Recommended): The bottom layer, often made of IXPE or EVA foam, is attached to the SPC core. It provides sound absorption, adds comfort underfoot, and helps to smooth out minor subfloor imperfections.
Thanks to its rigid core, SPC flooring maintains its integrity, remaining firm and flat even in areas subject to heavy foot traffic or significant temperature swings, where softer vinyl options might bend, dent, or warp over time. Its entirely waterproof nature simplifies cleaning and ensures peace of mind against spills, making it a truly practical and elegant flooring choice.
Why SPC Flooring is a Superior Choice for Modern Homes
The widespread adoption of SPC flooring by homeowners is no accident; its exceptional performance characteristics make it suitable for virtually any room in your house. Here’s a closer look at what makes SPC flooring an outstanding investment:
- 100% Waterproof: This is arguably SPC’s most significant advantage. Its rigid core is completely impervious to water, meaning it can be installed with confidence in moisture-prone areas like bathrooms, kitchens, basements, and laundry rooms without any concern for swelling, warping, or mildew growth.
- Unrivaled Durability: Engineered to withstand the demands of active households, SPC flooring is highly resistant to dents, scratches, and abrasions. It handles the hustle and bustle of heavy foot traffic, playful pets, and energetic children with grace, maintaining its pristine appearance for years.
- Stable in All Climates: Unlike many other flooring types that can expand and contract with temperature and humidity fluctuations, SPC’s rigid core provides superior dimensional stability. This means your floors will remain flat and secure, whether facing scorching summer heat or freezing winter nights.
- Low Maintenance & Easy to Clean: SPC flooring simplifies your cleaning routine. Its non-porous surface resists stains and odors, making spills easy to wipe away and regular cleaning a breeze with simple sweeping, vacuuming, and occasional damp mopping.
- Aesthetic Versatility: With advanced printing technology, SPC planks and tiles are available in an astonishing array of designs that replicate the authentic look and texture of natural wood, luxurious stone, and elegant ceramic tiles. This allows you to achieve high-end aesthetics at a fraction of the cost and with significantly less upkeep than natural materials.
- Improved Indoor Air Quality: Many SPC products are manufactured with low or zero volatile organic compounds (VOCs), contributing to healthier indoor air. Certifications like FloorScore or GREENGUARD ensure that the flooring meets strict indoor air quality standards, making it a safe choice for families with children and pets.
These combined benefits ensure that SPC flooring not only enhances the beauty and functionality of your home but also offers long-term value and peace of mind.
SPC vs. Other Popular Flooring Types: A Detailed Comparison
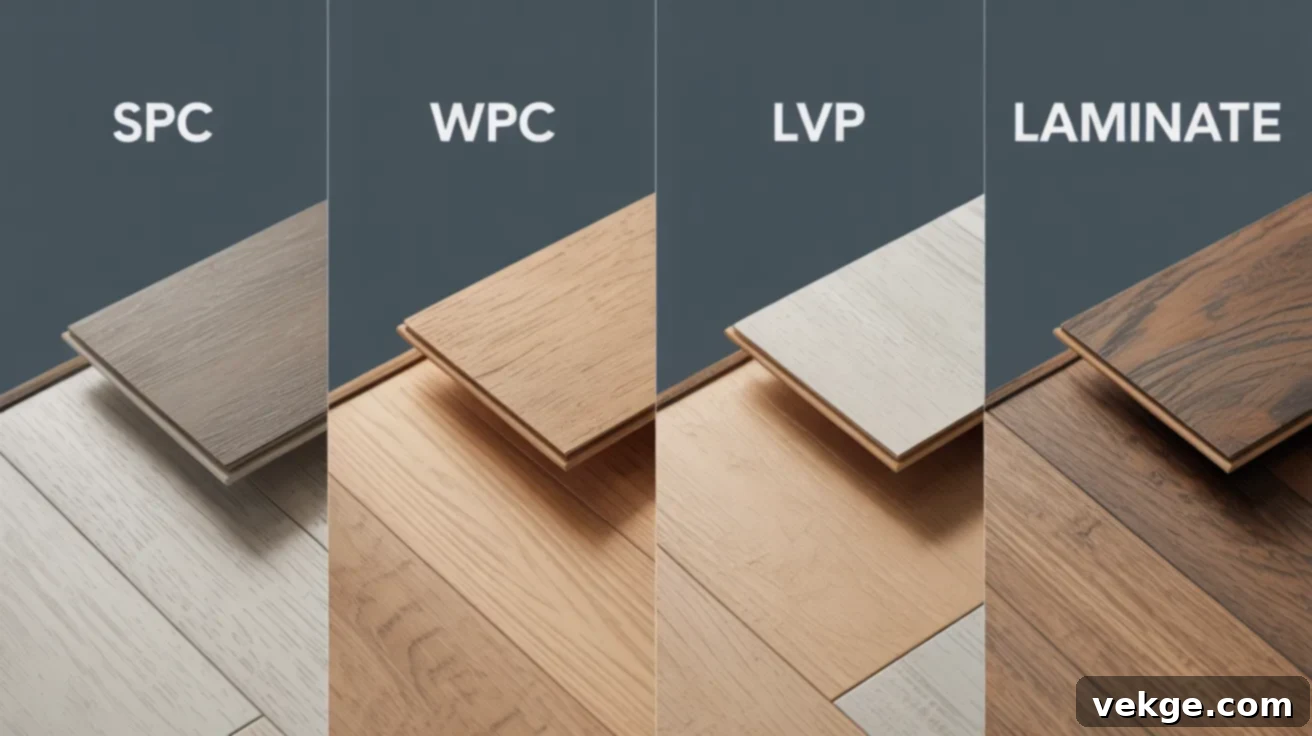
Understanding how SPC flooring stacks up against its competitors is crucial for making an informed decision. While each flooring type has its unique strengths, this detailed comparison will highlight the key differences between SPC, WPC, LVP, and laminate.
1. WPC (Wood Plastic Composite) Flooring
WPC flooring, like SPC, is a type of rigid core luxury vinyl. However, its core is made from wood plastic composite, which typically includes wood pulp or foaming agents. This difference in core composition gives WPC a slightly softer, more resilient feel underfoot compared to SPC. The added cushioning makes WPC a more comfortable option for standing for long periods, such as in kitchens, or for playrooms where children might spend a lot of time on the floor.
WPC often comes with a slightly higher price tag than SPC, largely due to its comfort factor and superior sound absorption properties. Both WPC and SPC are 100% waterproof, making them excellent choices for any room, especially those prone to moisture like bathrooms, basements, and mudrooms. The primary differentiator comes down to budget, comfort preference, and the need for sound dampening.
2. LVP (Luxury Vinyl Plank) Flooring
LVP represents the original luxury vinyl option that has been a staple in the flooring market for longer than its rigid core counterparts, SPC and WPC. It’s generally the most budget-friendly choice among the vinyl family. However, traditional LVP typically features a flexible vinyl core, which means it may not always be completely waterproof like the newer rigid core options, and it’s more susceptible to denting under heavy pressure.
LVP is best suited for dry areas of your home or rooms with minimal moisture exposure. It offers versatility in installation, available in both convenient peel-and-stick and secure click-lock systems. In terms of comfort, LVP falls somewhere between the rigid firmness of SPC and the softer feel of WPC, offering a balanced experience. It’s a great option for those seeking attractive aesthetics at a lower cost, provided the application area isn’t prone to significant moisture.
3. Laminate Flooring
Laminate flooring is often the most economical choice on this list. It is constructed from compressed wood fibers (HDF or MDF) with a photographic layer on top that beautifully mimics the appearance of wood or tile, finished with a protective wear layer. While visually appealing and cost-effective, laminate’s Achilles’ heel is its susceptibility to water and moisture damage. Exposure to water can cause the wood fiber core to swell and delaminate, leading to irreparable damage.
Laminate offers a relatively soft feel underfoot and is well-known for its straightforward click-lock installation system, making it a popular DIY option. This type of flooring is best reserved for low-moisture environments such as bedrooms, living rooms, and hallways, where water spills are not a common concern. It provides an attractive, budget-friendly alternative for achieving a wood or tile look in dry areas of the home.
How to Choose the Right SPC Flooring for Your Needs
Selecting the ideal SPC flooring goes beyond just picking a design you like. It involves considering various factors related to quality, safety, and brand reliability to ensure your investment stands the test of time and contributes to a healthy home environment.
Thickness, Wear Layer, and Design Aesthetics
- Overall Thickness: SPC flooring planks typically range from 3.2mm to 7mm. Thicker planks generally feel more substantial, offer better impact resistance, and provide a more premium feel underfoot. For residential use, 5mm or thicker is often recommended for enhanced durability and comfort.
- Wear Layer: This is the most crucial indicator of durability. The wear layer thickness is measured in mils (thousandths of an inch). Common residential wear layers range from 6 mil to 12 mil, while commercial applications often require 20 mil or higher. A thicker wear layer provides superior protection against scratches, scuffs, and abrasions, significantly extending the life of your floor.
- Design and Style: The aesthetic appeal is paramount. SPC offers an extensive range of designs that flawlessly replicate natural wood (various species, grain patterns, and finishes), stone (marble, slate, travertine), and ceramic tiles.
- Color Tones: Darker tones can effectively hide dirt and minor imperfections, creating a cozy and luxurious ambiance. Lighter tones, on the other hand, can make smaller rooms feel more open and spacious, reflecting more light.
- Pattern and Texture: Consider whether you prefer a smooth finish, an embossed texture that mimics wood grain (EIR – Embossed In Register), or a stone texture.
- Room Suitability: Match the design to the room’s function and traffic level. For high-traffic areas, patterns with more variation can help disguise wear.
VOC Certifications, Health, and Safety
Your flooring choice impacts your indoor air quality. Always prioritize SPC products with low-VOC or zero-VOC (Volatile Organic Compounds) labels. VOCs are chemicals emitted by certain building materials that can negatively affect respiratory health and overall indoor air quality.
Look for recognized third-party certifications such as FloorScore, GREENGUARD Gold, or CE Marking (for European standards). These certifications indicate that the flooring has been rigorously tested for harmful emissions and meets stringent standards for indoor air quality, making it a safer choice for your family, including children and pets. Always review product labels and manufacturer specifications before making a purchase.
Essential Materials and Tools for SPC Flooring Installation
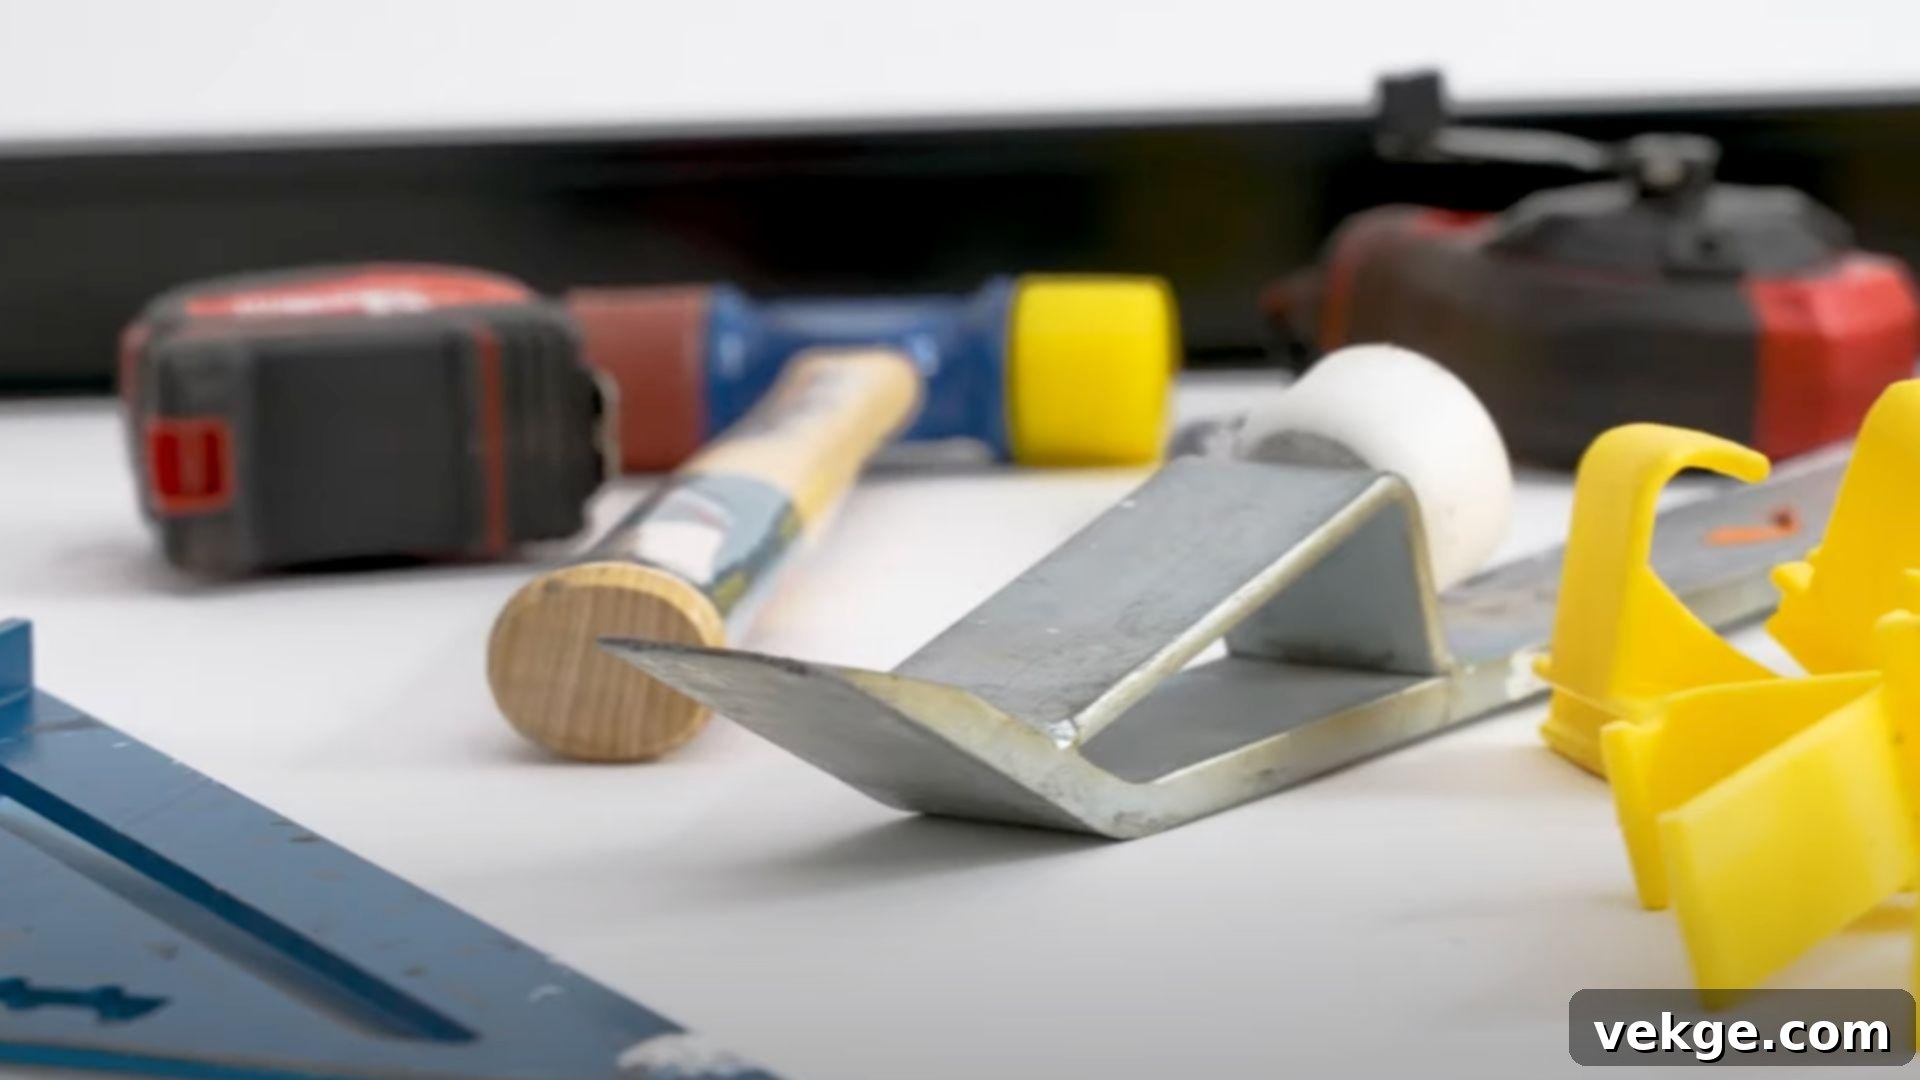
A successful and smooth SPC floating floor installation starts with having all the necessary tools and materials readily available. This checklist ensures you’re prepared, preventing interruptions and making the process much more efficient.
- SPC Floating Flooring Planks: Ensure you have enough, accounting for 5-10% extra for cuts and waste.
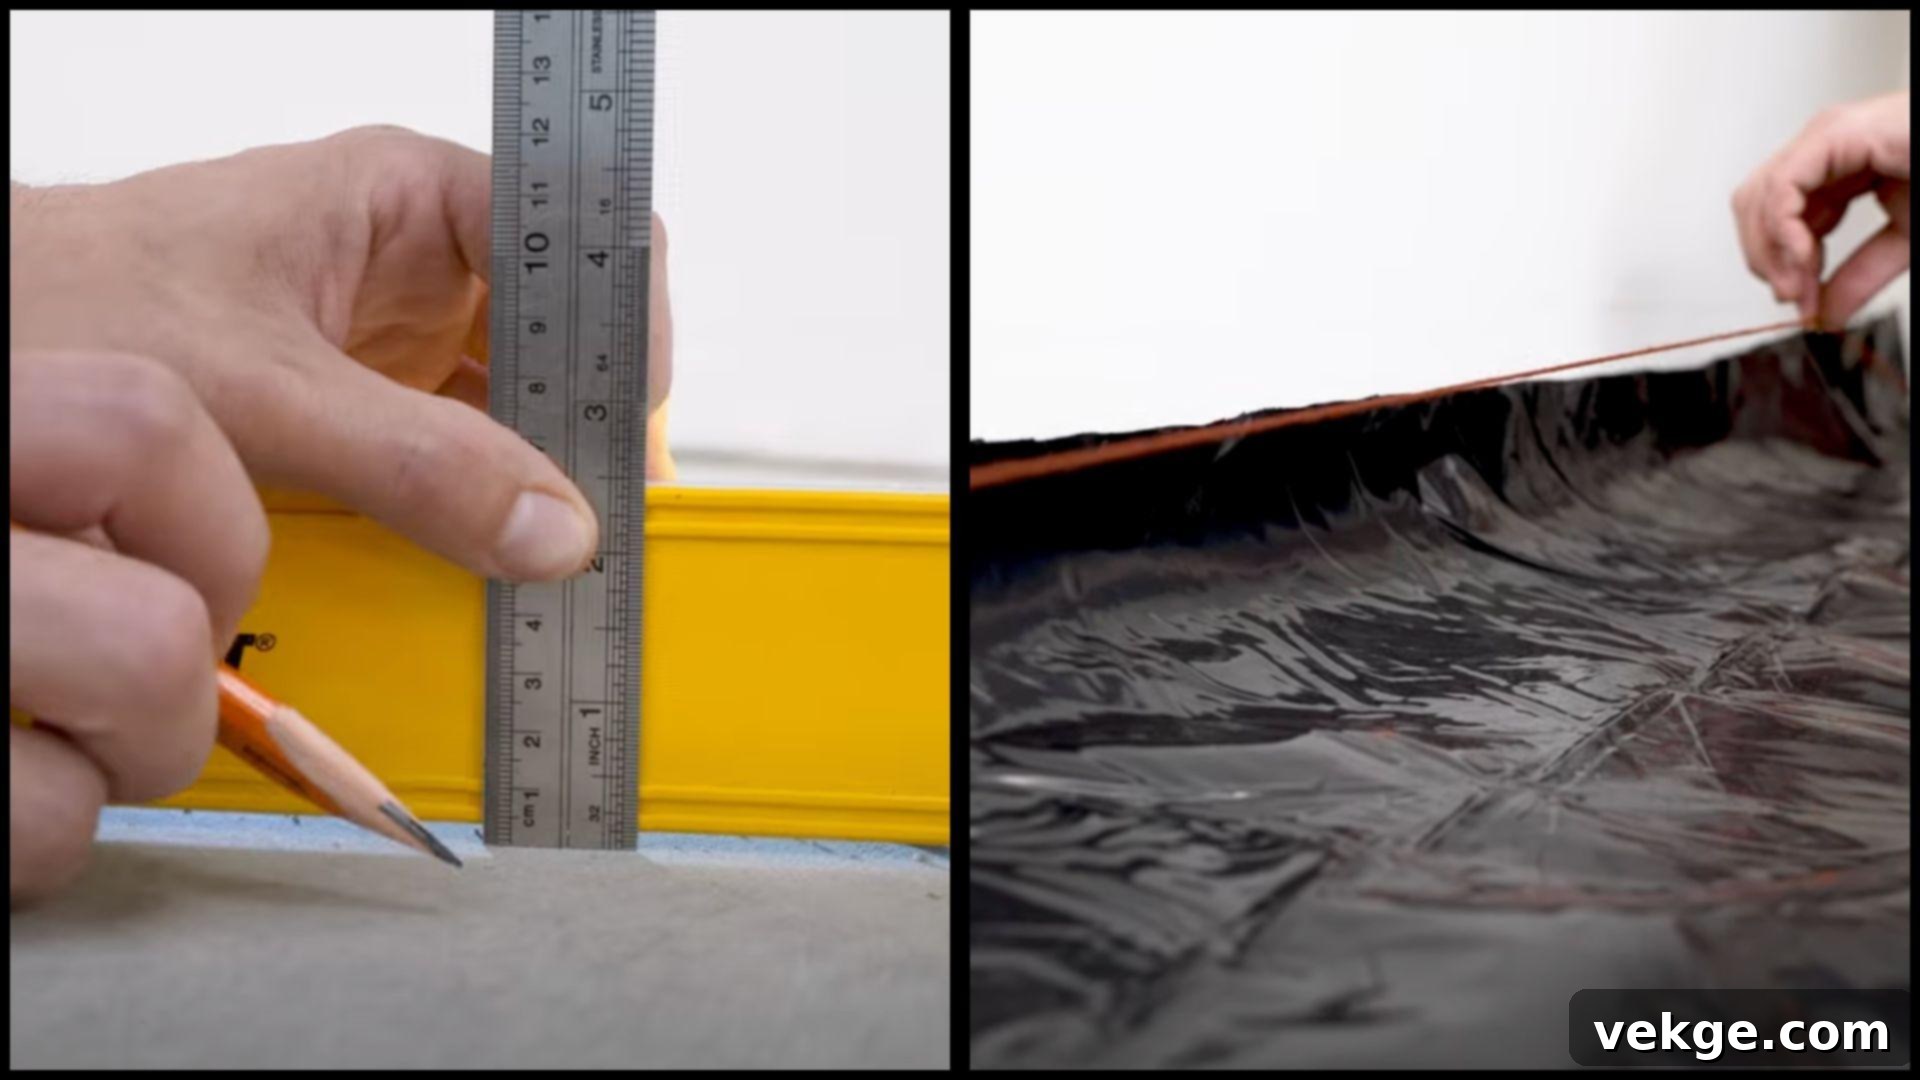
- Moisture Vapor Barrier: Absolutely essential if installing over concrete or in areas with potential moisture (check manufacturer recommendations).
- Utility Knife: For scoring and cutting planks, underlayment, and various other tasks. Keep extra blades handy.
- Vinyl Plank Cutter (Optional but Highly Recommended): Provides cleaner, faster, and dust-free cuts compared to a utility knife, especially for frequent cuts.
- Double-Sided Mallet (Rubber/Soft Face): Used for gently tapping planks into place without damaging the edges.
- Tapping Block: Protects the edge of the plank when using the mallet to tighten seams.
- Flooring Pull Bar: Essential for pulling planks tightly together, especially the last row against a wall.
- Knee Pads: Crucial for comfort and protecting your knees during prolonged work on the floor.
- Quarter-Inch Spacers: Maintain the required expansion gap between the flooring and walls, allowing for natural movement.
- Measuring Tape: For accurate measurements of planks and room dimensions.
- Carpenter’s Square: Ensures precise right-angle cuts and markings.
- Level: To check subfloor flatness and ensure a level installation.
- Chalk Line Reel: For snapping straight guide lines across the subfloor.
- Pencil or Marker: For marking cut lines on planks.
- Safety Glasses: Always protect your eyes when cutting.
Organize your tools and materials within easy reach before you begin. A little preparation significantly streamlines the entire installation process.
How to Install SPC Flooring: A Comprehensive Step-By-Step Guide
Installing SPC flooring is a rewarding DIY project that can dramatically transform your home. This five-phase guide takes you from initial preparation to a beautifully finished floor. Following these steps meticulously will ensure your new flooring not only looks fantastic but also performs flawlessly for many years.
Step 1: Prepare Your Subfloor and Materials for Installation
Proper preparation is the cornerstone of a successful flooring installation. Start by thoroughly cleaning your subfloor, removing all dust, debris, and any old adhesive residue. Ensure the subfloor is structurally sound, dry, and level. Any bumps, dips, or irregularities can telegraph through the new flooring over time, leading to an uneven surface or potential damage.
If installing over concrete, a moisture barrier is often required or highly recommended to prevent any residual moisture from affecting the flooring. Accurately measure the room’s square footage and purchase 5-10 percent more SPC flooring than calculated to account for cuts, mistakes, and future repairs. Once purchased, allow the flooring planks to acclimatize in the room where they will be installed for at least 48 hours. This allows them to adjust to the room’s temperature and humidity, minimizing expansion or contraction after installation.
Pro Tips:
- Your subfloor must be flat within 3/16 inch over a 10-foot span. Use a leveling compound if necessary.
- For concrete subfloors, perform a moisture test. If moisture is present, use a moisture barrier rated for 100 percent RH or as specified by the manufacturer.
- Before opening the boxes, check that all batch numbers on the flooring planks match to ensure consistent color and pattern.
Step 2: Plan Your Layout and Establish a Chalk Line Guide
Rarely are walls perfectly straight, which is why relying solely on them as a guide can lead to crooked rows. Instead, use a chalk line to establish your true starting point. Measure from the longest wall and mark a line that is at least 3 inches away (or the width of your first row plus the expansion gap). This creates a working space for your first full row and ensures that the last row will be of a reasonable width, rather than a thin sliver. A well-planned layout not only makes installation easier but also results in a more visually balanced and professional-looking floor.
Pro Tips:
- Snap a chalk line to create a perfectly straight guide for your initial rows, ignoring minor wall irregularities.
- Dry-lay a few planks without locking them to visualize the pattern and make adjustments if needed, ensuring end joints are staggered by at least 6 inches for strength and aesthetics.
- Consider the room’s focal point and lay the planks parallel to the longest wall or the main light source for the best visual impact.
Step 3: Install the First Rows with Precision
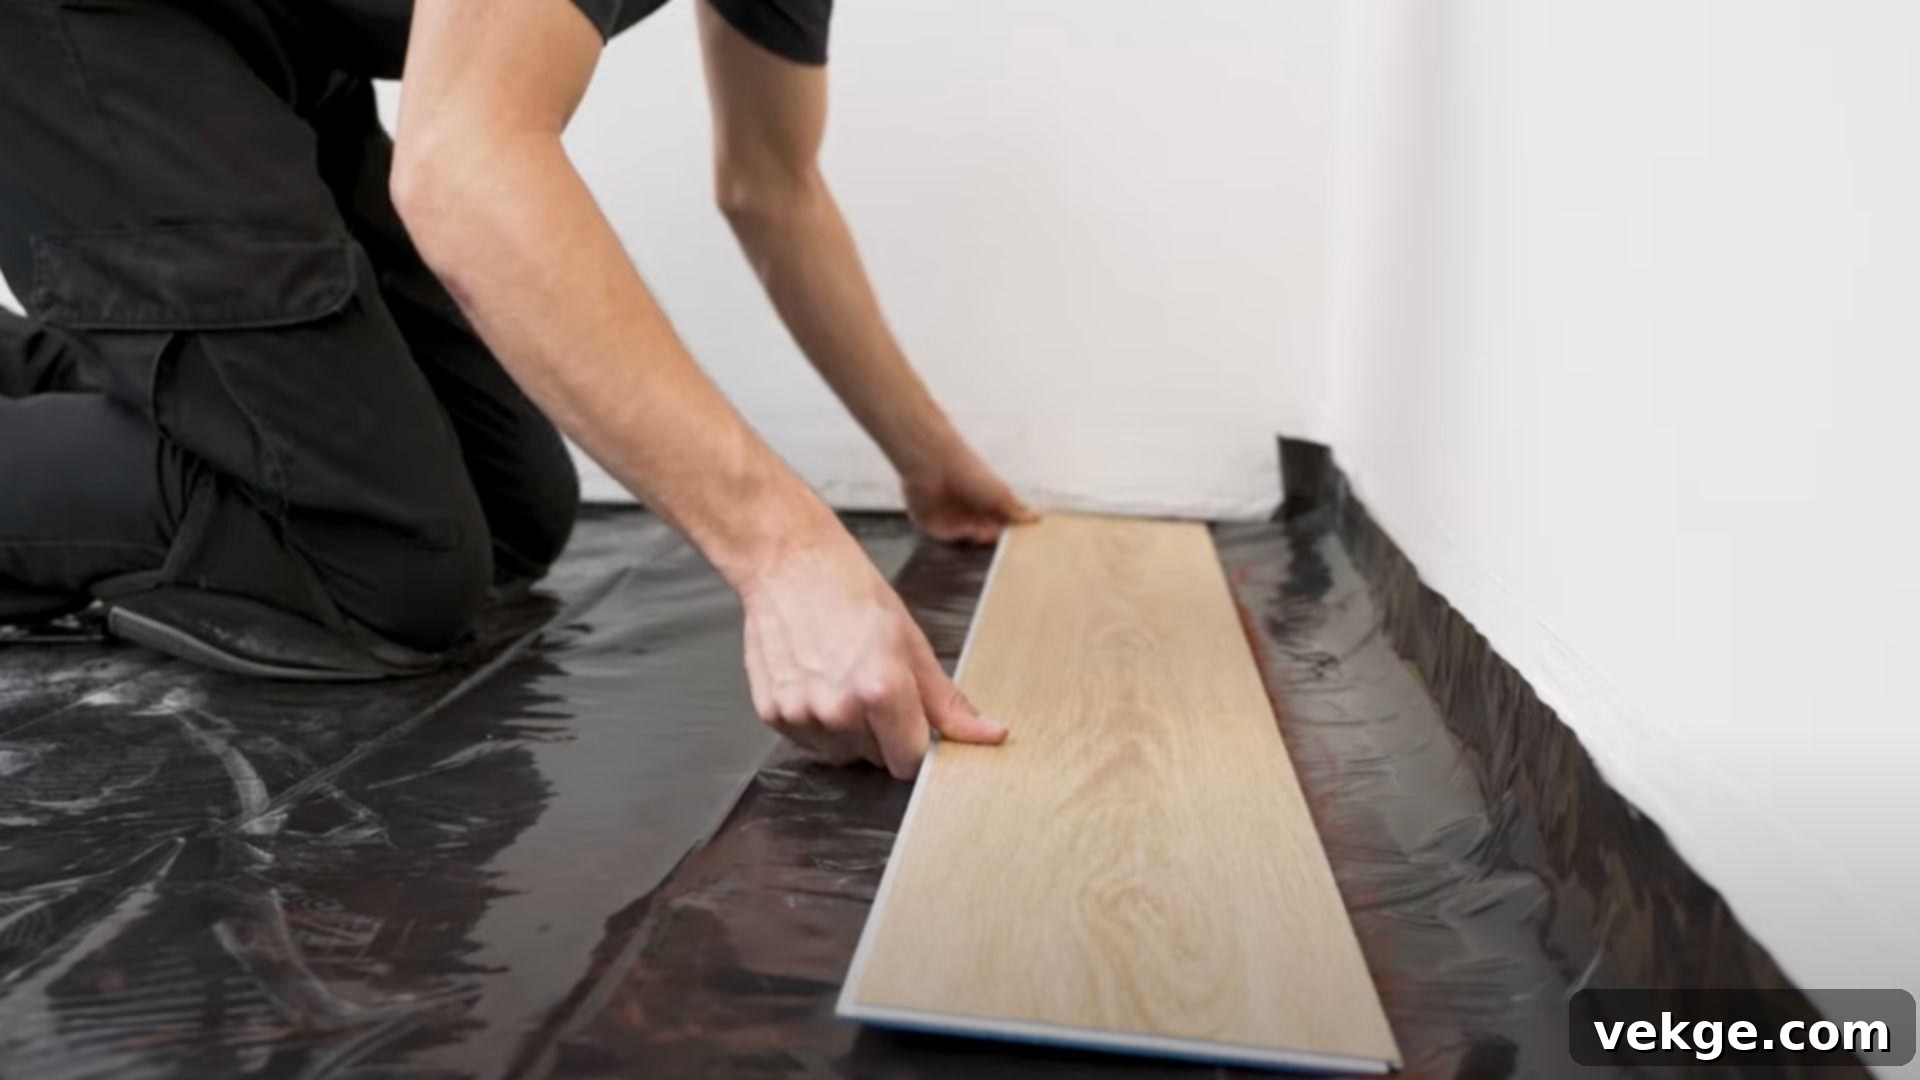
Begin laying your first row of SPC planks along your chalk line, starting from the longest wall in the room. Place the first plank with the tongue side facing the wall (or as per manufacturer’s instructions for the specific click-lock system). Connect subsequent planks in the first row by angling them into place and gently tapping along the long edge with your rubber mallet and tapping block until they lock securely. Ensure you place quarter-inch spacers between the planks and the wall to maintain the necessary expansion gap.
Once the first row is complete, start the second row, making sure to stagger the end joints of the planks. This not only enhances the floor’s stability and strength but also creates a more appealing, natural look. Continuously check for alignment and tight seams as you proceed, ensuring each row is straight before moving on to the next.
Pro Tips:
- Always use spacers along all walls to allow for expansion and contraction of the flooring.
- After every few rows, step back and check for straightness using a straightedge or a long level to ensure you haven’t drifted.
- Tap gently but firmly; excessive force can damage the locking mechanism. The goal is to create a tight, seamless fit.
Step 4: Cut and Fit the Final Edge Row and Obstacles
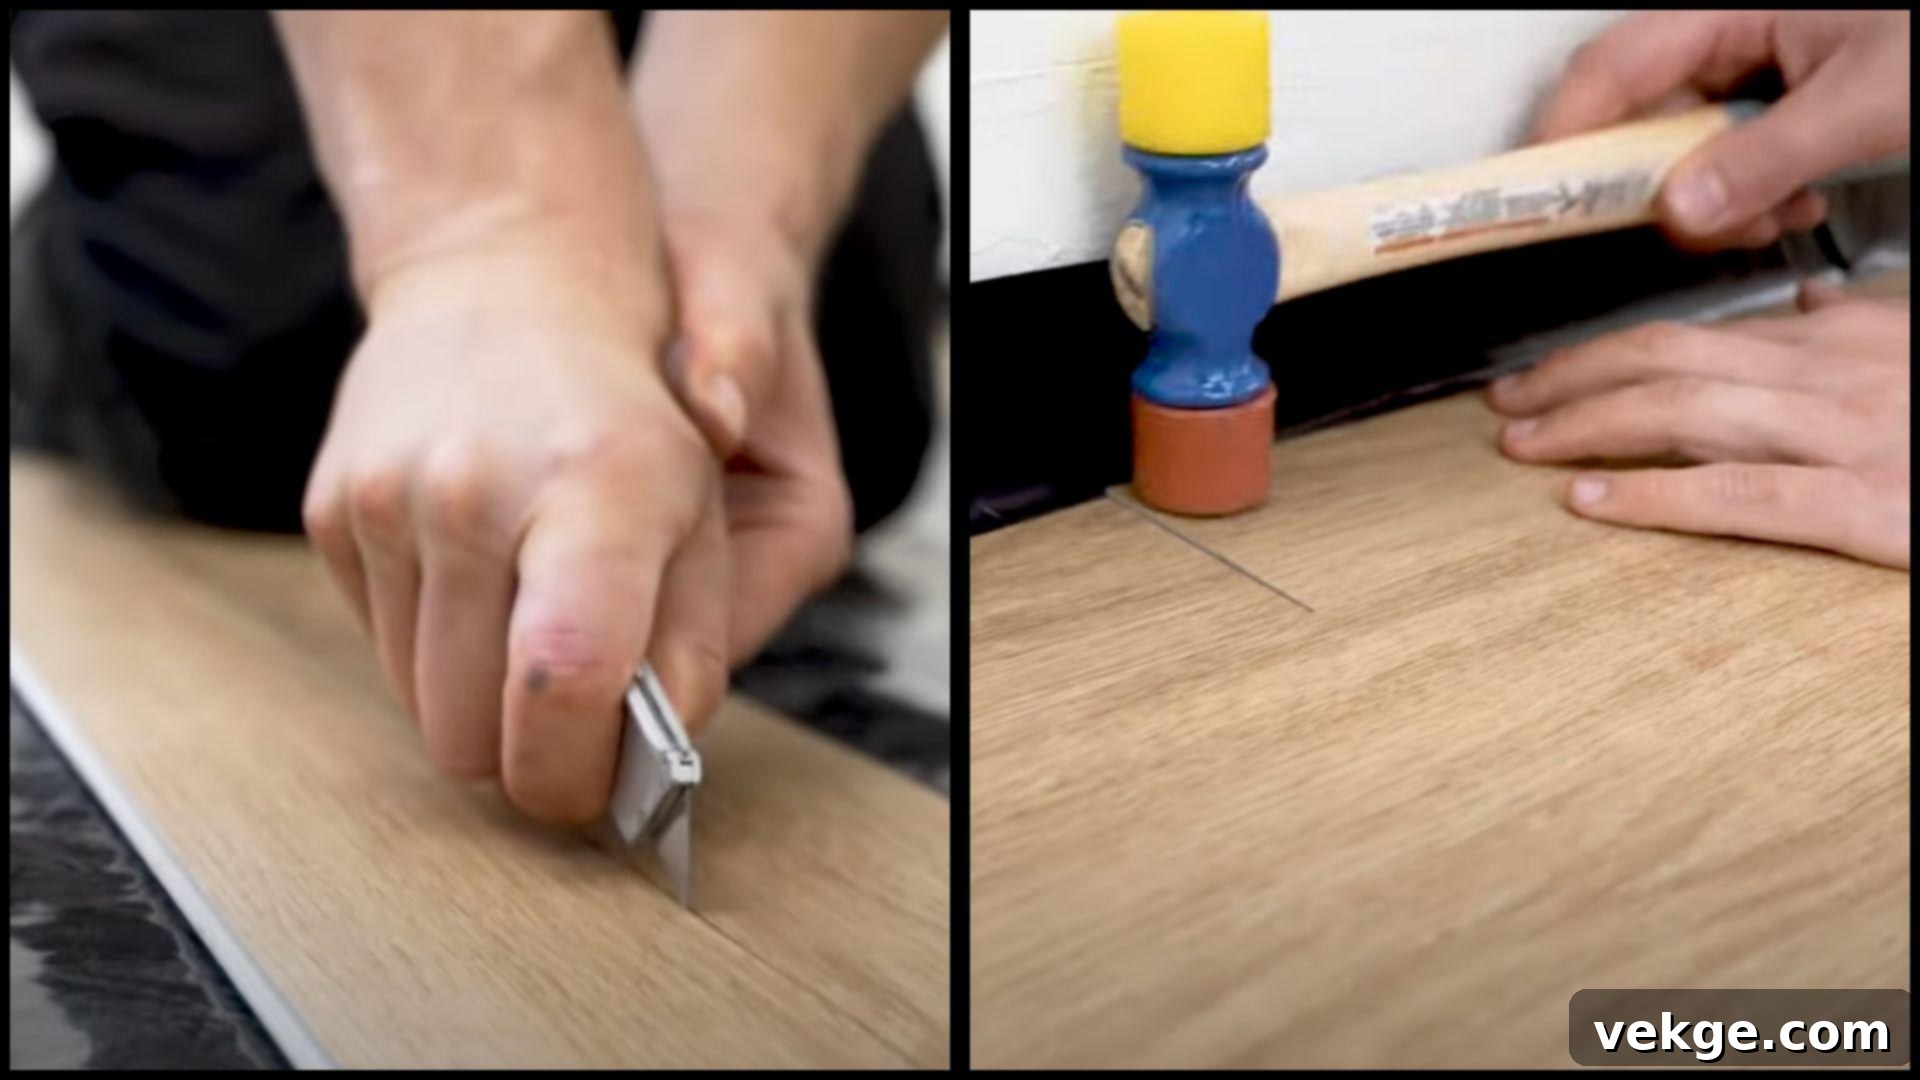
As you approach the opposing wall, you’ll likely need to cut the planks in the final row lengthwise to fit. To achieve an accurate cut, take a full-size grooveless plank and place it exactly over the last full plank you installed. Then, use another full plank (or a piece of scrap) as a straightedge, placing it against the wall, on top of the plank you need to cut. Trace the wall’s contour onto the plank below. This method accounts for any irregularities in the wall. Cut each piece along your traced outline using your utility knife or vinyl plank cutter.
Carefully fit these custom-cut planks into the remaining gap between the wall and the previously laid full rows. Use your flooring pull bar to engage the click-lock mechanism and pull them tightly into place. Remember to leave the expansion gap along the wall. This step requires patience and precision, especially around door frames, vents, or other obstacles, which will require careful notching or templating.
Pro Tips:
- When cutting around door jambs, use a piece of scrap flooring to mark the height for undercutting the jamb, allowing the new flooring to slide underneath for a clean finish.
- For complex cuts, create a paper template first to ensure accuracy before cutting the actual plank.
- Recheck your chalk line alignment one last time before locking in the final edge planks to confirm overall straightness.
Step 5: Finishing Touches and Cleanup
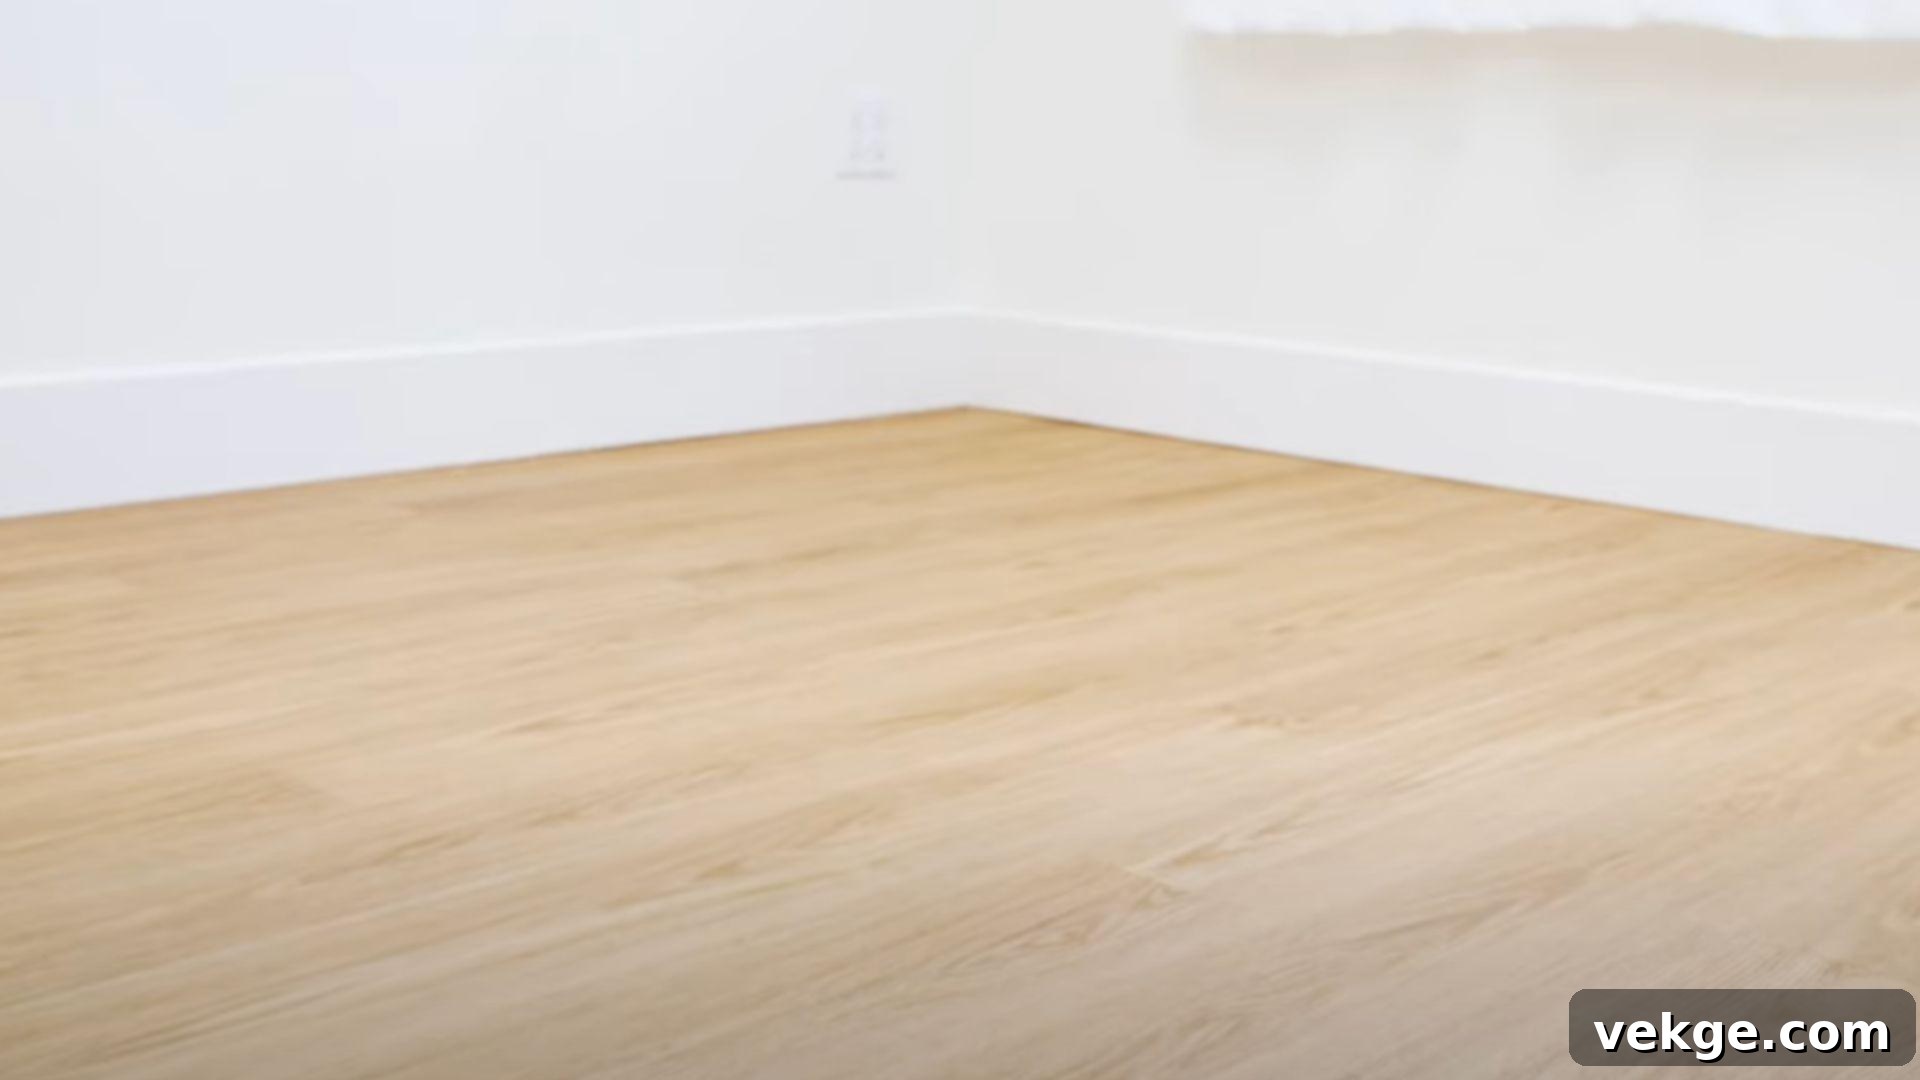
With all the SPC planks securely installed, the final phase involves adding the finishing touches and ensuring a clean environment. Carefully remove all the quarter-inch spacers from around the perimeter of the room. Trim any visible moisture barriers or underlayment that extends beyond the edge of the flooring. Next, install baseboards, shoe molding, or quarter-round trim to cover the expansion gaps along the walls, giving your new floor a polished and professional look.
Finally, perform a thorough cleanup. Sweep or vacuum the entire surface to remove any sawdust, debris, or adhesive remnants. Inspect all planks to ensure they are flat, secure, and properly interlocked. Your beautiful and durable SPC floating floor is now complete and ready to enhance your home for years to come.
Pro Tips:
- When removing baseboards, try to do so carefully as they can often be reused, saving time and money.
- Never skip the cleaning process before, during, and after installation, as trapped debris can cause future issues.
- Add felt pads or furniture glides under all furniture legs to prevent scratches and dents, protecting your investment.
Watch How It’s Done: SPC Flooring Installation Video Tutorial
For a visual walkthrough of the installation process, watch this helpful video tutorial:
How Much Does SPC Flooring Cost? Budgeting Your Project
Before embarking on your flooring project, understanding the potential costs associated with SPC flooring is essential for effective budgeting. The total expense can vary based on the quality of materials, whether you opt for DIY installation or professional services, and regional price differences. Here’s a clear table outlining common estimated cost ranges:
| Category | Estimated Cost Range (USD) |
|---|---|
| SPC Flooring Material (per sq ft) | $2.00 – $5.00 |
| Professional Installation (per sq ft) | $1.50 – $4.00 |
| Underlayment (per sq ft) | $0 – $0.80 |
| Tools (one-time purchase) | $30 – $150 |
| Delivery Fees | $0 – $250+ |
| Subfloor Preparation (per sq ft) | $0 – $2.00 |
This guide will help you plan and anticipate various expenses, preventing unexpected costs. Even seemingly small items like tools (if you don’t already own them) and delivery fees can quickly add up to a significant amount. Factors influencing the material cost per square foot include brand reputation, overall plank thickness, wear layer thickness, and the complexity or realism of the design.
NOTE: These are estimated costs and may vary significantly depending on your geographical location, the specific materials and brands chosen, the complexity of your project (e.g., unusual room shapes, extensive subfloor repairs), and the rates of local professionals.
Maintenance & Longevity Tips for Your SPC Flooring
One of the most appealing aspects of SPC flooring is its ease of maintenance. With just a few minutes of simple, regular care, your SPC floors can easily last 15 to 25 years, or even longer, while maintaining their beauty and keeping your warranty intact. Adhering to these straightforward tips will protect your investment and ensure your floors look like new for decades to come:
- Regular Sweeping or Vacuuming: Daily or every-other-day sweeping or vacuuming is crucial. It removes dirt, dust, and abrasive grit that can act like sandpaper and scratch the wear layer over time. Use a vacuum with a soft brush attachment, not a beater bar.
- Gentle Mopping: Mop your SPC floors with water or a mild, pH-neutral cleaner specifically designed for vinyl flooring. Avoid harsh chemicals, abrasive cleaners, wax polishes, and especially steam mops, which can damage the wear layer and potentially compromise the waterproof seal. Always wring out your mop thoroughly to avoid excessive water on the floor.
- Immediate Spill Cleanup: Although SPC is waterproof, it’s always best practice to clean up spills immediately. This prevents potential staining (especially from colored liquids) and ensures no liquid seeps into crevices or along wall edges over time.
- Use Doormats and Rugs: Place high-quality doormats at all exterior entrances to trap dirt, moisture, and debris before they reach your floors. In high-traffic areas or under heavy furniture, consider using area rugs to provide an extra layer of protection.
- Protect Furniture: Attach felt pads or soft furniture glides to the legs of all furniture, especially chairs and tables that are frequently moved. This prevents scratches, scuffs, and dents.
- Avoid Direct Sunlight Exposure: Prolonged exposure to intense direct sunlight can sometimes cause fading or discoloration over many years. Use blinds, curtains, or UV-protective window films on windows that receive strong, direct sunlight.
- Follow Manufacturer’s Instructions: Always refer to the specific care and cleaning instructions provided by your SPC flooring manufacturer. Adhering to their guidelines is essential for maintaining your warranty’s validity.
By consistently applying these simple maintenance practices, you’ll protect your SPC flooring, preserve its aesthetic appeal, and maximize its lifespan, truly making it a worthwhile and long-lasting investment for your home.
Wrapping It Up: Your Durable, Beautiful SPC Flooring Awaits
By now, you have a comprehensive understanding of what SPC flooring is and why it has become such an incredibly popular and smart choice for homeowners everywhere. This innovative, rigid core flooring delivers the beautiful aesthetics you desire – whether it’s the warm look of wood, the sophistication of stone, or the clean lines of tile – all without the typical headaches of expensive maintenance, susceptibility to water damage, or worries about wear and tear.
We’ve explored how SPC flooring is perfectly suited for updating high-traffic areas, moisture-prone kitchens and bathrooms, and bustling family rooms, proving it can handle virtually anything while looking absolutely stunning for decades. The added bonus? With the right tools and a little patience, installing SPC flooring yourself is a very achievable DIY project, allowing you to enjoy your new, resilient floors sooner.
Are you ready to transform your home with flooring that truly makes your life easier and enhances your living space? We encourage you to take the next step towards a beautiful, durable, and low-maintenance floor. Drop a comment below and tell us which room you’re most excited to revitalize with SPC flooring first!
