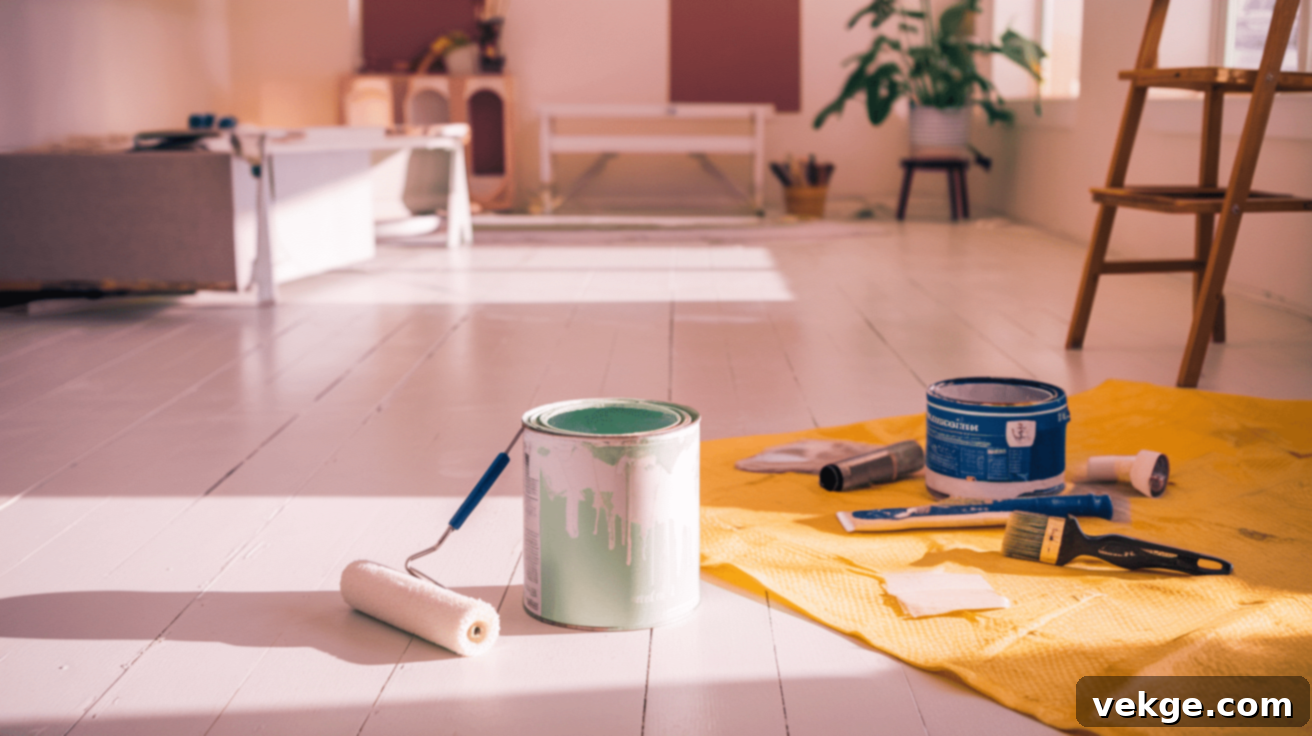
DIY Floor Transformation: Your Complete Guide to Painting Floors Like a Pro
Painting your floors is one of the most cost-effective and impactful ways to refresh your living space without the hefty expense and disruption of a full replacement. Whether you’re looking to update a tired room, cover minor imperfections, or simply inject new life and color into your home, a painted floor can offer a dramatic transformation.
This comprehensive guide will walk you through every essential step of the floor painting process. From selecting the perfect paint and gathering the necessary tools to meticulous surface preparation, expert application techniques, and crucial post-painting care, we’ve got you covered. You’ll gain a clear understanding of when painting is the right choice for your floors, what materials you’ll need, and a simple, yet detailed, step-by-step method that anyone can follow to achieve professional-looking results.
Beyond the initial application, we’ll delve into how long painted floors typically last with proper care and explore environmentally friendly paint options that are safer for both your household and the planet. With just a few basic supplies, a dedicated weekend, and the insights from this guide, you can confidently turn worn-out, uninspired floors into fresh, clean, and stylish surfaces that perfectly complement your personal aesthetic.
Is Painting Your Floors the Right Solution for Your Home?
Deciding whether to paint your floors involves weighing several factors. Painting offers significant advantages, making it an attractive option for many homeowners. Primarily, it’s a budget-friendly alternative to replacing flooring, which can be an incredibly expensive and time-consuming undertaking. Beyond cost savings, painting provides an almost limitless palette of color and design options, allowing for complete customization to match your decor. It can effectively conceal minor surface flaws, stains, or inconsistencies, giving old floors a seamless, new appearance. Additionally, a properly sealed painted floor can become a smooth, easy-to-clean surface, making daily maintenance simpler.
However, it’s important to be aware of the potential drawbacks. Painted floors, particularly in high-traffic areas, may require more frequent touch-ups compared to other flooring types. They can be susceptible to chipping or scratching, especially if the surface preparation isn’t thorough or if heavy objects are dragged across them. The initial preparation work is crucial and can be quite intensive, often requiring significant time and effort to ensure proper adhesion and durability of the paint.
The best candidates for painting include a variety of floor types:
- Wood Floors: Especially pine, plywood, or older hardwood floors that are past their prime for refinishing but are structurally sound. Painting can protect and beautify these surfaces.
- Concrete Floors: Ideal for basements, garages, patios, or industrial-style interiors. Concrete takes paint exceptionally well, offering a durable and modern finish.
- Properly Prepared Tile: While more challenging, certain types of tile can be painted. This often requires specialized primers and paints designed for slick, non-porous surfaces. It’s a great option for updating outdated tile without demolition.
- Good-Condition Plywood Subfloors: If you have a well-installed, smooth plywood subfloor, painting it can be a stylish and temporary or semi-permanent flooring solution, particularly in utility areas or as a base for future projects.
Understanding these pros and cons will help you determine if painting your floors aligns with your expectations and lifestyle needs.
Essential Tools & Materials You’ll Need for a Flawless Finish
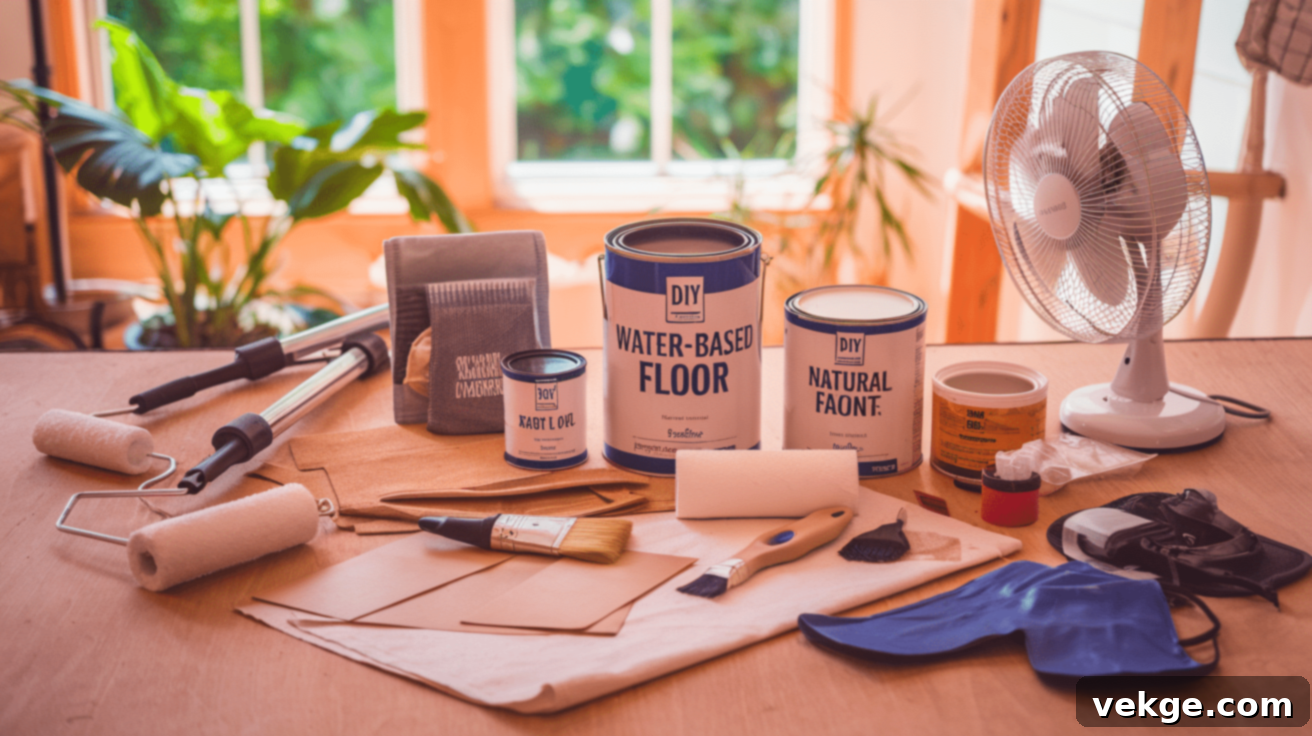
Successful floor painting hinges on having the right tools and high-quality materials. Investing a little more in good supplies will save you time, effort, and ensure a longer-lasting, more attractive finish. Here’s a detailed list of what you’ll need:
Choosing the Right Paint for Your Floor:
The type of paint you select is critical for durability and appearance. Consider the specific needs of your floor and the traffic it will endure:
- Water-based (Latex) Floor Paint: This is a popular choice for its quick-drying properties, easy cleanup with water, and low VOC (Volatile Organic Compounds) content. Modern latex floor paints are quite durable and excellent for general residential use, adhering well to various surfaces once properly primed. Look for “porch and floor enamel” specifically.
- Oil-based (Alkyd) Floor Paint: Renowned for its superior durability and hard, chip-resistant finish, oil-based paint is ideal for high-traffic areas or commercial spaces. However, it takes longer to dry, has a stronger odor, and requires mineral spirits for cleanup. Its robust nature makes it a top choice for concrete or wood floors needing maximum protection.
- Epoxy Paint: Often a two-part system, epoxy offers exceptional durability, chemical resistance, and a glossy finish, making it perfect for garage floors, basements, or areas requiring extreme wear resistance. It’s more involved to mix and apply but provides unmatched longevity.
- Natural/Low-VOC Paint: For those concerned about indoor air quality, several brands offer natural or low-VOC floor paints. These options contain fewer harsh chemicals, making them a healthier choice for your home, especially if you have sensitivities. They are becoming increasingly durable and come in a wide array of colors.
Other Essential Supplies:
- Primer Matched to Your Floor Type: A high-quality primer is non-negotiable for proper paint adhesion and often for blocking stains or odors. Ensure it’s compatible with your chosen paint type and formulated for your specific floor material (e.g., wood primer, concrete primer, bonding primer for challenging surfaces like tile).
- High-Quality Paint Brushes: Essential for “cutting in” around edges, corners, and detailed areas. A 2-inch or 3-inch angled brush will offer precision.
- Paint Rollers with Extension Poles: For efficient and even coverage on large areas. Choose the right nap length for your surface:
- Short Nap (1/4″ – 3/8″): Best for smooth surfaces like finished wood, concrete, or plywood, providing a smooth finish.
- Medium Nap (1/2″): Suitable for slightly textured surfaces or for applying thicker coats.
- Long Nap (3/4″ – 1″): Generally not recommended for floors, as it can create too much texture, but might be used for very rough concrete if specified by the paint manufacturer.
An extension pole will save your back and speed up the process.
- Sandpaper: You’ll need various grits:
- Medium-Grit (80-100 grit): For initial sanding to remove existing finishes, smooth rough spots, or improve adhesion.
- Fine-Grit (150-220 grit): For smoothing out filler, between coats of primer or paint, and for final preparation before painting.
Consider a pole sander for efficiency on large floor areas.
- Wood Filler or Floor Patch: For repairing cracks, holes, and imperfections in wood or concrete floors.
- Vacuum Cleaner and Mop/Bucket: For thorough cleaning.
- Cleaner/Degreaser: TSP (Trisodium Phosphate) substitute or a heavy-duty floor cleaner to remove grease, grime, and wax.
- Drop Cloths/Plastic Sheeting: To protect baseboards, walls, and any furniture that cannot be removed from the room.
- Painter’s Tape: High-quality tape (e.g., FrogTape or ScotchBlue) for crisp, clean lines along baseboards and door frames.
- Fans and Good Ventilation: Crucial for drying time and dispersing fumes, especially with oil-based paints. Open windows and use multiple fans.
- Protective Gear: Safety glasses, gloves, and a respirator mask (especially for sanding or using high-VOC paints) are essential for your health.
- Knee Pads: Your knees will thank you during prep and painting.
- Paint Trays and Liners: For easy pouring and cleanup.
- Stir Sticks: To thoroughly mix paint and primer.
Step-by-Step Guide to Paint Your Floor Flawlessly
Achieving a durable and beautiful painted floor is all about meticulous preparation and careful application. Follow these steps for the best results:
1. Prep the Surface: The Foundation of Success
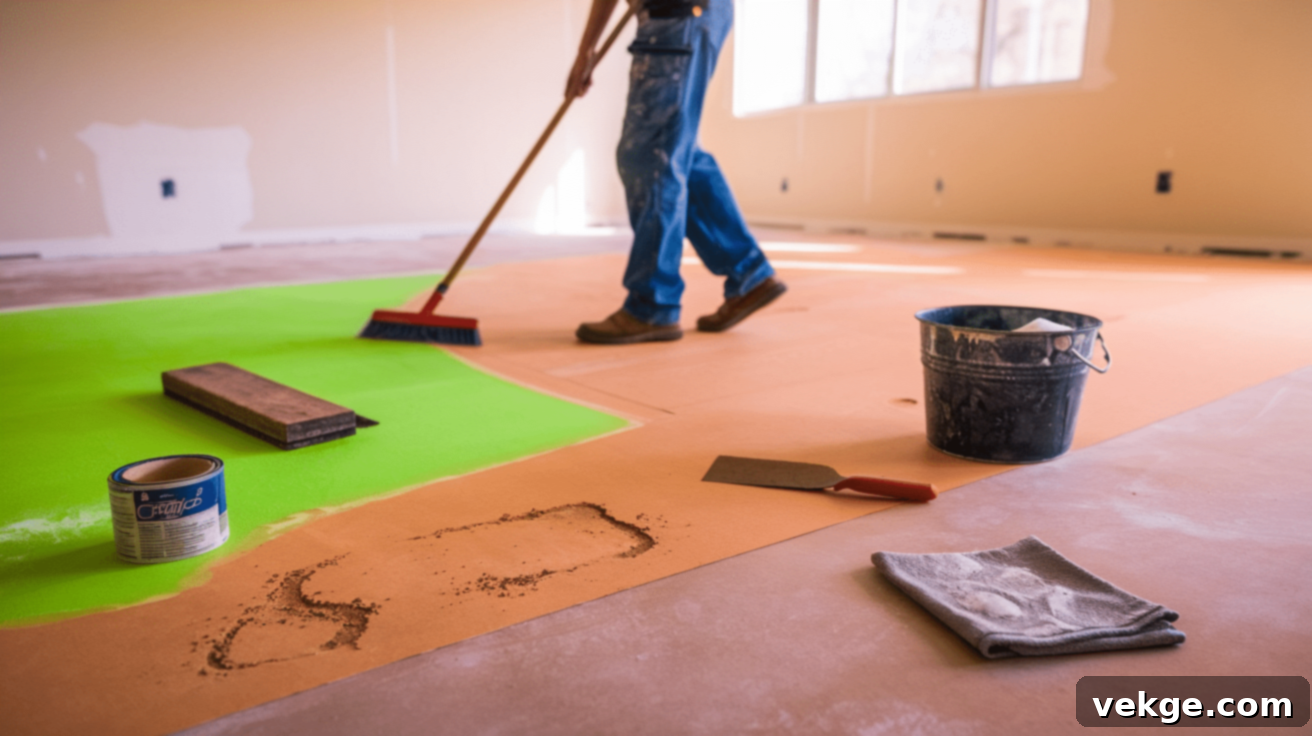
This is arguably the most critical stage. Poor preparation will lead to paint peeling, chipping, and an overall subpar finish.
- Clear the Room: Remove all furniture, rugs, and any other items from the room. Tape off baseboards and any areas you don’t want painted with high-quality painter’s tape.
- Thorough Cleaning: Begin by sweeping or vacuuming the entire floor to remove loose dirt and debris. Next, wash the floor thoroughly using a heavy-duty cleaner or TSP substitute mixed with water according to manufacturer instructions. This step is vital to cut through grease, grime, and any wax buildup that could prevent paint adhesion. Rinse the floor multiple times with clean water until no residue remains. Allow the floor to dry completely.
- Inspect and Repair: Carefully inspect the floor for any imperfections. For wood floors, fill nail holes, gouges, and cracks with wood filler. For concrete, use a concrete patch compound. Allow these repairs to dry fully according to the product’s instructions, which can take several hours.
- Sanding for Adhesion: Once repairs are dry, sand the entire floor. Use medium-grit sandpaper (80-100 grit) to rough up any existing finish, remove minor imperfections, and create a surface that primer and paint can grip onto. For previously painted or very smooth surfaces, a lighter sand with 120-150 grit might suffice to scuff it. After this initial sanding, fill any remaining small blemishes.
- Final Smooth Sanding: Once all fillers are dry, lightly sand the entire floor again with fine-grit sandpaper (150-220 grit) to create a smooth, even surface. The goal isn’t to remove the entire floor surface, but to create a uniform texture that accepts paint well.
- Dust Removal: This step cannot be emphasized enough. After sanding, vacuum the floor thoroughly, paying close attention to corners and edges. Then, use a damp (not wet) cloth or a tack cloth to wipe down the entire surface, removing any lingering dust particles. Allow the floor to dry completely before moving on.
2. Apply Primer (Essential for Durability)
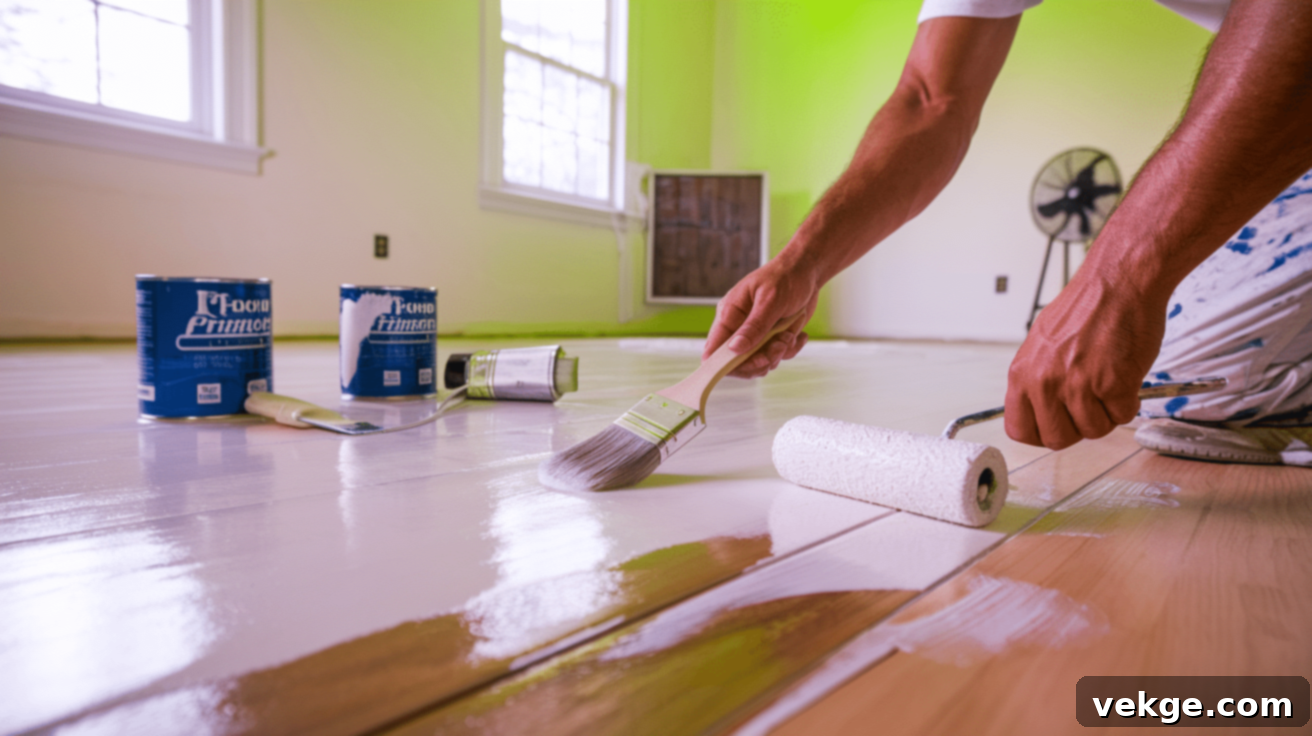
While some self-priming floor paints exist, applying a dedicated primer is almost always a wise decision that significantly contributes to the longevity and adhesion of your painted floor. Primer creates a bonding layer between the floor surface and the topcoat, ensuring better adhesion, more uniform color, and enhanced durability.
- When to Use Primer: It’s absolutely crucial when painting bare wood or concrete, when making a significant color change (e.g., dark to light), or when painting over a glossy or difficult-to-adhere-to surface like tile. Primer also helps seal porous surfaces and block stains.
- Primer Application: Start by “cutting in” the edges of the room with a brush, working in sections. Once the edges are done, use a roller with an extension pole to apply an even, thin coat of primer over the larger floor areas. Work your way out of the room, ensuring you don’t paint yourself into a corner!
- Drying Time: Allow the primer to dry completely according to the manufacturer’s instructions. This usually takes 2-4 hours, but can vary. Proper drying prevents the primer from lifting when you apply the paint. If specified by the primer, a light sanding with fine-grit sandpaper after drying can create an even smoother base for your topcoat; be sure to clean up all dust if you do this.
3. Paint in Thin, Even Coats for a Professional Finish
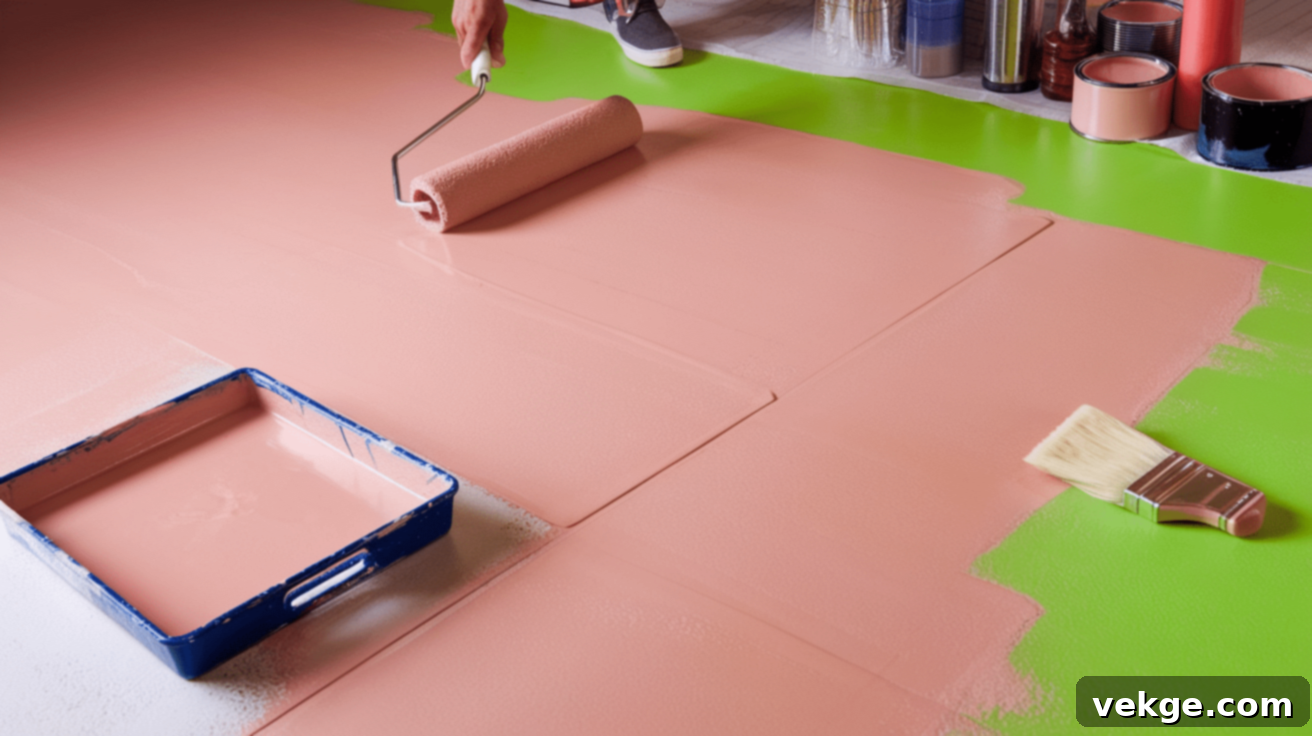
This is where your floor’s new look truly begins to take shape. Patience is key here; rushing can lead to streaks, uneven coverage, and a less durable finish.
- Start Edges First: Just like with the primer, begin by using a high-quality brush to carefully paint along the edges, corners, and around any permanent fixtures. This is called “cutting in.”
- Roller Application: For the main areas of the floor, use your roller with the appropriate nap length. Pour a manageable amount of paint into your paint tray. Roll the paint onto the floor in thin, even coats, working in sections. Overlap each stroke slightly to ensure seamless coverage. Avoid applying paint too thickly, as this can lead to longer drying times, a greater risk of peeling, and an uneven finish.
- Working Your Way Out: Always plan your exit strategy. Start painting from the furthest corner of the room and work your way towards the exit door, ensuring you don’t step on wet paint.
- Multiple Coats: Most floors will require at least two coats of paint for optimal coverage and durability, and sometimes three, especially if you’re making a significant color change. Allow each coat to dry thoroughly for a minimum of 24 hours (or as recommended by the paint manufacturer) before applying the next. This waiting period is crucial for the paint to bond and harden properly, preventing peeling.
- Light Sanding Between Coats (Optional but Recommended): For an ultra-smooth finish, you can very lightly sand the dried first coat with 220-grit sandpaper, then thoroughly clean any dust before applying the second coat. This removes any minor imperfections or grit.
4. Allow Proper Curing Time: Don’t Rush It!
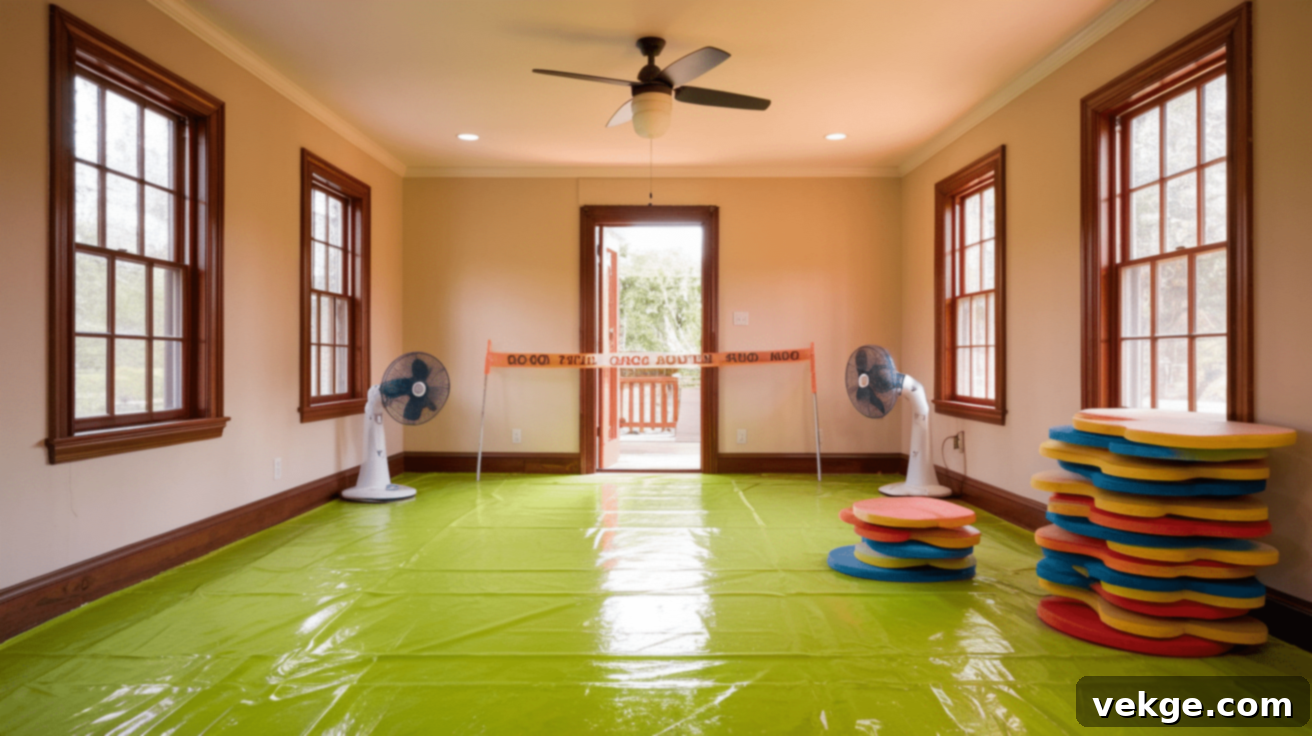
Even when your painted floor feels dry to the touch, it has not fully “cured” or hardened. Curing is a chemical process that takes significantly longer than just drying and is essential for the paint’s long-term durability and resistance to wear. Rushing this stage can lead to scuffs, impressions, and even peeling.
- Environmental Conditions: Maintain a consistent room temperature, ideally above 60°F (15°C), and ensure good airflow. Use fans and open windows (if weather permits) to aid in the drying and curing process by circulating air and removing solvent vapors. Avoid high humidity if possible.
- Light Foot Traffic: Generally, you can allow light foot traffic (wearing soft socks, no shoes) after 24 hours. Be extremely careful and avoid dragging anything.
- Placing Furniture: Wait at least 3 full days (72 hours) before carefully placing furniture back into the room. Always attach felt pads to the bottom of all furniture legs to prevent scratches and indents on your new floor.
- Rugs and Heavy Objects: For optimal curing, wait at least 7 days, and preferably up to 30 days, before placing rugs, heavy appliances, or anything that will cover a large portion of the floor and prevent airflow. This allows the paint to fully harden and prevents it from sticking to the rug backing.
Always refer to the specific drying and curing times recommended by your paint manufacturer, as these can vary significantly by product.
How to Maintain a Painted Floor for Lasting Beauty
Proper maintenance is key to extending the life and beauty of your painted floors. With a little care, they can look fantastic for years.
- Daily Cleaning: Sweep or vacuum daily to remove dirt, dust, and grit, which can act as an abrasive and scratch the painted surface over time.
- Immediate Spill Cleanup: Clean up spills immediately to prevent staining, especially if the liquid is acidic or highly pigmented. Use a soft cloth and a gentle cleaner.
- Regular Washing: Weekly or bi-weekly, clean your painted floors with a soft mop and a mild, pH-neutral floor cleaner diluted in water. Avoid harsh abrasive cleaners, ammonia-based products, or anything containing bleach, as these can dull the finish or damage the paint.
- Protective Measures: Place felt pads or rubber stoppers under all furniture legs to prevent scratches and dents. Use area rugs in high-traffic zones like entryways, hallways, and under dining tables to protect against excessive wear and tear.
- Prompt Touch-Ups: Small chips or scratches are inevitable over time. Keep leftover paint on hand and touch up these minor imperfections promptly with a small artist’s brush. This prevents further damage and keeps your floor looking fresh.
- Yearly Refresh: Consider applying a fresh, thin topcoat of clear polyurethane (compatible with your paint type) or the original paint color every 1-3 years, depending on traffic, to rejuvenate the finish and add an extra layer of protection.
- Optional Wax Protection: For added durability and a subtle sheen, you can apply a thin layer of floor wax specifically designed for painted surfaces. Ensure the paint is fully cured before applying wax, and reapply as needed.
How Long Will Your Beautifully Painted Floor Last?
The lifespan of a painted floor varies significantly depending on several factors, including the quality of preparation, the type of paint used, the amount of foot traffic, and the diligence of its maintenance. Generally, a well-prepped and properly painted floor can last:
- 3-5 years or more in low-traffic areas like bedrooms, guest rooms, or home offices.
- 1-2 years in busy spots such as hallways, kitchens, or living rooms before needing a refresh.
To maximize its appearance and longevity, consistent care is paramount. Regular cleaning with a soft mop and mild soap solution will prevent the buildup of abrasive particles and maintain the finish. Avoid harsh chemicals that can degrade the paint. When you do notice small chips, scratches, or areas of wear, use a small brush and leftover paint for prompt touch-ups. This prevents further damage and keeps the floor looking uniform. When you observe widespread wear patterns, significant color fading, or an increasing number of touch-ups required, it’s a clear indication that a full repaint, or at least a fresh topcoat, is due. Proactive maintenance is always less work than reactive repair, ensuring your painted floors remain a charming feature of your home for as long as possible.
Common Mistakes to Avoid When Painting Your Floor
Even experienced DIYers can make mistakes. Being aware of these common pitfalls will help you achieve a better outcome:
- Skipping Proper Cleaning and Preparation: This is the number one reason for paint failure. Paint needs a clean, dry, and properly scuffed surface to adhere. Any dirt, grease, wax, or loose debris will prevent the paint from bonding, leading to peeling and chipping down the line.
- Not Using Primer When Needed: While some paints are self-priming, a dedicated primer is often crucial for difficult surfaces (like concrete or glossy tile), significant color changes, or when dealing with bare wood. Skipping primer can result in poor adhesion, uneven color, and a less durable finish.
- Rushing the Drying Time Between Coats: Paint needs time to cure and harden, not just dry to the touch. Applying subsequent coats or putting furniture back too soon can lead to premature wear, peeling, and impressions in the paint. Always follow manufacturer recommendations for recoat and curing times.
- Painting Yourself into a Corner: It sounds obvious, but it’s a common mistake! Always plan your painting route to ensure you can exit the room without stepping on wet paint. Start from the furthest point from your exit door and work your way back.
- Using the Wrong Type of Paint for the Specific Floor Material or Traffic: Not all paints are created equal. Using wall paint on a floor, for example, will result in a quickly worn and damaged surface. Ensure you select a paint specifically formulated for floors (e.g., porch and floor enamel, epoxy paint) and suitable for your floor’s material and expected traffic level.
- Applying Paint Too Thickly: While it might seem faster, thick coats of paint take much longer to dry, are more prone to unevenness, drips, and peeling, and don’t necessarily provide more durability than multiple thin coats. Always aim for thin, even layers.
- Ignoring Ventilation: Paint fumes can be strong and harmful. Always ensure adequate ventilation by opening windows and using fans to circulate air during painting and drying.
- Not Having Enough Supplies: Running out of paint or a crucial tool mid-project can be frustrating and disrupt your workflow. Calculate your paint needs carefully and have all tools and materials ready before you start.
Wrapping Up Your Floor Painting Journey
Embarking on a floor painting project is an exciting and rewarding home improvement endeavor. Learning how to paint floors effectively unlocks a world of design possibilities, allowing you to personalize your space, save money, and achieve a fresh, updated look. This guide has provided you with a comprehensive roadmap, from initial planning and material selection to the detailed steps of preparation, application, and long-term maintenance.
It’s important to remember that perfection isn’t the goal on your first try; mistakes are a natural part of any DIY process and can almost always be rectified. If you encounter an error – a drip, a missed spot, or an uneven patch – simply let the paint dry completely, lightly sand the affected area to smooth it out, clean the dust, and then apply a new, thin coat. The forgiving nature of floor painting means that touch-ups are straightforward with your leftover paint, making it a manageable project for even novice DIYers.
Many homeowners wisely choose to begin with a smaller, less visible area, such as a closet or a utility room, to practice their techniques and build confidence before tackling larger, more prominent spaces. This approach allows you to experiment with different tools, understand paint behavior, and refine your process without high stakes.
With patience, careful attention to detail, and consistent application of the techniques outlined in this guide, your newly painted floors will not only look fantastic but also stand up to daily wear for years to come. The most crucial step in any transformation is simply getting started. Your floors are ready for their stylish and budget-friendly makeover – take that first step and enjoy the stunning results!
Frequently Asked Questions About Painting Floors
What Kind of Paint Do You Use on Floors?
For floors, you should always use paints specifically designed for flooring. These typically include durable oil-based (alkyd) porch and floor enamels, or high-quality latex-based (water-based) porch and floor enamels. For very high-traffic areas or garage floors, a multi-part epoxy paint system offers the best durability. Latex-based paints are often recommended for beginners due to their quicker drying time, easier cleanup with water, and good adhesion to many surfaces. Always check the paint’s label to ensure it’s suitable for your specific floor material (wood, concrete, etc.) and intended use.
Can I Paint the Floor Without Sanding?
While painting can certainly give floors a fresh, updated look, sanding is almost always a recommended and crucial step for achieving a durable, long-lasting finish. Light sanding serves several purposes: it removes old, peeling finish; scuffs up glossy surfaces to create “tooth” for better paint adhesion; and helps to smooth out minor imperfections or damage. While some “no-sanding” primers exist for specific surfaces, even with these, a thorough cleaning and often a degreasing step is essential. For optimal results and maximum protection of your floor from future wear, light sanding is a small investment of time that yields significant benefits in paint longevity and appearance.
How Do You Properly Paint a Floor?
Properly painting a floor involves a systematic approach:
- Thorough Preparation: Empty the room, clean the floor meticulously to remove all dirt, grease, and grime, then rinse and let it dry completely. Fill any holes or cracks, and sand the entire surface to create a smooth, scuffed base for adhesion. Remove all sanding dust.
- Apply Primer: Apply a suitable primer for your floor type and paint choice. Use a brush for edges and a roller for larger areas. Let it dry completely according to manufacturer instructions.
- Paint in Thin Coats: Start by “cutting in” around the edges with a brush. Then, use a roller with an extension pole to apply thin, even coats of your chosen floor paint. Work from the furthest point in the room towards your exit to avoid stepping on wet paint.
- Allow Proper Drying & Curing: Apply at least two coats of paint, allowing each coat to dry fully (typically 24 hours) before applying the next. Crucially, allow the floor to cure for several days (at least 3 days for light traffic, 7-30 days for full use) before replacing furniture or rugs to ensure maximum durability and prevent damage.
Following these steps ensures a beautiful and resilient painted floor.
