DIY Custom Bench Cushions: A Step-by-Step Guide to Comfort and Style
A custom bench cushion can dramatically transform the comfort and aesthetic appeal of any seating area in your home. Imagine a cozy window seat, an inviting dining nook, or a functional mudroom bench, all adorned with a beautifully tailored cushion that perfectly matches your decor. Crafting your own bench cushion allows for unparalleled personalization – from selecting the ideal fabric texture and color to determining the perfect thickness and size. Beyond the creative freedom, a DIY approach offers significant cost savings compared to purchasing store-bought or professionally custom-made options.
Many homeowners shy away from upholstery projects, often under the misconception that they demand advanced professional skills or specialized equipment. However, with clear, step-by-step guidance, accessible materials, and a little patience, creating a stunning and durable bench cushion is a deeply rewarding project that can often be completed in a single afternoon or over a weekend. Whether your goal is to refresh an existing storage bench, upgrade a built-in window seat, or simply enhance the comfort of your dining space, this comprehensive guide will walk you through every stage. You’ll learn to create a professional-quality cushion that not only fits your space perfectly but also reflects your unique style and meets your specific comfort needs.
Your Step-by-Step Guide to Crafting a Perfect Bench Cushion
Embark on your DIY journey with confidence! This section will meticulously detail each step, ensuring you have all the information needed to create a high-quality, custom bench cushion.
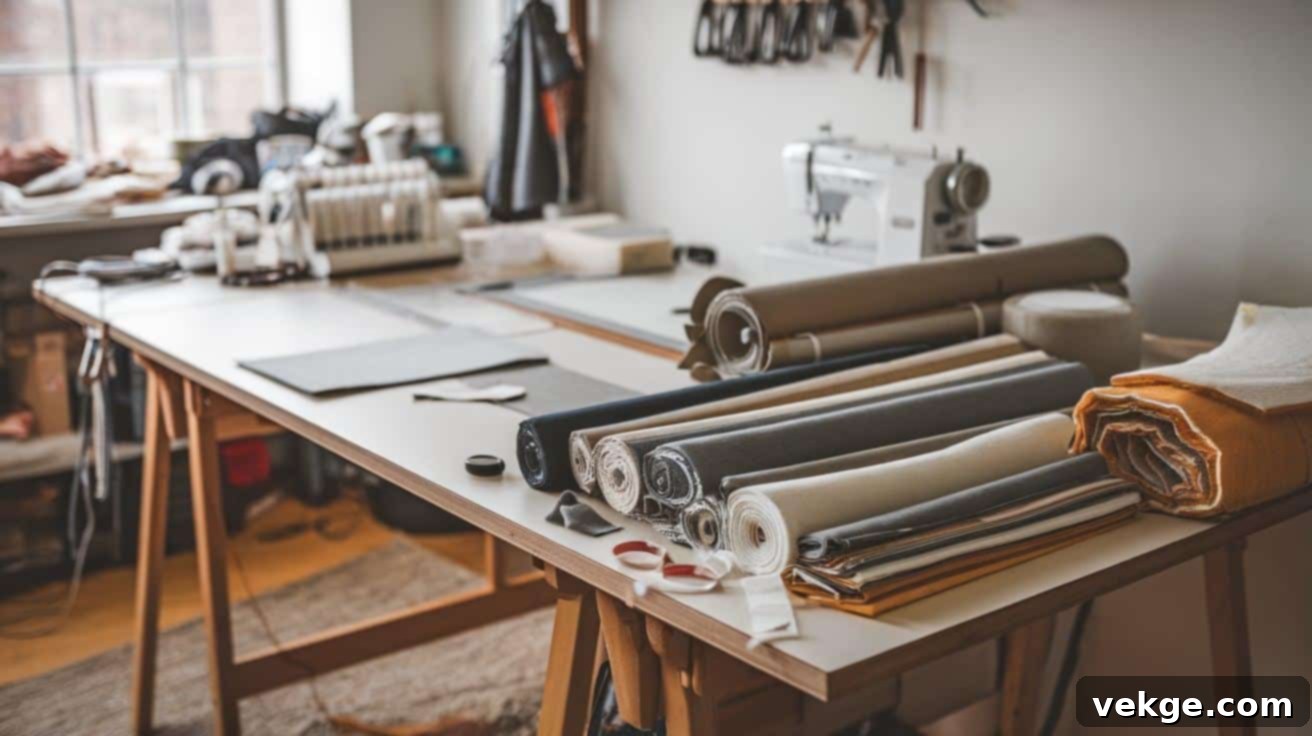
STEP 1: Gather and Prepare Your Materials
The foundation of any successful DIY project lies in thorough preparation and the selection of appropriate materials. For your custom bench cushion, you will need:
- Fabric: Choose a durable upholstery fabric that complements your home’s aesthetic. Consider factors like indoor vs. outdoor use, ease of cleaning, and resistance to wear and tear. Options like canvas, twill, duck cloth, or outdoor-grade polyester are excellent choices for their resilience.
- Foam Cushion: The core of your comfort. High-density upholstery foam is recommended for its longevity and support. The thickness will depend on your preference and the bench’s depth, typically ranging from 2 to 4 inches.
- Batting (optional but recommended): A layer of polyester batting wrapped around the foam provides a softer feel, fills out the fabric cover, and protects the foam from premature wear. It also helps in achieving a smoother, more professional finish.
- Velcro or Zipper: For securing the cushion cover. Velcro is simple and effective, while a zipper allows for easy removal and washing of the cover.
- Sewing Machine: Essential for sturdy seams. A basic sewing machine with a straight stitch function is sufficient.
- Matching Thread: Ensure it’s strong and matches your fabric color.
- Measuring Tape and Ruler: For precise measurements.
- Fabric Scissors or Rotary Cutter: For clean, accurate cuts.
- Fabric Chalk or Marker: For marking cutting lines.
- Pins or Fabric Clips: To hold fabric pieces together before sewing.
- Iron and Ironing Board: For pressing seams, crucial for a professional look.
- Liquid Stitching (optional): For closing the final opening if you prefer not to hand-sew.
When selecting fabric, ensure you purchase enough. A general rule is to measure the bench’s length and width, then factor in the foam’s thickness (for side panels) and add extra inches for seam allowances (typically 1 inch per seam). It’s always better to have a little extra than to run short.
STEP 2: Measure and Precisely Cut Your Fabric
Accuracy in this step is paramount for a well-fitting cushion cover. Begin by measuring the exact length (L), width (W), and depth (D) of your bench or foam insert. Once you have these dimensions, you will cut several pieces of fabric:
- Top Piece: Length (L) + 2 inches (for seam allowances) x Width (W) + 2 inches.
- Bottom Piece: Same dimensions as the top piece. If using Velcro for closure, this piece might be cut into two halves lengthwise, with an overlap for the Velcro.
- Side Panels (2 pieces for length): Length (L) + 2 inches x Depth (D) + 2 inches.
- End Panels (2 pieces for width): Width (W) + 2 inches x Depth (D) + 2 inches.
Always double-check your measurements before making any cuts. Use fabric chalk or a marker to draw your cutting lines clearly on the wrong side of the fabric. For crisp, straight lines, use a long ruler or a straight edge. If your foam is unusually shaped, consider making a paper template first.
STEP 3: Plan Your Fabric Layout for Efficiency
Before you begin cutting, take a moment to plan out how all your fabric pieces will fit onto your chosen material. Lay your fabric flat, perhaps folding it in half lengthwise if it’s wide enough, to determine the most efficient layout. This strategic placement helps minimize waste and ensures you have enough material for all components of your cushion. If your fabric has a pattern, ensure the pattern is aligned correctly and consistently across all pieces, especially for the top and front panels. This attention to detail will significantly enhance the final appearance of your cushion.
STEP 4: Attach Velcro (or Zipper) to Your Fabric
This step is crucial for creating an easily removable and washable cushion cover. If you opt for Velcro:
- Take your bottom fabric piece. If it’s a solid piece, cut it in half lengthwise. If you’ve already cut two pieces with an overlap, proceed.
- Attach one side of the Velcro strip to the edge of one bottom fabric piece, right side facing up. Pin it securely.
- Attach the other side of the Velcro strip to the edge of the other bottom fabric piece, again, right side facing up. Ensure there’s a generous overlap (1-2 inches) for a secure closure.
- Using your sewing machine, sew the Velcro strips onto the fabric with a straight stitch. Stitch close to both long edges of the Velcro for maximum durability. Backstitch at the beginning and end of your seams for reinforcement.
For a Zipper Closure:
If you prefer a zipper, you’ll install it into one of the side panels or the bottom panel. A common method is to create an opening in the center of one long side panel, then baste the opening closed before sewing the zipper over the basted seam. Once sewn, remove the basting stitches to reveal the zipper. This method creates a clean, hidden zipper look.
STEP 5: Assemble the Cushion Cover
With your Velcro or zipper attached, it’s time to sew the main body of the cushion cover:
- Place the top fabric piece right side up.
- Align the side panels around the perimeter of the top piece, right sides together. Pin them securely.
- Sew the side panels to the top piece using a straight stitch with your chosen seam allowance (e.g., 1/2 inch or 1 inch). Backstitch at the beginning and end of each seam.
- Next, connect the end panels to the side panels, forming a complete box shape. Ensure all corners align precisely.
- Finally, attach the bottom fabric piece (with Velcro or zipper) to the open edge of the side panels, right sides together. Leave the Velcro/zipper section unsewn for now.
- At each corner of your box, you may need to “clip” or “notch” the seam allowance. For outer corners, clip a small triangle out of the seam allowance. For inner corners, snip into the seam allowance up to (but not through) the stitch line. This helps the fabric lay flat and creates crisp, square corners when turned right-side out.
Throughout this step, iron your seams open as you go. This crucial step helps achieve a professional, flat finish and prevents bulk.
STEP 6: Insert Foam and Finalize the Cushion
You’re almost there! It’s time to bring your cushion to life:
- Carefully turn your fabric cover right-side out through the opening (Velcro or zipper). Use a blunt tool, like a chopstick or a point turner, to gently push out the corners, ensuring they are as sharp and square as possible.
- If you’re using batting, wrap your foam insert snugly with the batting, using spray adhesive or a few hand stitches to keep it in place. This will give your cushion a softer, fuller look.
- Carefully insert the foam (wrapped in batting, if applicable) into the fabric cover. This might require some maneuvering, especially if the fit is snug. Take your time, gently pushing the foam into all corners.
- Once the foam is fully inserted and adjusted for a snug, even fit, close the remaining open section. If you used Velcro or a zipper, simply close it. If you left a small opening for hand-stitching (e.g., if you omitted Velcro/zipper or need to close a small gap), use an invisible ladder stitch to neatly close the opening. Alternatively, for a quick and seamless look, apply liquid stitching carefully according to product instructions.
- Smooth out any wrinkles or bumps in the fabric for a polished, finished appearance.
STEP 7: Place Your New Cushion and Maintain It
Your custom bench cushion is now complete! Position it proudly on your bench, window seat, or dining nook. Take a moment to admire your handiwork and enjoy the enhanced comfort and style it brings to your space.
To keep your cushion looking its best, regular maintenance is key. For daily upkeep, a quick wipe with a damp cloth can remove superficial dirt or pet hair. For deeper cleaning, refer to your fabric’s care instructions. If the cover is removable (thanks to your Velcro or zipper!), you can follow its specific washing guidelines.
Enhance Your Learning with a Video Tutorial
Sometimes, seeing a process in action can clarify steps and provide additional tips. For a visual demonstration and further insights into creating your bench cushion, we highly recommend checking out this helpful video tutorial.
For More Information, Check out This Video Tutorial By Milani & Wayne.
Watching experienced crafters can help you visualize techniques, troubleshoot potential issues, and gain confidence in your own abilities.
Finishing Touches: Elevating Your Custom Bench Cushion
Beyond the basic steps, these detailed considerations will ensure your DIY bench cushion not only looks professional but also stands the test of time.
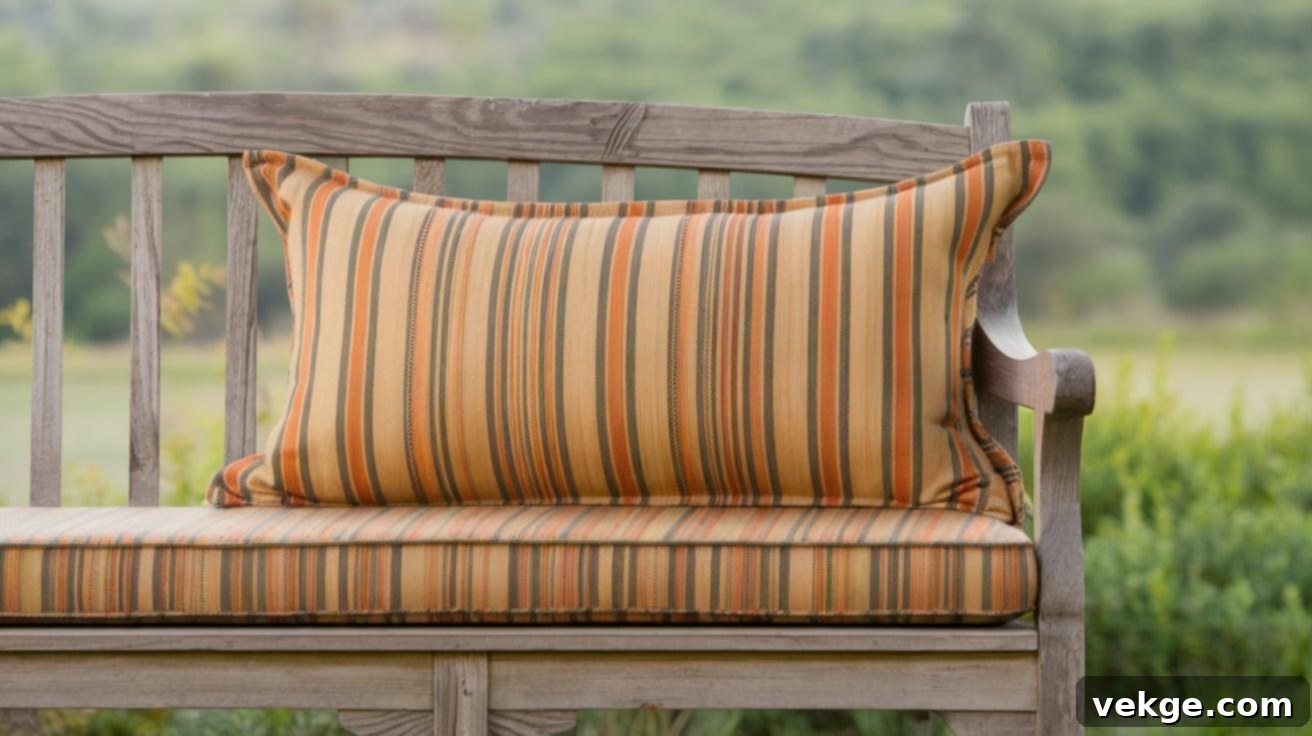
1. Ensuring a Professional Appearance
The distinction between a good DIY project and a truly professional one often lies in the meticulous attention to detail during the finishing stages. A well-crafted bench cushion should boast crisp, square corners, perfectly even seams, and, if your fabric has a pattern, impeccably aligned designs that demonstrate precision and care. To achieve this polished look:
- Press All Seams: As you sew each section, stop and press the seams open or to one side with an iron. This flattens the fabric, removes bulk, and creates cleaner lines, preventing puckering when the cushion is turned right-side out.
- Trim Seam Allowances: After pressing, you can often trim down seam allowances to reduce bulk, especially in corners and curves. This is particularly important for thicker fabrics.
- Use Understitching: For areas like zipper flaps or edges that need to stay flat, understitching can be invaluable. This involves stitching the seam allowance to the facing or lining fabric, which helps the main fabric roll slightly inward, concealing the seam.
- Perfect Corners: Before turning the cover right-side out, carefully clip the seam allowances at outer corners and notch inner corners (as mentioned in Step 5). When turning, use a point turner or a blunt tool to gently push out the corners from the inside, ensuring they are sharp and well-defined without stretching the fabric.
- Fabric Tension: Ensure your fabric is pulled taut but not stretched across all surfaces of the foam. Any looseness can lead to wrinkles and an unprofessional appearance.
Professional upholsterers emphasize that taking these extra moments for finishing work dramatically elevates the overall quality and aesthetic appeal of your bench cushion. Double-checking all corners for symmetry and smoothing out any wrinkles or bubbles before considering the project complete will make a significant difference.
2. Tips for Durability and Longevity of Your Bench Cushion
A beautiful cushion is even better when it lasts for years. Building durability into your bench cushion involves careful material selection and construction techniques:
- High-Quality Foam: Invest in high-density upholstery foam (typically 1.8-2.5 density, 50-70 ILD) rather than standard craft foam. High-density foam retains its shape and support much longer, preventing sagging and indentations.
- Batting is Key: Wrapping your foam core with polyester batting is not just for softness; it’s a protective layer. Batting acts as a buffer between the foam and the fabric, preventing the foam from breaking down prematurely from friction and maintaining the cushion’s shape by filling out the cover smoothly. Look for Dacron or bonded polyester batting for best results.
- Strong Seams: Always use strong, polyester thread, and employ a sturdy straight stitch with a decent stitch length (around 2.5-3mm). Backstitch at the beginning and end of all seams, and at stress points like corners, for added reinforcement. Double-stitching critical seams can also contribute to longevity.
- Fabric Choice: Select fabrics with a high double-rub count (indicating wear resistance). For high-traffic areas or outdoor use, choose fabrics specifically designed for those environments, often treated for UV resistance and mildew prevention.
- Environmental Considerations: Extreme temperatures and humidity can accelerate the degradation of both fabric and foam. Avoid placing finished cushions in direct sunlight for extended periods to prevent fabric fading and foam breakdown. If storing extra materials or seasonal cushions, a climate-controlled environment is ideal.
3. Cleaning and Maintenance Advice for Longevity
Regular and proper maintenance will significantly extend the life and beauty of your custom bench cushion:
- Weekly Vacuuming: Use an upholstery attachment on your vacuum cleaner to gently remove dust, crumbs, and pet hair from the cushion surface. This prevents debris from settling deep into the fabric fibers, which can cause premature wear and dullness.
- Spot Cleaning: For spills and stains, act quickly. Blot (don’t rub) the affected area with a clean, white cloth. Always test any cleaning solution on an inconspicuous area first to ensure it doesn’t cause discoloration or damage to your fabric. Use a mild soap and water solution or a specialized fabric cleaner appropriate for your fabric type.
- Removable Covers: If your cushion cover is designed with a zipper or Velcro closure, remove it periodically for a more thorough cleaning. Follow the specific care instructions for your fabric – some may be machine washable, while others might require dry cleaning.
- Rotate and Flip: Just like mattresses, rotating and flipping your bench cushion periodically helps distribute wear evenly across its surface. This simple practice prevents one area from becoming compressed or worn out faster than others, thus maintaining the cushion’s original shape, comfort level, and aesthetic appeal for longer. Aim to do this monthly or every few months, depending on usage.
- Protect from Sunlight: As mentioned, direct sunlight can fade fabrics and degrade foam. If your bench is in a sunny spot, consider using blinds, curtains, or UV-protective sprays for outdoor fabrics.
Troubleshooting Common Issues with Bench Cushions
Even with careful planning, sometimes things don’t go perfectly. Here’s how to address common challenges you might encounter when crafting or maintaining your bench cushions.
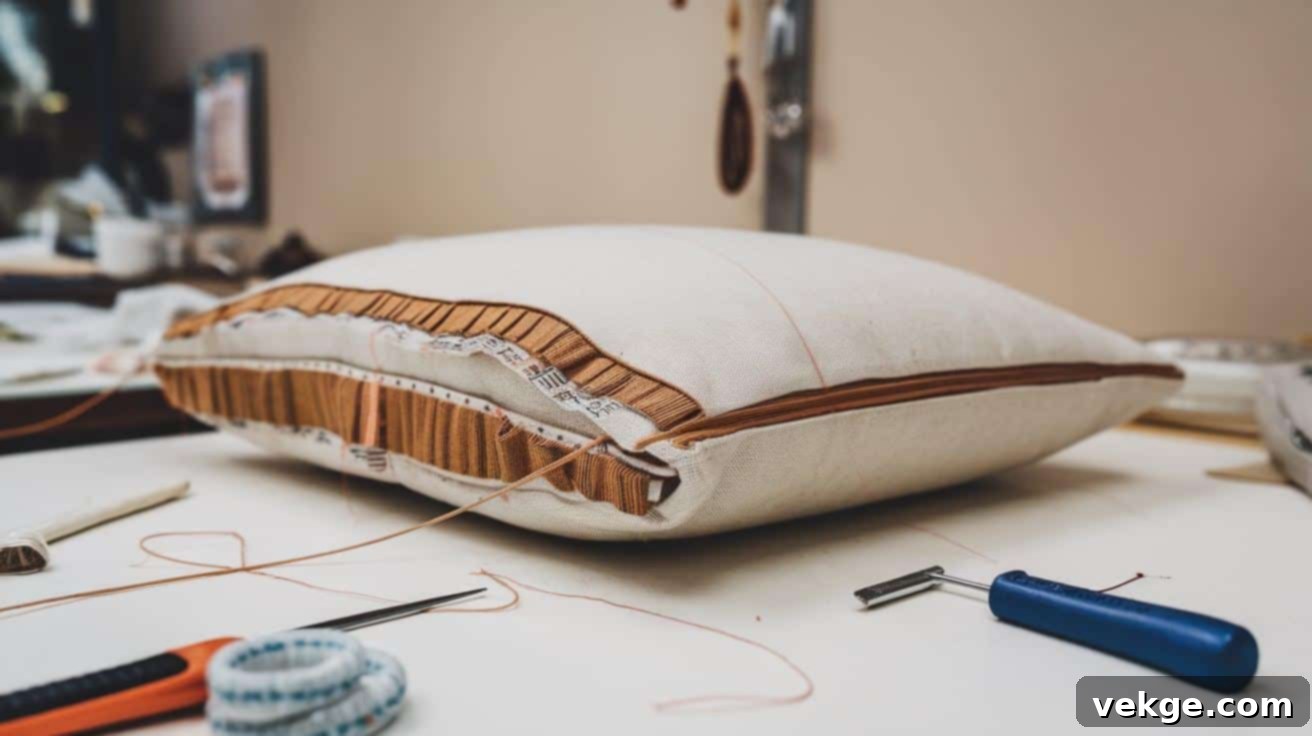
Fixing Misaligned Fabric Patterns
Pattern alignment issues can be particularly frustrating, especially on larger items like bench cushions, and are most noticeable with striped, plaid, or geometric fabrics. If you discover misalignment after sewing, don’t despair:
- Partial Deconstruction: It’s often possible to carefully unpick the stitches in the problem area (e.g., along one seam) and realign the fabric before resewing. Take your time with a seam ripper to avoid damaging the fabric.
- Preventative Measures: The best approach is prevention. Before cutting, lay out all your fabric pieces side-by-side on a large flat surface. Use a long ruler and fabric chalk to draw alignment marks across adjoining edges. Pin liberally along these marks before sewing, ensuring the pattern matches up perfectly across seams. If working with stripes, ensure they are running consistently in the desired direction for all panels.
- Fussy Cutting: For prominent patterns, “fussy cutting” (deliberately cutting to center a design element) can be used for the main top panel, with other panels cut to align with that central design.
Adjusting Tight or Loose Cushion Covers
A well-fitting cover is essential for a professional and comfortable bench cushion. If your cover isn’t quite right:
- Cover Too Tight: If the fabric cover is straining over the foam, it can make the cushion feel too hard and put stress on the seams. You have a few options:
- Trim Foam: Carefully trim a small amount off the edges of the foam insert using an electric carving knife or sharp utility knife. Work slowly and evenly.
- Remove Batting: If you used batting, try removing one layer or thinning it out slightly.
- Adjust Seam Allowance: For future projects, or if you’re willing to re-sew, use a smaller seam allowance to gain a little extra fabric in the cover.
- Cover Too Loose: A baggy cover looks sloppy and can cause fabric to shift and wrinkle.
- Add Batting: This is the easiest fix. Add an extra layer of polyester batting around the foam insert. This will fill out the cover, making it look fuller and more tailored.
- Adjust Seam Allowance: If adding batting isn’t enough, you can unpick the seams and re-sew them with a larger seam allowance, effectively making the cover smaller. This is more work but guarantees a custom fit.
Dealing with Foam Irregularities
Lumps, dips, or uneven edges in your foam can ruin the smooth appearance of your finished cushion. Here’s how to tackle them:
- Precise Cutting: The best way to avoid irregularities is by cutting the foam precisely in the first place. An electric carving knife (like one used for carving turkey) is an invaluable tool for cutting upholstery foam, yielding much smoother, straighter edges than scissors or utility knives. Use a long ruler as a guide.
- Strategic Batting Placement: If you have minor dips or unevenness in your foam after cutting, strategically placing small pieces of batting can help. Layer thin pieces of batting over the irregular areas to smooth them out before wrapping the entire foam core.
- Foam Density: Sometimes, very low-density foam can compress unevenly. Investing in a higher-density foam can prevent many irregularities from occurring over time.
- Compression Wrap: For very slight irregularities, a compression wrap (thin polyester film) around the foam before batting can sometimes help to smooth the surface, but this is less effective for significant issues.
Budget-Friendly Tips for Your DIY Bench Cushion Project
Creating a custom bench cushion doesn’t have to break the bank. With smart shopping and creative repurposing, you can achieve a high-end look on a modest budget.

1. Sourcing Affordable Materials Without Compromising Quality
High-quality materials are essential for durability, but they don’t always demand premium prices. Here’s how to find great deals:
- Sales and Clearance Racks: Keep an eye out for seasonal sales, clearance events, or remnant bins at fabric stores. Often, you can find upholstery-grade fabrics that are perfect for a cushion project at a fraction of their original cost. Sign up for newsletters from local craft and fabric stores to receive alerts on promotions.
- Bulk Purchases: If you have multiple projects in mind or know other DIY enthusiasts, consider ordering foam or batting in bulk from upholstery suppliers. Many offer significant discounts for larger quantities, and you can split the cost.
- Online Marketplaces & Wholesalers: Websites specializing in upholstery supplies often have more competitive pricing than traditional brick-and-mortar stores for basic materials like foam, batting, and even some fabrics. Look for “upholstery foam suppliers online” or “fabric wholesalers.”
- Discount Fabric Stores: Many areas have discount fabric stores that purchase overstock or end-of-bolt fabrics from manufacturers, offering them at reduced prices.
- Crafting Communities: Join local crafting groups or online forums. Members often share tips on where to find sales, exchange leftover materials, or even coordinate bulk purchases.
2. Upcycling Fabrics and Foam for Sustainable Savings
Embracing upcycling is not only budget-friendly but also environmentally conscious. Look for potential materials in unexpected places:
- Old Memory Foam Mattresses or Toppers: These can be a goldmine for comfortable foam inserts. An old memory foam mattress topper can be cut down to create several luxurious bench cushions. Ensure the foam is clean and free of significant wear.
- Durable Curtains or Tablecloths: Large, durable curtains, heavy-duty tablecloths, or even duvet covers made from sturdy fabrics like linen, denim, or heavy cotton can be repurposed into beautiful cushion covers. Check for any fading or damage before committing.
- Thrift Stores and Estate Sales: These are treasure troves for high-quality upholstery fabric at a fraction of retail prices. Look for items like vintage sofas, armchairs, or even large fabric remnants. Focus on pieces with large sections of undamaged fabric that can be easily cut and repurposed. Sometimes, you can find old cushions that have great foam but outdated covers, perfect for a re-cover project.
- Old Clothing: For smaller projects or decorative accents, consider repurposing denim jeans, canvas jackets, or heavy wool blankets into unique cushion panels.
3. Cost Comparisons: DIY vs. Store-Bought Bench Cushions
The financial benefits of making your own bench cushion are substantial. While professional, custom-made cushions can start anywhere from $200 to $500 or more depending on size, fabric, and complexity, a DIY version using quality materials can typically be completed for $75 to $150. This represents a significant saving, often 40-60% or even more!
However, the value of a DIY project extends far beyond the initial monetary savings:
- Complete Customization: You have absolute control over every aspect – the exact dimensions, the specific fabric (color, pattern, texture, durability), the foam density and thickness, and the finishing details. Store-bought options rarely offer this level of personalization.
- Quality Control: You choose the quality of each component, ensuring your cushion meets your durability standards, unlike mass-produced items where material quality might be compromised to reduce costs.
- Skill Development: Each DIY project helps you develop valuable crafting and sewing skills that can be applied to future home decor projects, empowering you to tackle even more ambitious endeavors.
- Personal Satisfaction: There’s immense pride and satisfaction in creating something beautiful and functional with your own hands, perfectly tailored to your home.
The long-term value of a DIY cushion, designed for your specific needs and built to last, often far outweighs the initial cost of a comparable store-bought item.
The Bottom Line: Unleash Your Creativity and Transform Your Space
Creating your own custom bench cushion is more than just a home improvement project; it’s an opportunity to unleash your creativity, build valuable DIY skills, and add a deeply personal touch to your living space. By following the comprehensive guidelines outlined in this guide, you are well-equipped to craft a professional-quality cushion that not only perfectly matches your vision but also offers substantial savings compared to commercially produced alternatives.
The satisfaction derived from completing an upholstery project with your own hands, combined with the freedom of complete customization, makes this endeavor truly rewarding. From selecting the perfect durable fabric to mastering precise measurements and sewing techniques, each step contributes to a final product that is uniquely yours and built to last.
Remember, whether you’re a beginner or an experienced crafter, every project refines your expertise and boosts your confidence. Your handmade bench cushion will not only enhance the comfort and style of your home but also serve as a proud testament to your dedication to quality craftsmanship and thoughtful design. So, gather your materials, fire up your sewing machine, and embark on a rewarding journey to transform your bench seating into a cozy, stylish focal point.
Frequently Asked Questions (FAQs) About DIY Bench Cushions
What Is the Best Fabric for a Bench Cushion?
The best fabric for a bench cushion largely depends on its intended use (indoor/outdoor) and desired aesthetic. For indoor cushions, durable upholstery fabrics like heavy-duty canvas, twill, denim, or duck cloth are excellent choices due to their resistance to wear and tear. For outdoor benches, look for marine-grade vinyl, Sunbrella, or other outdoor-grade polyester fabrics that are specifically designed to resist fading from UV rays, moisture, and mildew. Regardless of the type, choose a fabric with a high double-rub count for longevity, and consider one that is easy to clean for everyday spills.
How Thick Should Foam Be for a Bench Cushion?
For most bench cushions, a foam thickness of 2 to 4 inches is ideal. A 2-inch foam provides firm support and is suitable for benches where you might not sit for extended periods, or if you prefer a lower profile. A 3-inch thickness offers a good balance of comfort and support for everyday use. For maximum plushness and comfort, especially in dining nooks or window seats where you’ll spend more time, a 4-inch high-density foam is recommended. Always choose high-density upholstery foam (1.8-2.5 density) to ensure it holds its shape and provides lasting support.
How Can I Make Bench Seats More Comfortable?
To significantly enhance the comfort of bench seats, consider these key elements:
- Thick, High-Density Foam: This is the most crucial factor. Replace thin, old padding with new, high-density upholstery foam that is at least 3-4 inches thick.
- Add Batting: Wrap the foam in a layer of polyester batting (Dacron wrap). This adds a softer, more rounded feel, preventing the cushion from feeling too stiff and filling out the cover smoothly.
- Choose Soft but Durable Fabric: While durability is important, selecting a fabric with a pleasant texture will enhance the comfort experience. Look for soft upholstery fabrics that still offer good wear resistance.
- Incorporate a Slight Contour (Optional): For very long benches, a slight contour in the foam (e.g., a slight crown in the center) can provide better ergonomic support.
- Secure the Cushion: Use Velcro strips or non-slip grippers on the underside of the cushion to secure it to the bench. This prevents shifting and sliding, ensuring a consistently comfortable and safe seating experience.
- Add Throw Pillows: For back support and added coziness, complement your bench cushion with decorative throw pillows.
By combining these elements, you can transform a hard, uncomfortable bench into an inviting and luxurious seating area.
