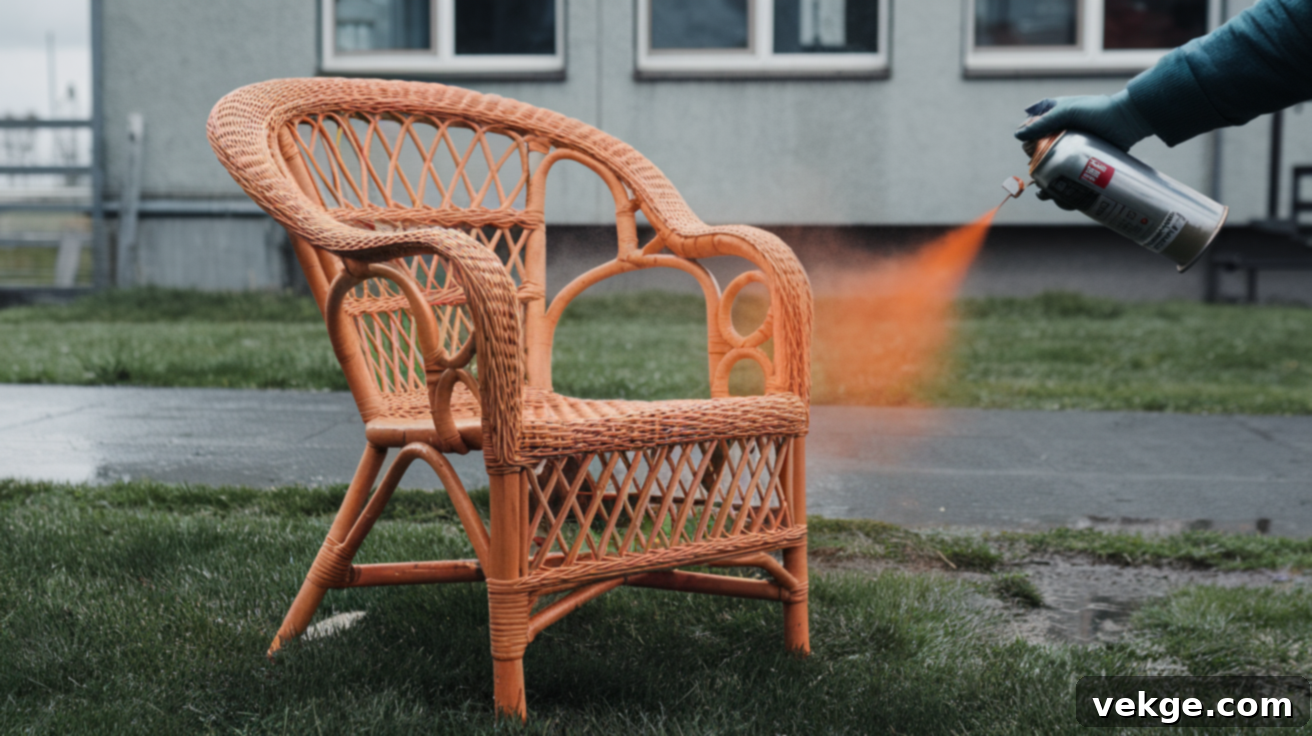
Revitalize Your Wicker: The Ultimate DIY Guide to Spray Painting Wicker Furniture
Do you have old, tired-looking wicker furniture gathering dust in your home or on your patio? Perhaps those charming wicker chairs or tables have lost their luster, appearing dull or stained, and you’ve wondered if there’s a simple way to bring them back to life. The great news is: yes, you absolutely can spray paint wicker! In fact, spray painting is often the best and easiest method to refresh worn-out wicker pieces, transforming them from drab to fab without the expense of buying new furniture.
This comprehensive guide will walk you through everything you need to know. We’ll cover how to select the perfect spray paint for your project, detail the essential preparation steps for lasting results, and provide a step-by-step application process to ensure a flawless finish. We’ll also highlight common mistakes to avoid, helping you achieve professional-looking results every time. With just a few cans of spray paint and a bit of effort, your old wicker chairs, tables, baskets, or decorative items can look brand new, adding a fresh touch to your living space.
Keep reading to discover how to give your beloved wicker furniture a fast, simple, and stunning makeover!
Can Wicker Furniture Be Spray Painted? Absolutely!
The answer is a resounding yes! Spray painting is not only possible but often the most effective method for updating wicker furniture. Wicker, with its intricate woven patterns, numerous crevices, and delicate twists, presents a unique challenge for traditional brush painting. Brushes tend to struggle, leaving behind uneven coats, missed spots, or unsightly clumps of paint in the tight corners.
This is where spray paint truly shines. Its fine, even mist easily penetrates all the nooks, crannies, and textured surfaces of wicker, ensuring uniform coverage without drips or brush marks. The paint adheres smoothly, creating a clean, consistent finish that revives the piece and extends its lifespan. Whether your wicker is made from natural rattan, bamboo, willow, or synthetic resin, spray paint offers a superior finish, making it the preferred choice for a smooth, factory-like look.
Choosing the Right Spray Paint for Your Wicker Project
Selecting the correct type of spray paint is crucial for achieving durable and beautiful results. The best paint for your wicker will depend on where the furniture will be used (indoors or outdoors) and the aesthetic you aim for. Understanding the options available will help you make an informed decision.
Indoor vs. Outdoor Spray Paint: What’s the Difference?
The environment your wicker furniture inhabits dictates the type of protection it needs from its paint finish. Choosing the right formulation ensures longevity and appearance.
- Indoor Spray Paints: For wicker furniture that will remain strictly indoors, standard indoor spray paints are perfectly suitable. These paints are primarily designed for aesthetic appeal, offering a wide array of colors and finishes with a focus on low volatile organic compounds (VOCs) for reduced odor during and after application. They provide a beautiful, smooth finish and are ideal for items that won’t be exposed to the elements.
- Outdoor Spray Paints: If your wicker will be used on a porch, patio, garden, or any outdoor area, you must choose a spray paint specifically designed for exterior use. Outdoor-rated paints are formulated with enhanced durability to withstand harsh weather conditions, including UV rays from the sun, rain, humidity, and temperature fluctuations. They often contain additives that resist fading, cracking, peeling, and even mold or mildew growth. While typically a bit more expensive, the investment in outdoor-specific paint pays off by significantly extending the life and beauty of your furniture in the elements. Look for labels that mention “outdoor use,” “weather resistant,” or “UV protection.”
Selecting the Perfect Finish: Matte, Gloss, or Satin?
The finish of your spray paint dramatically influences the final look and feel of your wicker piece. Each offers a distinct aesthetic:
- Matte Finish: A matte finish provides a flat, non-reflective appearance. It’s excellent for camouflaging minor imperfections or wear on older wicker, offering a subtle, understated elegance. This finish is perfect for a rustic, farmhouse, or minimalist decor style, creating a soft, natural look. While stylish, matte surfaces can sometimes be slightly more prone to showing marks or scuffs compared to shinier finishes, but they are equally easy to clean with a damp cloth.
- Gloss Finish: Glossy spray paint delivers a highly reflective, shiny surface that makes colors appear vibrant and rich. A high-gloss finish is perfect for contemporary or modern settings, or for creating eye-catching accent pieces that stand out. Its smooth, hard surface is also very easy to wipe clean. However, gloss finishes tend to highlight every bump, flaw, or imperfection on the wicker’s surface, so thorough preparation is key for a flawless glossy look.
- Satin Finish: Often considered the most versatile and popular choice, satin finish strikes a beautiful balance between matte and gloss. It offers a soft, subtle sheen that isn’t overly reflective but still provides a sophisticated glow. Satin finishes are excellent at hiding minor surface imperfections better than gloss, while being easier to clean and more durable than matte. This adaptable finish complements almost any home decor style, making it a safe and stylish bet for most wicker projects.
The Convenience of Paint and Primer Combos
For an even simpler and more efficient project, consider using a paint and primer combo spray paint. These innovative products combine the benefits of both a primer and a topcoat in a single can, saving you time and effort. The integrated primer provides excellent adhesion to the wicker surface, ensuring the paint sticks well and prevents chipping or peeling. It also helps block out old colors and provides a uniform base for the topcoat, meaning you often need fewer coats to achieve full coverage and a vibrant, consistent color.
While paint and primer combos might have a slightly higher upfront cost per can, they often reduce the total number of cans needed and cut down on painting time, making them a cost-effective and time-saving solution, especially for very dark or heavily stained wicker that you plan to paint a much lighter color.
Essential Prep Work: Getting Your Wicker Ready for Spray Painting
Proper preparation is the cornerstone of any successful painting project, and spray painting wicker is no exception. Skimping on prep work can lead to poor adhesion, uneven finishes, and a less durable result. Taking the time to prepare your furniture correctly will ensure your paint job looks fantastic and lasts for years.
1. Thoroughly Cleaning the Surface (Dust, Mold, Grime)
Before any painting can begin, your wicker must be impeccably clean. Start by using a stiff brush or a vacuum cleaner with a brush attachment to remove any loose dust, dirt, spiderwebs, or debris lodged in the weaves. Next, prepare a cleaning solution:
For general grime, mix a mild dish soap with warm water. Using a soft cloth or a soft-bristled brush, gently scrub the entire wicker piece, paying extra attention to the tight, often-overlooked areas where dirt tends to accumulate.
If your wicker has mold or mildew, add a small amount of bleach (about 1 part bleach to 4 parts water) to your cleaning solution. Always wear gloves and eye protection when working with bleach. Scrub the affected areas thoroughly.
After cleaning, rinse the wicker very well with clean water, either using a garden hose on a gentle setting or wiping with a clean, damp cloth until all soap residue is gone. It’s critical to allow the wicker to dry completely – ideally for at least 24-48 hours – before moving to the next step. Any trapped moisture can prevent paint from adhering properly.
2. Repairing or Tightening Loose Weaves
Inspect your wicker furniture for any broken strands, loose weaves, or splintered pieces. Addressing these issues now will ensure a smooth, professional-looking finish. For loose strands, gently push them back into place using a small, blunt tool. For broken pieces, or to secure loose ends, use a strong wood glue. Apply a small amount of wood glue with a toothpick or a small artist’s brush, pressing the pieces together. Use painter’s tape or small clamps to hold the repaired sections in place until the glue is fully dry (refer to the glue manufacturer’s instructions, typically several hours). Trim any unsightly frayed ends or sharp edges with small scissors or wire cutters for a cleaner look and to prevent snags.
3. Light Sanding for Better Adhesion
A light sanding might seem counterintuitive for wicker, but it’s a vital step for paint adhesion. Using a fine-grit sandpaper (220-grit is usually ideal), gently scuff the entire surface of the wicker. You’re not trying to remove the existing finish entirely, but rather to create a slightly textured surface that the new paint can grip onto more effectively. Sand with the natural grain of the wicker whenever possible, and avoid pressing too hard to prevent damage. After sanding, meticulously wipe down the wicker with a damp cloth to remove all dust particles. Allow it to dry completely before proceeding.
4. Protecting Your Workspace with a Drop Cloth and Painter’s Tape
Spray paint particles can travel, so protecting your surroundings is essential. Lay down a large drop cloth, old sheets, or plastic sheeting to cover your entire work area. The spray can drift several feet, so ensure you have at least 3-4 feet of covered space around your wicker piece in all directions. If your wicker furniture has any parts you don’t want painted, such as metal accents, leg caps, or cushion brackets, carefully mask them off using painter’s tape. If possible, work outdoors on a calm, windless day, or in a well-ventilated garage or workshop. Proper ventilation protects your health and ensures the paint dries correctly.
How to Apply Spray Paint on Wicker Furniture: A Step-by-Step Guide
With your wicker meticulously cleaned and prepared, you’re ready for the exciting part: applying the paint! Following these steps carefully will help you achieve a smooth, durable, and beautiful finish.
Step 1 – Choose a Well-Ventilated Area

Working in a well-ventilated space is paramount for safety and optimal drying. The ideal scenario is to spray paint outdoors on a calm, dry day with temperatures between 65-85°F (18-29°C) and moderate humidity. Avoid windy conditions, as they can cause uneven application and excessive overspray. If outdoor painting isn’t an option, select an indoor area with excellent airflow, such as a garage with open doors and windows, and use exhaust fans to circulate air. Always wear a high-quality respirator mask designed for paint fumes to protect your lungs from inhaling paint mist. Also, ensure your chosen location is away from vehicles, plants, or anything else that could be inadvertently coated by spray drift.
Step 2 – Shake the Can Vigorously and Test Spray
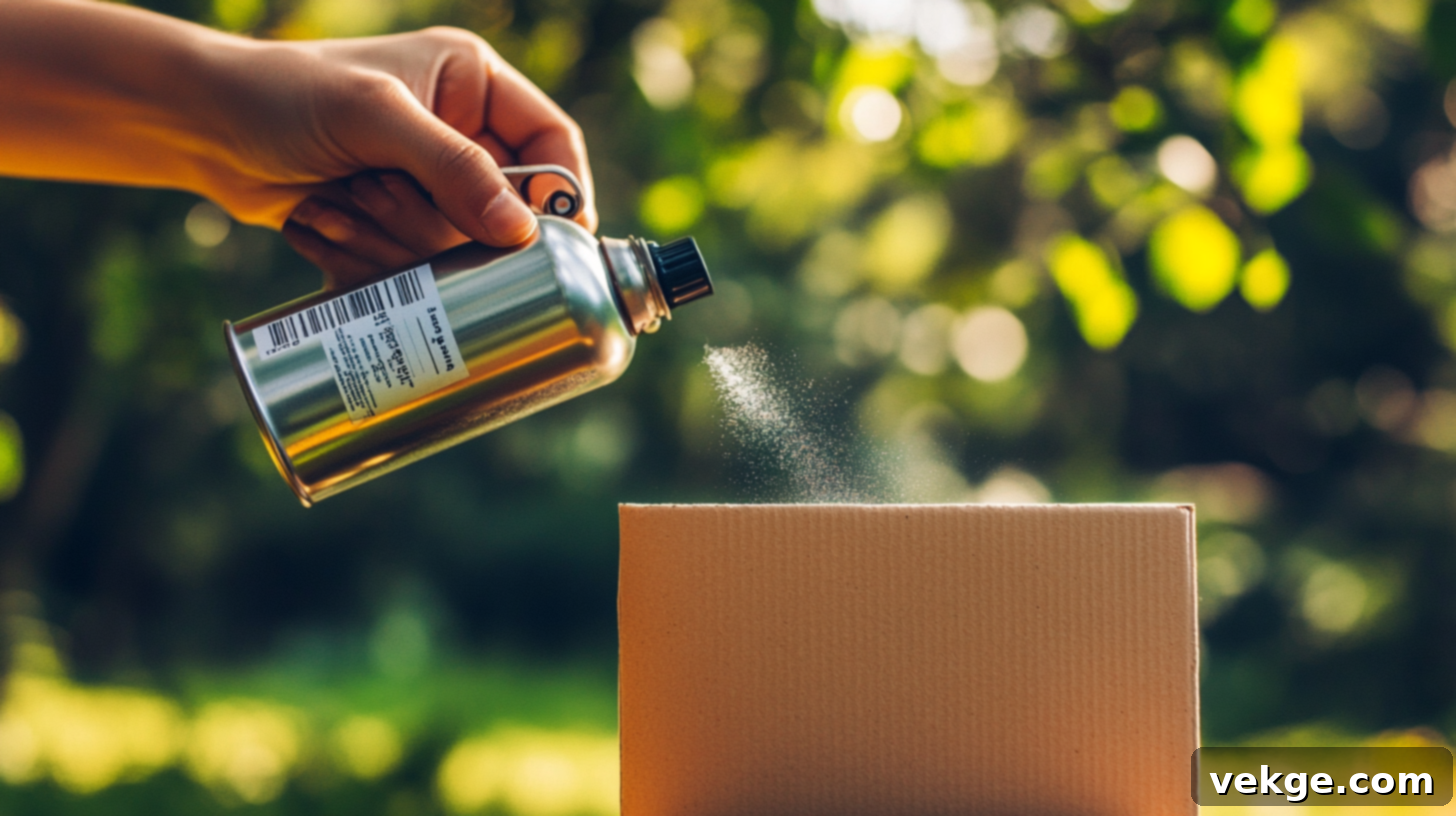
Before you begin painting your wicker, shake the spray paint can thoroughly for at least one full minute after you hear the mixing ball rattle. This ensures the pigments and binders are properly mixed, leading to an even color and consistent spray pattern. Once shaken, perform a test spray on a piece of cardboard or scrap material. Hold the can approximately 8-12 inches (20-30 cm) from the test surface. Press the nozzle down completely, not halfway, and move your arm in a steady, sweeping motion. Observe the spray pattern; it should be a fine, even mist. If it sputters or is inconsistent, continue shaking the can and retest until you achieve a smooth, uniform spray. This practice run helps you get a feel for the spray output and prevents initial errors on your actual furniture.
Step 3 – Apply Thin, Even Coats

The key to spray painting wicker is patience and thin coats. Hold the spray can 8-12 inches (20-30 cm) away from the wicker surface. Begin spraying just before you reach the edge of the furniture and continue your motion past the opposite edge. Use a smooth, consistent back-and-forth or up-and-down motion, overlapping each pass slightly. Keep your arm moving continuously; never stop spraying while the can is aimed at the wicker, as this will cause paint to pool and drip. The first coat should be very light, almost transparent, allowing some of the original color to show through – this is completely normal and desired. This initial “tack coat” provides a good base for subsequent layers. Ensure you spray from all angles, turning the furniture or walking around it, to coat every intricate part of the wicker equally.
Step 4 – Allow Each Coat to Dry Properly

Patience during drying times is critical for a smooth, durable finish. Refer to the specific drying instructions on your spray paint can, but generally, allow 15-30 minutes of drying time between each thin coat. To check if a coat is dry enough for the next, lightly touch a hidden or inconspicuous area with a gloved finger. If it feels tacky but no paint transfers, it’s ready for the next coat. Rushing this step is a common mistake that leads to drips, bubbles, and compromised adhesion. Apply 2-3 thin coats in total, or more if necessary, to achieve full, opaque coverage. Once the final paint coat is applied, let the furniture dry for at least 24 hours before handling or light use. The paint’s full cure time, which is when it reaches its maximum hardness and durability, can be up to 72 hours or even longer depending on humidity and temperature. Avoid placing anything on the wicker or putting stress on it during this crucial curing period.
Step 5 – Apply a Sealant for Enhanced Protection (Optional but Recommended)
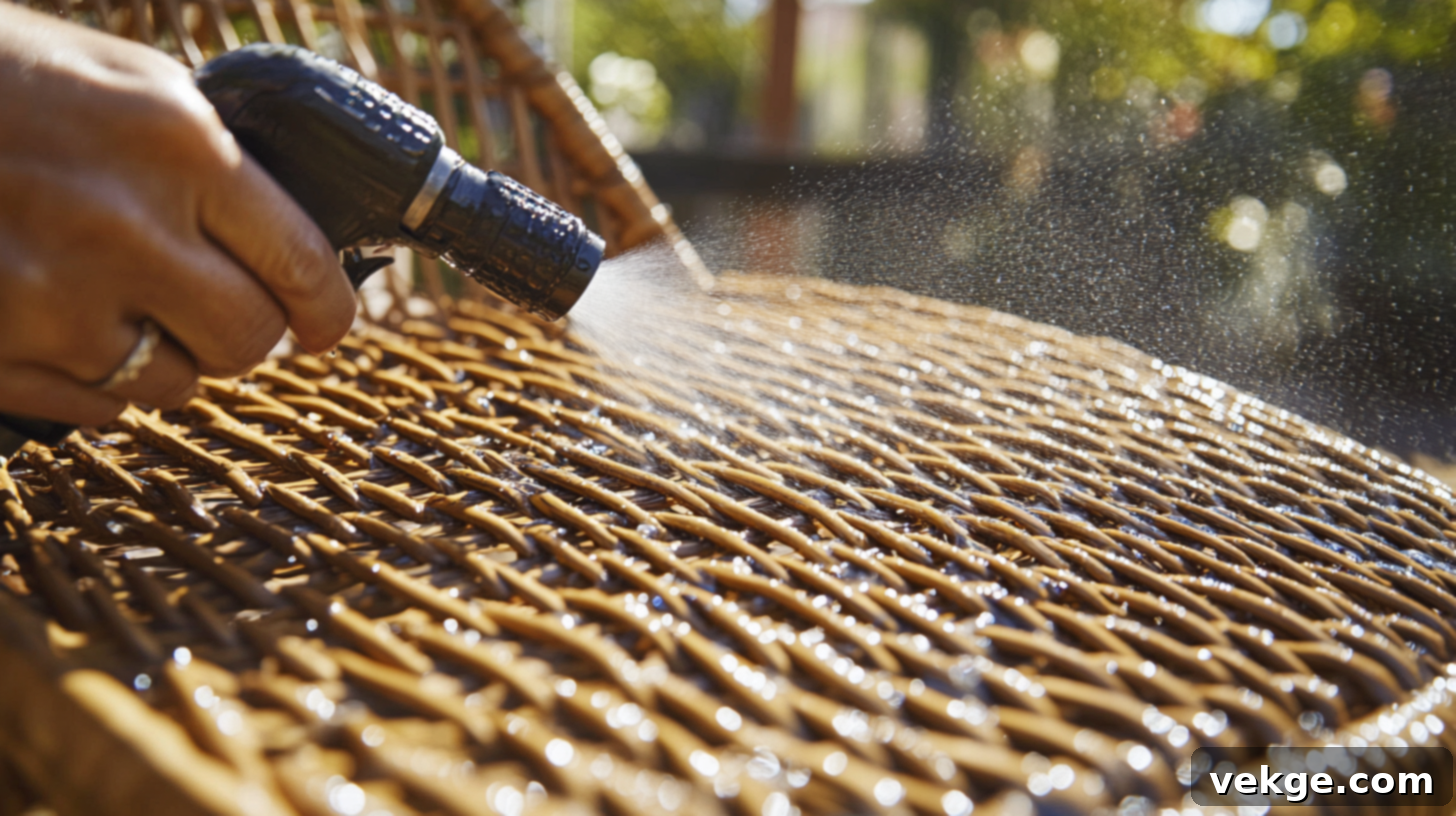
For an extra layer of durability and protection, especially for outdoor wicker or frequently used indoor pieces, consider applying a clear spray sealant or topcoat after your final paint coat has fully cured (typically 24-72 hours). Choose a sealant that matches your desired finish (matte, satin, or gloss) and is appropriate for the environment (indoor or outdoor). A clear acrylic sealant or polyurethane spray will significantly enhance the paint’s resistance to scratches, UV damage, moisture, and general wear and tear, prolonging the life of your beautiful new finish. Apply the sealant using the same technique as the paint: thin, even coats, holding the can 8-12 inches away and moving in steady passes. Most projects benefit from two thin coats of sealant, with adequate drying time between each. Allow the sealant to fully cure according to product instructions before putting the furniture into regular use.
Common Mistakes to Avoid When Spray Painting Wicker
Even with the right technique, minor errors can derail your wicker spray painting project. Being aware of these common pitfalls will help you achieve a more professional and lasting result, saving you time and frustration in the long run.
- Spraying too closely: Holding the can too near the wicker (e.g., just a few inches away) causes paint to pool, creating drips, runs, and an uneven, heavy coating that may never fully cure. Always maintain the recommended 8-12 inch distance.
- Applying too much paint at once: Trying to achieve full coverage in a single, thick coat is a recipe for disaster. This leads to drips, a prolonged drying time, and a sticky, non-durable finish. Always opt for multiple light, even coats instead.
- Skipping or rushing prep work: Failing to thoroughly clean, repair, and lightly sand the wicker surface means the paint won’t adhere properly. This often results in paint peeling, flaking, or a rough finish down the line. Proper prep is the most crucial step for longevity.
- Using the wrong type of paint for outdoor furniture: Applying standard indoor spray paint to outdoor wicker will lead to premature fading, cracking, and peeling when exposed to sun, rain, and temperature changes. Always use outdoor-rated paint for exterior pieces to ensure durability.
- Not allowing enough drying or curing time: Rushing to handle or use the furniture before the paint has fully dried and cured can smudge the finish, leave fingerprints, or compromise its hardness. Always follow the manufacturer’s recommended drying times between coats and for full cure, adding extra time in humid conditions.
Conclusion: Give Your Wicker a New Lease on Life!
As you’ve learned, spray painting wicker furniture is not only entirely possible but also an incredibly effective and rewarding DIY project. It’s the perfect solution for breathing new life into old, tired pieces, transforming them into stylish accents for your home or patio.
The unique nature of spray paint allows it to reach every intricate crevice of wicker that brushes simply cannot, ensuring a smooth, even, and professional-looking finish. By selecting the appropriate paint, meticulously preparing your furniture, and applying thin, consistent coats, your newly painted wicker can provide many more years of enjoyment and beauty.
Don’t be intimidated by the process; it’s simpler than you think! If you’re new to spray painting, consider starting with a small wicker basket or a less prominent piece to practice your technique. Once you gain confidence, you’ll be ready to tackle larger items like chairs, tables, or even entire outdoor sets.
The best part is the endless creative possibilities. You can easily change colors whenever you desire a fresh look, keeping your decor updated and vibrant without significant expense. Your revitalized wicker furniture will undoubtedly bring new charm and character to your space, all thanks to your own creative efforts. So, grab a few cans of spray paint this weekend and give your old wicker the stunning makeover it deserves!
