Transform Your Bathroom: The Complete Guide to Walk-In Shower Remodels
Are you considering upgrading your bathroom with a new walk-in shower? This is an excellent decision that can significantly enhance both the beauty and functionality of your home. Walk-in showers are not just a modern design statement; they also offer improved accessibility and make your daily routine more enjoyable.
Whether you’re planning a minor update or a full-scale bathroom transformation, this comprehensive guide will walk you through every step of the process. We’ll cover everything from selecting the ideal layout and materials to managing your budget effectively. Our goal is to provide clear, actionable advice without complex jargon, helping you design a shower space you’ll truly love for years to come.
Get ready to reimagine your bathroom and create a luxurious, practical, and accessible walk-in shower. Let’s dive in!
Benefits of a Walk-In Shower Remodel
A walk-in shower can revolutionize your bathroom, turning it into a more efficient, stylish, and comfortable retreat. These contemporary shower solutions eliminate the traditional high thresholds, making entry and exit effortless for everyone. Their sleek design integrates seamlessly into various bathroom sizes, offering versatile and aesthetically pleasing options for any home.
Adds Modern Appeal and Increases Home Value
Walk-in showers bring a clean, minimalist aesthetic that perfectly aligns with contemporary home design trends. Featuring frameless glass panels and the absence of bulky shower curtains, they create an illusion of greater space and openness. This design choice instantly updates your bathroom’s look, making it feel more luxurious and sophisticated.
Many homeowners prioritize walk-in showers during renovations because they offer a high-end feel without over-the-top extravagance. The simple yet elegant lines of a walk-in shower can elevate even a basic bathroom, giving it the refined ambiance of a five-star hotel. Furthermore, this modern upgrade is a strong selling point that can significantly boost your home’s resale value.
Improves Accessibility for Everyone
One of the most compelling advantages of walk-in showers is their enhanced accessibility. Without a high tub edge or curb to step over, they provide a much safer bathing experience, especially for older adults, individuals with mobility challenges, or young children. This makes them a key component of universal design principles, ensuring your bathroom remains functional for all family members, regardless of age or physical ability.
Further customize accessibility by adding features like strategically placed grab bars, a built-in bench or a fold-down seat. Some designs even feature a completely curbless entry, creating a seamless, open space that is effortlessly navigable for wheelchairs or walkers. Investing in a walk-in shower allows individuals to age in place comfortably and safely within their own homes.
Maximizes Space in Smaller Bathrooms
For bathrooms with limited square footage, a walk-in shower can be a true space-saving hero. By replacing a bulky bathtub with a compact, open shower, you instantly reclaim valuable floor space and reduce visual clutter. The use of clear glass walls allows light to pass through, making the room feel larger, airier, and more expansive.
Many small bathrooms feel dramatically bigger and more open after converting from a traditional tub-shower combo to a walk-in shower. This smart design choice is ideal for guest bathrooms, powder rooms, or any space where optimizing limited square footage is a priority, offering a more functional and less cramped environment.
Walk-In Shower Remodel Ideas for Every Style
Your walk-in shower doesn’t just have to be practical; it can be a stunning focal point that perfectly complements your home’s aesthetic. With the right combination of materials, colors, and design elements, you can create a personalized shower experience that reflects your unique taste. Explore these popular style ideas to inspire your next bathroom renovation.
Modern and Minimalist
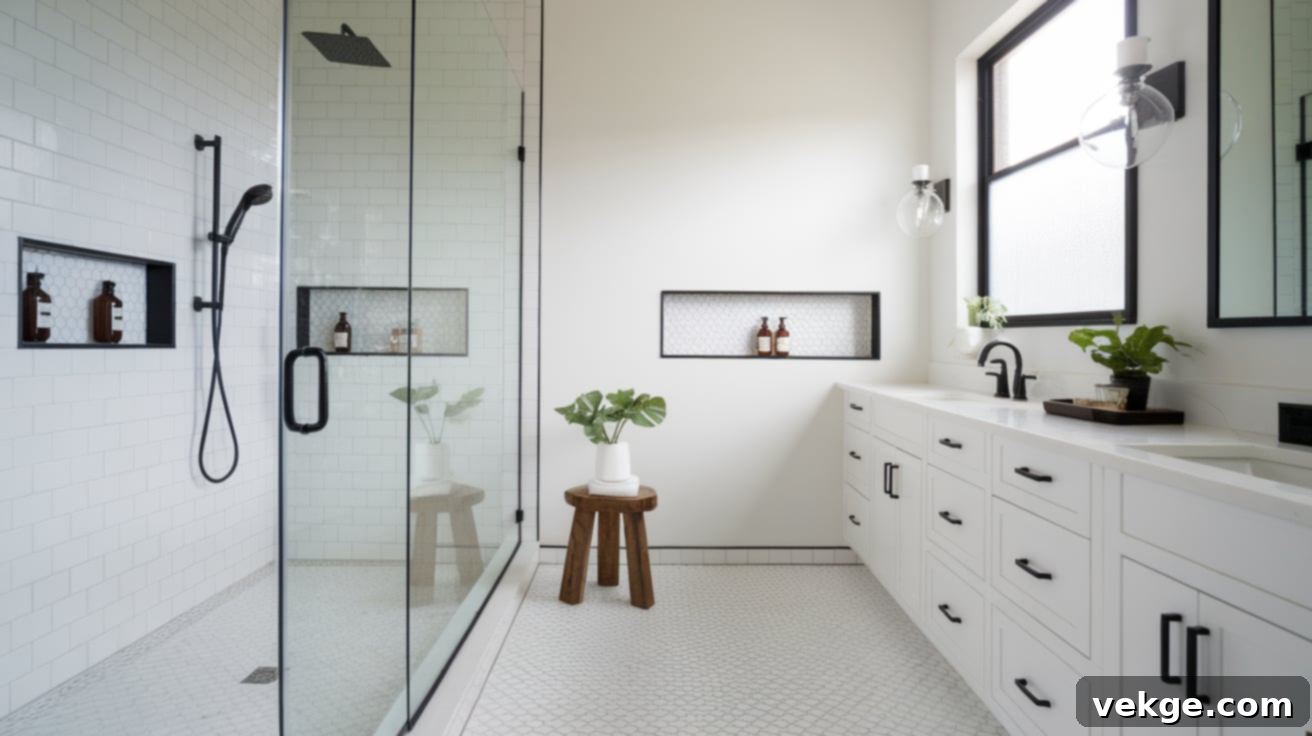
The modern minimalist walk-in shower is defined by its clean lines, uncluttered spaces, and simple color palettes. Opt for large, frameless glass panels that create an almost invisible enclosure, making your bathroom feel incredibly spacious and bright. Matte black shower fixtures provide a striking contrast against crisp white or light gray walls, adding a bold yet sophisticated touch.
Large format tiles, often in white or neutral tones with thin grout lines, contribute to smooth, unbroken surfaces that evoke a sense of calm and order. Integrate hidden linear drains and built-in wall niches to keep toiletries out of sight, maintaining the streamlined look. While the aesthetic is undeniably clean, introducing elements like a minimalist wooden stool or a simple green plant can add warmth and organic life to the space.
Rustic and Natural
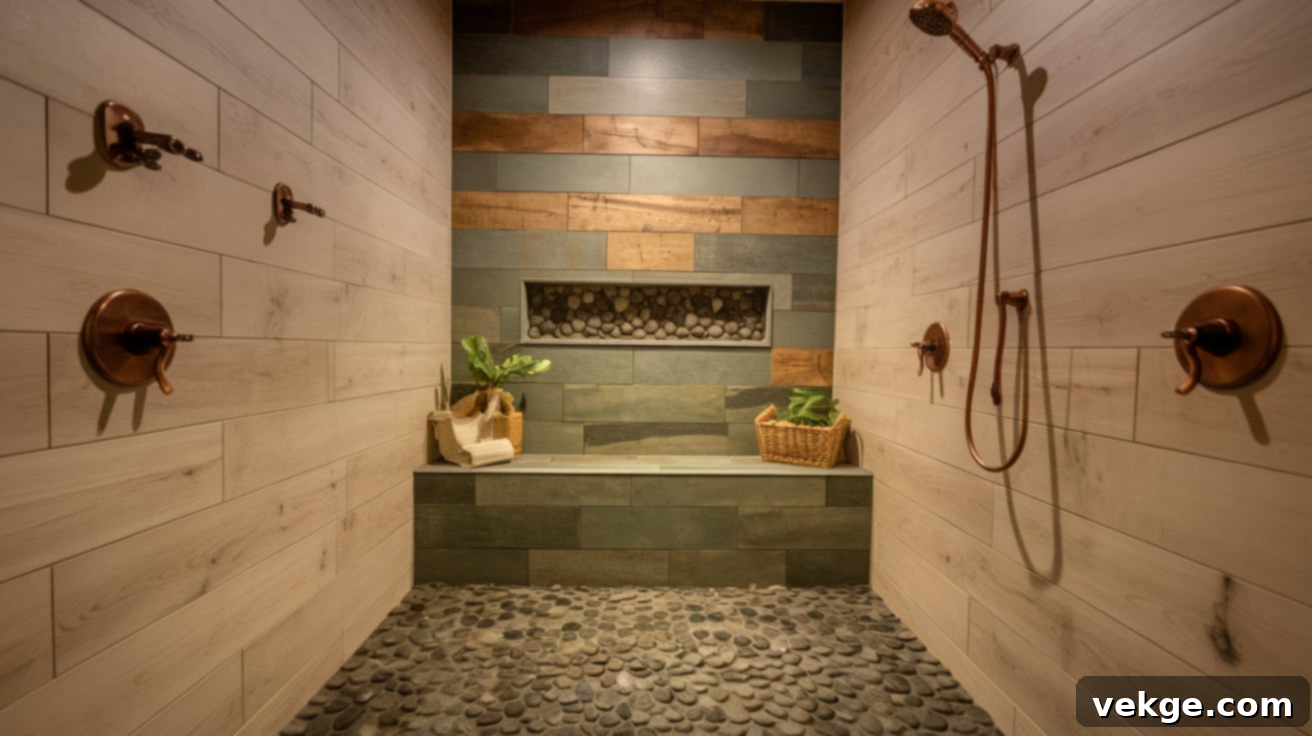
Bring the tranquility of the outdoors into your bathroom with a rustic and natural walk-in shower design. Start with pebble floor tiles, which offer a unique, textured feel underfoot, reminiscent of a riverbed, while also providing excellent slip resistance. For the walls, consider wood-look porcelain tiles that capture the warm, inviting appearance of natural wood without the concerns of warping or moisture damage.
Embrace a soothing color palette of earthy tones such as warm tans, soft browns, gentle sage greens, and muted grays. Natural stone tiles, with their inherent variations in color and texture, ensure that each shower space is distinct and character-filled. Complement this style with vintage-inspired copper or oil-rubbed bronze fixtures, which will develop a beautiful patina over time, enhancing the aged, authentic feel. The goal is to create a peaceful, forest-like retreat where you can unwind and reconnect with nature.
Charming Farmhouse Touches
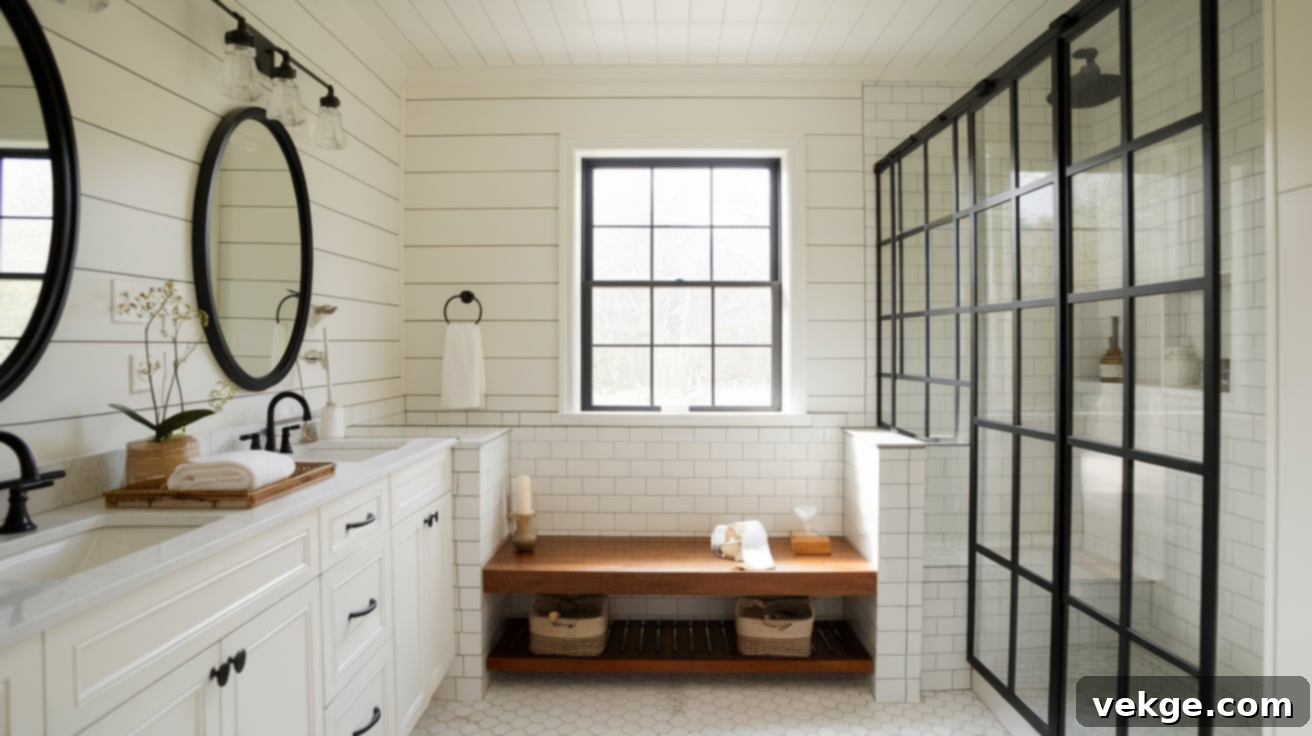
The farmhouse style effortlessly blends comforting charm with practical simplicity. Begin with classic subway tiles, but elevate their appearance by using dark, contrasting grout. This not only highlights the brick-like pattern but also adds visual depth and a touch of vintage character. To infuse a genuine farmhouse feel, incorporate a section of waterproofed shiplap on upper wall areas or the ceiling that are not subjected to direct water spray.
Select oil-rubbed bronze for your faucets and shower heads; this finish instantly evokes an antique, well-loved aesthetic. A built-in bench with a sealed wood top offers both a functional seating area and a touch of rustic warmth. For a final, distinctive farmhouse element, consider black metal-framed shower doors that mimic the look of old factory windows or barn doors. This design feels both fresh and timeless, creating a bathroom that feels like a cherished part of your home’s history.
Coastal or Spa Vibe
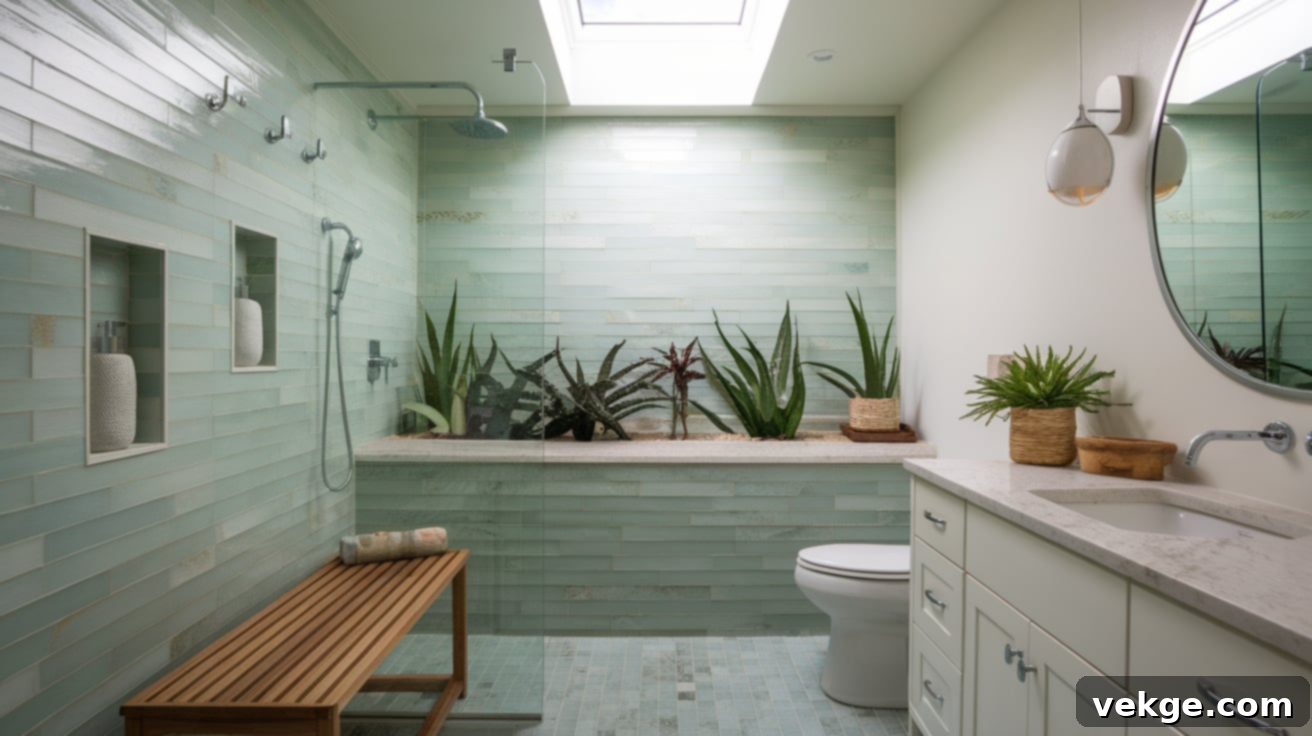
Transform your bathroom into a tranquil beach getaway or a luxurious high-end spa with this calming design approach. Choose light blue or soft green tiles, perhaps in gentle, rounded shapes, to evoke the serene imagery of ocean waves and coastal breezes. Handmade Zellige tiles, with their subtle color variations and imperfect surfaces, can add incredible depth and artisanal charm to your shower walls.
Incorporate a teak bench or stool, a natural material known for its resistance to moisture, to add both functionality and warm, organic texture. If possible, installing a skylight can dramatically enhance the spa experience by flooding the space with natural light, making it feel more open and invigorating. Small, shower-safe plants like aloe vera or air plants thrive in humid environments and introduce a touch of living greenery. Complete the look with white or brushed nickel fixtures, which complement the serene color palette perfectly. This style ensures you start and end each day feeling refreshed and relaxed, as if on a perpetual vacation.
Top Materials for Walk-In Shower Remodels
The materials you choose for your walk-in shower are paramount, influencing not only its aesthetic appeal but also its durability and maintenance requirements. While quality materials might represent a higher upfront investment, they often provide greater longevity, superior performance, and easier upkeep in the long run. Here’s a detailed look at popular options for walls, floors, and fixtures.
Wall Options
The walls of your shower are its largest visual component and must withstand daily exposure to water and steam. Your material selection here is crucial for both setting the design tone and ensuring robust waterproofing.
- Ceramic and Porcelain Tile: These are highly popular for their versatility, durability, and wide range of colors, patterns, and sizes. Porcelain is denser and less porous than ceramic, making it slightly more water-resistant and suitable for floors as well. Both are relatively affordable and easy to clean.
- Natural Stone: Options like marble, granite, travertine, and slate offer unparalleled natural beauty and a luxurious feel. Each piece is unique, bringing organic texture and rich variations to your shower. However, natural stone is typically more expensive, requires regular sealing to prevent staining and water penetration, and can be more prone to etching from acidic cleaners.
- Waterproof Wall Panels: These large format panels, often made from acrylic, composite, or solid surface materials, provide a sleek, grout-free solution. They are quick to install, extremely easy to clean due to the lack of grout lines, and come in various designs, including those that mimic stone or tile. They are an excellent choice for a low-maintenance and modern look.
Flooring Options
Shower floors must prioritize safety and traction when wet, while also being comfortable underfoot, durable, and easy to maintain. A proper slope towards the drain is essential regardless of material.
- Slip-Resistant Tiles: Many porcelain and ceramic tiles are designed with textured surfaces or a matte finish to provide better grip. Look for tiles with a Coefficient of Friction (COF) rating suitable for wet areas, typically over 0.60. Smaller tiles inherently offer more grout lines, which also aid in traction.
- Textured Porcelain: Porcelain, especially those with a subtle texture or a stone-look finish, is an excellent choice for shower floors. It’s highly durable, impervious to water, and offers good slip resistance without feeling rough. Its ability to mimic natural materials makes it versatile for many design styles.
- Pebble Mosaics: These natural stone mosaics create a unique, organic, and spa-like feel. The irregular shapes and numerous grout lines provide exceptional grip, making them a very safe option for shower floors. They require proper sealing, similar to other natural stones, to prevent moisture absorption and maintain their beauty.
Fixture Finishes
Shower fixtures act as the “jewelry” of your bathroom, providing the final decorative touches that unify your design. The finish you select can dramatically impact the overall mood and style of your walk-in shower.
- Brushed Nickel: A perennially popular choice, brushed nickel offers a soft, muted metallic look that is highly resistant to fingerprints and water spots. It’s incredibly versatile, complementing both traditional and contemporary styles with its understated elegance.
- Matte Black: This bold and modern finish has surged in popularity. Matte black fixtures create a striking contrast, adding a sophisticated edge and a graphic element to any bathroom. They pair particularly well with minimalist, industrial, and modern farmhouse designs.
- Champagne Bronze: A warmer, more subtle alternative to traditional gold, champagne bronze features a soft, brushed finish with hints of rose gold. It adds a touch of sophisticated luxury and warmth, working beautifully in transitional, traditional, and even some contemporary settings that aim for a more inviting feel.
Step-by-Step Walk-In Shower Remodeling Guide
Transforming your existing shower into a stylish and functional walk-in model requires methodical planning and execution. This comprehensive guide breaks down each stage of the remodeling process, empowering you to create a beautiful shower that perfectly aligns with your needs and space while skillfully avoiding common pitfalls.
Step 1: Plan Your Remodel

Every successful remodel begins with meticulous planning. Clearly define your objectives: what do you want to achieve with this renovation, and what is your realistic budget? Take precise measurements of your bathroom and conceptualize how the new walk-in shower will integrate into the overall space, considering traffic flow and other fixtures. Gather inspiration from design magazines, online galleries, and showroom visits to refine your desired style, color scheme, and specific features.
Create a detailed list of all necessary materials, tools, and estimated costs. This initial planning phase is critical for preventing expensive revisions later. Engage all family members in discussions to ensure the final design meets everyone’s needs, especially concerning accessibility and desired features.
Step 2: Demolish the Old Shower
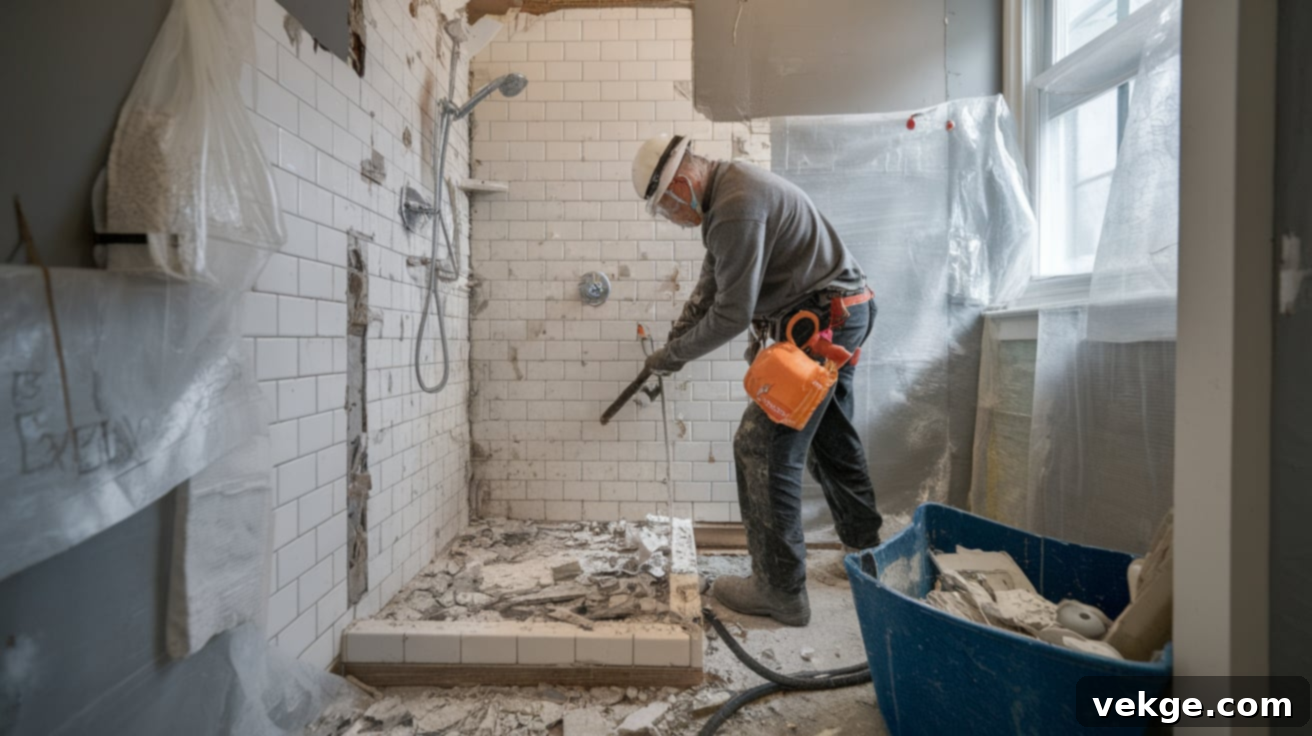
Before any demolition begins, it is imperative to turn off the main water supply to your bathroom to prevent leaks. Carefully remove existing shower doors, faucets, showerheads, and any other fixtures that can be detached. Using a hammer and pry bar, systematically remove old tiles, starting from the top and working downwards. A utility knife can be used to cut through drywall sections.
Collect all debris into heavy-duty trash bags or a rented dumpster for efficient disposal. Throughout this process, be vigilant for hidden plumbing pipes or electrical wiring. Inspect the exposed areas for any signs of water damage, mold growth, or wood rot, which must be addressed before proceeding. Always wear appropriate personal protective equipment, including gloves, safety goggles, and a dust mask, to ensure your safety during this messy stage.
Step 3: Prepare the Space
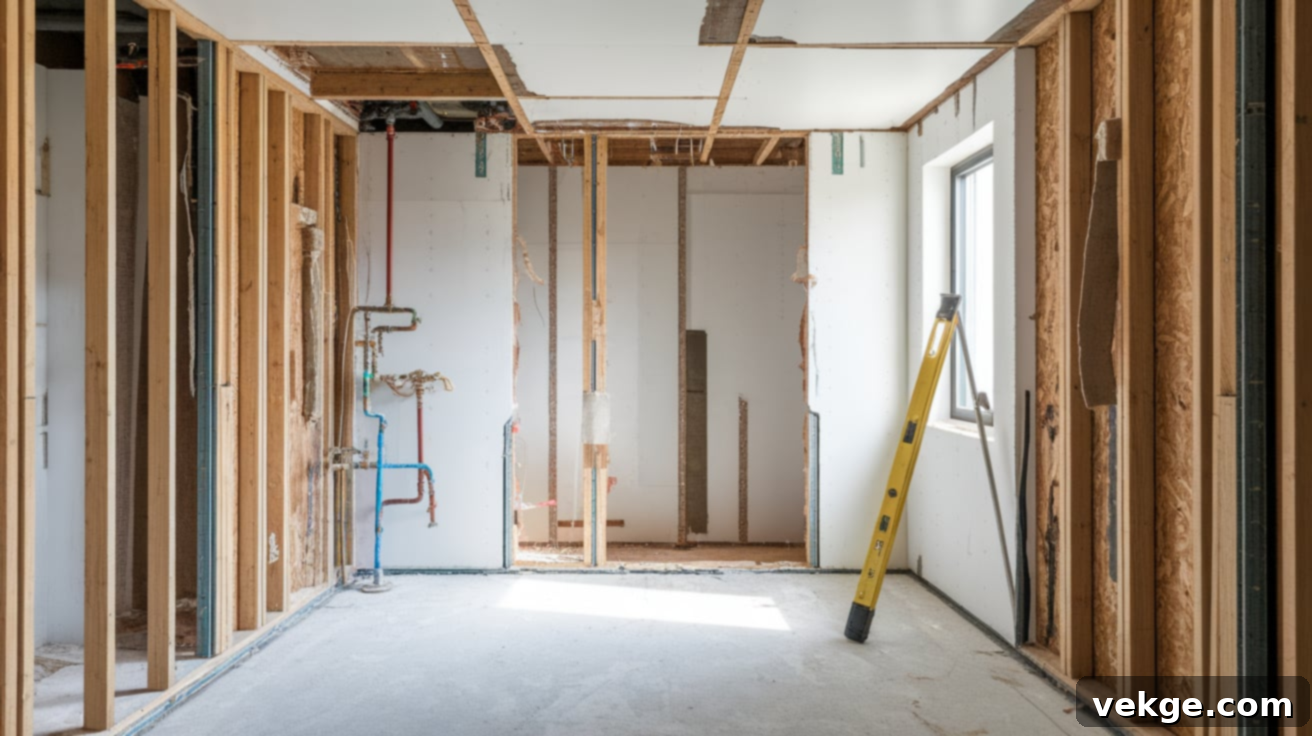
With the old shower removed, meticulously inspect the subfloor and wall studs. Check for any soft spots in wooden components, which could indicate rot and necessitate replacement or repair. Verify that the wall framing is robust enough to support new shower fixtures, and if needed, install additional blocking or bracing inside the walls. Addressing any structural deficiencies at this stage is crucial, as they become far more complex and costly to fix once new materials are installed.
Ensure the floor is perfectly level, except for the slight slope specifically designed for drainage towards the shower drain. This preparatory work, though seemingly a step backward, is fundamental to the long-term integrity and success of your new walk-in shower.
Step 4: Update Plumbing and Ventilation
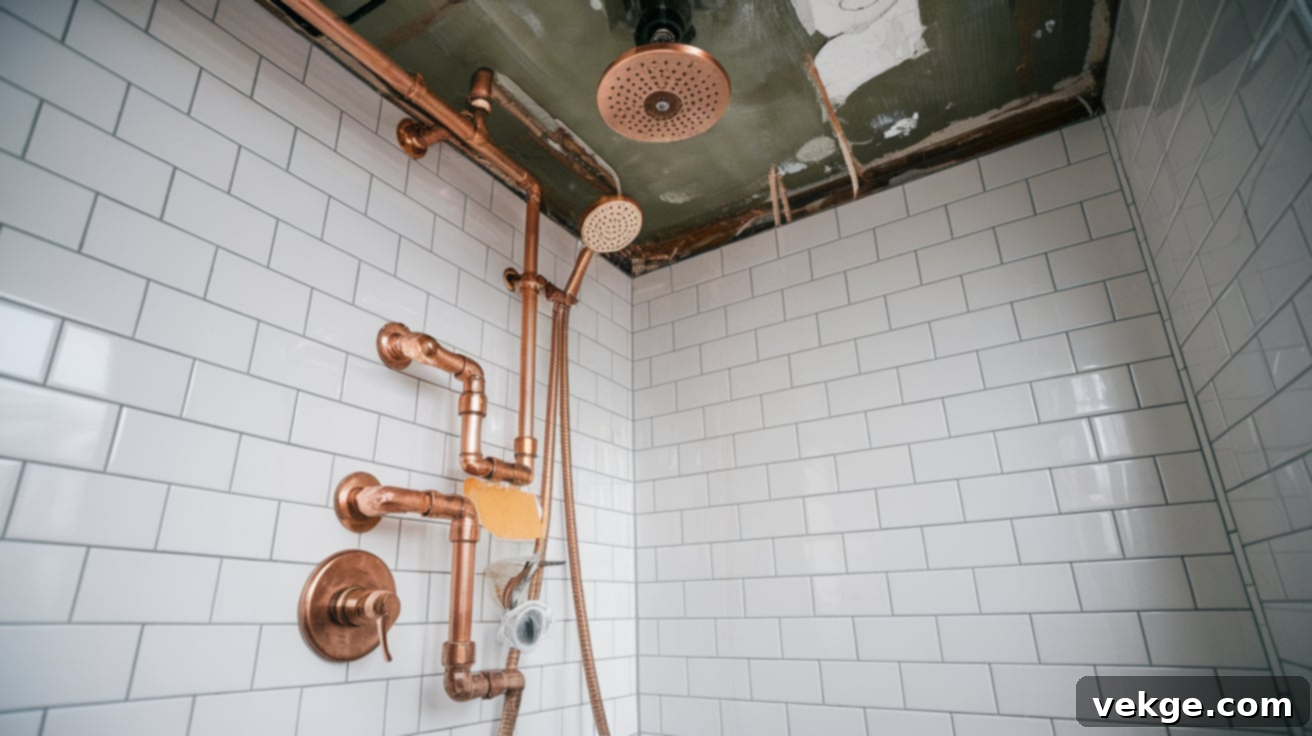
This is the opportune moment to modify or run new water supply lines if you are relocating the shower or adding features like multiple showerheads or body jets. When selecting new fixtures, ensure they are compatible with your home’s existing water pressure system; some advanced shower features require higher pressure than older plumbing can provide. Confirm that your bathroom has adequate ventilation with a powerful exhaust fan that vents directly outside, not merely into the attic space. Proper ventilation is vital for preventing mold and mildew growth, preserving the longevity of your new shower materials.
If electrical wiring needs to be moved or installed for lighting or an improved fan, it is strongly recommended to hire a licensed electrician unless you possess the necessary expertise. Before closing up any walls, thoroughly test all new or modified plumbing connections for leaks to avoid future water damage.
Step 5: Waterproof the Shower Area
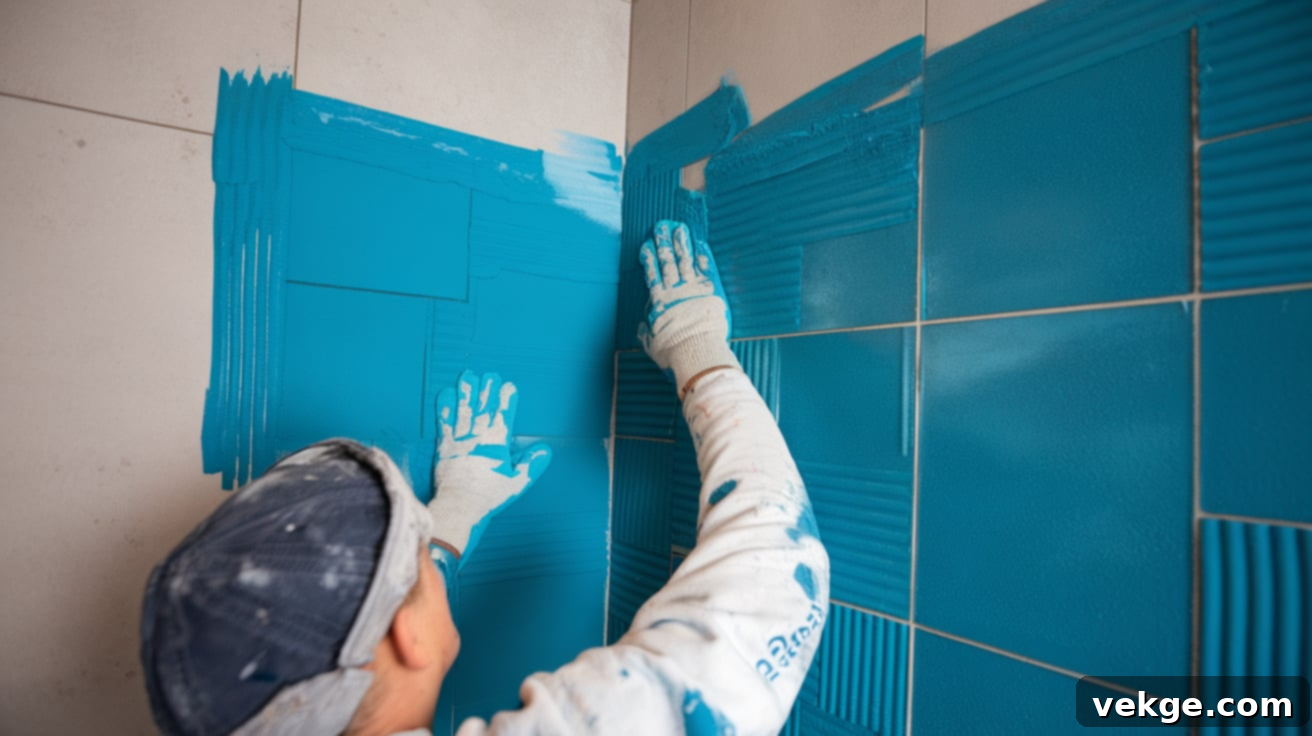
Effective waterproofing is the cornerstone of a durable, leak-free shower that will last for decades. Begin by attaching cement board or other waterproof backer board to the wall studs; unlike standard drywall, these materials are resistant to moisture and mold. Apply a high-quality liquid waterproofing membrane uniformly over all surfaces, paying particular attention to corners, seams, and the junction where walls meet the floor. Use waterproof tape to reinforce all seams and transitions.
Ensure the area around the drain is meticulously sealed. Allow each layer of waterproofing material to dry completely according to the manufacturer’s instructions before applying subsequent layers. Remember, this unseen layer is absolutely critical for protecting your home’s structure from water damage, even if it won’t be visible in the finished shower.
Step 6: Install Shower Walls
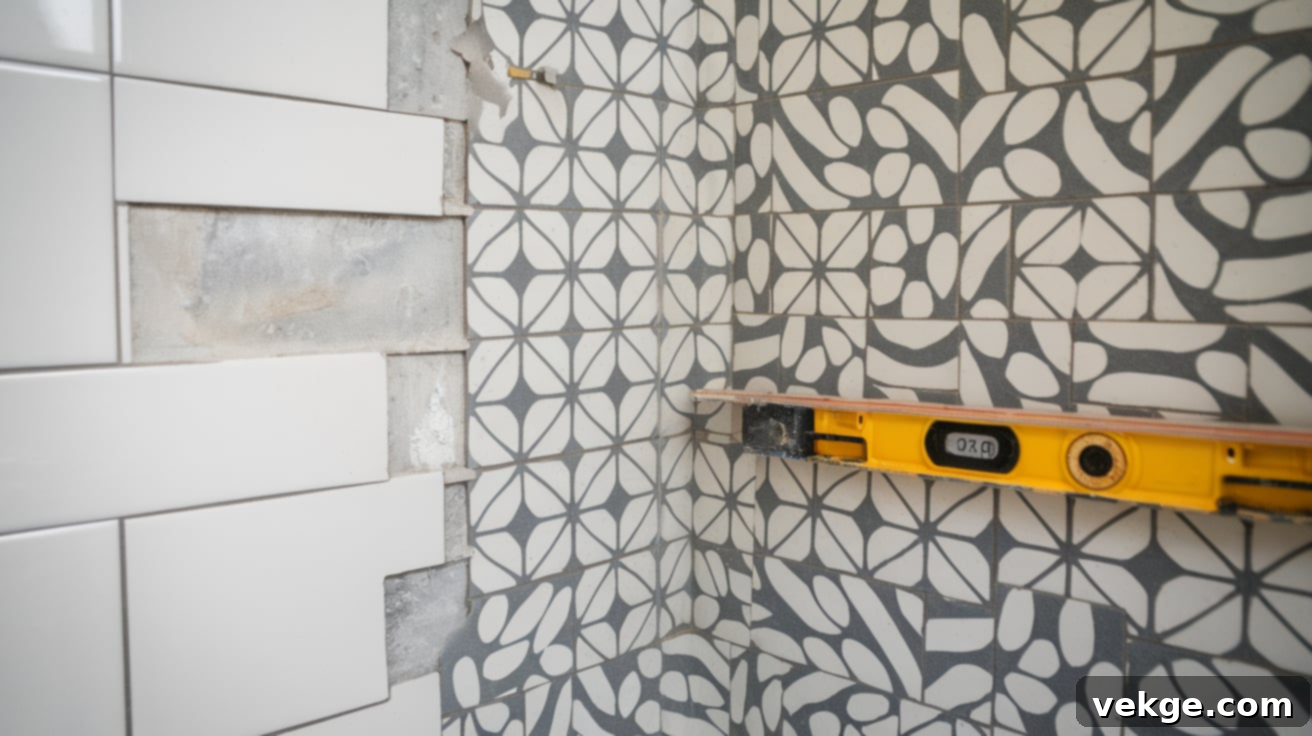
With the waterproofing complete, it’s time to install your chosen wall materials. Ceramic or porcelain tiles are a popular and durable choice, but natural stone or composite panels are also excellent options depending on your budget and desired aesthetic. Begin installing your chosen material from the bottom row and work your way upwards, using plastic spacers to maintain consistent gaps for grout lines. Frequently check your work with a level to ensure that each row remains perfectly straight and plumb.
For tile installations, mix small batches of thin-set mortar to prevent it from drying out prematurely. After the tiles have set, typically for 24 hours, apply grout to fill the spaces between them. Carefully wipe away any excess grout with a damp sponge before it hardens. Allow the entire installation to cure properly, as recommended by the material manufacturer, before using the shower or installing any shelves or accessories that would bear weight.
Step 7: Build the Shower Floor
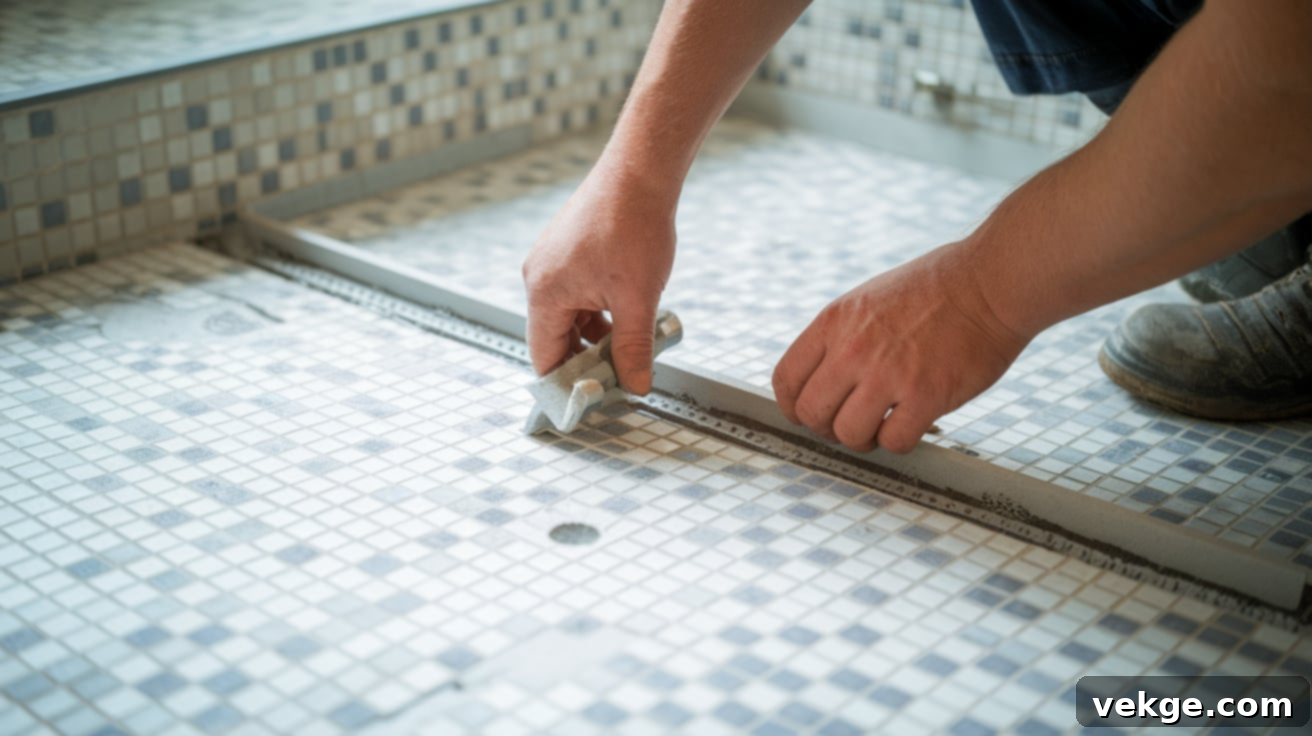
The shower floor requires a precise, subtle slope towards the drain to ensure efficient water runoff and prevent pooling. Create a mortar bed and carefully shape it with a slight downward angle, typically about 1/4 inch per foot, directing all water flow to the drain. For optimal grip when wet, select smaller floor tiles (generally 2 inches or less), as they provide more grout lines which enhance traction. Avoid highly polished or very smooth tiles that can become dangerously slick when wet. Press the chosen tiles firmly into the mortar bed, continually checking that the slope guides water effectively to the drain from all areas of the floor.
Once the floor tiles are set and the mortar has cured, apply grout between the tiles and thoroughly clean the surface to remove any residue. For added protection and easier maintenance, consider applying a clear sealer to the grout lines, which helps prevent water stains and mold growth.
Step 8: Add Fixtures and Accessories
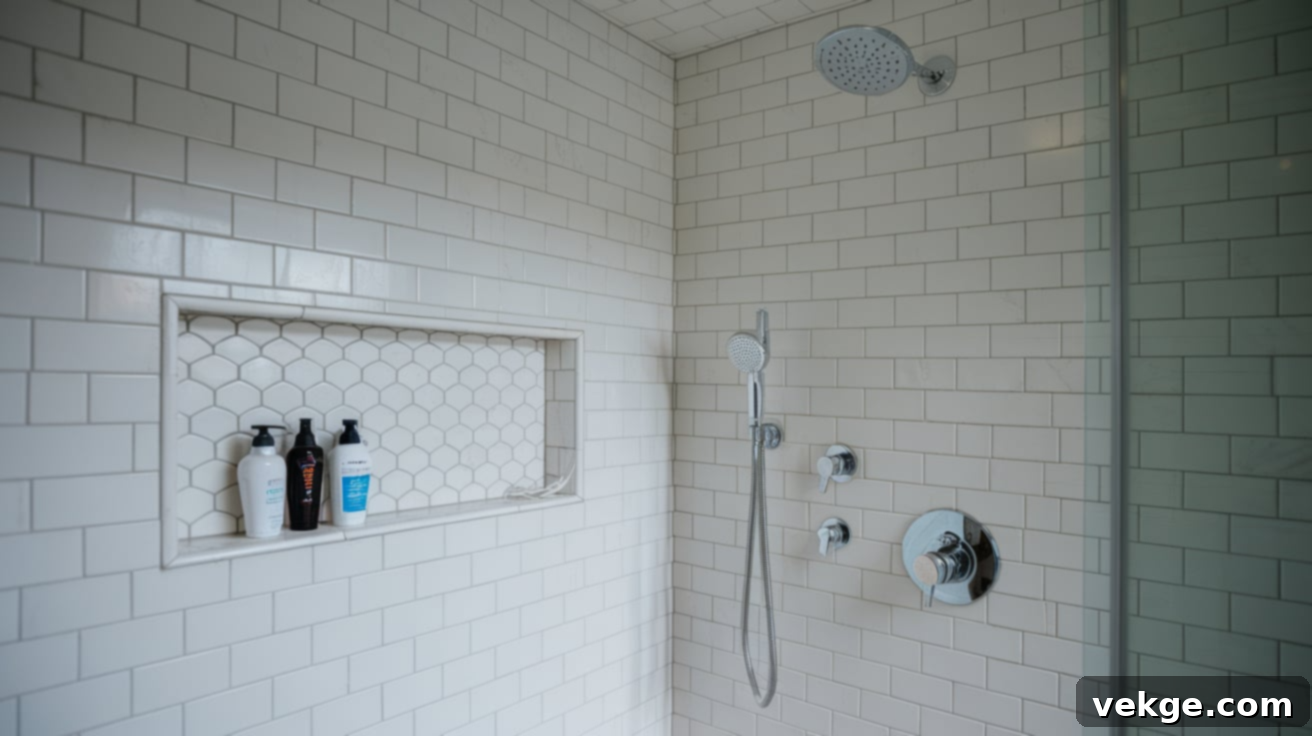
Install your selected shower fixtures, including the showerhead(s), controls, and spout, strictly following the manufacturer’s instructions. When positioning the showerheads, consider the height of all users in your household to ensure comfortable access for everyone. Built-in wall niches are an excellent addition, providing convenient, clutter-free storage for soaps, shampoos, and other toiletries without encroaching on floor space.
A built-in bench or a fold-down seat adds practical functionality, making tasks like shaving easier and offering a comfortable place to sit when needed. For the shower entrance, evaluate your space and lifestyle: elegant glass doors create a polished look but require diligent cleaning, while an open, doorless design enhances the sense of spaciousness and is particularly beneficial for individuals with mobility challenges.
Step 9: Final Touches and Sealing
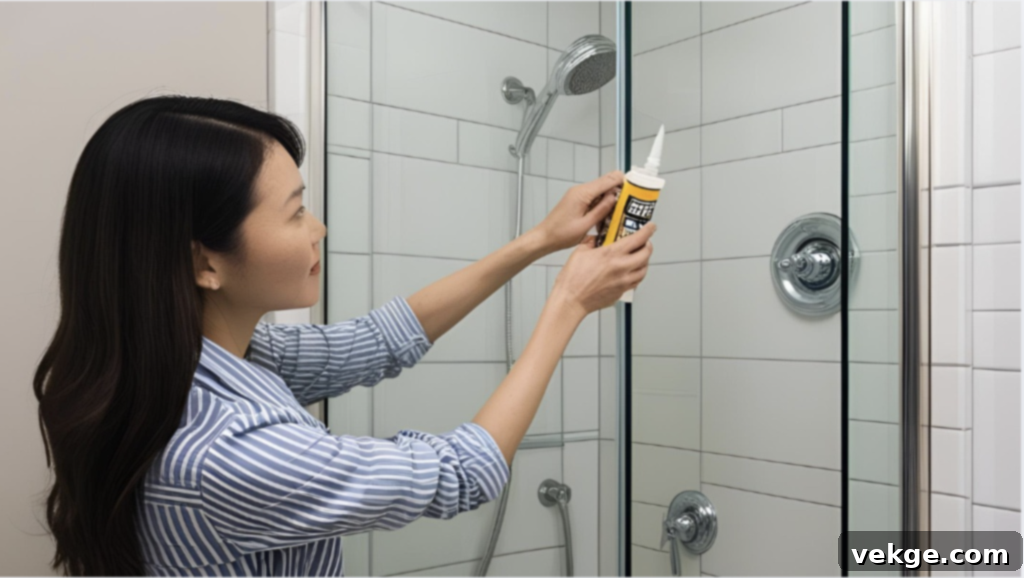
The final touches ensure your shower is both beautiful and fully protected. Apply clear silicone caulk meticulously wherever different materials meet – around the drain, along the junction of walls and floor, and at any other seams or transitions. This critical step prevents water from seeping into tiny cracks and causing unseen damage. Thoroughly clean all tile surfaces with a mild, non-abrasive cleaner to remove any dust, grout haze, or fingerprints accumulated during construction. Polish metal fixtures with a soft cloth to restore their shine.
Now is the time to personalize your new space: hang plush towels, strategically place a decorative stool or a humidity-loving plant, and assess the lighting. Good quality lighting not only highlights your new shower’s features but also ensures clarity and safety during use.
Step 10: Inspect and Test
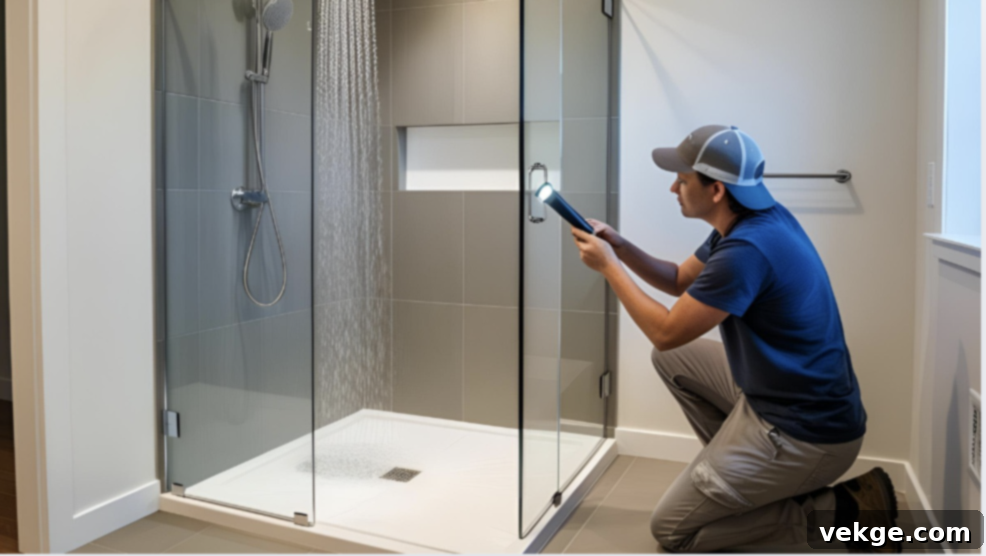
Before declaring your remodel complete, a thorough inspection and test are essential. Turn on the water and meticulously check each fixture for proper flow, temperature control, and any signs of leaks around pipes or drains. Even the smallest drip must be addressed immediately. Run the shower at full pressure for several minutes to verify that water drains quickly and efficiently, without any pooling or backup.
If you installed glass doors, confirm that they open, close, and seal perfectly. After the initial test, wait a few hours and re-inspect the entire area for any latent signs of leakage or moisture. Take high-quality photos of your completed project; these will be invaluable for your personal records, potential future repairs, or if you ever decide to sell your home.
Best Layout Options for Walk-In Showers
The configuration of your walk-in shower is a critical design decision that impacts both the aesthetics and practicality of your entire bathroom. The ideal layout will depend on your bathroom’s size, shape, existing plumbing, and your daily usage needs. Here are three popular and effective layout options to help you maximize your space and achieve your desired look.
Corner Entry Showers
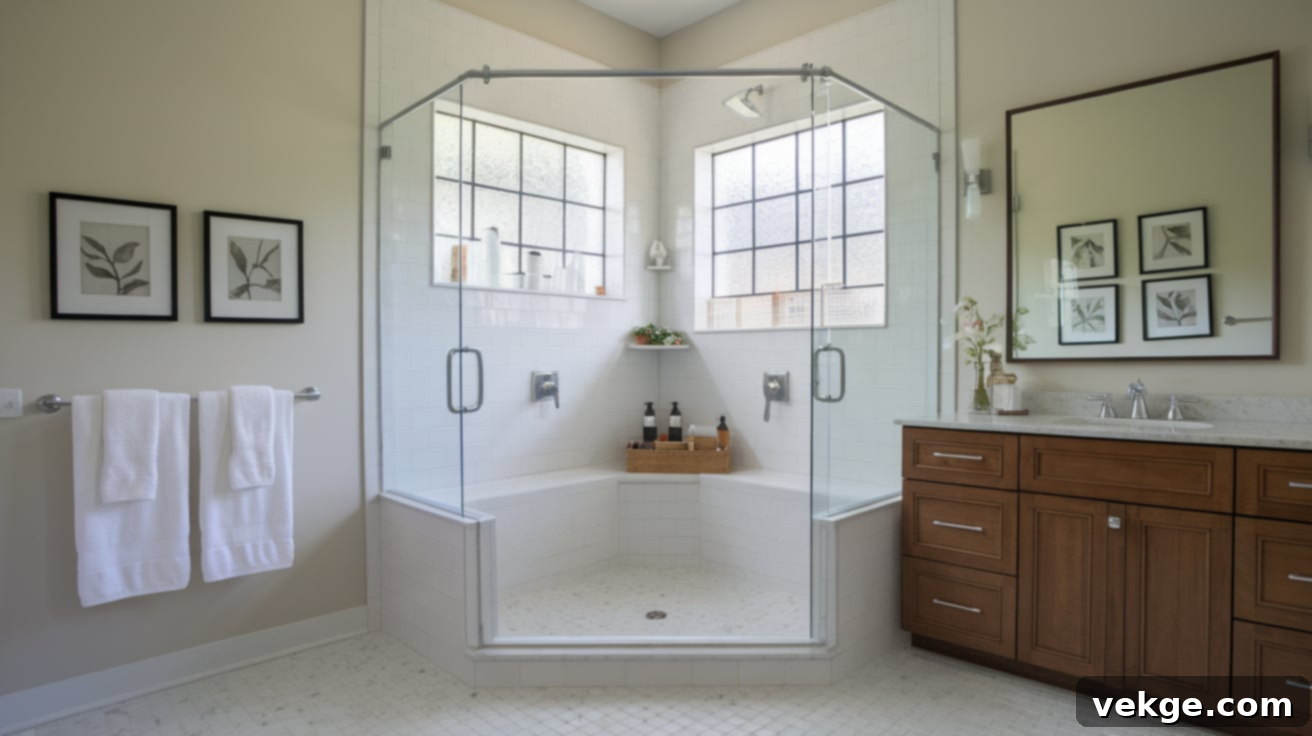
Corner entry showers are an excellent choice for optimizing space in smaller or irregularly shaped bathrooms. Designed to fit snugly into the intersection of two walls, they typically feature a square or neo-angle (five-sided) footprint with a door positioned at the front corner. This clever design efficiently contains water within the enclosure while occupying minimal floor space, leaving more room for other bathroom fixtures like vanities or toilets.
With glass panels on two sides, corner showers allow light to flow freely, contributing to a more open and airy feel even in compact spaces. Many standard corner showers can fit into an area as small as 36 inches by 36 inches. This layout is particularly well-suited for guest bathrooms, powder rooms, or when you’re looking to add an additional functional bathroom without undertaking a major home extension.
Full-Length Wall Showers
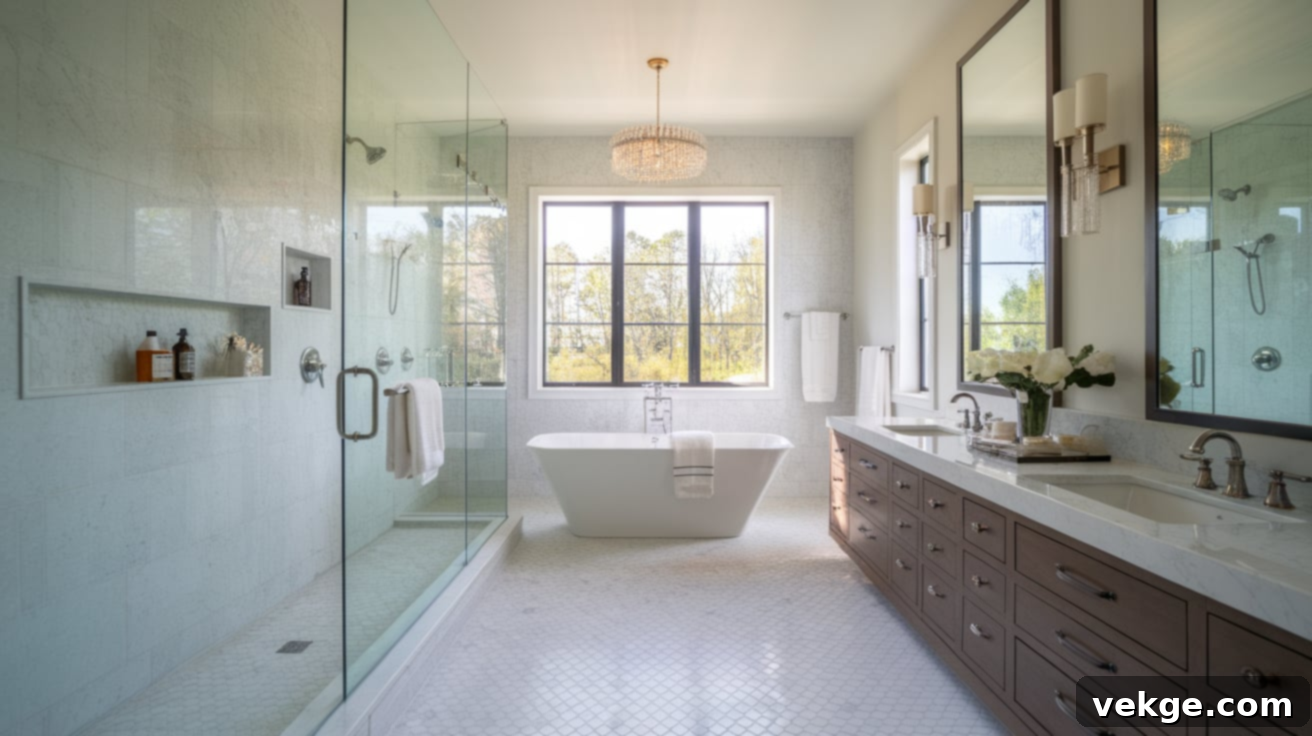
Utilizing an entire wall of your bathroom for a walk-in shower creates a dramatic and expansive look, making the room appear significantly larger and more luxurious. These showers often feature a single, fixed glass panel that extends partially across the front, leaving an open entry that eliminates the need for a door. The absence of a door not only enhances the spacious feel but also simplifies cleaning and maintenance.
For optimal functionality and to prevent water from splashing out, full-length wall showers are most effective when they are at least 5 to 6 feet long. This length provides ample space for the shower spray to remain contained within the designated area. This layout truly excels in master bathrooms or larger spaces where you have the luxury of dedicating a significant wall to the shower, offering a sleek, high-end hotel-inspired aesthetic that many homeowners find irresistible.
Wet Room Showers
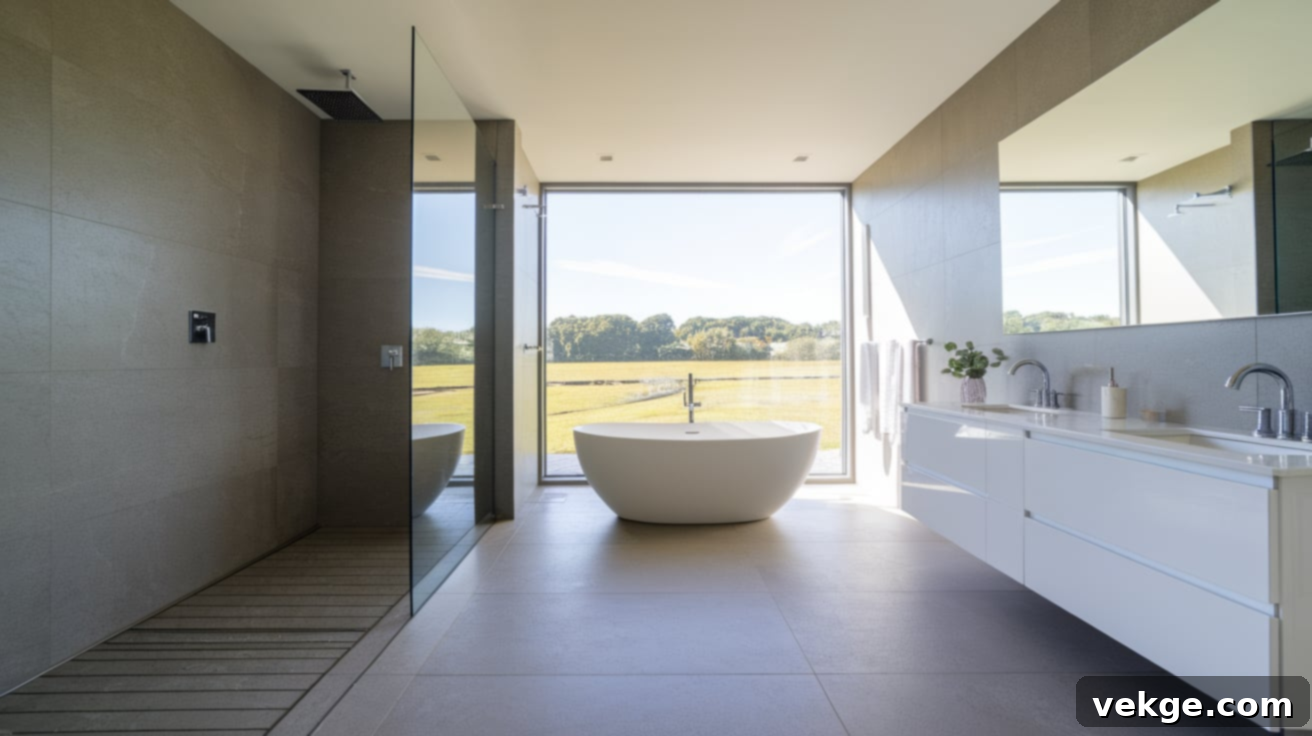
Wet rooms represent the pinnacle of open-plan showering, taking the concept of a walk-in shower to an entirely new level. In a wet room, the entire bathroom floor and often a significant portion of the walls are fully waterproofed. This design allows the shower area to blend seamlessly with the rest of the room, completely eliminating the need for a curb, lip, or traditional enclosure. This creates an incredibly fluid and contemporary space.
Many wet rooms are expansive enough to comfortably accommodate both a shower area and a freestanding bathtub within the same open, waterproofed zone. The entire floor of a wet room is designed with a gentle slope towards one or more floor drains, often with a primary drain located directly under the showerhead and a secondary drain near the main entry or another high-traffic area. This layout is exceptionally beneficial for individuals with mobility challenges, as there are absolutely no barriers to navigate. While wet rooms require meticulous waterproofing across all surfaces, the result is a truly modern, incredibly open, and highly accessible bathroom that feels far more spacious than its actual dimensions.
Budgeting Tips for Your Walk-In Shower Remodel
Planning your walk-in shower remodel with a well-defined budget is key to achieving your dream bathroom without overspending. One effective cost-saving strategy is to opt for large-format tiles. These not only minimize the amount of grout needed, which can be a significant material and labor cost, but also accelerate the installation time, saving on labor expenses.
Many homeowners can reduce costs by undertaking simpler tasks themselves, such as demolishing the old shower, removing old fixtures, or installing new shower accessories and decorative elements. However, it’s wise to leave critical tasks like waterproofing, complex plumbing modifications, and electrical work to experienced professionals to ensure safety and proper installation. Before committing to any contractor, always obtain at least three detailed quotes from different reputable companies. Ask specific questions about what each quote includes (materials, labor, disposal, permits, etc.) to ensure a clear understanding of the fair market price and to avoid unexpected costs. Keep an eye out for sales on fixtures, tiles, or other materials, and consider purchasing floor models or discontinued items from showrooms, which often offer high-end products at significantly reduced prices.
Common Mistakes to Avoid in Your Walk-In Shower Remodel
Even minor oversights during a walk-in shower remodel can lead to significant and costly problems down the line. Taking the time for careful planning, meticulous execution, and thorough double-checking can prevent these common pitfalls and ensure the longevity and beauty of your new shower.
- Inadequate Waterproofing: This is arguably the most critical mistake. Ensure that the waterproofing membrane covers every inch of the shower area, extending up the walls and across the floor, with special attention paid to corners, seams, and where the floor meets the walls. Any gaps or thin spots can lead to water penetration and extensive damage.
- Incorrect Floor Slope: The shower floor must have a proper slope towards the drain, typically a minimum of 1/4 inch per foot. An insufficient slope will result in water pooling, which can lead to mold growth, grout degradation, and an unsanitary environment.
- Insufficient Space: While walk-in showers can save space, ensure your design allows for comfortable movement. A shower that is too small will feel cramped and difficult to use. Consider the dimensions required for showering, turning around, and accessing controls without bumping into walls or fixtures.
- Improper Fixture Placement: The height of showerheads and controls should be carefully considered based on the tallest and shortest users. Controls placed too high or too low can be inconvenient, while a showerhead that is too low can compromise the showering experience.
- Ignoring Water Pressure: Before purchasing any shower fixtures, especially those with multiple spray settings or rain heads, test your home’s existing water pressure. Some fixtures require higher pressure than older plumbing systems can provide, leading to a disappointing shower experience.
- Poor Material Choices for Maintenance: Select materials that align with your willingness and ability to maintain them. While natural stone is beautiful, it requires more sealing and specific cleaning products than porcelain tiles or waterproof panels. Choose materials that fit your lifestyle to avoid future frustration.
Conclusion
A thoughtfully planned and expertly executed walk-in shower remodel can profoundly transform your bathroom experience, turning it into a more modern, accessible, and enjoyable space. By now, you should possess a solid understanding of the various design styles, optimal layouts, and suitable materials that can bring your vision to life.
Always prioritize careful planning, ensure meticulous waterproofing, and consider how the shower will function in your daily routine. Whether you envision a sleek, minimalist glass enclosure or a warm, rustic stone sanctuary, the right walk-in shower will enhance the spaciousness and utility of your bathroom for years to come.
Approach each step of the renovation process with patience and precision, and do not hesitate to enlist professional assistance for more complex tasks such as plumbing, electrical work, or intricate waterproofing. Your ideal walk-in shower is not just a dream; it’s an achievable reality that will be well worth every effort.
