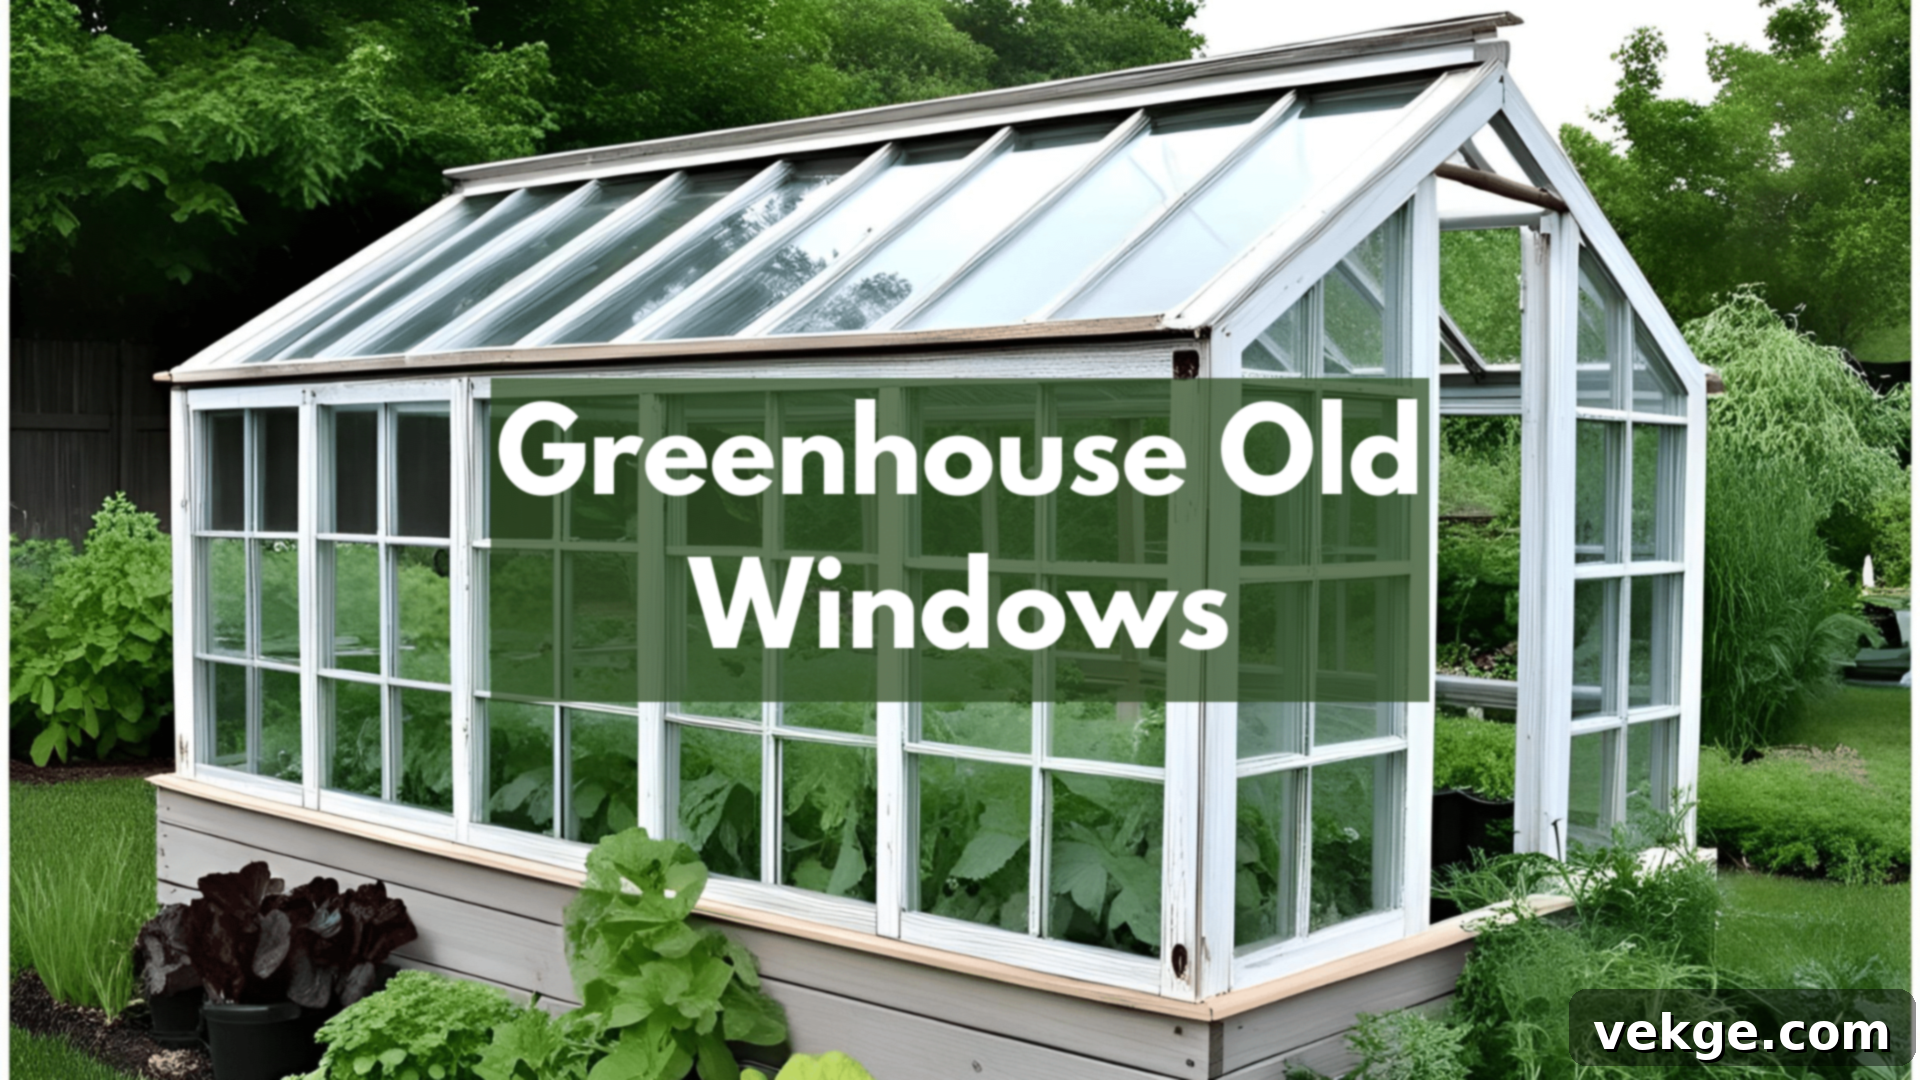
DIY Greenhouse from Old Windows: Your Ultimate Guide to Budget-Friendly Sustainable Gardening
Dreaming of a greenhouse but worried about the cost? Building one using old, recycled windows is an ingenious and cost-effective solution! This guide empowers you to create a thriving growing space without breaking the bank, transforming discarded materials into a functional and charming addition to your garden.
This budget-friendly project combines sustainability with practicality, allowing you to extend your growing season and enjoy fresh produce or vibrant seedlings year-round. With some basic tools, readily available recycled materials, and a bit of creativity, you can construct a beautiful greenhouse that reflects your personal style. I built mine last year, and now I enjoy a continuous supply of fresh herbs and robust seedlings, no matter the weather outside.
This comprehensive guide will walk you through every essential step, from sourcing the perfect windows to adding the finishing touches that make your greenhouse truly yours. Get ready to embark on a rewarding DIY journey and create your perfect garden sanctuary!
Why Build a Greenhouse Using Old Windows?
Opting to build a greenhouse from old windows is a decision that offers numerous benefits, making it an affordable, eco-friendly, and uniquely charming choice for any gardener. It’s a project that rewards both your wallet and the environment, providing a sustainable path to year-round gardening.
Cost-Effective: One of the primary advantages is the significant cost savings. By repurposing materials like old windows, you drastically reduce expenses compared to purchasing new, specialized greenhouse kits or materials. Many old windows can be acquired for free or at a very low cost from renovation projects, salvage yards, or online marketplaces. This allows you to allocate your budget more towards plants and soil, rather than the structure itself.
Eco-Friendly & Sustainable: Reusing old windows directly contributes to waste reduction. Instead of these materials ending up in landfills, they gain a new life, preventing the need for new resources to be manufactured and transported. This sustainable approach minimizes your ecological footprint and promotes a circular economy within your gardening efforts.
Optimal Natural Light: Old windows, especially those with single panes, are designed to maximize natural light transmission. This is crucial for healthy plant growth, as it provides the full spectrum of sunlight necessary for photosynthesis. The glass also helps to trap solar energy, maintaining a consistent and elevated temperature inside your greenhouse, which is ideal for nurturing sensitive plants or extending the growing season into colder months.
Customization & Unique Aesthetics: A DIY project inherently allows for complete customization. You can design your greenhouse to perfectly fit your available space and specific gardening needs, whether you’re cultivating delicate orchids, hearty vegetables, or a collection of herbs. Beyond functionality, using recycled windows adds a charming, rustic, and unique aesthetic to your garden. Each window tells a story, contributing to a distinctive character that pre-fabricated greenhouses simply cannot replicate, making your garden both functional and visually appealing.
Educational & Rewarding: Building your own greenhouse is an incredibly rewarding experience. It provides an opportunity to learn practical construction skills, engage in creative problem-solving, and see a tangible result of your effort. The sense of accomplishment derived from creating a functional structure with your own hands, from recycled materials, is immense. It also becomes a talking point and an inspiration for others to embrace sustainable DIY projects.
How to Build Your Greenhouse Using Old Windows: Step-by-Step Guide
Building a greenhouse with old windows is a rewarding DIY project that beautifully combines creativity, sustainability, and practical gardening. It involves careful planning, precise measurements, and a systematic approach to ensure a sturdy and functional structure. With proper planning and execution, this budget-friendly project can transform your garden into a thriving year-round growing space. Let’s get into the details of each step.
Step 1: Prepare the Site
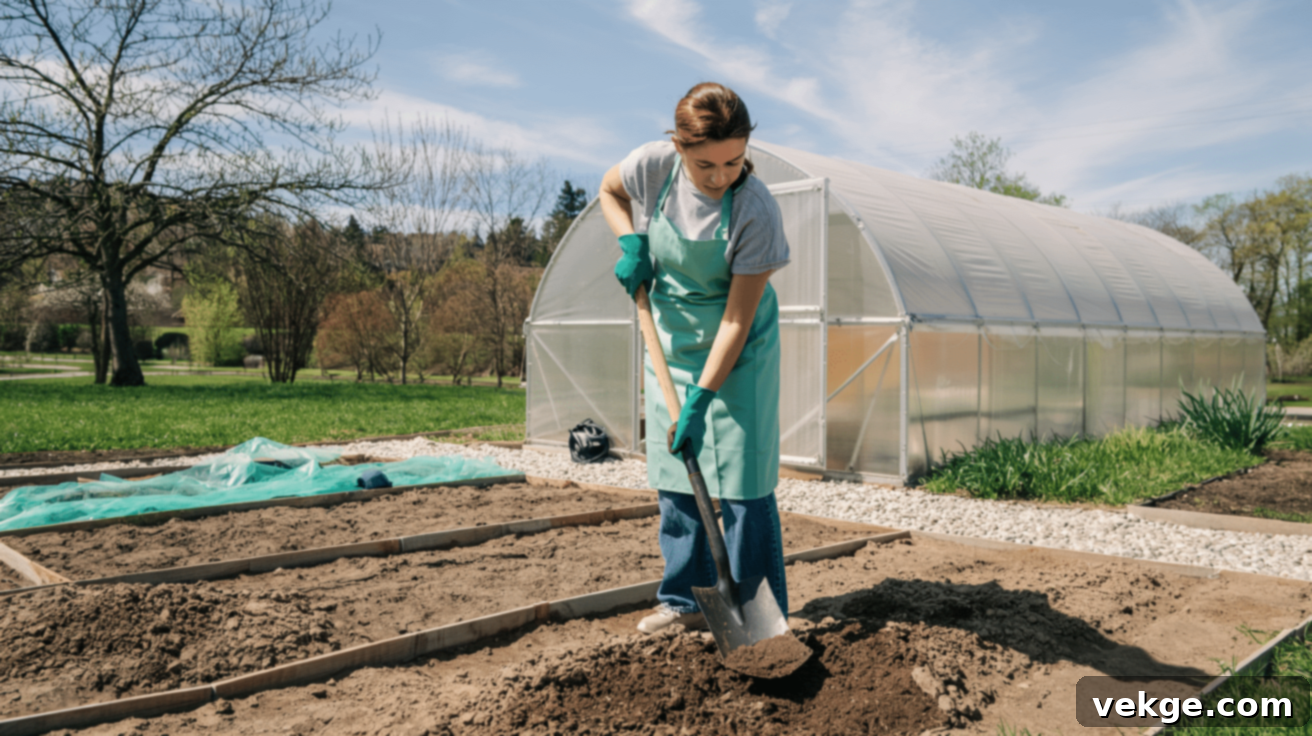
The success of your greenhouse begins with choosing and preparing the perfect location. Select an area in your yard that receives ample sunlight, especially during the winter months, and is conveniently accessible. An ideal spot is usually south-facing to maximize sun exposure throughout the day. Consider proximity to water and electricity if you plan on adding irrigation or lighting.
Once you’ve identified the spot, clear away any existing plants, rocks, roots, or debris. Use a shovel, or if the area is large, consider renting a small tractor to level the ground as much as possible. A flat base is crucial for structural stability.
Next, lay down a layer of heavy-duty landscape fabric. This acts as a barrier, effectively blocking weeds from growing up inside your greenhouse and competing with your plants for nutrients. While not strictly mandatory, this step significantly reduces future weeding efforts and maintains a cleaner growing environment.
Finally, add a uniform layer of gravel (typically 4-6 inches deep) on top of the landscape fabric. The gravel serves multiple purposes: it helps with excellent drainage, preventing water from pooling and causing issues like rot or mold; it creates a stable, level base for your greenhouse frame; and it provides a clean, walkable surface. For most small to medium-sized window greenhouses, a simple gravel pad is perfectly sufficient, eliminating the need for expensive concrete foundations.
Step 2: Frame the Walls
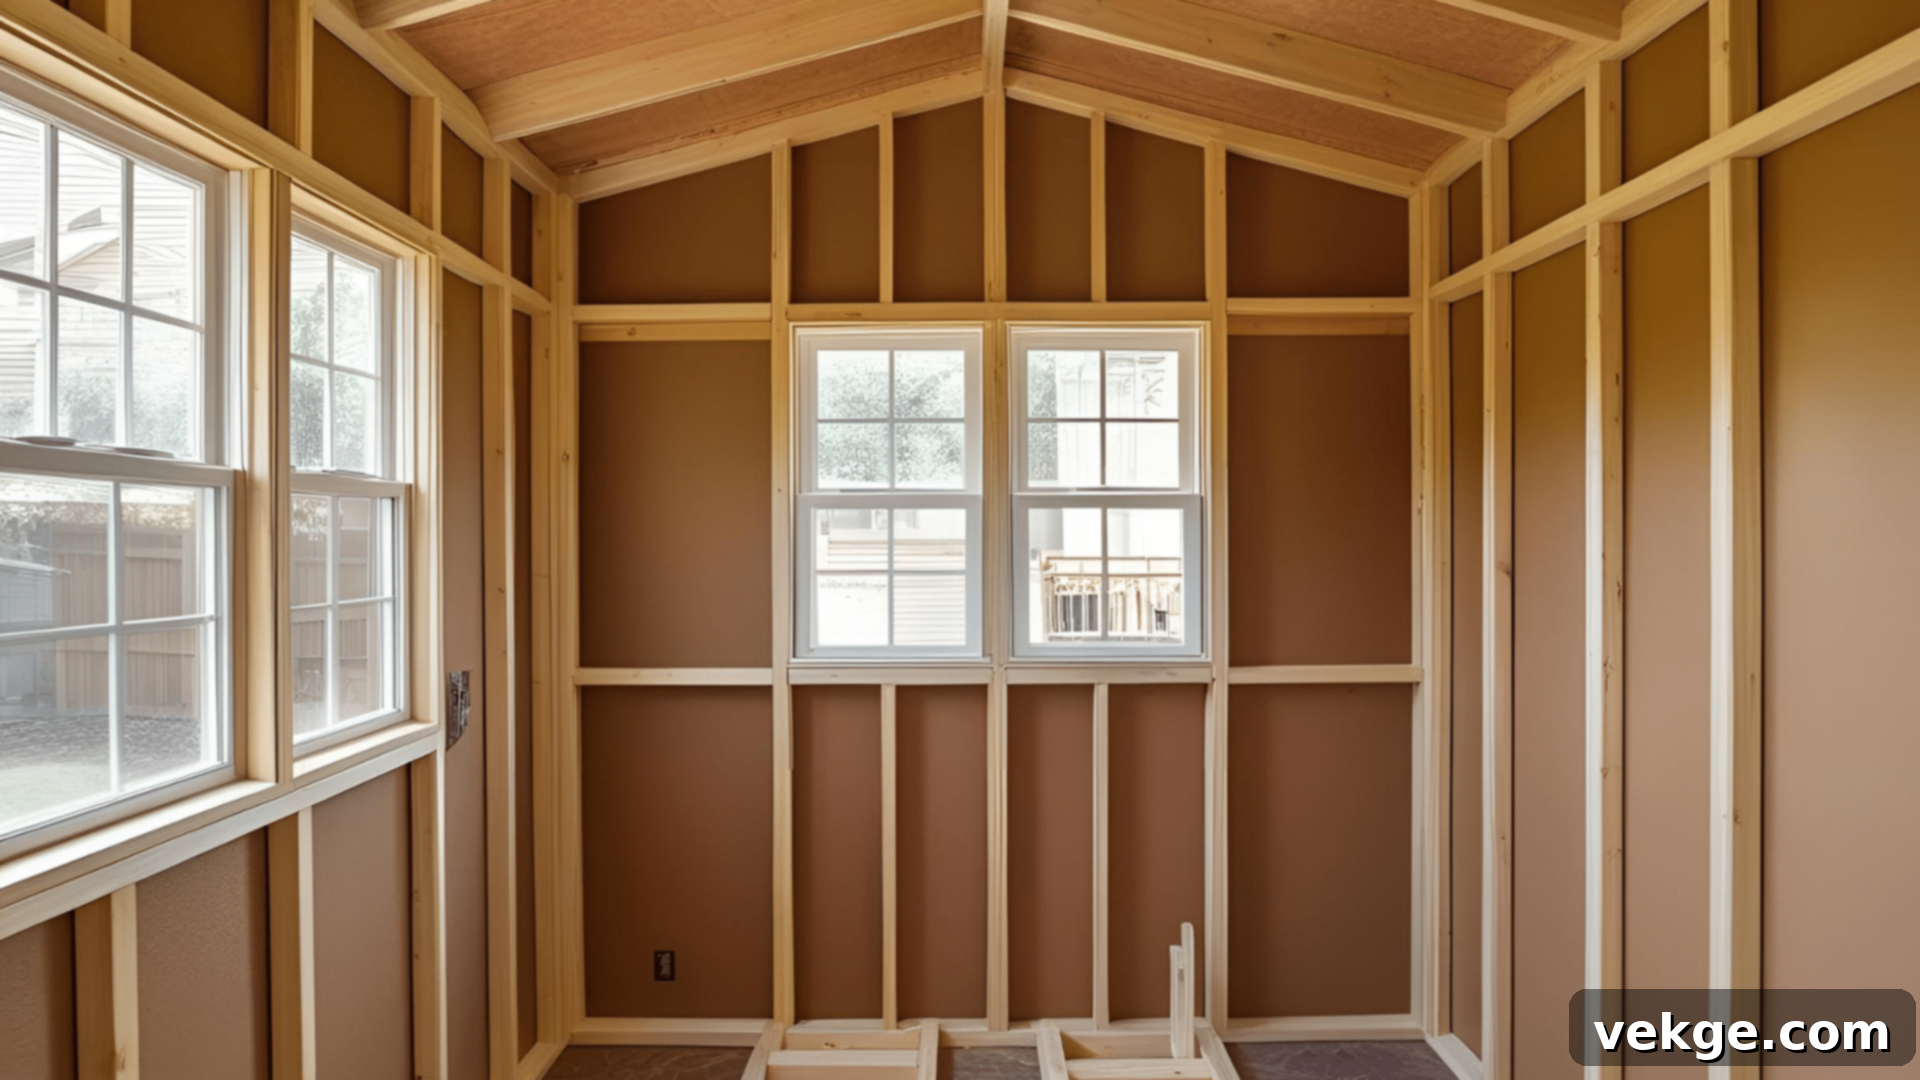
The framing is the skeleton of your greenhouse, providing the structure that will hold your windows securely. Start by building each wall frame individually. Use pressure-treated 2x4s for the bottom plates and any lumber that will be in direct contact with the ground or moisture, as they are resistant to rot and insect damage.
Crucially, measure all your windows *before* cutting any lumber for the frame. This ensures that each opening perfectly accommodates its respective window. If your windows vary in size, you’ll need to tailor each frame section. If they are relatively uniform, you can create consistent openings. Include vertical studs and horizontal headers and sills to create robust compartments for each window. For added strength, double up the 2x4s at the corners where the walls will connect, creating solid joints.
Construct a separate frame for each of your four walls: front, back, and two sides. Remember that the front wall will need an opening for a door, so plan your framing accordingly to incorporate a sturdy door jamb. Once all four individual wall frames are built and standing, add a second top plate (also known as a “double top plate”) across the entire perimeter. This ties all the walls together, significantly strengthening the overall structure and providing a level surface for attaching the roof.
Step 3: Install the Windows
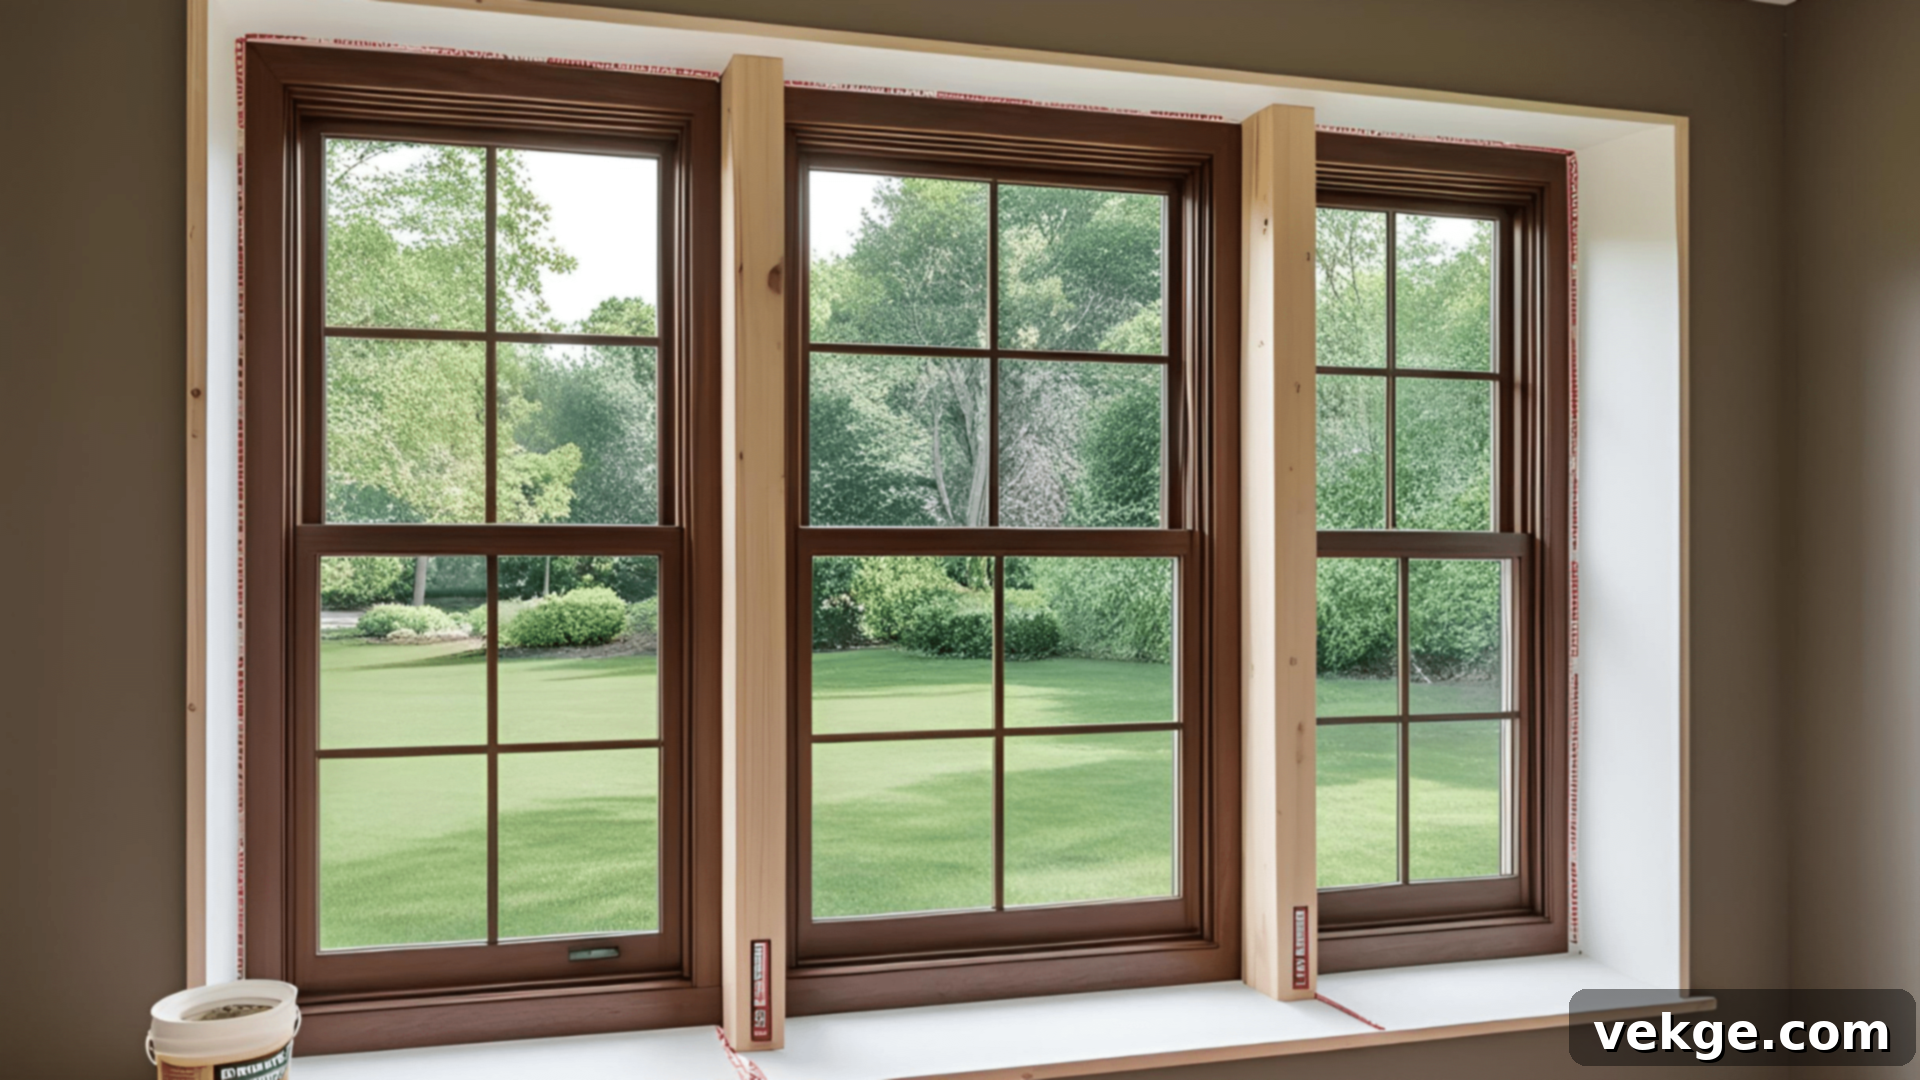
With your frames securely in place, it’s time to install the windows. Even if your windows appear to be the same size, it’s vital to measure each opening in the frame and each window individually. Small discrepancies in old windows are common and can lead to ill-fitting panes and frustrating gaps later on.
Carefully lift each window into its designated opening. To secure them, place small wooden blocks or shims on the inside of the frame, pressing against the window. Then, screw through these blocks into the window frame, holding it firmly in place. Ensure the windows are level and plumb before final tightening.
Once all windows are installed, meticulously inspect for any gaps or cracks between the window frames and the wooden structure. These gaps are prime culprits for heat loss and water infiltration. Use a high-quality exterior-grade caulking to seal all these gaps completely. Caulking provides an excellent waterproof and airtight seal, essential for maintaining a consistent temperature and humidity inside your greenhouse, protecting your plants from drafts and moisture.
While some builders might consider spray foam insulation, caulking is generally easier to control, provides a cleaner finish, and is sufficient for sealing most window-to-frame gaps in a greenhouse. Focus on thorough application for optimal results.
Step 4: Build the Roof
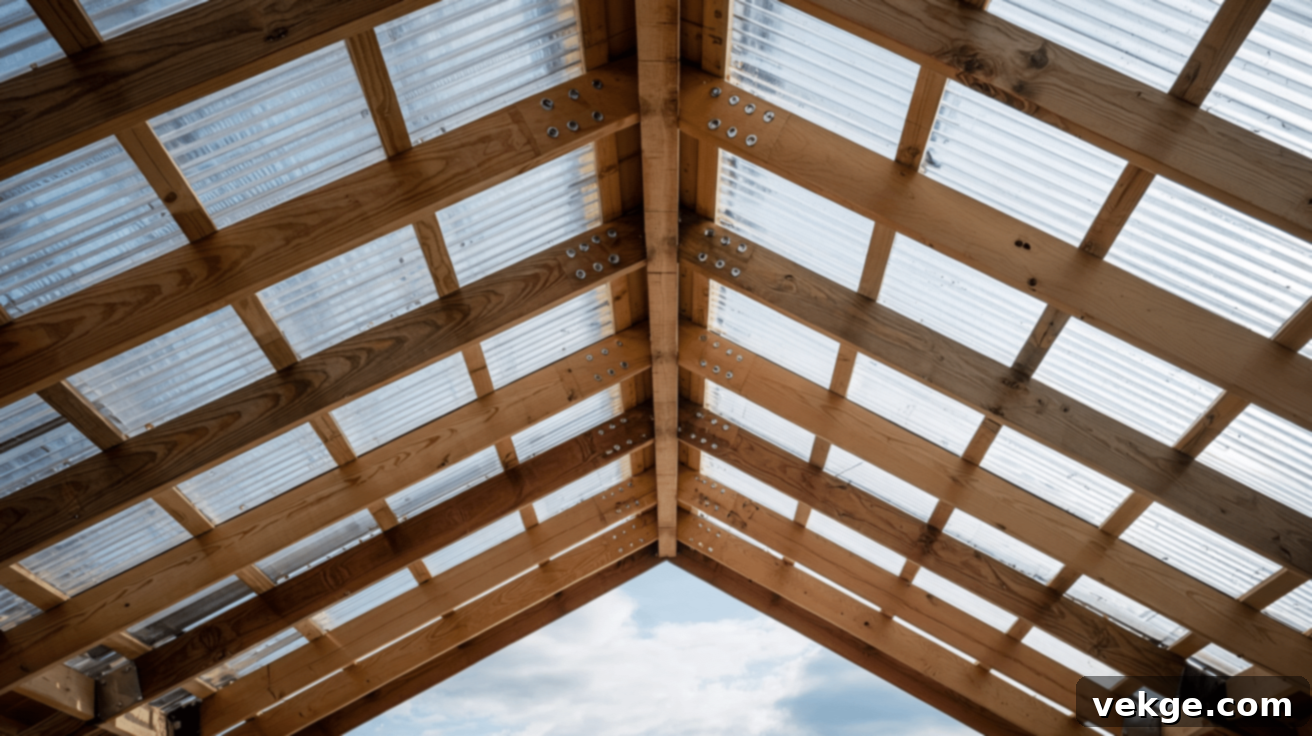
The roof is critical for protecting your plants and providing structural integrity. Begin by constructing the roof frame, typically using rafters that will support your chosen roofing material. The pitch or angle of your roof should be determined by your local climate. Steeper roofs are highly recommended for areas that experience significant snowfall, as they allow snow to slide off more easily, preventing structural stress and potential damage. Online calculators and angle finders can be invaluable tools for accurately determining the right measurements and angles for your rafters to achieve the desired pitch.
Clear corrugated polycarbonate panels are an excellent choice for roofing material. They offer several advantages: they allow abundant natural light to penetrate, vital for plant growth; they are significantly lighter and more shatter-resistant than glass, making them safer and easier to install; and they provide good insulation. Before attaching these panels, install “wiggle board” strips along the rafters. These strips match the corrugated shape of the panels, providing a solid, continuous surface for attachment and ensuring a watertight seal. Use special roofing screws equipped with rubber washers to prevent leaks around the fasteners.
For the ridge, the highest point where the roof panels meet, aluminum flashing offers a cost-effective and highly waterproof solution. It effectively seals the seam, protecting against rain and snow infiltration, and is often less expensive than specialty ridge caps, providing a durable and professional finish to your greenhouse roof.
Step 5: Add Doors and Ventilation
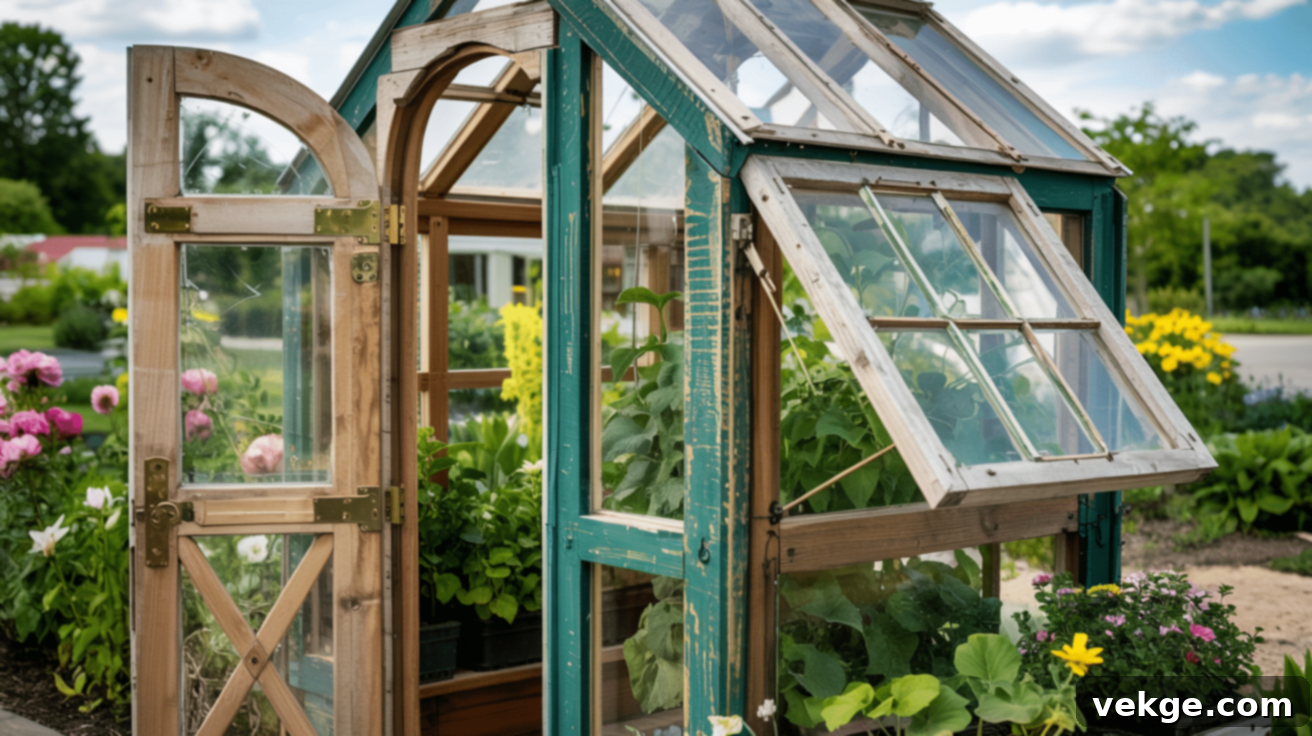
A well-chosen door not only provides access but also adds character to your greenhouse. Look for an old exterior door from a salvage yard or a renovation project that complements your greenhouse’s style. Install it with sturdy, weather-resistant hinges, ensuring it opens and closes smoothly and seals properly when shut to prevent drafts.
Proper airflow and ventilation are absolutely vital for maintaining a healthy greenhouse environment. Without adequate ventilation, temperatures can soar on sunny days, and excessive humidity can create ideal conditions for fungal diseases and pests. To create effective ventilation, install at least one window that can be easily opened. Strategically place this hinged window on the wall opposite your main door. When both the door and this window are open, they create excellent cross-ventilation, allowing hot, stagnant air to escape and fresh air to circulate.
Attach the ventilation window with hinges along its top edge, allowing it to swing outwards and upwards. On particularly hot days, opening both the hinged window and the door will help regulate the internal temperature, preventing your plants from overheating and stressing. This simple yet effective ventilation system works remarkably well for most small to medium-sized greenhouses, often eliminating the need for complex and costly electric fans or automated systems.
Creative Designs: Finding the Perfect Greenhouse Layout
Your greenhouse design should be a direct reflection of your gardening needs, the types of plants you plan to grow, and the available space in your garden. While the fundamental construction methods for building with old windows remain similar, the overall layout and shape can vary dramatically. Exploring different designs can ignite your creativity and help you visualize a structure that not only performs perfectly for your plants but also enhances your outdoor living space. Let’s delve into some popular and creative greenhouse design options.
A-Frame Greenhouse
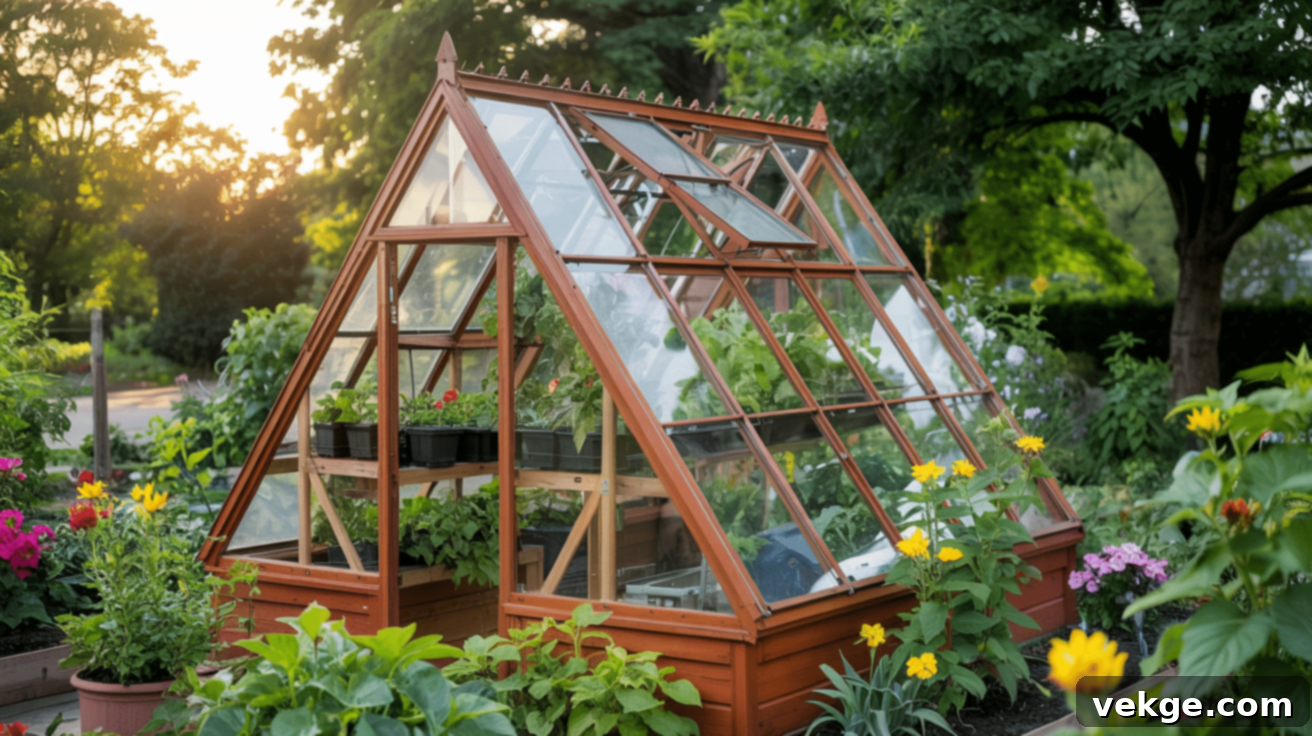
The A-frame greenhouse is characterized by its distinctive tall, pointed roof that strongly resembles the letter ‘A’. This design is particularly effective in regions prone to heavy snowfall, as the steep sides naturally shed snow, preventing accumulation and potential structural damage. The sloped walls also facilitate quick rainwater runoff, ensuring minimal water pooling on the roof. Internally, the high peak provides excellent headroom in the center, which is ideal for taller plants like tomatoes or indeterminate climbers.
While the sloping walls might limit vertical shelving space directly against the sides, the central area is highly versatile. A-frame greenhouses tend to be efficient with roofing materials compared to other styles, and their straightforward construction makes them a relatively simple project, even for novice builders. A charming A-frame greenhouse adds a rustic yet elegant touch to any garden setting.
Lean-To Greenhouse
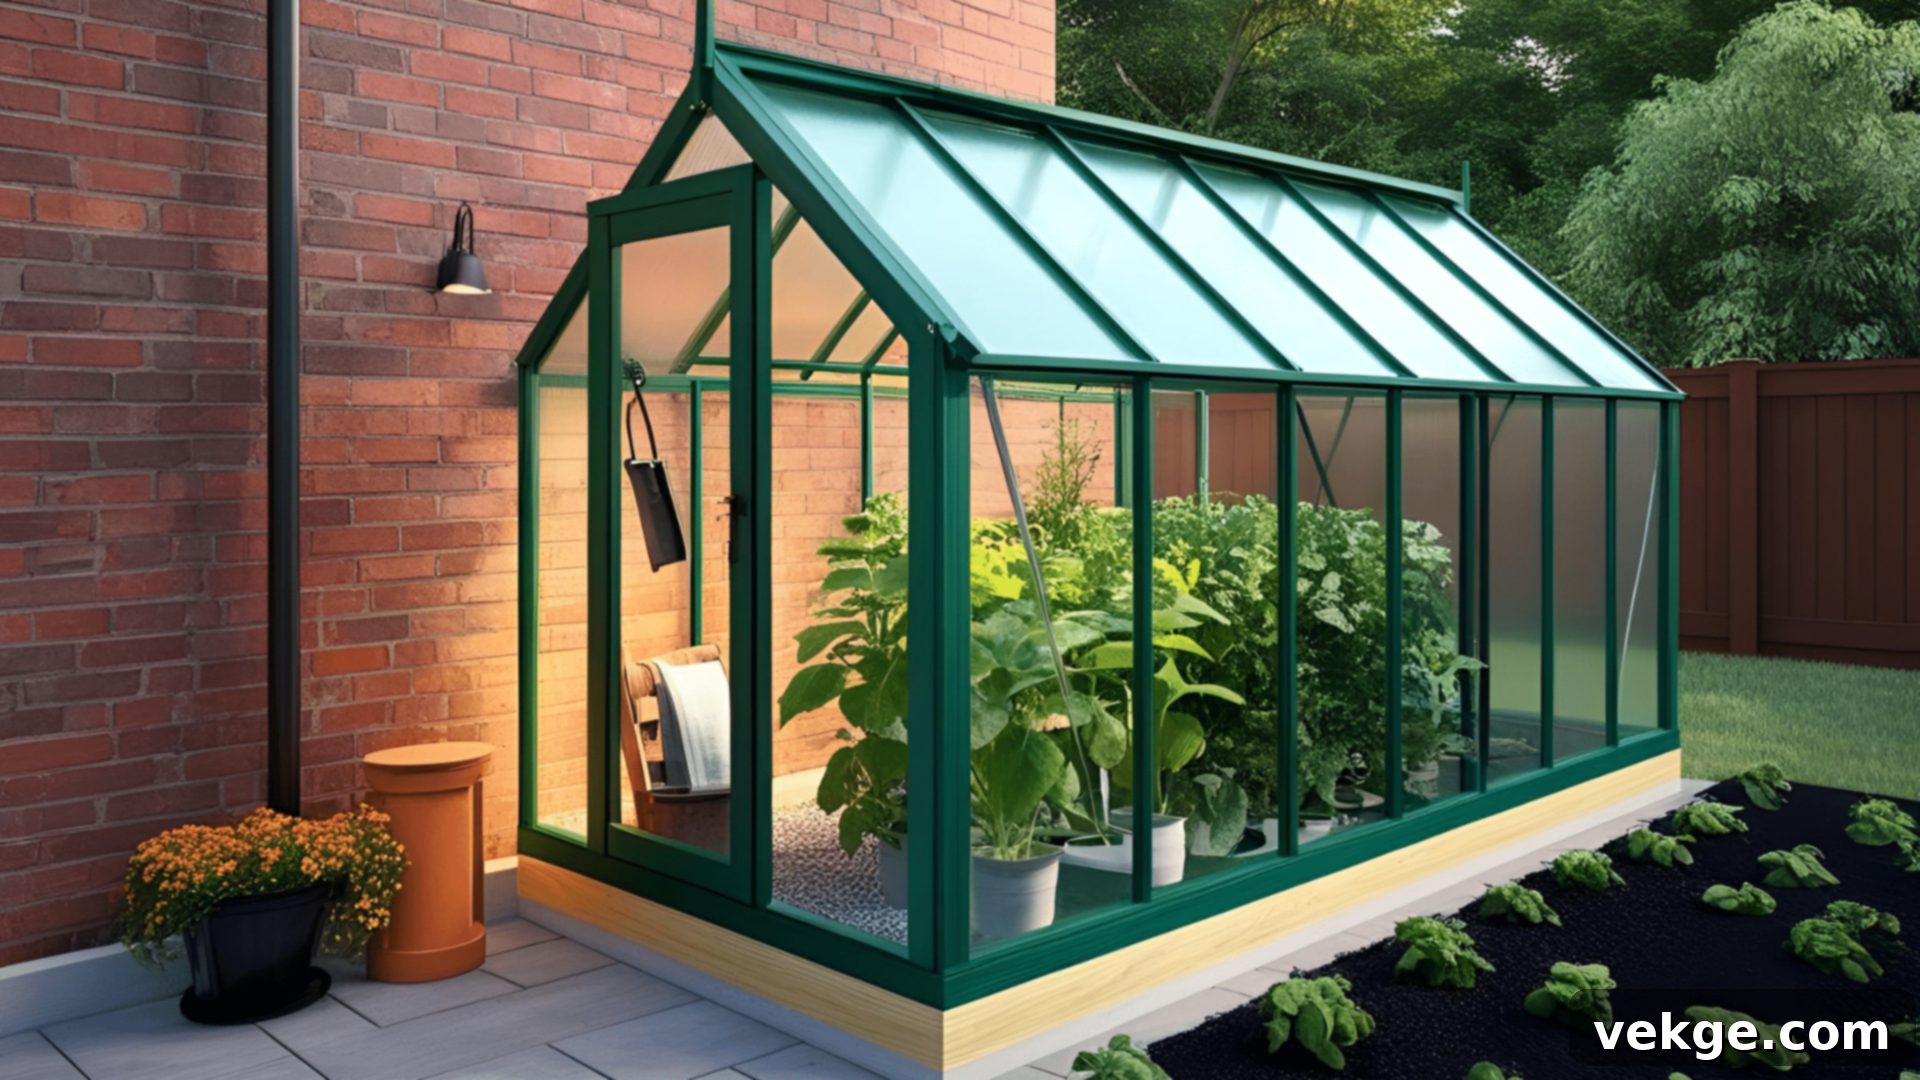
A lean-to greenhouse is designed to attach directly to an existing wall of your home, garage, or another sturdy building. This design offers significant advantages, primarily by saving materials since only three new walls are needed instead of four. The shared wall with your house acts as a thermal mass, absorbing heat during the day and radiating it back into the greenhouse at night, which helps maintain a warmer temperature in winter and reduces heating costs. This style is an excellent solution for smaller yards or urban settings where space is at a premium.
Furthermore, connecting a lean-to greenhouse to your home makes it much easier to integrate with existing utilities like water supply and electricity. This provides convenient access to your plants, especially during inclement weather, without having to venture far outside. A lean-to greenhouse blends seamlessly with your home’s architecture, creating a cohesive and attractive extension to your living space.
Classic Gable Greenhouse
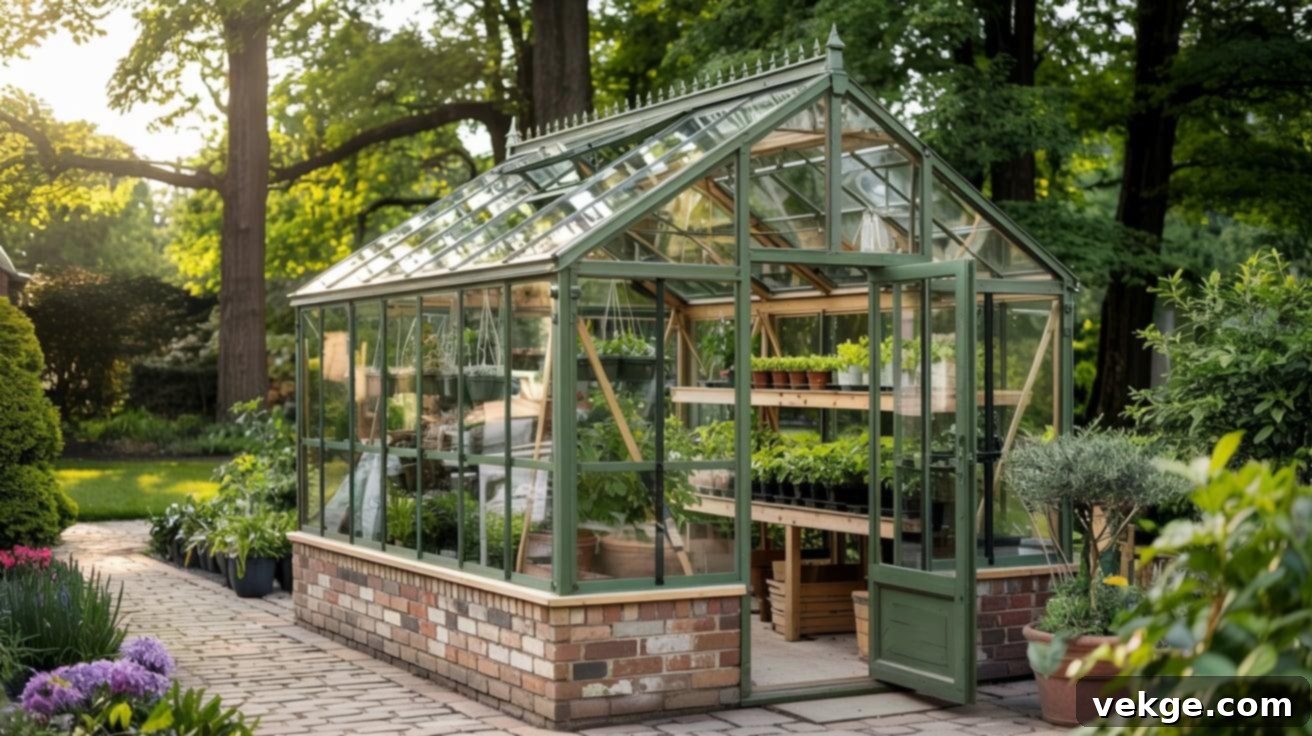
The classic gable greenhouse features straight, vertical walls topped with a traditional peaked roof. This timeless and widely popular design is known for maximizing usable interior space. The straight walls allow for the easy installation of shelving units, benches, and hanging baskets all around the perimeter, providing ample room for a diverse range of plants. The peaked roof efficiently sheds snow and rain while offering generous height for tall-growing plants and comfortable movement within the structure.
Inside, a gable greenhouse feels exceptionally roomy and allows for straightforward organization. Its neat and organized appearance makes it a beautiful addition to any garden. This versatile design can be easily scaled to almost any size, from a compact starter greenhouse to a large, commercial-style growing facility, making it adaptable to various gardening ambitions and site conditions.
Barn-Style Greenhouse
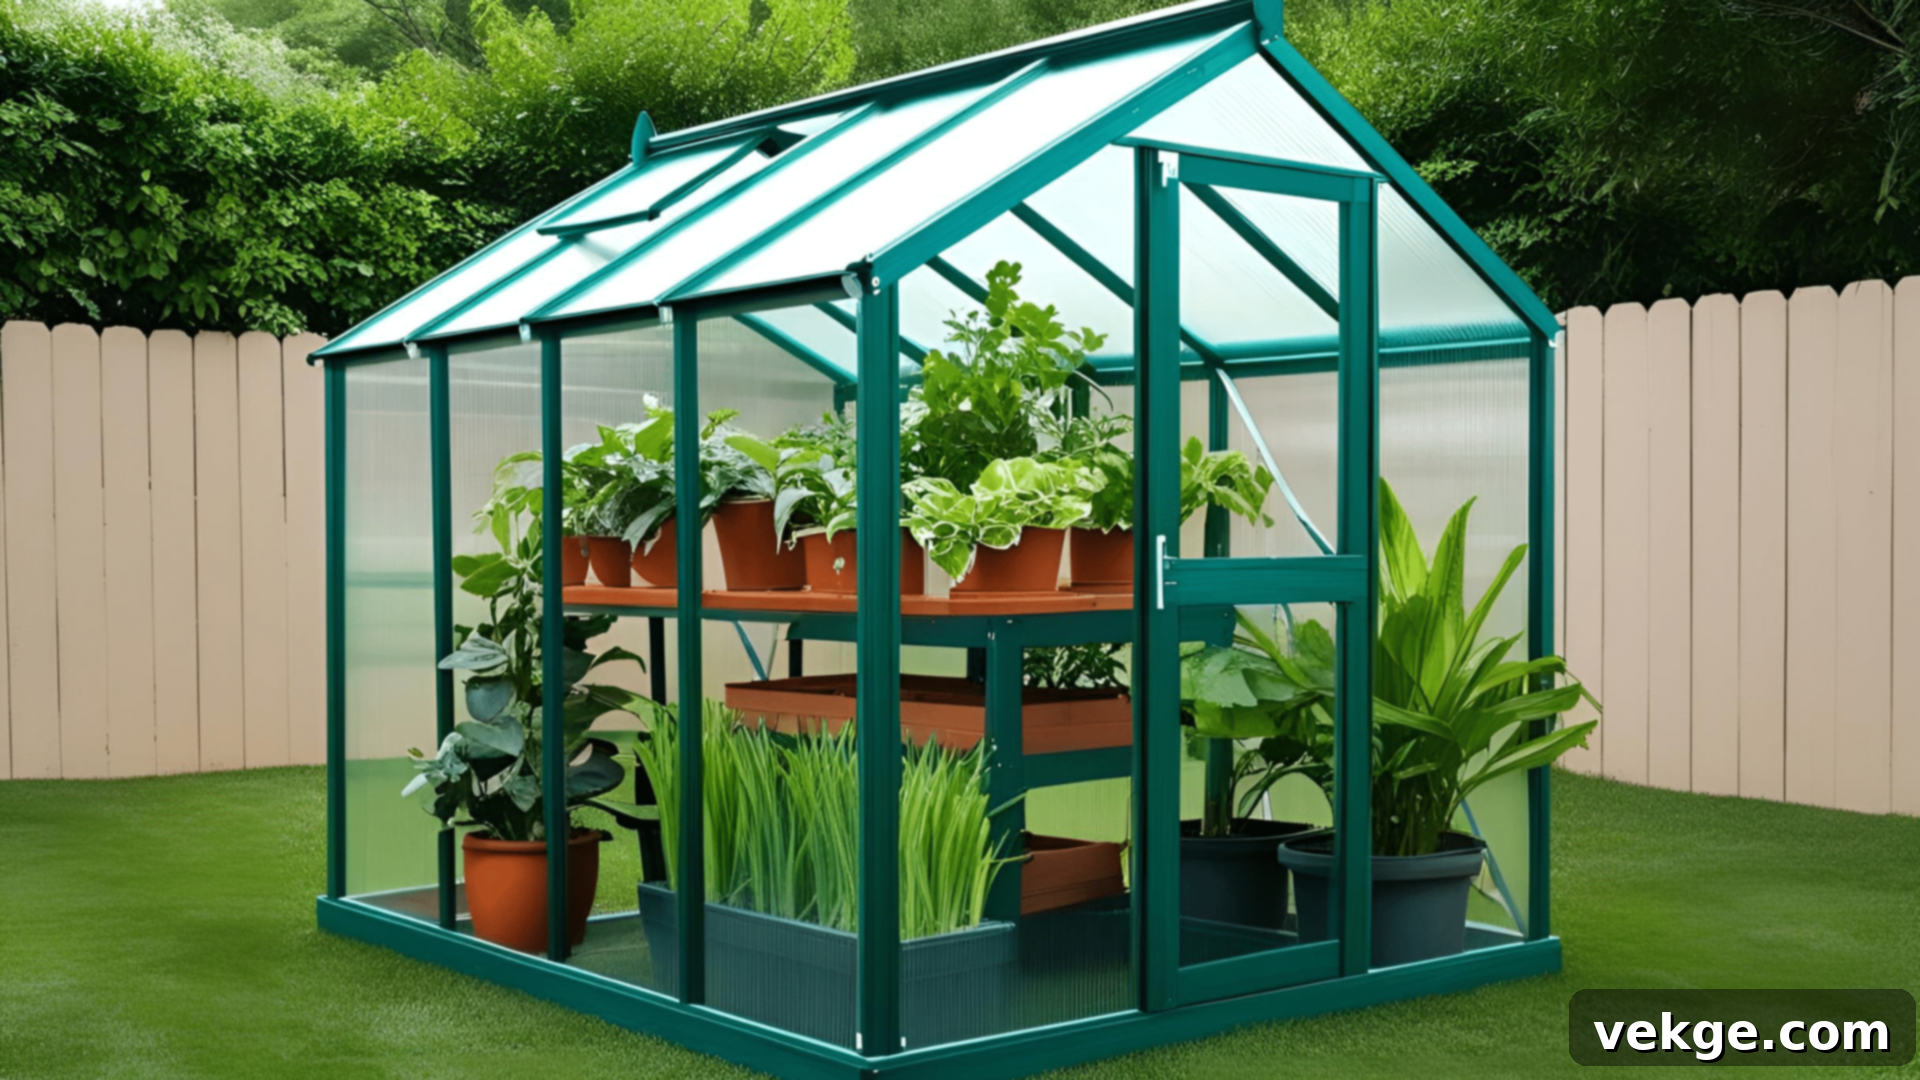
A barn-style greenhouse, often referred to as a “Gambrel” roof design, features a roof that curves or breaks outwards at the eaves before sloping more steeply up to the peak. This unique architectural style provides significantly extra headroom along the sides of the greenhouse compared to a simple gable design, without sacrificing the effective roof pitch needed for weather protection. The increased interior volume also allows for superior air circulation, which is beneficial for plant health and temperature regulation.
Internally, the additional wall height created by the barn-style roof makes ample room for taller shelving units, multi-tiered benches, and an abundance of hanging plants. Beyond its functional benefits, the barn-style greenhouse exudes a charming, rustic, country appeal, adding distinctive character to your garden while remaining highly functional for serious growing and plant propagation.
Dome Greenhouse
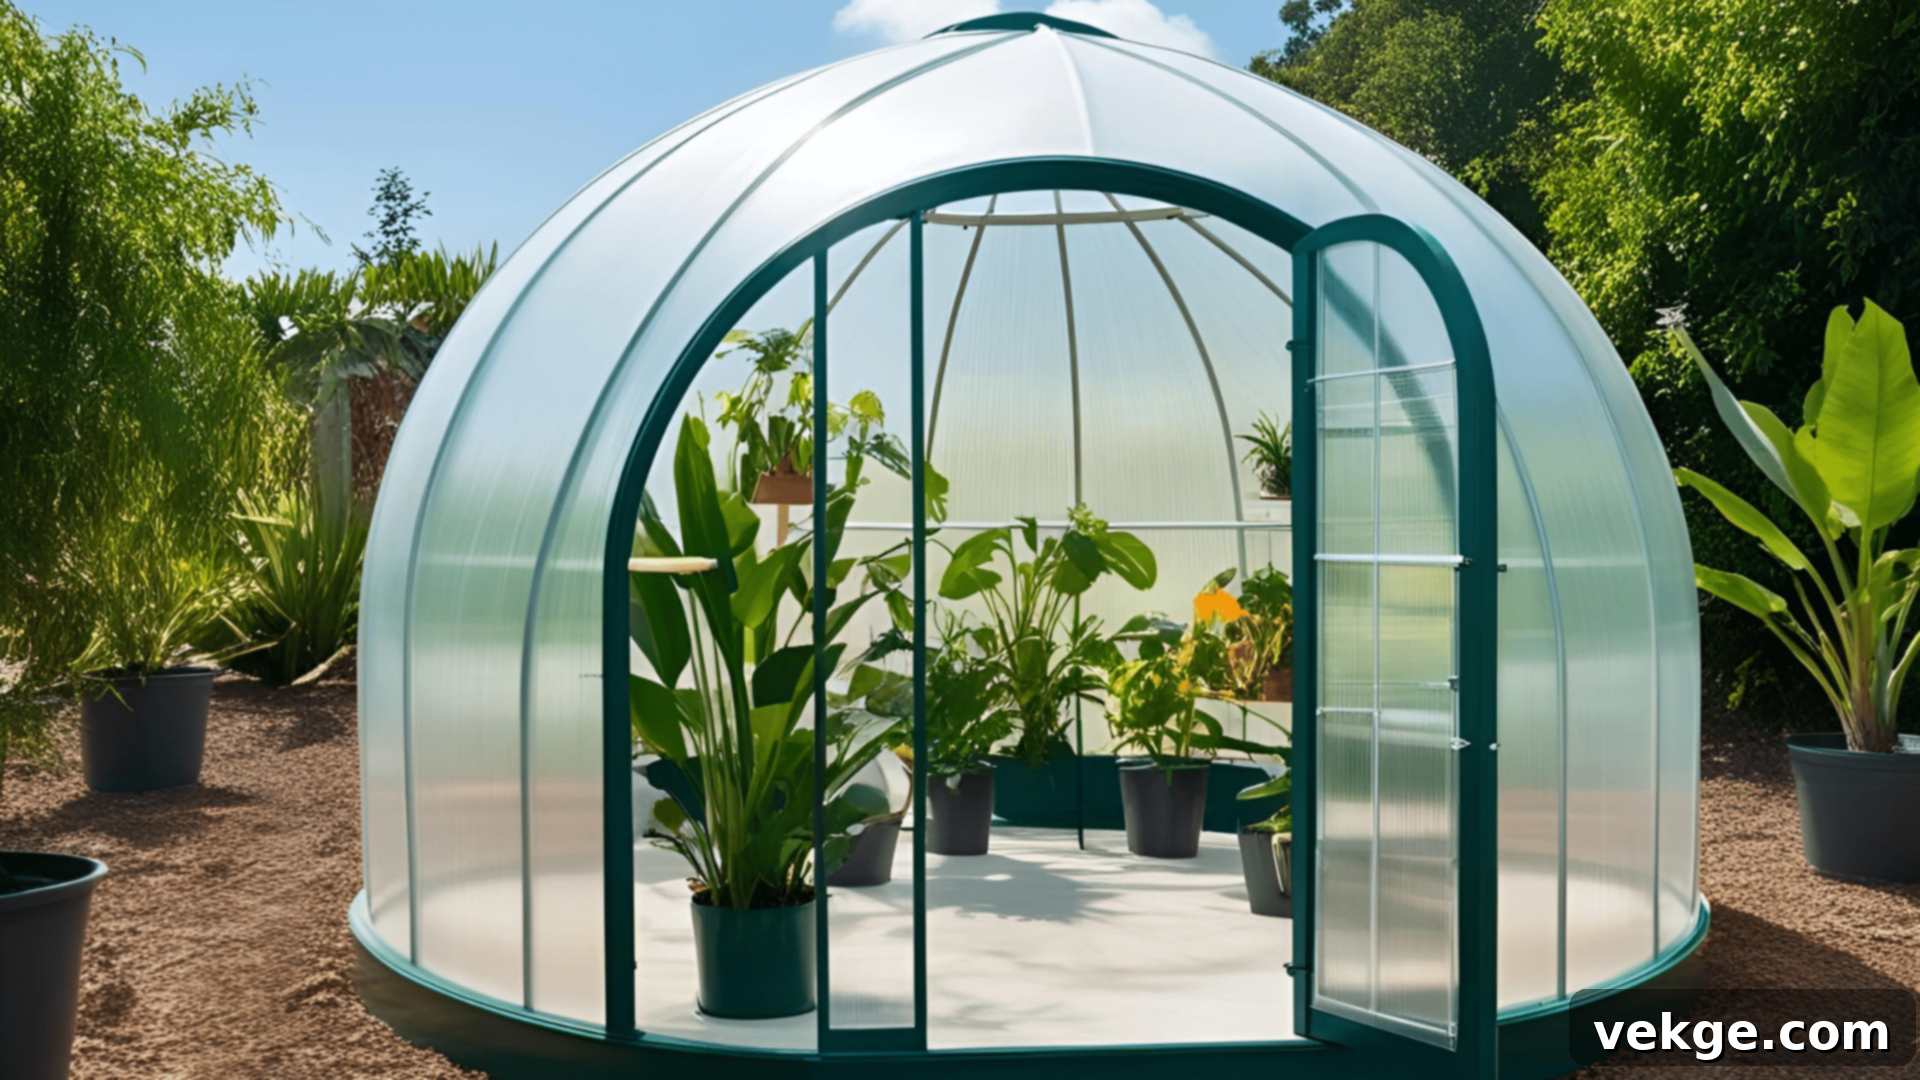
A dome greenhouse creates a visually striking, rounded, geodesic structure that is exceptionally robust and handles strong winds with remarkable efficiency due to its aerodynamic shape. The curved form allows sunlight to enter from all angles throughout the day, ensuring uniform light distribution to plants. While potentially more complex to construct due to the angles and unique joint requirements, dome greenhouses are incredibly efficient in their use of materials, enclosing a large volume with a relatively small surface area.
The rounded interior creates interesting microclimates and planting zones with varying light conditions, which can be advantageous for a diverse plant collection. Due to their efficient air circulation and minimal surface area exposed to external elements, dome greenhouses tend to stay warmer with less heating needed in cooler climates. They make striking focal points in any garden and are particularly well-suited for growing exotic plants that require specific environmental conditions.
Victorian-Style Greenhouse
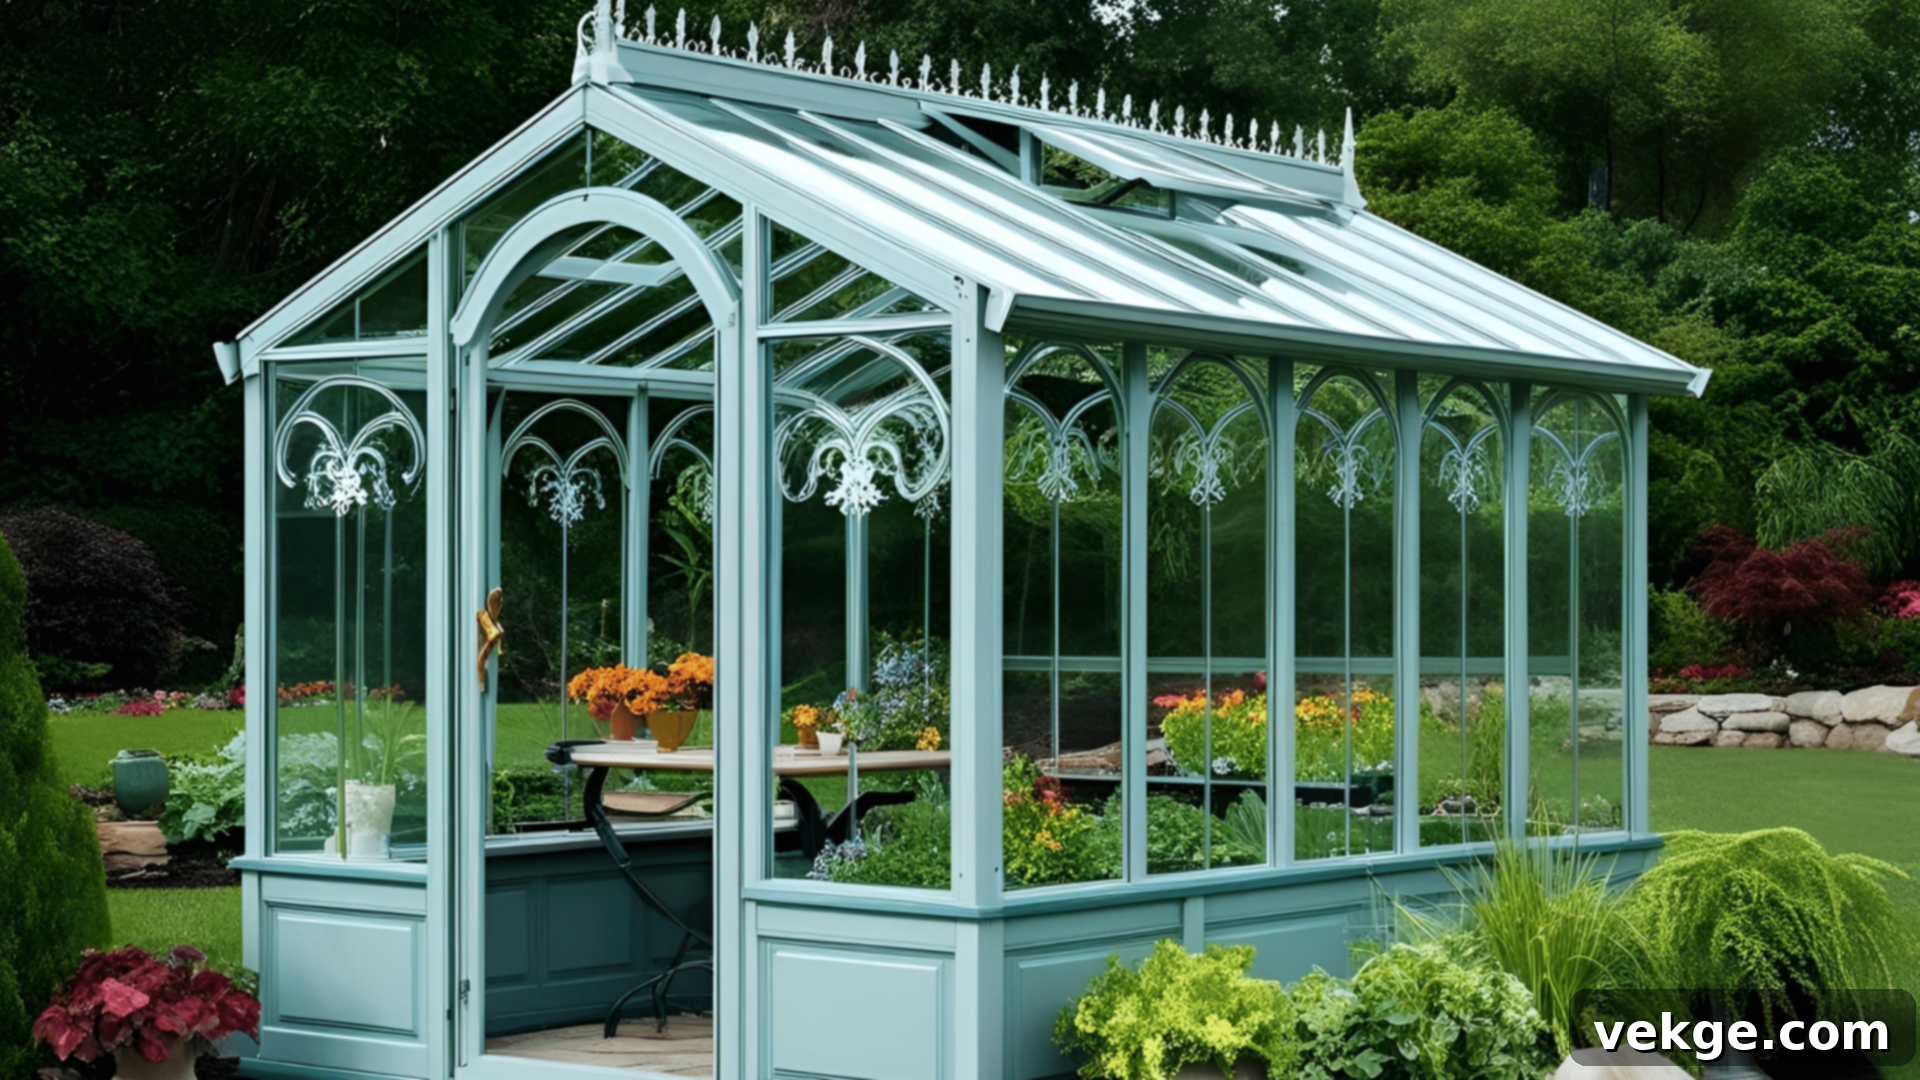
Victorian-style greenhouses are celebrated for their ornate details, decorative elements, and classic elegance, evoking a sense of timeless sophistication. These designs often incorporate specialized features such as a prominent center ridge line, decorative finials atop the roof, and intricately curved glass panels, all contributing to a grand and refined aesthetic. The use of many smaller glass panes separated by slender muntins is also characteristic.
Inside, the space typically features formal planting beds, decorative pathways, and often includes features like cold frames or propagation areas integrated into the design. While undeniably more complex and time-consuming to build, requiring a keen eye for detail and perhaps more specialized window types, these greenhouses transcend mere functionality to become stunning garden showpieces. Victorian designs are perfect for creating a peaceful retreat space that doubles as an exquisite growing area, pairing beautifully with formal garden layouts and historic homes.
Underground Greenhouse
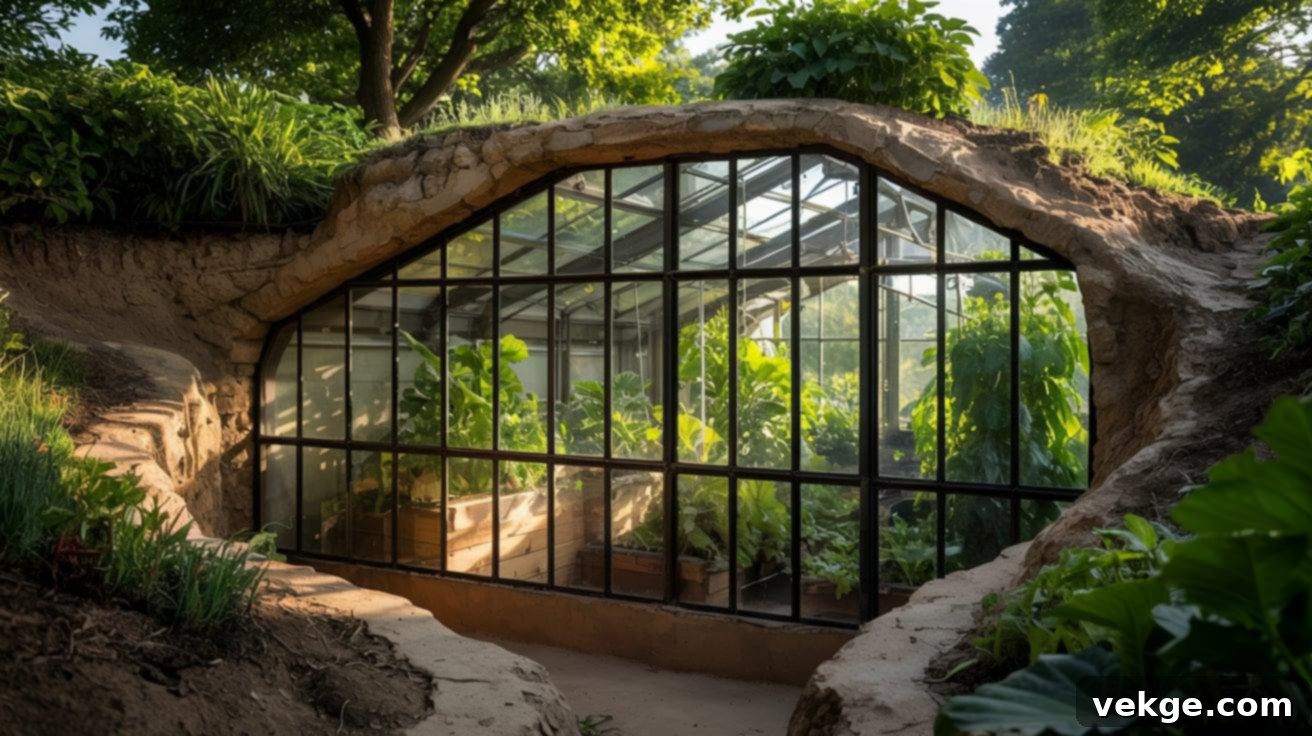
An underground, or earth-sheltered greenhouse, cleverly harnesses the ground’s natural insulating properties. By digging into a hillside or building the structure partially below ground level, these innovative greenhouses maintain remarkably steady temperatures throughout the year. The primary growing area is situated below the frost line, where the earth acts as a massive thermal battery, absorbing heat during warmer periods and releasing it when temperatures drop.
Typically, these designs feature large south-facing windows to capture maximum winter sunlight, while the remaining sides are surrounded by earth. This strategic placement means underground greenhouses require minimal supplemental heating in winter and stay refreshingly cool in summer without the need for extensive artificial cooling systems. They are particularly effective in extreme climates where conventional greenhouses would demand substantial energy inputs to maintain optimal conditions. Blending naturally into the landscape, underground greenhouses offer exceptional growing conditions with impressive energy efficiency, making them a sustainable choice for dedicated gardeners.
Comfort Tips: Making Your Greenhouse a Thriving Growing Space
Creating and maintaining the optimal environment within your greenhouse is paramount for the health and productivity of your plants, as well as for your own comfort while working. Here are some essential tips to help you effectively manage temperature, light, and moisture, transforming your greenhouse into a consistently thriving haven.
- Managing Heat with Proper Ventilation: To prevent overheating and drastically reduce the incidence of plant diseases caused by stagnant, humid air, ensure robust airflow. Install hinged windows, ideally on opposite walls for cross-ventilation. Consider automatic vent openers that operate based on temperature, providing hands-free climate control. Ridge vents are also excellent for allowing hot air to escape at the highest point.
- Winter Warmth Solutions: To maintain adequate warmth during colder months without excessive energy consumption, employ various strategies. Utilize thermal mass such as large, dark-colored containers of water or rocks, which absorb solar heat during the day and release it slowly at night. Small electric heaters with thermostats can provide supplemental warmth on the coldest nights. A simple, actively composting bin inside the greenhouse can also generate a surprising amount of heat. For gentle overnight warmth in smaller spaces, strings of old-fashioned C7 or C9 Christmas lights (the incandescent kind) can be surprisingly effective.
- Shade Management for Summer: During intense summer sun, plants can suffer from scorching. Install shade cloth (typically 30-50% shade factor) over the roof or sunniest sides to diffuse harsh light and reduce internal temperatures. Alternatively, strategically plant taller crops like corn or sunflowers outside the greenhouse to create natural, seasonal shading. Some gardeners even use whitewash paint on the exterior glass which can be washed off in fall.
- Smart Watering Systems: Efficient watering is key to plant health and water conservation. Install a drip irrigation system with programmable timers to deliver water directly to the plant roots, minimizing waste and ensuring consistent moisture. Self-watering containers are another excellent option. Additionally, set up a rainwater harvesting system to collect and store rainwater, providing a sustainable and chlorine-free water source for your plants.
- Practical Storage Solutions: A well-organized greenhouse enhances efficiency and enjoyment. Maximize space by installing hooks on walls or rafters for hanging tools like trowels, pruners, and gloves. A dedicated potting bench provides a comfortable workspace for mixing soil, transplanting, and starting seeds. Store supplies like seeds, fertilizers, and small pots in clearly labeled bins or shelves to keep everything tidy and easily accessible.
- Creating Comfortable Working Conditions: Make your greenhouse a pleasant place for yourself, not just your plants. Add a comfortable, weather-resistant chair or stool for resting, planning, or simply enjoying the tranquil environment. Install solar-powered lights for evening tasks or simply to extend your working hours on dark days. A small oscillating fan can improve air circulation and provide a cooling breeze for you while working, making the greenhouse an inviting space for both plants and gardeners alike.
Personalizing Your Greenhouse
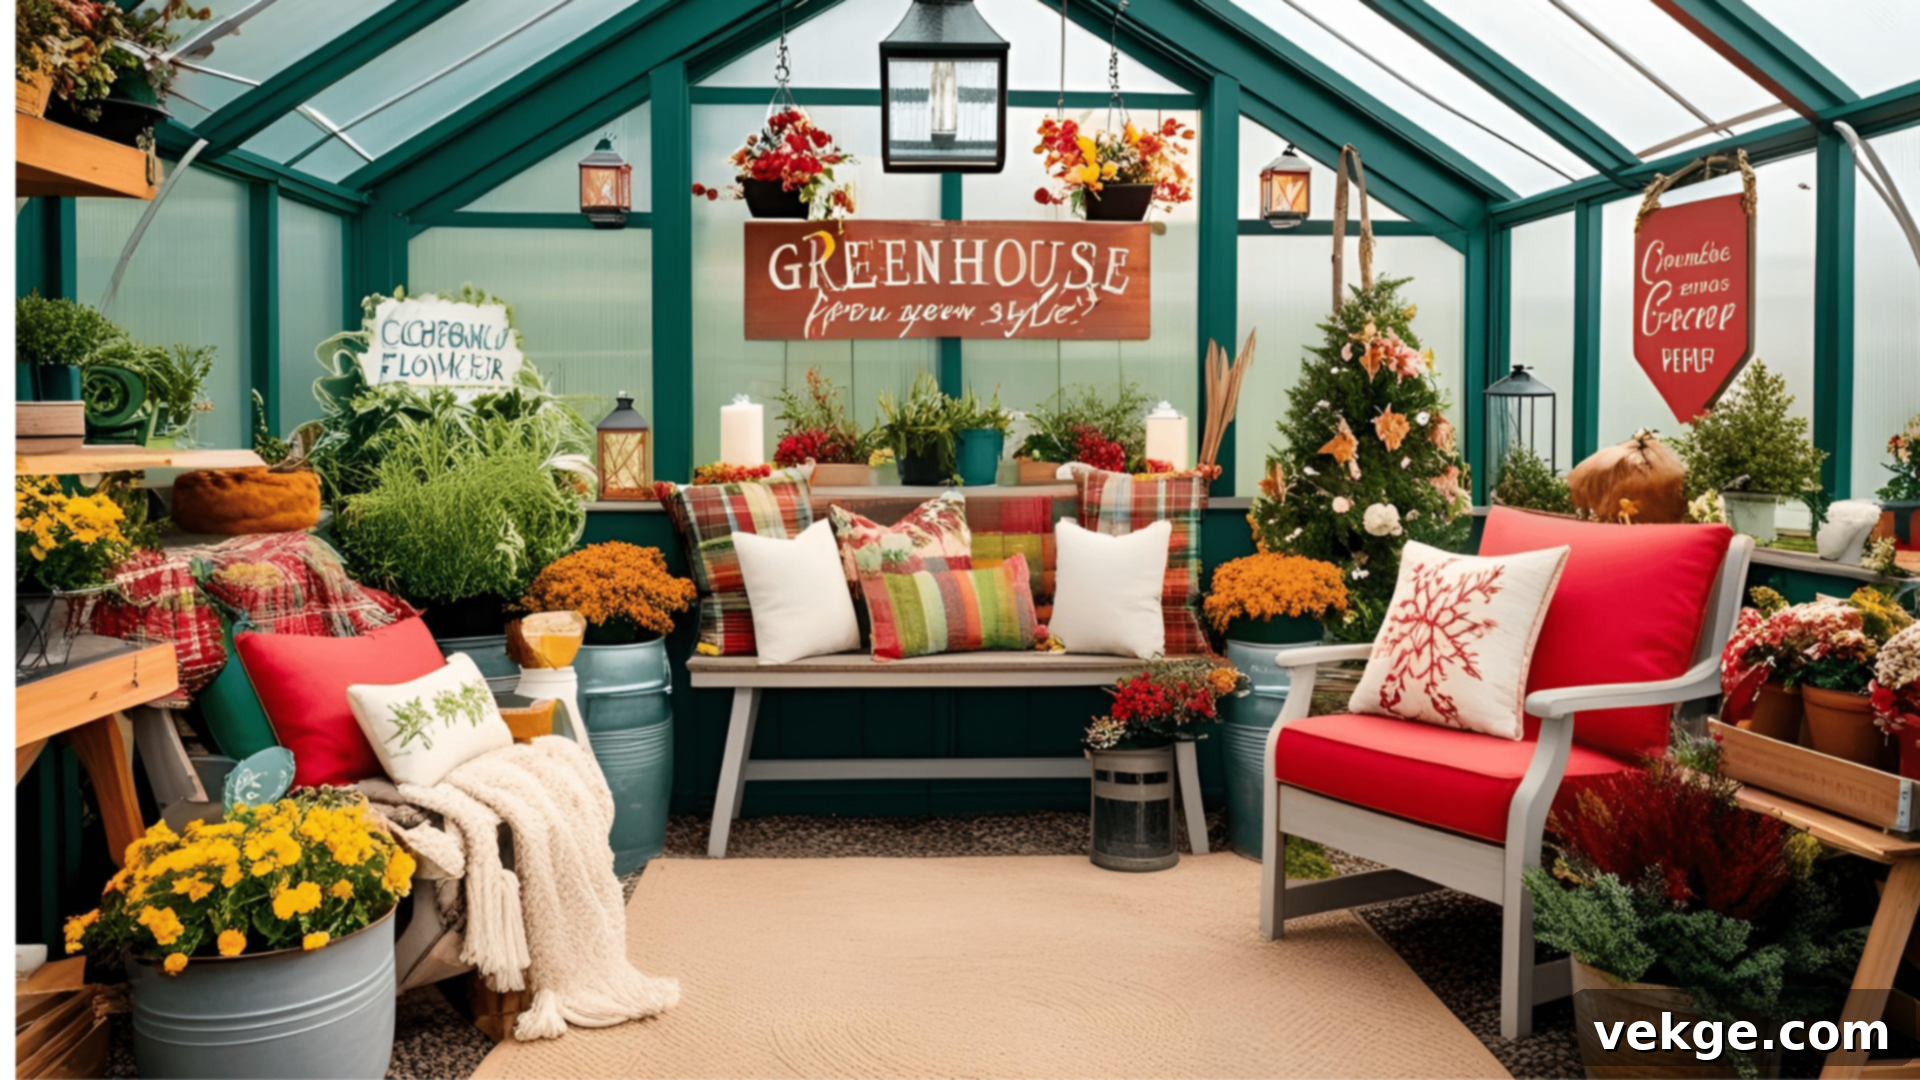
Your greenhouse is more than just a functional structure; it’s an extension of your home and garden, and it should reflect your unique style and personality. With a few thoughtful touches and creative ideas, you can transform a basic growing space into a truly special sanctuary where you’ll love spending time, watching your plants flourish.
Decorative Exterior Elements
Simple exterior enhancements can significantly boost your greenhouse’s curb appeal and character. Consider painting the wooden frame a color that either complements your home’s exterior or harmonizes with your garden’s overall theme – soft greens, muted blues, or earthy tones work wonderfully. A custom-made sign, perhaps with a charming name for your greenhouse, mounted above the door adds a personal touch. Along the front or sides, install window boxes filled with vibrant, seasonal flowers or trailing plants to soften the lines of the structure. Solar-powered lanterns or string lights placed strategically near the entrance or along the perimeter can create a magical, welcoming glow in the evening, turning your greenhouse into a delightful garden feature rather than just a utility building.
Creating a Welcoming Interior
Cultivate an interior that is as inviting as it is functional. Introduce comfort elements that make the space a joy to inhabit. A small, sturdy table paired with a comfortable chair can serve as a perfect planning spot for your gardening projects, or simply a place to enjoy a cup of coffee amidst your plants. Hang delicate wind chimes near an open door or window for gentle, soothing sounds that enhance the tranquil atmosphere. Replace mundane plastic pots with attractive, decorative containers made of terracotta, ceramic, or reclaimed materials. Invest in a beautiful, special watering can that brings you joy with every use. A weather-resistant rug or mat underfoot can add comfort and warmth, making gardening tasks more pleasant and transforming your greenhouse into a beloved spot you’ll want to visit daily.
Complementary Color Choices
Strategic color choices can dramatically impact the feel and appearance of your greenhouse. Opt for exterior colors that naturally blend with your garden setting; light blues and greens often harmonize beautifully with foliage and the sky. Inside, soft whites, creams, or pale yellows on interior wooden elements can help reflect more light onto your plants, promoting healthier growth and making the space feel brighter and more expansive. For a truly natural and rustic aesthetic, consider using clear seals or varnishes on the wood instead of opaque paints, allowing the natural grain to show through. If your greenhouse is close to your home, matching the door and trim colors to existing features on your house can create a cohesive and coordinated landscape design, making your greenhouse feel like an integral and intentional part of your property.
Practical Art Additions
Integrate garden-themed art that is specifically designed to withstand the unique conditions of a greenhouse – fluctuating temperatures, humidity, and sunlight. Weather-resistant metal sculptures or whimsical garden stakes can be placed effectively between plant groupings or in empty corners, adding visual interest. Mosaic stepping stones can introduce bursts of color and texture to floor areas, serving both a decorative and practical purpose. Sun-catchers hung from ceiling rafters will create beautiful, dancing light patterns as the sun moves across the sky. Seek out vintage garden tools to display artfully on walls, celebrating the history of gardening. A garden-themed wall clock can be both decorative and useful, helping you track time while absorbed in your horticultural pursuits. These artistic additions infuse personality, highlighting your passion for plants and gardening.
Seasonal Decorative Changes
Keep your greenhouse feeling fresh and relevant by refreshing its decor with the changing seasons. In the fall and winter, hang bundles of dried flowers, herbs, or ornamental grasses from rafters, bringing a touch of nature indoors. Add strings of solar-powered fairy lights for a cozy, ethereal glow during the shorter, darker winter days. During the holiday seasons, adorn window corners with pinecones, evergreen branches, or small festive ornaments. Regularly change out door wreaths to match current blooms or seasonal themes. Swapping out chair cushions or table covers with seasonally appropriate colors or patterns can also instantly update the look and feel of the space. These rotating decorations ensure your greenhouse remains dynamic, engaging, and beautifully connected to the natural cycles happening just outside its glass walls.
Maintenance Tips for a Long-Lasting Greenhouse
Regular and proactive maintenance is crucial to ensure your window greenhouse remains in top shape, providing an optimal growing environment for your plants for many years to come. Following these simple tips will help prevent small issues from escalating into costly problems and keep your sustainable growing space efficient and beautiful.
- Window Cleaning & Inspection: Clean all greenhouse windows at least twice a year, ideally in spring and fall. Use a solution of vinegar and water (e.g., 50/50 mix) for a streak-free shine. This not only maximizes light penetration, which is vital for plant growth, but also provides an opportunity to thoroughly inspect all window frames for any signs of rot, loose panes, or damage.
- Hardware Check: Periodically check all screws, bolts, and fasteners in your window frames and overall structure. Tighten any loose screws and ensure all hardware is securely in place. Also, clear away any accumulated debris, dirt, or leaves from window tracks and sills, as these can impede drainage and promote moisture build-up.
- Wood Preservation: For any exposed wooden frames, apply a high-quality wood preservative or sealant every two years. This protects the wood from moisture, UV damage, and rot. Promptly replace any cracked or broken glass panes; even small cracks can lead to significant heat loss, drafts, and compromise the structural integrity and temperature control within your greenhouse.
- Structural Integrity & Pest Control: Annually, conduct a comprehensive check of all structural hardware, tightening any components that may have loosened over time due to weather or natural settling. Pay close attention to the wooden framework for any signs of insect infestations, particularly termites or carpenter ants. Repaint or reseal all exposed wood surfaces every 2-3 years, depending on your climate, to maintain protection against the elements and prolong the life of your greenhouse.
- Foundation & Drainage: Keep the foundation areas around the base of your greenhouse clear of weeds, plants, and debris. This prevents moisture from building up against the wooden frame, which can lead to rot. Ensure that the gravel pad (or any other foundation type) allows for efficient drainage away from the structure.
- Seal Integrity: Inspect all caulking and seals around windows, doors, and roof panels twice yearly (e.g., before winter and before summer). Look for cracks, shrinkage, or areas where the caulk has pulled away. Replace old or compromised caulk as needed to maintain a tight, energy-efficient seal, preventing drafts, water leaks, and maintaining consistent internal temperatures.
- Roof and Shelf Care: If you live in a snowy region, promptly remove snow accumulation from the roof using a soft broom or brush to avoid excessive weight and potential damage to the structure or roofing panels. Inside, ensure that all shelves are adequately supported. Add extra wooden supports or brackets under shelves, especially those holding heavy pots or propagation trays, to prevent sagging or collapse over time.
Common Mistakes to Avoid When Building Your Window Greenhouse
Embarking on a DIY greenhouse project with old windows is exciting, but being aware of common pitfalls can save you significant time, money, and frustration. Many first-time builders encounter similar challenges. Learning from these frequently made mistakes will help you create a more robust, efficient, and long-lasting growing space right from the start.
- Using Too-Small Windows: While any old window can be tempting, using an excessive number of very small windows can significantly limit your usable interior growing space. It also makes temperature control more challenging due to the increased surface area of framing materials relative to glass. Larger windows maximize light penetration and create a more open, functional, and aesthetically pleasing interior.
- Mismatched Window Sizes: Attempting to force windows of vastly different sizes into a single frame complicates the entire building process. This often leads to an uneven structure, more numerous and harder-to-seal gaps, and potential leaks in the finished greenhouse. It’s far more efficient to sort windows by size and design your frame to accommodate similar-sized panes, or carefully plan for distinct sections for different window dimensions.
- Inadequate Ventilation: A greenhouse without proper ventilation is a recipe for disaster. Trapped heat and high humidity create ideal conditions for fungal diseases (like powdery mildew), pest infestations, and can literally cook your plants on a sunny day. Always integrate at least one large opening window (or multiple smaller ones) and consider ridge vents or automated vent openers into your design to ensure consistent air exchange.
- Incorrect Site Placement: Placing your greenhouse in a shaded spot or an area with limited winter sun severely restricts its effectiveness. Research your yard’s sun patterns throughout different seasons. The ideal spot receives maximum sunlight in winter (south-facing) and might benefit from some dappled shade during the intense summer afternoons to prevent overheating. Consider prevailing winds as well.
- Weak or Uneven Foundations: A stable foundation is non-negotiable. A weak or uneven base will lead to shifting and settling of the structure over time, which can crack glass panes, compromise seals, and create serious structural integrity issues. Take the time to properly level and compact your gravel pad, or construct a sturdy concrete or treated timber foundation to prevent future problems.
- Inadequate Sealing: Gaps and cracks around windows, at wall joints, and where the roof meets the walls are major sources of heat loss and pest entry. Rushing the sealing process is a common mistake. Dedicate ample time to meticulously caulk all joints, seams, and gaps with a high-quality, weather-resistant sealant. This ensures your greenhouse is as airtight and watertight as possible, crucial for efficient temperature regulation and pest exclusion.
- Ignoring Local Building Codes: Depending on the size and permanence of your greenhouse, local building codes or homeowner association rules might apply. Failing to check these regulations beforehand can lead to expensive modifications or even the forced removal of your structure. Always verify any requirements before starting construction.
Conclusion
Building a greenhouse from old windows is a truly rewarding endeavor that offers a multitude of benefits. Beyond the immense satisfaction of creating something useful and beautiful with your own hands from recycled materials, you gain the ability to enjoy fresh plants year-round, regardless of the outdoor climate. Your new greenhouse will quickly become a special, vibrant place in your garden, a personal sanctuary where your horticultural passions can flourish.
While the project may require several dedicated weekends and a degree of patience, the tangible results are unequivocally worth the effort. Your plants will thrive in their protected, controlled environment, and you, in turn, will enjoy countless hours of peaceful gardening pleasure, cultivating everything from delicate seedlings to robust vegetables.
Remember that consistent, regular maintenance is key to ensuring your greenhouse functions optimally and serves you well for many years to come. By following the detailed steps and expert tips outlined in this guide, and infusing a bit of your own creativity, your custom-built window greenhouse will not only enhance your gardening capabilities but also become a cherished and enduring feature of your home and landscape.
