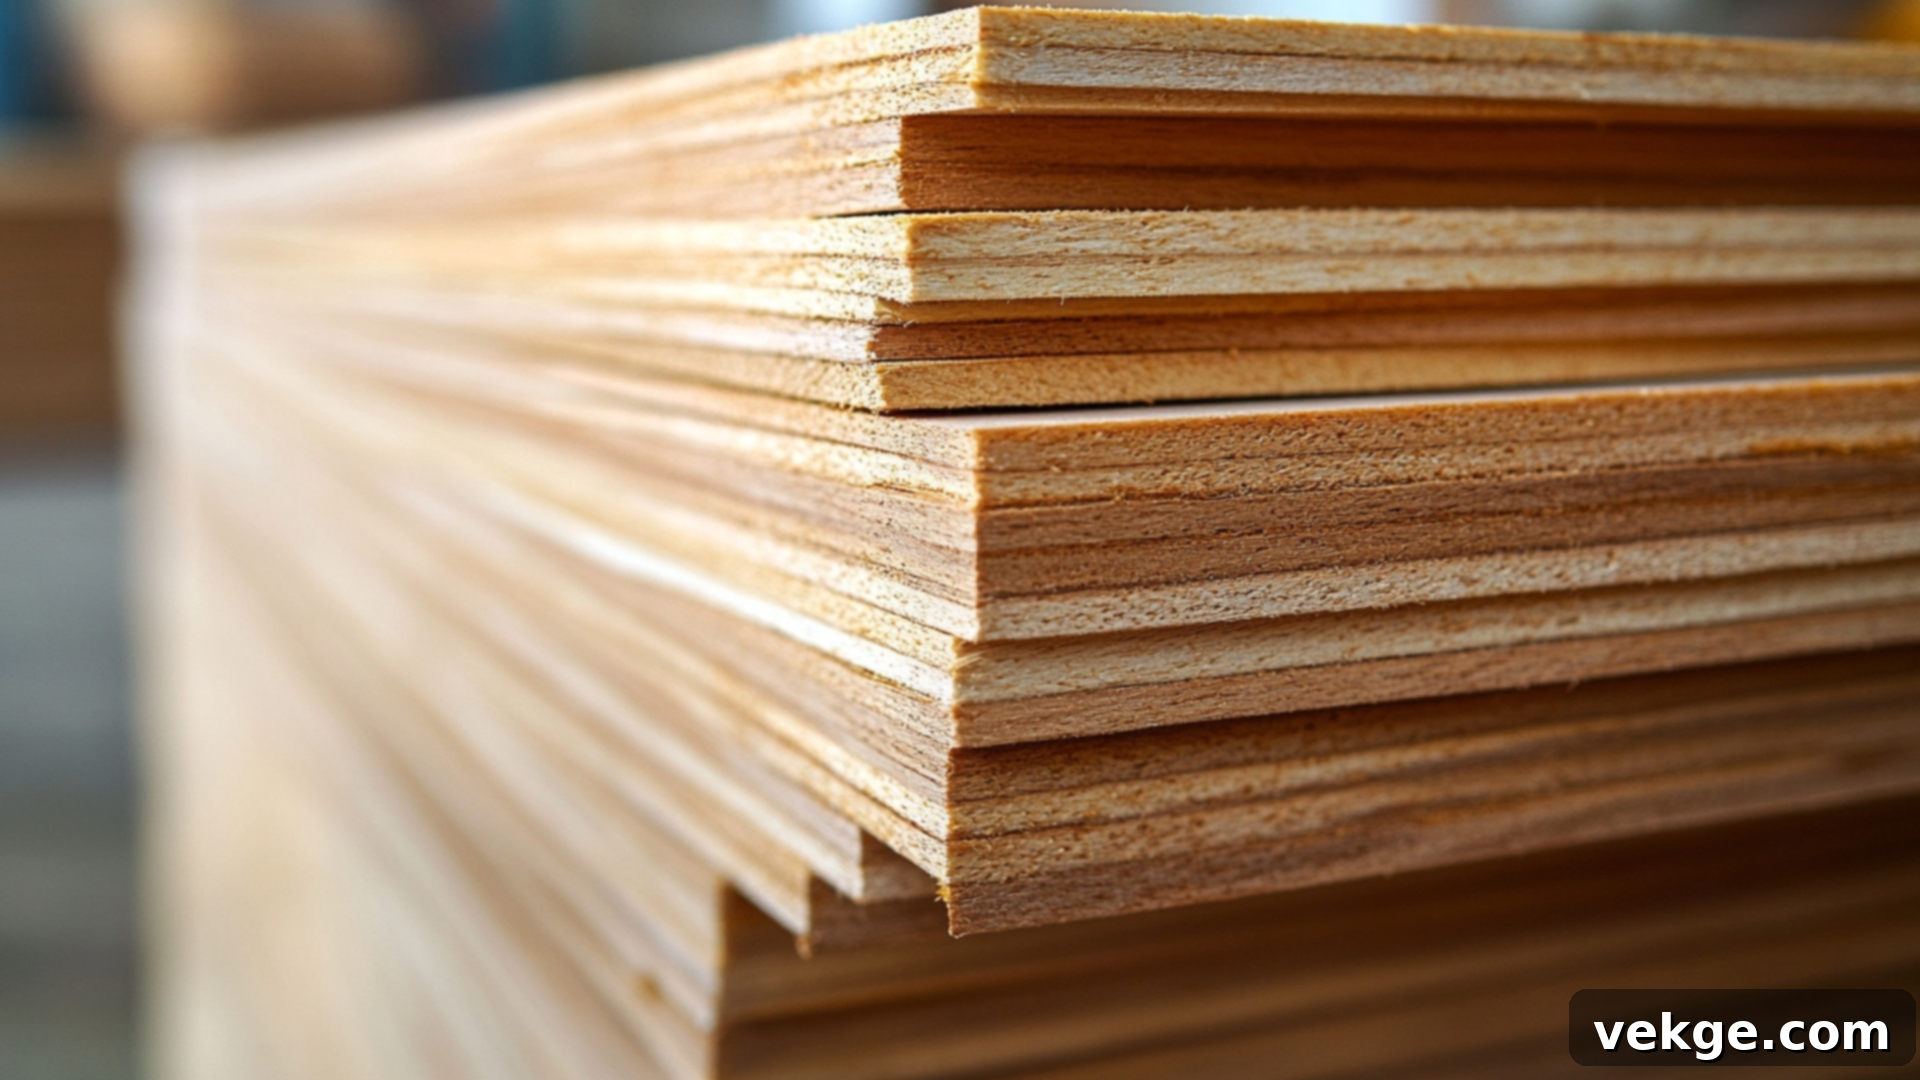
Mastering Your Floors: A Comprehensive Guide to Subfloor Types, Costs, & Installation
Have you ever taken a step across your living room floor only to be met with an unwelcome creak, or perhaps a slight dip that suggests something isn’t quite right beneath your feet? It’s a common experience, and it often leads to a nagging question: “What’s really going on down there?” That moment of curiosity often reveals a foundational truth in home construction: the subfloor matters far more than most of us realize.
Whether you’re embarking on a major home renovation, planning to replace worn-out flooring, or simply aiming to understand the anatomy of your home, delving into the world of subfloors is an essential step. Knowing the different types of subfloor materials available, their unique properties, and their ideal applications can save you significant time, money, and future headaches. This guide is crafted to demystify what lies beneath your finished floors, providing clear, straightforward insights without the confusing jargon, empowering you to make informed decisions for your home.
Within these pages, you’ll gain a thorough understanding of the most common subfloor materials used today, along with insights into what you might uncover in older properties. We’ll explore the advantages and disadvantages of each, help you navigate cost comparisons, and provide practical advice on selecting the optimal subfloor for your specific needs. So, let’s uncover the unsung hero supporting your entire flooring system and ensure it’s performing its vital role effectively.
The Unseen Foundation: Why Subflooring Is So Important
Often overlooked because it’s completely hidden from view, the subfloor is the unsung workhorse of your home’s flooring system. It serves as the critical layer situated directly between your visible floor covering (such as hardwood, tile, carpet, or laminate) and the structural floor joists. Despite its invisibility, the subfloor profoundly impacts the comfort, integrity, and longevity of your entire floor system, influencing how your floors feel underfoot, the sounds they make, and how well they withstand the test of time.
A properly installed and robust subfloor is fundamental for creating a smooth, stable, and level surface upon which your chosen flooring can rest. Without this solid base, floors can quickly develop an uneven or “soft” feel, become prone to annoying squeaks, or even experience premature cracking and damage. Beyond just providing a flat surface, the subfloor plays a crucial role in distributing weight evenly across the floor joists. This prevents localized stress points, significantly reduces the likelihood of sagging or shifting, and contributes to the overall structural rigidity of your home.
Furthermore, subflooring adds substantial strength and stability to your home’s structural framework. It acts as a critical barrier, offering a degree of protection against moisture infiltration from below and potential damage from above. If water manages to penetrate and the subfloor is not adequately resistant or properly installed, you could face severe issues such as mold growth, warping of materials, rot, and widespread structural compromise. Therefore, while it may be hidden, the subfloor performs a demanding job, safeguarding your investment and ensuring the comfort and safety of your living spaces.
Exploring Modern Subfloor Materials: What’s Under Your Feet?
Before you commit to a specific type of finished flooring, it’s incredibly beneficial to understand the various subfloor materials commonly used in modern construction and renovation. Each material offers distinct characteristics in terms of strength, moisture resistance, cost, and ease of installation. Here’s a detailed look at the most prevalent subfloor options and their key attributes:
1. Plywood Subfloor
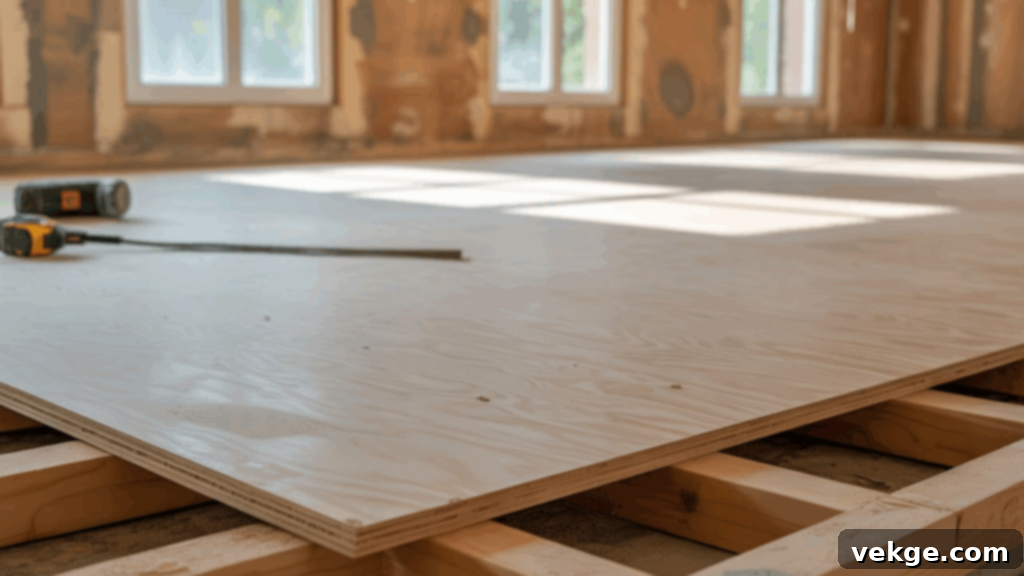
Plywood is a perennial favorite in subfloor construction, renowned for its excellent strength-to-weight ratio. It is manufactured by laminating several thin layers, or “plies,” of wood veneer with strong adhesives. Each layer is oriented with its wood grain running perpendicular to the adjacent layers, a construction method that significantly enhances its dimensional stability and resistance to warping and shrinking. Typically available in sheets of 4×8 feet, plywood comes in various thicknesses, with 3/4-inch being a common choice for subflooring.
Its robust nature makes plywood an ideal choice for a wide range of finished flooring types, including hardwood, carpet, laminate, and especially tile, which demands a very rigid base. Plywood holds fasteners securely, ensuring a squeak-free installation. However, it tends to be more expensive than other panel options like OSB. While it offers a reasonable degree of moisture resistance, prolonged exposure to water can cause delamination and weakening, making proper sealing and immediate spill cleanup crucial.
2. OSB (Oriented Strand Board) Subfloor
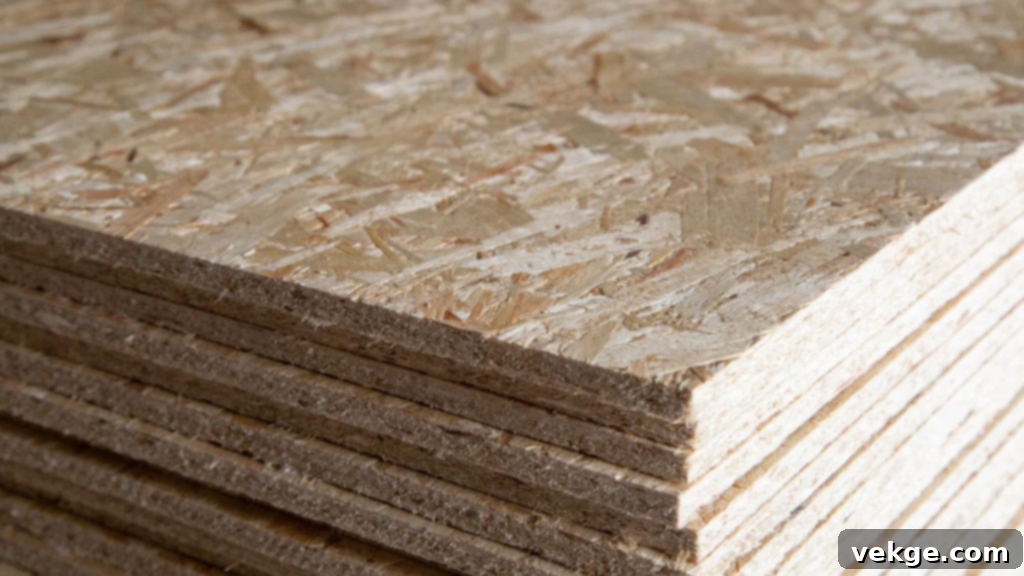
OSB, or Oriented Strand Board, has become a formidable competitor to plywood, particularly favored for its cost-effectiveness and structural strength. It is engineered from numerous precisely cut wood strands, typically from fast-growing trees, which are mixed with synthetic resins and waxes, then pressed into dense, continuous mats under high heat and pressure. The strands are strategically oriented in layers, with outer layers running parallel to the panel’s length and inner layers perpendicular, much like plywood, to optimize strength and stiffness.
OSB provides a strong, flat, and uniform surface, making it an excellent and popular choice for various flooring types, including carpet, laminate, and even tile, provided it meets deflection requirements. Its primary advantage is its lower cost compared to plywood, offering a budget-friendly yet reliable solution for many new constructions and renovations. A key consideration for OSB, however, is its vulnerability to moisture. If exposed to significant or prolonged water, OSB can swell, particularly at the edges, which can lead to unevenness and compromises in the finished floor above. Proper installation with appropriate expansion gaps and a robust moisture management strategy are essential.
3. Particle Board Subfloor
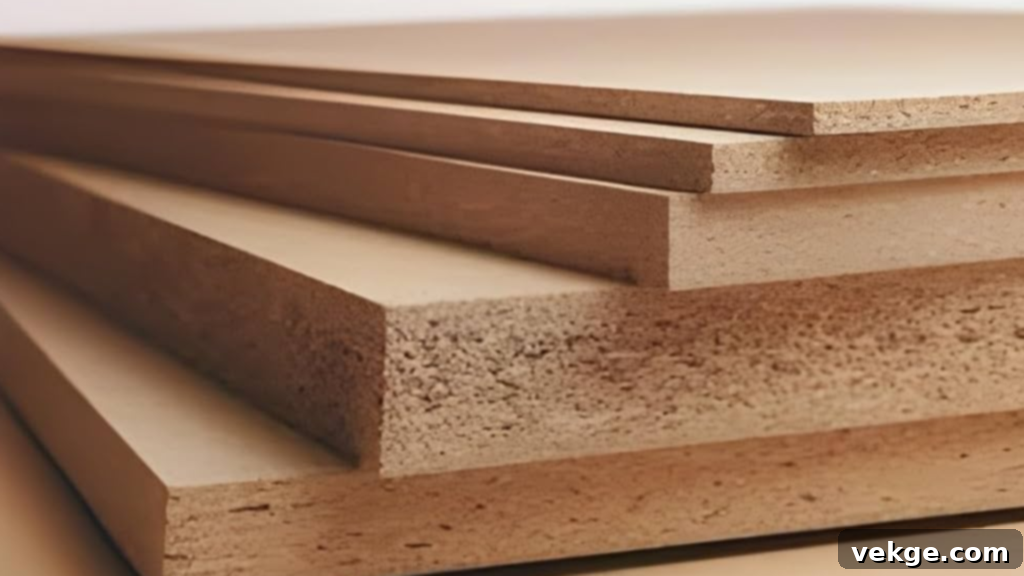
Particleboard is an engineered wood product made from wood chips, sawdust, and other wood waste materials, which are compressed together with resin under high pressure and heat. It is known for being lightweight and the most economical option among wood-based panels. Due to its low cost, it has historically been a choice for low-budget flooring applications, primarily as an underlayment over a more structural subfloor or in areas with very low moisture exposure and minimal foot traffic.
However, particleboard is significantly weaker and less dense than both plywood and OSB. Its most notable drawback is its extremely poor resistance to moisture; even minimal exposure to water can cause it to swell irreversibly, lose its structural integrity, and rapidly fall apart. Consequently, it is generally not recommended as a primary structural subfloor in modern residential construction, especially in damp areas like bathrooms, kitchens, or basements. Its use is largely confined to temporary applications or as an economic underlayment where structural support is already provided by another material.
4. Concrete Subfloor
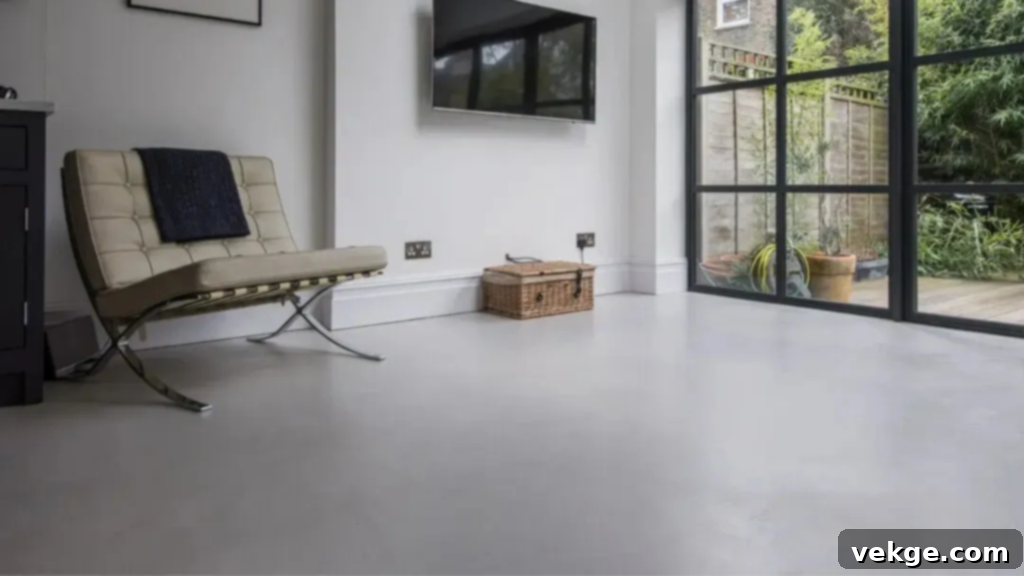
Concrete subfloors are a staple in homes built on slabs, basements, or ground floors, offering exceptional durability and structural stability. Poured as a solid slab, concrete is virtually impervious to rot, warping, and insect damage, and it can withstand heavy foot traffic and significant weight without issue. Its inherent properties make it an excellent base for hard surface flooring materials such as tile, natural stone, and certain types of engineered wood or vinyl that can be directly adhered.
One of concrete’s key advantages is its thermal mass, which makes it highly compatible with radiant floor heating systems. However, concrete can feel inherently hard and cold, especially without a finished floor or radiant heating. It also requires careful attention to moisture, as concrete can wick moisture from the ground. Therefore, a proper moisture barrier or vapor retarder is almost always necessary before installing most finished floor coverings to prevent issues like mold, adhesive failure, or warping. Preparation often involves grinding or leveling compounds to ensure a perfectly flat surface.
5. Engineered Wood Panels Subfloor
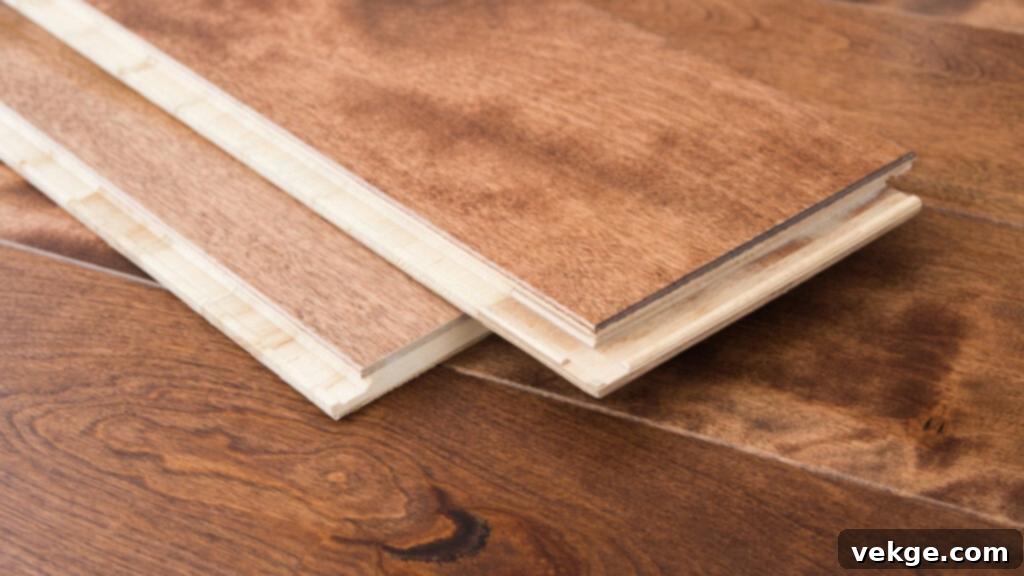
Engineered wood panels, often distinct from standard plywood or OSB, represent an advanced category of subflooring designed for superior performance and stability. These panels are typically manufactured by layering multiple wood plies or wood composites (like strands or veneers) and bonding them together with advanced, moisture-resistant adhesives under intense heat and pressure. Examples include specialized panels like laminated veneer lumber (LVL) or proprietary subfloor products engineered for specific applications.
These panels are crafted to offer exceptional strength, rigidity, and dimensional stability, making them particularly suitable for supporting heavy finished flooring materials or for use in high-performance areas where structural integrity is paramount. They exhibit excellent resistance to warping, cupping, and twisting, providing a remarkably flat and consistent base. While they generally come at a higher cost than traditional plywood or OSB, their enhanced durability and long-term value often justify the investment in demanding spaces, ensuring a robust and stable foundation for decades.
Subflooring in Older Homes: Uncovering Hidden Layers
Venturing into the subfloor of an older home often feels like a journey through time, revealing construction methods and materials that predate modern standards. Many older properties were built with subfloor materials and techniques that simply don’t hold up as well over generations as contemporary solutions do. Common culprits include thin plank boards, or sometimes even the finished floorboards themselves acting as the primary structural layer. These older systems are frequently the source of familiar complaints such as persistent creaks, noticeable shifts, uneven surfaces, or even significant rot if moisture has compromised the structure over the years.
The subfloor methods employed in historical homes often relied on readily available lumber and simpler installation practices that may not meet today’s rigorous building codes and expectations for structural stability and quietness. This can present significant challenges when undertaking modern flooring updates, as the existing base might be unstable, prone to movement, or simply inadequate to support heavier or more rigid new flooring types like tile or certain hardwoods. It’s not uncommon to uncover substantial unevenness, varying board thicknesses, or extensive water damage hidden beneath layers of old carpet or worn-out vinyl.
Before installing any new flooring in an older home, a thorough and meticulous inspection of the existing subfloor’s condition is absolutely paramount. Understanding the specific types of subfloor materials and construction practices prevalent in older properties is key to accurate planning, budgeting, and avoiding costly unforeseen problems down the line. Investing time in this initial assessment can prevent future disappointments and ensure your new floors perform beautifully for years to come.
Common Subfloor Types Found in Old Houses
Identifying the specific type of subfloor concealed beneath your old home’s finished floors is a crucial first step when planning any repair, renovation, or upgrade. The materials and methods used reflect the era of construction and will dictate the best approach for modernizing or restoring your floors. Here’s a closer look at the most common subfloor types encountered in older houses:
1. Wooden Planks
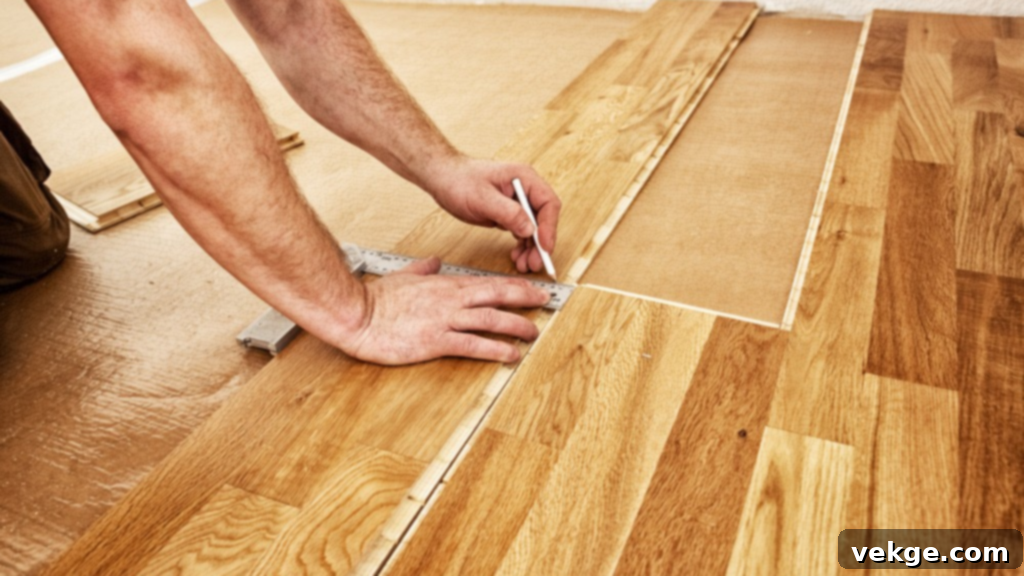
Wooden planks represent one of the oldest and most fundamental forms of subflooring, widely utilized in homes constructed prior to the mid-20th century. These planks, often rough-sawn and varying in width (typically 6 to 12 inches), were usually laid diagonally or perpendicular directly over the floor joists. In many instances, these planks served a dual purpose, acting as both the structural subfloor and the finished flooring layer, especially in utility areas or where a rustic aesthetic was desired.
While these original planks contribute significantly to a home’s vintage character, they may lack the rigidity and flatness required for many modern finished flooring materials. Over time, drying and movement can lead to gaps between planks, squeaks, and unevenness. For contemporary flooring installations, these plank subfloors often require additional preparation, such as shimming to level the surface, adding a layer of plywood or OSB for reinforcement, or filling gaps to prevent movement and noise. They are excellent candidates for restoration if the goal is to retain the original floor, but typically need significant work for new installations.
2. Tongue-and-Groove Boards
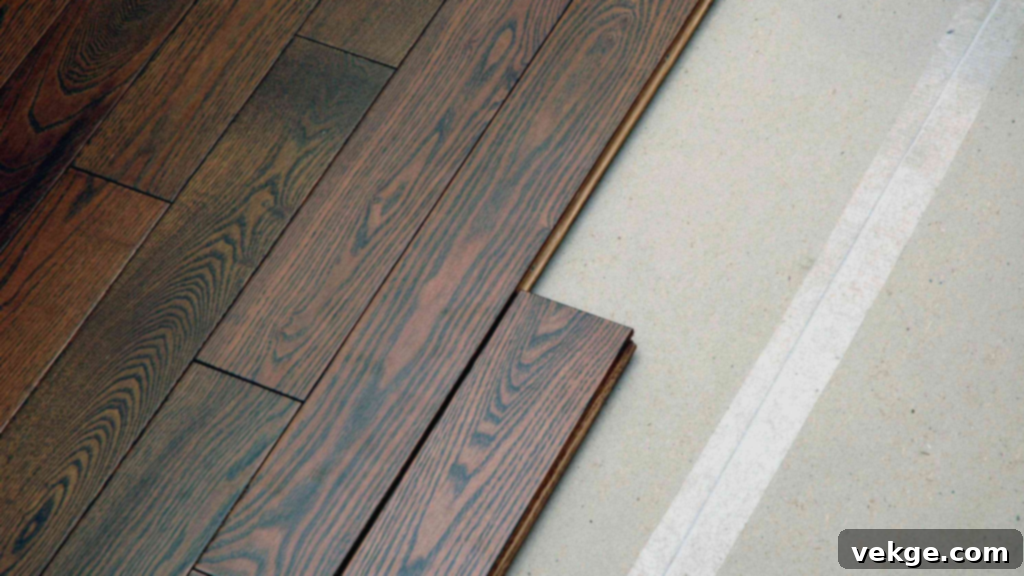
A step up in sophistication from simple planks, tongue-and-groove boards were a popular subfloor choice in many older homes, particularly in more prominent living areas. This system involves boards with a “tongue” milled into one edge and a corresponding “groove” on the opposite edge, allowing them to interlock tightly when installed. This interlocking mechanism creates a much stronger, more stable, and more unified subfloor surface compared to individual planks, significantly reducing movement and squeaks.
These boards typically hold up exceptionally well over time, retaining much of their original structural integrity. They are often an excellent foundation for preserving the classic charm of older spaces. However, even with their superior stability, tongue-and-groove subfloors in old homes may still exhibit some wear and tear, minor unevenness, or gaps that have developed due to decades of seasonal expansion and contraction. Before installing new flooring, they might require professional sanding, sealing, minor repairs, or an additional thin underlayment to achieve the perfectly flat and smooth surface demanded by modern flooring materials.
3. Cement or Stone Slabs
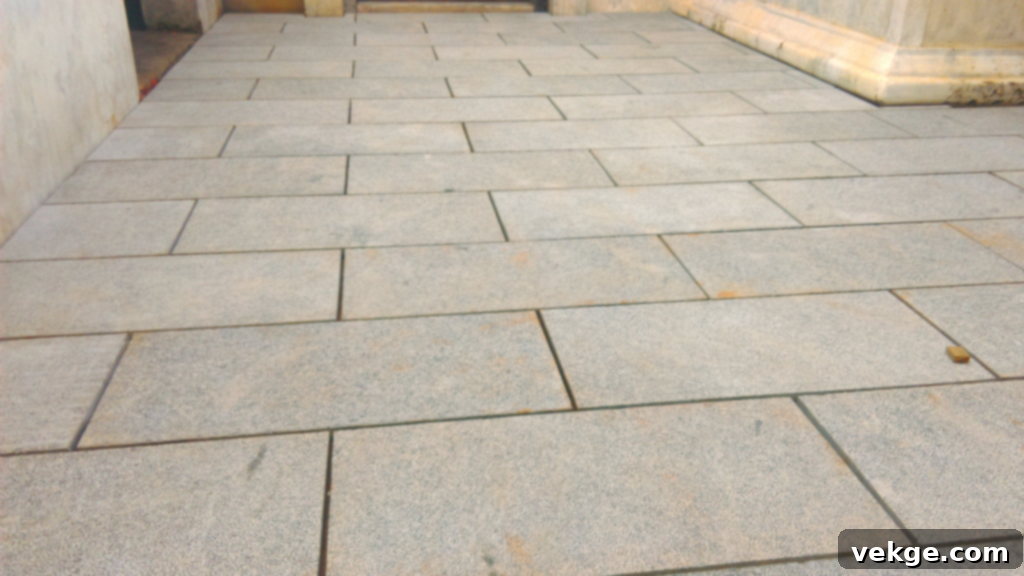
In certain older homes, especially those with basements, ground-level rooms, or properties built on concrete foundations (a practice that became more common in the mid-20th century), you might encounter solid cement or stone slab subfloors. These incredibly durable materials offer exceptional moisture resistance and resilience, making them ideally suited for areas prone to dampness or heavy use. They are fire-resistant and provide a very solid, unyielding base for flooring.
However, the very properties that make them durable – their hardness and density – can also present challenges. Cement or stone slabs tend to be cold underfoot and lack the flexibility or give of wood-based subfloors. Modern finished flooring, particularly resilient materials like hardwood or luxury vinyl planks, often requires a specialized moisture barrier, a dedicated underlayment, or even a floating subfloor system to properly adhere, provide thermal insulation, or add comfort. Preparing these surfaces often involves grinding to achieve a level surface and applying appropriate primers or sealers.
4. Original Hardwood Acting as Subfloor (Older Construction)
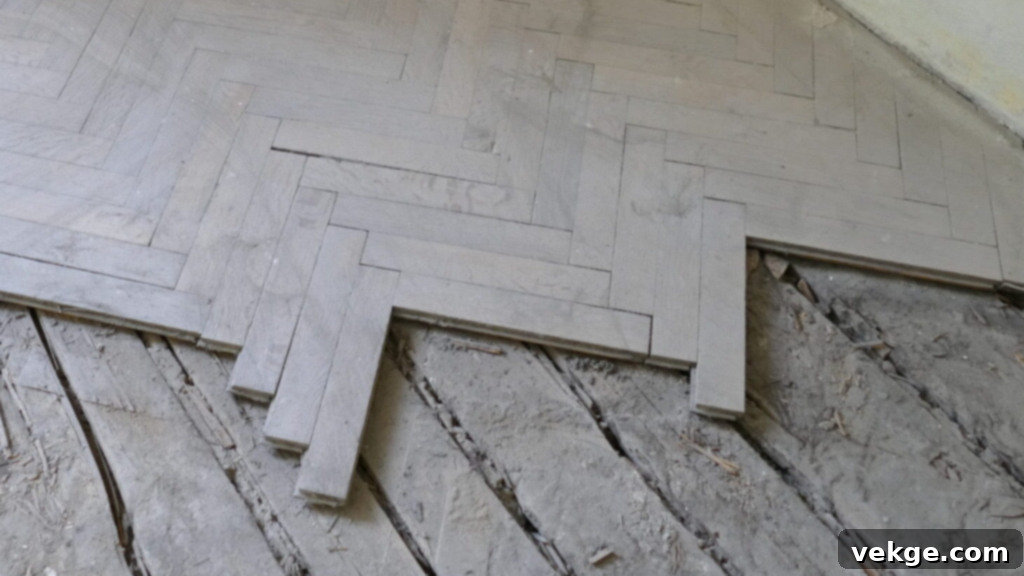
A unique scenario frequently found in older homes, particularly from the early to mid-20th century, involves instances where the finished hardwood floor was laid directly onto the floor joists, essentially acting as both the subfloor and the visible surface. This construction method foregoes the separate subfloor layer common in contemporary building practices. These floors often possess immense historic charm and a beautiful, original aesthetic, reflecting the craftsmanship of their era.
While visually appealing, these hardwood floors, when serving a dual subfloor role, can be prone to issues over time. They may develop squeaks, show increased movement, or weaken, especially if exposed to fluctuating moisture levels or sustained heavy use without the underlying support of a dedicated subfloor. If you plan to install new flooring over such a setup, a thorough structural assessment is crucial. It often necessitates adding a layer of plywood or OSB directly over the existing hardwood to create a stable, flat, and rigid subfloor that can adequately support modern flooring materials and extend the life of your new installation.
Subfloor Cost Comparison: Understanding Your Investment
The cost of subfloor materials can vary significantly, representing a notable portion of your overall flooring project budget. These prices are typically quoted per square foot and can fluctuate based on material quality, thickness, market demand, and your geographic location. Here’s a general breakdown of common material costs:
- Plywood: $1.50 – $3.00 per square foot
- OSB: $1.00 – $2.50 per square foot
- Particle Board: $0.50 – $1.50 per square foot
- Concrete (new pour): $4.00 – $7.00 per square foot (this often includes more than just material, like labor)
- Engineered Wood Panels: $2.50 – $5.00 per square foot
- Cement Board: $3.00 – $6.00 per square foot (primarily used as an underlayment for tile over a structural subfloor)
If you’re working with a tight budget, OSB and particleboard typically offer the most affordable upfront costs. However, it’s critical to remember their limitations, particularly particleboard’s poor performance in damp environments, which could lead to costly repairs down the line. For projects demanding superior strength, dimensional stability, or moisture resistance, investing in engineered wood panels or cement board (for specific applications) can provide better long-term value, even with a higher initial price tag.
Choosing the right subfloor isn’t merely about finding the cheapest option; it’s about evaluating the long-term value. Paying a bit more upfront for a material that offers enhanced durability, better moisture protection, and a more stable foundation can significantly reduce future expenses related to repairs, replacements, and potential damage to your finished flooring. Always factor in the performance requirements of your specific room and the expected lifespan of your flooring when considering the cost.
Choosing the Right Subfloor for Your Project: Key Considerations
Selecting the optimal subfloor is one of the most critical decisions in any flooring project, directly impacting the finished floor’s performance, longevity, and appearance. The “right” subfloor isn’t a one-size-fits-all answer; it depends heavily on several interconnected factors specific to your space and your renovation goals. Careful consideration of these elements will guide you to the best choice:
- Room Function and Moisture Exposure: This is paramount. For high-moisture areas like bathrooms and kitchens, materials with superior water resistance are non-negotiable. Cement board is an excellent choice as an underlayment over a structural subfloor for tile in these spaces. Sealed plywood or specially treated OSB can also be considered, but always with a robust moisture barrier. Basements, which are inherently prone to dampness, often benefit most from concrete slabs (with proper vapor barriers) or specialized treated subfloor panels designed to withstand humid conditions without degrading.
- Type of Finished Flooring: Different floor coverings have unique subfloor requirements. Tile and natural stone demand an extremely rigid and stable subfloor with minimal deflection to prevent cracking; cement board over plywood or OSB, or a concrete slab, are ideal. Hardwood and engineered wood floors need a flat, stable, and smooth surface that holds fasteners well, making plywood or high-grade OSB suitable. Laminate and vinyl planks are more forgiving but still require a level and smooth base to prevent dips and unevenness.
- Traffic Levels: In high-traffic areas like hallways, living rooms, and entryways, a strong and durable subfloor material such as thick plywood or engineered wood panels will hold up better over time, resisting wear, movement, and maintaining stability. For low-traffic areas or areas where an existing structural subfloor is sound, a thinner underlayment might suffice.
- Local Climate and Environmental Conditions: If you live in a region with high humidity or significant temperature fluctuations, selecting subfloors that are engineered to resist swelling, warping, and mold growth is crucial. Moisture-resistant OSB or treated plywood can be beneficial, and proper ventilation and HVAC control are equally important. In extremely dry climates, while moisture may be less of a direct concern, dimensional stability to prevent gapping is still vital.
- Budget and Long-Term Value: While initial cost is a factor, consider the long-term value. Investing in a higher-quality, more appropriate subfloor upfront can prevent expensive repairs, replacements, and headaches down the road. Balancing cost with the performance requirements of your specific project is key to a successful outcome.
- Sound Deadening Requirements: If noise transfer is a concern, consider subfloor systems that offer acoustic dampening properties or incorporate specialized sound-reducing underlayments in conjunction with your subfloor.
Ultimately, choosing the right subfloor involves a holistic assessment of your space, the desired finished flooring, the environmental conditions, and your budget. This thoughtful approach ensures your floors not only look great but also perform optimally and last for many years, providing comfort and stability underfoot.
Installation Tips and Common Mistakes to Avoid
Proper subfloor installation is not merely a step in your flooring project; it’s the foundation of its success. Taking the time to do it right can prevent a multitude of problems, from annoying squeaks to structural failures, significantly extending the life and comfort of your finished floors. Here are essential tips for a flawless installation and common mistakes to actively avoid:
Essential Installation Tips:
- Start with an Impeccably Clean and Level Surface: Before laying any subfloor panels, ensure that your floor joists are clean, free of debris, and most importantly, level. Use shims where necessary to correct any significant variations in joist height. An uneven foundation will inevitably lead to an uneven, problematic finished floor.
- Use the Correct Fasteners and Adhesives: Employ subfloor-specific screws (not just nails) that are designed to resist pulling out and minimize squeaks. Combine fasteners with a high-quality construction adhesive specifically formulated for subflooring. Apply a generous bead of adhesive to the joists before laying each panel, and secure with screws every 6-8 inches along the edges and every 12 inches in the field of the panel.
- Leave Appropriate Expansion Gaps: Wood-based subfloor panels (plywood, OSB, engineered wood) will naturally expand and contract with changes in temperature and humidity. It is critical to leave small gaps (typically 1/8 inch or the thickness of a nail) between panel edges and at walls. Failure to do so can lead to buckling, bulging, and an uneven surface.
- Do Not Skip the Moisture Barrier When Needed: In areas prone to moisture, such as basements, bathrooms, or ground-level slabs, a robust moisture barrier or vapor retarder is non-negotiable. This could be polyethylene sheeting, a liquid-applied membrane, or specialized underlayment, depending on the subfloor type and finished flooring. This crucial step prevents moisture-related damage like mold, warping, and adhesive failure.
- Double-Check for Loose Spots Before Finishing: Once your subfloor panels are installed, walk across the entire surface. Listen for any squeaks and feel for any soft spots or movement. Address these immediately by adding more screws or shims as needed. This final inspection ensures a solid, quiet base before you lay your expensive finished flooring.
Common Mistakes to Avoid:
- Not Acclimating Materials: Allow subfloor panels to acclimate to your home’s environmental conditions for several days before installation. This reduces post-installation movement.
- Improper Fastener Spacing: Inconsistent or insufficient fastener spacing can lead to panels lifting, squeaking, and a less rigid floor.
- Ignoring Damaged Joists: Never install new subfloor over compromised, rotten, or severely damaged floor joists. Repair or replace them first.
- Using the Wrong Subfloor Thickness: Always ensure your subfloor meets minimum thickness requirements for your joist spacing and chosen finished flooring type.
- Rushing the Job: Patience and attention to detail during subfloor installation will pay off immensely, saving you from frustrating and costly fixes later on.
Taking your time and adhering to these installation best practices will create a strong, stable, and long-lasting foundation for your entire flooring system, ensuring years of comfort and satisfaction.
Final Thoughts on Your Subfloor Journey
By now, you’ve journeyed through the intricate world beneath your feet, exploring the diverse types of subfloor materials, understanding their unique characteristics, and appreciating their critical role in your home’s structural integrity and comfort. You’ve seen why this hidden layer is far more than just a base – it’s the very foundation upon which your finished floors stand, influencing everything from their feel and sound to their durability and lifespan. Trust me, having navigated these decisions myself, getting the subfloor right truly makes a profound difference in the long run.
As you plan your next flooring project, remember to thoughtfully consider your specific space. Evaluate the type of finished flooring you aspire to install, the expected amount of foot traffic the area will endure, and, crucially, its exposure to moisture. A solid, well-chosen, and correctly installed subfloor isn’t just a component; it’s an investment in the stability, quietness, and longevity of your entire home. It’s the unseen hero that ensures your beautiful new floors perform as they should for decades to come.
One final, yet vital, piece of advice: never skip the step of thoroughly checking what’s already under your existing floors before you even think about starting a new installation. This initial assessment can reveal underlying issues and guide your material choices, saving you from potential headaches and unexpected expenses later on.
If this comprehensive guide has helped clarify the mysteries of subflooring for you, we invite you to explore more of our easy-to-understand home tips and guides. Dive into other blogs on our site to gain more insights and make truly informed decisions for all your upcoming home improvement projects!
