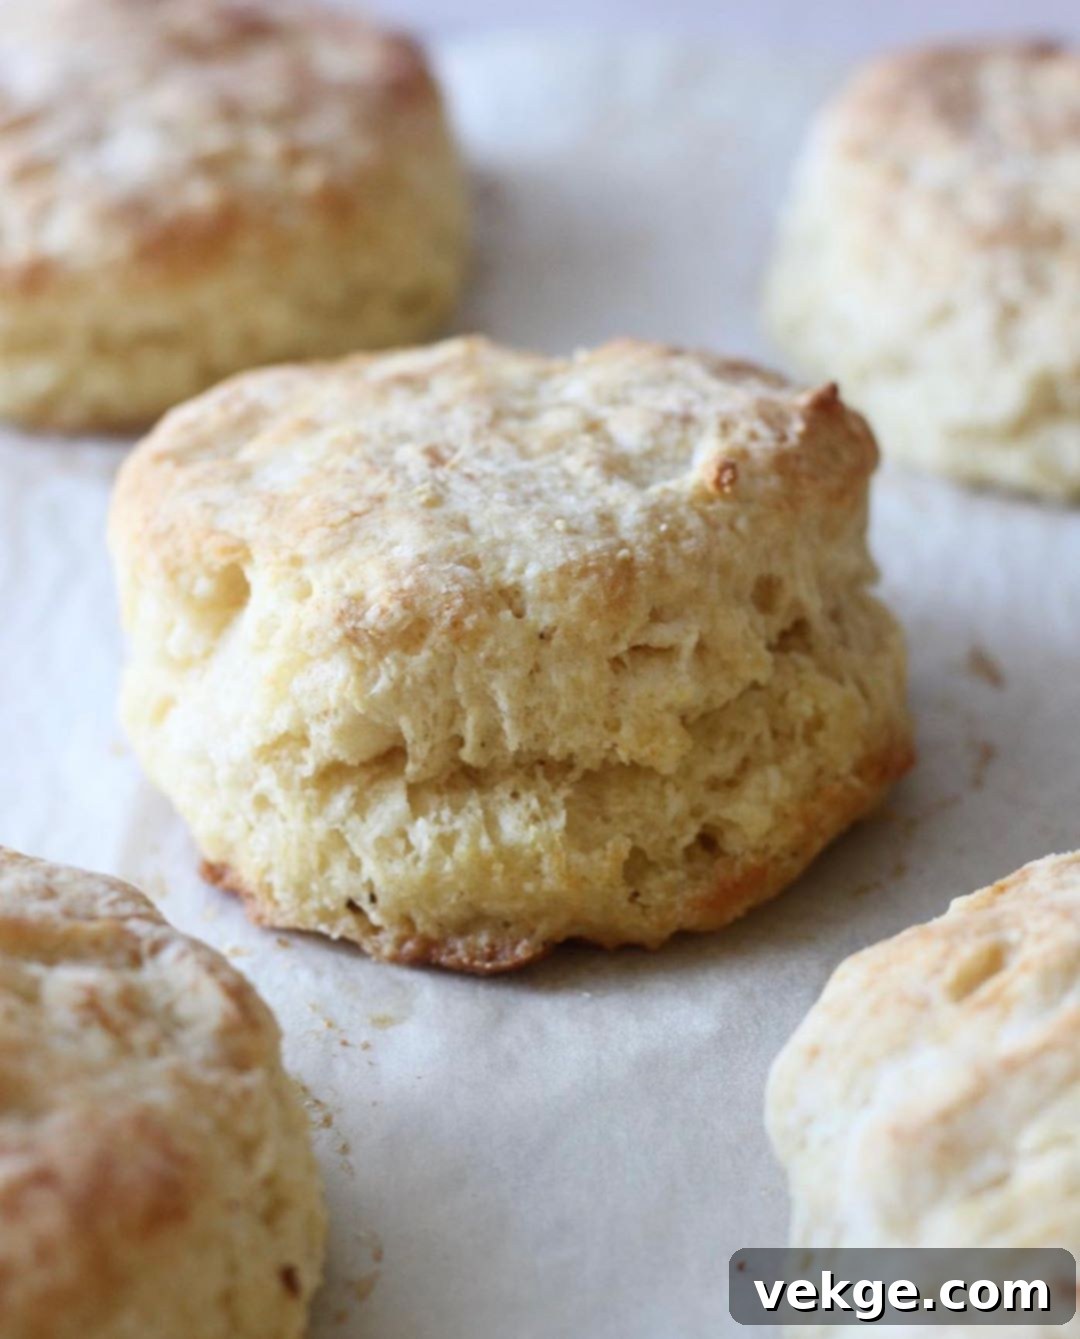
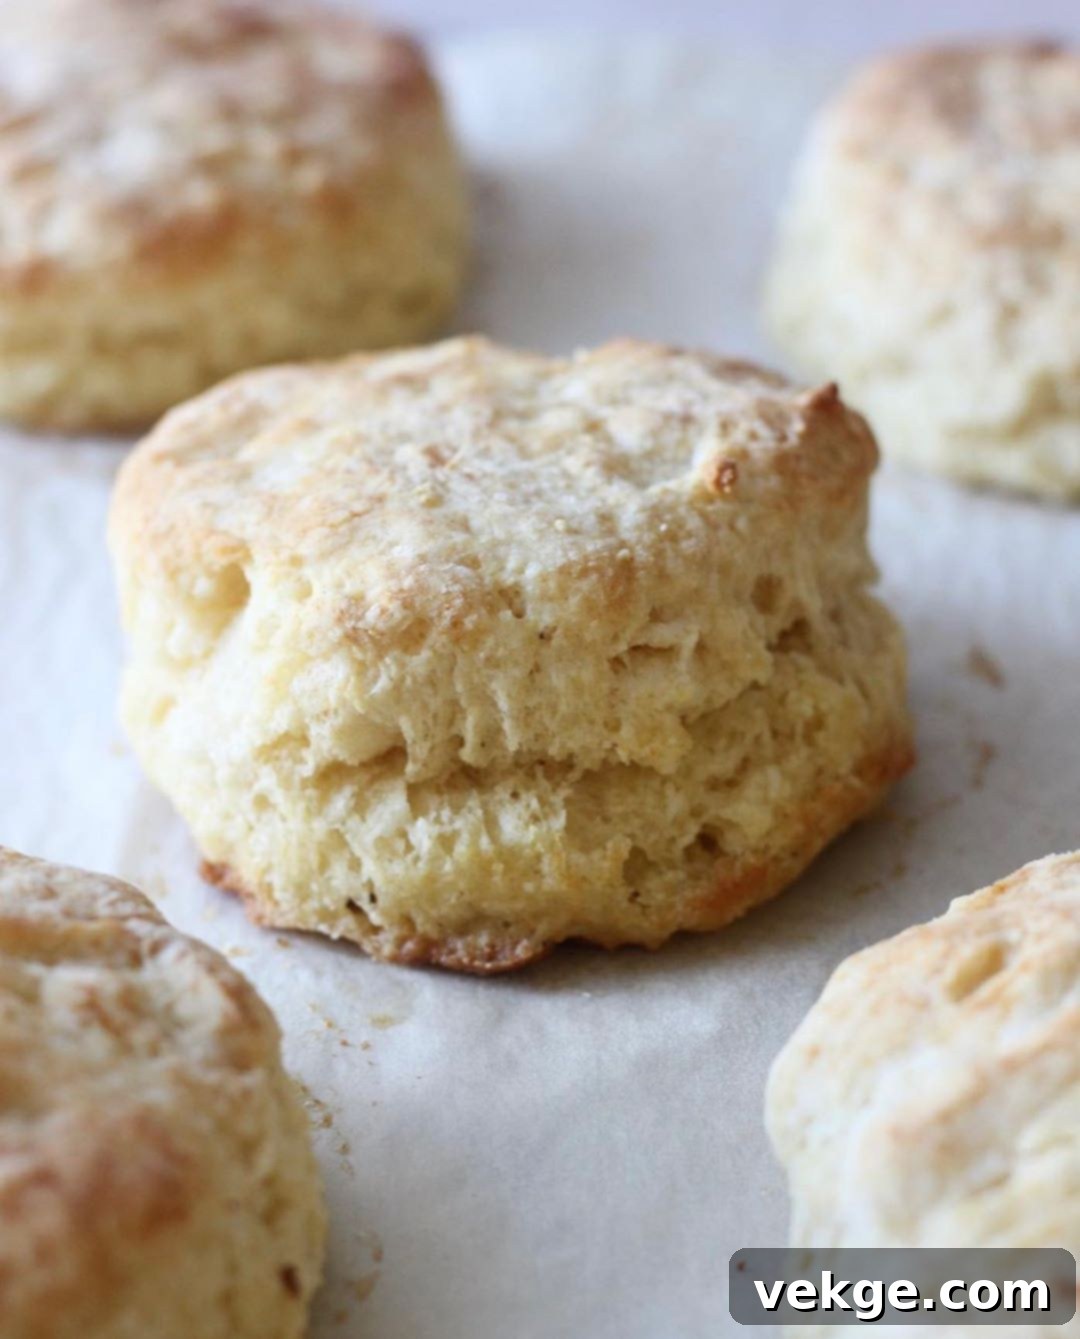
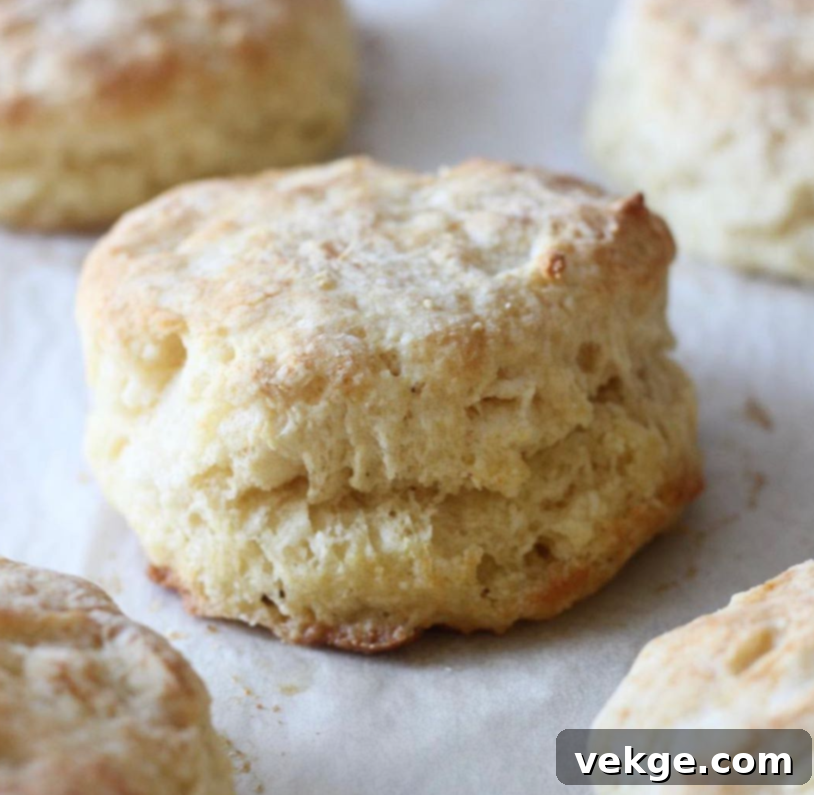
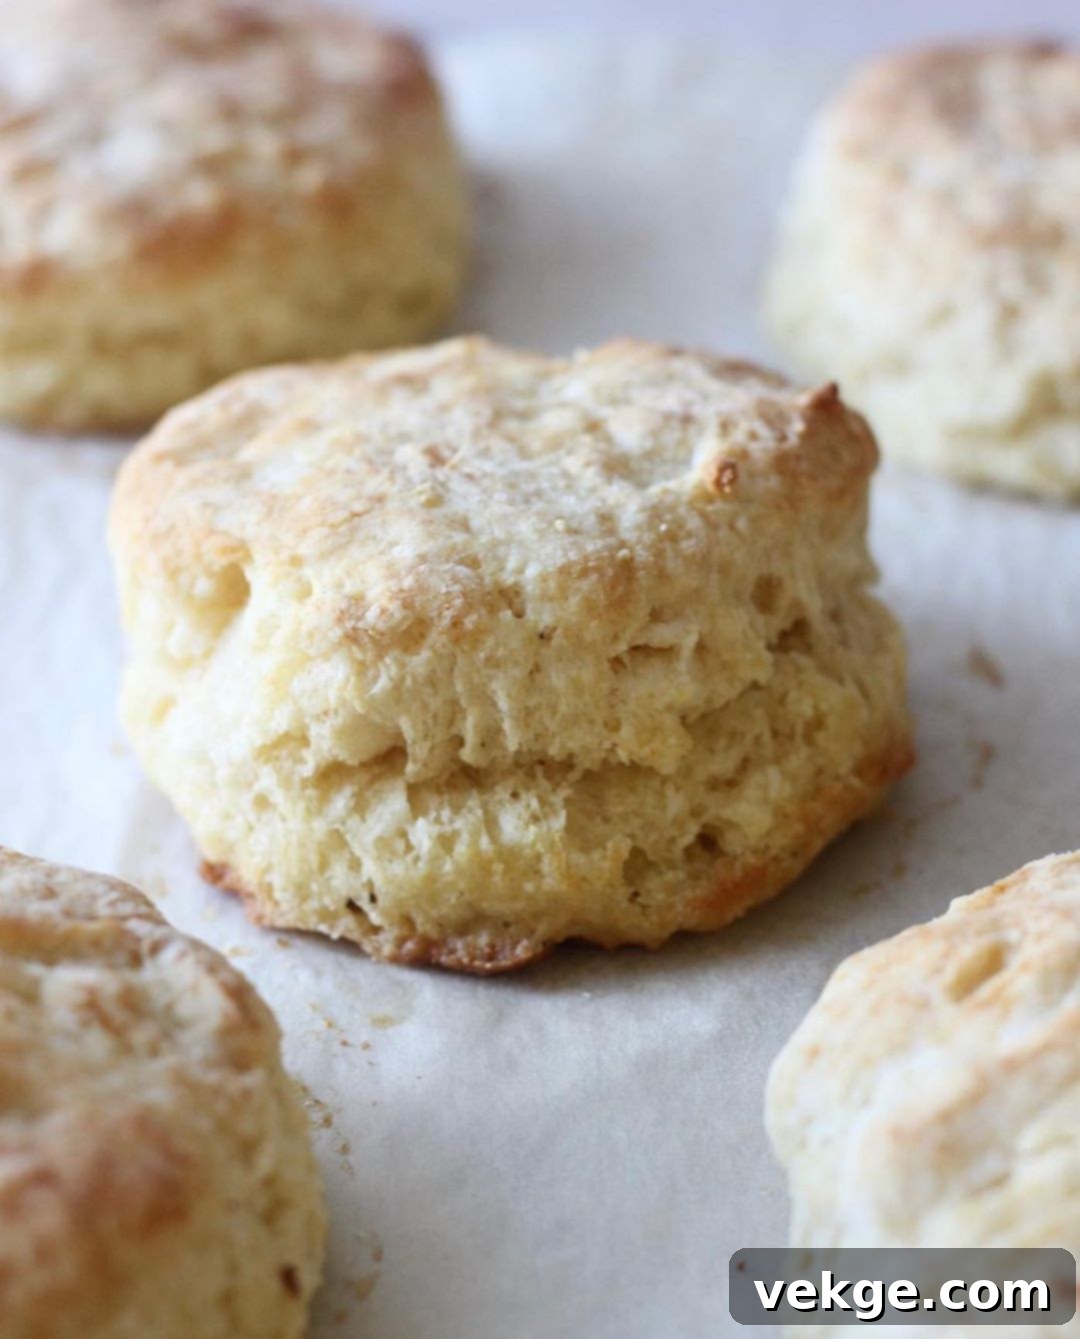
These melt-in-your-mouth HOMEMADE BISCUITS are more than just a baked good; they are a warm embrace, a comforting staple, and a guaranteed mood enhancer. Once you experience the unparalleled taste and texture of these freshly baked treats, you’ll understand why they quickly become a family favorite. Forget everything you thought you knew about biscuits; these are a league of their own.
Crafted with real, cold butter – and absolutely none of that shortening – the resulting flavor profile is rich and deeply satisfying, while the texture is unbelievably flaky and tender. Each bite is a testament to simple ingredients handled with care. Serve these golden delights with your favorite fruit jam, a dollop of honey, or take them to the next level with my acclaimed Sock-Knocking Sausage Gravy. Seriously, prepare to be hooked! My family can’t get enough and requests them on a daily basis. They are truly a special treat that makes any meal, or even just a coffee break, feel extraordinary.

Why Homemade Biscuits Are Always Better
In a world of convenience, taking a moment to bake from scratch offers a reward that pre-made options simply cannot match. Homemade biscuits, particularly those made with high-quality ingredients and a touch of love, transcend the ordinary. The aroma filling your kitchen as they bake is a preview of the deliciousness to come, and the first warm bite confirms it: there’s nothing quite like a homemade biscuit.
Our recipe specifically calls for unsalted butter, shunning shortening entirely. This is a crucial distinction. Butter contributes a depth of flavor that shortening cannot replicate, offering a nuanced, creamy taste that makes these biscuits truly “melt-in-your-mouth.” Furthermore, the way butter interacts with the flour and heat creates those coveted flaky layers, whereas shortening often results in a denser, less airy crumb. By making your own, you control the ingredients, avoiding unwanted additives and ensuring a wholesome, delicious product that’s perfect for any occasion.

The Science Behind Perfectly Flaky Homemade Biscuits
Achieving those coveted flaky layers and a tender interior in your homemade biscuits isn’t magic; it’s a delightful dance of chemistry and technique. Understanding a few core principles will elevate your biscuit baking from good to extraordinary. The secret lies primarily in two elements: extremely cold butter and minimal handling of the dough.
The Unsung Hero: Cold Butter
When you incorporate very cold butter into the flour, it doesn’t fully blend. Instead, it remains in small, distinct pieces throughout the dough. As the biscuits bake in a hot oven, these tiny pockets of cold butter melt, releasing steam. This steam then forces the layers of dough apart, creating those beautiful, airy, and flaky textures that define a truly great biscuit. If the butter is too warm, it melts into the dough before baking, resulting in a denser, less flaky biscuit. This is why quick handling and keeping everything chilled are paramount.
The Acidity of Buttermilk: A Leavening Partner
Buttermilk plays a dual role in this recipe. Its natural acidity reacts with the baking soda, creating carbon dioxide bubbles that contribute to the biscuits’ lift and fluffiness. This reaction gives the biscuits an extra boost, making them lighter and more tender. Beyond leavening, buttermilk also imparts a subtle tanginess that balances the richness of the butter, adding a delightful complexity to the flavor. Just like the butter, using cold buttermilk helps maintain the overall low temperature of the dough, further supporting the formation of flaky layers.
The Gentle Touch: Avoiding Overmixing
This might be the most crucial piece of advice for any biscuit baker: do not overmix the dough. Flour contains gluten, a protein that develops elasticity when hydrated and kneaded. While gluten development is desired in breads to create chewiness, it’s the enemy of tender biscuits. Overmixing will activate too much gluten, resulting in tough, chewy biscuits rather than light, tender ones. Mix just until the ingredients are combined and the dough comes together, embracing its slightly shaggy, sticky nature. A light hand will yield a perfectly delicate crumb every time.

Melt-In-Your-Mouth Homemade Biscuits
Print
Pin
Rate
Breads
20 minutes
10 minutes
30 minutes
8
Ingredients
- 2 cups all-purpose flour, plus more for dusting
- 1 T sugar
- 1 T baking powder
- 1/4 tsp baking soda
- 1 tsp salt
- 6 T unsalted butter, very cold
- 1 cup COLD buttermilk
Instructions
- Preheat your oven to a high temperature of 450°F (232°C). This high heat is crucial for a quick rise and golden crust on your homemade biscuits.
- Prepare a baking sheet by lining it with parchment paper. This prevents sticking and makes cleanup a breeze, ensuring your fluffy butter biscuits lift off easily.
- In a large mixing bowl, combine the dry ingredients: all-purpose flour, granulated sugar, baking powder, baking soda, and salt. Whisk these together thoroughly to ensure all leavening agents and flavorings are evenly distributed throughout the flour mixture.
- Cut the very cold unsalted butter into small, approximately 1/2-inch cubes. Add these butter cubes directly into the flour mixture. Using a pastry blender, two forks, or even your fingertips, work the butter into the flour. The goal is to break down the butter until it resembles coarse meal with some pea-sized pieces remaining. Work quickly to keep the butter as cold as possible; warmth will prevent the biscuits from becoming flaky. (Alternatively, this step can be done efficiently in a food processor by pulsing until the desired consistency is achieved.)
- Pour the cold buttermilk into the flour-butter mixture. Gently stir with a spoon or your hands just until the ingredients are combined and a shaggy dough forms. It is absolutely essential NOT to overmix at this stage; overworking the dough will result in tough biscuits. The dough should be slightly sticky and moist, but not wet.
- Lightly dust a clean, flat surface with a little more flour. Carefully turn the biscuit dough out onto this surface. With a floured rolling pin, gently roll the dough to an even thickness of about 3/4 inch. Using a biscuit cutter (or the rim of a glass cup), press straight down into the dough to cut out biscuits. Avoid twisting the cutter, as this can seal the edges and prevent the biscuits from rising properly. You should be able to cut approximately 5 to 6 biscuits from the first pass. Gather the dough scraps gently, pat them together (again, being careful not to overwork the dough), and roll it out once more to cut an additional 2 to 4 biscuits.
- Arrange the cut biscuits on your parchment-lined baking sheet, spacing them about 2 inches apart. Bake in the preheated 450°F (232°C) oven for 10 to 13 minutes, or until the tops are barely golden brown and they have risen beautifully. Keep a close eye on them to prevent overcooking, which can lead to dry biscuits. The ideal biscuit is golden on the outside and wonderfully fluffy and tender on the inside.
Notes
Expert Tips for Biscuit Baking Success
Mastering homemade biscuits is a rewarding journey, and a few simple tips can ensure your success every time you bake these fluffy butter biscuits.
Don’t Twist the Cutter!
This is perhaps the most common mistake home bakers make. When cutting biscuits, resist the urge to twist your biscuit cutter or glass. Press straight down, then lift straight up. Twisting seals the edges of the dough, which can prevent the biscuits from rising to their full, flaky potential. A clean, straight cut allows the layers to separate and puff up beautifully in the oven.
Keep Everything Cold
We’ve emphasized this, but it bears repeating: cold ingredients are your best friends. Cold butter creates steam pockets for flakiness, and cold buttermilk keeps the butter from melting prematurely. If your kitchen is warm, you can even chill your flour and mixing bowl for 15-20 minutes before starting. Work quickly, especially when incorporating the butter, to maintain that crucial cold temperature.
Avoid Overmixing at All Costs
The moment the liquid hits the flour, gluten begins to develop. While this is great for chewy bread, it leads to tough biscuits. Mix the dough only until the dry ingredients are just moistened and barely come together. A shaggy, somewhat sticky dough is perfect. The less you handle it, the more tender your biscuits will be.
Bake Hot and Fast
A high oven temperature (like 450°F) is key to a perfect biscuit. The intense heat quickly activates the leavening agents and creates a rapid burst of steam from the cold butter, causing the biscuits to rise dramatically and develop that signature golden crust. If your oven is too cool, the butter will melt too slowly, and the biscuits will spread rather than rise.
Brush with Melted Butter (Optional, but Recommended)
For an extra touch of richness and a beautiful golden-brown top, brush your unbaked biscuits with a little melted unsalted butter before they go into the oven. This simple step adds another layer of buttery flavor and enhances their visual appeal, making them even more irresistible.
Serving Suggestions for Your Delicious Homemade Biscuits
Once you’ve pulled a fresh batch of these melt-in-your-mouth homemade biscuits from the oven, the possibilities for enjoying them are endless. Their versatile flavor and texture make them perfect for both sweet and savory applications.
Classic Pairings for Fluffy Butter Biscuits
For a traditional experience, serve your warm biscuits with simple accompaniments. A generous smear of your favorite fruit jam or preserves, such as strawberry, raspberry, or peach, is always a winner. Honey or maple syrup drizzled over a split biscuit adds a touch of natural sweetness that complements the buttery goodness beautifully. And of course, a pat of good quality butter, melting into the warm layers, is pure indulgence. Don’t forget to pair them with my famous Sock-Knocking Sausage Gravy for a truly iconic Southern breakfast.
Savory Delights with Homemade Biscuits
Beyond breakfast, these fluffy butter biscuits make an excellent addition to savory meals. They are the perfect vehicle for miniature sandwiches, especially with thinly sliced ham or turkey. Serve them alongside a hearty bowl of chili, a rich stew, or a comforting soup for a meal that feels both rustic and refined. They also make a fantastic side dish for fried chicken, barbecued ribs, or any substantial dinner where you want a delicious absorbent bread to soak up all the flavorful juices.
Sweet Treats and Creative Uses
Think beyond just butter and jam! These biscuits can be transformed into delightful sweet treats. Split them open and pile them high with fresh berries and a dollop of whipped cream for a quick and easy take on strawberry shortcake. You can even incorporate a little cinnamon or citrus zest into the dough for a subtly sweet biscuit perfect with coffee or tea. Crumbled and toasted, they can also add a unique texture to dessert toppings or even savory breadcrumbs.
Storing and Reheating Your Homemade Biscuits
While homemade biscuits are undeniably best enjoyed fresh from the oven, you can certainly save and reheat them to extend their deliciousness. Proper storage helps maintain their texture and flavor.
Storing Fresh Biscuits
- **Room Temperature:** Once completely cooled, store biscuits in an airtight container at room temperature for up to 2-3 days. They will lose some of their crispness but will remain tender.
- **Refrigerator:** For longer storage, place cooled biscuits in an airtight container in the refrigerator for up to 5 days.
- **Freezer:** For the longest shelf life, wrap individual cooled biscuits tightly in plastic wrap, then place them in a freezer-safe bag. They can be frozen for up to 2-3 months.
Reheating for Optimal Freshness
To bring your leftover biscuits back to their warm, tender glory:
- **Oven (Recommended):** This method is best for restoring crispness. Preheat your oven to 350°F (175°C). Place biscuits directly on a baking sheet and heat for 5-7 minutes for refrigerated biscuits, or 10-15 minutes for frozen biscuits, until warmed through.
- **Toaster Oven:** A toaster oven works well for individual biscuits. Heat at 350°F (175°C) for 3-5 minutes.
- **Microwave:** While quick, the microwave can make biscuits a bit chewy. Heat for 15-30 seconds, checking frequently. This is best if you’re going to smother them in gravy.
Variations to Elevate Your Biscuit Game
Once you’ve mastered the classic melt-in-your-mouth homemade biscuits, don’t hesitate to get creative with delicious variations. These additions can transform your basic biscuit into something entirely new and exciting, catering to different tastes and occasions.
Cheesy Biscuits: A Savory Twist
For a rich and savory treat, incorporate shredded cheese directly into your biscuit dough. Sharp cheddar, Gruyère, or even a blend of Monterey Jack and Colby are excellent choices. Add about 1/2 to 3/4 cup of shredded cheese (depending on how cheesy you like them) to the dry ingredients before mixing in the butter. The cheese will melt into gooey pockets, adding a fantastic salty depth and a wonderfully savory aroma. These are perfect alongside soups, stews, or as a flavorful breakfast item.
Herb Biscuits: Aromatic and Flavorful
Infuse your homemade biscuits with fresh or dried herbs for an aromatic touch. Finely chopped fresh rosemary, thyme, chives, or a blend of Italian herbs work beautifully. Add 1-2 tablespoons of fresh herbs (or 1-2 teaspoons of dried herbs) to the dry ingredients with the flour. The herbs will release their essential oils as they bake, filling your kitchen with a delightful scent and adding a sophisticated flavor profile to your fluffy butter biscuits. These are particularly good served with roasted meats or as part of a holiday meal.
Sweet Biscuits: A Hint of Indulgence
If you prefer a slightly sweeter biscuit, a few simple adjustments can make a big difference. Increase the sugar in the recipe by an extra tablespoon or two, or try adding a teaspoon of cinnamon, a pinch of nutmeg, or the zest of half an orange or lemon to the dry ingredients. These subtle additions will complement the butter and buttermilk beautifully, making them ideal for breakfast, brunch, or a lighter dessert. Serve them with fruit compotes or a light glaze for an extra special treat.
Final Thoughts on Mastering Homemade Biscuits
Baking a batch of these melt-in-your-mouth homemade biscuits is more than just following a recipe; it’s an act of culinary comfort and a testament to the simple pleasures of life. The golden crust, the tender, flaky layers, and the rich, buttery flavor are a reward far greater than the effort required. From a simple breakfast treat to a savory accompaniment for dinner, these fluffy butter biscuits adapt to any setting, bringing warmth and satisfaction to every table.
Don’t be intimidated by the idea of homemade biscuits. With our detailed instructions and expert tips, you’ll soon be baking perfect batches consistently. Embrace the process, keep your ingredients cold, handle the dough gently, and prepare to delight your family and friends with a baking masterpiece. The joy of pulling warm, fragrant biscuits from your oven is an experience that will keep you coming back to this recipe time and time again. Enjoy the incredible taste and the comforting feeling that only truly homemade biscuits can provide!
