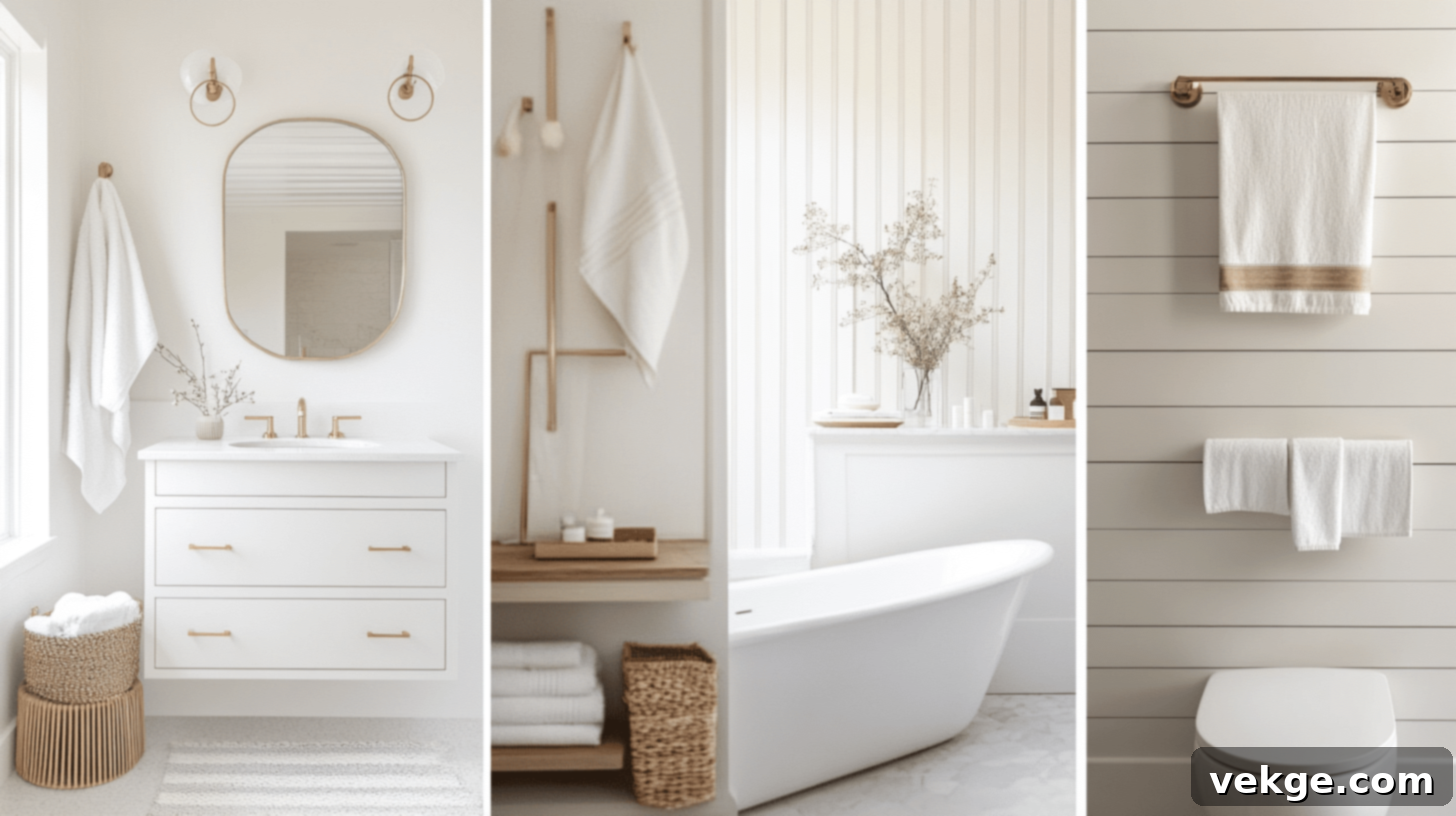
Best White Paint for Windowless Bathrooms: Expert Guide to Brightening Dark Spaces
Stepping into a windowless bathroom can often feel like entering a dimly lit cave – a common challenge many homeowners face. When I first embarked on my own bathroom renovation project, I was struck by how dark and surprisingly claustrophobic the space felt, especially without a single ray of natural light.
Through years of personal DIY projects and assisting friends with their home makeovers, I’ve discovered a powerful secret weapon for these challenging spaces: white paint. It’s not just about covering the walls; it’s about strategically reflecting light, opening up the visual boundaries of the room, and instantly imbuing it with a clean, fresh, and airy ambiance.
However, the journey to finding the perfect white is often more complex than one might imagine, particularly for rooms devoid of natural sunlight. Not all white paints are created equal, and the subtle nuances in their undertones can dramatically alter the mood and brightness of your bathroom.
I’ve personally navigated the vast spectrum of whites, learning firsthand that choosing the right shade – whether it’s a welcoming warm white or a crisp, cool variant – can utterly transform the entire feel of your bathroom, making it a truly inviting space rather than just a functional one.
In this comprehensive guide, I’m thrilled to share my tried-and-true recommendations for the best white paints that perform exceptionally well in windowless bathrooms. Beyond just specific paint names, I’ll equip you with practical tips on how to effectively test paint colors under artificial lighting, select the ideal finish for durability and luminosity, and strategically pair your newly painted walls with the perfect décor elements to achieve a truly polished and expansive look.
Why White Paint is the Ultimate Solution for Windowless Bathrooms
Let me tell you, my journey through countless bathroom transformations has undeniably fostered a deep appreciation, almost a love affair, with white paint in windowless bathrooms. After years of converting dark, uninviting, and often cave-like spaces into bright, functional, and aesthetically pleasing areas, I’ve become an unwavering advocate for the transformative power of white. I’m genuinely excited to share why this seemingly simple choice might be the exact remedy your bathroom desperately needs.
1. The Unmatched Brightening Effect
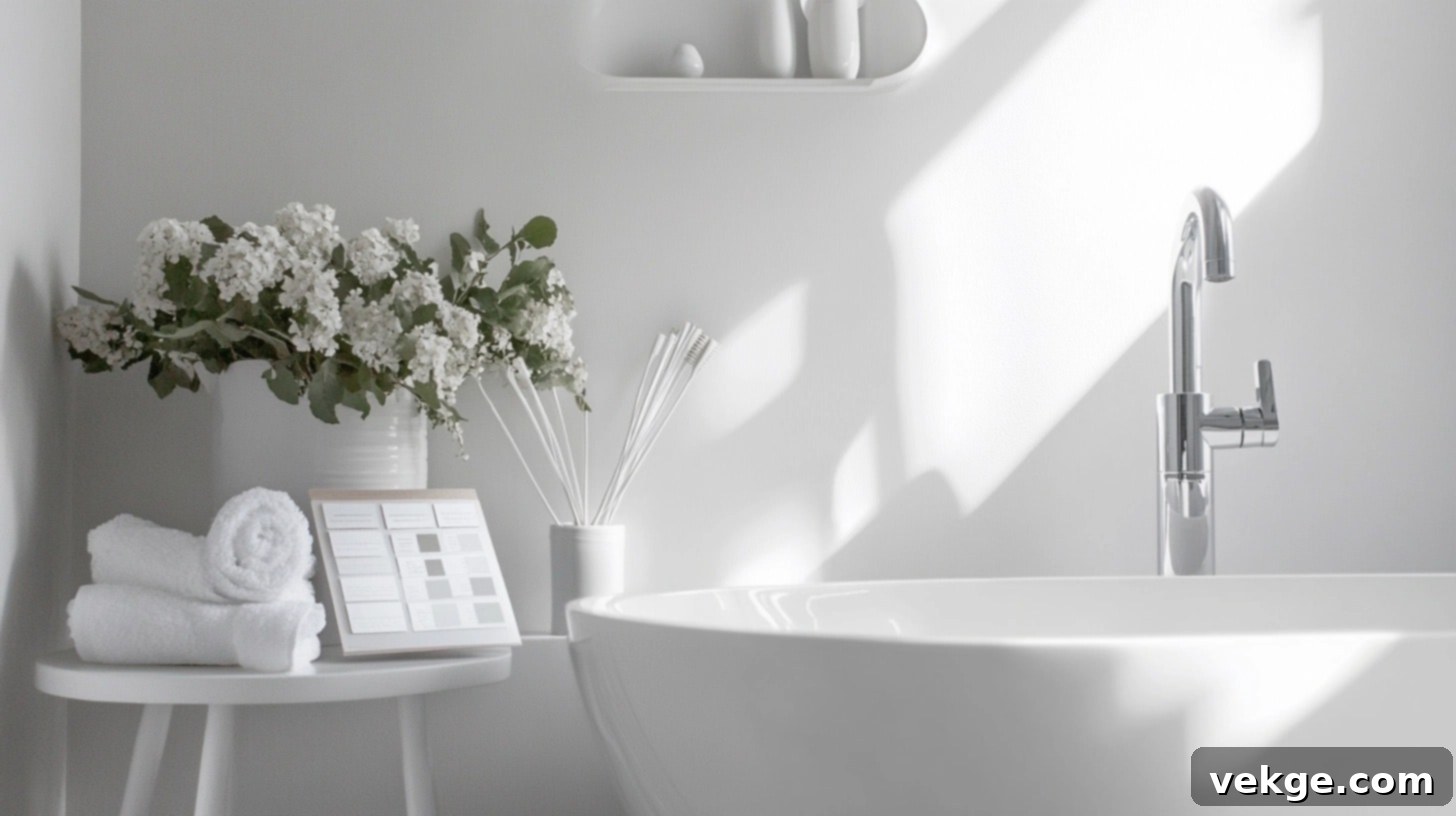
I vividly recall the first time I painted a truly dark, windowless bathroom white. The moment I walked in after the final coat had dried was nothing short of astonishing – it was like discovering a brand new room entirely. Through my extensive DIY adventures, I’ve consistently observed that white paint doesn’t just lighten a space; it acts as an incredibly efficient natural light amplifier.
Even when relying solely on a single overhead light fixture, those freshly painted white walls expertly bounce and diffuse light into every conceivable corner. This creates an incredible optical illusion, making the space feel dramatically larger and significantly less enclosed than it actually is. It’s a magic trick for small, dark rooms!
A crucial tip I refined through considerable trial and error: when you’re selecting your white paint, don’t just pick a swatch. Always grab a few samples and conscientiously test them on your bathroom walls at various times of the day, specifically under the actual artificial lighting you’ll be using. This step is vital because artificial light sources can drastically alter a paint’s appearance.
My personal favorite for this purpose has become Benjamin Moore’s Chantilly Lace. I consistently recommend it because it reflects light with exceptional clarity and brightness without ever appearing stark or harsh under typical artificial bathroom illumination. Just remember, proper wall preparation is absolutely paramount. And trust me, I learned the hard way: bathroom walls demand specialized attention due to their constant exposure to moisture and humidity.
2. Unbeatable Versatility and a Pristine Aesthetic
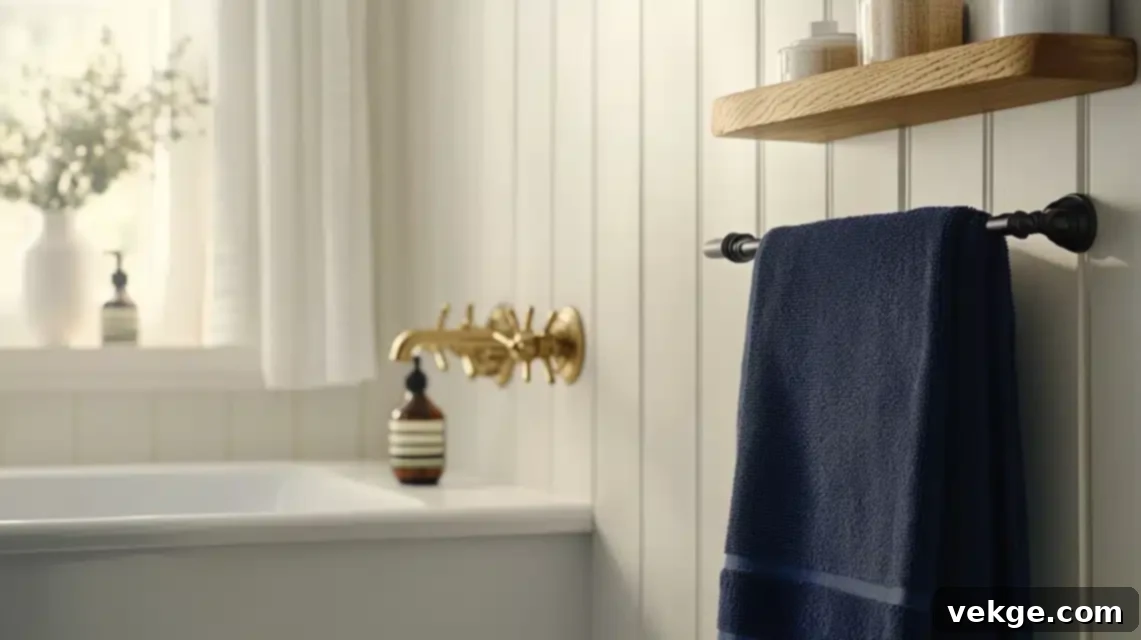
One of the most appealing qualities of white paint, in my professional and personal opinion, is its unparalleled versatility. It truly acts as a pristine blank canvas, seamlessly harmonizing with virtually any design style, color palette, or material choice you can envision. After repainting literally dozens of bathrooms – both my own and countless projects for friends and family – I’ve witnessed white walls elegantly complement everything from rustic vintage brass fixtures to sleek, ultra-modern matte black hardware.
In my current windowless bathroom, I’m successfully rocking a sophisticated combination of clean white walls paired with luxurious navy blue towels and organic natural wood accessories. The beauty of this setup is its inherent flexibility: I can effortlessly update the entire aesthetic by simply swapping out textiles or décor items, all without the arduous task of repainting. It’s a designer’s dream for easy refreshes.
Here’s a little insider secret gleaned from my countless DIY experiments: when choosing your paint finish, seriously consider opting for a pearl or eggshell sheen over a flat white. This isn’t merely about aesthetics; it’s a game-changer for practicality and maintenance. These slightly glossier finishes are significantly more resistant to moisture, making them far easier to wipe down and keep pristine. After enduring the frustration of flat paint that stubbornly highlighted every single watermark and smudge, this discovery quite literally saved me countless hours of cleaning and touching up!
Essential Features to Look for in White Paint for a Windowless Bathroom
After rigorously testing an extensive array of white paints during my own bathroom renovations – and lending a helping hand to numerous neighbors with their similar projects – I’ve come to understand that not all white paints are created equally, especially for challenging windowless environments. Allow me to share the invaluable insights I’ve gained through my hands-on DIY journey about selecting the absolute perfect white paint for your windowless bathroom.
1. Prioritizing Light-Reflecting Properties (LRV)
Oh, how I wish I had known about Light Reflectance Value (LRV) when I first started painting! It isn’t merely some obscure paint-geek terminology; it’s an absolute game-changer, especially for dark rooms. After meticulously painting three different shades of white in my notoriously dim basement bathroom, I finally grasped why some whites simply “worked” so much better than others in amplifying light.
For windowless spaces, your primary objective should be to seek out whites with an LRV of 85 or higher. These are the true MVPs for effectively brightening up intrinsically dark areas, as they possess an exceptional ability to bounce available light around the room, creating an illusion of openness.
My current personal go-to, after extensive testing, is Sherwin-Williams Pure White (with an impressive LRV of 84.5). I first discovered its remarkable qualities while helping my sister meticulously redo her incredibly tiny powder room, and the transformation was nothing short of incredible. The previous white paint she had chosen appeared dull and lifeless, but Pure White instantaneously made the compact space feel as if it magically gained a window!
Just a quick reminder: always test your paint samples in the darkest corners of your bathroom. That’s precisely where you’ll most accurately discern the crucial differences in light reflection and how each white truly performs under your specific lighting conditions.
2. The Critical Importance of Sheen
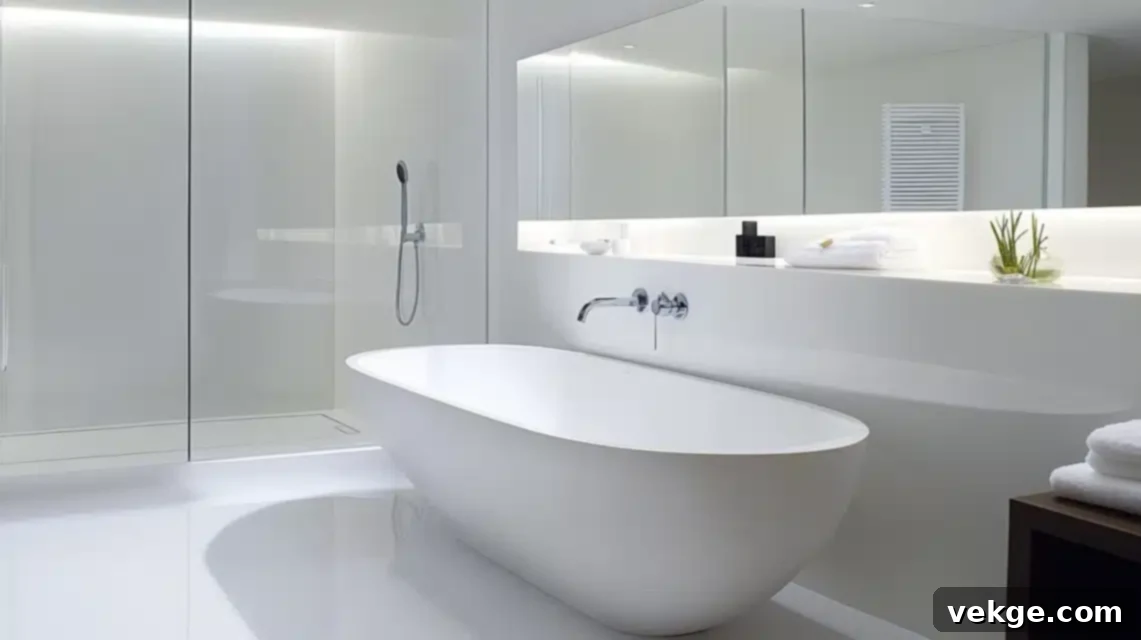
My infamous “Matte Paint Mishap” was a rather unfortunate rookie error that profoundly taught me the critical importance of proper sheen selection in bathrooms. After enduring unsightly mold spots on my very first bathroom paint job (a truly frustrating experience!), I’ve become an ardent advocate for utilizing semi-gloss or satin finishes specifically for bathroom walls.
These finishes are not just pragmatic choices for superior moisture resistance and ease of cleaning; they also play a significant role in enhancing the brightness of the room. Their subtle sheen actively helps to bounce more ambient light around the space, contributing to that desired airy and expansive feeling.
I personally tend to gravitate towards a satin finish for most bathroom walls. It expertly strikes that perfect balance between remarkable durability and sophisticated aesthetics, offering a soft glow without being overly reflective. After direct comparisons, I found that semi-gloss can occasionally appear a bit too intensely shiny on larger wall surfaces, though it remains absolutely ideal for trim work, where its higher reflectivity is a benefit.
A clever tip from my most recent bathroom makeover: consider using the exact same white color but choosing one sheen higher for your trim. This subtle difference creates a sophisticated, layered contrast that elevates the entire look without introducing another color.
3. Navigating Warm vs. Cool Undertones
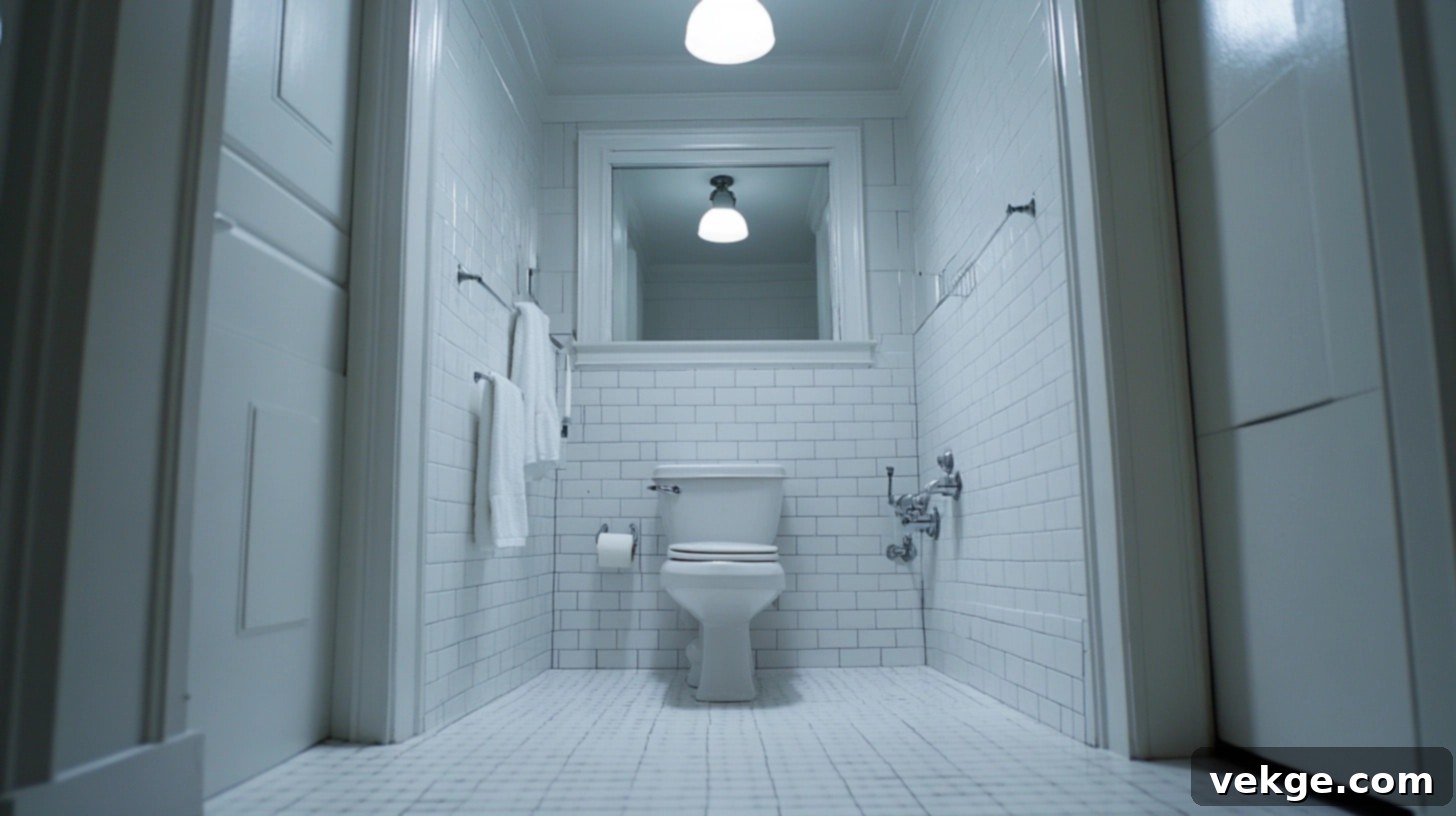
Through countless paint swatches, miniature makeovers, and more than a few near-misses, I’ve finally cracked the nuanced code of white paint undertones. If you, like me, once felt utterly overwhelmed by the seemingly endless sea of white paint options, here’s what my extensive experience has taught me: your existing lighting plays an absolutely monumental role in how warm or cool any white paint will ultimately appear.
For instance, in my own north-facing windowless bathroom, I initially selected a cool white that, much to my disappointment, ended up looking rather stark and clinical under the specific LED lights I had installed. Switching to a distinctly warmer white, such as Benjamin Moore’s White Dove, immediately softened the space, making it feel instantly more inviting and less sterile.
Conversely, when I assisted a friend with her bathroom, which featured inherently warmer-toned light fixtures, I consciously opted for a cooler white (Sherwin-Williams Extra White) to expertly balance out the warm tones and prevent the room from appearing too yellow or cream. This delicate interplay between paint undertone and light temperature is critical.
Here’s a quick, invaluable tip from my paint-stained hands: procure some large pieces of poster board, paint generous swatches of your chosen whites on them, and then strategically affix them to different walls within your bathroom. Live with these samples for several days, paying close attention to how they transform and appear during your morning routine versus the evening hours. This seemingly small but critical test has, without exaggeration, saved me from making several costly and time-consuming painting mistakes.
Top White Paint Recommendations for Windowless Bathrooms
After diligently testing dozens of white paints in my own windowless bathroom renovations – and providing guidance to countless DIY enthusiast friends with theirs – I’ve meticulously compiled my list of tried-and-true favorites. Allow me to share the invaluable insights I’ve gleaned through years of rigorous, real-world testing and numerous paint touch-ups!
1. Inviting Warm White Options
My very first bathroom makeover serves as a poignant reminder of the value of warm whites. In that project, the initially chosen white paint appeared oddly sterile and unwelcoming, completely missing the cozy vibe I was aiming for. That experience profoundly taught me the art of leveraging warm whites to infuse comfort into a space.
Benjamin Moore’s Simply White has since become my absolute go-to recommendation for achieving genuinely cozy and inviting vibes. I personally used it in my guest bathroom, and without fail, visitors consistently comment on how wonderfully welcoming and comfortable the space feels – even when illuminated solely by artificial lighting.
Sherwin-Williams Alabaster is another true gem I uncovered while assisting my sister with the renovation of her powder room. It possesses a beautifully subtle warmth that looks particularly gorgeous and sophisticated when paired with bronze or brass fixtures, creating a harmonious and elegant aesthetic.
Expert Tip: If your bathroom features existing cream-colored tiles or fixtures that you’re unable to change, Alabaster will become your best friend. Its gentle, creamy undertones harmonize beautifully with older, warmer elements without making them appear dated or dingy, ensuring a cohesive look.
2. Crisp Cool White Options
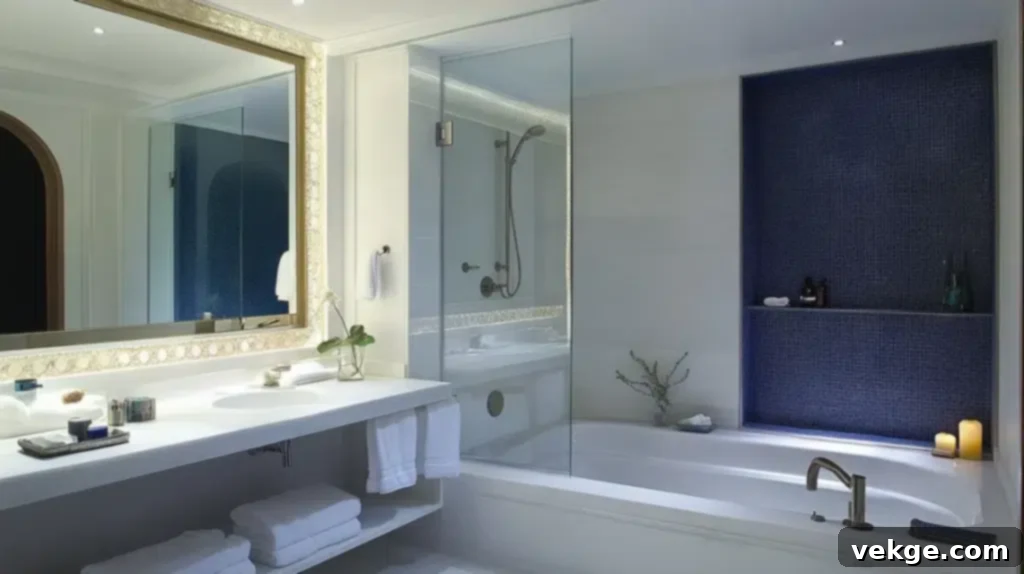
For those of you aspiring to achieve that undeniably crisp, modern, and spa-like feel in your bathroom (a look I personally adore!), cool whites can work absolute magic. Behr’s Ultra Pure White was instrumental in transforming my main bathroom from a perpetually cave-like space into one that feels incredibly bright, fresh, and airy. However, a word of caution with this particular shade: I learned through experience that it can appear quite stark and almost blue under very cool LED lighting, so I proactively swapped my bulbs for warmer white ones to successfully balance out its intensity.
Sherwin-Williams Extra White is another truly fantastic option I discovered during a more recent renovation project. It has quickly become my secret weapon for designing modern bathrooms, especially those featuring chrome or brushed nickel fixtures. After applying it in my last bathroom update, I was genuinely impressed by how it consistently creates an incredibly fresh, clean, and invigorating aesthetic without ever feeling cold or overly clinical.
3. Maximizing Brightness with High-LRV Whites
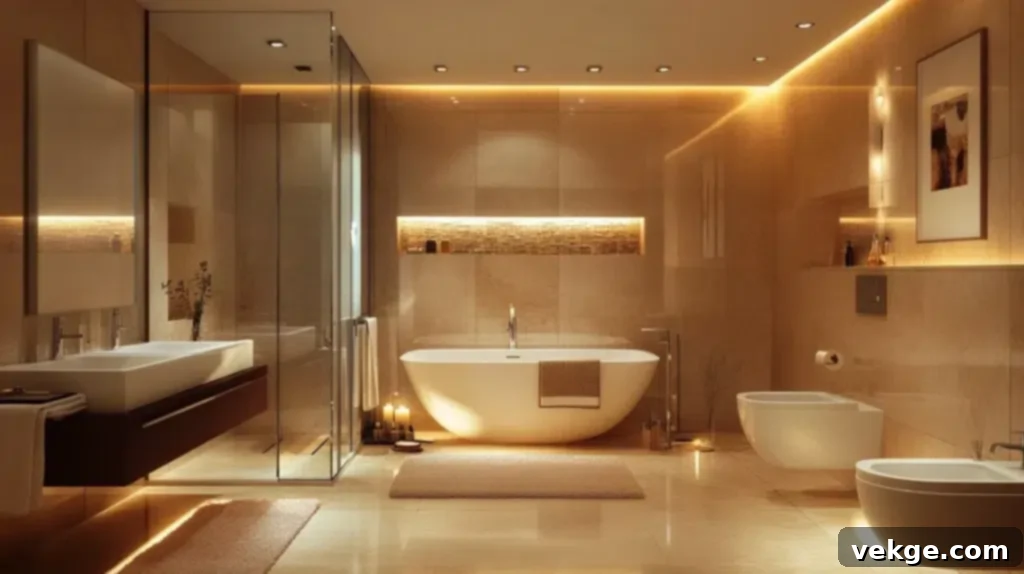
Now, let’s talk about my absolute favorite category for tackling inherently dark, windowless spaces: high-LRV whites. Farrow & Ball’s All White, while certainly a premium splurge, delivers truly breathtaking results. When I finally decided to bite the bullet and use it in my smallest, darkest bathroom, the transformation was jaw-dropping. This paint possesses an almost magical ability to make any space feel astonishingly luminous, even with very minimal artificial lighting.
I recently rediscovered the brilliance of Benjamin Moore’s Chantilly Lace (with an impressive LRV of 92.2) while assisting a friend with her renovation. It has quickly become my new favorite for maximizing light reflection in any given room, offering an incredibly clean and crisp brightness.
Crucial Tip: When working with these super-bright whites, consider pairing them with dimmable lighting fixtures. They can occasionally be almost too intense at full strength, so having the ability to adjust the light level is a definite advantage.
One rather surprising discovery during my various DIY adventures was Pittsburgh Paints’ Pure White. Don’t let its unassuming name mislead you; this paint boasts incredible light-reflecting properties. I’ve found it to be particularly forgiving on walls that are less than perfectly smooth – a common characteristic in many older bathrooms, much like my own.
Your Step-by-Step Guide to Remodeling Your Bathroom for Maximum Brightness
Here’s a practical, step-by-step guide, distilled from my personal experience, that you can confidently follow to successfully remodel your own bathroom, especially if it lacks natural light!
1. Thoroughly Assess Your Space
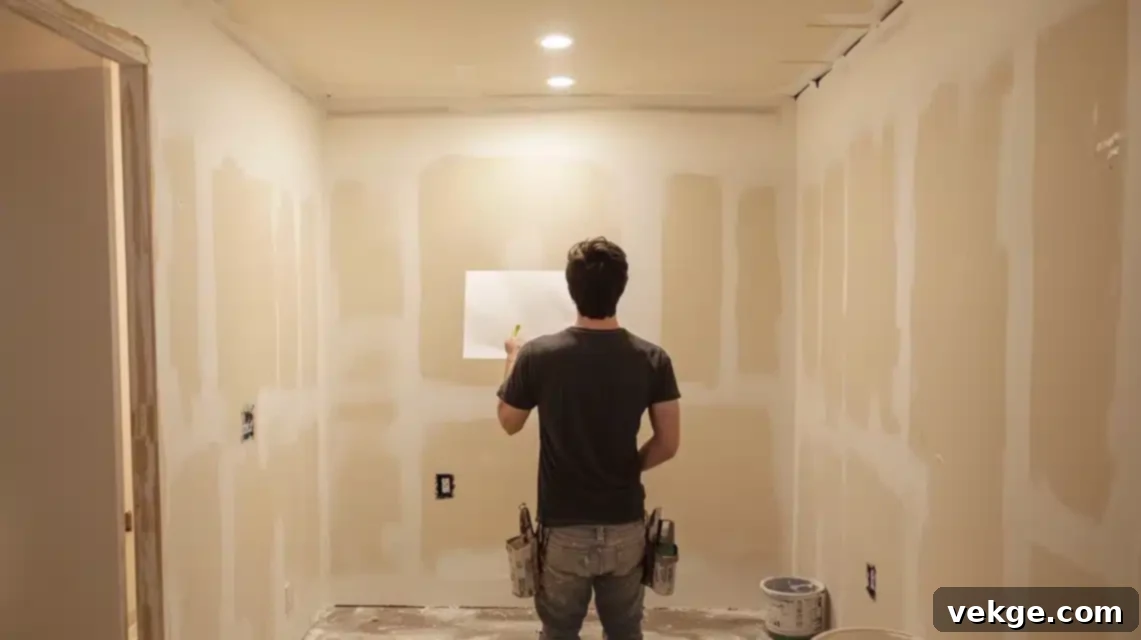
Before I even thought about picking up a paintbrush for my most recent bathroom project, I dedicated ample time to truly understanding every nuance of the space. Trust me on this crucial point—I learned the hard way that skipping this foundational step inevitably leads to preventable headaches and rework down the line!
First, grab that trusty measuring tape and meticulously jot down all your room dimensions. I also make it a habit to take detailed “before” photos; they’re not just fantastic for documenting your DIY journey, but they also significantly help in spotting potential issues or areas for improvement that you might otherwise overlook in person.
Practical Tip: Visit your bathroom at various times of the day, bringing a simple white piece of paper. Hold it against different walls and carefully observe how the existing artificial lighting influences its appearance. In my own experience, this particular exercise conclusively revealed that my old, yellowish ceiling light was casting a distinctly dingy tint on everything, which immediately highlighted it as a critical element needing urgent attention.
2. Carefully Choose the Right Paint Color
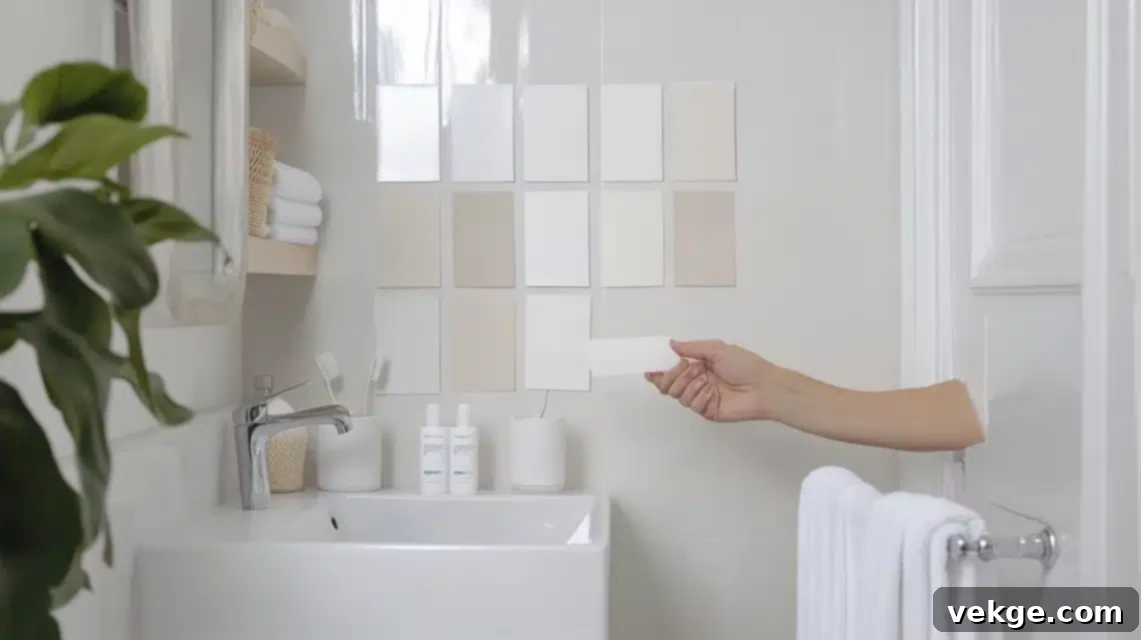
After sampling what felt like every single white paint chip and swatch at the hardware store, I’ve refined a truly foolproof testing methodology. Always invest in sample pots of at least 3-4 different white shades (and please, do not skip this step – it is absolutely worth the minimal extra cost!). Then, paint generous 2-foot by 2-foot squares on each wall within your bathroom.
My top recommendations for white paints to test, based on their consistent performance, include:
- Sherwin-Williams Pure White (which is currently the color gracing my own bathroom walls)
- Benjamin Moore White Dove (an excellent choice for bathrooms with warmer existing lighting conditions)
- Benjamin Moore Chantilly Lace (perfect for achieving modern, crisp, and clean aesthetics)
Make sure to observe these painted samples throughout the entire day, paying close attention to how they subtly change under your specific bathroom lighting conditions. In my own bathroom, a color that looked absolutely perfect on the small sample card appeared completely different once it was applied to the wall and situated next to my chrome fixtures.
3. Select Appropriate Lighting
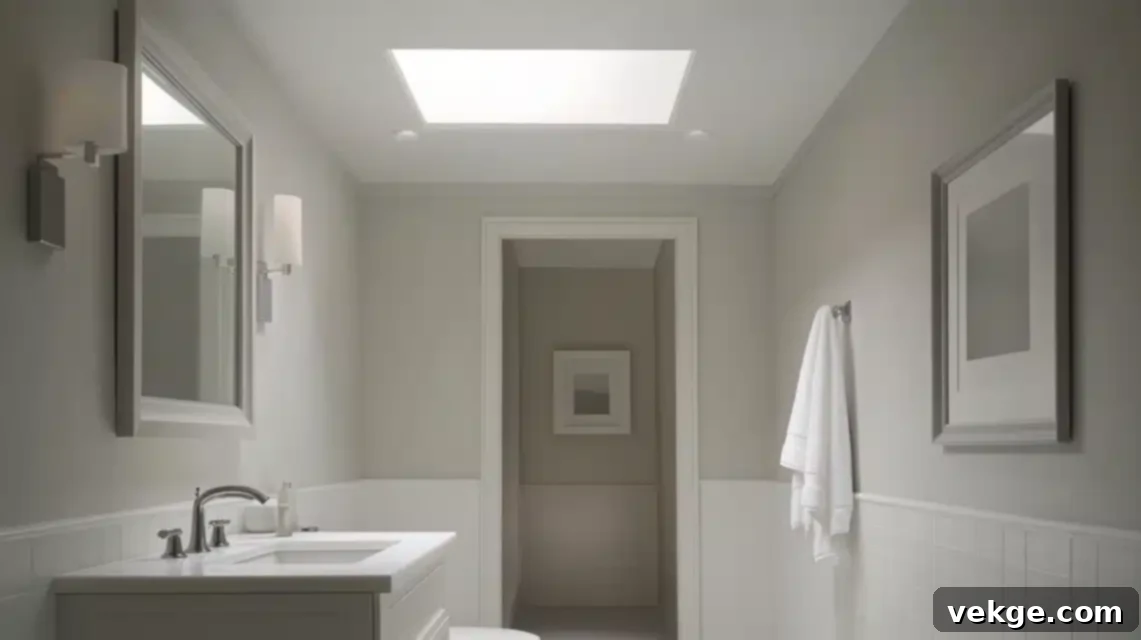
Getting the lighting precisely right was the single most impactful change that transformed my windowless bathroom from a mere “meh” to an absolute “wow!” After extensive experimentation, I conclusively found that layering different light sources provides the most effective and aesthetically pleasing illumination.
For general, ambient lighting, I installed a bright LED ceiling fixture. To address the issue of unflattering shadows during tasks like applying makeup, I strategically added wall sconces on either side of the mirror, ensuring even and flattering illumination.
Crucial Tip: Actively seek out light bulbs specifically labeled “daylight” with a color temperature around 5000K. The bulbs I initially purchased were far too yellow, which completely distorted the appearance of my meticulously chosen white paint, making it look dull and discolored!
4. Meticulously Prepare the Room
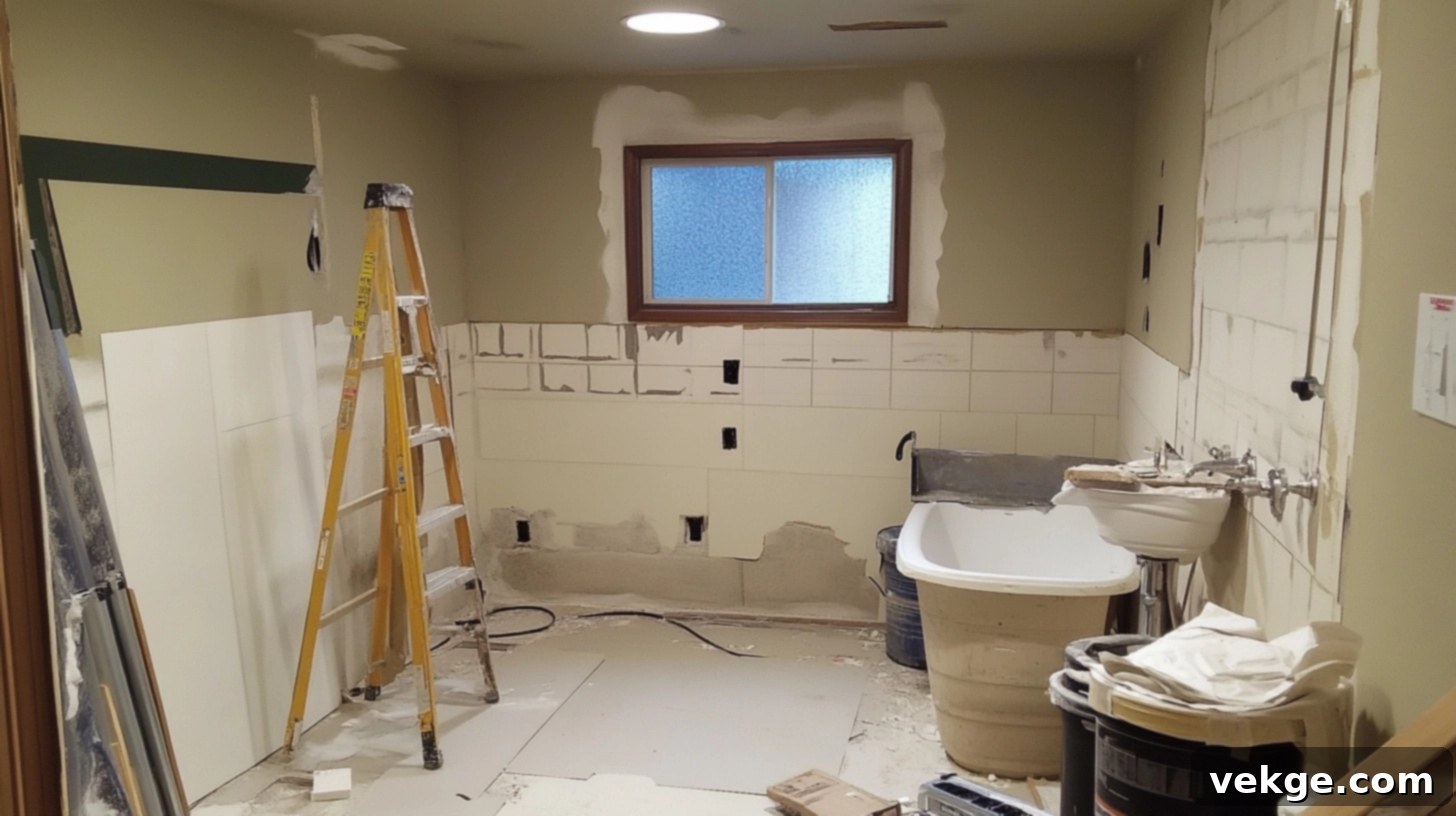
Here’s the stage where many enthusiastic DIYers (including my past self!) are often tempted to cut corners – please resist this urge! Proper preparation truly makes all the difference between a mediocre paint job and a professional, long-lasting finish. I consistently adhere to the following preparatory steps:
- I meticulously remove all existing hardware, including towel bars, toilet paper holders, and switch plates.
- Any imperfections or damage to the walls are carefully repaired using a high-quality spackling compound.
- I then sand all surfaces thoroughly to ensure they are perfectly smooth and ready for paint adhesion.
- Walls are cleaned with a specialized TSP substitute to remove any grime, soap residue, or unseen contaminants.
- Crucially, I apply a quality mold-resistant primer (a necessity I learned after a particularly humid summer resulted in unsightly mildew growth). This step is non-negotiable for bathroom environments.
5. Expert Paint Application Tips
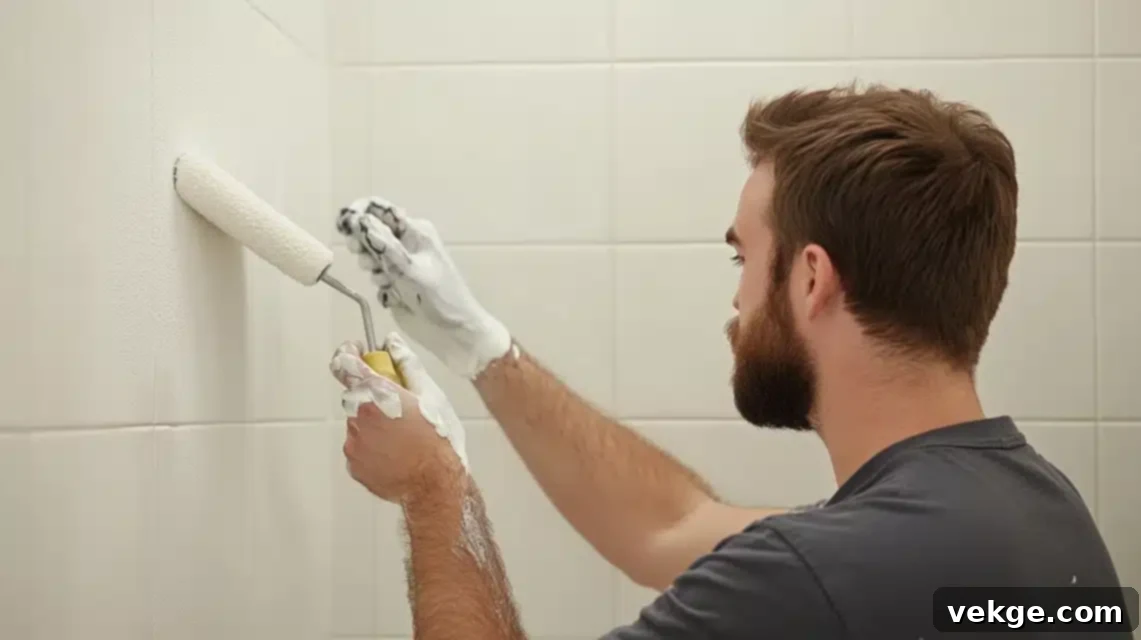
Having painted numerous bathrooms, I’ve had ample opportunity to fine-tune my application technique for optimal results. Always begin by meticulously “cutting in” around the edges, corners, and fixtures using a high-quality angled brush. I personally prefer a 2.5-inch Purdy brush for its exceptional control and precision.
For rolling the main wall surfaces, invest in a quality 3/8-inch nap roller cover specifically designed for smooth or semi-smooth surfaces. My secret weapon for achieving a flawless, professional finish? A paint additive called Floetrol. This magical product helps to significantly eliminate unsightly roller marks and provides you with extended working time, which is particularly beneficial in a smaller space where you’re constantly navigating around fixtures and tight corners.
6. The Art of Finishing Touches
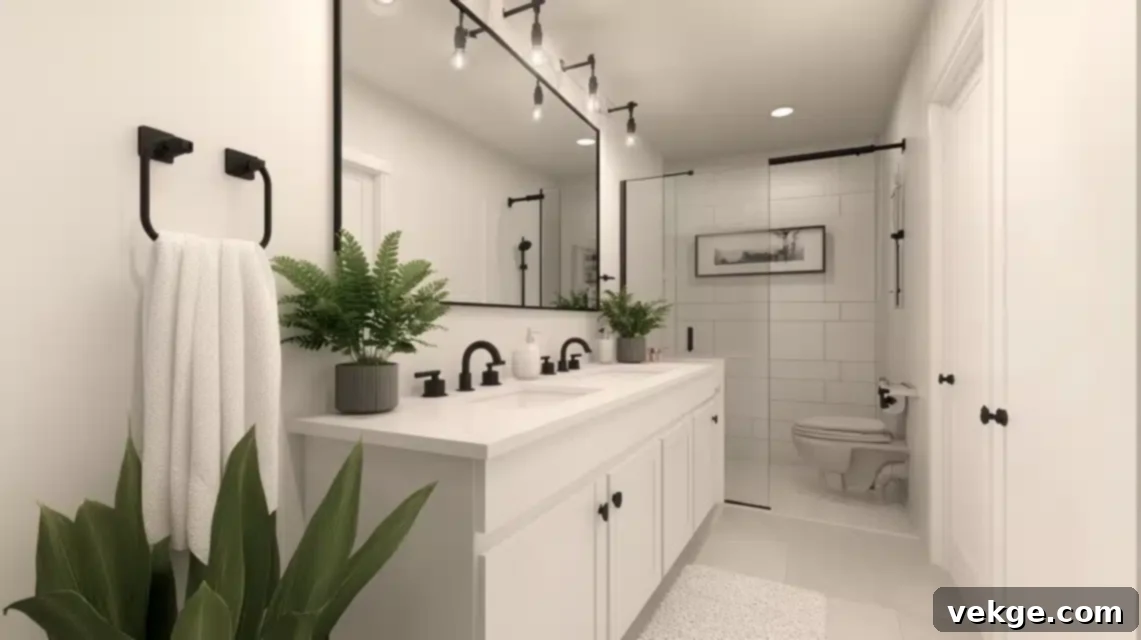
Once your gorgeously painted white walls are completely dry, it’s finally time for the most enjoyable part – adding those crucial finishing touches! I absolutely love using contrasting elements to ensure the white paint truly pops and shines. In my own bathroom, I strategically incorporated:
- Elegant matte black hardware for a sophisticated, modern contrast.
- A generously sized mirror to significantly amplify light reflection and create a sense of depth.
- Vibrant green plants (artificial in my case, due to the lack of natural light!) to introduce a touch of life and color.
- Textured white towels, which add subtle depth and a luxurious feel without disrupting the bright aesthetic.
Enhancing the Space with Complementary Decor: Beyond the Paint
After deeply immersing myself in the world of bathroom makeovers (and confessing to making plenty of styling missteps along the way!), I’ve unequivocally discovered that the right decor can make beautifully painted white walls truly sing. It’s about building layers that contribute to the overall brightness and inviting atmosphere.
1. Strategic Mirror Placement to Reflect Light
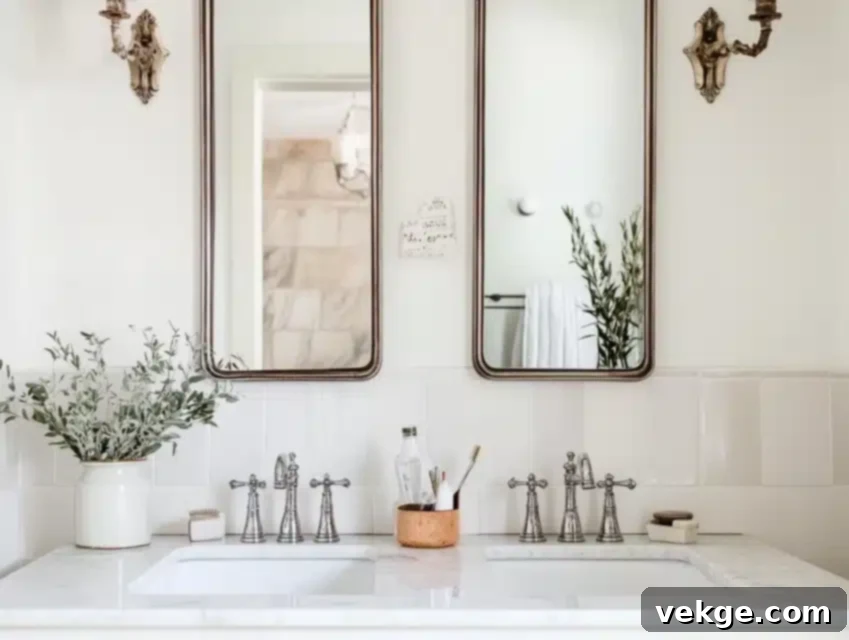
This might sound a bit unconventional, but I actually became somewhat obsessed with optimizing mirror placement after witnessing how dramatically it transformed my own windowless bathroom. Beyond the expected over-sink vanity mirror, I experimented by adding a sleek full-length mirror on the opposite wall, and the effect was immediate and profound – it quite literally doubled the perceived size and brightness of my space.
My absolute favorite mirror-placement trick involves installing the vanity mirror about 4 inches higher than standard height and angling it ever-so-slightly downward. This ingenious technique captures more ambient light from the ceiling fixture and efficiently bounces it throughout the entire room, maximizing illumination. Just be sure to verify the angle works comfortably for everyone in your household – my tall husband had to help me pinpoint the perfect sweet spot!
A game-changing discovery from my most recent renovation was realizing that frameless mirrors consistently reflect significantly more light compared to those encased in heavy, thick frames. I replaced my rather chunky framed mirror with a sleek, minimalist frameless one, and the difference in brightness was truly incredible. However, if you, like me, appreciate the aesthetic appeal of frames, I’ve found that thin metallic frames can still add style while cleverly maximizing light reflection.
2. Accents to Artfully Warm Up the White Canvas
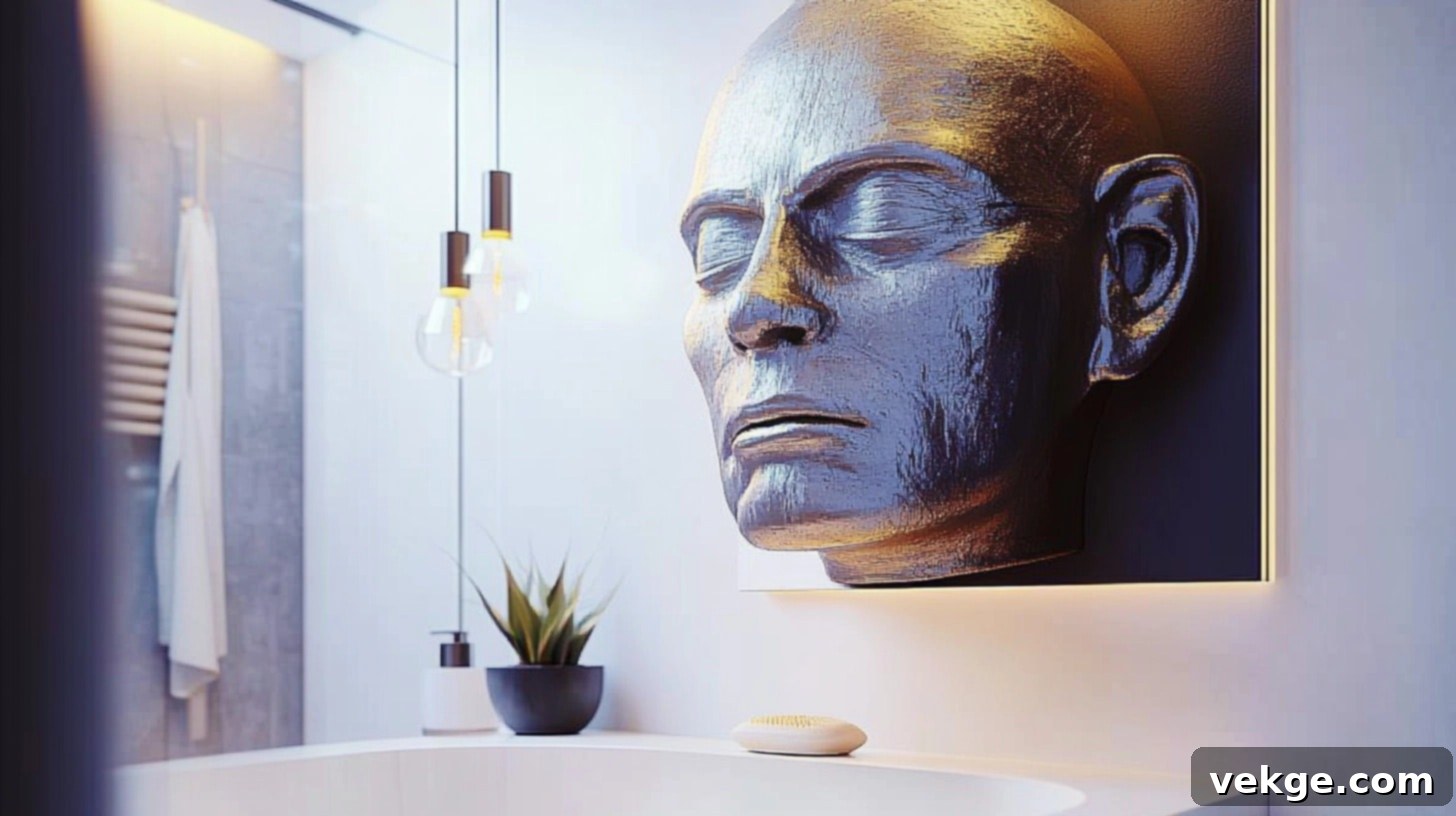
Let me recount my “too-white disaster” before I truly grasped the art of proper balance. When I initially painted my bathroom a stark white, it unpleasantly resembled a sterile doctor’s office until I strategically started layering in a variety of textures and colors. Now, I diligently follow what I affectionately call my “rule of threes” – consciously incorporating three distinctly different textures to make the space feel genuinely complete and inviting.
My current setup beautifully demonstrates this principle, featuring:
- A luxuriously chunky, woven bathroom mat that adds incredible tactile texture (and feels wonderfully soft underfoot!).
- Plush Turkish cotton towels in a warm, inviting terracotta color, providing a soft pop of earthy warmth.
- A small, elegantly crafted wooden stool that seamlessly introduces natural elements and grounding warmth.
The truly wonderful aspect of decorating white bathrooms is the effortless ability to seasonally refresh the look. I maintain a neutral, white base and simply swap out my towels and decorative accessories. Currently, I’m absolutely loving sage green accents, but come summer, I transition to serene coastal blues. Just exercise caution not to overdo it – I learned that too many accessories in a confined space can quickly make it feel cluttered rather than cozy and welcoming.
For artwork, I’ve discovered that striking black and white photography looks absolutely stunning against white walls, impeccably maintaining the bright, airy feel without introducing jarring color. After trying various options, I ultimately settled on a curated collection of small botanical prints that add subtle visual interest without overwhelming the compact space.
And speaking of overwhelming, here’s a common mistake I made so you can avoid it: resist the temptation to incorporate too many shiny surfaces! While metallics can undoubtedly be beautiful, I once went a bit overboard with chrome accessories, and the bathroom ended up feeling unexpectedly cold and impersonal. Now, I consciously mix in matte finishes and natural materials to expertly create a more balanced, genuinely welcoming vibe.
Conclusion: Embrace the Brightness of White
From the subtle warmth of creamy whites to the invigorating crispness of modern shades, the carefully selected options and insights I’ve shared in this guide truly possess the power to work magic in even the darkest of windowless spaces. Remember, thorough testing is your absolute key to success! Grab a few paint samples, meticulously observe how they appear under your specific bathroom’s artificial lighting, and never rush this crucial process. A little extra time invested now will undoubtedly save you from the arduous task of repainting later.
For me, the finishing touches are precisely where the true magic of a space genuinely comes alive. Once your freshly painted walls are gleaming, pair them with a strategically placed, impressive mirror to amplify light, infuse personality with colorful towels or carefully chosen accessories, and perhaps even introduce some vibrant greenery for a delightful pop of life and freshness.
Tackling this renovation project yourself not only offers significant cost savings but, more importantly, imbues you with an amazing sense of pride every single time you step into your brilliantly transformed bathroom. Trust me, there’s nothing quite as satisfying as knowing you brought a beautiful vision to life with your own capable hands.
So, gather your tools, grab that paintbrush, and let your creativity shine! With the perfect shade of white, you will undoubtedly turn your once-dim, windowless bathroom into a radiant sanctuary that feels fresh, bright, and uniquely yours. Happy painting!
Frequently Asked Questions About Painting Windowless Bathrooms White
How do I Keep White Walls Looking Clean in a Humid Bathroom?
This was a huge learning curve for me! After dealing with persistent mildew spots on my first attempt, I discovered the critical importance of proper ventilation and the right paint finish. Always use paint specifically formulated for bathrooms, which contains mold-resistant properties, and opt for a satin or semi-gloss finish. I diligently run my exhaust fan during all showers and for at least 30 minutes afterward – this habit makes a world of difference in preventing moisture buildup and simplifying maintenance.
What’s the Best Lighting to Pair with White Walls in a Windowless Bathroom?
Based on my own extensive trial and error, layered lighting is absolutely key. I highly recommend installing a bright LED ceiling fixture (aim for a 5000K “daylight” temperature) for excellent overall illumination, then complementing it with sconces placed on either side of the mirror for effective and flattering task lighting. Crucially, avoid yellowish or warm-toned bulbs – they can unfortunately make your beautiful white walls appear dull or dingy.
How Many Coats of Paint Will I Really Need?
Based on my comprehensive experience across multiple bathroom projects, I consistently plan for a minimum of three coats: one high-quality primer coat followed by two topcoats of your chosen white paint. Never, ever skip the primer! I once attempted to save time by doing so and deeply regretted it when moisture started to visibly affect the paint’s adhesion and finish. A quality, moisture-resistant primer is especially important for the challenging conditions of bathrooms.
Can I Paint Over Existing Dark Walls with White?
Yes, absolutely, but thorough preparation is paramount! I learned this the hard way during my powder room makeover. When transitioning from dark to white, use a high-quality primer specifically designed to effectively cover dark colors (I strongly recommend applying two coats of primer in this particular scenario), and exercise patience by allowing adequate drying time between each coat. The extra time invested in proper prep will genuinely save you from the frustrating issue of dark color bleeding through your pristine white topcoats later on.
How Do I Choose Between Warm and Cool Whites?
To make this decision, carefully evaluate your existing bathroom fixtures and current lighting. In my main bathroom, which features sleek chrome fixtures and crisp LED lights, a cool white (like Benjamin Moore Chantilly Lace) works perfectly, enhancing its modern aesthetic. However, in my powder room, which has charming brass hardware and inherently warmer lighting, a warm white (such as Benjamin Moore White Dove) creates a far more harmonious and inviting feel. The goal is to balance existing elements with your chosen paint’s undertone.
