Unlock Timeless Charm: The Ultimate Guide to Antique Dresser Bathroom Vanities & DIY Conversion
In the realm of home decor, few elements marry historical elegance with modern practicality as seamlessly as an antique dresser bathroom vanity. These remarkable pieces of furniture transcend their original purpose, transforming into functional focal points that inject unparalleled character and warmth into any bathroom. By repurposing a well-crafted vintage dresser, you’re not just acquiring a vanity; you’re adopting a piece of history, rich with stories and superior craftsmanship that mass-produced alternatives simply cannot replicate.
Choosing to integrate an antique dresser into your bathroom design is a conscious step towards sustainable living, breathing new life into forgotten treasures and reducing environmental impact. It’s an opportunity to create a truly bespoke space, reflecting your personal style and appreciation for authentic design. Whether your vision involves a grand Victorian statement piece, a delicate French Provincial accent, or a robust farmhouse staple, this guide will navigate you through every aspect, from selecting the perfect style to mastering the conversion process.
This comprehensive resource is designed to empower you with the knowledge needed to make informed decisions for your bathroom update. We’ll delve into the intrinsic benefits of these unique vanities, explore popular design styles, provide a detailed step-by-step DIY conversion guide, and offer essential maintenance tips to ensure your cherished piece endures for years to come. Whether you’re an avid DIY enthusiast ready to roll up your sleeves or prefer to purchase a professionally converted piece, prepare to discover how an antique dresser vanity can redefine your bathroom aesthetics.
What Makes an Antique Dresser Bathroom Vanity So Special?
An antique dresser bathroom vanity is more than just a piece of furniture; it’s a clever fusion of bygone elegance and contemporary functionality. At its core, it involves meticulously adapting a traditional dresser, often dating from before the mid-20th century, to accommodate modern plumbing, sinks, and faucets. This innovative concept allows homeowners to embrace the aesthetic appeal and sturdy construction of vintage furniture while fulfilling the practical demands of a modern bathroom.
The origins of repurposing furniture for bathroom use can be traced back to the Victorian era, a period when indoor plumbing began to gain traction. Early adaptations often involved simple washbasins and pitchers placed atop existing dressers, serving as makeshift washing stations. Over time, as plumbing technology advanced, these temporary setups evolved into the permanent, integrated sink fixtures we see in modern dresser vanities. This evolution signifies a continuous appreciation for the beauty of antique craftsmanship, allowing these pieces to serve a new, vital purpose in today’s homes.
The transformation process is an art in itself. It meticulously preserves the external character, unique patina, and intricate details that define the dresser’s age and style. Simultaneously, its internal structure is thoughtfully modified to seamlessly integrate sink basins, drainage systems, and water supply lines. The result is a highly functional piece that retains its original soul, offering a unique blend of heritage and contemporary convenience that few other bathroom fixtures can rival.
Unyielding Benefits of Choosing an Antique Dresser as Your Bathroom Vanity
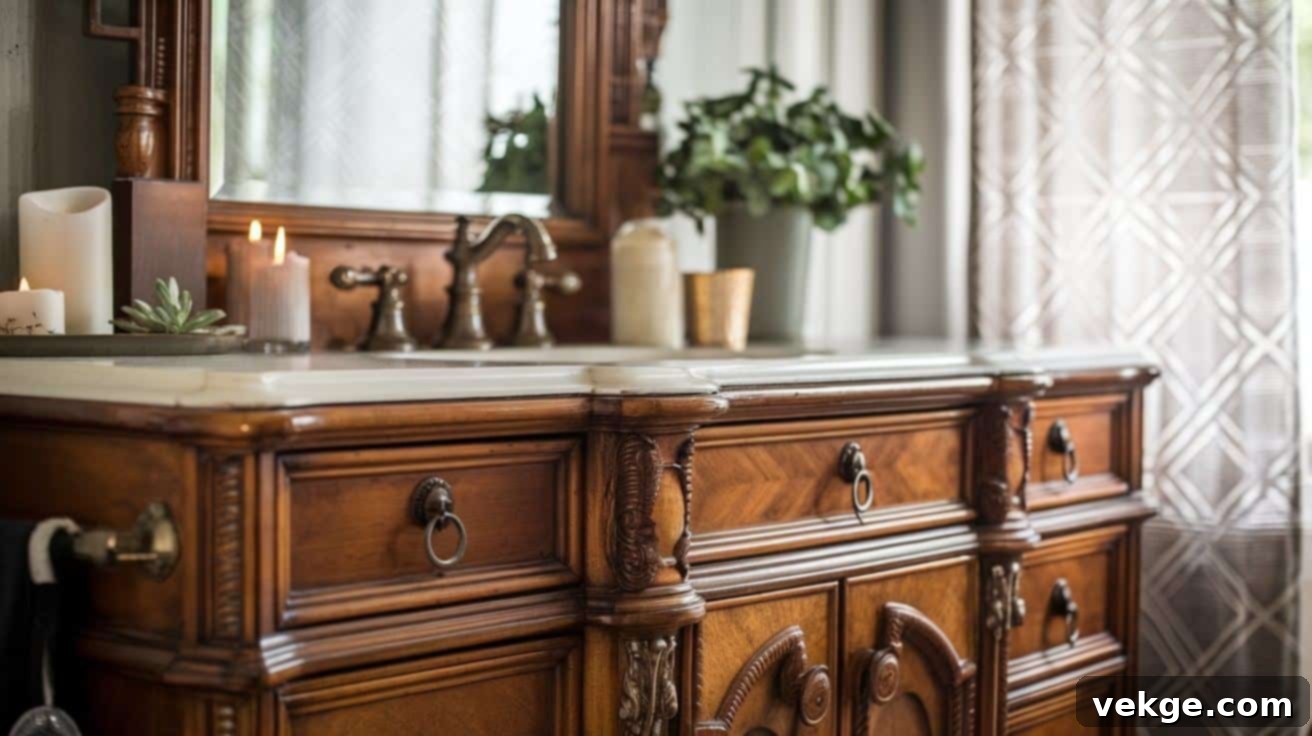
Opting for an antique dresser as your bathroom vanity offers a multitude of compelling advantages for homeowners seeking to infuse their spaces with distinctive character and thoughtful design:
-
Unmatched Uniqueness and Character: Each antique dresser possesses its own distinct history, telling a silent story through its wood grain, carvings, and original hardware. Unlike mass-produced bathroom vanities, which often lack individuality, a repurposed dresser ensures your bathroom boasts a truly one-of-a-kind focal point. This inherent uniqueness adds an authentic charm that manufactured items simply cannot replicate, making your bathroom feel more personal and curated.
-
Sustainable and Eco-Friendly Choice: By giving an old dresser a new lease on life, you actively participate in sustainable consumption. This act of recycling and repurposing reduces waste destined for landfills and lessens the demand for new manufacturing, which often consumes significant resources and energy. It’s an environmentally responsible decision that contributes to a greener planet, aligning your home design with eco-conscious values.
-
Superior Craftsmanship and Durability: Many antique dressers were constructed in an era when furniture was built to last. They often feature solid wood construction, dovetailed drawers, and robust joinery – hallmarks of quality that are rare in modern, budget-friendly furniture. This inherent durability means your vanity is likely to withstand the test of time, offering a sturdy and reliable foundation for your sink and toiletries for many years to come.
-
Personalization and Customization Potential: The conversion process is an open canvas for creativity. From selecting the perfect sink and faucet to choosing finishes, paint colors, and new hardware, every decision allows for personal touches. You can tailor the piece to perfectly match your bathroom’s aesthetic, whether you prefer a distressed look, a polished contemporary finish, or a vibrant pop of color. This level of customization ensures the final piece aligns precisely with your unique vision.
-
Cost-Effectiveness (Potentially): While some antique dressers can be valuable, many can be found at flea markets, antique shops, or online for a fraction of the cost of a new, custom-built vanity. The savings on the base unit can often offset the cost of the sink, plumbing, and conversion materials, making it a surprisingly economical option for a high-end, custom look.
Popular Styles and Design Inspiration for Your Antique Vanity
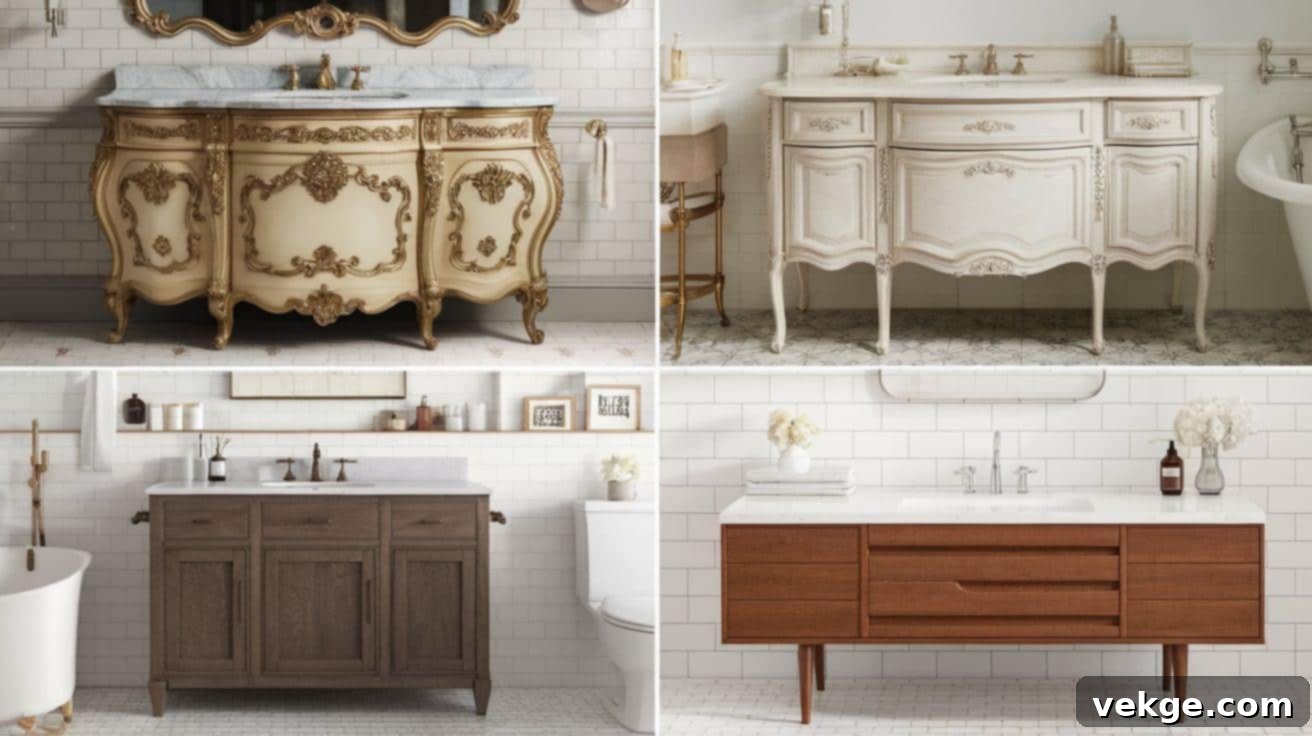
The beauty of using an antique dresser lies in the vast array of styles available, each bringing a distinct aesthetic to your bathroom. Consider these popular design inspirations:
-
Victorian Style: Characterized by ornate carvings, elaborate details, and often substantial proportions, Victorian dressers exude grandeur. Their rich wood tones, often mahogany or walnut, and intricate brass or porcelain hardware make them ideal for larger bathrooms striving for a luxurious, period-appropriate feel. Imagine a deep, rich stained Victorian dresser topped with a pristine marble counter and an undermount sink, creating a truly opulent statement.
-
French Provincial Design: These dressers offer a softer, more romantic aesthetic. Known for their graceful curves, cabriole legs, delicate details, and often lighter, distressed finishes (like whitewash or soft pastels), French Provincial pieces bring an air of refined comfort and shabby chic elegance. They are perfect for bathrooms aiming for a light, airy, and sophisticated ambiance, often paired beautifully with vessel sinks and antique-style faucets.
-
Farmhouse Style: Emphasizing simplicity, sturdy construction, and natural materials, farmhouse dressers are typically made from solid, often reclaimed, wood with practical storage solutions. Their clean lines, robust hardware (like iron pulls), and weathered finishes make them perfect for creating a cozy, rustic, and inviting bathroom. These pieces pair exceptionally well with ceramic vessel sinks or even a trough-style sink for a truly authentic farmhouse feel.
-
Mid-Century Modern Dressers: Defined by their clean lines, minimal ornamentation, and often tapered legs, mid-century modern dressers offer a sophisticated yet understated vintage appeal. Typically crafted from teak, walnut, or oak, their functional design integrates beautifully into contemporary bathrooms, providing a retro flair without overwhelming the space. They work wonderfully with simple, sleek undermount or drop-in sinks and chrome or matte black fixtures.
-
Art Deco Style: For a touch of glamorous sophistication, Art Deco dressers, with their geometric shapes, bold lines, and often exotic wood veneers or lacquered finishes, can make a striking statement. These pieces are often adorned with chrome or Bakelite hardware, perfect for a chic and dramatic bathroom design.
-
Shaker Style: Known for its minimalist design, emphasis on utility, and exceptional craftsmanship, Shaker dressers feature clean lines and simple knob hardware. They fit well into a variety of decors, from traditional to transitional, offering a timeless and uncluttered look that is both elegant and highly functional.
Step-By-Step DIY Antique Dresser To Bathroom Vanity Conversion Guide

Transforming an antique dresser into a functional bathroom vanity is a rewarding DIY project that requires careful planning and execution. Follow these steps for a successful conversion:
STEP 1: Carefully Remove the Backsplash and Dresser Top
Begin by meticulously inspecting the dresser for any existing backsplash or original top. Using a pry bar, hammer, and a utility knife, carefully score around the edges where the backsplash meets the dresser and the top meets the base. Gently pry the backsplash away from the dresser. Next, locate any screws or fasteners holding the dresser top in place, typically found from underneath. Remove these fasteners, then carefully lift the top off. This initial step is crucial for creating a flat, stable surface for your new sink and plumbing, and it allows for easier modification of the dresser’s internal structure. Taking your time here will prevent damage to the dresser’s frame and ensure a clean foundation for subsequent steps.
STEP 2: Precisely Cut a Hole in the Dresser Top for the Sink
With the dresser top removed, it’s time to prepare it for the sink. Position your chosen sink on the dresser top, ensuring it is centered or aligned as desired and leaves sufficient space for faucet placement (if not a wall-mounted faucet). If your sink came with a template, use it to accurately mark the cut area. If not, carefully trace the outline of the sink’s rim (for drop-in sinks) or the necessary opening for an undermount sink. Using a jigsaw with a fine-tooth blade, slowly and carefully cut along your marked line. For the initial cut, you may need to drill a pilot hole inside the marked area to insert the jigsaw blade. Once the cut is complete, sand the edges smoothly to remove any splinters or rough spots, ensuring a clean and perfect fit for your sink. Periodically test-fit your sink into the opening to confirm the dimensions before proceeding.
STEP 3: Adjust the Inside Frame for Plumbing and Sink Depth
Place the dresser top back onto the dresser (without securing it yet) and position the sink within its newly cut hole. This will allow you to visualize where the sink basin and plumbing lines (drainpipe, P-trap, water supply lines) will interfere with the dresser’s internal frame or drawer runners. Using a pencil, mark the sections of the internal frame that need to be cut away. Remove the top again, and with a jigsaw or reciprocating saw, carefully cut out the marked sections. It’s vital to remove only what is necessary to accommodate the plumbing while maintaining as much of the dresser’s structural integrity as possible. Reinforce any cut areas with small wooden blocks or metal brackets if you feel the structure has been compromised. This step ensures your sink and plumbing can be installed without obstruction and allows for functional drawers.
STEP 4: Sand, Stain, and Waterproof the Dresser Top and Body
This is where your vanity’s aesthetic and longevity are largely determined. Begin by thoroughly sanding all surfaces of the dresser top and body that will be exposed to moisture or handle the sink. Start with a medium-grit sandpaper (e.g., 120-grit) to remove old finishes, stains, and imperfections, then progress to finer grits (e.g., 220-grit) for a smooth finish. Once sanded, clean off all dust. Apply your chosen wood stain to refresh the wood and enhance its natural grain, following the product instructions for application and drying times. For superior protection against water, apply at least three coats of a high-quality waterproof urethane or marine-grade sealant. Allow ample drying time between coats and sand lightly with very fine grit sandpaper (e.g., 400-grit) between coats for a smoother finish. For a durable, matte look, a final coat of flat polyurethane can be applied. This waterproofing is critical to prevent water damage, swelling, and mold, ensuring your vanity lasts for years in a humid bathroom environment.
STEP 5: Secure the Sink to the Dresser Top
With the dresser top thoroughly prepped and waterproofed, it’s time to install the sink. Carefully position the sink into its cut-out opening, ensuring it is perfectly aligned and centered. For drop-in sinks, apply a generous, continuous bead of silicone sealant around the underside rim of the sink before lowering it into place. For undermount sinks, apply silicone along the perimeter of the opening on the underside of the dresser top, then press the sink firmly into the sealant. Secure the sink to the top using the mounting clips and hardware provided by the sink manufacturer. Once secured, apply an additional thin bead of silicone around the visible edges of the sink where it meets the dresser top (for drop-in) or underneath (for undermount) to create a watertight seal. Wipe away any excess silicone immediately for a clean finish. Allow the silicone to cure completely, as per the product’s instructions, before proceeding with plumbing.
STEP 6: Modify Drawers to Fit Plumbing While Maintaining Functionality
One of the cleverest aspects of an antique dresser vanity is retaining drawer storage. To make room for the P-trap, drain pipe, and water supply lines, you’ll need to modify the drawers that fall within the sink’s footprint. This typically involves cutting out sections from the back and/or bottom of these drawers. Carefully measure where the plumbing will pass through and mark the sections to be removed. Use a jigsaw to make clean cuts. To ensure the modified drawers remain functional and sturdy, reinforce the remaining structure. This can be done by attaching pine boards or plywood to create new, shallower drawer bottoms or by boxing out the cut areas. Secure these reinforcements with wood glue and screws. Some DIYers opt to create “false drawer fronts” for the top drawer, meaning the drawer front remains, but the internal box is removed, providing full access to plumbing while maintaining the dresser’s aesthetic. Test all drawers for smooth operation after modifications.
STEP 7: Secure the Vanity in Place and Finalize Assembly
Carefully move the converted dresser into its final position in the bathroom. If necessary, notch the bottom rear piece of the dresser to fit around any existing baseboard or wall trim, ensuring a snug fit against the wall. To prevent tipping and ensure stability, especially in a bathroom environment, securely attach the dresser to the wall studs using L-brackets or mounting screws. Ensure the dresser is level. Reattach the waterproofed dresser top to the dresser base, screwing it in from underneath to secure it firmly. Now you can install your chosen faucet onto the sink and connect the hot and cold water supply lines, as well as the drain assembly and P-trap. Double-check all plumbing connections for leaks. Finally, add new drawer pulls or knobs for a fresh, finished look that complements your updated vanity. Stand back and admire your beautifully repurposed, functional work of art!
Video Tutorial for Visual Learners
For those who prefer a visual guide, this video tutorial offers an excellent walkthrough of the dresser-to-vanity conversion process. Watching the steps in action can often clarify details and provide valuable insights not easily captured in text.
For more detailed visual instructions and tips, check out this video tutorial by The Merrythought.
Maintenance and Care of Your Cherished Antique Vanity
To ensure your antique dresser bathroom vanity remains a beautiful and functional centerpiece for many years, proper maintenance and care are essential, especially given its exposure to moisture and daily use.
1. Regular Cleaning Tips for Longevity
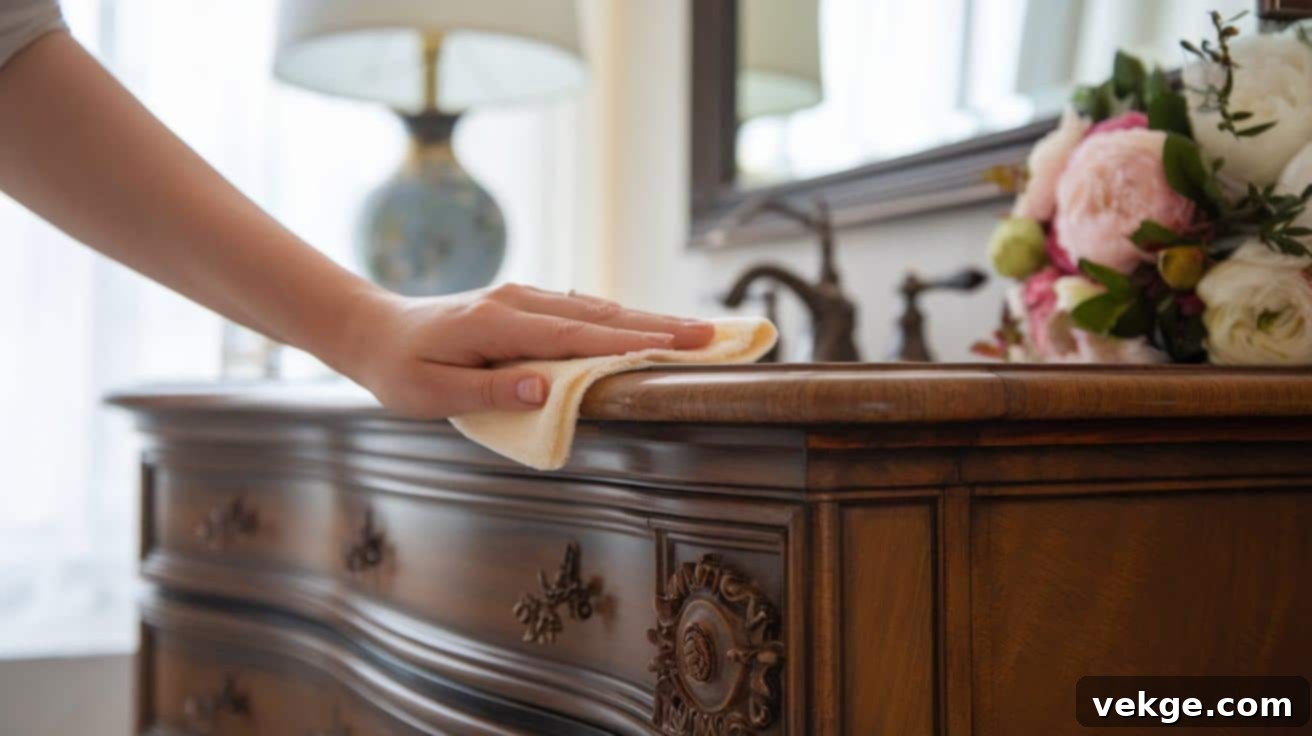
Daily maintenance should be gentle and consistent. After each use, wipe down the sink area and any adjacent wooden surfaces with a soft, dry cloth to remove water spots, toothpaste splatters, and dust. For a deeper clean, use a solution of mild soap (like dish soap) and warm water on a soft cloth, ensuring to wring out excess moisture thoroughly. Immediately dry all surfaces completely after wiping them down to prevent water from penetrating the waterproof finish. Critically, avoid harsh bathroom cleaners, abrasive pads, or products containing ammonia, bleach, or strong acids. These chemicals can strip antique finishes, erode sealants, and accelerate wear on the wood, potentially causing irreversible damage. Stick to gentle, pH-neutral cleaners specifically designed for wood or natural stone if you have a stone top.
2. Dealing with Wear and Tear Effectively
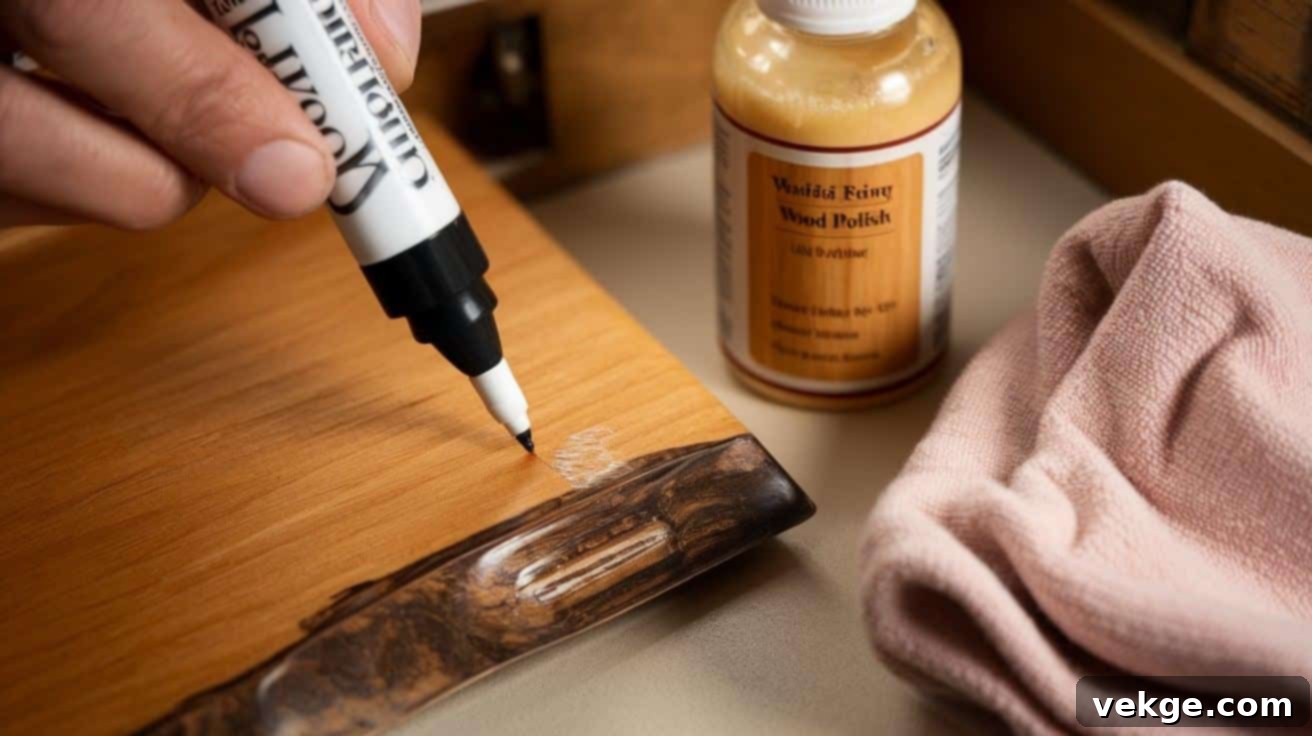
Even with careful use, minor wear and tear are inevitable. Small scratches, nicks, or marks on the wood finish often respond well to targeted treatments. Furniture markers, wax filler sticks, or touch-up pens specifically matched to your wood stain can effectively conceal these imperfections. Address these issues promptly to prevent moisture from entering the wood through damaged areas. For more significant wear, such as large areas where the finish has degraded or the wood is visibly damaged, consider professional refinishing. A skilled furniture restorer can strip and reapply the finish, ensuring it matches the piece’s original character while providing renewed protection against moisture and daily use. This process should ideally maintain the antique integrity rather than drastically altering its appearance.
3. Long-Term Care Strategies for Protection
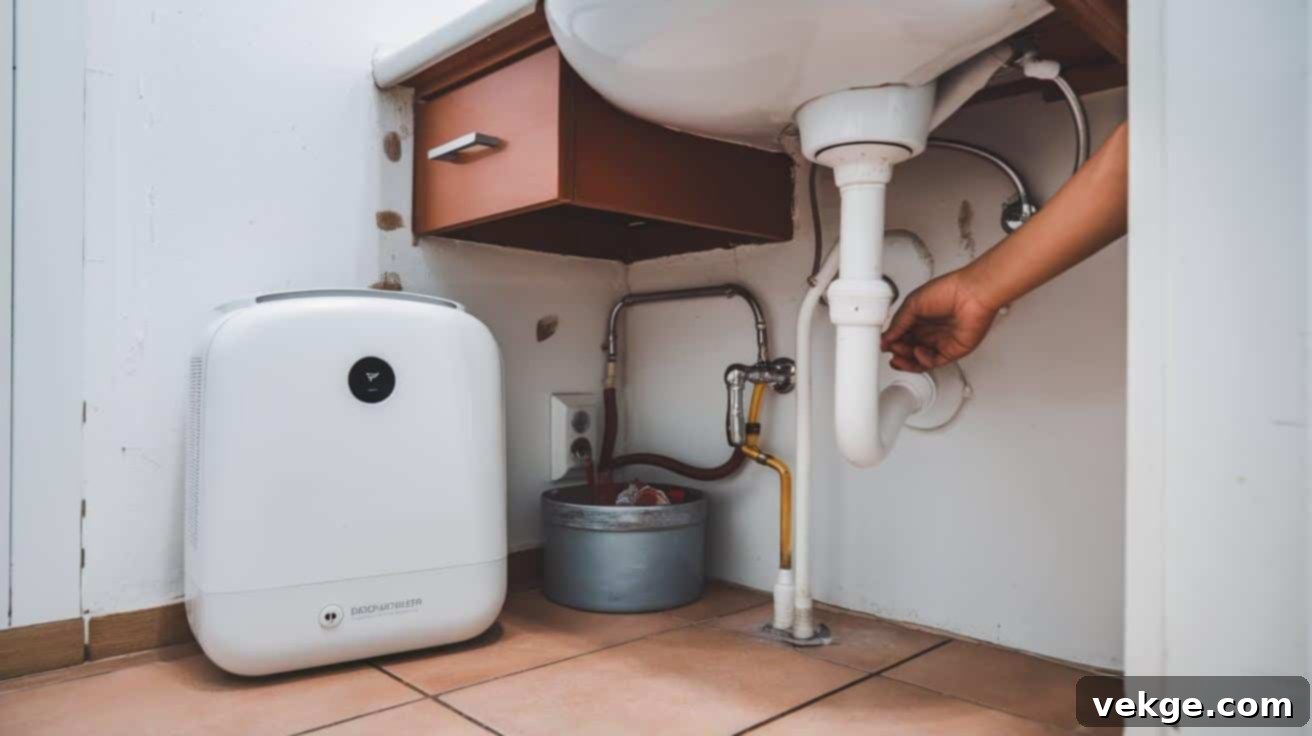
Long-term protection of your antique vanity primarily revolves around preventing water intrusion. Regularly inspect and maintain the sealing around the sink area, including caulk lines where the sink meets the countertop and where the vanity meets the wall. Reapply silicone caulk as needed if you notice any cracking, shrinking, or peeling. Additionally, controlling bathroom humidity levels is crucial for preserving wood furniture. Use a bathroom exhaust fan during and after showers, and consider a small dehumidifier in excessively humid climates. High humidity can cause wood to swell, warp, or crack over time. Finally, conduct monthly inspections of all plumbing connections underneath the sink. Check for any signs of leaks, drips, or moisture accumulation. Addressing small leaks immediately can prevent significant water damage to your dresser and subfloor, ensuring the longevity and structural integrity of your unique antique vanity.
Final Words on Your Unique Antique Dresser Vanity
Embarking on the journey to create a bathroom vanity from an antique dresser is far more than a simple renovation project; it’s an act of preserving history, embracing sustainable practices, and infusing your home with unparalleled personal meaning. Each meticulously chosen and carefully updated dresser carries its own unique narrative, a silent testament to craftsmanship and endurance, now enhanced by your thoughtful modifications and personal touch.
The time, effort, and creativity invested in this project culminate in a truly special addition to your home – a functional centerpiece that speaks volumes about your style and values. With diligent planning, attention to detail in the conversion process, and consistent, loving care, your cherished old dresser will not only serve its new purpose beautifully but will continue to tell its story for generations to come.
We believe that your space should reflect your individuality. A repurposed antique dresser vanity achieves just that, creating a bathroom that feels both luxurious and genuinely authentic. We’d love to see how your antique dresser vanity project turns out; please feel free to share your results, or reach out with any questions you might have about your unique piece. May your newly transformed bathroom bring you joy and admiration for years to come!
Frequently Asked Questions (FAQs) About Antique Dresser Vanities
What Is the Main Difference Between a Dresser and a Vanity?
Fundamentally, a dresser is a piece of furniture primarily designed for storing clothing and linens in a bedroom, typically featuring multiple drawers. A vanity, on the other hand, is specifically built or adapted for bathroom use, incorporating a sink, plumbing fixtures (faucet, drain), and storage tailored for toiletries, towels, and other bathroom essentials. While a dresser’s top might be used for display, a vanity’s top is designed to withstand moisture and accommodate a wet environment.
What Type Of Sink Is Best For An Antique Dresser Vanity?
For an antique dresser vanity, the most suitable sink types are typically drop-in (or self-rimming) sinks or vessel sinks. Drop-in sinks are popular because they are relatively easy to install and create a clean, integrated look while offering good counter space. Vessel sinks, which sit entirely on top of the dresser, are excellent for showcasing the original wood top and can add a touch of modern or rustic elegance, depending on the sink’s style. Undermount sinks are also an option but require more complex carpentry to install and seal, as well as a more robust, often stone or solid surface, countertop to adhere to.
Is It Cheaper To Build A Vanity Or Buy One Ready-Made?
Building a vanity from an antique dresser can often be more cost-effective than purchasing a new, custom-built vanity, especially if you can source the dresser and sink at reasonable prices. The savings largely depend on the initial cost of the antique dresser, the type and cost of the sink and faucet chosen, and whether you perform the conversion yourself (saving labor costs). However, if you opt for high-end antique pieces, expensive fixtures, or hire professionals for the conversion and installation, the costs can quickly add up. A basic, ready-made manufactured vanity might be cheaper upfront, but it often lacks the unique character and craftsmanship of a repurposed antique piece.
How Do I Protect the Wood of My Dresser Vanity from Water Damage?
Protecting the wood is paramount. First, ensure the entire dresser top, especially around the sink cut-out, is thoroughly sealed with multiple coats of a waterproof, marine-grade polyurethane or epoxy sealant. This creates a durable, moisture-resistant barrier. Second, apply a continuous bead of high-quality silicone caulk around the perimeter of the sink where it meets the dresser top to create a watertight seal. Third, ensure your plumbing is professionally installed and regularly checked for leaks. Finally, always wipe up water spills immediately from the surface, use an exhaust fan to control bathroom humidity, and avoid placing wet items directly on the wood without a protective mat.
Can Any Antique Dresser Be Converted Into a Vanity?
While many antique dressers can be converted, not all are ideal. Look for dressers with solid wood construction (plywood or particle board will not hold up to bathroom moisture), a sturdy frame, and adequate depth to accommodate the sink basin and plumbing. Consider the dresser’s height – standard vanity height is typically 30-36 inches (76-91 cm), so a dresser that falls within or can be adjusted to this range is best for ergonomic use. Also, consider the condition of the wood; extensive damage or rot might make conversion more challenging or costly than it’s worth.
