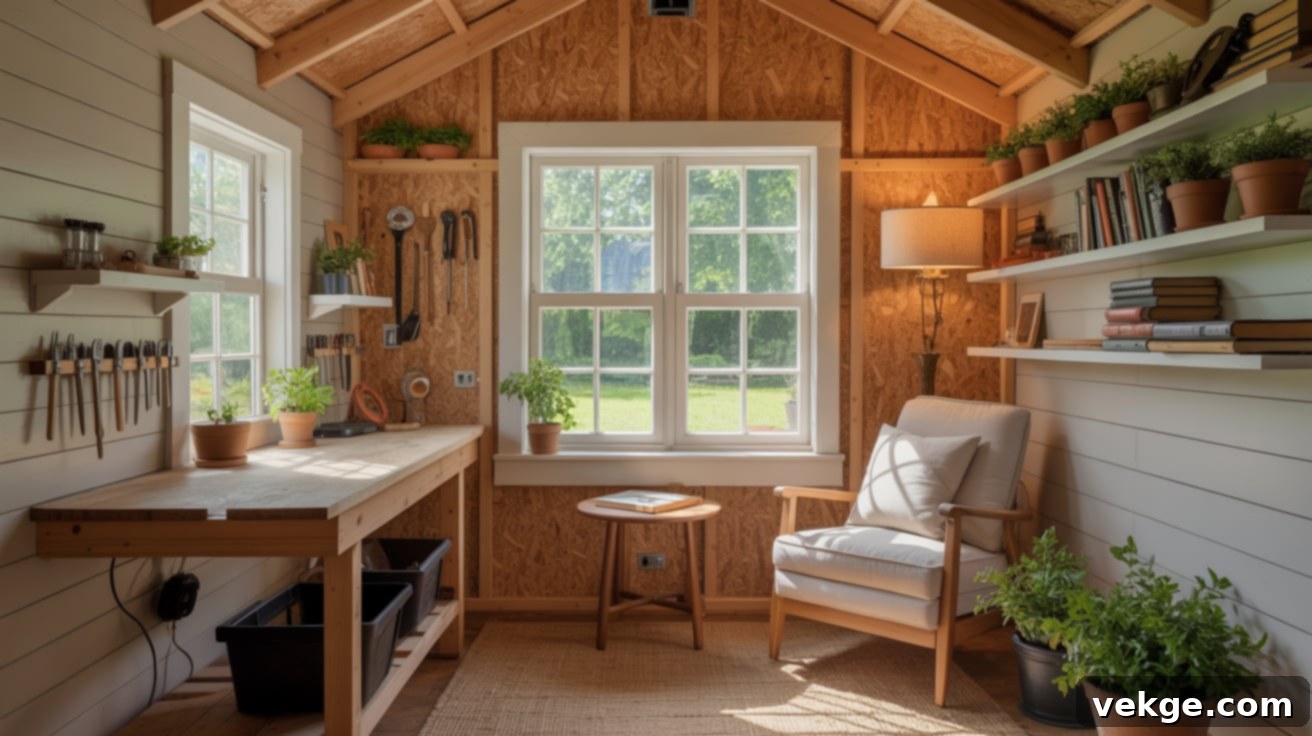
Ultimate Guide to Shed Interior Wall Ideas: Design, Materials & DIY Finishing
Is your shed currently an uninspiring, rough-hewn space that you rarely enjoy stepping into? Many sheds start their life as bare, utilitarian structures, far from the comfortable, organized havens we truly desire. But with the right vision and a bit of effort, you can completely transform your shed’s interior. This comprehensive guide will walk you through innovative shed interior wall ideas, practical tips, and budget-friendly strategies to warm up, brighten, and organize your space, making it a place you’ll genuinely love to use.
Whether you envision your shed as a dedicated workshop for tools, a serene hobby space, a vibrant creative studio, or simply a quiet retreat to unwind, finishing the interior walls is the first crucial step. We’ll help you navigate material choices, add essential comforts, and create a functional and aesthetically pleasing environment that reflects your style and meets your specific needs every single day.
Benefits of Finishing Your Shed’s Interior Walls
Beyond mere aesthetics, finishing the interior walls of your shed offers a multitude of practical advantages that significantly enhance its functionality, comfort, and longevity. It’s an investment that pays off in numerous ways, turning a simple storage unit into a versatile extension of your home.
- Protection for Insulation: Interior walls act as a protective barrier for your insulation, safeguarding it from damage, pests, and moisture. This ensures the insulation remains effective, maintaining a consistent temperature inside your shed year-round.
- Increased Structural Integrity: Installing interior wall materials, especially plywood or OSB, can add an extra layer of rigidity and strength to your shed’s overall structure, making it more resilient against external elements.
- Enhanced Organization and Storage: Smooth, finished wall surfaces provide ideal backdrops for mounting shelves, pegboards, hooks, and other storage solutions. This allows you to utilize vertical space efficiently, keeping tools, supplies, and equipment neatly organized and easily accessible.
- Improved Comfort and Usability: Finished walls dramatically improve the comfort level of your shed. They reduce drafts, help regulate temperature, and create a more inviting atmosphere. This is particularly important if you plan to spend significant time in your shed, whether for work or relaxation.
- Moisture Control: Certain wall materials, when properly installed and sealed, can help manage humidity and prevent moisture penetration, protecting your stored items and the shed’s structure from dampness and mold.
- Aesthetic Appeal: Let’s not forget the visual impact. Finished walls provide a clean, polished look, transforming a drab utility space into an attractive and enjoyable environment. This can even increase the property value and curb appeal of your home.
- Increased Lifespan: By protecting the underlying structure from environmental factors and wear and tear, finished interior walls can contribute to the overall durability and extended lifespan of your shed.
Build Your Shed Interior Walls: A Comprehensive Step-by-Step Guide
Transforming your shed’s interior doesn’t have to be an overwhelming or expensive endeavor. With a strategic approach and a focus on budget-friendly materials, you can achieve a polished, functional, and comfortable space. Follow this step-by-step guide to bring your shed interior wall ideas to life.
Step 1: Insulate for Comfort and Efficiency
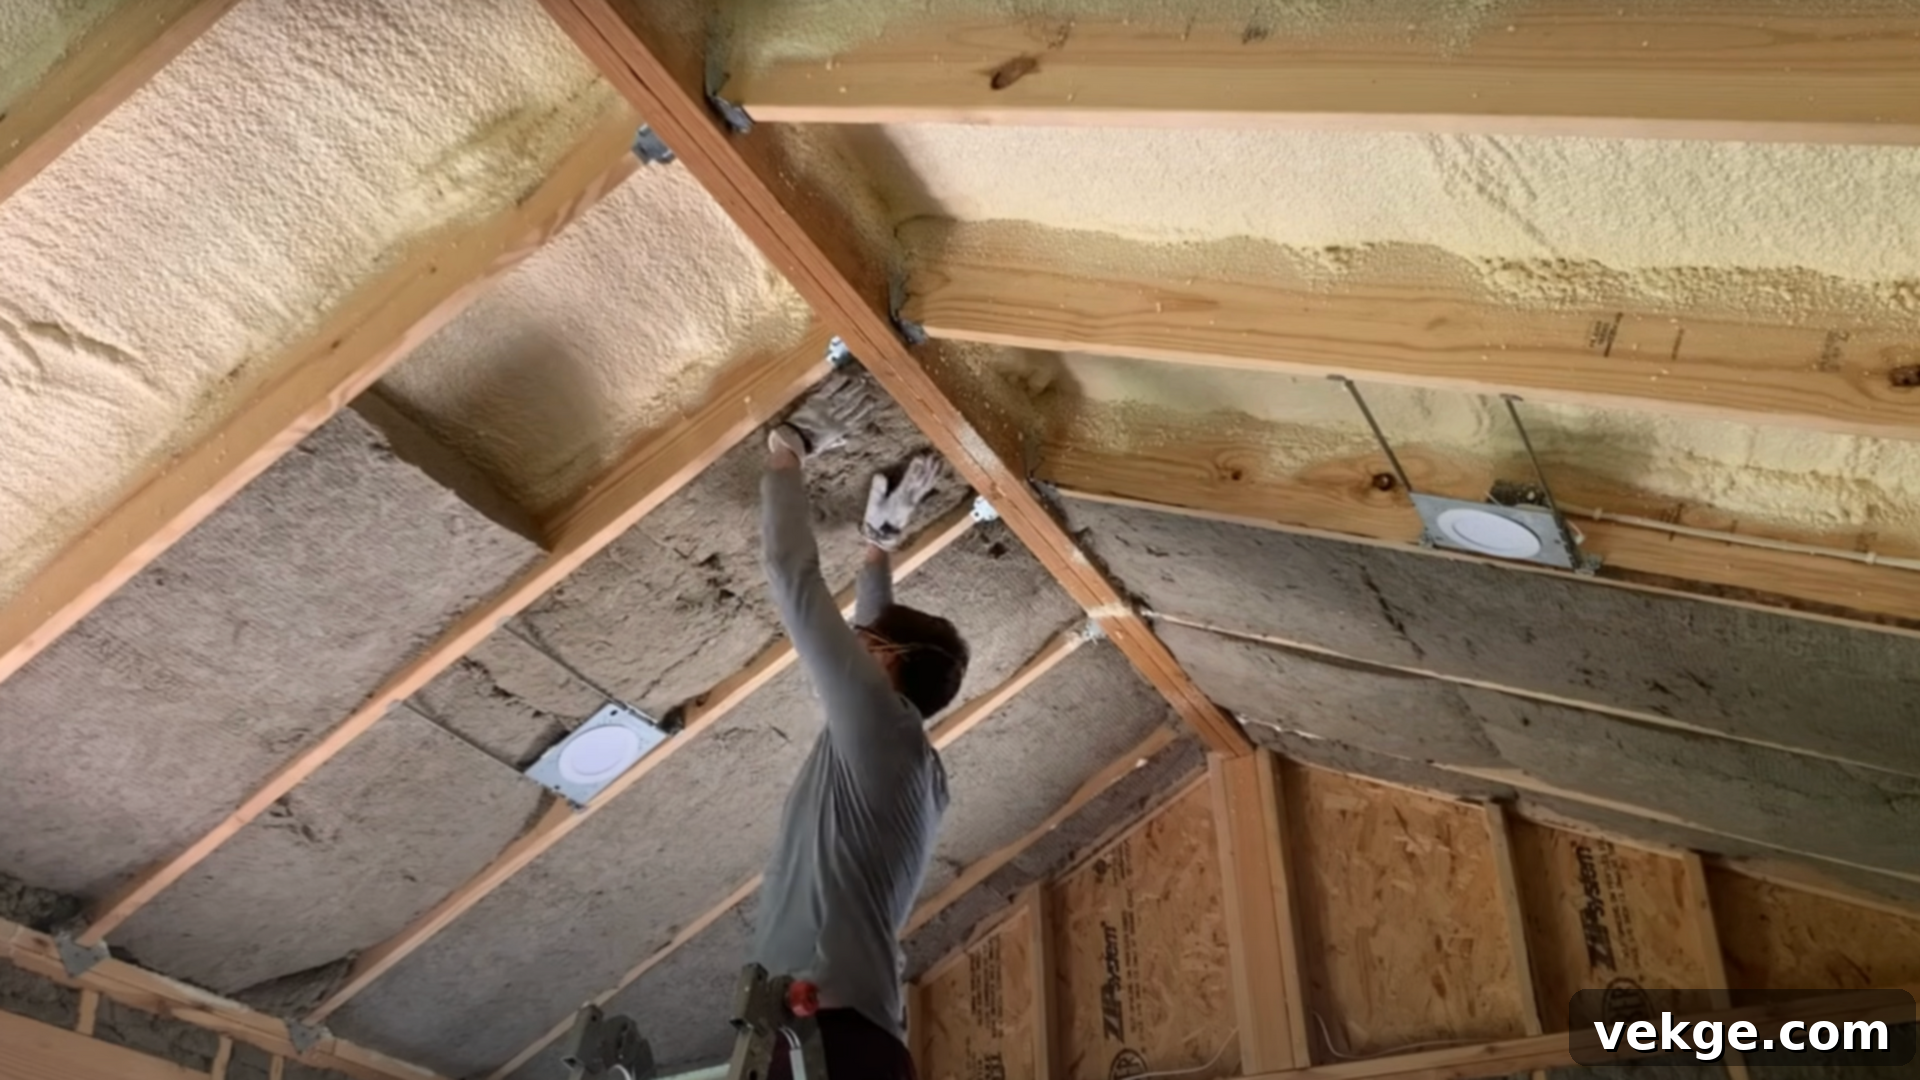
The first and most critical step in creating a truly usable shed is proper insulation. This will ensure your shed remains comfortable in all seasons, whether it’s scorching summer or freezing winter. Begin by applying closed-cell spray foam to the underside of your shed’s roof. This not only provides excellent thermal insulation but also acts as a superior moisture barrier, preventing condensation and leaks.
Once the roof is addressed, move on to the walls and ceiling. Install batt insulation, aiming for an R-value of R-15 for walls and R-30 for ceilings, if your climate permits. Carefully fit the insulation batts flush with the studs and joists, ensuring not to compress them excessively, as this reduces their insulating power. Before sealing up the walls, remember to pre-plan and run any necessary electrical wiring, as well as data cables like Ethernet or HDMI, for future-proofing your shed. This foresight will save you significant effort and potential headaches down the line.
Step 2: Choose and Install Budget-Friendly Wall Material
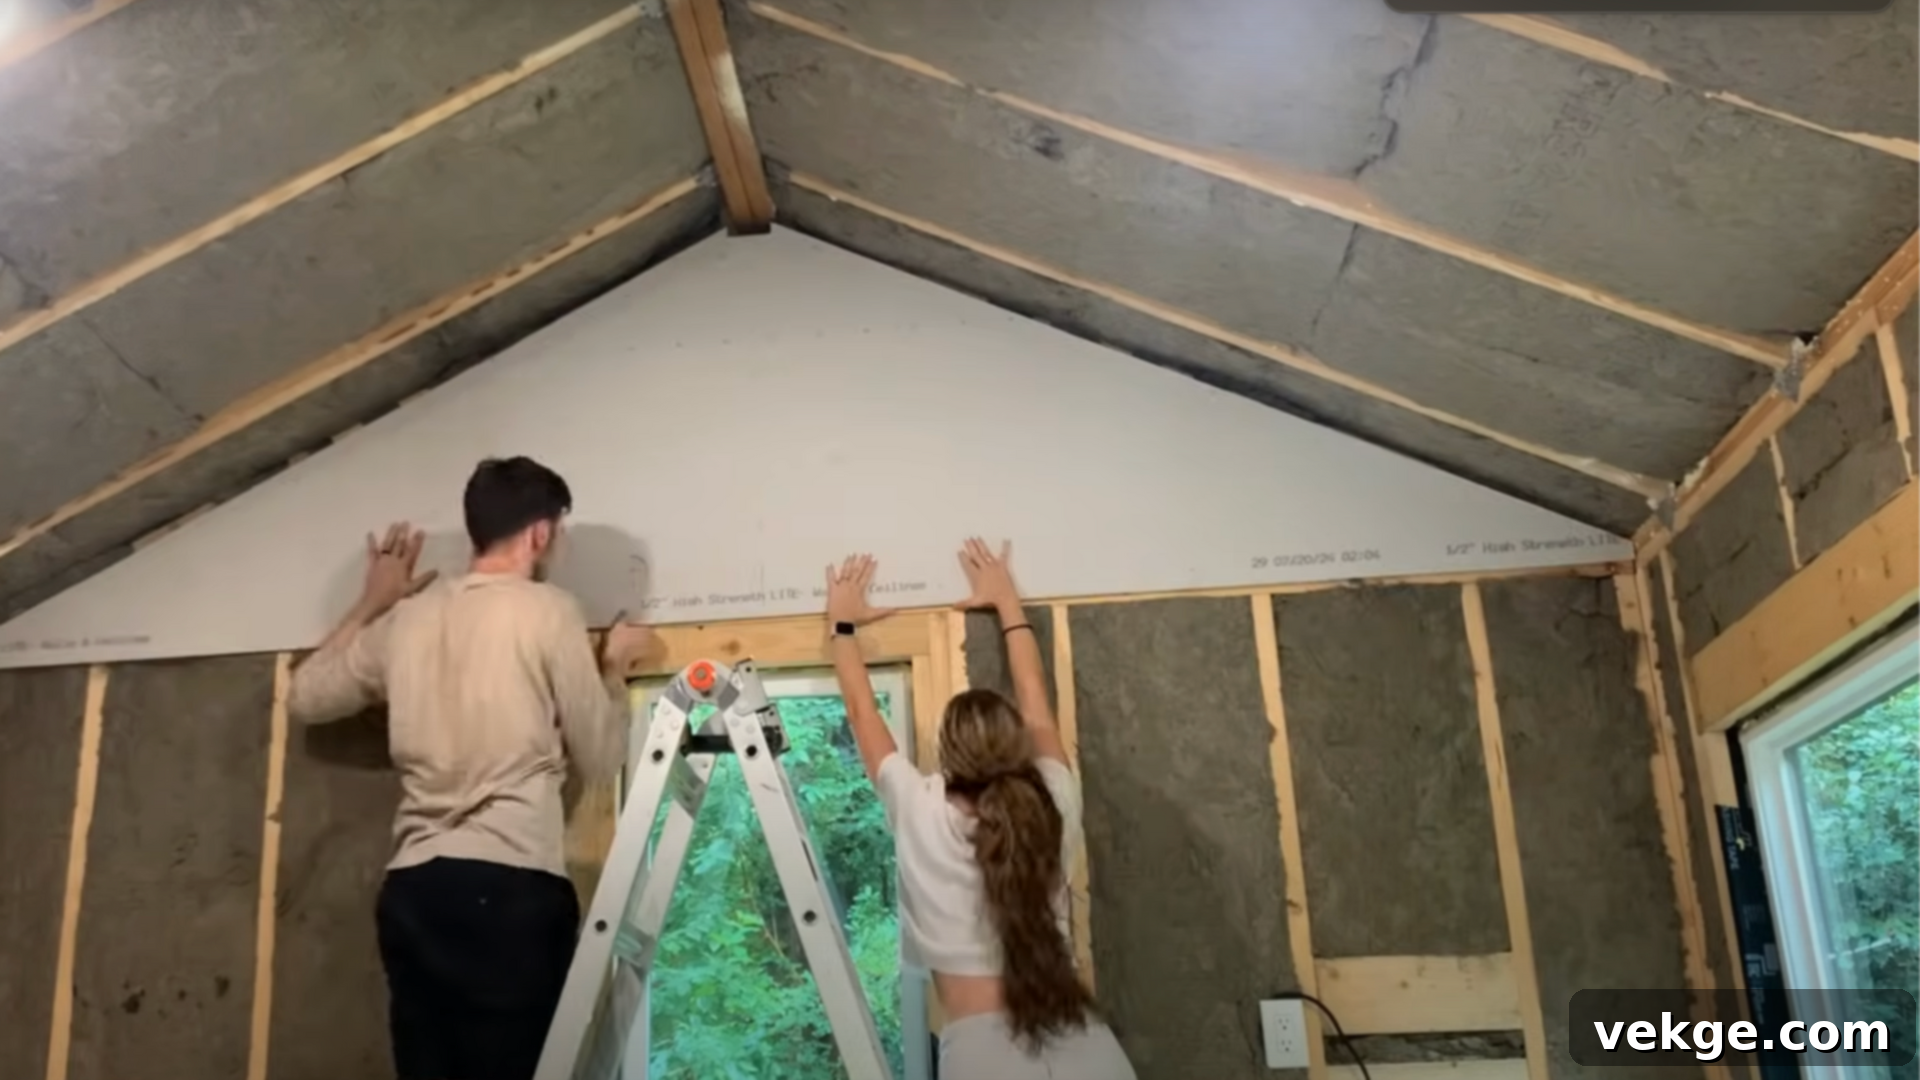
With insulation in place, it’s time to select and install your interior wall material. For a smooth, paintable, and cost-effective finish, drywall is an excellent choice. Opt for ½-inch thick drywall sheets, preferably in larger sizes like 4×8 or 4×12 feet, to minimize the number of seams you’ll need to finish later. Begin by measuring and cutting your sheets to fit, ensuring tight seams for a professional look.
Attach the drywall sheets securely to the wall studs using drywall screws, spacing them every 12 inches for optimal stability. It’s crucial to leave a small gap (about ¼ to ½ inch) at the bottom edge of the drywall where it meets the floor. This gap helps prevent moisture wicking from the floor into the drywall, protecting against potential damage and mold. When working alone, scrap wood pieces can be invaluable temporary braces to hold panels in place, especially larger ones, before you secure them permanently.
Step 3: Tape, Mud, and Paint Your Walls
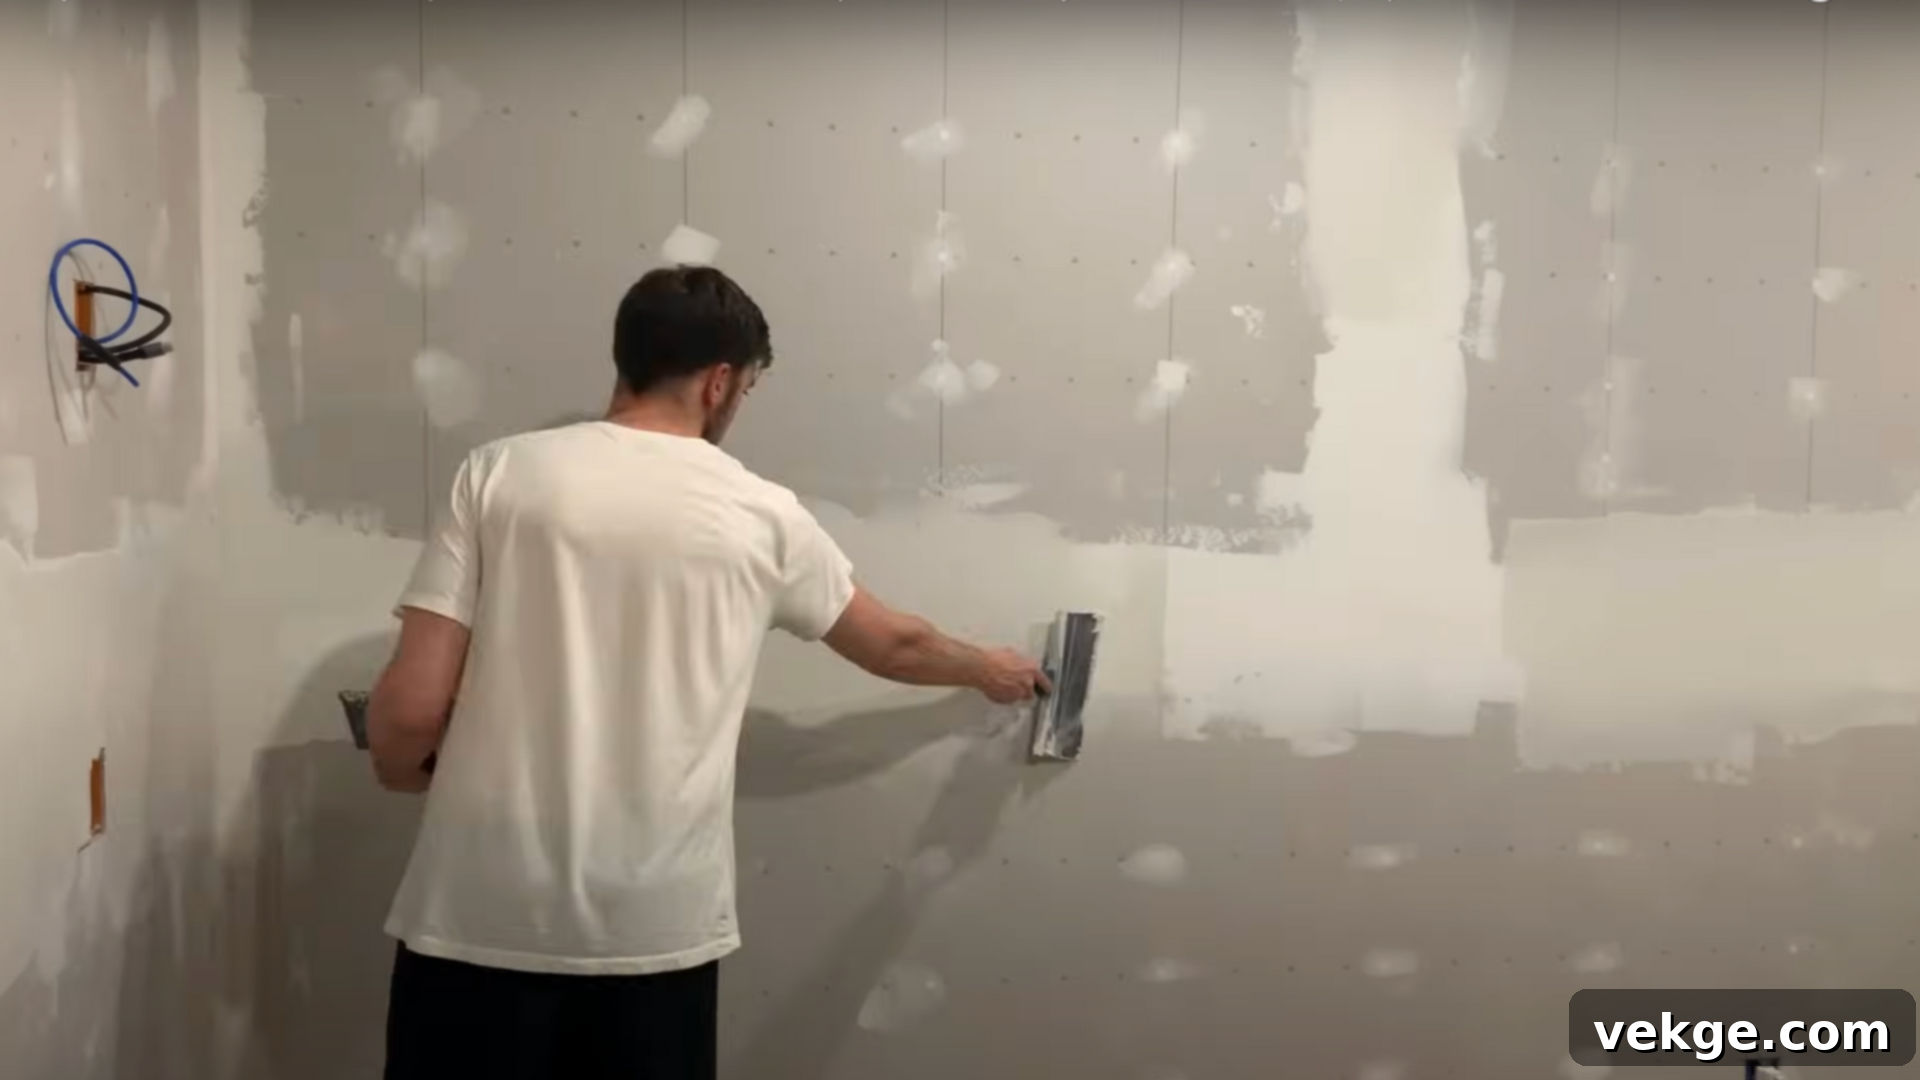
Achieving a seamless drywall finish requires patience and a few key steps. Start by applying joint compound (mud) to all seams and corners where drywall sheets meet. Immediately embed paper or fiberglass mesh joint tape into the wet compound, ensuring it’s centered over the seam. Use a trowel or taping knife to smooth and feather the mud over the tape, creating a thin, even layer.
Allow the first coat to dry completely, which can take several hours. Then, apply two more thin coats of joint compound, letting each layer dry thoroughly before applying the next. With each subsequent coat, feather the edges wider to blend the seam smoothly into the wall. Once all coats are dry, lightly sand the entire surface until it feels perfectly smooth and free of ridges. Finish by priming the walls to ensure uniform paint adhesion and a professional look, then apply your chosen paint color. A simple, neutral shade like Sherwin-Williams’ “Greek Villa” offers a clean, bright, and budget-friendly aesthetic that makes the space feel larger and more inviting.
Step 4: Add Trim and Ceiling Features for a Polished Finish
The final touches truly elevate your shed’s interior, giving it that professional and complete feel. Install cost-effective trim, such as 1×4 baseboards around the perimeter of the floor and elegant crown molding where the walls meet the ceiling. These elements hide imperfections and create clean, defined lines. For windows and doors, construct simple yet sturdy frames using pine boards glued and nailed together, providing a finished look and protecting the drywall edges.
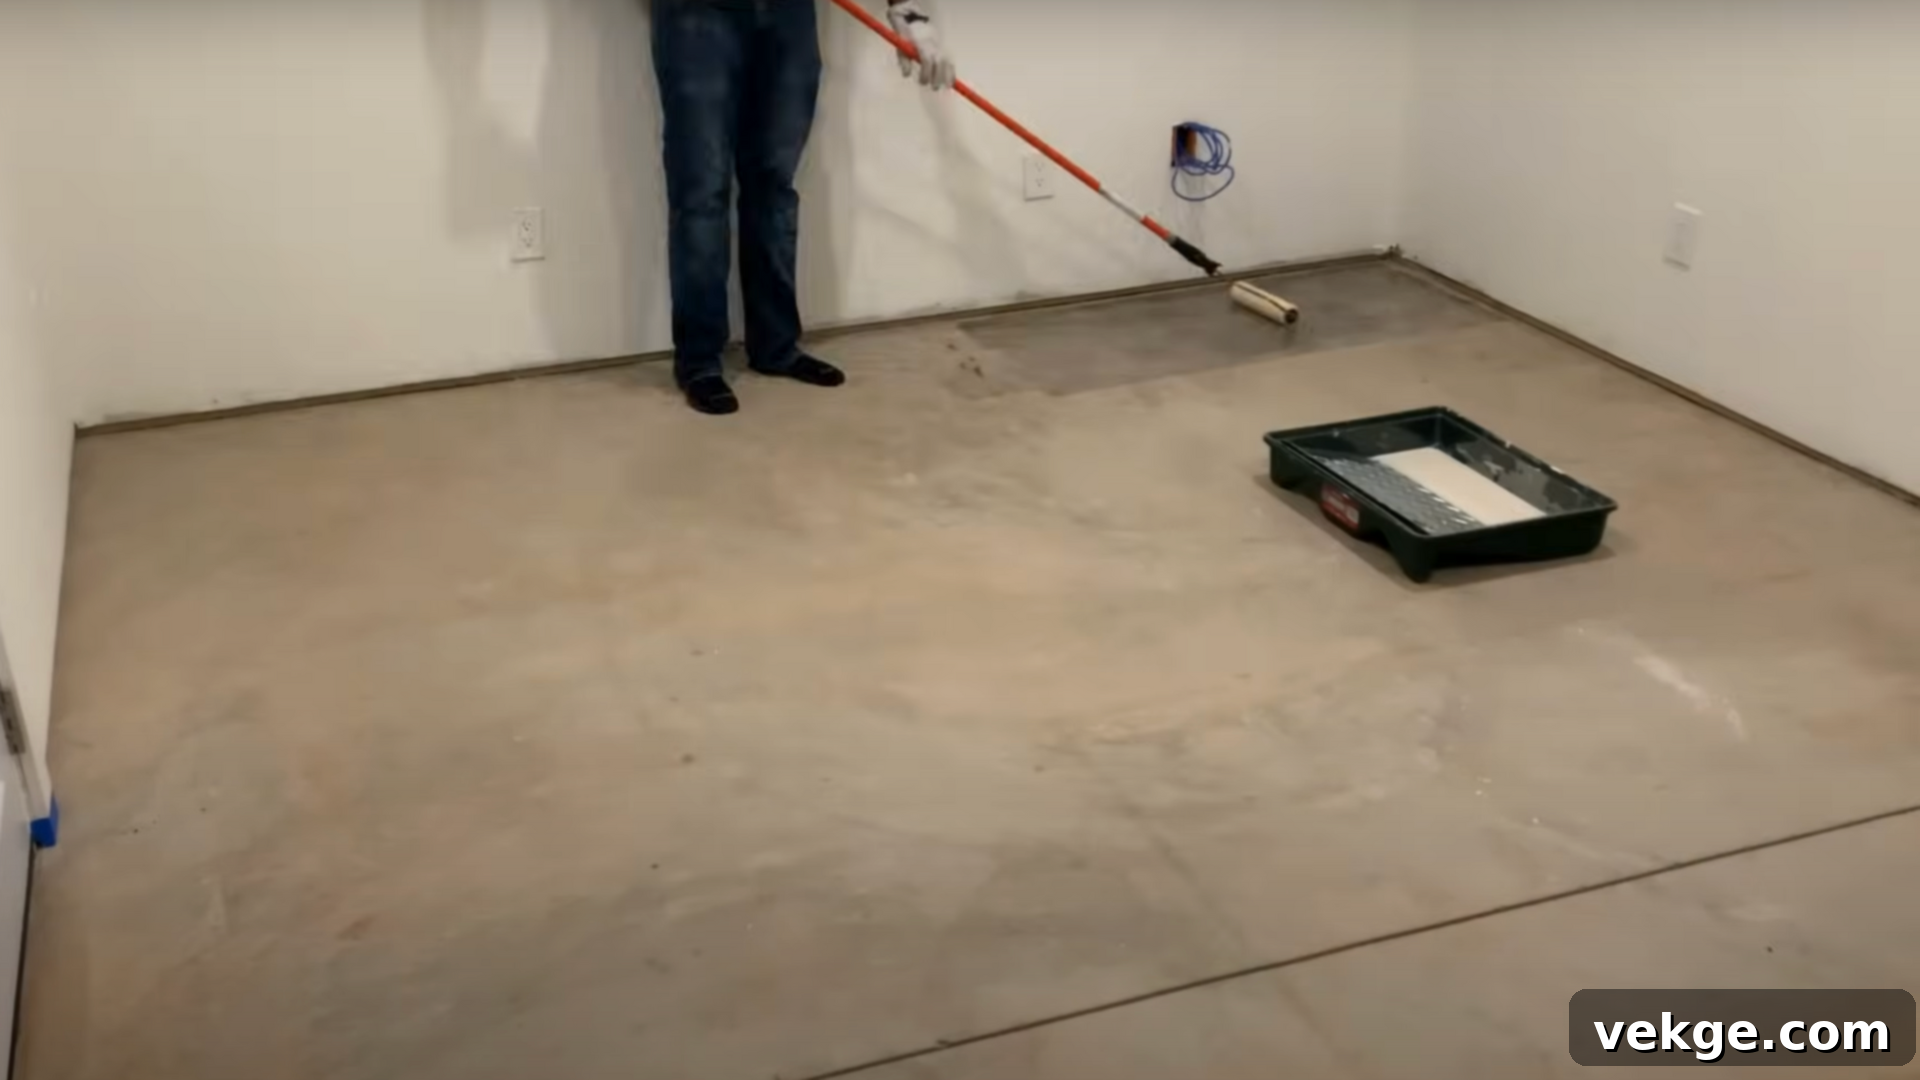
Consider adding character to your ceiling with cedar tongue-and-groove boards. These are often surprisingly affordable and lend a rustic yet refined touch, enhancing the overall ambiance without overspending. Finally, don’t neglect your shed floor. Apply a wet-look concrete sealer to concrete or plywood floors. This not only protects the surface from dirt, dust, and spills but also makes it incredibly easy to clean and adds a subtle shine, tying the whole interior together beautifully.
Shed Interior Wall Ideas for Different Styles and Uses
The interior of your shed should perfectly align with its intended purpose and your personal aesthetic. Whether it’s a sanctuary for relaxation or a powerhouse for productivity, the right shed interior wall ideas can transform its character. Let’s explore various styles to inspire your design.
1. Cozy She Shed or Retreat Idea
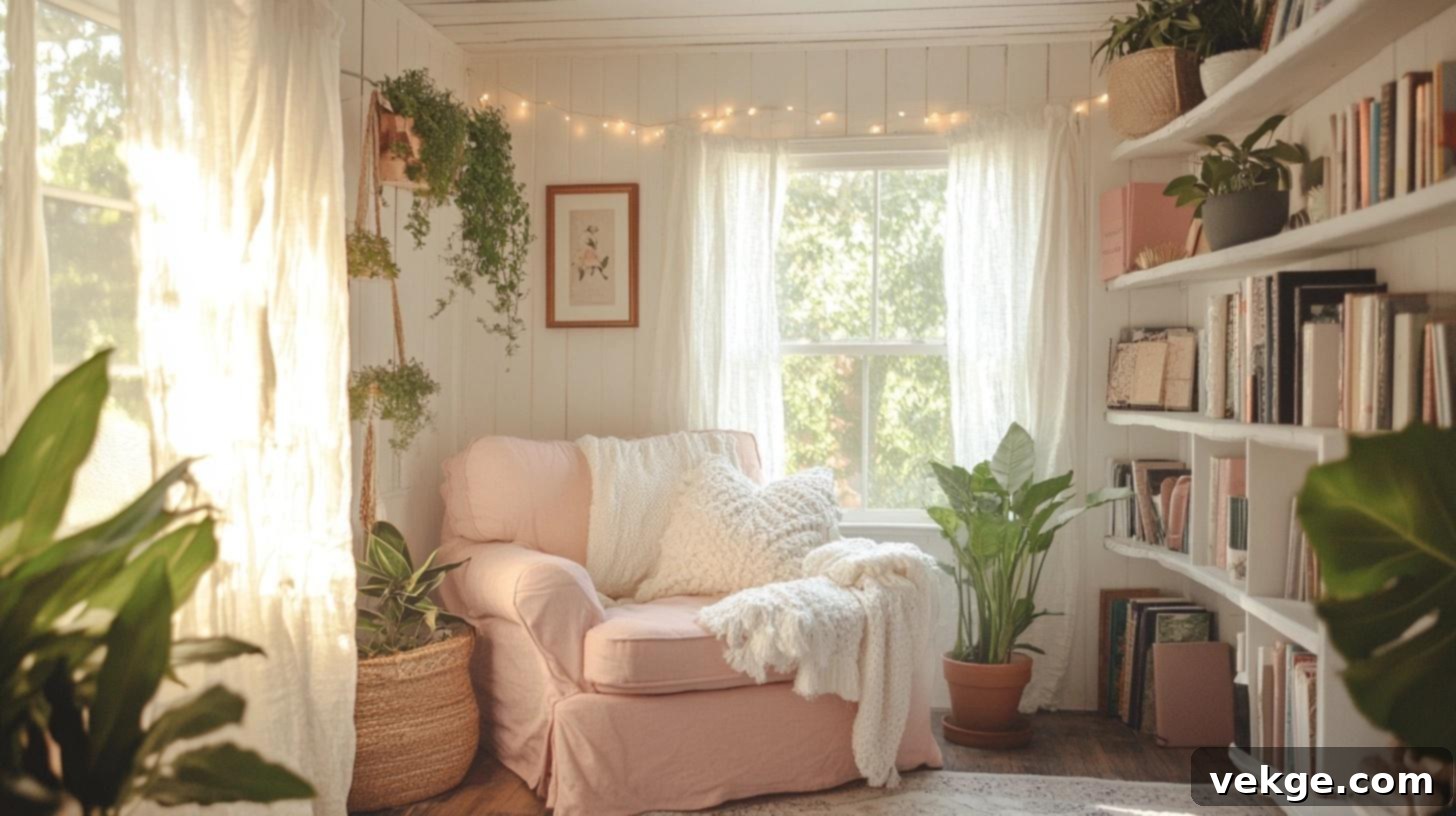
For a she shed or a personal retreat, comfort is paramount. Focus on soft color palettes like pastels, warm grays, or inviting off-whites for your walls. Install beadboard or shiplap panels to add texture and a classic, charming feel. Furnish the space with plush chairs, throws, and soft lighting (think string lights, lamps with warm bulbs). Incorporate elements like flowing curtains, cozy rugs, and personal decor items such as framed art, family photos, or botanical prints. Open shelving can display books, plants, and trinkets, keeping the space neat but full of personality. The goal is to create a quiet, welcoming, and deeply personal haven.
2. Workshop and Tool Storage Walls
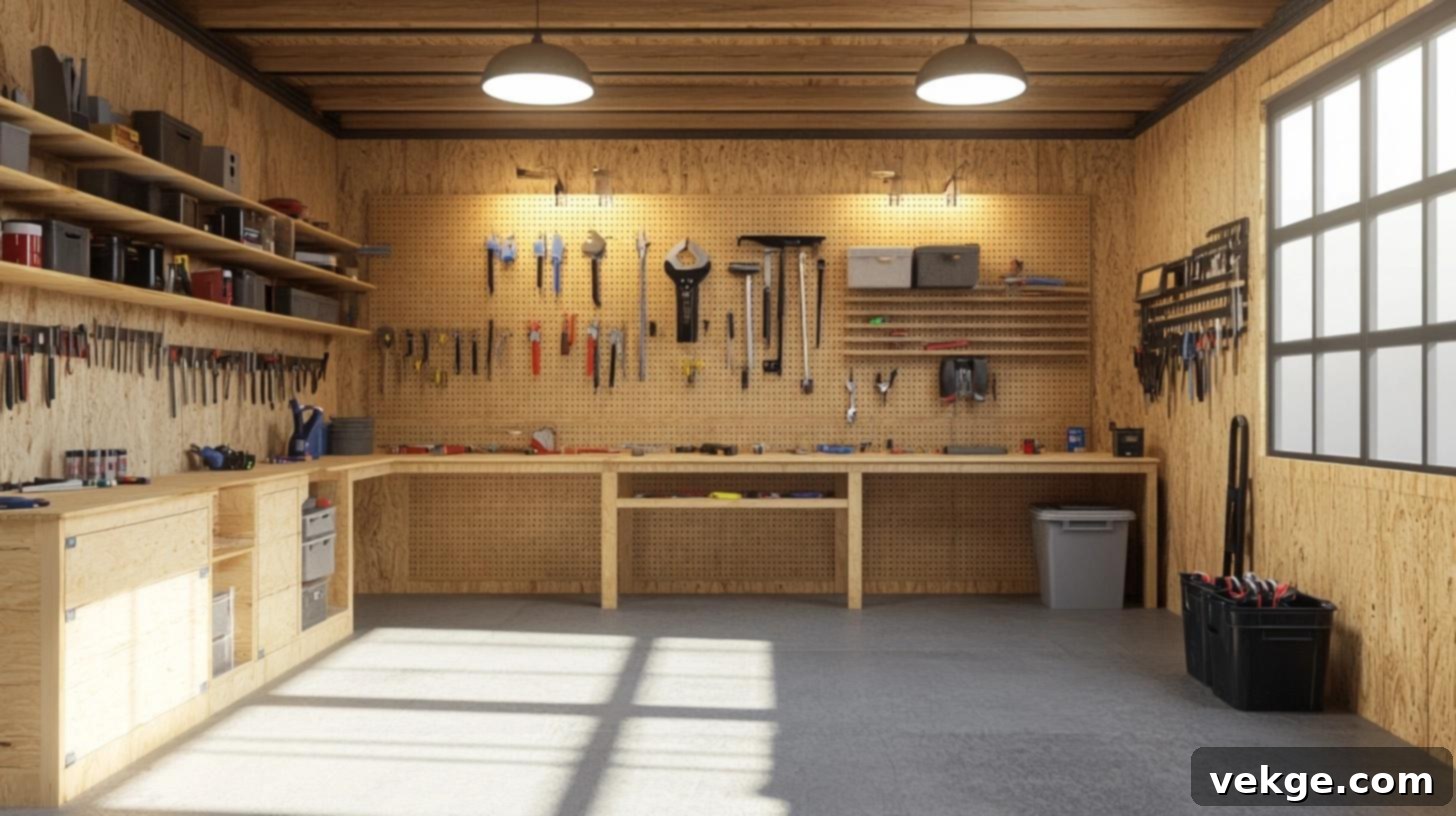
A functional workshop requires durable, hard-wearing walls. Plywood or Oriented Strand Board (OSB) are ideal choices here, as they can withstand bumps and knocks while also providing excellent surfaces for mounting. Maximize vertical storage with heavy-duty pegboards, wall-mounted tool racks, and robust shelving units. Keep heavier tools closer to the ground for safety. Designate specific zones for different types of tools or projects, and ensure ample space for a sturdy workbench. Paint the walls in practical, dirt-hiding colors like medium gray, tan, or even a dark blue. The key is efficient organization, durability, and a clean layout that promotes safe and productive work.
3. Rustic or Farmhouse-Inspired Designs
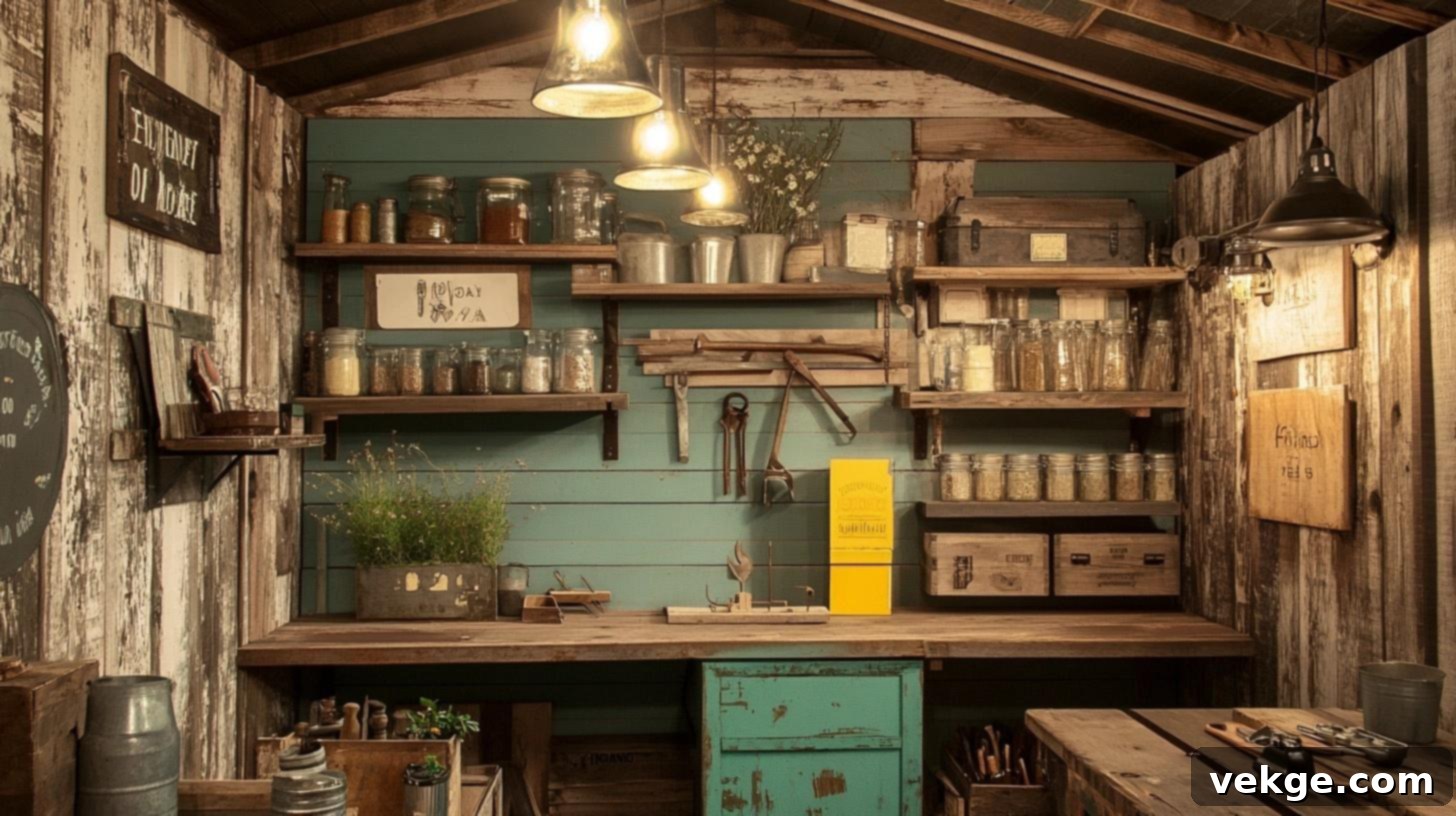
Embrace natural charm with rustic or farmhouse shed interior wall ideas. Opt for reclaimed wood paneling, rough-sawn lumber, or even shiplap painted in earthy tones like warm browns, creams, soft greens, or muted blues. Decorate with vintage or distressed metal signs, antique tools as wall art, and simple, open wooden shelves. Lighting should be warm and inviting, perhaps exposed Edison bulbs or rustic lanterns. This style thrives on natural textures and a lived-in, laid-back ambiance, perfect for a garden shed, a potting station, or simply a place to unwind with a cup of coffee.
4. Minimalist and Modern Interiors
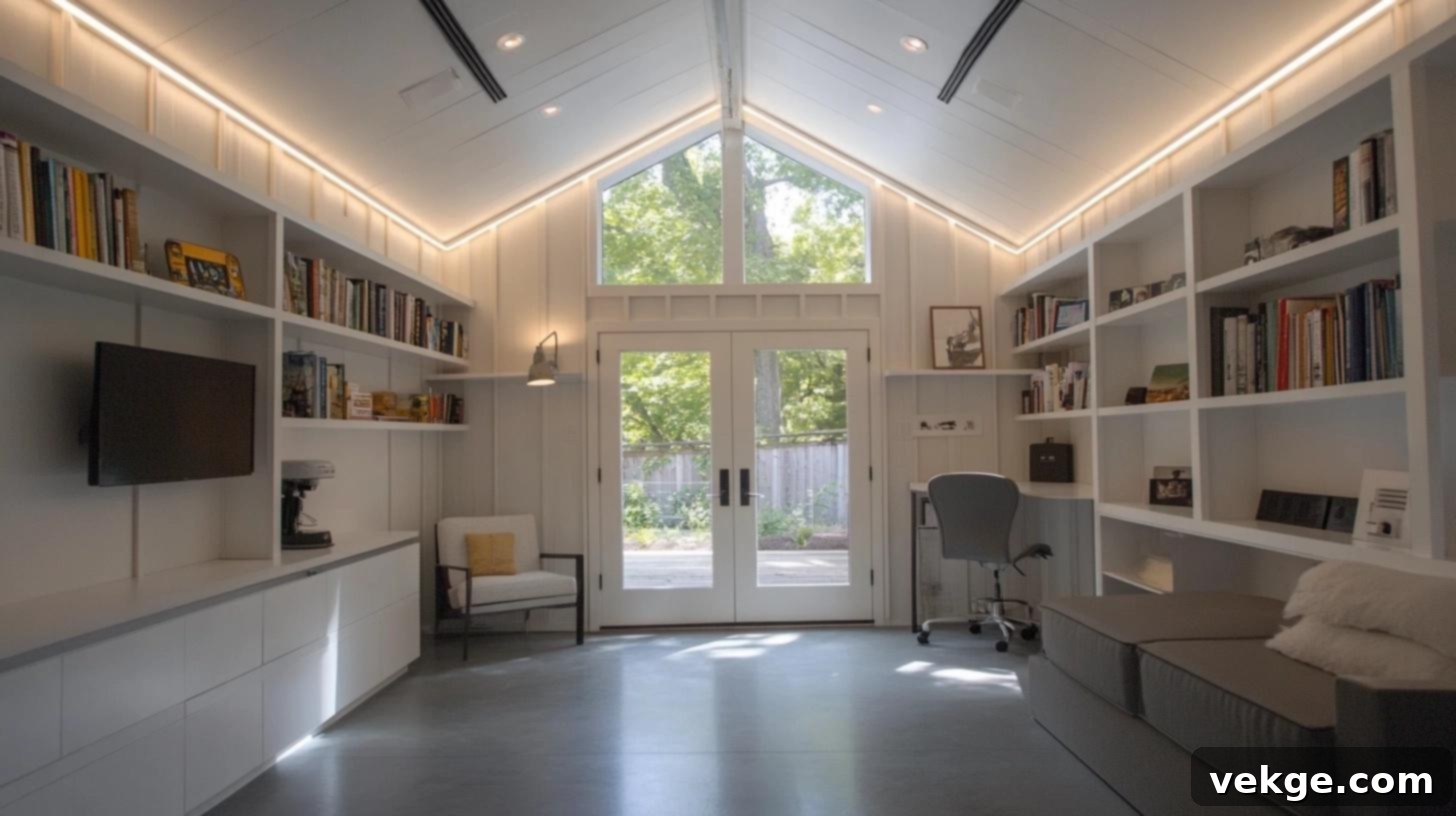
For a sleek, uncluttered space, consider a minimalist and modern shed interior. Drywall or painted plywood in crisp whites, cool grays, or subtle off-whites will create a clean backdrop. Focus on clean lines and built-in, concealed storage to maximize floor space and maintain a streamlined look. Utilize strong, bright lighting, such as recessed fixtures or modern track lighting, to enhance the open feel. Furniture should be simple, functional, and minimal. A modern shed should feel airy, bright, and free of clutter, fostering a sense of calm and efficiency – perfect for a home office or contemporary studio.
5. Creative Studio or Hobby Space
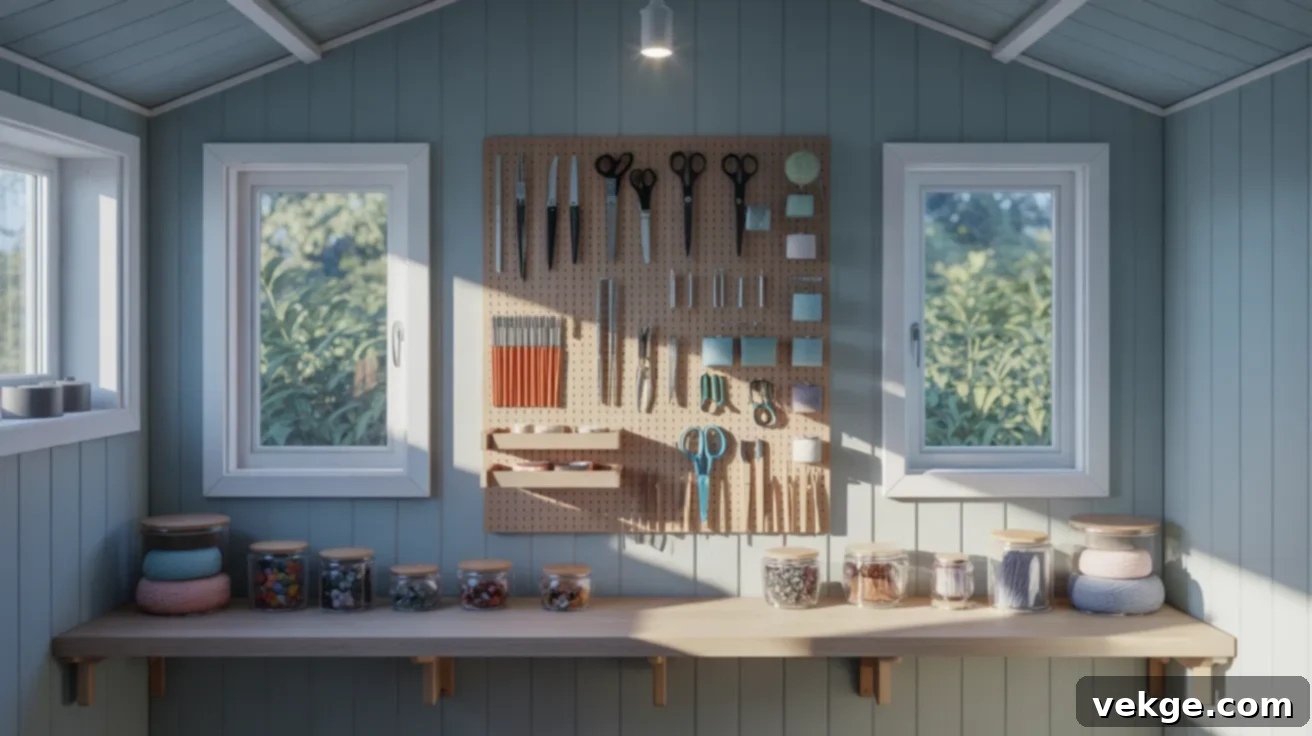
If your shed is destined to be a haven for painting, sewing, crafts, or any creative pursuit, the walls should be inspiring and functional. Bright, stimulating paint colors or a neutral base with colorful accents can ignite creativity. Implement versatile storage solutions like large pegboards for hanging tools and supplies, open shelving to display materials, and clear bins for easy visibility. Ensure abundant natural light with windows or skylights, complemented by task lighting for detailed work. A dedicated, comfortable workbench or table and an ergonomic chair are essential. The aim is an organized, well-lit, and inspiring environment where all your creative tools are within easy reach, allowing your imagination to flow freely.
Choosing the Right Interior Wall Material for Your Shed
The choice of interior wall material is pivotal, influencing not only the aesthetic but also the functionality, durability, and cost of your shed’s transformation. Each material offers unique advantages, catering to different needs and design preferences.
1. Plywood: Affordable and Strong
Plywood is a perennial favorite for shed interiors due to its excellent combination of strength, versatility, and affordability. Available in various thicknesses and grades, it’s easy to cut, shape, and install. Plywood provides a robust surface that can be readily painted, stained, or left natural for a rustic look. Crucially, its inherent strength makes it an ideal substrate for directly screwing in shelves, hooks, and heavy-duty storage solutions without needing to find studs. It effectively conceals insulation and wiring, contributing to a neat and safe interior. Plywood is particularly well-suited for workshops, storage sheds, or any space requiring high durability and load-bearing walls.
2. Oriented Strand Board (OSB): Budget-Friendly with Rustic Look
Even more budget-friendly than plywood, Oriented Strand Board (OSB) is an economical and practical choice for shed interior walls. It’s manufactured from compressed wood strands and adhesive, offering good structural stability. OSB typically has a distinctive, somewhat rough texture, which some embrace for a raw, industrial, or rustic aesthetic. While it might not offer the perfectly smooth finish of drywall, it’s incredibly durable and serves as an excellent base for mounting tools, shelves, and other fixtures. OSB is ideal for utility sheds, workshops where a polished look isn’t a priority, or for those aiming to save money without compromising on functionality and strength.
3. Drywall: Best for a Finished, Home-Like Interior
If your goal is to make your shed feel like a true extension of your home, or a dedicated office or studio, drywall is the premium choice. It provides a smooth, seamless surface that can be painted any color, allowing for endless design possibilities. Drywall creates a clean, finished appearance, similar to interior walls in a house, significantly enhancing comfort and aesthetic appeal. However, it requires a more involved installation process, including taping, mudding, and sanding, and can be more susceptible to moisture damage in unventilated sheds. Despite the extra effort, drywall offers an unparalleled level of polish and sophistication, making it perfect for she sheds, home offices, or creative studios.
4. Beadboard & MDF Panels: For a Decorative Touch
For those seeking to add charming architectural detail and a cozy feel, beadboard or Medium-Density Fiberboard (MDF) panels are excellent options. Beadboard, with its distinctive vertical grooves, evokes a classic cottage or farmhouse aesthetic. MDF panels offer a smooth surface that can be routed or patterned, providing a high-quality finish at a reasonable cost. Both materials are easy to paint and can instantly transform a plain shed into a warm, inviting space. While not as impact-resistant as plywood, they are perfect for hobby sheds, craft rooms, reading nooks, or any area where a decorative and homey atmosphere is desired.
5. Shiplap: Ideal for She Sheds and Modern Farmhouse
Shiplap has surged in popularity, offering a distinct and stylish wall treatment that brings warmth, character, and a touch of rustic elegance. These interlocking wooden boards create a subtly textured surface with clean horizontal lines, perfect for both traditional and modern farmhouse aesthetics. Shiplap can be painted in crisp whites to brighten a space, or stained to highlight natural wood tones. It’s particularly favored for she sheds, craft rooms, or any space where a calm, inviting, and visually appealing backdrop is desired. Shiplap also offers a practical advantage by subtly hiding any minor wall imperfections or unevenness.
6. Upcycled Materials: Eco-Friendly and Unique Options
For the environmentally conscious DIYer or those seeking a truly unique and character-filled space, upcycled materials offer a fantastic solution. Reclaimed wood, old pallets, repurposed doors, salvaged metal sheets, or even leftover panels from other projects can be creatively integrated to form distinctive wall coverings. This approach not only saves money and reduces waste but also imbues your shed with a rich history and one-of-a-kind charm. Upcycled materials are perfect for rustic, eclectic, or bohemian shed designs, allowing you to craft a sustainable and deeply personal space that tells a story.
7. Corrugated Metal: Industrial Style with Edge
If you’re aiming for an industrial, modern, or even a rugged farmhouse aesthetic, corrugated metal panels are a bold and practical choice for your shed’s interior walls. These lightweight, durable sheets are incredibly resistant to moisture, pests, and impact, making them ideal for garden sheds, workshops, or any space that demands easy cleaning and high resilience. The reflective surface of corrugated metal can also help to brighten a shed, enhancing natural light. While they impart a distinct edgy look, they can be softened with other design elements to prevent the space from feeling too stark, creating a high-contrast and contemporary interior.
Final Thoughts on Your Shed Interior Transformation
Transforming your shed’s interior doesn’t require an enormous budget or professional expertise. With the right shed interior wall ideas, a clear plan, and a willingness to embrace DIY, you can turn that overlooked structure into a highly functional and inviting space that genuinely enhances your property and lifestyle. We’ve explored everything from essential insulation and budget-friendly wall materials like drywall, plywood, and shiplap, to inspiring design concepts for various uses – be it a cozy she shed, a robust workshop, or a modern studio.
The key is to start small if needed, choosing materials and styles that align with your specific needs and personal taste. Remember, every step you take, from insulating to adding the final trim, brings you closer to your dream shed. This guide aims to equip you with the confidence and knowledge to embark on your shed makeover journey, turning a once-bare space into a beautiful, organized, and comfortable haven. Good luck with your project!
If this guide has provided valuable insights and inspiration, we encourage you to bookmark it for future reference, share it with fellow DIY enthusiasts, and explore more of our shed-related tips and projects when you’re ready for your next home improvement adventure.
