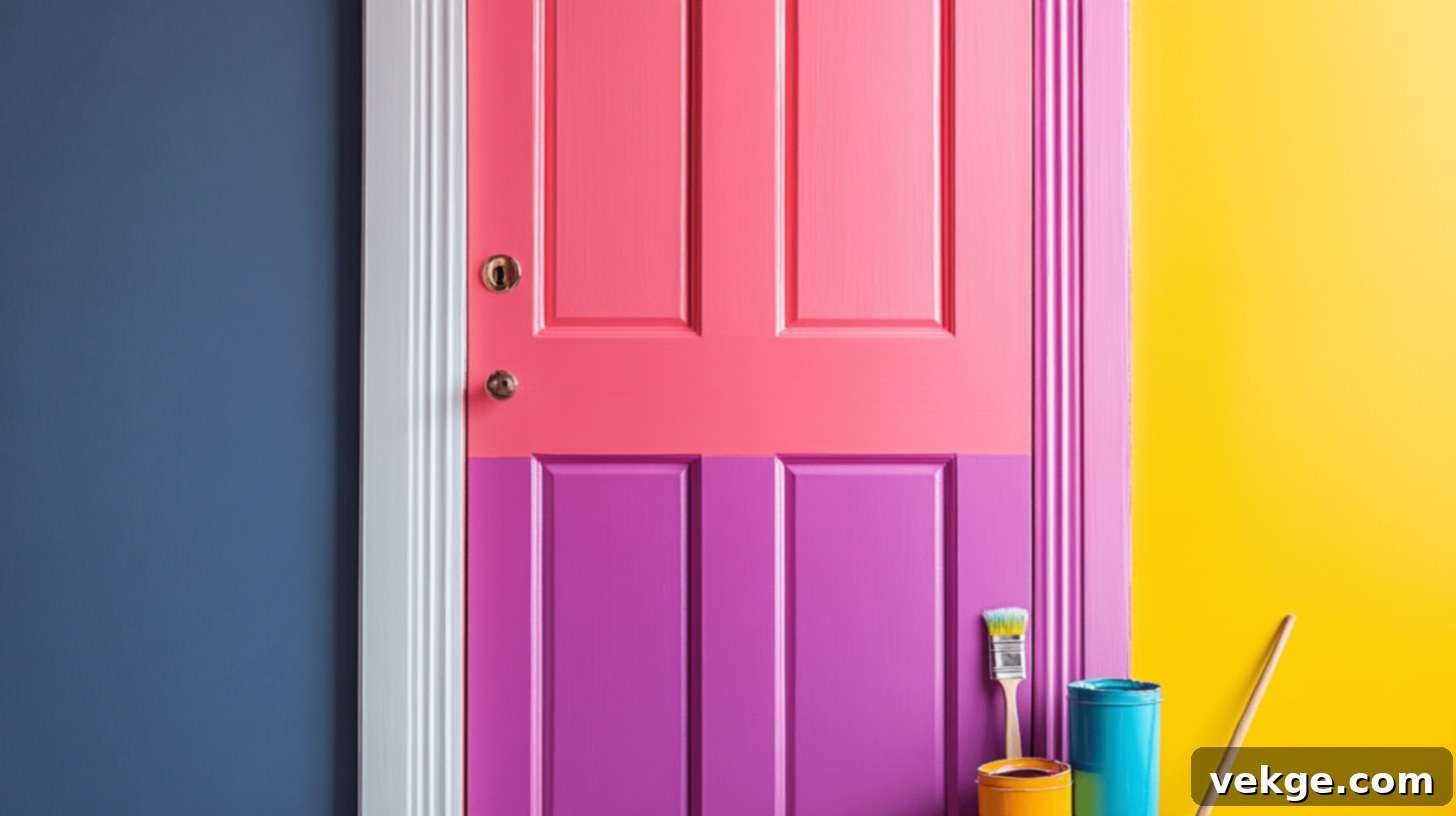
The Ultimate Guide to Painting the Inside of Your Front Door: Transform Your Entryway with Color
Your front door serves as more than just an entrance; it’s the welcoming handshake to your home, the first impression for guests, and a daily touchpoint for you and your family. While many homeowners focus on exterior curb appeal, the often-overlooked inside of your front door presents a unique opportunity for an impactful design statement. Painting the interior of your front door is a simple, affordable, yet incredibly effective project that can dramatically alter the ambiance and aesthetic of your entryway. Whether you aim to create a bold focal point, subtly complement your existing decor, or simply breathe new life into a tired, outdated door, a fresh coat of paint can work wonders.
This comprehensive, step-by-step guide will walk you through every aspect of this rewarding home improvement project. From selecting the perfect color that reflects your personal style and harmonizes with your interior palette, to gathering all the necessary tools and materials, and finally, to achieving a flawless, professional-looking finish. Prepare to transform your entryway into a vibrant and inviting space that greets you with warmth and character every time you step through the threshold.
Why Painting the Inside of Your Front Door is a Game-Changer
Beyond aesthetics, painting the interior of your front door offers several benefits that enhance your home’s character and your daily experience.
1. Creates an Instant Focal Point
Imagine walking into an entryway where your eye is immediately drawn to a vibrant, beautifully painted door. Painting the inside of your front door instantly adds visual interest and creates a compelling focal point. This draws the eye, making your entrance more dynamic, inviting, and memorable than a plain, unadorned door ever could. It establishes a visual anchor that can tie the entire space together.
2. Reflects Your Personal Style and Personality
Your home is a canvas for your personal expression, and your front door is no exception. It’s a fantastic opportunity to showcase your favorite colors and express your unique style from the moment anyone crosses your threshold. By choosing a color that genuinely resonates with you, you make a bold or subtle statement, infusing your home with a piece of your personality right where it matters most.
3. Complements and Unifies Interior Decor
A thoughtfully chosen front door color can act as a powerful design element, tying together various aspects of your interior design. It can beautifully complement your wall colors, furniture, artwork, and other decorative elements, fostering a sense of cohesion and harmony throughout your living space. It’s a subtle yet impactful way to bridge different design elements and create a unified, polished look.
4. Boosts Mood and Enhances Ambiance
The psychology of color plays a significant role in how we perceive and experience spaces. Different hues can evoke specific emotions and set the overall tone for your home. For instance, a bright, cheerful color like sunny yellow or a vibrant teal can instantly lift your spirits and create a welcoming atmosphere every time you enter. Conversely, a deep, rich navy or a sophisticated charcoal can impart a sense of calm and elegance, setting a refined tone for your home’s interior.
Choosing the Perfect Color for Your Interior Front Door
Selecting the right color is perhaps the most exciting part of this project. It’s where your creativity shines, but a little strategic thinking can ensure your choice enhances your home’s overall aesthetic.

Consider Your Existing Interior Palette
Before grabbing a paint swatch, take stock of your home’s current interior color scheme. Look at the colors of your adjacent walls, the dominant hues in your furniture, your rugs, and other decorative elements. Your chosen door color should ideally harmonize with these elements to create a cohesive and visually pleasing look. Does your home lean towards warm tones, cool tones, or a neutral palette? This assessment will guide you towards a color family that fits seamlessly.
Match vs. Contrast: What’s Your Style?
Decide whether you want your front door color to blend in subtly or stand out dramatically. Matching the door color to your entryway walls can create a seamless, unified, and often expansive appearance, making the space feel larger and more open. On the other hand, a contrasting color introduces an element of surprise and visual excitement, instantly making your door a striking focal point. For example, a crisp white door against a deep gray wall, or a vibrant red door in a neutral hallway, creates a memorable statement.
Embrace Trending Colors or Timeless Classics
While taking inspiration from popular interior design trends can be fun, remember that true style is personal. Trending colors for interior doors often include deep navy, sophisticated charcoal gray, or rich jewel tones like emerald green or sapphire blue, which add a touch of luxury and depth. However, don’t feel limited by current trends. Classic choices like black, white, or a muted sage green offer timeless elegance. Ultimately, the best color is one that genuinely resonates with your style and makes you happy.
The Importance of Testing Colors in Your Space
Never commit to a color without testing it first. Paint samples are your best friend! Apply swatches directly to your door or a large piece of poster board and place it against the door. Observe how the color looks in different lighting conditions throughout the day – natural daylight, evening light, and artificial light. Colors can appear drastically different under various lights, and this testing phase will help you visualize the final outcome, allowing you to make a confident and regret-free decision.
Selecting the Best Paint for Your Front Door
The right paint isn’t just about color; it’s about durability, finish, and ease of application. Choosing the correct type of paint will ensure your newly painted door not only looks fantastic but also withstands daily wear and tear.

1. Understanding Paint Types and Finishes
When selecting paint for your front door, consider these key options:
- 100% Acrylic Interior/Exterior Paint: This is often the top recommendation for front doors. Its acrylic base provides exceptional durability and versatility, making it suitable for both interior and exterior applications. It’s designed to withstand the frequent use, bumps, and even occasional exposure to varying temperatures that a front door endures. It offers excellent adhesion and flexibility, resisting cracking and peeling.
- Semi-Gloss Finish: A semi-gloss finish is ideal for front doors for several reasons. It provides a subtle sheen that reflects light beautifully, giving your door a polished and sophisticated look. Crucially, its smooth, slightly reflective surface is highly durable and incredibly easy to clean, making it resistant to dirt, grime, fingerprints, and scuffs. This ensures your door remains fresh and well-maintained with minimal effort. While gloss offers even more durability and shine, semi-gloss strikes a perfect balance between elegance and practicality.
- Satin Finish: As an alternative, a satin finish offers a slightly softer sheen than semi-gloss. It’s still durable and washable but provides a more subtle, velvety look that can be appealing in certain design schemes.
2. Recommended Paint Brands
Investing in quality paint from a reputable brand can make a significant difference in both the application process and the longevity of your finish.
- Fusion Mineral Paint: Known for its built-in topcoat and exceptional coverage, Fusion Mineral Paint is a popular choice for furniture and doors, offering a quick and relatively easy application process. It adheres well to various surfaces with minimal prep and has the added benefit of minimal odor, which is a major plus when painting indoors.
- Benjamin Moore Regal Select: This is a high-quality, premium option known for its durable, long-lasting finish and excellent hide. Benjamin Moore offers an extensive color palette and various finishes, including semi-gloss, ensuring you’ll find the perfect match for your project. Their paints are often lauded for their smooth application and superior washability.
- Sherwin-Williams Emerald Urethane Trim Enamel: This paint is specifically designed for doors, trim, and cabinets. It offers a very durable, hard finish that resists blocking (sticking) and provides excellent flow and leveling, resulting in a smooth, professional look.
3. Calculating the Right Paint Quantity
To avoid running out mid-project or having excessive leftovers, accurately determine how much paint you’ll need. Consider the dimensions of your door and the number of coats you plan to apply (typically two coats for optimal coverage and durability). For a standard interior front door, a quart of paint is usually sufficient, often leaving a bit extra for future touch-ups. However, if you are making a drastic color change (e.g., painting a very dark door a very light color), painting a larger or unusually textured door, or applying more than two coats, you might need a bit more. Always err on the side of caution and buy a little extra.
Essential Tools and Materials for Your Painting Project
Preparation is key to a smooth and successful painting project. Having all your tools and materials ready before you begin will streamline the process and help you achieve a professional-quality finish.
Tools
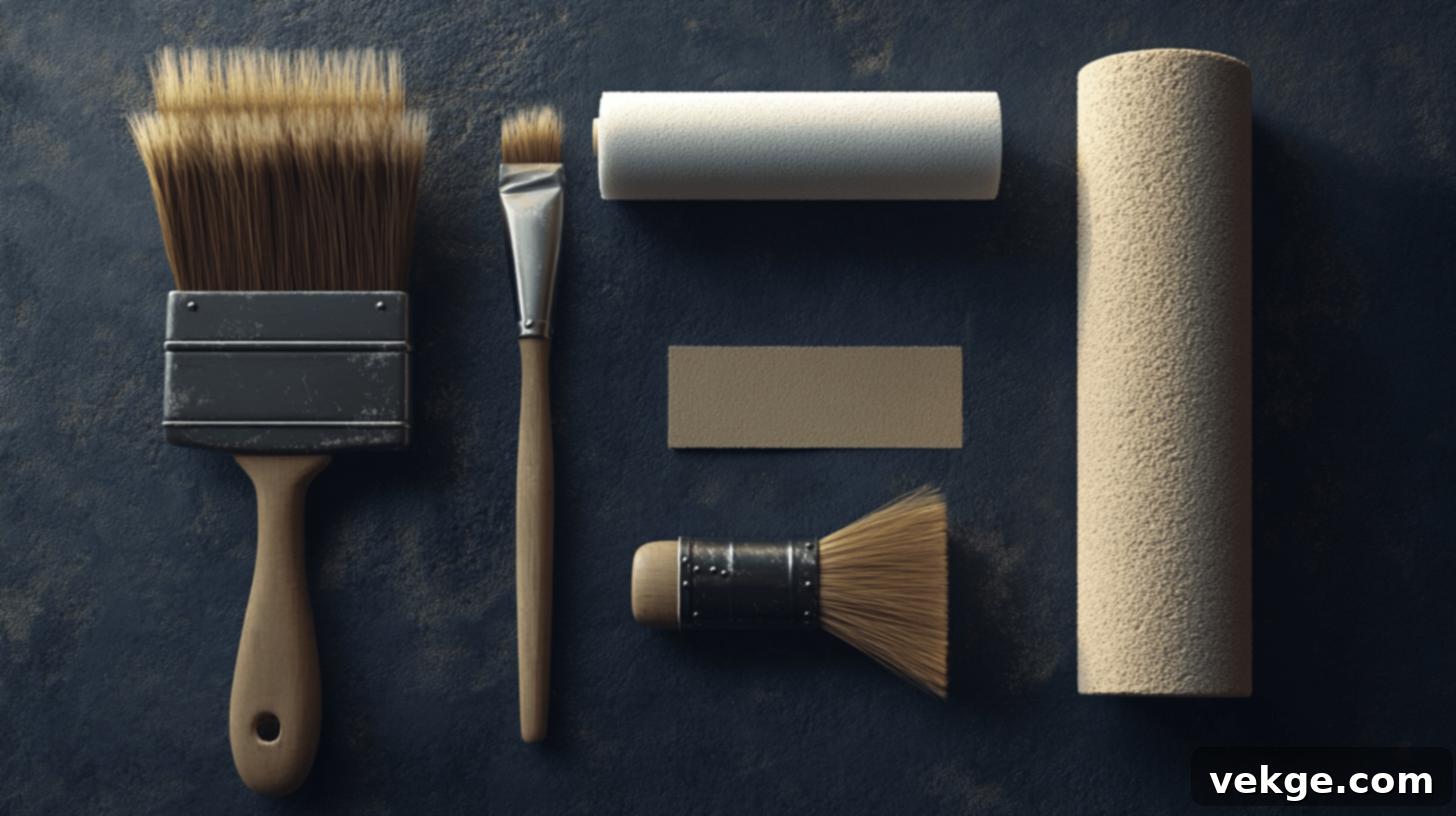
- Angled Sash Brush (1.5 – 2 inches): This specialized brush is indispensable for precision work. Its angled bristles allow for sharp, clean “cutting in” around edges, corners, and intricate moldings, ensuring paint stays where it belongs.
- High-Density Foam Roller (4-6 inches): A small foam roller is perfect for achieving a smooth, even, and lint-free finish on the flat surfaces of your door. It helps eliminate brush strokes and provides excellent coverage with less paint.
- Paint Tray: Essential for holding and evenly distributing paint onto your roller. Look for one with a ribbed surface to help load the roller properly and remove excess paint.
- Painter’s Tape (Blue or Green): High-quality painter’s tape is crucial for protecting door hardware, hinges, and any adjacent wall or trim from paint drips and ensuring crisp, clean paint lines.
- Sandpaper (120-220 grit): Fine-grit sandpaper is used for lightly sanding the door surface. This creates a slightly abraded surface, which significantly improves paint adhesion and helps achieve a smoother final finish.
- Screwdriver Set: For removing doorknobs, locksets, and hinges, if you choose to take them off.
- Drop Cloths or Old Sheets: To protect your flooring and surrounding areas from accidental paint drips and spills, ensuring an easy cleanup.
Materials
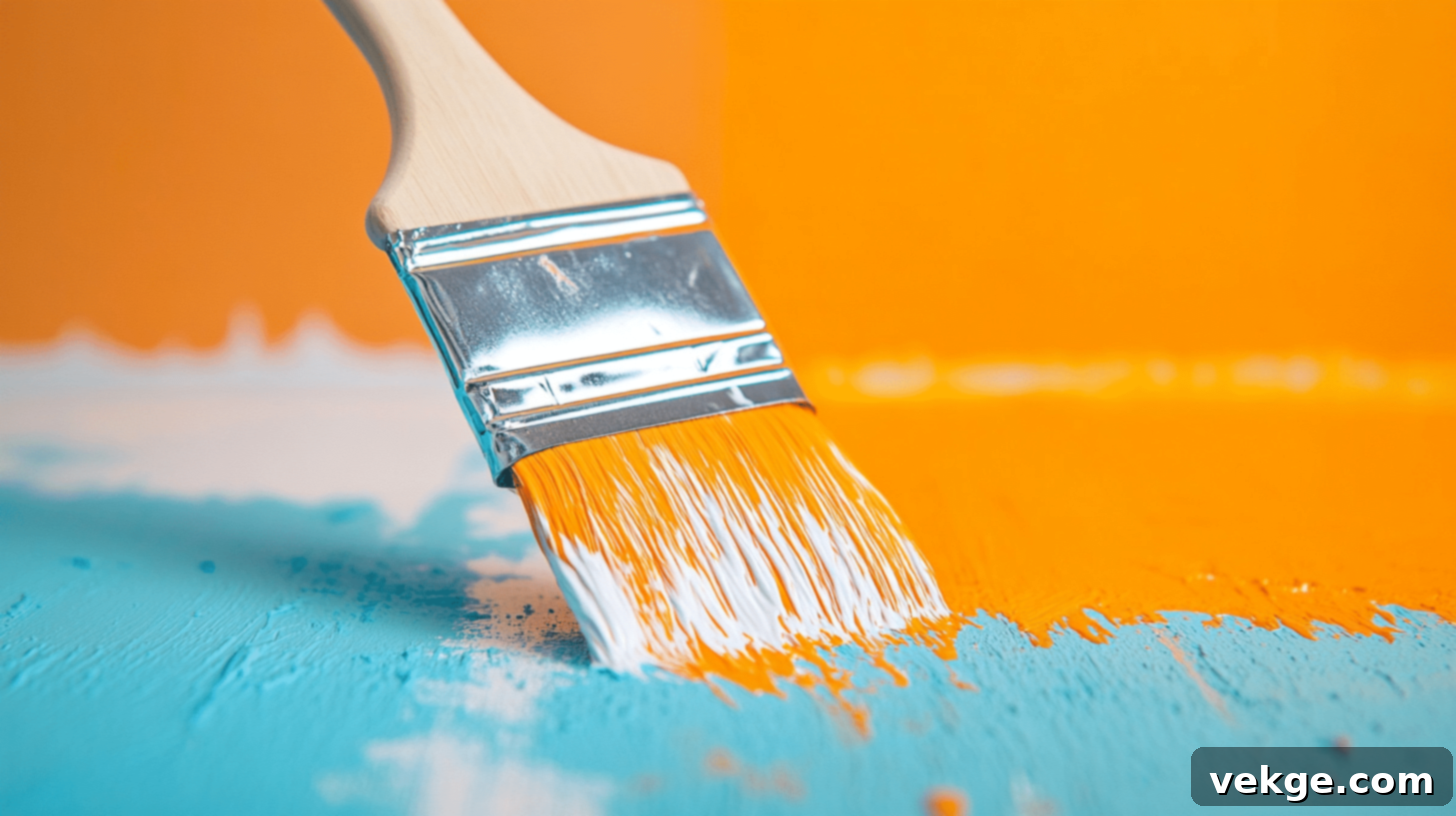
- High-Quality Paint: As discussed in the previous section, choose a durable, 100% acrylic interior/exterior paint with a semi-gloss or satin finish suitable for high-traffic areas.
- Primer (if necessary): A good quality primer is essential if you are making a significant color change (e.g., dark to light), painting over a glossy surface, or working with an unfinished or heavily stained door. Primer ensures better adhesion, even coverage, and often reduces the number of paint coats needed.
- Cleaning Supplies: A mild household detergent (like dish soap), warm water, and clean cloths or sponges are needed to thoroughly clean the door surface before painting. This removes dust, dirt, grease, and grime that could compromise paint adhesion.
- Painter’s Pyramid Stands or Wood Blocks (Optional but Recommended): If you decide to remove the door from its hinges, these can elevate the door, making it easier to paint edges and both sides without waiting for one side to dry.
Having all these items laid out and ready will make your painting process significantly smoother and more efficient, contributing to a stress-free experience and a professional outcome.
Step-by-Step Guide to Painting Your Interior Front Door
Follow these detailed steps to achieve a beautiful, professional-looking finish that will transform your entryway and bring a fresh new look to your home.
Step 1: Thorough Preparation is Key
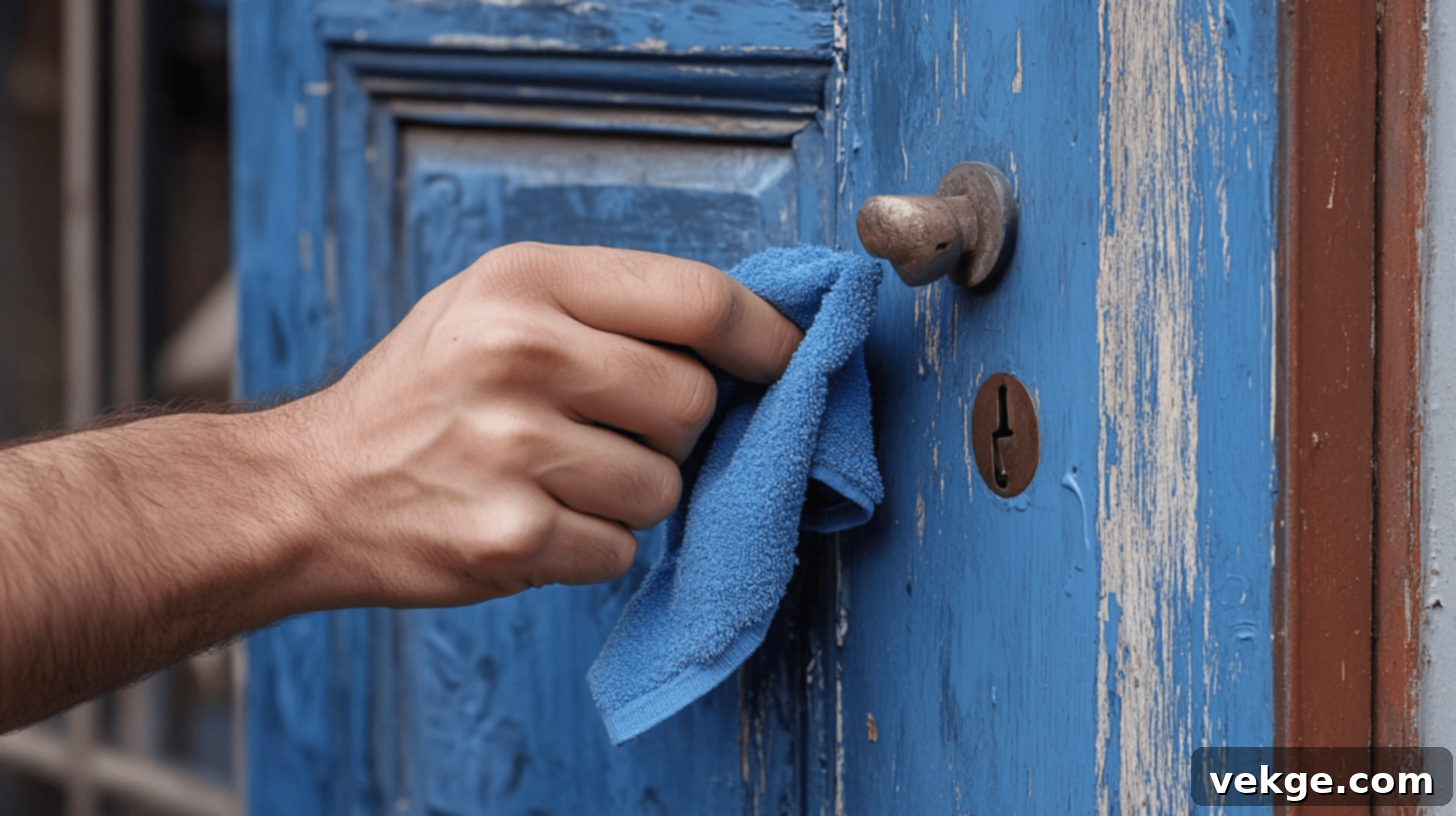
Proper preparation is the most critical stage of any painting project; it dictates the quality and longevity of your finish.
- Clean the Door Meticulously: Begin by thoroughly cleaning the entire door surface. Use a solution of mild detergent (like dish soap) and warm water, along with a clean cloth or sponge, to remove all traces of dust, dirt, grease, grime, and fingerprints. Rinse with a clean, damp cloth to remove any soap residue, and allow the door to dry completely. Any contaminants left on the surface will prevent the paint from adhering properly.
- Remove or Tape Hardware: For the cleanest, most professional finish, it is highly recommended to remove the doorknob, locks, deadbolts, strike plates, and hinges using a screwdriver. This eliminates the need for tricky taping and ensures paint doesn’t get onto hardware. If removal isn’t feasible or you prefer not to, carefully apply painter’s tape around the edges of all hardware, pressing down firmly to seal the edges and prevent paint bleed. Cover adjacent walls or trim with tape as well.
- Sand the Surface for Adhesion: Lightly sand the entire door surface with 120-220 grit sandpaper. This step creates a micro-scratched profile that allows the new paint to “grip” the surface more effectively, promoting excellent adhesion and a smoother finish. If the door has any existing gloss, sanding will dull it, which is essential for new paint to stick. After sanding, wipe away all dust with a clean, dry cloth or a tack cloth.
- Apply Primer (if needed): If your door is unfinished, has significant color changes (e.g., going from dark to light), or if the existing paint is oil-based and you’re using latex paint, apply one even coat of appropriate primer. Primer creates a uniform base, enhances paint adhesion, and often helps achieve full coverage with fewer coats of your topcoat paint. Allow the primer to dry completely according to the manufacturer’s instructions, typically 1-2 hours.
Step 2: The Painting Process
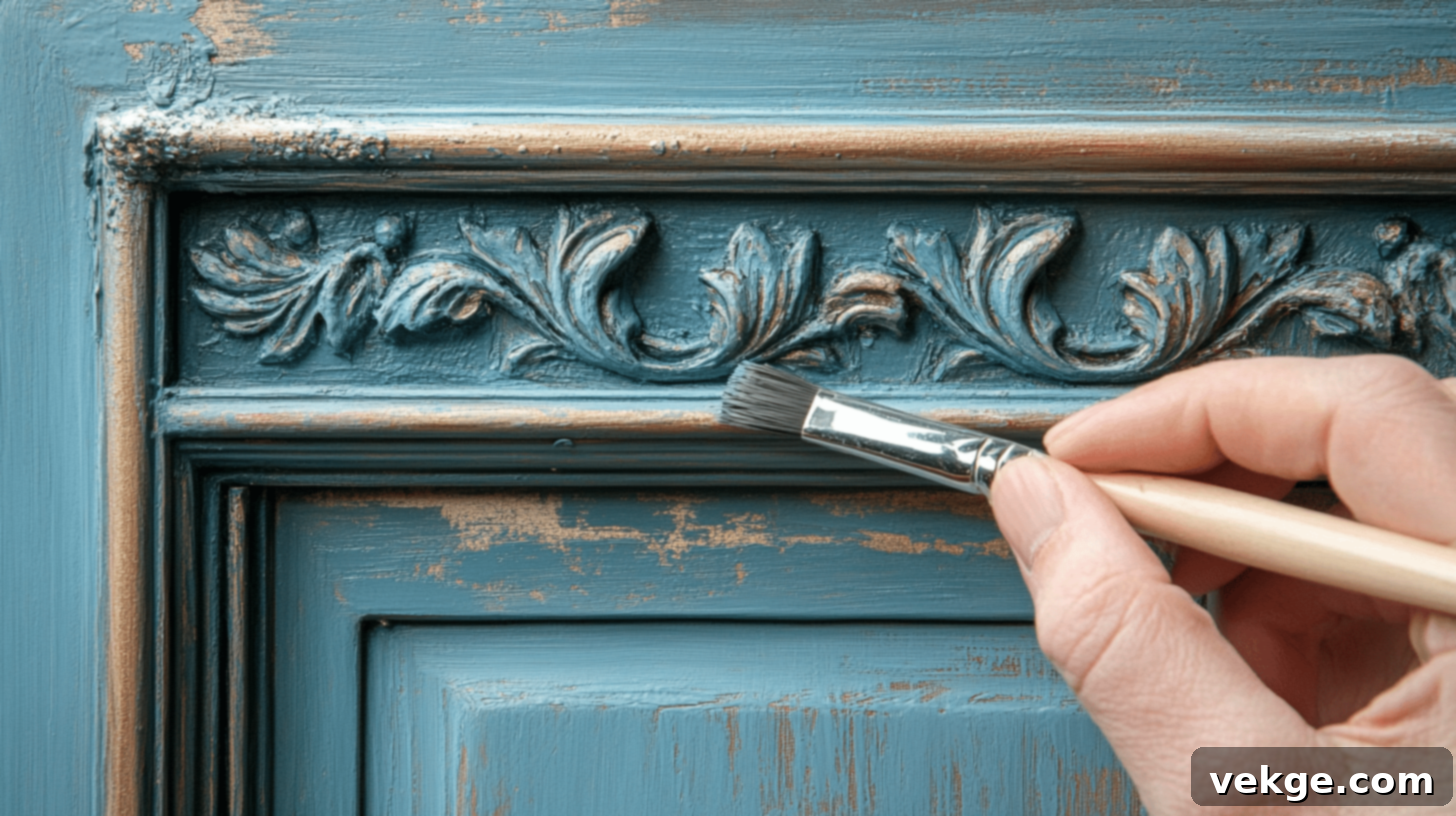
Now for the fun part! Follow a systematic approach for an even and streak-free finish.
- Start with Recessed Areas and Details: Using your angled brush, first tackle any recessed panels, moldings, decorative details, or grooves on the door. Paint these intricate areas thoroughly, ensuring even coverage without overloading your brush, which can lead to drips.
- Cut in the Edges: Once the recessed areas are done, use the angled brush to paint a neat 2-3 inch border around the entire perimeter of the door, including the door frame if it’s being painted, and along the edges of any raised panels. This step, known as “cutting in,” prepares the areas where the roller won’t reach and ensures clean lines.
- Roll the Flat Surfaces: Load your foam roller evenly with paint in the paint tray, removing any excess. Apply paint to the remaining flat surfaces of the door. Work in a consistent “W” or “M” pattern, overlapping each stroke slightly to ensure even distribution and minimize roller marks. Smooth out any heavy areas with light, even passes.
- Follow the Wood Grain (if applicable): If your door has a prominent wood grain or decorative lines, always follow their direction as you paint. This creates a more polished, natural-looking finish and helps to disguise any potential brush or roller marks.
- Maintain a Wet Edge: Work quickly and efficiently, always trying to maintain a “wet edge” – meaning you should apply new paint next to paint that is still wet. This prevents lap marks, which occur when paint dries unevenly where new and old paint meet.
Step 3: Drying and Recoating for Depth
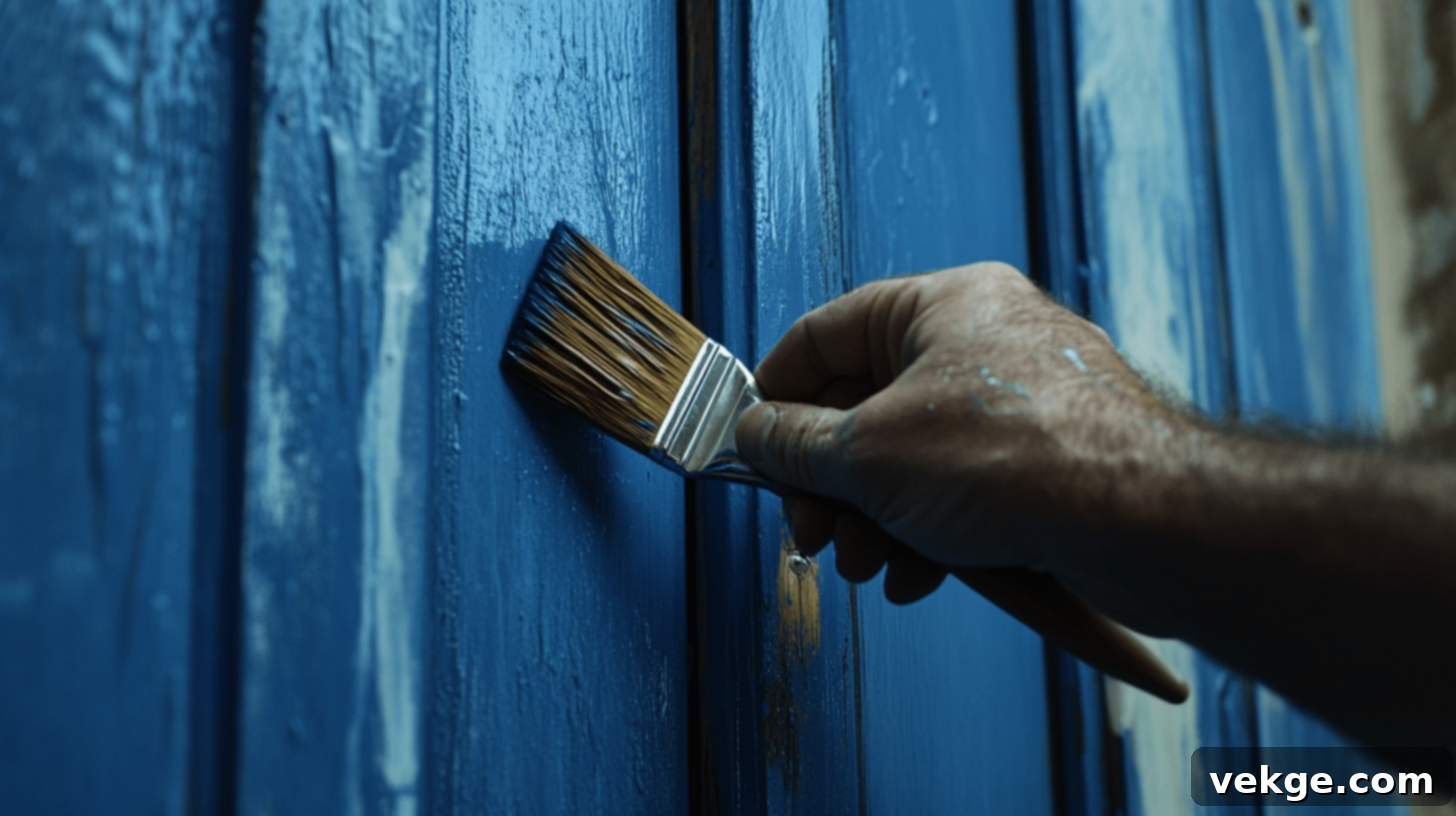
Patience is a virtue in painting, especially during the drying and recoating phase.
- Allow Adequate Dry Time: Adhere strictly to the paint manufacturer’s instructions for drying time between coats. This is crucial. Typically, latex paints dry to the touch in 1-2 hours, but recoat times can range from 2-4 hours or more. Rushing this step can lead to peeling, tackiness, or an uneven finish. Ensure good ventilation to aid drying.
- Apply a Second Coat (and possibly a third): Once the first coat is completely dry to the touch, apply a second coat following the exact same process (recessed areas, cut-in, then roll flat surfaces). A second coat provides richer, deeper color, enhanced durability, and a more uniform, professional finish. For very light colors over dark bases, or for maximum durability, a third coat might be beneficial after the second has dried.
Step 4: The Finishing Touches

These final steps will elevate your project from DIY to designer quality.
- Carefully Remove Tape and Address Drips: Once the final coat of paint is dry to the touch (but not fully cured), carefully remove the painter’s tape. For the cleanest lines, it’s often best to remove tape when the paint is still slightly tacky to prevent it from peeling cured paint. If the paint is already dry, score the edge of the tape lightly with a utility knife or razor blade before pulling to ensure a clean break and prevent the paint from lifting. Gently scrape away any small drips or imperfections with a razor blade or fine-grit sandpaper.
- Reattach Hardware: Resist the urge to reattach hardware too soon. While the paint may feel dry to the touch, it takes several days, sometimes even weeks, for paint to fully cure and harden. Reattaching hardware too early can cause it to stick to the paint, leave imprints, or even peel the paint. Wait at least 24-48 hours (or longer, per manufacturer instructions for full cure) before reattaching doorknobs, locks, and hinges.
Step 5: Clean Up and Storage

Proper cleanup ensures your tools last longer and keeps your home tidy.
- Clean Your Tools Thoroughly: For water-based latex paints, clean your brushes and rollers immediately with warm, soapy water. Work the soap into the bristles and roller covers until all paint residue is gone. Rinse thoroughly under running water until the water runs clear. Reshape brushes and hang them to dry, or stand them upright to prevent bristle deformation. For oil-based paints, use appropriate paint thinner or mineral spirits.
- Properly Dispose of Leftovers: Seal any leftover paint tightly in its original container, ensuring the lid is secure, and store it in a cool, dry place away from extreme temperatures. This preserves the paint for future touch-ups. For empty paint cans, hardened paint, or used rags soaked with oil-based paint, check your local municipal regulations for proper disposal methods, as these may be considered hazardous waste in some areas.
Pro Tips for Achieving a Truly Professional Finish
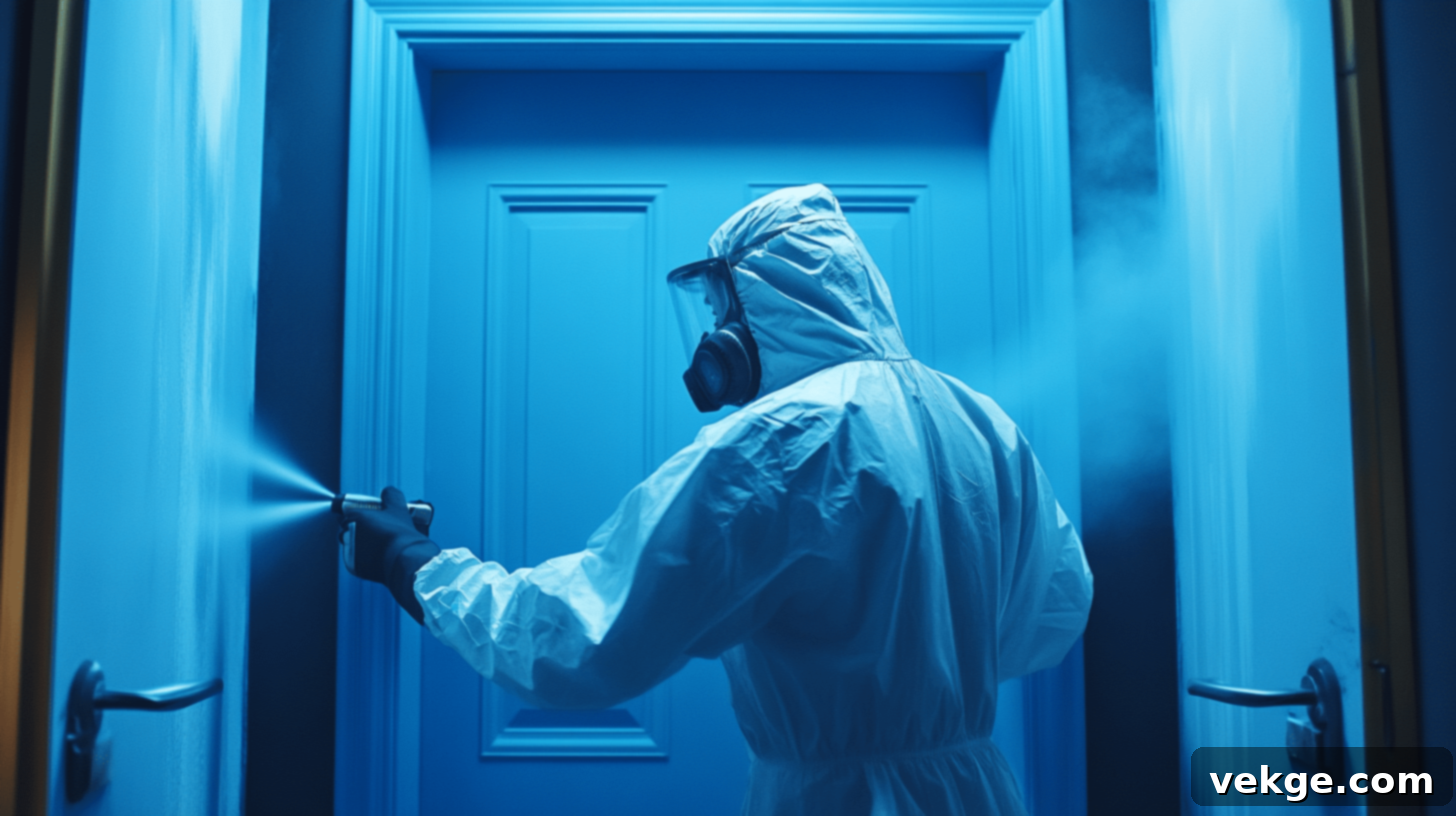
Elevate your front door painting project from good to gallery-worthy with these expert insights and techniques.
1. Monitor Temperature and Humidity
- Ideal Conditions: For optimal paint adhesion, smooth application, and proper drying, aim to paint when temperatures are moderate, ideally between 50°F and 80°F (10°C and 27°C), and humidity levels are low. High humidity can significantly extend drying times and sometimes lead to a tacky finish, while extreme temperatures can cause paint to dry too quickly (leading to brush marks) or too slowly.
- Avoid Direct Sunlight: Never paint your door in direct, hot sunlight or when the door surface itself is hot. This causes the paint to skin over too quickly, preventing proper leveling and potentially leading to blisters or brush marks.
2. Utilize Ample Light Sources
- Adequate Lighting: Ensure you have abundant lighting while painting. Natural daylight is often best, but supplement with strong artificial light sources like work lamps. Good lighting helps you spot any missed spots, drips, uneven coverage, or imperfections before the paint dries, allowing for immediate correction.
- Inspect from All Angles: Regularly step back and check your work from different angles and under various light sources. This reveals any subtle inconsistencies that might not be visible from a single viewpoint, ensuring a truly consistent and uniform finish.
3. Work at a Steady, Controlled Pace
- Consistent Speed: Maintain a consistent, even pace while applying paint. Rushing can lead to uneven application and lap marks, while working too slowly can cause paint to dry prematurely, resulting in visible brush strokes.
- Avoid Overworking: Resist the urge to continuously brush or roll over partially dry paint. Overworking the paint can pull up partially cured layers, leading to texture inconsistencies, brush strokes, or a patchy finish. Apply the paint, smooth it out with one or two passes, and then move on.
4. Troubleshooting Common Painting Issues
- Brush Strokes or Roller Marks: If you notice prominent brush strokes or roller marks, wait for the paint to dry completely. Lightly sand the affected area with very fine-grit sandpaper (e.g., 220-320 grit) until smooth. Wipe clean, and then apply another thin, even coat of paint using proper technique.
- Drips or Runs: If you see drips or runs, wait until the paint is fully dry and hard. Use a razor blade or fine-grit sandpaper to carefully scrape or sand down the dried drips until the surface is smooth and flush with the rest of the door. Clean the area and reapply paint as needed.
- Bubbling or Blistering: This usually indicates that the door surface was not cleaned properly, moisture was trapped underneath, or the paint was applied too thickly or in unfavorable conditions. If this occurs, scrape or sand away the affected area completely. Ensure the surface is clean, dry, and free of defects. If moisture was the cause, address that first. Then, re-prime if necessary and repaint with thin, even coats.
Common Mistakes and How to Avoid Them

Avoiding these common pitfalls will save you time, frustration, and ensure a more successful and attractive front door painting project.
- Skipping Proper Preparation: This is arguably the biggest mistake. Failing to thoroughly clean, sand, or prime the door before painting leads to poor paint adhesion, uneven coverage, premature peeling, and a significantly less durable, professional-looking finish. **Solution:** Dedicate ample time to cleaning, sanding, and priming. It’s the foundation of a good paint job.
- Using Low-Quality Tools and Materials: Cheap brushes, rollers, or paint can severely compromise the final outcome. Low-quality tools can leave bristles in your paint or create visible streaks, while inferior paint may offer poor coverage, uneven color, and lack durability. **Solution:** Invest in good quality, appropriate brushes, foam rollers, and paint. They make a huge difference in application and finish.
- Applying Too Much Paint at Once: Overloading your brush or roller and applying thick coats is a recipe for disaster. It leads to unsightly drips, runs, extended drying times, and an uneven, textured finish. **Solution:** Apply multiple thin, even coats rather than one thick one. This provides better adhesion, coverage, and a smoother result.
- Not Allowing Enough Dry Time Between Coats: Rushing the drying process between coats or before reattaching hardware is a common mistake. This can cause the paint to peel, smudge, develop imprints from handling, or even stick to other surfaces. **Solution:** Always follow the paint manufacturer’s recommended dry times between coats and for full cure before handling or reattaching hardware. Patience is paramount.
- Painting in Unsuitable Environmental Conditions: Applying paint in extreme temperatures (too hot or too cold), very high humidity, or direct, harsh sunlight can negatively affect the paint’s adhesion, drying time, and overall finish, often leading to defects like bubbling or premature drying. **Solution:** Paint in moderate temperatures with low humidity, and avoid direct sunlight on the door surface.
- Ignoring the Direction of Wood Grain: For doors with visible wood grain or panel lines, painting against the direction of these features can make brush strokes more noticeable and detract from the door’s natural aesthetic. **Solution:** Always paint in the direction of the wood grain or panel lines for a more polished and integrated look.
- Forgetting to Protect Hardware: Failing to remove or properly tape off doorknobs, hinges, locks, and surrounding trim or walls is a tell-tale sign of an amateur job. It results in a messy, unprofessional appearance with paint smudges on hardware. **Solution:** Always remove hardware where possible, or meticulously tape it off with high-quality painter’s tape, ensuring tight seals.
- Not Maintaining a Wet Edge: Allowing painted sections to dry before overlapping with new paint can create visible lap marks or streaks where the paint layers meet. **Solution:** Work systematically and quickly on sections, ensuring that new paint is always applied next to paint that is still wet. This allows the paint to flow and level smoothly.
By being mindful of these common mistakes and actively taking steps to avoid them, you can significantly increase your chances of achieving a flawless, durable, and professional-looking finish on your front door.
Essential Safety Precautions for Your Painting Project

While painting the inside of your front door is a relatively simple project, prioritizing safety ensures a comfortable experience and prevents potential accidents or health risks.
Ensure Adequate Ventilation
- Open Windows and Doors: Always ensure proper ventilation by opening nearby windows and doors to allow fresh air to circulate throughout the workspace. This is crucial for dispersing paint fumes and reducing your exposure to volatile organic compounds (VOCs).
- Use Fans: Strategically place fans to direct airflow out of the room or towards open windows. This can help clear the air more quickly and speed up drying times.
- Consider Painting Outdoors: If it’s feasible and weather permits, consider removing the door from its hinges and painting it outdoors in a well-ventilated area, such as a garage with the door open, to minimize fume exposure within your home.
Wear Appropriate Protective Gear
- Protective Gloves: Wear disposable or reusable protective gloves (latex, nitrile, or even basic work gloves) to keep paint off your hands. This prevents skin irritation from direct contact with paint and makes cleanup much easier.
- Respirator or Mask: If you are particularly sensitive to fumes, working in a poorly ventilated area, or using oil-based paints, wear a respirator or mask specifically designed for painting and filtering VOCs. A simple dust mask is usually not sufficient for paint fumes.
- Safety Goggles: Protect your eyes from accidental paint splatter or airborne dust particles (especially during sanding) by wearing safety goggles or glasses.
- Old Clothes: Don’t forget to wear old clothes that you don’t mind getting paint on.
Practice Ladder Safety (If Needed)
- Sturdy and Reliable Ladder: If you need a ladder to reach the top edges of your door or frame, choose a sturdy, reliable step ladder that is rated to support your weight safely. Inspect it for any damage before use.
- Stable Placement: Always position the ladder on a flat, stable, and non-slip surface. Ensure all four feet are firmly on the ground and the ladder is fully extended and locked into place before you climb.
- Maintain Three Points of Contact: When on the ladder, always maintain three points of contact (two feet and one hand, or two hands and one foot) to ensure stability. Avoid overreaching or leaning too far to one side, which can cause the ladder to become unbalanced and tip over.
- Have a Spotter (Optional but Recommended): For added safety, especially if you’re reaching high or working for extended periods, have someone assist you by holding the ladder steady and handing you tools or materials, minimizing your need to climb up and down frequently.
By diligently adhering to these safety precautions, you can ensure a secure and comfortable painting experience, allowing you to focus on achieving a beautiful finish while avoiding potential accidents or health hazards.
Conclusion: A Fresh Start for Your Entryway
Painting the inside of your front door is far more than just a quick cosmetic update; it’s a simple yet incredibly impactful way to inject personality, style, and warmth into your entryway. It offers a tangible and affordable method to refresh your home’s first impression and express your unique aesthetic.
By carefully selecting the right color that harmonizes with your interior, choosing high-quality tools and paint, and diligently following our step-by-step guide, you can achieve a truly professional-looking finish that will withstand the test of time. Remember to prioritize safety throughout the process, allow adequate drying times, and pay close attention to the details – these are the hallmarks of a successful DIY project.
With patience and a touch of creativity, you can transform your front door into a welcoming, eye-catching focal point that not only greets your guests with character but also brings a smile to your face every single time you step into your beautiful home.
Frequently Asked Questions (FAQs) About Painting Your Interior Front Door
Do I Need to Paint the Door the Same Color on Both Sides?
No, absolutely not! One of the great advantages of painting your interior front door is the freedom to choose a color that specifically complements your home’s interior decor, which can be entirely different from your exterior color scheme. Many homeowners opt for different colors on each side to match their respective environments.
What Is the Best Type of Paint for the Interior of a Front Door?
For the best results, a high-quality, 100% acrylic interior/exterior paint with a semi-gloss or satin finish is highly recommended. Acrylic paints offer durability and versatility, while a semi-gloss or satin finish provides an elegant look, is easy to clean, and resists scuffs and fingerprints common in high-traffic areas.
Should I Remove the Door from Its Hinges to Paint It?
Removing the door is optional but highly recommended for convenience and achieving the most professional finish. Painting the door horizontally on sawhorses or painter’s pyramids allows for easier access to all edges, prevents drips, and makes for a more comfortable painting experience. However, you can certainly paint the door in place if removing it is too difficult, just be extra diligent with taping and protecting surrounding areas.
How Long Does it Take for the Paint to Fully Cure?
While most latex paints are dry to the touch within 1-2 hours and can be recoated in 2-4 hours, they typically take significantly longer to fully “cure” or harden. This curing process can take anywhere from 7 to 30 days, depending on the paint type, humidity, and temperature. It’s crucial to be gentle with the door during this time to avoid scratching or damaging the finish.
Do I Always Need to Prime Before Painting My Front Door?
Not always, but it’s often a good idea. You definitely need to prime if you’re painting an unfinished door, making a drastic color change (e.g., dark to light), painting over a glossy surface, or switching from oil-based to water-based paint. Primer helps with adhesion, provides uniform coverage, and often saves you a coat of paint, leading to a better and more durable finish.
