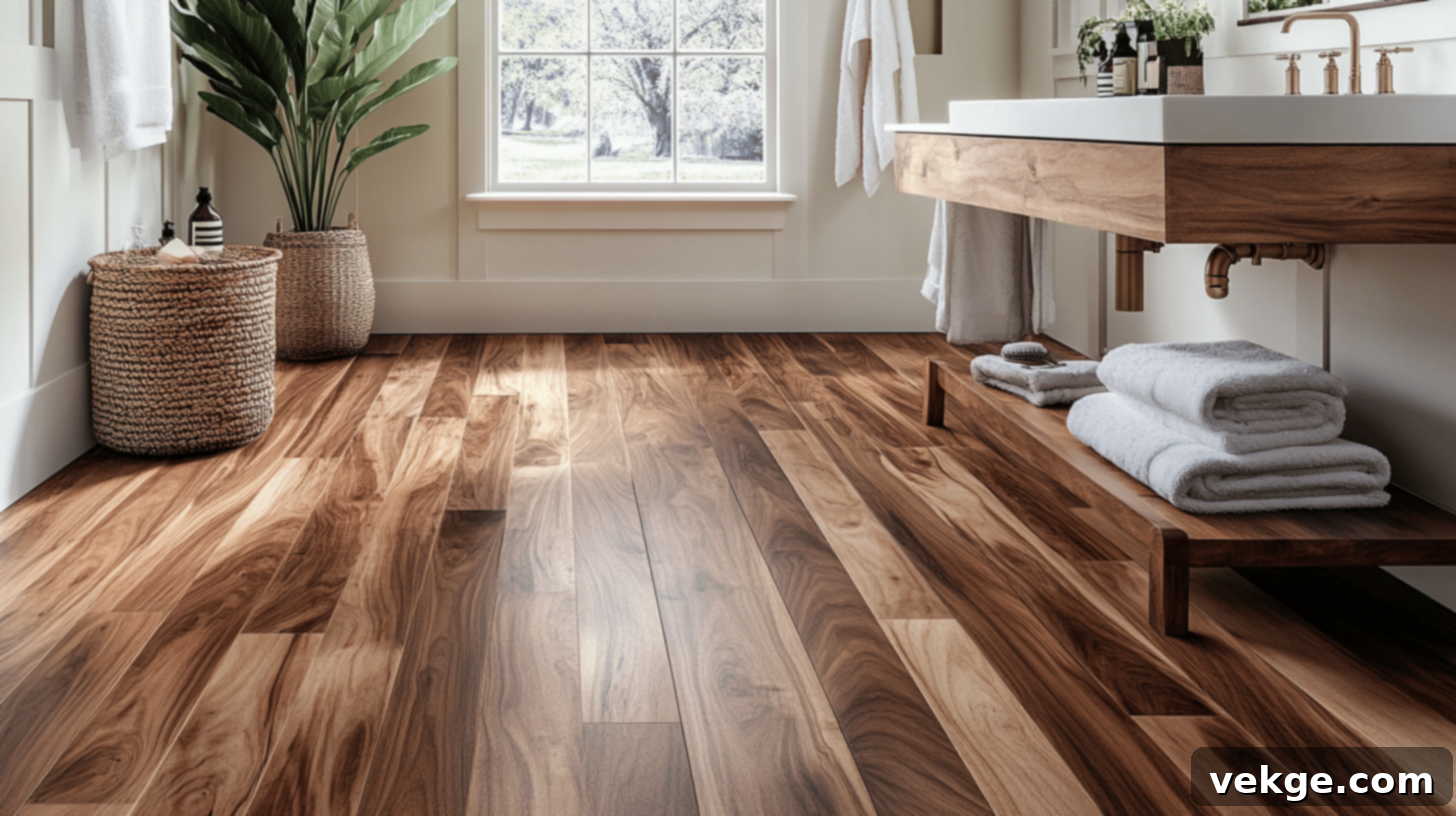
Engineered Hardwood in Bathrooms: The Ultimate Guide to Style and Durability
Are you envisioning the inviting warmth and classic beauty of hardwood floors in your bathroom but find yourself hesitant due to concerns about moisture damage? This is a common dilemma for many homeowners seeking to blend elegance with practicality in their most essential spaces. The good news is that advancements in flooring technology have made engineered hardwood a viable and often superior option for bathrooms, provided it’s installed and maintained correctly.
This extensive guide delves into every aspect of incorporating engineered hardwood into your bathroom design. You’ll gain a thorough understanding of what sets it apart from traditional solid wood, its innovative moisture-resistant construction, and how it can elevate the natural beauty and ambiance of your bathroom. We will explore the numerous benefits and potential challenges this modern flooring solution presents, offering a balanced perspective. Furthermore, we’ll compare engineered hardwood with other popular bathroom flooring alternatives such as ceramic tile and vinyl, helping you make an informed decision. Crucially, we’ll provide essential tips for its proper installation and long-term care, ensuring your investment stands the test of time.
By the end of this guide, you’ll possess all the necessary information to determine if engineered hardwood aligns perfectly with your bathroom renovation aspirations. Join us as we explore why an increasing number of homeowners are opting for this versatile flooring and how to ensure its lasting beauty and performance in moisture-rich environments.
Understanding Engineered Hardwood: A Modern Flooring Solution
Engineered hardwood represents a sophisticated evolution in flooring, expertly blending the timeless appeal of natural wood with advanced design principles. Unlike its solid hardwood counterpart, which is crafted from a single, continuous piece of timber, engineered hardwood is constructed from multiple distinct layers of wood, precisely pressed together. This innovative, multi-ply structure is the secret to its enhanced stability and superior performance, offering a flooring solution that holds its shape far better than traditional wood floors, especially in fluctuating environmental conditions.
The Pioneering History Behind Engineered Boards
The concept of engineered hardwood emerged in the 1960s, a direct response from the flooring industry to a pressing market need. Builders and homeowners alike desired wood flooring that could withstand moisture more effectively than solid wood, which was prone to warping and cupping in humid environments. Through extensive testing and dedicated research, manufacturers discovered that bonding thin layers of wood veneer with their grains oriented in opposing directions created a significantly stronger and more stable board. This cross-ply construction minimizes the natural expansion and contraction of wood, making the flooring far more resilient to changes in temperature and humidity. This revolutionary method quickly gained traction, revolutionizing options for wood flooring in various settings.
The Ascent of Engineered Hardwood in Modern Homes
Today, engineered hardwood is a top choice for countless homeowners across the globe, celebrated for its compelling blend of aesthetic charm and practical advantages. Its primary allure lies in its ability to deliver the authentic look and feel of solid wood while mitigating many of its traditional vulnerabilities. These floors perform exceptionally well in areas where solid wood might typically fail or be deemed unsuitable. This includes high-moisture zones like bathrooms, basements, and even kitchens, making it a versatile solution for almost any room in the house and expanding design possibilities.
Compelling Reasons Why Homeowners Choose Engineered Hardwood
The popularity of engineered hardwood continues to surge due to an ever-growing list of compelling benefits. Chief among these is its superior resilience to moisture and temperature fluctuations compared to solid wood. This inherent stability makes it a much more forgiving option for dynamic home environments. Furthermore, engineered hardwood often presents a more budget-friendly alternative to traditional solid hardwood, making the dream of real wood floors accessible to a wider audience.
Beyond its cost-effectiveness, engineered hardwood is perfectly compatible with modern underfloor heating systems. Its layered construction allows for efficient heat transfer and remains stable even when subjected to consistent temperature changes, providing a warm and comfortable surface. This combination of durability, affordability, aesthetic appeal, and functional versatility positions engineered hardwood as a highly practical and desirable choice for virtually any room, redefining expectations for contemporary flooring.
Composition of Engineered Hardwood: Layers of Innovation
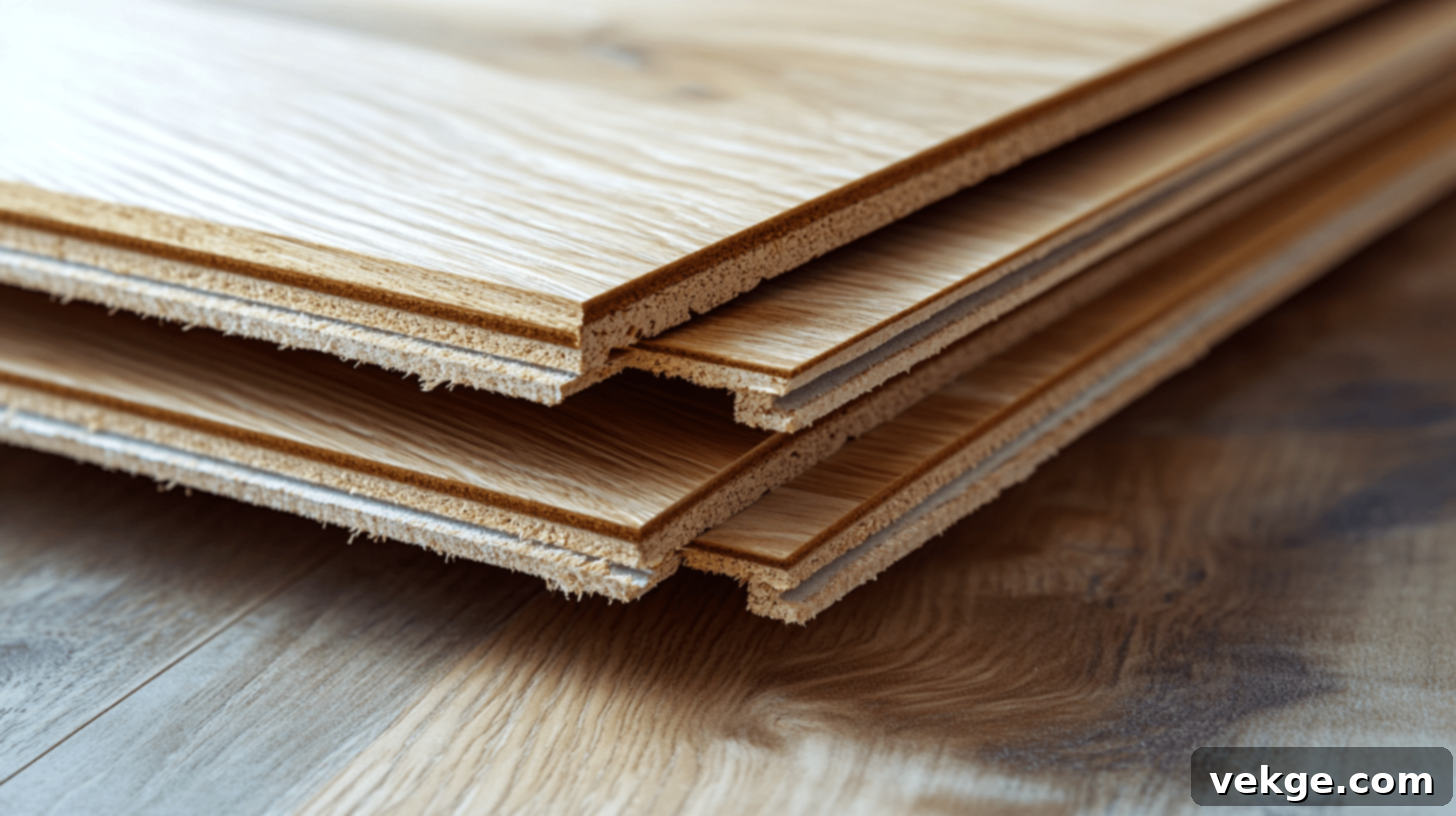
1. The Ingenious Layer Structure
The remarkable performance of engineered hardwood stems from its meticulously designed three-part layer structure, where each component plays a vital role in the overall integrity and longevity of the flooring. The uppermost layer, known as the wear layer, is composed of genuine natural wood. This is the visible surface that provides the floor with its authentic wood grain, color, and texture, delivering the desired aesthetic appeal.
Beneath the wear layer lies the core, which consists of multiple thin sheets of wood or high-density fiberboard (HDF) stacked and bonded together. Crucially, the grain of each subsequent core layer is oriented perpendicular to the one below it. This cross-ply construction is the primary reason for engineered hardwood’s exceptional stability, significantly reducing its susceptibility to expansion, contraction, warping, and cupping caused by environmental moisture and temperature changes.
Finally, at the very bottom, a strong backing layer provides additional structural stability and acts as a counter-balance to the top layers. This bottom layer also helps to prevent moisture from seeping up from the subfloor, protecting the entire plank. Together, these layers form a robust and resilient flooring solution designed to withstand the rigors of daily life and maintain its aesthetic integrity for years.
2. Understanding Thickness Options and Their Implications
Engineered hardwood planks come in a range of total thicknesses, typically varying from 3/8 inch (approximately 9.5mm) to 3/4 inch (approximately 19mm). A critical factor within this total thickness is the wear layer, which is the real wood veneer on top. This wear layer can range significantly in thickness, usually between 0.6mm and 4.5mm. The thickness of this top wood layer directly impacts the floor’s durability and its potential for refinishing.
Flooring with a thicker wear layer offers several advantages. Firstly, it provides greater resistance to surface wear and tear, making the floor more durable over time. Secondly, and perhaps most importantly, a thicker top layer allows the floor to be sanded and refinished multiple times throughout its lifespan, much like solid hardwood. This means that if the floor shows signs of significant wear or if you simply wish to change its look, you have the option to restore its original beauty or apply a new finish. Conversely, thinner wear layers offer limited or no refinishing potential, meaning once they are significantly worn, the entire floor might need replacement. Generally, thicker products come at a higher cost but offer enhanced longevity and versatility.
3. Diverse Types of Wood Used for the Top Layer
The aesthetic versatility of engineered hardwood is largely due to the wide array of wood species available for its top layer. Each type offers distinct characteristics in terms of hardness, grain pattern, color, and overall visual appeal, allowing homeowners to select a style that perfectly complements their interior design.
Some of the most popular wood types for the top layer include:
- Oak: A perennial favorite, oak is renowned for its exceptional strength, durability, and classic, prominent grain patterns. It readily accepts stains, offering a wide spectrum of color possibilities from light to dark.
- Maple: Offering a cleaner, brighter, and more uniform look, maple is known for its fine grain and inherent hardness. It’s an excellent choice for contemporary or minimalist designs, though it can be less receptive to darker stains than oak.
- Hickory: This wood brings unique and often dramatic patterns, celebrated for its striking variations in color and grain. Hickory is one of the hardest domestic wood species, making it incredibly durable and resistant to dents and scratches.
- Walnut: Prized for its rich, deep, dark tones and elegant, flowing grain, walnut adds a luxurious and sophisticated touch to any space. While softer than oak or hickory, its beauty is undeniable.
- Cherry: Known for its warm, reddish-brown hues that deepen beautifully with age and exposure to light, cherry wood offers a refined and classic appearance. Its fine, uniform grain contributes to a smooth finish.
Each chosen type of wood brings its own unique visual impact to a space:
- Light woods such as natural oak or maple can make smaller rooms feel more open, airy, and expansive, reflecting light beautifully.
- Dark woods like walnut or stained oak create a more formal, intimate, and sophisticated ambiance, adding depth and contrast to a room.
- Medium tones offer versatility, fitting seamlessly into most home styles and providing a balanced, inviting feel without being too overwhelming or too stark.
- Varied grains and natural patterns inherent in species like hickory or distressed oak create significant visual interest and character, adding a rustic or unique touch.
Manufacturers carefully select these specific woods based on a combination of critical factors:
- Hardness (Janka rating): This measures the wood’s resistance to denting and wear, crucial for durability, especially in high-traffic areas.
- Color and aesthetic appeal: The natural hue and how it can be enhanced or altered with stains to meet diverse design trends.
- Stain acceptance: How uniformly and effectively the wood absorbs and displays various stains, allowing for extensive customization.
- Cost and supply chain reliability: The availability and economic viability of sourcing the raw material, impacting the final product price.
Benefits of Engineered Hardwood in Bathrooms: Smart Elegance
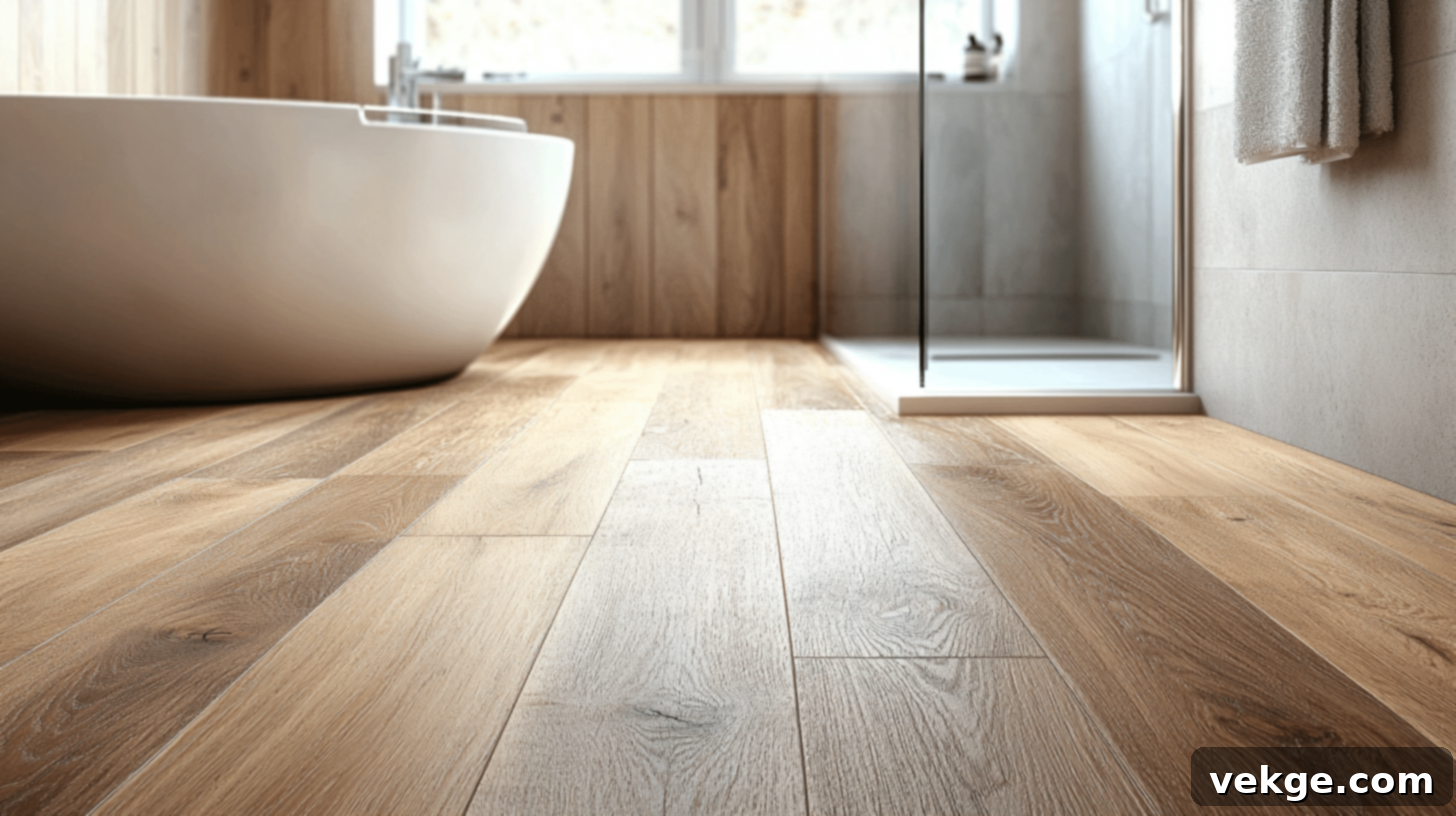
1. Superior Moisture Management and Resistance
One of the most compelling advantages of engineered hardwood in a bathroom setting is its significantly enhanced ability to manage and resist moisture. The innovative layered design is specifically engineered to counteract the natural tendencies of solid wood to absorb moisture and subsequently swell or contract. The top layer, being real wood, effectively shields against incidental splashes, drips, and general humidity, performing much like traditional hardwood in resisting immediate surface absorption.
However, it’s the core layers that truly differentiate engineered hardwood. With their grains cross-oriented, these layers work in tandem to create a remarkably stable plank that is far less reactive to environmental moisture. This construction inherently minimizes the movement of the wood, meaning the floor is less likely to warp, cup, or buckle when exposed to the typical humidity fluctuations found in bathrooms. Most common bathroom spills, such as water splashes from a sink or shower, will not cause immediate harm to these floors, especially when promptly cleaned. This makes engineered hardwood a much more practical and durable choice than solid wood, which is highly susceptible to swelling and permanent damage when wet.
2. Unmatched Structural Stability in Damp Spaces
The defining feature of engineered hardwood – its cross-layered construction – imbues these floors with exceptional structural stability, making them ideally suited for the challenging, often damp, environment of a bathroom. In typical solid wood, changes in humidity cause the wood fibers to absorb or release moisture, leading to expansion or contraction. This movement is often uneven, resulting in issues like twisting, cupping (edges higher than the center), or crowning (center higher than the edges).
Engineered hardwood, however, largely mitigates these problems. The opposing grain patterns in each successive core layer counteract each other’s natural movement, effectively locking the planks in a stable state. This means that even as humidity levels fluctuate within the bathroom, a common occurrence during and after showers, the engineered boards maintain their flat and true shape. They resist the tendencies to twist, cup, or buckle, which can plague solid wood in such conditions. This superior stability ensures that the floors retain their aesthetic appeal and structural integrity through seasonal changes and daily use, providing a reliable and beautiful surface for years to come.
3. Expansive Style Options for Every Bathroom Aesthetic
Beyond its functional advantages, engineered hardwood offers an unparalleled range of style options, allowing homeowners to infuse their bathrooms with natural beauty and design sophistication. The rich wood tones inherent in engineered hardwood immediately bring warmth and organic elegance to any bathroom, transforming it from a purely functional space into a serene sanctuary.
The diversity extends to wood species, finishes, and plank dimensions. For instance, light oak or maple engineered flooring can create an open, airy, and fresh feel, making smaller bathrooms appear more spacious and inviting. Conversely, darker woods like rich maple or walnut can add a touch of warmth and modern sophistication, perfectly complementing contemporary designs. Walnut, with its deep hues and elegant grain, makes a bold, luxurious statement in expansive master bathrooms, while distressed pine might offer a casual, rustic look that suits country-style or farmhouse aesthetics.
The choice of plank width also plays a crucial role: wide planks can make spacious rooms feel even grander and more luxurious, creating a sense of continuity. In contrast, narrower boards often work better in smaller bathrooms, maintaining proportion and preventing the space from feeling overwhelmed. Finish choices are equally varied, ranging from subtle matte and satin finishes that highlight the natural grain, to bright gloss finishes that reflect light and add a touch of glamour. Textural options like hand-scraped, wire-brushed, or distressed finishes further enhance the floor’s character. With an array of wood grain patterns, from subtle and uniform to striking and varied, engineered hardwood offers a truly customizable flooring solution to match virtually any preferred bathroom style, from classic and traditional to sleek and modern.
4. Perfect Compatibility with Underfloor Heating Systems
Modern bathrooms are increasingly incorporating the luxurious comfort of underfloor heating systems, and engineered hardwood proves to be an ideal partner for this technology. Its unique multi-layered construction is inherently well-suited for efficient heat transfer, ensuring that the warmth generated by the heating elements effectively radiates through to the surface, keeping the bathroom floor delightfully warm and comfortable underfoot. Unlike solid wood, which can react adversely to sustained heat by expanding, contracting, and potentially warping, engineered hardwood maintains exceptional stability even with the consistent temperature changes associated with underfloor heating.
The cross-ply design significantly reduces the likelihood of gapping, crowning, or cupping that can occur with less stable flooring materials. This stability means you can confidently install engineered hardwood directly over various types of heating elements, whether they are electric mats or hydronic pipes, typically using a glue-down method for optimal heat conductivity and bond. The result is a bathroom floor that not only looks stunning and adds natural beauty to the space but also provides unparalleled comfort throughout the year, making chilly morning bathroom visits a thing of the past.
Potential Drawbacks of Engineered Hardwood in Bathrooms
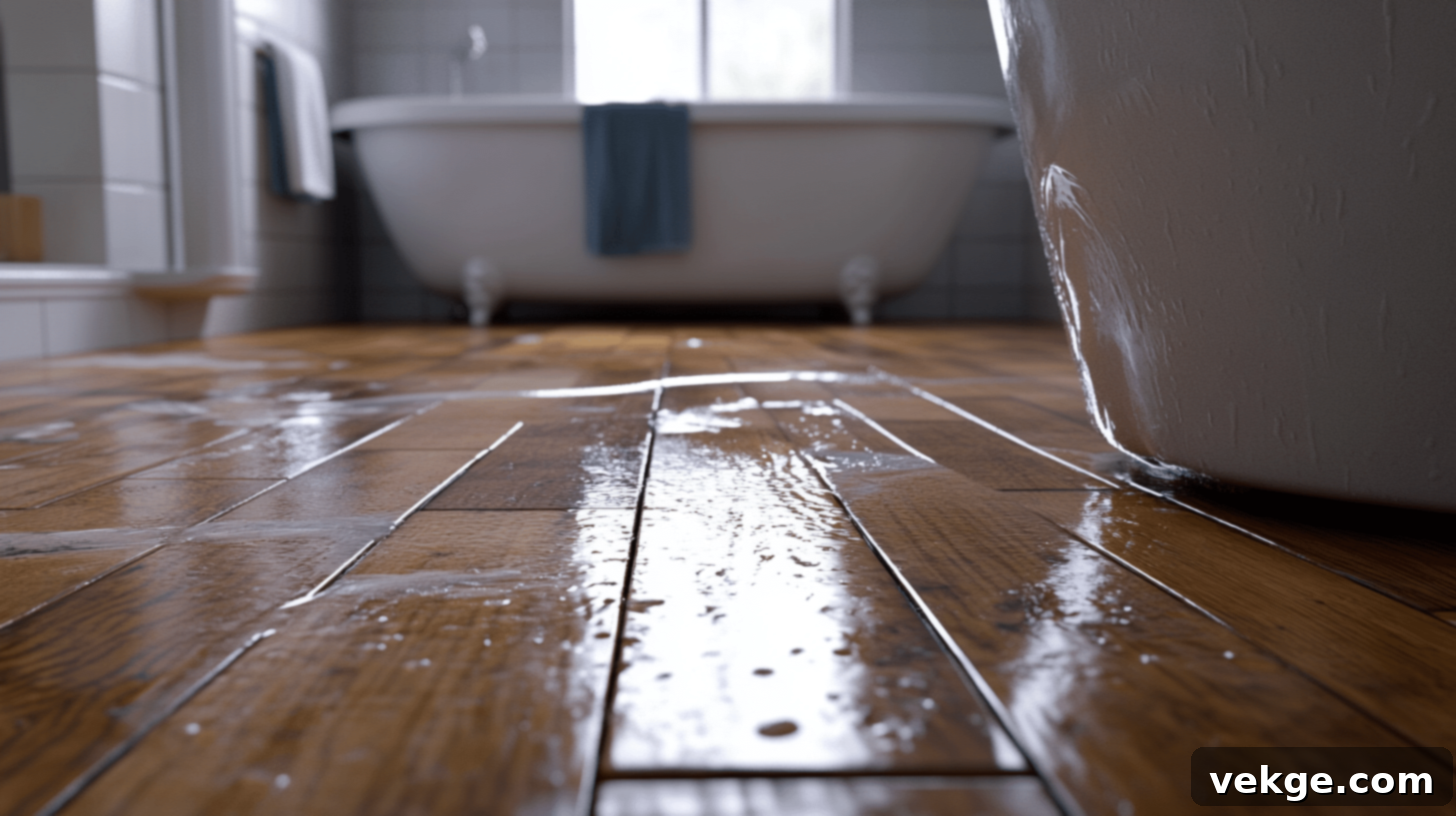
1. Concerns Regarding Surface Wear and Durability
While engineered hardwood is durable, the top wood layer can show signs of wear, particularly in busy bathrooms. The wear layer, though genuine wood, is still susceptible to the same types of damage as solid hardwood. Small abrasive particles, such as sand or tiny stones tracked in on shoes, can act like sandpaper, causing fine scratches on the surface over time. Dropped items, especially heavier ones, can create dents or divots, particularly on softer wood species like pine or cherry. Even general foot traffic can lead to a dulling of the finish in high-traffic pathways.
The quality of the product significantly influences its resistance to wear; lower-quality engineered hardwoods with thinner wear layers and less robust finishes will inevitably show these signs of use much faster than premium options. While most minor scratches are superficial and do not compromise the floor’s structural integrity, they can detract from its aesthetic appeal. Regular maintenance and preventative measures are essential to minimize these signs of wear and keep the floor looking its best.
2. Understanding Realistic Lifespan Expectations
A well-installed and properly maintained engineered hardwood floor in a bathroom can typically provide a beautiful and functional surface for 15 to 20 years. This is a respectable lifespan for a flooring material in a high-moisture environment, often outperforming less durable options. However, it is important to manage expectations, as this lifespan generally falls short when compared to highly resilient materials like ceramic or porcelain tile, which can easily last 30 years or more, often for the entire duration of a home’s life.
The consistent daily use of a bathroom, coupled with its inherent humidity and exposure to water, inevitably affects how long engineered hardwood maintains its pristine appearance. Factors such as the thickness of the wear layer, the quality of the finish, the level of foot traffic, and the diligence of moisture management all play a role in its longevity. While proper care, including immediate spill clean-up and adequate ventilation, can help extend its life, homeowners should anticipate that engineered hardwood might require replacement sooner than more robust, entirely waterproof alternatives.
3. Limitations Regarding Refinishing Potential
One of the primary distinctions between engineered hardwood and solid hardwood lies in their refinishing capabilities. Due to the construction of engineered hardwood, specifically the thinness of its real wood top layer (wear layer), your options for refinishing are inherently limited. Most standard engineered floors, particularly those with wear layers between 0.6mm and 2mm, can typically handle only one or, at most, two sandings over their entire lifespan. This contrasts sharply with solid hardwood, which can be sanded and refinished multiple times (often 5-7 times or more) because its entire thickness is made of solid wood.
Engineered hardwood products with thicker wear layers (e.g., 3mm to 4.5mm or more) do offer greater refinishing potential, often allowing for three or even more sandings. However, these premium options come at a significantly higher cost. Once the available sandings have been utilized, or if the wear layer becomes too thin to safely sand again, the only remaining option to address significant surface damage or a desire for a fresh look is to completely replace the entire flooring. This limitation means that the long-term renewability of engineered hardwood is less than that of solid hardwood, a factor to consider for those seeking a truly multi-generational flooring solution.
4. Cost Versus Long-Term Value
Investing in engineered hardwood for your bathroom typically requires a more substantial upfront budget compared to many alternative flooring materials. Basic engineered hardwood options generally start around $4 per square foot for materials, while premium selections—featuring thicker wear layers, exotic wood species, or specialized finishes—can easily reach $12 or more per square foot. Beyond the material cost, professional installation adds another significant layer to the expense, often ranging from $3 to $8 per square foot. This means the total initial investment can be considerably higher than that for vinyl or laminate, and sometimes even higher than basic ceramic tile.
However, many homeowners find that the natural beauty, tactile comfort, and sophisticated aesthetic of real wood, even in an engineered format, fully justify this higher price point. The specialized requirements for bathroom installation also contribute to the cost. This includes the necessity for robust moisture barriers, high-quality waterproof adhesives for glue-down applications, and meticulous sealing around all edges and fixtures. While these steps add to the overall budget, they are absolutely essential for protecting your investment and ensuring the longevity of your engineered hardwood in a moisture-prone environment.
When planning your budget, it’s crucial to consider the long-term value and potential return on investment. High-quality engineered hardwood, properly installed and maintained, can significantly enhance the perceived value and aesthetic appeal of your home. This can be a considerable advantage if you ever decide to sell, as desirable flooring is a key factor for many potential buyers. Therefore, despite the higher initial outlay, the natural look, enhanced comfort, and potential boost to your home’s resale value often make engineered hardwood a worthwhile investment for many discerning homeowners.
Comparing Flooring Alternatives to Engineered Hardwood
1. Ceramic and Porcelain Tile: The Traditional Champion
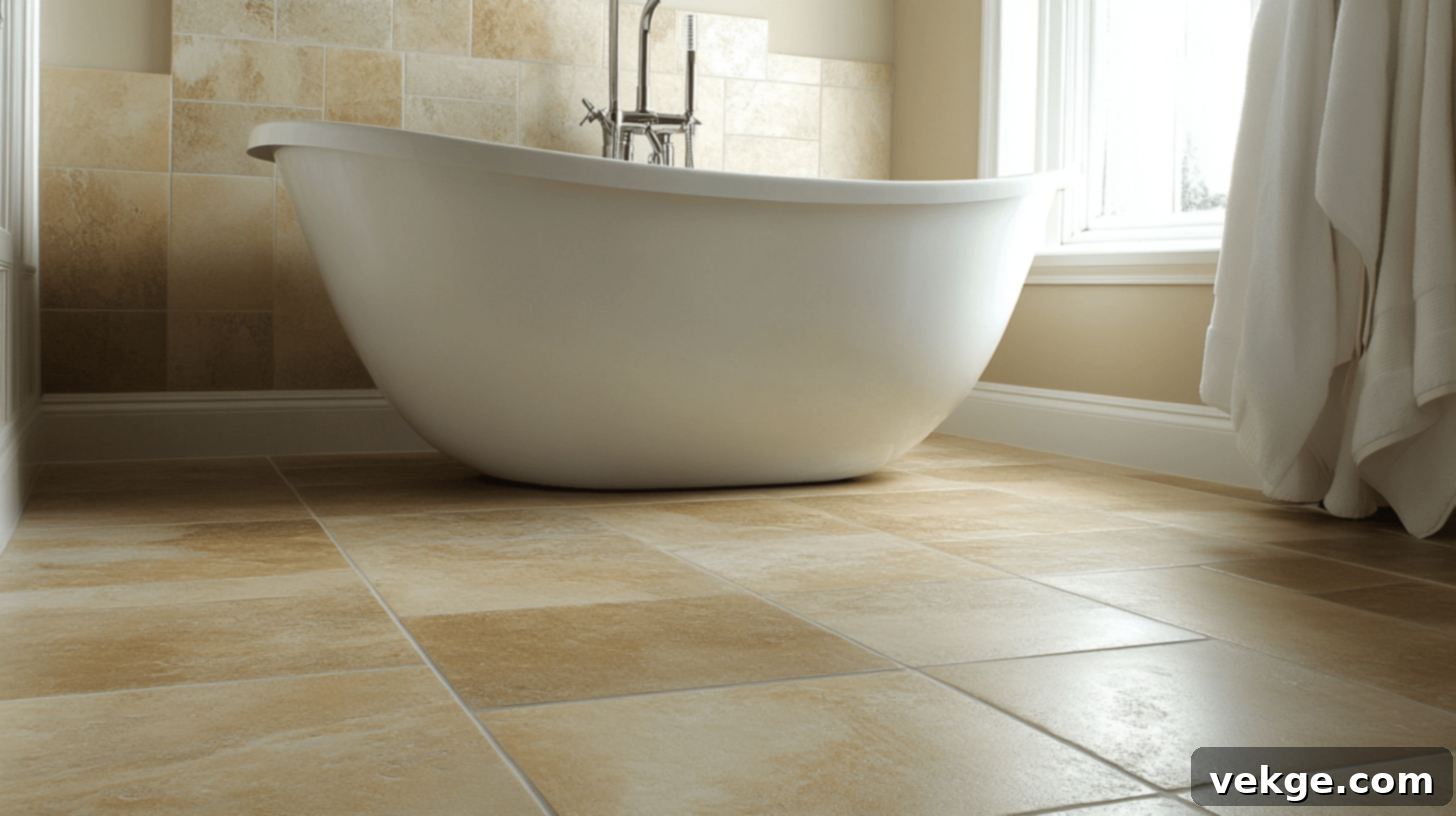
Ceramic and porcelain tiles have long been the gold standard for bathroom flooring, and for good reason. They offer unparalleled water resistance, making them virtually impervious to puddles, splashes, and steam. This means homeowners can have complete peace of mind, without concerns about water damage or warping that can plague wood products. Cleaning is remarkably simple and straightforward—a quick wipe with a damp mop or cloth is usually all it takes to keep them looking pristine.
However, tile does present some aesthetic and comfort trade-offs. It inherently feels cold underfoot, especially in cooler climates, which can be a stark contrast to the natural warmth of wood. This characteristic can sometimes make a bathroom feel less inviting and more clinical than desired. Furthermore, grout lines, while necessary for installation, can be challenging to keep clean and are susceptible to staining and mildew accumulation over time, requiring consistent maintenance or specialized cleaning techniques.
2. Vinyl and Laminate Solutions: Budget-Friendly Versatility
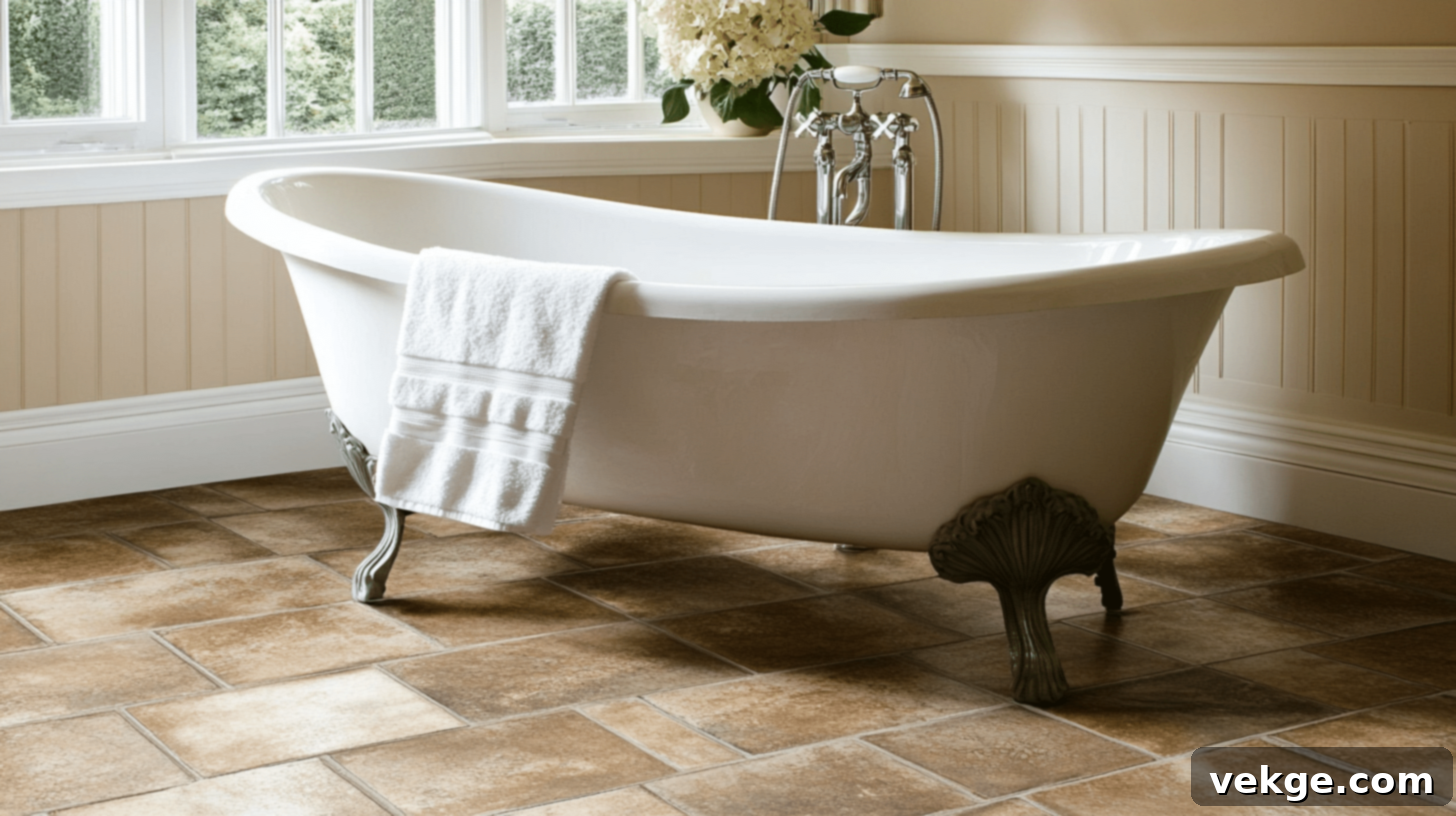
Modern vinyl flooring, especially luxury vinyl planks (LVP) and luxury vinyl tiles (LVT), has undergone significant advancements, now boasting incredibly realistic wood and stone aesthetics. These options are typically more cost-effective than engineered hardwood and offer excellent, often 100% waterproof, capabilities, making them highly suitable for bathrooms. The softer surface of vinyl also feels warmer and more forgiving underfoot than cold tile.
Despite their improvements, vinyl floors still lack the genuine, solid feel and natural texture of real wood, which can be a noticeable difference for some. While they offer superb functionality, they may not contribute as much to a home’s resale value compared to natural materials like engineered hardwood or stone.
Laminate flooring is another budget-friendly alternative, often costing about half as much as engineered hardwood. It features a photographic layer designed to mimic the appearance of wood grain with impressive realism. However, laminate cannot replicate the natural depth, warmth, and unique tactile feel of genuine wood. A significant drawback of traditional laminate in bathrooms is its vulnerability to water; if water penetrates between the boards or into the core, it can cause irreversible swelling and damage over time, making it less ideal for high-moisture areas unless specifically designed as “water-resistant” or “waterproof” laminate.
3. Traditional Solid Hardwood: Timeless Beauty, High Risk
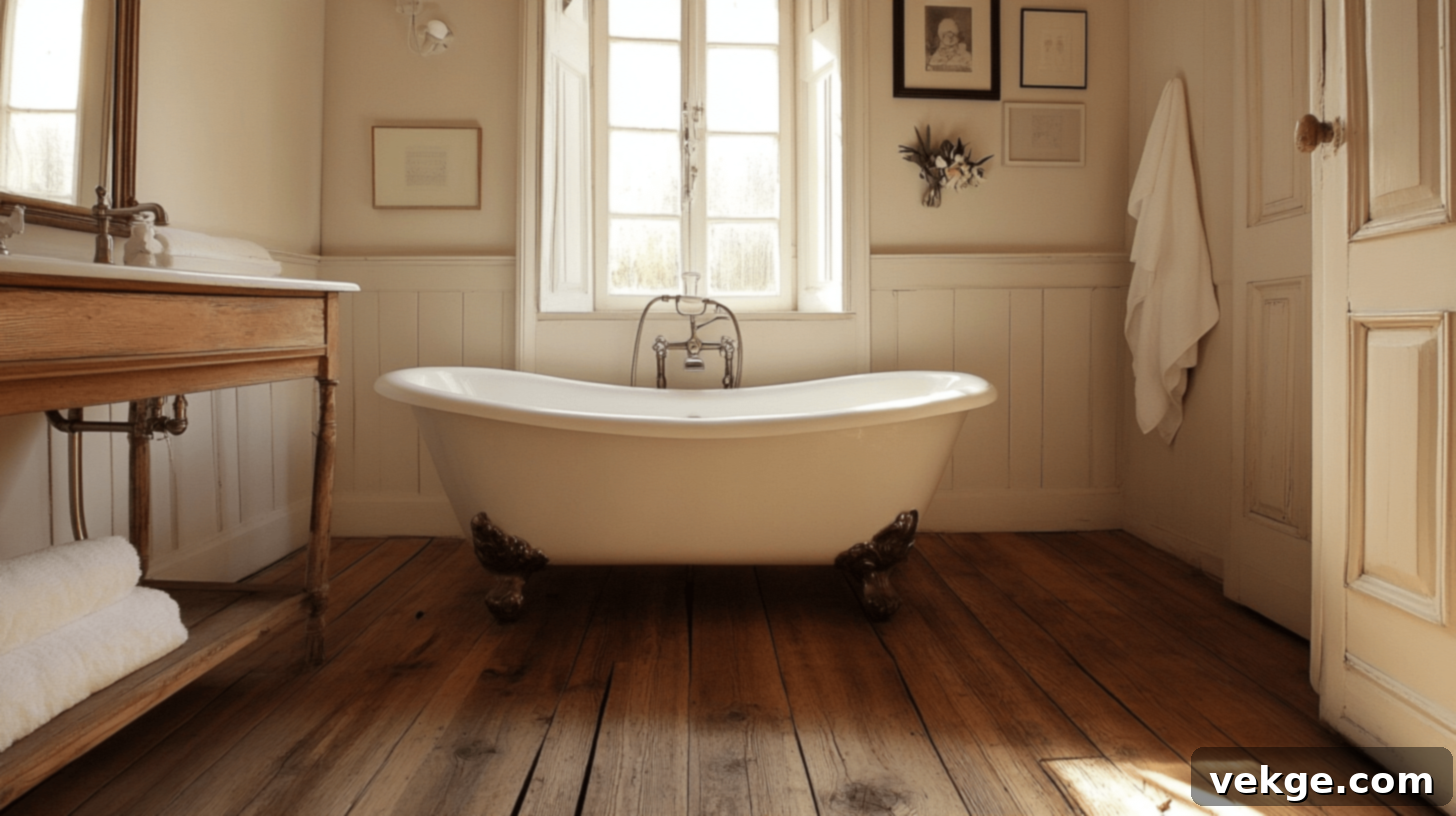
Solid hardwood flooring delivers an unparalleled, timeless beauty and natural elegance to homes. Its thick, monolithic wood construction allows for multiple refinishing sessions over decades, meaning it can be restored to its original glory many times, offering truly generational durability. Each individual board showcases unique grain patterns, knots, and color variations, creating an organic and distinctive floor that ages gracefully.
However, in the context of a bathroom, solid hardwood presents significant risks. Its inherent hygroscopic nature means it readily absorbs moisture from the air and direct spills, causing it to expand. Conversely, in dry conditions, it shrinks. This constant expansion and contraction with humidity changes make solid hardwood highly susceptible to warping, cupping, crowning, and gapping in moisture-prone environments like bathrooms. Even with meticulous sealing, prolonged exposure to moisture can lead to irreversible damage, making it a generally ill-advised choice for wet areas and explaining why engineered hardwood was developed as a more stable alternative.
4. Natural Stone Options: Luxury with Maintenance
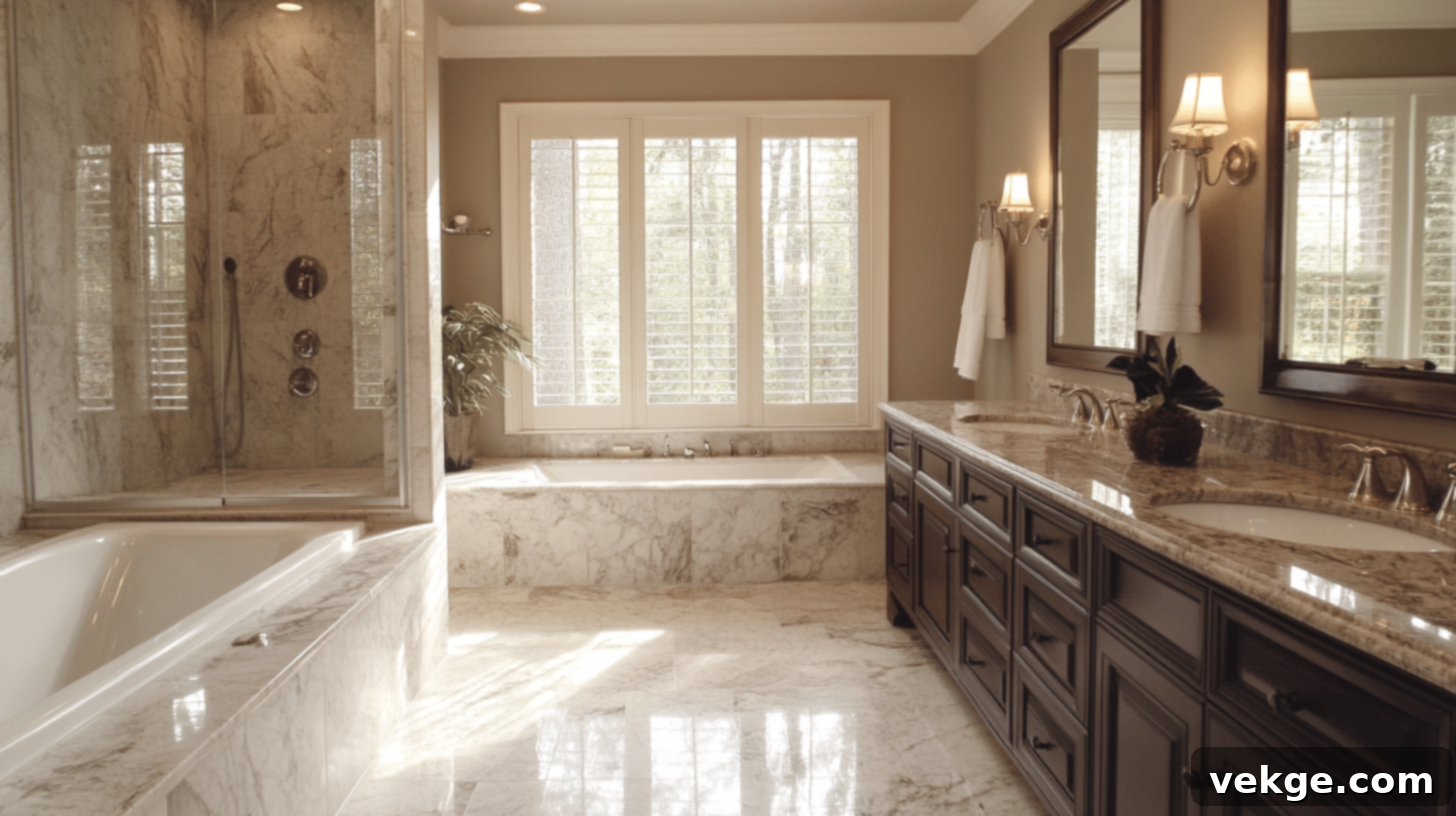
Natural stone tiles, such as marble, granite, travertine, or slate, offer an undeniable sense of luxury, sophistication, and longevity that can last for many decades. These materials are inherently robust and resistant to water damage, making them excellent choices for wet environments. Their natural patterns and veining are unique to each piece, catching light beautifully and adding a bespoke, high-end feel to any bathroom.
Despite their beauty and durability, natural stone comes with its own set of considerations. Most types of stone, being porous, require regular sealing to prevent staining and moisture absorption, a maintenance task that can be overlooked. The surface of stone can be extremely hard and cold underfoot, potentially making the bathroom less comfortable. Installation costs are typically higher than engineered hardwood due to the weight of the material, the specialized tools required, and the skilled labor involved. Furthermore, if a stone tile is damaged, repairs often mean replacing entire sections, which can be difficult to match perfectly due to natural variations in color and pattern, making it a costly and complex undertaking.
Engineered Hardwood Installation Guidance: Ensuring Longevity
1. Thorough Preparation of Your Bathroom Space
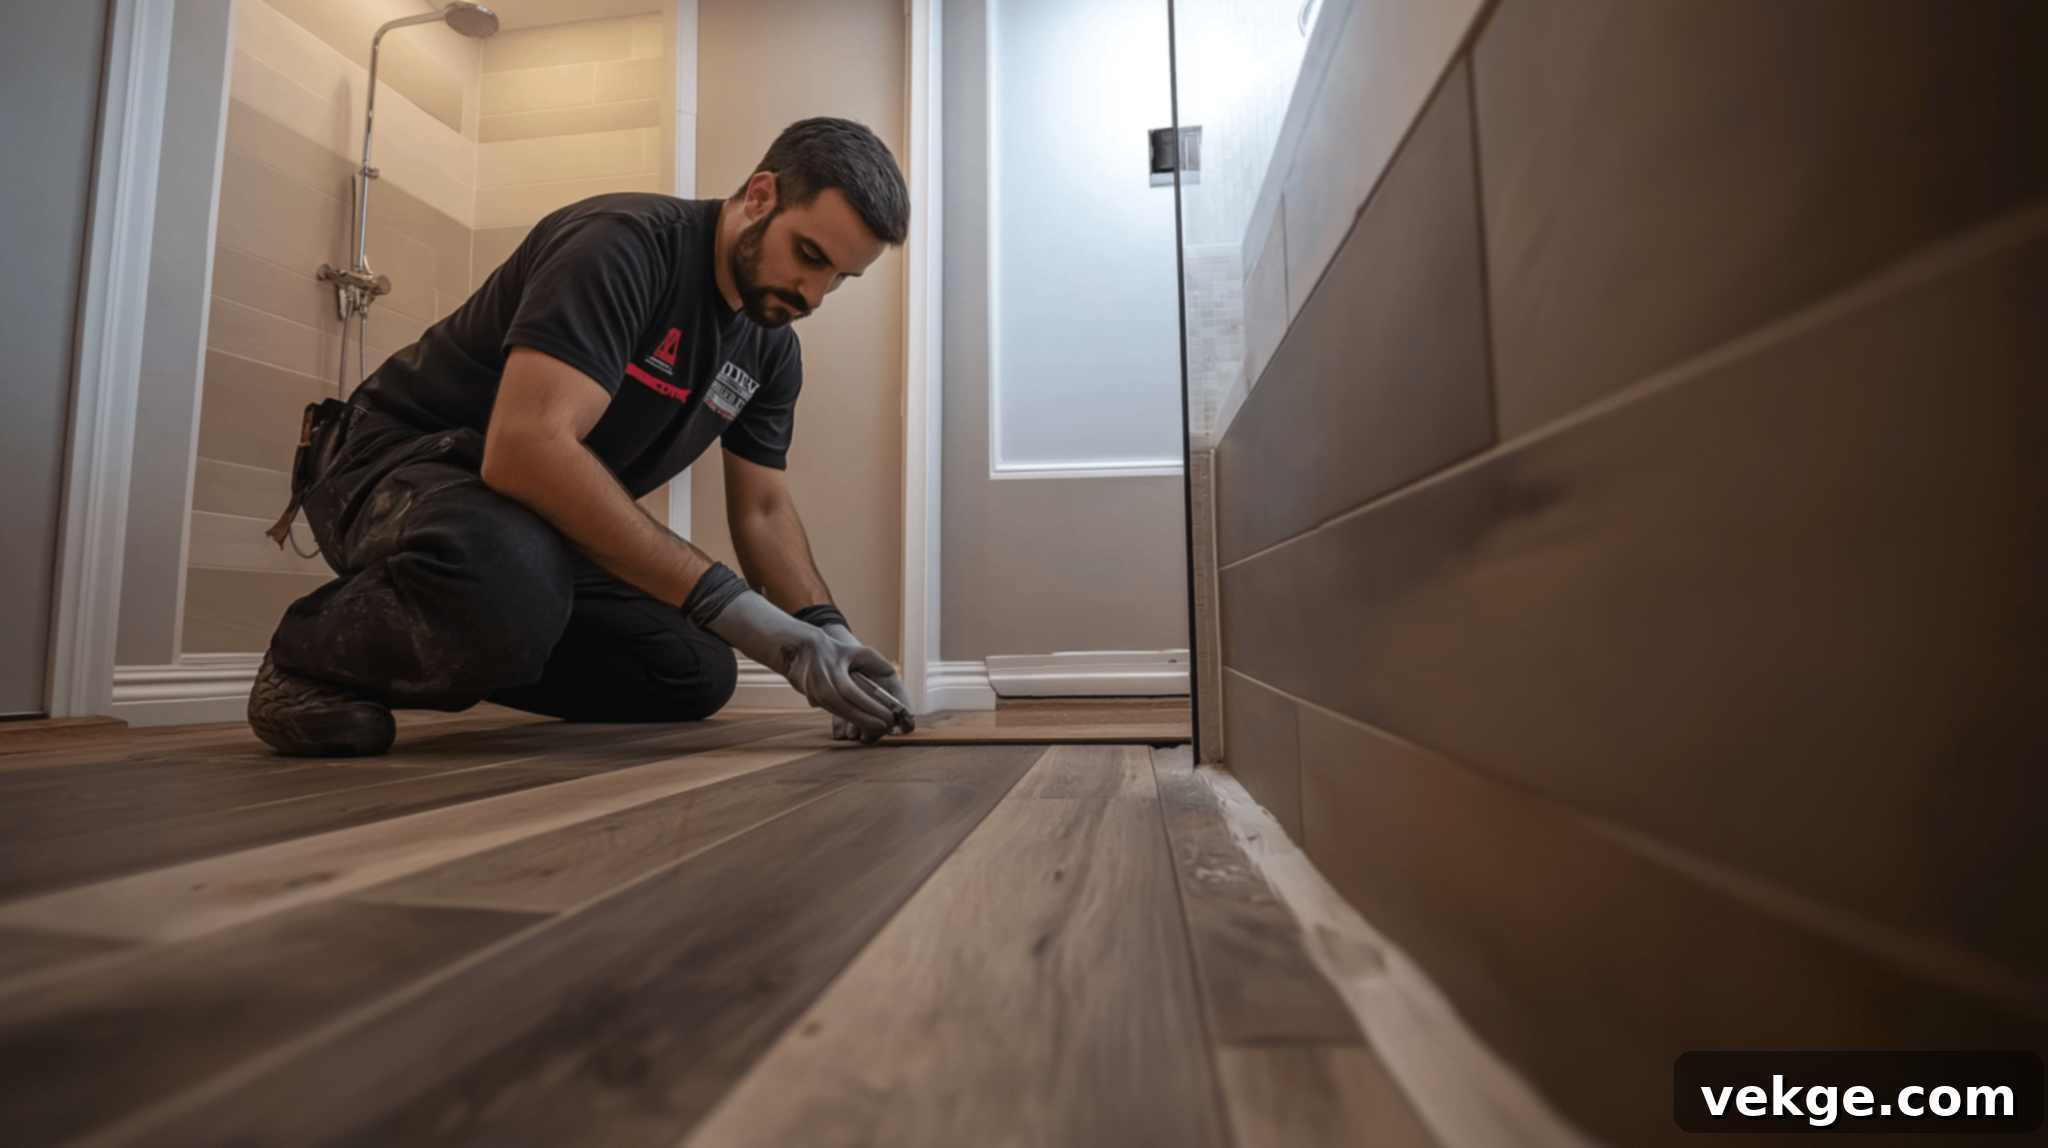
Proper preparation is the cornerstone of a successful and long-lasting engineered hardwood installation, especially in a moisture-prone bathroom. Begin by ensuring your subfloor is impeccably clean, completely dry, and perfectly level. Any existing squeaks or loose spots in the subfloor should be addressed and securely fastened at least three days prior to installation to prevent future movement and noise.
A crucial step is to allow the engineered hardwood planks to acclimate to the bathroom’s environment. This involves laying the unopened packages of flooring in the room for at least 48 to 72 hours. Acclimation helps the wood stabilize to the ambient temperature and humidity levels, significantly reducing the risk of expansion or contraction after installation. It is also vital to verify that your bathroom’s ventilation system, particularly the exhaust fan, is fully functional and capable of effectively controlling humidity levels during and after showers.
Most importantly, the subfloor must be definitively dry. Utilize a reliable moisture meter to test the subfloor in several locations; the reading should ideally show less than 12% moisture content. Address any existing leaks around the toilet, sink, or shower thoroughly before proceeding, as even minor, unaddressed moisture issues can severely compromise your new flooring. Diligent preparation now will prevent costly and frustrating problems down the line, safeguarding your investment.
2. Choosing Your Optimal Installation Method for Bathrooms
When installing engineered hardwood in bathrooms, two primary methods are commonly employed, each with distinct advantages and suitability: the floating floor method and the glue-down installation. The choice depends on factors like subfloor type, moisture exposure, and desired feel underfoot.
The floating floor method involves clicking the engineered planks together without directly attaching them to the subfloor. Instead, they “float” over a specialized moisture barrier underlayment. This method is often favored for its relative ease, making it a popular choice for confident do-it-yourselfers. It also allows for some natural expansion and contraction of the floor as a single unit. However, while a moisture barrier is used, this method can be less resilient to persistent topical moisture from prolonged puddles if water seeps between planks.
The glue-down installation, conversely, involves adhering each plank directly to the subfloor using a full-spread, moisture-curing adhesive. This method creates an exceptionally strong, permanent bond with the subfloor, which is generally preferred by flooring professionals for bathrooms. Glue-down floors offer superior water resistance because the adhesive itself acts as an additional moisture barrier, effectively blocking moisture from seeping up from below the subfloor and creating a tighter seal between planks. While this method is more labor-intensive and costs more due to the specialized adhesive and skill required, it provides greater stability, minimizes sound, and makes the floor feel more solid and secure underfoot, offering enhanced long-term performance in humid environments.
3. Essential Moisture Protection Steps
Effective moisture protection is paramount for engineered hardwood in bathrooms. Irrespective of the installation method, always begin by laying down a high-quality moisture barrier or using a waterproof underlayment designed for engineered wood. For glue-down installations, ensure the adhesive itself is moisture-curing and forms a resilient waterproof bond. Where boards meet, use waterproof seam sealers to prevent any ingress of water.
Crucially, all perimeter edges where the flooring meets walls, cabinets, or other fixed structures must be meticulously sealed. After installation, a bead of flexible, 100% silicone caulk should be applied to all expansion gaps, covering them with baseboards or quarter-round trim. Remember to leave small, consistent expansion gaps around the edges of the room (typically 1/4 to 1/2 inch) to allow for the wood’s natural, albeit minimal, movement.
The area around the toilet demands extra attention. Ideally, remove the toilet first. Install the flooring beneath where the toilet will sit, ensuring a proper seal around the flange with a wax ring or a suitable plumbing sealant. Once the toilet is reinstalled, apply a flexible caulk around its base where it meets the floor. Similarly, caulk around the base of vanities, tubs, and shower trays. Applying a suitable wood surface sealer to the installed floor after it has cured can also add an extra layer of protection against topical moisture. These comprehensive steps are vital in preventing water from seeping under the boards and causing long-term damage.
4. Tools and Skills Required for Installation
Successfully installing engineered hardwood, particularly in a bathroom, requires a combination of specific tools and a moderate level of DIY skill. Basic tools that are indispensable for this job include: a reliable moisture meter (essential for subfloor testing), sharp saw blades (a miter saw or table saw for precise cuts, and a jigsaw for intricate cuts around fixtures), a tapping block and rubber mallet (to gently seat planks together), a pull bar (for closing gaps at the end of rows), spacers (to maintain expansion gaps), a tape measure, pencil, utility knife, and most importantly, high-quality, clear silicone caulk for sealing. For glue-down installations, you will also need a notched trowel suitable for the chosen adhesive, and potentially a roller to ensure proper adhesion.
The job generally requires medium skill levels. While a handy homeowner might confidently tackle a floating floor installation in a less critical area, the unique demands of a bathroom—especially regarding subfloor preparation, meticulous moisture barriers, and precise sealing around fixtures—elevate the complexity. Glue-down methods, in particular, demand greater precision in adhesive application, consistent coverage, and often specialized tools, making them typically better suited for experienced DIYers or professional installers. If you are uncertain about any aspect of moisture barrier application, subfloor leveling, or the crucial sealing steps, it is highly advisable to consider hiring a professional flooring contractor. Their expertise can ensure that your engineered hardwood bathroom floor is installed correctly, providing maximum longevity and peace of mind.
Engineered Hardwood Maintenance and Care Tips for Bathrooms
1. Essential Daily Care Basics
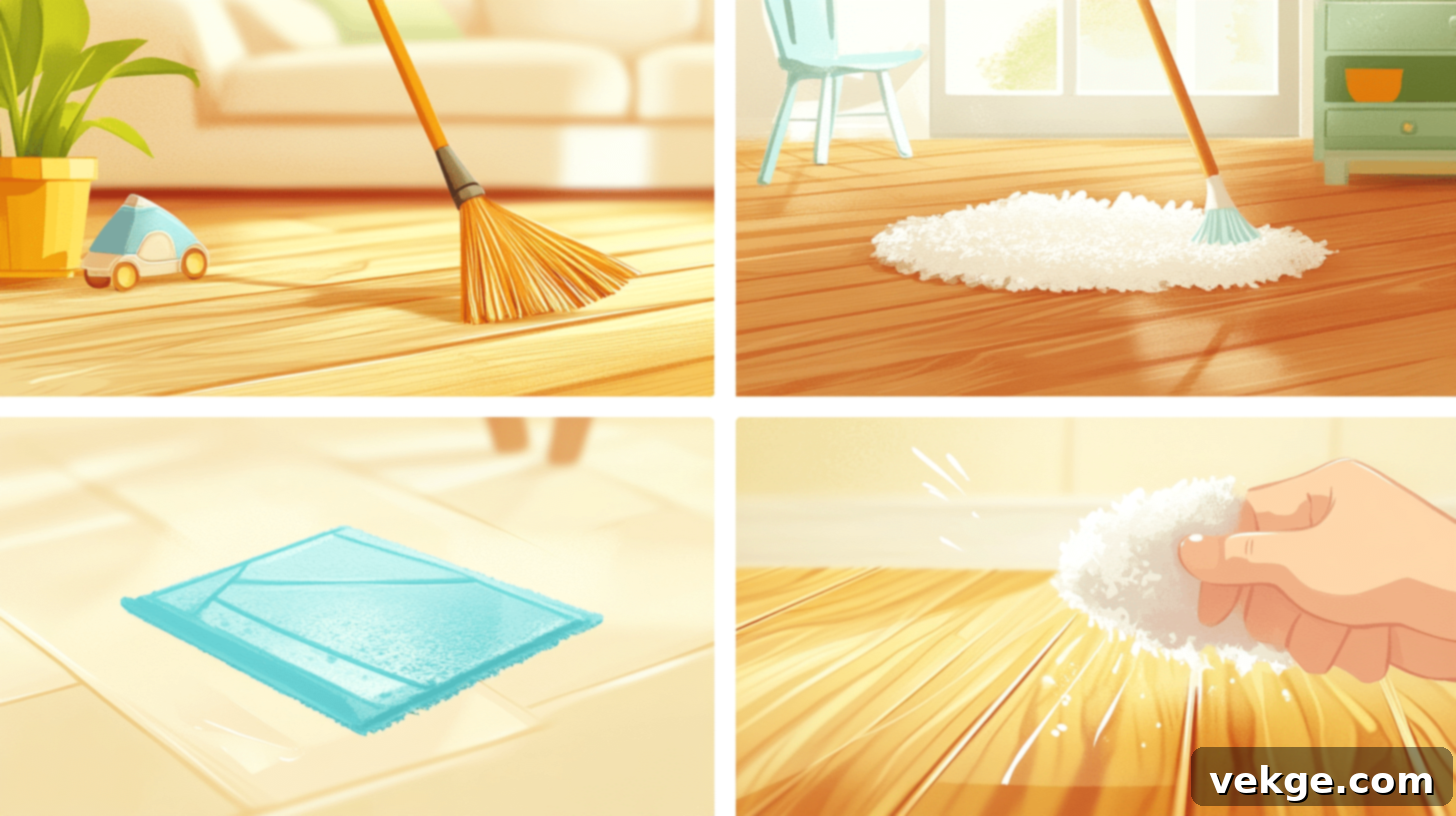
Maintaining the beauty and integrity of your engineered hardwood bathroom floor begins with simple, consistent daily habits. Always place absorbent bathroom mats strategically by the shower, bathtub, and sink areas to catch splashes and drips before they can reach the wood. Make it a routine to wipe up any visible water spots or puddles immediately upon noticing them. Even small amounts of standing water, if left for too long, can compromise the wood’s finish or seep into seams.
For routine cleaning, use a dry dust mop, a soft microfiber cloth, or a vacuum cleaner with a hard-floor attachment. The key is to avoid excessive moisture. Never use a wet mop, as this introduces too much water to the floor, which can lead to swelling, warping, or finish damage. Regular, gentle cleaning helps prevent the accumulation of dirt and grit that can scratch the surface, thus significantly extending the life and pristine appearance of your floor.
Equally important is ensuring the bathroom remains well-ventilated. Always run the exhaust fan during showers and baths, and continue to let it run for at least 20-30 minutes afterward to thoroughly remove steam and humidity. If possible, open windows to promote airflow. Lowering the overall humidity levels in the bathroom is crucial for protecting the wood surface from moisture absorption. Periodically lift and check under bathroom mats to ensure no moisture is trapped underneath, as this can create a localized humid environment harmful to the flooring.
2. Effective Cleaning Products and Methods
When it comes to cleaning your engineered hardwood, selecting the right products and methods is vital to avoid damage. Always opt for cleaning solutions specifically formulated for wood floors. These products are designed to clean effectively without leaving residues or damaging the wood’s finish. Dilute cleaners precisely as instructed on their labels. A critical rule is to never pour cleaner directly onto the floor; instead, dampen a soft cloth or a specialized spray mop with the cleaning solution until it’s just moist, not soaking wet.
The principle of “less liquid is more” applies here, minimizing the risk of moisture penetration. Absolutely avoid using steam mops on engineered hardwood, as the high heat and forced steam can drive moisture deep into the wood layers, leading to irreversible damage, lifting, or warping of the planks.
Furthermore, steer clear of harsh chemicals such as ammonia-based cleaners, abrasive cleaners, or petroleum-based solvents. Also, avoid traditional soap-based cleaners, as they tend to leave a dull, sticky film that can trap moisture and dirt, making the floor look dingy and potentially compromising its protective finish. For most daily cleaning and light maintenance, a simple damp cloth with plain water (ensuring it’s well-wrung out) can be sufficient. For tougher spots or periodic deep cleaning, always use the recommended wood floor cleaner, and always test any new cleaning product on a small, inconspicuous area first to ensure it doesn’t adversely affect your floor’s finish.
3. Proactive Protection from Potential Damage
Protecting your engineered hardwood bathroom floor from damage goes beyond just cleaning. Implement preventative measures to extend its life and maintain its appearance. Place soft felt pads or protective glides under the legs of any movable furniture, such as vanity seats or storage cabinets, to prevent scratches and gouges when items are shifted. It’s also a good practice to occasionally move bathroom rugs to allow the entire floor surface to breathe and dry fully, preventing moisture from becoming trapped in localized areas.
Regularly inspect around plumbing fixtures—the toilet, sink, and shower/tub—for any signs of drips, leaks, or condensation. Address any moisture issues or leaks immediately, even if they appear minor. Waiting for visible damage like warping or discoloration can lead to far more extensive and costly repairs. To prevent UV damage and fading over time, consider using blinds, shades, or curtains on bathroom windows, especially if the floor receives direct, intense sunlight for prolonged periods.
If you have pets that frequent the bathroom, keep their nails trimmed to minimize the risk of scratches. For heavy items or those with small, hard feet, consider using larger, more stable floor protectors. These small, proactive steps can significantly reduce the likelihood of major problems and preserve the beauty of your engineered hardwood floor for many years.
4. Long-term Floor Health and Inspections
Ensuring the long-term health of your engineered hardwood floor involves periodic, thorough inspections and proactive maintenance. Twice a year, dedicate time to carefully check the caulk and sealant around your tub, shower, and toilet. Look for any cracks, peeling, or signs of deterioration that could allow water to penetrate beneath the flooring. Inspect for any loose boards, subtle changes in wood color (darkening or lightening in specific areas), or any signs of minor swelling. Also, pay attention to how the floor feels underfoot; notice if any areas feel unusually soft or springy, which could indicate subfloor moisture issues.
Catching these potential problems early is critical, as prompt intervention can make repairs significantly easier, less extensive, and more affordable than addressing advanced damage. Depending on the type of finish and the level of traffic, consider applying a fresh coat of a suitable wood floor sealer every few years. This helps to rejuvenate the protective layer, keeping the moisture barrier strong and enhancing the floor’s resistance to spills and wear.
A simple test can indicate when resealing might be necessary: after cleaning, observe how water interacts with the floor. If water droplets bead up and sit on the surface, your seal is likely still effective. However, if water appears to soak into the wood rather than forming beads, it’s a clear sign that the existing sealant is deteriorating and it’s time to reseal to protect your investment.
Final Thoughts on Engineered Hardwood in Bathrooms
Engineered hardwood offers a compelling solution for homeowners eager to bring the natural beauty and warmth of wood into their bathrooms while mitigating the traditional risks associated with moisture. Its innovative layered construction, when combined with meticulous installation and consistent, proactive care, creates a durable and aesthetically pleasing floor that can withstand the unique challenges of a moisture-rich environment.
This flooring option is particularly well-suited for those who prioritize the authentic look and feel of real wood, desire enhanced water protection compared to solid hardwood, are committed to maintaining good bathroom ventilation, and are prepared to follow essential care and maintenance routines. While the initial investment might be higher than some alternative flooring choices, many homeowners find that the unparalleled natural feel, luxurious aesthetic, and added comfort underfoot fully justify the price.
The ultimate success and longevity of engineered hardwood in your bathroom hinge critically on two factors: selecting high-quality products with robust wear layers and finishes, and ensuring proper, professional-grade installation that includes effective moisture barriers and meticulous sealing around all fixtures. For optimal results and to tailor the best solution for your specific space and lifestyle, we highly recommend consulting with local flooring experts. Their invaluable guidance can help you navigate product choices, understand installation nuances, and provide personalized advice, ensuring you make the most of this practical yet exquisitely beautiful flooring choice for your home.
Frequently Asked Questions (FAQs) About Engineered Hardwood in Bathrooms
Is Engineered Hardwood Truly Waterproof for Bathroom Use?
Engineered hardwood is generally considered water-resistant, not fully waterproof. Its multi-layered construction makes it significantly more resistant to moisture and humidity fluctuations than solid hardwood, reducing the likelihood of warping or cupping. However, it is not impervious to standing water or prolonged exposure to moisture. While it can tolerate splashes and high humidity found in bathrooms, any spills or puddles must be cleaned up promptly to prevent damage. Implementing additional sealants on the surface and ensuring a robust moisture barrier during installation further enhances its durability and protection against water, making it a viable option for bathrooms with proper precautions.
Can I Confidently Use Engineered Hardwood in a Full Bathroom?
Yes, engineered hardwood can be successfully used in a full bathroom, but it requires specific precautions and careful consideration to ensure its longevity. Full bathrooms, with their showers, tubs, and toilets, introduce higher levels of moisture and direct water exposure compared to powder rooms. To ensure success, it’s crucial to select engineered hardwood products designed for higher moisture resistance. Essential steps include installing a high-quality, fully waterproof subfloor membrane or using a waterproof adhesive in a glue-down application, meticulously sealing all edges and seams with silicone caulk, and maintaining excellent bathroom ventilation. Placing absorbent rugs around key wet areas (shower, tub, sink) is also vital. With these measures, engineered hardwood can provide a beautiful and durable flooring solution for a full bathroom.
What Are the Key Signs of Moisture Damage to Watch For on Engineered Hardwood?
Being vigilant for signs of moisture damage is crucial for early intervention and preserving your engineered hardwood floor. Key indicators to watch for include: warping or cupping, where the edges of the planks rise higher than the center; buckling, which manifests as planks lifting or separating from the subfloor; discoloration, such as dark stains, black spots (indicating mold or mildew), or unusual darkening/lightening of the wood; and soft spots, where areas of the floor feel spongy or weak when stepped upon. You might also notice gapping between planks that wasn’t present before, indicating excessive contraction, or a persistent musty odor. Regular inspections, especially around plumbing fixtures, will help identify these issues early, preventing extensive damage and ensuring the floor’s long-term beauty and structural integrity.
