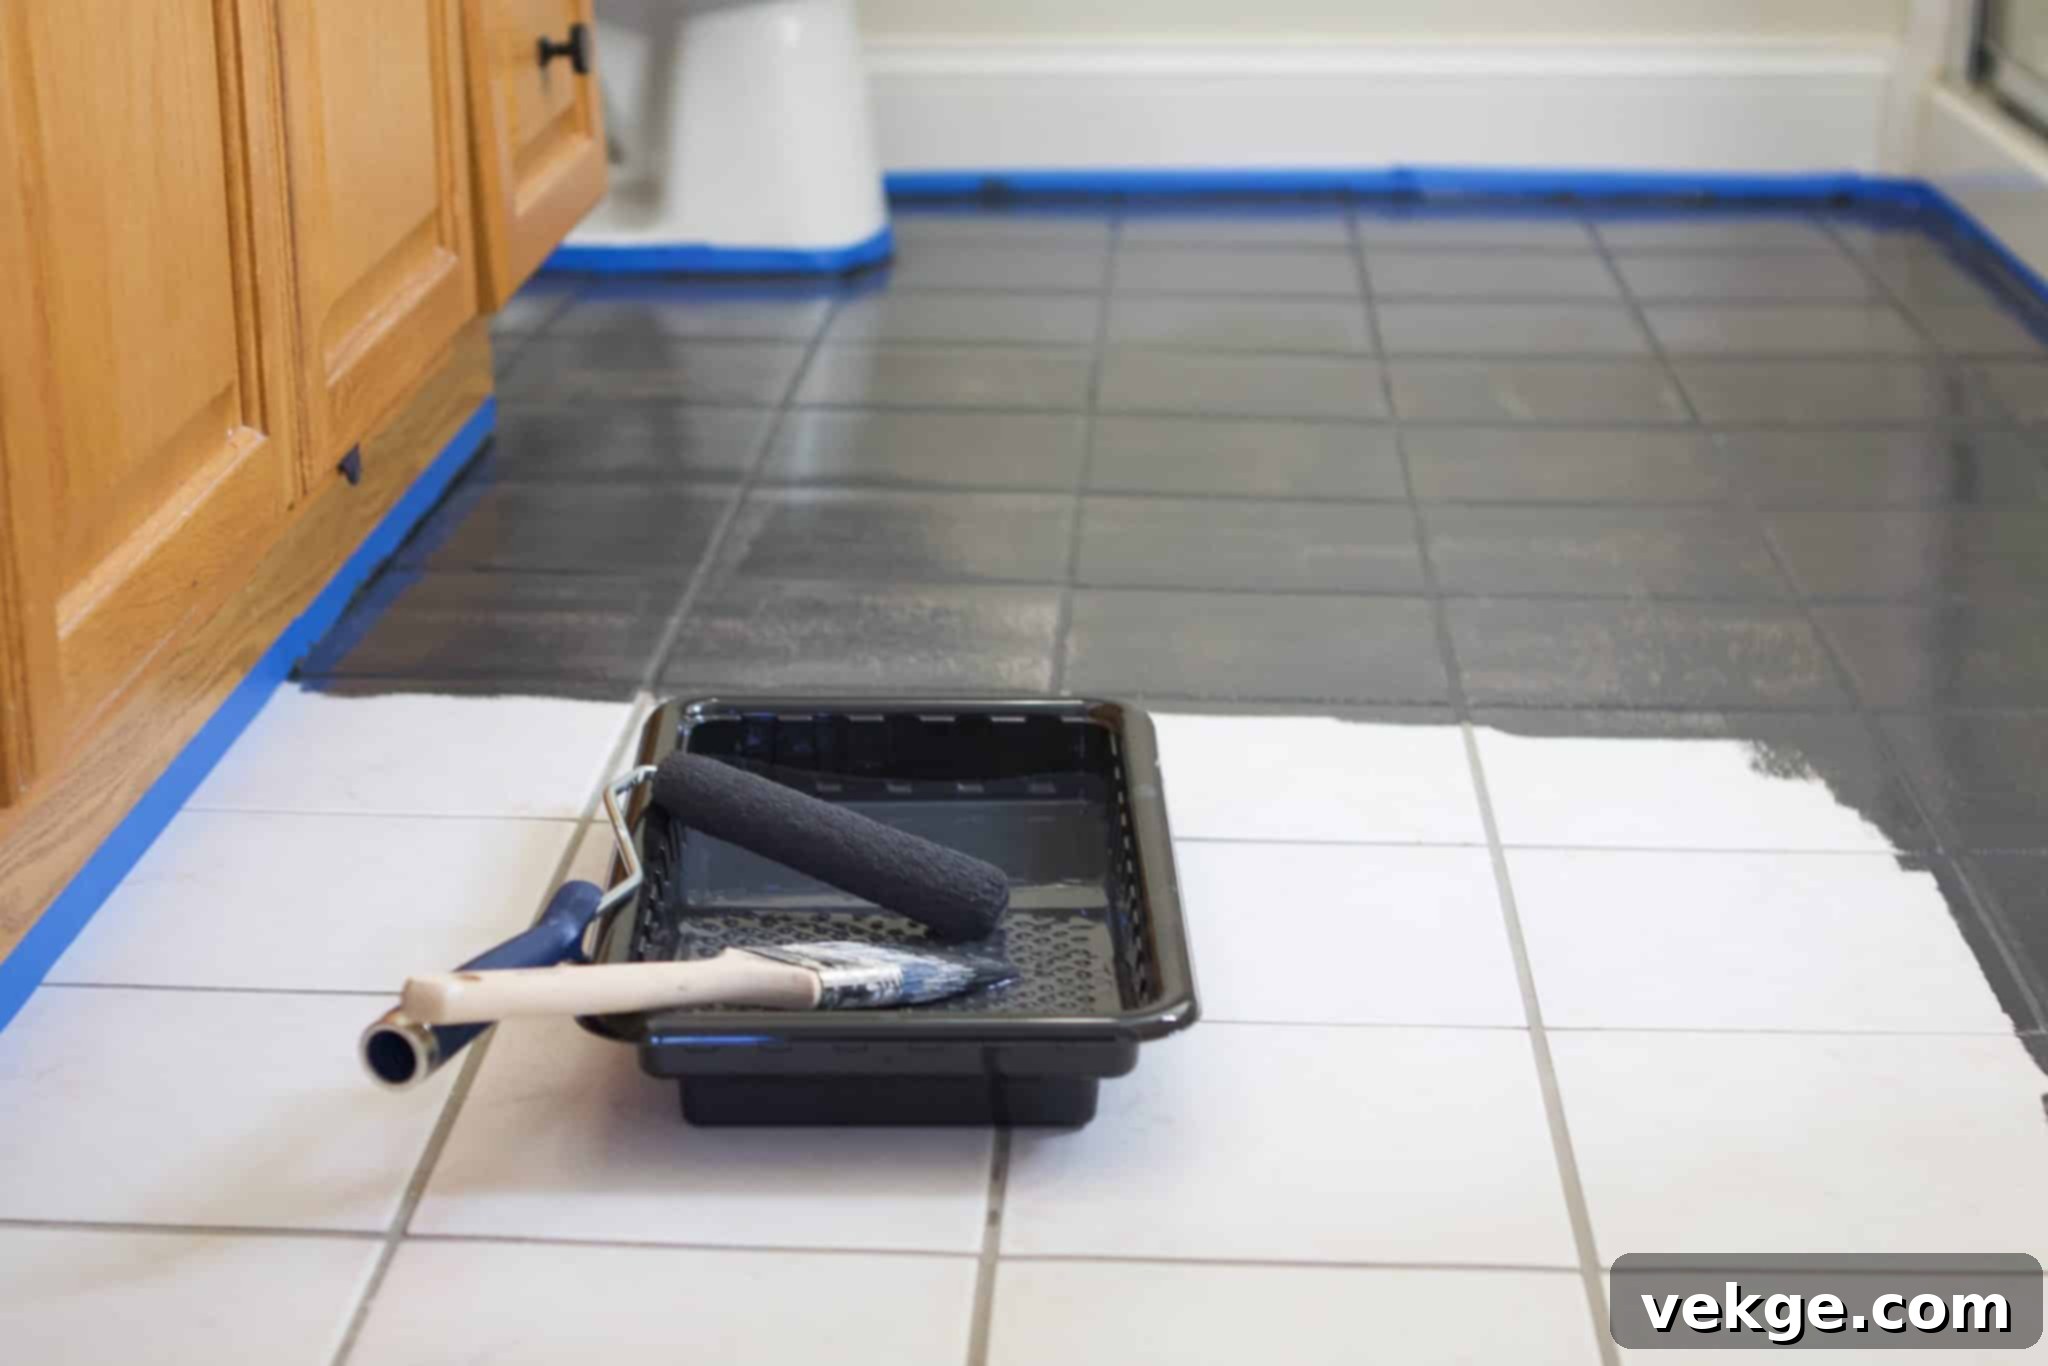
Transform Your Bathroom: The Ultimate Guide to Painting Ceramic Tile Floors
Are you tired of the outdated or dull ceramic tile floor in your bathroom? Instead of facing the high cost and extensive labor of a full tile replacement, painting your existing tiles offers a fantastic and budget-friendly solution to revitalize your space. A fresh coat of paint can dramatically alter the appearance of your bathroom, injecting new life and a modern aesthetic without breaking the bank. This simple yet effective DIY project has the potential to make a significant and noticeable difference, transforming your bathroom into a space you’ll love.
While the idea of painting your ceramic tiles can seem like an attractive and cost-effective alternative to complete re-tiling, it’s crucial to approach this project with realistic expectations and thorough preparation. Painting tiles isn’t always a “magic fix,” and without proper technique and materials, issues like chipping, peeling, or poor adhesion can quickly arise. Therefore, before you embark on your tile-painting journey, it’s essential to carefully weigh both the exciting benefits and potential drawbacks. Understanding the commitment involved in proper preparation and application will be key to achieving a long-lasting and beautiful finish.
If you’ve decided that painting your ceramic tile floor is the right choice for your bathroom renovation, you’ve come to the right place. We’re excited to share our detailed experience and proven process to help you achieve professional-looking results. By preparing the correct materials and diligently following our outlined steps, you can ensure a beautiful, durable, and long-lasting finish that will dramatically enhance your bathroom’s appeal for years to come.
Essential Materials You’ll Need for Painting Ceramic Tile Floors
Before diving into the steps, gathering all the necessary tools and materials is crucial for a smooth and efficient tile painting project. Having everything on hand will prevent interruptions and ensure each stage is completed properly. Here’s a comprehensive list of what you’ll need:
- Sander: An orbital sander is recommended for efficiency, along with 100-150 grit sandpaper to roughen the tile surface.
- Cleaning Supplies: A heavy-duty cleaner or degreaser (like TSP or a dedicated tile cleaner), a nylon scrub brush, sponges, and clean rags.
- Vacuum Cleaner: For removing sanding dust and debris.
- Protective Gear: Safety glasses, a respirator or appropriate dust mask (especially important if testing for lead), and rubber gloves.
- Painter’s Tape: To protect baseboards, walls, and any areas you don’t want painted.
- Caulk/Grout Repair: Paintable caulk or grout repair compound for addressing missing grout or small cracks.
- High-Quality Primer: An epoxy-based bonding primer specifically designed for challenging surfaces like ceramic tile. This is non-negotiable for adhesion.
- Floor-Grade Paint: A durable epoxy, urethane, or acrylic floor paint that can withstand heavy traffic and moisture. Ensure it’s suitable for floors.
- Paint Brushes: Smaller brushes for cutting in edges and applying paint to grout lines.
- Paint Rollers: High-density foam rollers or short-nap rollers (3/8″ or 1/4″) for smooth application over the main tile surface.
- Paint Trays: For holding primer and paint.
- Drop Cloths/Plastic Sheeting: To protect adjacent areas and furniture from dust and paint splatters.
- Clear Topcoat/Sealer (Optional but Recommended): A clear, durable sealer (e.g., clear epoxy or urethane) for added protection, especially in high-traffic areas or if your chosen paint isn’t extremely durable on its own.
Steps to Paint Ceramic Tile Floor of Your Bathroom for a Lasting Finish
Step 1: Sand The Tile Floors Thoroughly
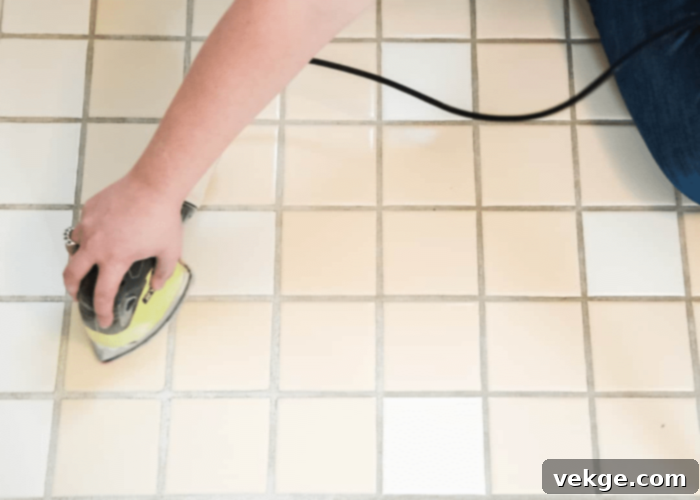
Sanding your ceramic tiles is a critical first step often overlooked, but absolutely essential for successful adhesion. The goal here isn’t to completely strip away the glazed finish, but rather to “etch” or roughen the surface microscopically. This creates a mechanical bond that allows the primer to grip firmly, preventing future chipping and peeling. Using an orbital sander with 100 to 150-grit sandpaper will efficiently achieve this. Concentrate on creating a uniform dullness across the entire tile surface.
A note on safety: Older ceramic tiles may contain lead, which can be released into the air as dust during sanding. If your home was built before 1978 and you’re unsure about your tiles, it’s highly recommended to test them for lead or consult with a professional. Never take chances with lead exposure. Always wear appropriate personal protective equipment, including protective eyewear and a high-efficiency particulate air (HEPA) mask or respirator, to prevent inhaling dust. To minimize dust spread, close off the bathroom door, cover air vents, and use plastic sheeting to seal off the work area from other parts of your home.
Step 2: Clean Your Floors Meticulously
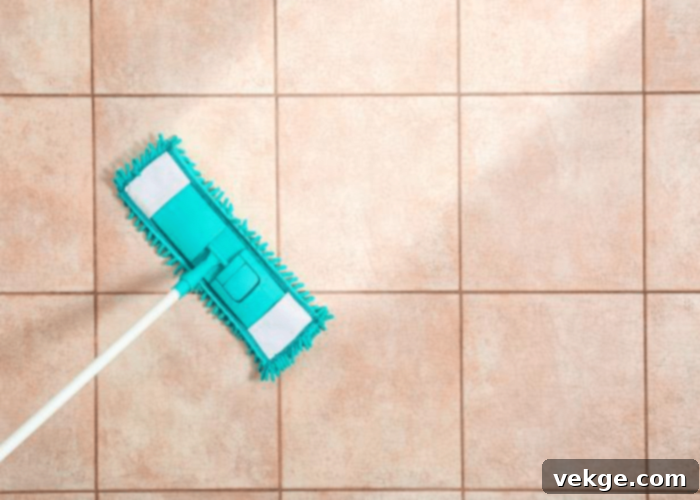
After completing the sanding process, the next crucial step is to meticulously remove all dust and debris. Start by thoroughly vacuuming the entire floor, paying close attention to grout lines and corners. Once the loose dust is gone, it’s time for a deep clean. For optimal paint adhesion, the surface must be impeccably clean and free of grease, soap scum, or any residues. Use a high-quality heavy-duty cleaner or degreaser—products like Trisodium Phosphate (TSP) solutions or specialized tile and grout cleaners work exceptionally well for this purpose. Follow the product instructions for dilution and application.
Using a stiff nylon scrub brush, vigorously clean the entire floor, focusing on working the cleaner into the grout lines and across the tile surfaces. Allow the cleaner to dwell for the recommended time before scrubbing. Afterward, rinse the floor thoroughly with warm water, changing the water frequently to ensure all cleaning solution and residue are completely removed. You may need to rinse multiple times until the water runs clear and no suds remain. A perfectly clean, residue-free surface is paramount for the primer and paint to adhere correctly, ensuring a flawless, long-lasting finish that resists peeling and flaking.
Step 3: Address Missing Grout or Cracked Tiles
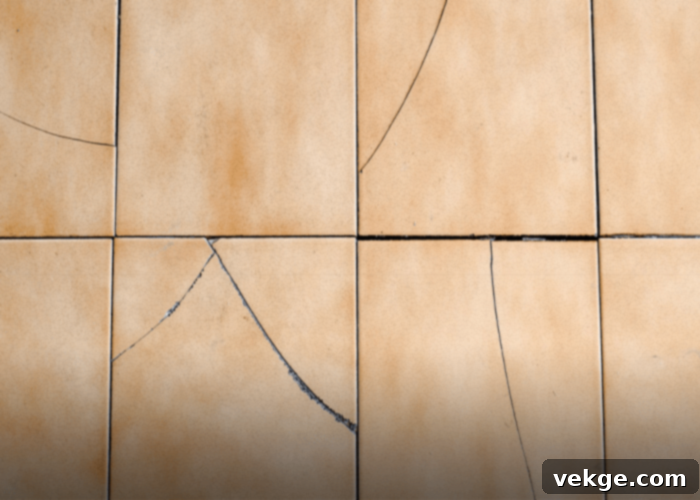
Before applying any primer or paint, it’s essential to address any imperfections in your tile floor. If your grout is in poor condition, with numerous chipped, cracked, or missing sections, you have a couple of options. While regrouting can provide the most durable and uniform result, it is often a laborious and time-consuming process involving the removal of old grout. For a more efficient, budget-friendly solution, especially when painting over the entire surface, consider using a paintable caulk or a specialized grout repair compound.
Apply the caulk to fill any exposed or missing areas of the grout, smoothing it with a wet finger or tool. This will create a much cleaner and more polished appearance once painted. Similarly, inspect your tiles for any cracks. For minor hairline cracks, you can simply fill them with paintable caulk and lightly sand down any rough edges after it dries. This smooths out the surface, ensuring the paint adheres evenly and reduces the visibility of the crack. For larger or more significant cracks, replacing the individual tile might offer a better, more permanent fix, but caulk can still provide a decent cosmetic repair if replacement isn’t feasible. Ensure all repairs are completely dry and cured according to the product’s instructions before moving on to the next step.
Step 4: Apply a Good Quality Primer
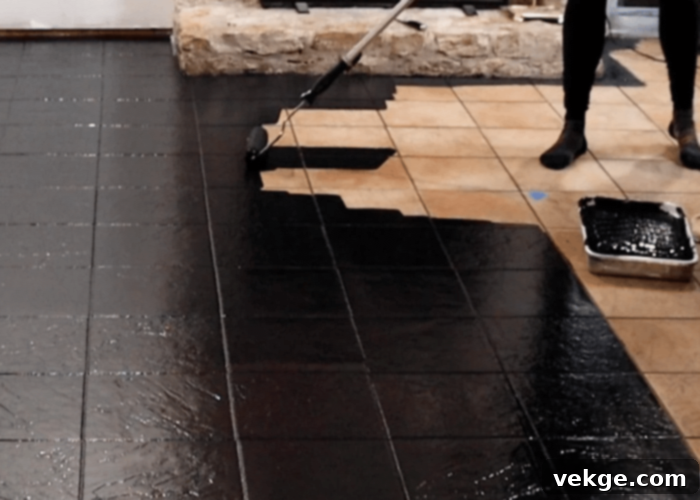
Achieving a flawless and durable painted ceramic tile floor hinges on the quality and application of your primer. This is not a step to skip or skimp on! Invest in a high-quality bonding primer, ideally an epoxy-based formula, specifically designed to adhere to non-porous surfaces like glazed ceramic tiles. This specialized primer creates a strong, adhesive layer that your topcoat paint can grip onto, preventing future peeling and ensuring a long-lasting finish.
For a smooth and efficient priming job, employ a combination of tools. Start by using a high-quality paintbrush to carefully apply primer along the edges of the room and meticulously work it into all the grout lines. This ensures proper coverage in these detailed areas. Once the edges and grout are coated, switch to a small roller (a high-density foam or short-nap roller is ideal for smooth surfaces) to quickly and evenly coat the bulk of the tile surface. This two-step technique helps achieve consistent coverage and a professional-looking result. Always begin priming from the farthest wall in the bathroom and systematically work your way backward towards the door. This strategic approach prevents you from getting trapped in a corner with wet primer. After the first coat has dried completely according to the manufacturer’s instructions (typically a few hours), apply a second thin, even coat using the same method. Two coats of primer will significantly improve adhesion and the overall appearance of your finished floor.
Step 5: Paint Your Ceramic Tile Floor
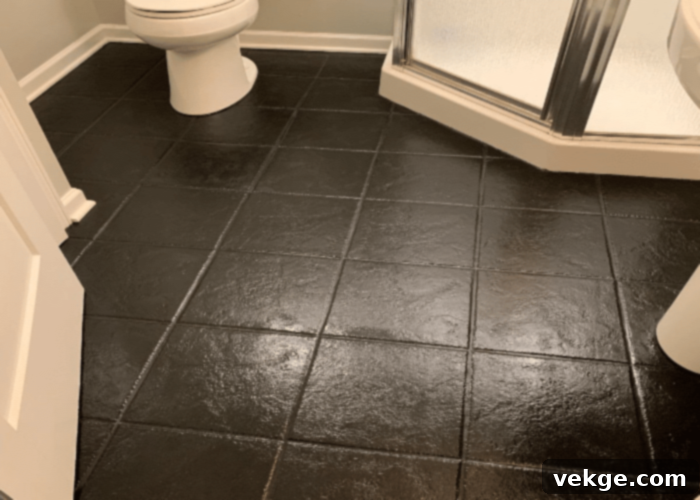
Now for the exciting part – applying the color! When it comes to painting your ceramic tile floor, you’ll use a technique very similar to how you applied the primer. The key is to work systematically and ensure even coverage. Begin by using a paintbrush to carefully cut in the edges of the room and apply paint to all the grout lines. This ensures full saturation and a clean finish in these critical areas. Once the edges and grout are covered, switch to a high-density foam or short-nap roller to coat the main tile surfaces smoothly and evenly.
To ensure long-lasting results and durability, it is paramount to choose a high-quality, floor-grade paint specifically designed to withstand heavy usage, moisture, and abrasion. Epoxy-based or urethane-fortified paints are often excellent choices for bathroom floors due to their superior hardness and resistance. Always make sure to carefully read and follow the specific instructions on your chosen paint container regarding application methods, drying times between coats, and the recommended number of coats. Most tile painting projects will require at least two, and often three, thin coats for optimal coverage and durability. Allow each coat to dry completely before applying the next, adhering strictly to the manufacturer’s guidelines. Rushing this process can lead to poor adhesion and an uneven finish. Patience and precision at this stage will pay off with a beautiful and robust floor.
Step 6: Seal Your Ceramic Tile (Optional but Recommended)
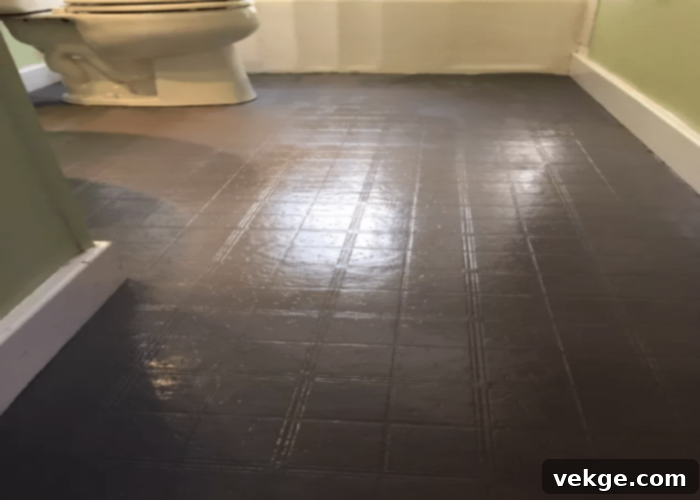
Taking an extra step to seal your painted tiles can significantly enhance their longevity and resistance to wear and tear. While some high-quality, floor-grade paints (especially epoxy systems) are inherently very durable and may not strictly require an additional topcoat, applying a clear sealer provides an extra layer of robust protection. This is particularly recommended if your bathroom floor is subject to heavy daily usage, frequent moisture, or if you opted for a paint that isn’t specifically designed for extreme durability.
A clear, water-based urethane or epoxy topcoat is ideal for this purpose. It acts as a sacrificial layer, absorbing the impact of foot traffic and preventing scuffs, scratches, and water damage from reaching the paint underneath. Apply the sealer using the same brush-and-roller technique as you did for the primer and paint, ensuring even, thin coats. Follow the manufacturer’s recommendations for the number of coats and drying times between them. This protective topcoat will ensure your beautifully painted floor remains looking fantastic for much longer, despite the daily challenges it faces in a busy bathroom environment. You can also look for sealers with anti-slip additives for added safety.
Step 7: Let Your Floor Dry Completely & Then Use It with Care
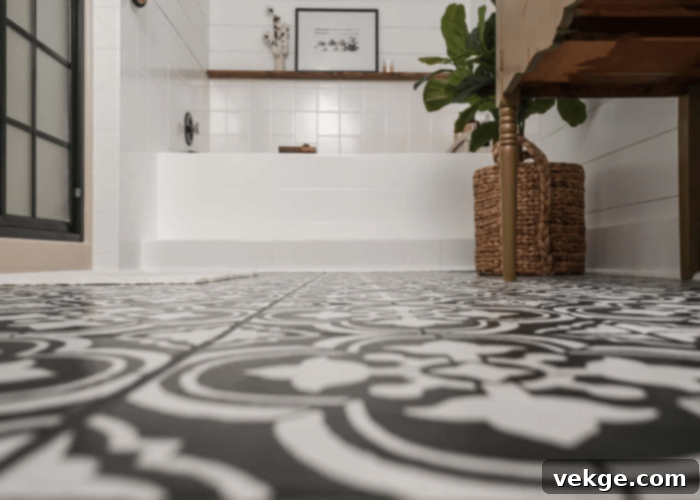
This final step is arguably the most critical for the long-term success and durability of your newly painted ceramic tile floor: patience. Once you’ve applied the final coat of paint or sealer, it is absolutely essential to allow your floor to dry and, more importantly, fully cure. While a floor might feel dry to the touch within a day or two, it often takes significantly longer—typically several days to a couple of weeks, and sometimes even up to a month for epoxy-based products—for the paint to achieve its full hardness and maximum durability. The drying and curing time can be influenced by factors such as humidity levels, temperature, and ventilation in the area.
During this initial curing period, it is vital to treat your floor with extreme care. Avoid placing heavy furniture on it, dragging objects across the surface, or wearing shoes with heels that could potentially damage the soft, uncured paint film. Limit foot traffic as much as possible, and if you must walk on it, do so in socks or soft-soled slippers. Protect the floor from excessive moisture exposure during this time as well. Allowing the paint to fully cure according to the manufacturer’s recommendations will ensure it withstands daily wear and tear for years to come, providing you with a beautiful and resilient bathroom floor.
Conclusion: A Fresh Look for Your Bathroom is Within Reach
If you’re seeking a fun, creative, and incredibly budget-friendly way to give your bathroom a significant makeover, painting your existing ceramic tiles is an outstanding alternative to costly and time-consuming replacements. This DIY approach not only saves you a substantial amount of money but also provides a fantastic opportunity to unleash your creativity, allowing you to infuse your personal style and a unique personality into your space. Imagine transforming a dull, dated floor into a vibrant, modern, or elegantly classic surface with just a few coats of paint!
However, it’s crucial to reiterate that the success and longevity of a painted tile floor hinge entirely on careful execution. Improper preparation, rushing the process, or using unsuitable materials can lead to disappointing results, such as chipping, peeling, or a finish that quickly deteriorates. Such failures could even necessitate more extensive (and expensive) repairs down the line to fix the very ceramic tiles you aimed to refresh.
Therefore, if painting your ceramic tile floors is a project you’re genuinely committed to undertaking, ensure you approach it with caution, diligence, and meticulous attention to detail. Take your time with each step, invest in high-quality materials, and above all, exercise patience throughout the drying and curing phases. By following this comprehensive guide and dedicating the necessary care, you can achieve a durable, beautiful, and truly transformative result that you’ll be proud to showcase in your home.
Frequently Asked Questions About Painting Ceramic Tile Floors
Should I Paint Grout Lines or Keep Them Visible?
The decision to paint over grout lines or keep them distinct depends entirely on the aesthetic you’re aiming for. For a more seamless, smooth, and contemporary look, you can absolutely apply paint directly over the grout lines. This creates a unified surface that can make a small bathroom feel larger and cleaner. Alternatively, if you prefer to retain the traditional, distinct appearance of individual tiles and grout, you can meticulously tape off the grout lines before painting. This method requires more precision and time but allows the grout color to remain visible, offering a different visual texture. Both options are viable and can give your space a refreshed and polished appearance, so choose the one that best suits your desired style.
How Do I Clean My Painted Floor After It Has Been Coated?
Once your painted and sealed floor has completely cured, which typically takes at least 7 days (and sometimes longer for full hardness), you can safely clean it with a mild soap and water solution. Use a soft cloth or mop and avoid abrasive scrubbers that could scratch the surface. It is crucial to steer clear of harsh chemical cleaning agents, abrasive cleaners, or highly acidic/alkaline solutions, as these can degrade the paint or sealer over time, leading to dullness or damage. Regular, gentle cleaning with appropriate products will help maintain the beauty and integrity of your painted tile floor for years to come.
How Long Does Painted Ceramic Tile Floor Last?
The longevity of a painted ceramic tile floor varies greatly depending on several factors: the quality of the preparation, the type and quality of paint and sealer used, and the amount of traffic and moisture the floor experiences. With meticulous preparation (sanding, cleaning, priming), high-quality epoxy-based paints, and an optional durable topcoat, a painted tile floor can last anywhere from 3 to 10 years, or even longer in low-traffic areas. Floors in high-traffic bathrooms or areas with frequent water exposure might show wear sooner. Regular gentle cleaning and prompt attention to any nicks or scratches can help extend its lifespan.
