The Ultimate Guide to Designing and Building Your Dream Outdoor Kitchen
Imagine stepping into your backyard, the aroma of a delicious meal wafting through the air, all prepared in your very own outdoor kitchen. An outdoor kitchen is more than just a place to cook; it’s an extension of your living space, a hub for entertaining, and a significant upgrade to your home’s value and lifestyle. It transforms simple backyard gatherings into memorable culinary experiences, allowing you to stay connected with guests without the constant back-and-forth trips to your indoor kitchen.
For many homeowners, the idea of creating such a space brings with it a host of questions: What are the costs involved? Which materials are best? How do I even begin this exciting project? The truth is, the journey to your perfect outdoor kitchen can be as simple or as elaborate as you desire, with costs varying widely based on size, chosen materials, and features. A basic, functional setup might be achieved for a few thousand dollars, while a fully custom, luxury build can certainly reach much higher figures.
This comprehensive guide is designed to walk you through every essential aspect of planning, designing, constructing, and maintaining your outdoor cooking haven. From understanding the compelling benefits to selecting the right materials, setting a realistic budget, and executing the build, we’ll cover everything you need to know to create a functional, beautiful, and enduring outdoor kitchen that perfectly suits your home and entertaining style.
Why Invest in an Outdoor Kitchen? Unlocking the Benefits
An outdoor kitchen is far more than a trend; it’s a strategic investment that profoundly enhances your home and lifestyle. It marries aesthetic appeal with practical functionality, transforming your backyard into a dynamic extension of your living space. This integration allows you to redefine how you utilize your outdoor areas, elevating everything from casual family dinners to grand celebratory events into more engaging and memorable experiences.
Transform Your Backyard: Key Benefits of an Outdoor Kitchen
The advantages of adding an outdoor kitchen are extensive and impactful, touching upon convenience, entertainment, and even financial gains:
- Enhanced Entertaining and Social Connection: One of the most significant benefits is the ability to host with unparalleled ease. You can prepare meals and cook while remaining fully engaged with your family and guests. This fosters a more inclusive and enjoyable atmosphere for everyone, making gatherings feel more intimate and relaxed.
- Elevated Culinary Experience: Outdoor cooking offers a unique sensory delight. The open air and natural ambiance create an entirely different dining experience, encouraging experimentation with methods like smoking, char-grilling, or pizza making that might be too messy indoors.
- Increased Property Value and Curb Appeal: A thoughtfully designed and well-constructed outdoor kitchen is a highly desirable feature for potential homebuyers. It can significantly increase your property’s market value, helping your home stand out in a competitive real estate landscape and adding usable square footage.
- Expanded Living Space: An outdoor kitchen effectively adds functional living space to your home without requiring major structural renovations. It creates an additional “room” where you can cook, dine, and relax, blurring the lines between indoor comfort and outdoor freedom.
- Energy Efficiency and Comfort: During warmer months, cooking indoors can generate substantial heat, forcing your air conditioning system to work harder. By moving your cooking activities outdoors, you help keep your main house cooler, potentially leading to noticeable savings on your utility bills.
Essential and Popular Outdoor Kitchen Features
When designing your outdoor kitchen, selecting the right features is key to maximizing its functionality and enjoyment. While components depend on budget, certain elements are universally popular and highly recommended:
- The Grill: The Culinary Centerpiece: Options range from efficient built-in gas grills with multiple burners and infrared searing zones to versatile pellet smokers or classic charcoal grills. Consider models with rotisserie kits or side burners for added versatility.
- Ample Countertop Space: Your Preparation Hub: Sufficient, durable countertop space is crucial for comfortable food preparation, plating, and serving. Materials must be weather-resistant and easy to clean, such as natural stone (granite), concrete, quartz, or high-performance porcelain.
- Weather-Resistant Storage Cabinets: Keeping Things Tidy: Integrated storage cabinets are invaluable for keeping utensils, cooking tools, and serving dishes handy and protected from the elements. Opt for cabinets specifically designed for outdoor use, made from marine-grade polymer, stainless steel, or durable treated wood.
- Outdoor Sink: Convenient Cleanup: A dedicated outdoor sink makes cleanup incredibly convenient, eliminating trips indoors. Connect it to both hot and cold water lines and ensure proper drainage.
- Outdoor Refrigerator: Keeping Essentials Chilled: An outdoor-rated refrigerator is a game-changer for entertaining, keeping beverages, condiments, and perishable ingredients perfectly chilled and readily accessible.
- Additional Appliances for Culinary Exploration: For the ultimate experience, consider adding a pizza oven, a deep fryer, a warming drawer, or even a dedicated bar area with a kegerator.
Mastering the Blueprint: Planning Your Outdoor Kitchen Construction
The success of your outdoor kitchen project hinges on meticulous planning. Rushing into construction without a well-thought-out design can lead to costly mistakes and frustration. Conversely, careful consideration ensures that your outdoor kitchen not only meets your functional needs but also seamlessly integrates with your existing landscape and enhances your home’s overall appeal. This initial planning phase is where you define your vision, set practical parameters, and lay the groundwork for a truly outstanding outdoor living space.
Design Considerations: Crafting Your Outdoor Oasis
A successful outdoor kitchen design masterfully blends aesthetic appeal with practical functionality. The goal is to create a harmonious space that not only looks stunning but also serves your culinary needs efficiently and enhances your overall outdoor living experience. This involves thoughtful consideration of layout, workflow, and strategic placement.
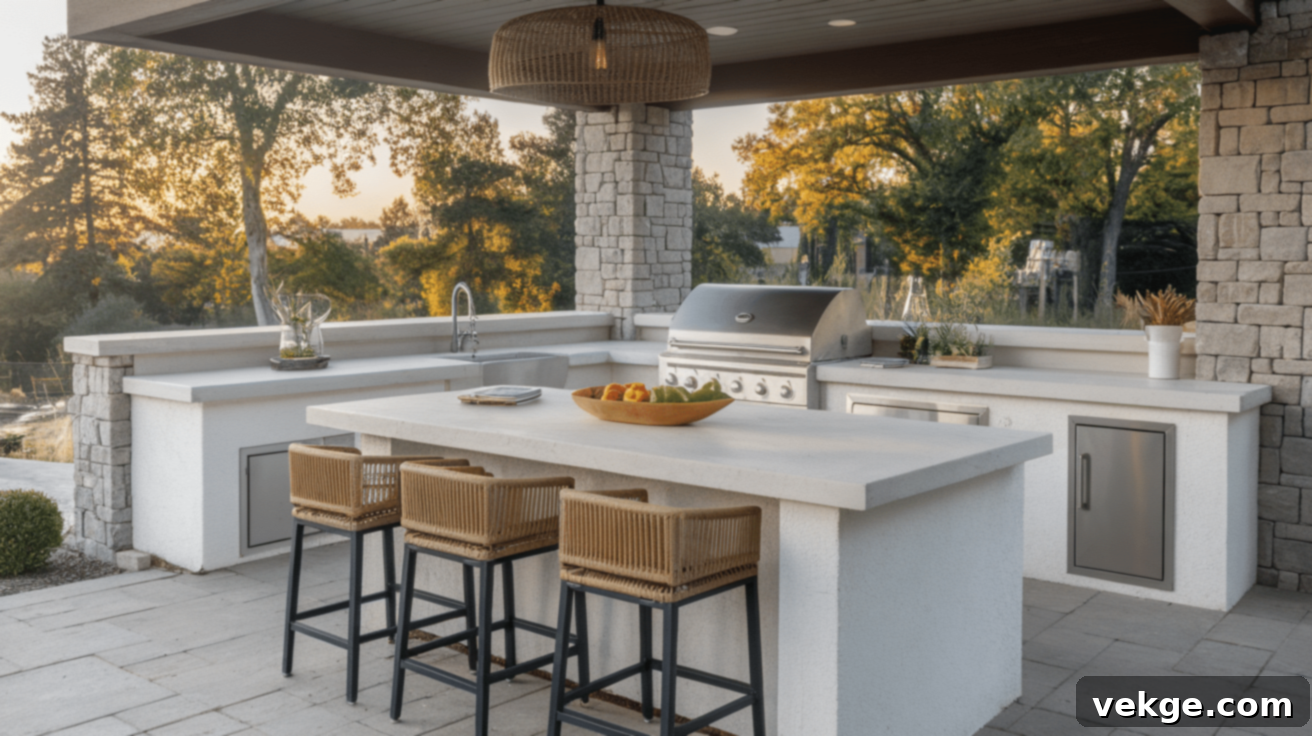
1. Layout Options: Optimizing Your Space
The configuration of your outdoor kitchen significantly impacts its usability and how it integrates with your backyard. Here are common layout options:
- Island-Style: Ideal for larger, open spaces, placing the primary cooking and prep areas in the center. This creates a natural gathering point for guests and often allows for seating.
- L-Shaped: Perfect for corners or against existing walls, L-shaped layouts offer excellent workflow by defining distinct zones for prepping, cooking, and serving, making efficient use of space.
- U-Shaped: Providing the most generous amount of counter space and storage, U-shaped kitchens are luxurious but require a larger footprint. They offer an enclosed, highly efficient workspace.
- Compact/Linear: For smaller yards or limited budgets, a compact or linear design focuses on essentials like a grill and minimal prep space. They often work well along a fence or wall.
2. Flow and Function: The Ergonomics of Outdoor Cooking
Think about how you’ll use the space when cooking. Place the grill where smoke won’t blow toward seating areas, and keep prep areas next to cooking zones. Consider creating distinct zones for preparing, cooking, and cleaning to avoid bottlenecks and ensure enough room for multiple people to move around comfortably.
3. Placement and Positioning: Integrating with Your Environment
The strategic location of your outdoor kitchen is paramount for both convenience and comfort:
- Proximity to Indoor Kitchen: A reasonable distance from your main house can be beneficial for transporting items, but not so close that smoke enters your home.
- Sun and Shade: Observe sun patterns. You might want morning sun but afternoon shade over your cooking and dining areas. Pergolas or built-in roofs can provide essential shade.
- Views and Aesthetics: Consider what you’ll see while cooking and how the kitchen looks from other areas of your yard. It should enhance the overall landscape.
- Utility Access: Planning for easy access to gas, water, and electrical lines during the design phase can significantly reduce construction costs and complexity.
Setting a Realistic Budget for Your Outdoor Kitchen Project
Establishing a clear and realistic budget is one of the most critical steps. This will guide all subsequent decisions, from material selection to the choice of appliances and whether to hire professionals. Costs can vary dramatically, from a few thousand dollars for a basic DIY setup to upwards of $50,000 or more for an elaborate, fully custom installation.
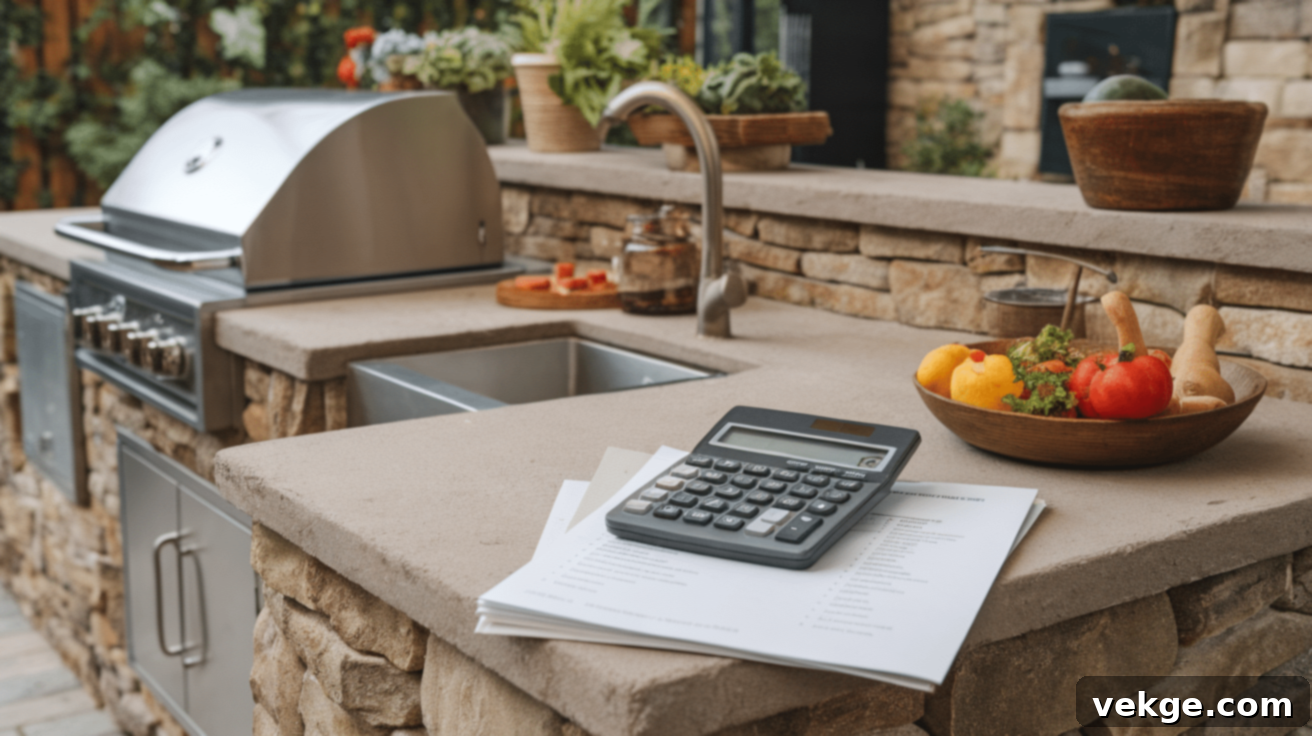
1. Comprehensive Cost Breakdown
When formulating your budget, consider the following key categories:
- Materials: Framework, countertops, finishing materials, flooring, and any roofing components.
- Appliances: Grill, outdoor refrigerator, sink, side burners, pizza oven, and other specialized equipment.
- Labor: If hiring contractors or specialists for design, construction, or utility hook-ups.
- Permits and Regulations: Check local municipality for required building permits for electrical, plumbing, and gas lines.
- Utilities: Running new gas, water, and electrical lines from your main house to the outdoor kitchen site.
- Site Preparation: Costs for leveling ground, laying a foundation, and ensuring proper drainage.
While a basic DIY outdoor kitchen might start in the range of $2,000 to $5,000, a moderately equipped professional installation can easily range from $8,000 to $20,000. High-end, custom-built kitchens can exceed $30,000.
2. Strategic Ways to Save Money Without Sacrificing Quality
Controlling costs doesn’t mean compromising on your dream. Here are effective strategies to help manage your budget:
- Opt for Concrete Blocks: Use concrete blocks instead of expensive custom stonework for the frame, which can then be finished with stucco or a thinner veneer layer.
- Choose Pre-Made Modular Components: Look for pre-fabricated outdoor kitchen kits or modular units, which are often less expensive and simplify construction.
- Embrace DIY for Non-Specialized Tasks: Tackle manageable tasks yourself, like basic framing, applying finishes, or painting. Always hire licensed professionals for gas, electrical, and plumbing work.
- Select Multi-Purpose Appliances: Choose a high-quality grill with versatile features like side burners instead of numerous specialized appliances.
- Phased Construction: Build your outdoor kitchen in stages, starting with essentials and adding features later as your budget allows.
- Smart Appliance Sourcing: Look for floor models, clearance sales, or last year’s models at appliance retailers.
- Utilize Existing Structures: Building against an existing patio wall or house exterior can save on framing materials and potentially simplify utility runs.
Selecting Durable Materials for Your Outdoor Kitchen
The longevity and performance of your outdoor kitchen depend heavily on the materials you choose. These components must withstand a constant barrage of elements – sun, rain, extreme temperatures, and humidity – in addition to the demands of cooking. Investing in high-quality, weather-resistant materials upfront will save you from costly repairs and replacements, ensuring your outdoor kitchen remains a beautiful and functional asset for years.
Choosing the Right Frame Material: The Foundation of Durability
The frame provides the skeletal structure and support. Its material choice is paramount for stability and durability:
- Wood Frames: Affordable and DIY-friendly (typically pressure-treated lumber or cedar), but require significant protection against moisture, rot, and insects.
- Metal Frames: Steel or aluminum frames offer superior strength, excellent longevity, and are fire-resistant. Stainless steel is highly resistant to rust, galvanized steel offers good resistance, and aluminum is lightweight and rust-proof.
- Concrete Block (CMU) Frames: Provide the ultimate in durability, fire resistance, and stability. They are virtually impervious to rot, insects, and severe weather. While heavier and requiring more time, a concrete block frame offers a rock-solid foundation.
Countertop Materials: Functionality Meets Aesthetics
Outdoor countertops must be resilient against food acids, hot pots, freezing temperatures, and UV exposure:
- Granite: A top choice for its natural beauty, excellent heat, and scratch resistance. Requires annual sealing.
- Concrete: Highly versatile and customizable in shape, color, and finish. Durable and relatively affordable, but requires regular sealing.
- Stainless Steel: Offers exceptional heat resistance, hygiene, and a sleek look. Can get hot in direct sunlight and show scratches.
- Porcelain Tile: Outdoor-rated porcelain tiles are highly durable, non-porous, and resistant to stains, scratches, and frost. Grout lines require more maintenance.
Flooring and Wall Materials: Defining Your Outdoor Space
The materials chosen for your outdoor kitchen’s flooring and walls contribute significantly to its safety, comfort, and visual appeal.
Flooring Materials:
Your outdoor kitchen floor needs to be durable, non-slip, and allow for proper drainage:
- Textured Concrete: An affordable and durable option, offering excellent slip resistance. Can be stamped or stained.
- Pavers: Available in concrete, brick, or natural stone, creating a classic look. They are permeable, allowing water to drain through.
- Outdoor-Rated Porcelain Tile: Extremely durable, non-slip, and low maintenance, offering a sophisticated finish.
Wall Materials (Finishes):
The exterior finish should complement your home’s architecture and withstand local climate conditions:
- Stone Veneer: Offers the luxurious look of natural stone at a fraction of the cost and weight, providing excellent durability.
- Brick: A timeless and highly durable option, weather-resistant and requires minimal maintenance.
- Stucco: A cost-effective finish that provides a smooth, seamless, and modern look. Resistant to fire and can be tinted.
- Metal Panels: For a contemporary or industrial aesthetic, offering unique visual interest and excellent weather resistance.
When making your final material selections, always consider your local climate (extreme heat, freezing winters, heavy rainfall, or salty air) to ensure maximum durability and performance for your outdoor kitchen.
Step-by-Step Guide to Building Your Outdoor Kitchen
Embarking on the construction of your outdoor kitchen can feel like a daunting task, but by breaking it down into manageable, logical steps, the process becomes much clearer and more achievable. This guide provides an efficient roadmap, ensuring you tackle each phase with confidence and precision, leading to a professional and lasting result.
Step 1: Meticulous Site Preparation – Laying the Groundwork
The foundation of a great outdoor kitchen begins with thorough site preparation:
- Location Finalization: Reconfirm your chosen location, ensuring it aligns with your design plan, utility access, desired views, and sun/shade patterns.
- Clear the Area: Remove any existing vegetation or debris.
- Foundation Installation: A reinforced concrete slab (4-6 inches thick) is highly recommended for permanent structures. Alternatively, a well-prepared base of compacted gravel and sand with heavy-duty pavers can work for lighter setups. Ensure proper slope for drainage.
- Leveling: Use a long level to ensure your foundation is perfectly flat before proceeding.
Step 2: Constructing the Frame – The Structural Backbone
With your site prepared, the next step is to build the robust frame that will define the shape and support the weight of your kitchen components:
- Material Selection & Construction: Assemble your chosen frame material (wood, metal, or concrete block) according to your design plans. Use appropriate fasteners and protectants.
- Appliance Cutouts: Precisely measure and create openings within the frame for each built-in appliance.
- Secure to Foundation: Anchor the completed frame firmly to your concrete slab or foundation for maximum stability.
Step 3: Installing Utilities – The Lifelines of Your Kitchen
Before applying any exterior finishes, all necessary utility lines must be run and securely installed:
- Gas Lines: Always hire a licensed and certified professional for gas line installation. Ensure proper sizing and include an accessible shut-off valve.
- Water Lines: Run hot and cold water lines to your sink. Install shut-off valves and ensure a proper drain line is connected.
- Electrical Wiring: Install outdoor-rated conduits and wiring for your refrigerator, lighting, and outlets. All outlets must be Ground Fault Circuit Interrupter (GFCI) protected. Consider hiring a licensed electrician.
- Inspections: Arrange for all necessary municipal inspections for utility lines before covering them up.
Step 4: Adding Surfaces and Appliances – Bringing the Kitchen to Life
With the frame and utilities in place, it’s time to add the visible elements:
- Sheathing and Finishes: Apply a weather-resistant cement board or exterior-grade sheathing, then apply your chosen exterior finish (stone veneer, stucco, tile, etc.).
- Countertop Installation: Carefully install your chosen countertop material. Ensure it is perfectly level, securely attached, and sealed (for porous materials).
- Appliance Installation: Carefully insert your built-in grill, sink, outdoor refrigerator, and other appliances into their designated cutouts. Connect them to their respective utility lines following manufacturer instructions.
- Cabinetry and Storage: Install weather-resistant outdoor cabinets and drawers, securing them with outdoor-rated fasteners.
Step 5: Finishing Touches and Final Inspection – The Details Matter
The final steps transform your functional structure into a welcoming outdoor kitchen:
- Lighting: Install task lighting over cooking areas and ambient lighting for evening use.
- Functional Accessories: Mount practical additions like tool hooks and towel bars.
- Sealing and Protection: Apply final sealants to all surfaces as needed to protect against the elements.
- Testing: Thoroughly test all appliances, utility connections, and lighting to ensure everything functions correctly and safely.
- Establish Maintenance Routine: Understand the specific maintenance requirements for all your chosen materials and appliances.
Maintaining Your Outdoor Kitchen: Ensuring Longevity and Performance
An outdoor kitchen is a significant investment, and it requires regular care and attention to ensure it continues to function flawlessly and look its best for many years. Proper maintenance not only extends the lifespan of your appliances and materials but also protects your family’s health and safety. Establishing a routine cleaning and maintenance schedule is key to preserving the beauty and functionality of your outdoor culinary oasis.
Essential Tips for Cleaning and Caring for Your Outdoor Appliances
- Grill Cleaning: Clean your grill after each use by burning off food residue and brushing the grates when cool. Perform a deep clean monthly or seasonally.
- Stainless Steel Surfaces: Wipe down regularly with mild soap and water, wiping in the direction of the grain. Dry completely to prevent water spots and corrosion.
- Appliance Covers: Invest in high-quality, custom-fit covers for all individual appliances and the entire kitchen structure to protect against UV rays, rain, and debris.
- Outdoor Refrigerator/Cooler: Empty and clean the interior regularly. Check and clean door seals.
- Outdoor Sink: Clean frequently with mild soap and water to prevent mineral buildup.
General Care and Structural Longevity Tips
- Countertop Sealing: For porous materials like granite and concrete, reapply a high-quality, outdoor-grade sealant annually to protect against stains and moisture.
- Caulking Inspection: Annually inspect all caulking around sinks and seams. Reapply any cracked or missing caulk to prevent water intrusion.
- Overhead Protection: Consider adding a permanent roof, pergola, or retractable awning for superior protection from sun and rain.
- Structural Integrity Check: Annually inspect the frame for any signs of water damage, rust, or insect activity to prevent major, costly repairs.
Seasonal Maintenance: Preparing for Changing Weather
- Winterization (Cold Climates): Before the first frost, shut off and thoroughly drain all water lines. Clean all appliances, dry them, and cover securely.
- Spring De-winterization (Cold Climates): In early spring, remove covers, inspect for winter damage, and test all appliances and utilities before the cooking season begins.
- Yearly Professional Checks: Schedule an annual professional inspection for your gas lines and electrical connections for safety and peace of mind.
Smart Savings: Cost-Effective Strategies for Building Your Outdoor Kitchen
Building an outdoor kitchen doesn’t have to break the bank. With smart planning, strategic choices, and a willingness to tackle certain tasks yourself, you can create a beautiful and functional outdoor cooking space that fits your budget. The key is to prioritize what matters most and identify areas where you can save without compromising on essential quality or safety.
1. Budget-Friendly Design Ideas: Smart Choices from the Start
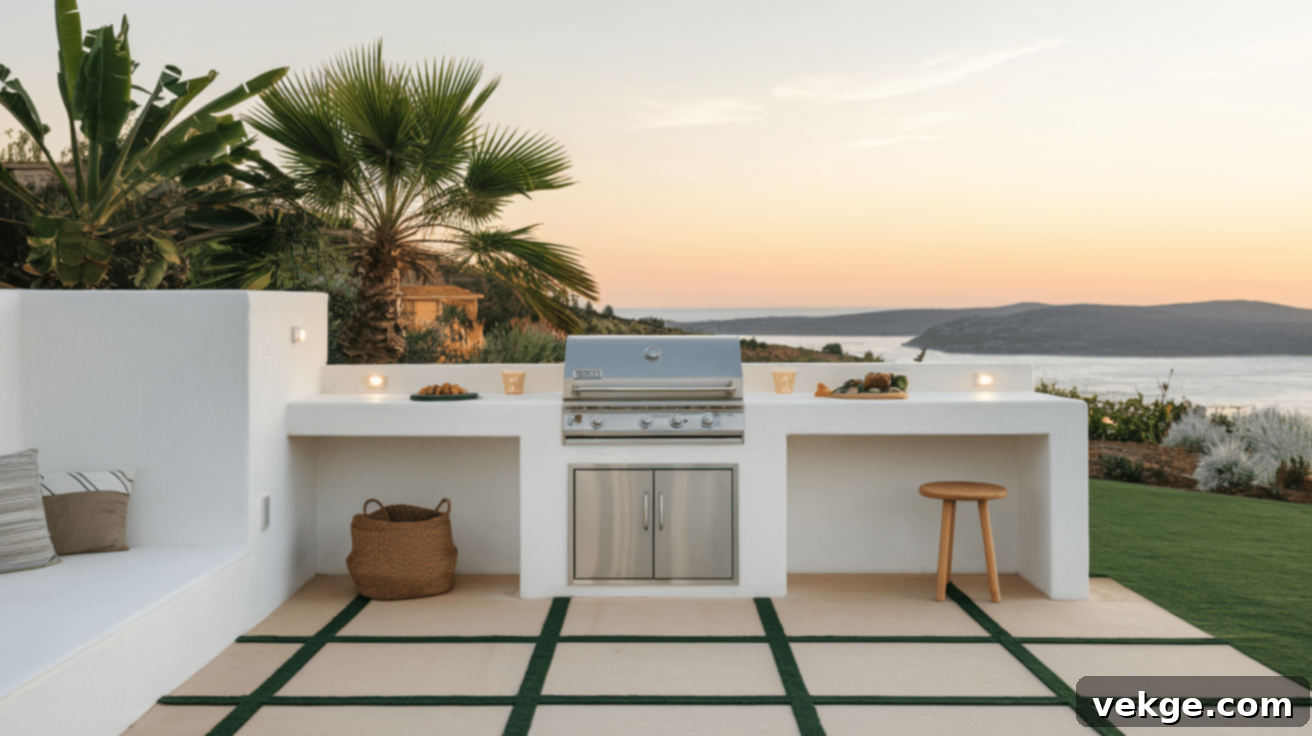
- Embrace Simplicity: Start with just the core essentials – a good quality grill and ample prep space. You can always expand later.
- Modular Construction: Opt for pre-fabricated or modular outdoor kitchen kits, which are often significantly less expensive than fully custom designs.
- Phased Approach: Build your outdoor kitchen in stages. Start with the “must-haves” and add features in subsequent years as your budget allows.
- Strategic Material Placement: Use premium materials for visible sections, but consider more economical, yet durable, alternatives for less visible areas.
2. DIY vs. Professional Construction: Balancing Skills and Savings
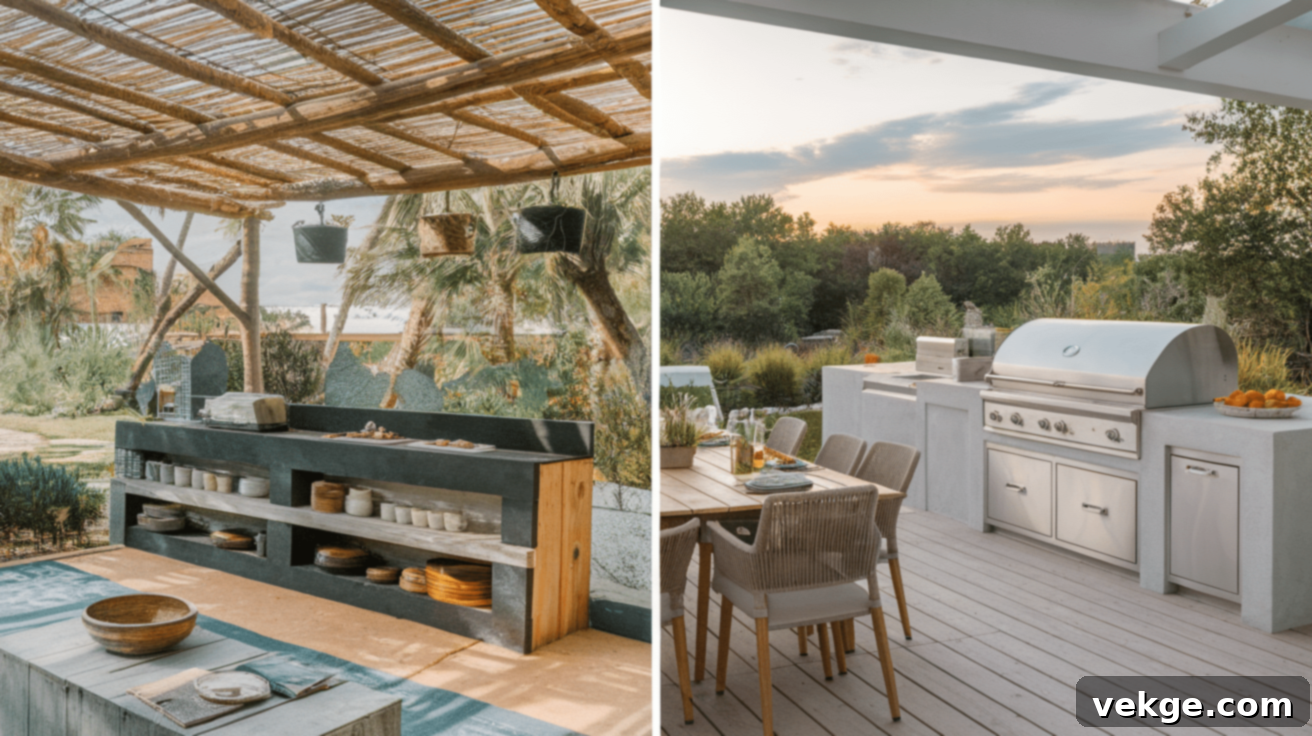
- Identify DIY Opportunities: Handling simpler, non-specialized tasks yourself (like basic framing or applying finishes) can lead to substantial savings on labor.
- Know When to Hire Professionals: For critical and safety-related elements, always hire licensed and insured professionals. This includes gas line installation, complex electrical wiring, and plumbing.
- The Hybrid Approach: Many homeowners find success by managing the overall project and tackling straightforward tasks while bringing in specialists for complex, technical aspects.
3. Sourcing Affordable Materials and Appliances: Smart Shopping

- Hunt for Deals: Look for end-of-season sales, holiday promotions, floor models, or open-box items at appliance retailers. Building supply auctions or online marketplaces can also offer discounts.
- Alternative Material Choices: Consider poured concrete, large format porcelain tiles, or outdoor-rated composites as more budget-friendly yet durable countertop alternatives to natural stone. Stucco or painted concrete blocks are often more economical than full stone veneer.
- Shop Off-Season: Outdoor living products often go on sale during the late fall and winter months.
Conclusion: Your Journey to the Perfect Outdoor Kitchen
Building an outdoor kitchen is an exciting and rewarding project that significantly enhances your home’s value, functionality, and your overall lifestyle. By now, you understand that success hinges on careful planning, thoughtful design, smart material selection, and diligent maintenance.
To embark on your outdoor kitchen journey:
- Define Your Vision: Clearly imagine how you’ll use the space and what features are essential.
- Plan Diligently: Create a realistic budget, choose an optimal layout, and select durable, climate-appropriate materials. Remember the importance of professional help for critical utility installations.
- Build with Quality: Whether DIY or professional, prioritize quality in key areas like your grill, countertops, and the structural integrity of the frame.
- Maintain for Longevity: Commit to a regular maintenance routine, including cleaning, sealing, and seasonal preparations, to protect your investment.
Even with a limited budget, a well-planned and executed outdoor cooking space can profoundly transform your outdoor living experience. It’s an investment in countless memorable moments with family and friends.
Ready to turn your outdoor kitchen dream into a reality? Begin sketching your ideal layout, research materials that align with your climate and aesthetic, and start gathering quotes. Your ultimate outdoor culinary oasis awaits!
