The Ultimate Guide to Choosing the Best Paint for Bathroom Cabinets That Last
Painting your bathroom cabinets can dramatically refresh your space, but choosing the right paint is crucial. I understand how frustrating it can be when a fresh coat of paint quickly succumbs to the challenging bathroom environment. High moisture levels, constant temperature changes, and daily wear and tear often lead to peeling, bubbling, and premature fading, making your beautiful work look old before its time.
Through years of hands-on experience and extensive testing across various renovation projects, I’ve identified the most effective paint solutions that truly stand up to bathroom conditions. This comprehensive guide will share my top recommendations for paints that not only resist moisture and maintain their pristine finish but also look fantastic for many years to come.
In this detailed review, you’ll discover everything you need to know:
- My Top Paint Picks: Expert-curated selections of durable, moisture-resistant paints perfect for bathroom cabinets.
- DIY Guide on How to Paint Bathroom Cabinets: Step-by-step instructions to help you achieve a professional, long-lasting finish on your own.
- Style and Inspiration Ideas: Creative color and design concepts to transform your bathroom into a stylish retreat.
Why Bathroom Conditions Demand Special Paint Choices
The bathroom is arguably the most challenging environment in your home for painted surfaces. Unlike other furniture, bathroom cabinets are constantly subjected to unique stressors that demand specialized paint formulations. Let’s delve into the main factors that make selecting paint for bathroom cabinets a distinct and critical decision:
1. High Moisture Levels
Imagine the steam from your daily hot showers engulfing every corner of your bathroom. This pervasive moisture doesn’t just dissipate; it settles onto every surface, including your cabinet doors and frames. This constant exposure to high humidity is far more intense than what typical interior furniture ever encounters.
Beyond the steam, consider the everyday splashes from hand-washing, face-washing, or even the occasional overflowing sink. These water droplets frequently land on lower cabinets and, without adequate ventilation, can sit on surfaces for extended periods. Most standard paints are not designed to withstand such prolonged wetness, leading rapidly to unsightly bubbling, peeling, and even the growth of mold and mildew within a matter of months.
2. Temperature Changes
Your bathroom undergoes significant temperature fluctuations throughout the day. A hot shower can quickly elevate the room’s temperature and humidity. Conversely, during colder seasons or when the bathroom is not in use, the space cools down rapidly. These rapid, dramatic shifts cause the cabinet materials – typically wood or engineered wood – to expand and contract.
Regular paints often lack the necessary flexibility to move with these material changes. This inflexibility results in the paint film cracking, flaking, and eventually delaminating from the surface. Over time, these relentless temperature cycles can cause severe damage to poorly chosen paints, compromising both the aesthetics and the protective barrier of your cabinets.
3. Daily Wear and Use
Bathroom cabinets are high-traffic items in any home. Family members open and close cabinet doors and drawers numerous times each day, often with wet hands or while rushing. Items are constantly pulled out and put back, leading to frequent contact and friction.
Water drips down cabinet fronts from wet hands reaching for towels, toiletries, or cleaning supplies. This constant interaction, combined with moisture, means that standard paint types wear down quickly. You’ll soon notice unsightly scratch marks, chips, and worn-down spots, particularly around handles and edges, diminishing the overall appearance of your bathroom.
4. Cleaning Needs
Maintaining a fresh and hygienic bathroom environment requires frequent cleaning. This means regularly wiping down surfaces to remove water spots, soap scum, and other residues. Given the damp conditions, mold and mildew are always a concern, necessitating more rigorous cleaning routines.
Many common bathroom cleaners contain strong chemicals and abrasive agents designed to tackle tough grime and disinfect surfaces. Standard paint finishes are simply not formulated to withstand these harsh cleaning products, which can dull the sheen, strip the color, or even damage the paint film itself. The ideal paint for bathroom cabinets must be robust enough to endure both persistent moisture and aggressive cleaning, all while retaining its beautiful finish and protective qualities.
Which is the Best Paint Type for Bathroom Cabinets?
Choosing the right type of paint is foundational to ensuring your bathroom cabinets can withstand their demanding environment. Each paint type offers distinct advantages in terms of durability, finish, and ease of application. Here’s a breakdown of the most effective options for bathroom cabinetry:
| Type of Paint | Features | Advantages | Best For |
|---|---|---|---|
| Acrylic Enamel Paint | Water-based, low fumes, easy cleanup | Quick drying, resistance to yellowing, excellent durability for a water-based option. | DIYers seeking an eco-friendly option with good durability, especially on previously painted surfaces. |
| Alkyd Paint | Oil-like finish, but water-based. Typically a hybrid or “waterborne alkyd.” | Smooth, hard finish; highly durable and resistant to brush marks, mimicking an oil-based paint without the harsh solvents. | High-traffic bathrooms needing exceptional durability and a professional, furniture-like finish. |
| Waterborne Alkyd Paint | A modern hybrid combining the best of oil and water-based paints. | Offers the excellent durability and smooth, hard finish of alkyd, with the easy cleanup, low odor, and quick drying of water-based paints. Emits fewer VOCs. | Cabinets requiring a factory-like finish that is both robust and easy to maintain, ideal for humid environments. |
| Chalk Paint | Matte, porous finish; requires a wax or polycrylic sealer for protection. | Provides a unique vintage, distressed, or shabby-chic look; often requires minimal prep work (no sanding/priming). | Decorative cabinets in low-traffic guest bathrooms where aesthetics outweigh extreme durability. Always seal thoroughly for moisture resistance. |
| Milk Paint | Natural ingredients, historically comes in powder form; creates a soft, matte finish. | Eco-friendly, non-toxic, easy to use; can create an authentic antique or chippy look; needs a topcoat for protection. | Vintage-style cabinets or eco-conscious projects in areas with controlled moisture. Requires a durable topcoat like clear polyurethane for bathroom use. |
| Oil-Based Enamel Paint | Traditional solvent-based paint with strong fumes and longer drying times. | Offers exceptionally high durability, a hard, smooth finish, and superior resistance to moisture, mold, and mildew. | Bathrooms with consistently high humidity levels or very heavy use where maximum protection is paramount, provided ventilation is excellent during application. |
| Lacquer Paint | A fast-drying, durable coating that produces a hard, glossy finish. Often spray-applied. | Extremely durable, scratch-resistant, and provides excellent moisture protection. Dries very quickly. | Cabinets requiring a high-end, factory-quality, super-smooth finish in high-humidity bathrooms. Best applied by professionals or with proper spray equipment and ventilation. |
| Epoxy Paint | A two-part paint system that cures to form a very hard, chemical-resistant coating. | Extremely durable, waterproof, highly resistant to moisture, chemicals, and abrasion. Forms an impenetrable barrier. | Bathrooms exposed to extremely high moisture, frequent spills, or heavy industrial-like use where ultimate protection is the priority (e.g., utility sinks, commercial bathrooms). |
When selecting from these types, consider the level of moisture in your bathroom, how much traffic the cabinets receive, and your aesthetic goals. For most DIYers aiming for a balance of durability and ease of use, waterborne alkyd or high-quality acrylic enamels are excellent starting points due to their low VOCs, quick drying times, and robust finish.
Best Paint Sheen for Bathroom Cabinets
The sheen, or gloss level, of your cabinet paint plays a significant role in both its appearance and its performance in a bathroom environment. A higher sheen generally translates to better moisture resistance and easier cleaning. Let me explain the top sheen options and why they might be the perfect choice for your space:
1. Semi-Gloss Finish
For the majority of bathroom cabinets, a semi-gloss finish offers the optimal blend of aesthetic appeal and functional durability. Its noticeably smooth, slightly reflective surface makes it incredibly simple to wipe away water spots, soap splashes, and general grime with just a damp cloth. This high cleanability is a major advantage in a bathroom setting.
Semi-gloss paint creates a bright, crisp look that complements modern and traditional bathroom designs alike. It reflects a good amount of light, making the space feel larger and more vibrant. You’ll find it requires minimal effort to keep these cabinets looking fresh and new, resisting moisture penetration effectively.
2. Satin Finish
A satin finish provides a softer, more subtle sheen compared to semi-gloss, offering a smooth, velvety look while still providing good moisture resistance. Its slightly less reflective surface is excellent at camouflaging minor imperfections or flaws in older or less-than-perfect cabinet surfaces, which can be a real benefit if your cabinets have some wear and tear.
Satin works wonderfully in bathrooms that don’t experience extremely heavy daily use, such as a guest bathroom or a powder room. While it’s still quite washable, a satin finish might require a bit more gentle cleaning than semi-gloss to maintain its elegant appearance without developing shine marks from scrubbing.
3. High-Gloss Finish
High-gloss paint forms the most robust and impenetrable barrier against moisture, making it exceptionally durable and waterproof. It’s also the easiest finish to clean—water beads up and wipes right off, making it ideal for the most demanding bathroom environments. However, its highly reflective surface can be a double-edged sword: it accentuates every single scratch, dent, and surface imperfection. This intense shine might also feel too stark or clinical for some bathroom aesthetics.
High gloss works best on perfectly smooth, meticulously prepared cabinet surfaces in busy family bathrooms or those where maximum durability and ease of cleaning are the absolute top priorities.
4. Avoid Flat or Matte Finish
I strongly advise against using flat or matte finishes on bathroom cabinets. These low-sheen options are inherently porous, meaning they tend to absorb moisture rather than repelling it. This makes them highly susceptible to staining from water spots, soap residue, and grime.
Furthermore, cleaning a flat or matte finish is a challenge; scrubbing can easily damage the delicate surface, leading to burnishing or discoloration. Save these sheens for walls in less humid rooms or ceilings where durability and washability are not primary concerns.
Top Paint Shades for Bathroom Cabinets I Love
After considering paint types and sheens, the next exciting step is choosing the right color! Here are my top paint recommendations, known for their performance in challenging bathroom conditions and their beautiful finishes, including popular shades that can transform your space.
1. KILZ Tribute Interior Satin Paint
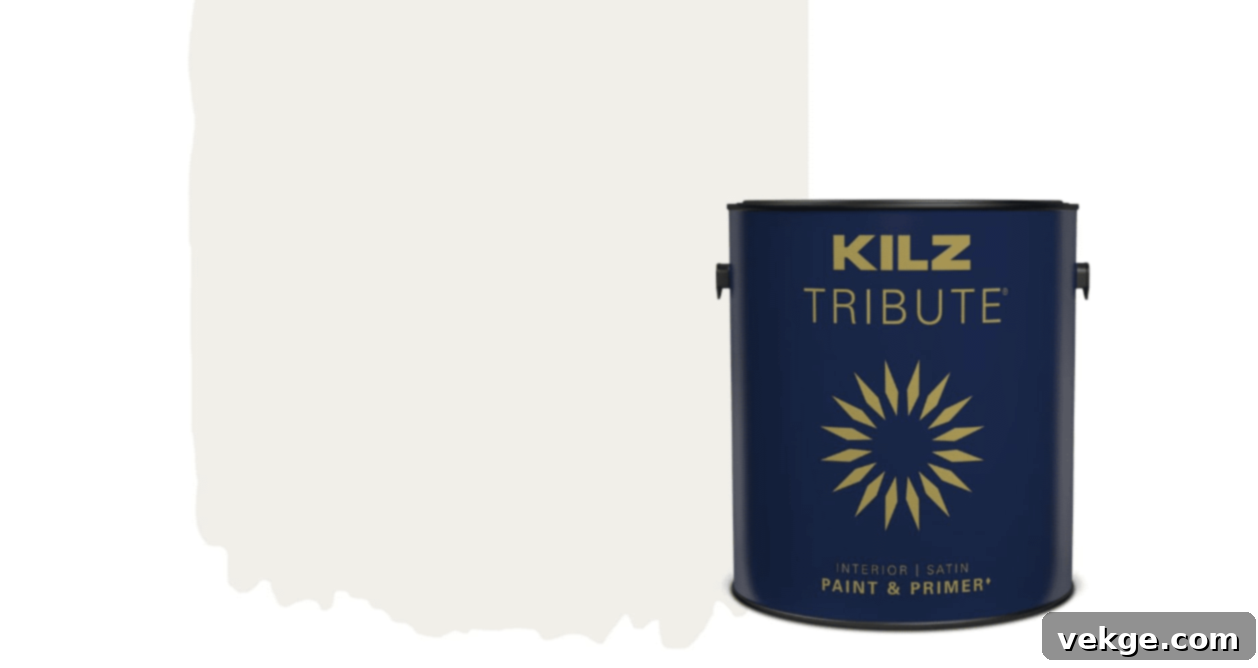
KILZ Tribute offers a fantastic combination of paint and primer in one, making your DIY project simpler and more efficient. Its low-VOC formula is a huge plus for interior spaces, especially bathrooms, and it’s specifically engineered to resist mildew, a common issue in humid environments. This paint provides excellent coverage and a durable satin finish that stands up well to daily use and moisture.
- Paint Type: Interior satin paint with built-in primer.
- Paint Finish: Satin, providing a smooth, subtle sheen that’s easy to clean.
- Surface Material Use: Highly versatile for wood, laminate, and previously painted surfaces, ensuring excellent adhesion.
- Paint Features: Low-VOC for healthier indoor air quality, strong mildew-resistant properties, and excellent durability against wear and tear.
- DIY Friendly?: Absolutely, its smooth application and quick-drying nature make it very approachable for DIY enthusiasts.
2. Farrow & Ball Modern Eggshell Paint
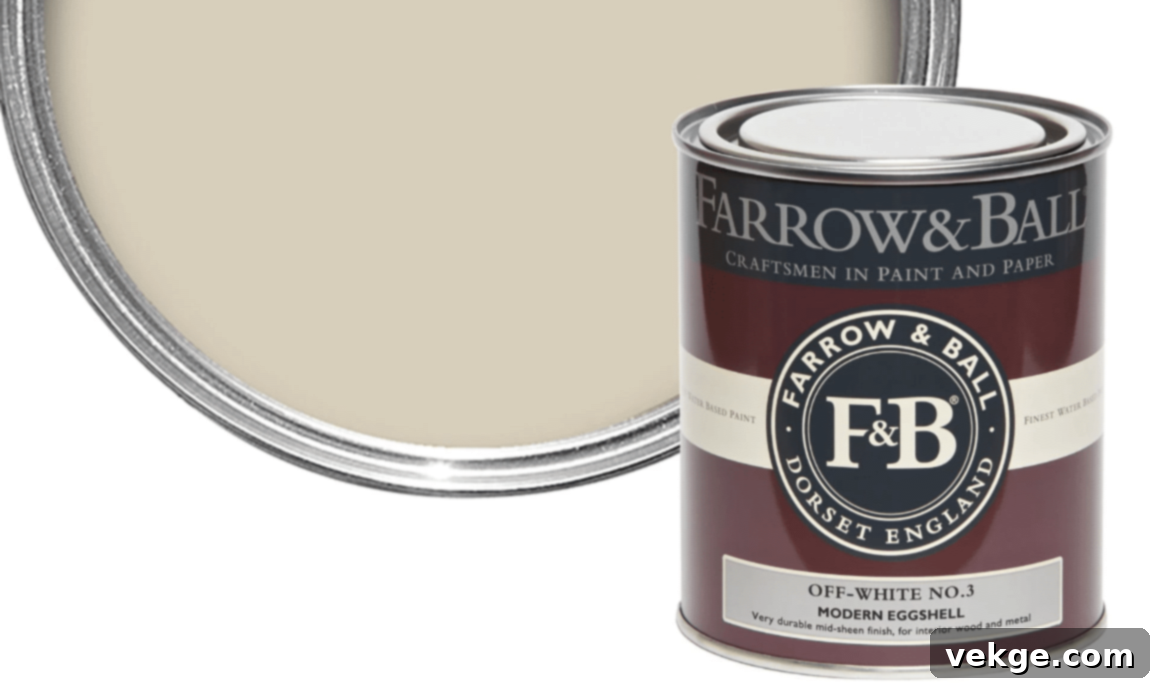
For those seeking a premium finish with exceptional durability, Farrow & Ball Modern Eggshell is an outstanding choice. It delivers a soft, elegant look that is remarkably tough and water-resistant, perfectly suited for the demands of a busy bathroom. Its unique formulation provides a beautiful depth of color that truly transforms cabinets.
- Paint Type: Durable eggshell interior paint, specifically formulated for high-traffic areas.
- Paint Finish: Soft eggshell with a subtle, low-sheen appearance that exudes sophistication.
- Surface Material Use: Ideal for wood and cabinets, especially in areas that require high durability.
- Paint Features: Known for its highly durable finish, excellent water resistance, and ease of cleaning, ensuring longevity.
- DIY Friendly?: Yes, it offers a smooth application with impressive coverage, making the painting process rewarding.
3. Behr Premium Plus Ultra Satin Enamel
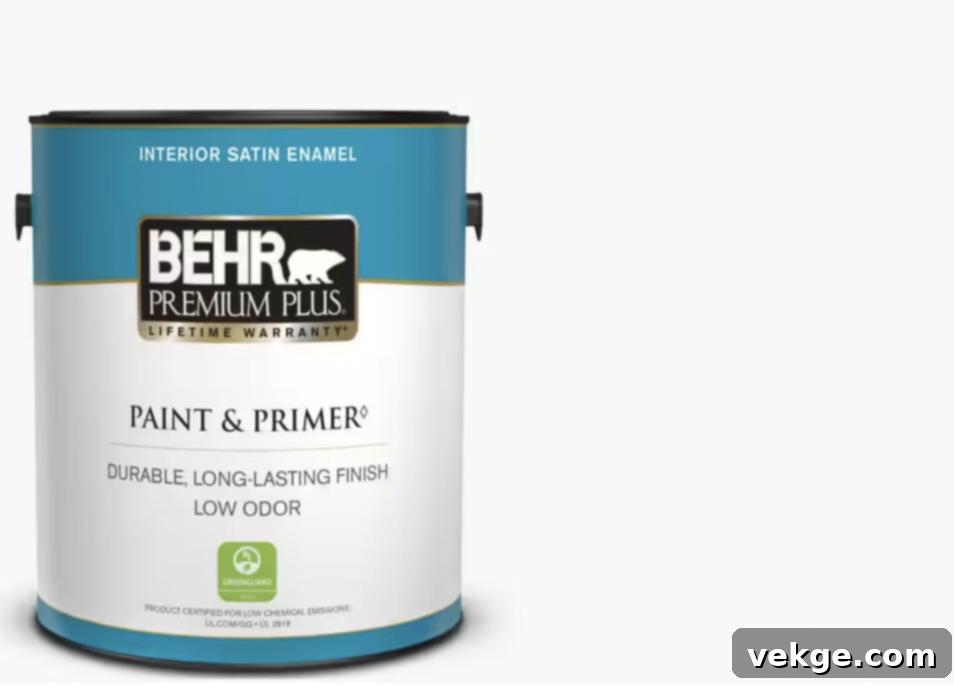
Behr Premium Plus Ultra is a favorite for its reliable performance and value. This paint and primer in one offers superior coverage and is formulated with mold- and mildew-resistant properties, crucial for bathroom environments. Its satin enamel finish is both attractive and highly practical, providing an easy-to-clean surface that withstands daily splashes and grime.
- Paint Type: Interior satin enamel, combining paint and primer.
- Paint Finish: Satin, offering a smooth, elegant sheen that is neither too glossy nor too flat.
- Surface Material Use: Excellent adhesion to wood, drywall, and cabinets, making it a versatile choice for renovations.
- Paint Features: Strong mold- and mildew-resistant formula, excellent coverage saving time and coats, and low odor for a more pleasant painting experience.
- DIY Friendly?: Highly, it provides even coverage and is renowned for its easy cleanup, simplifying your project.
4. Benjamin Moore Advance Interior Satin Paint
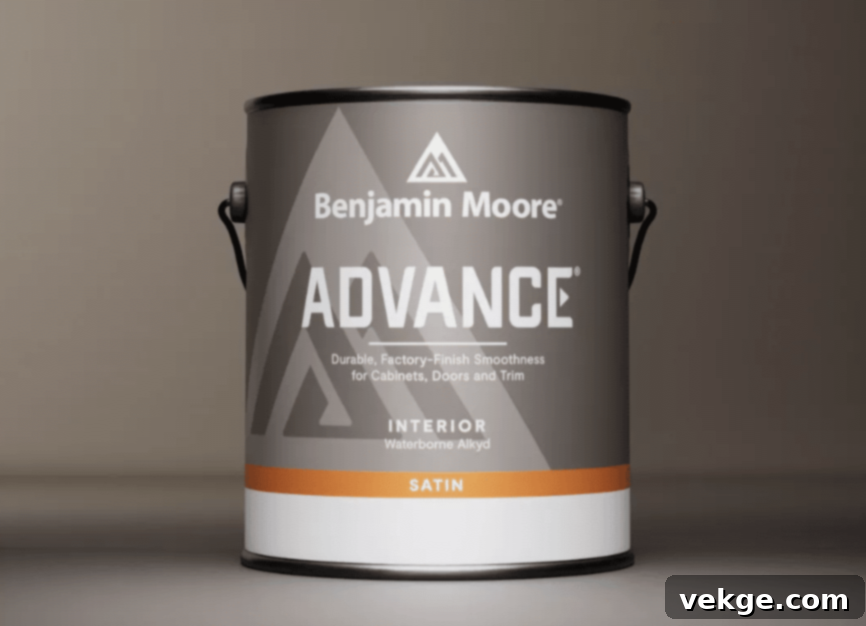
Benjamin Moore Advance is a premium waterborne alkyd paint that truly delivers a furniture-like finish. It’s specifically designed to provide the performance and durability of traditional oil-based paints but with the easy cleanup and low VOCs of a water-based formula. Its exceptional stain and water resistance make it an ideal candidate for high-humidity areas like bathrooms, offering a smooth, rich luster.
- Paint Type: Interior satin waterborne alkyd, a sophisticated hybrid formula.
- Paint Finish: Satin, characterized by a smooth, rich luster that mimics an oil-based finish.
- Surface Material Use: Perfect for wood, metal, and cabinetry where a hard, durable finish is desired.
- Paint Features: Outstanding stain-resistant and water-resistant properties, coupled with low-VOC content for environmental friendliness.
- DIY Friendly?: Yes, its self-leveling properties ensure a smooth, professional-looking application, even for DIYers.
5. Valspar Cabinet Enamel
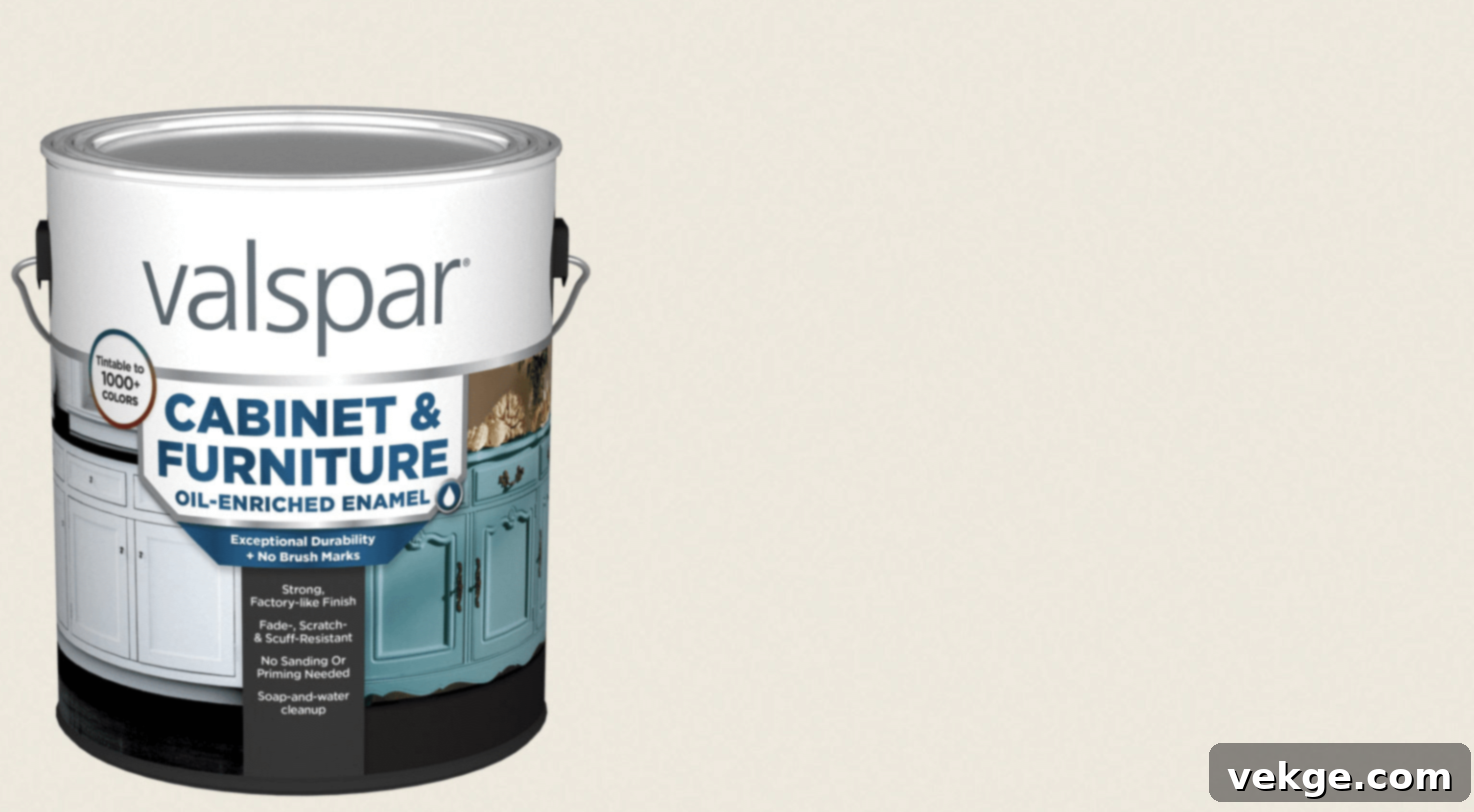
Valspar Cabinet Enamel is specifically engineered for cabinets, offering a self-leveling formula that helps you achieve a beautifully smooth finish without visible brush marks. Its tough, durable qualities make it an excellent choice for bathroom cabinets, as it stands up robustly against moisture and frequent use. Plus, the built-in primer saves you an extra step.
- Paint Type: Dedicated cabinet enamel paint, formulated for hard-wearing surfaces.
- Paint Finish: Semi-gloss, providing a durable, hard finish that is easy to clean and maintains its sheen.
- Surface Material Use: Optimized for cabinets, wood, and laminate, ensuring strong adhesion and lasting results.
- Paint Features: Remarkable self-leveling capabilities for a flawless appearance, superior moisture-resistance, and excellent adhesion to various substrates.
- DIY Friendly?: Highly, as no separate primer is typically required, and it’s designed for easy, smooth application.
6. Sherwin-Williams ProClassic Interior Waterbased Acrylic-Alkyd
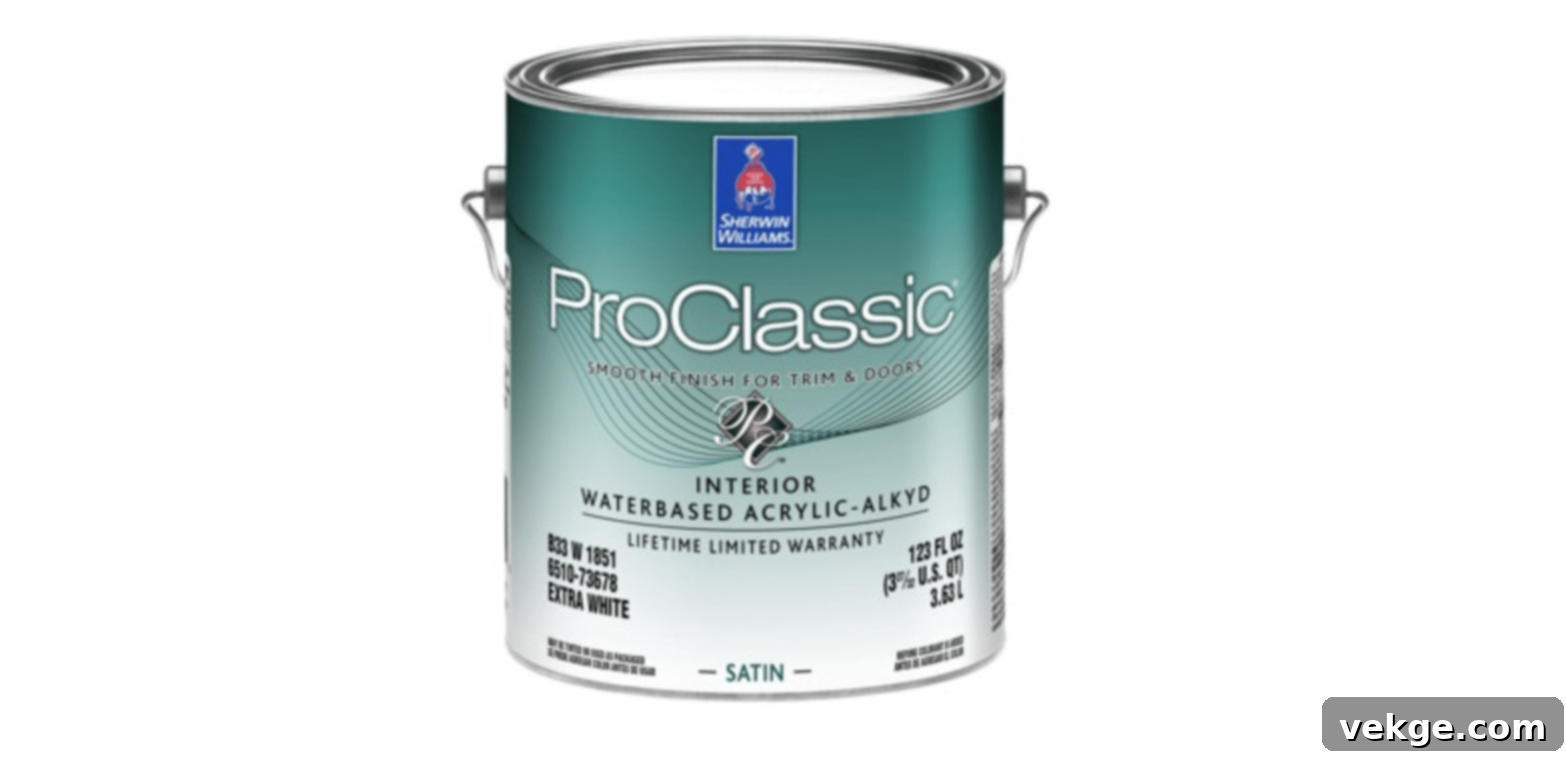
Another excellent waterborne alkyd option, Sherwin-Williams ProClassic is renowned for its durability and ability to produce a very smooth, hard finish. It’s a non-yellowing formula, which is critical for maintaining light colors over time, especially in high-moisture environments. It offers the flow and leveling of an oil-based paint with the convenience of water-based cleanup.
- Paint Type: High-quality water-based acrylic-alkyd enamel, a hybrid for best performance.
- Paint Finish: Available in satin or semi-gloss, allowing you to choose the perfect polished look for your cabinets.
- Surface Material Use: Excellent for wood, trim, and cabinets, delivering a fine, professional appearance.
- Paint Features: Non-yellowing formula ensures colors stay true, exceptional durability, and specifically suited for high-humidity areas like bathrooms.
- DIY Friendly?: Yes, it provides a smooth, even application and is easy to clean up, making it accessible for home projects.
7. HGTV Home by Sherwin-Williams Showcase Interior Paint
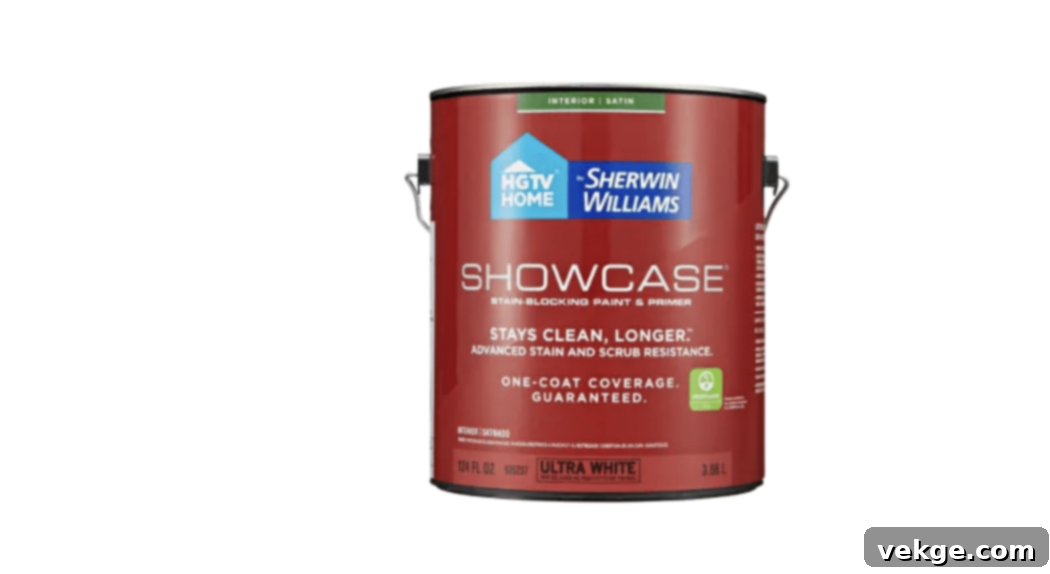
The HGTV Home by Sherwin-Williams Showcase line offers a user-friendly paint-and-primer-in-one solution that’s perfect for a quick yet durable cabinet makeover. Its smooth, washable, and highly durable finish can stand up to the rigors of a bathroom, offering excellent coverage and mildew resistance. With a wide array of colors, it helps achieve any desired bathroom style.
- Paint Type: Interior latex paint with integrated primer.
- Paint Finish: Satin, providing a durable and washable surface ideal for cabinets.
- Surface Material Use: Versatile for wood, drywall, and cabinets, offering strong adhesion.
- Paint Features: Provides excellent coverage, is highly stain-resistant, and boasts robust mildew-resistant properties for humid spaces.
- DIY Friendly?: Very good for DIY projects due to its low splatter, smooth application, and forgiving nature.
8. Benjamin Moore Aura Bath and Spa Paint
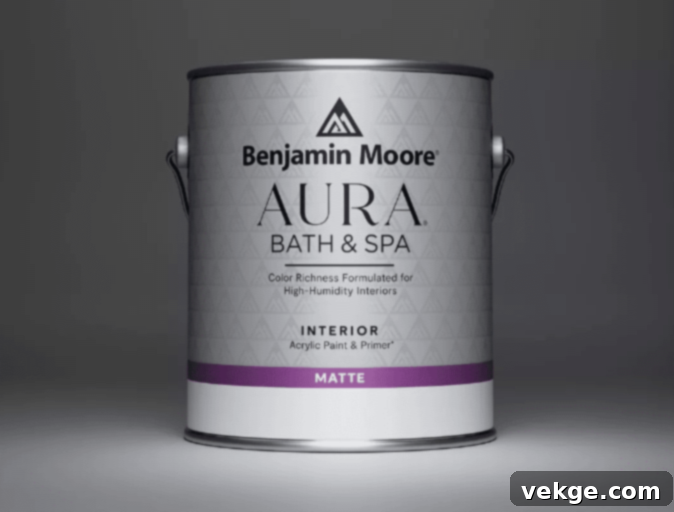
Benjamin Moore Aura Bath and Spa is uniquely formulated specifically for high-humidity environments, making it a stellar choice for bathroom cabinets. While often used for walls, its advanced technology provides exceptional mildew and moisture resistance, even in a matte or eggshell finish. This allows for a more sophisticated, low-sheen look without compromising on durability in the wettest conditions.
- Paint Type: Premium interior paint specifically designed for high-humidity environments.
- Paint Finish: Available in Matte or Eggshell, offering a soft, velvety look unlike typical high-sheen bathroom paints.
- Surface Material Use: Suitable for wood, drywall, and cabinets, providing consistent, high-performance coverage.
- Paint Features: Exceptionally mildew-resistant and moisture-resistant, combined with very low odor for comfort during and after application.
- DIY Friendly?: Yes, it offers high coverage and often requires minimal prep due to its excellent adhesion properties.
9. Krylon Fusion All-In-One Spray Paint
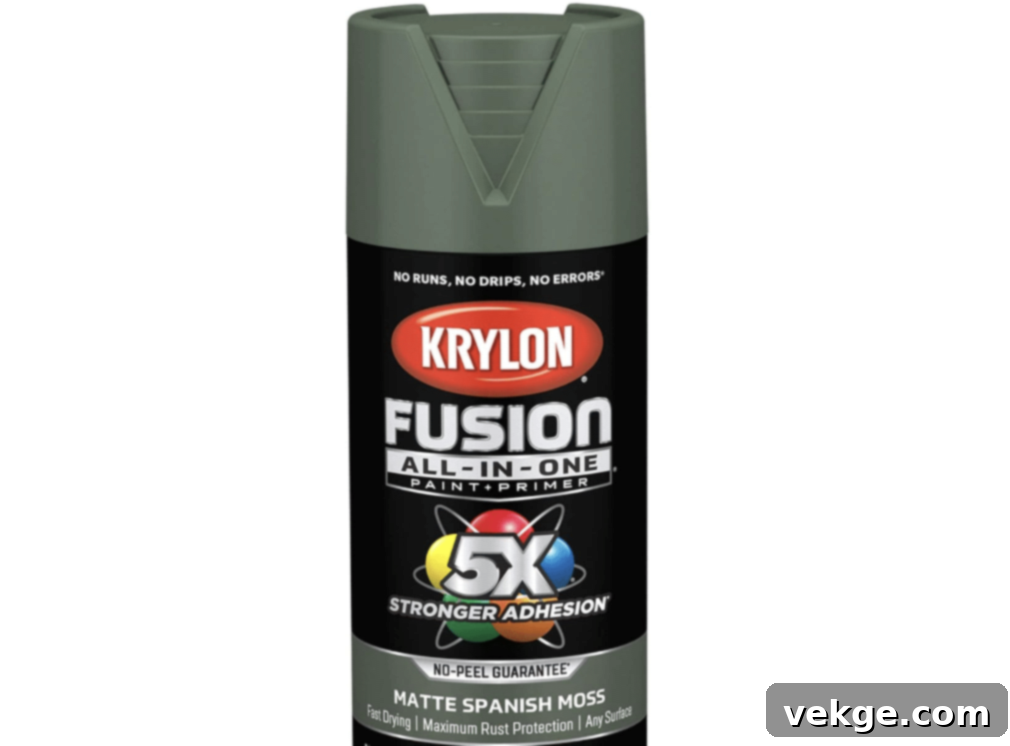
For quick cabinet makeovers or touching up smaller bathroom cabinet elements, Krylon Fusion All-In-One Spray Paint is an invaluable tool. It’s designed to bond to most surfaces without the need for sanding or priming, drastically cutting down prep time. Its durable finish resists moisture and offers a fast-drying solution, perfect for refreshing cabinet doors or hardware with ease.
- Paint Type: Convenient all-in-one spray paint, combining adhesion and finish.
- Paint Finish: Available in various finishes like satin or gloss, depending on your aesthetic preference.
- Surface Material Use: Exceptionally versatile, bonding effectively to wood, metal, plastic, and laminate surfaces.
- Paint Features: Requires no sanding or priming, offers strong moisture-resistance, and is incredibly quick-drying for fast project completion.
- DIY Friendly?: Absolutely, it’s ideal for quick touch-ups, small makeovers, and refreshing cabinet hardware with minimal effort.
10. Magnolia Home by Joanna Gaines Trim and Cabinetry Paint
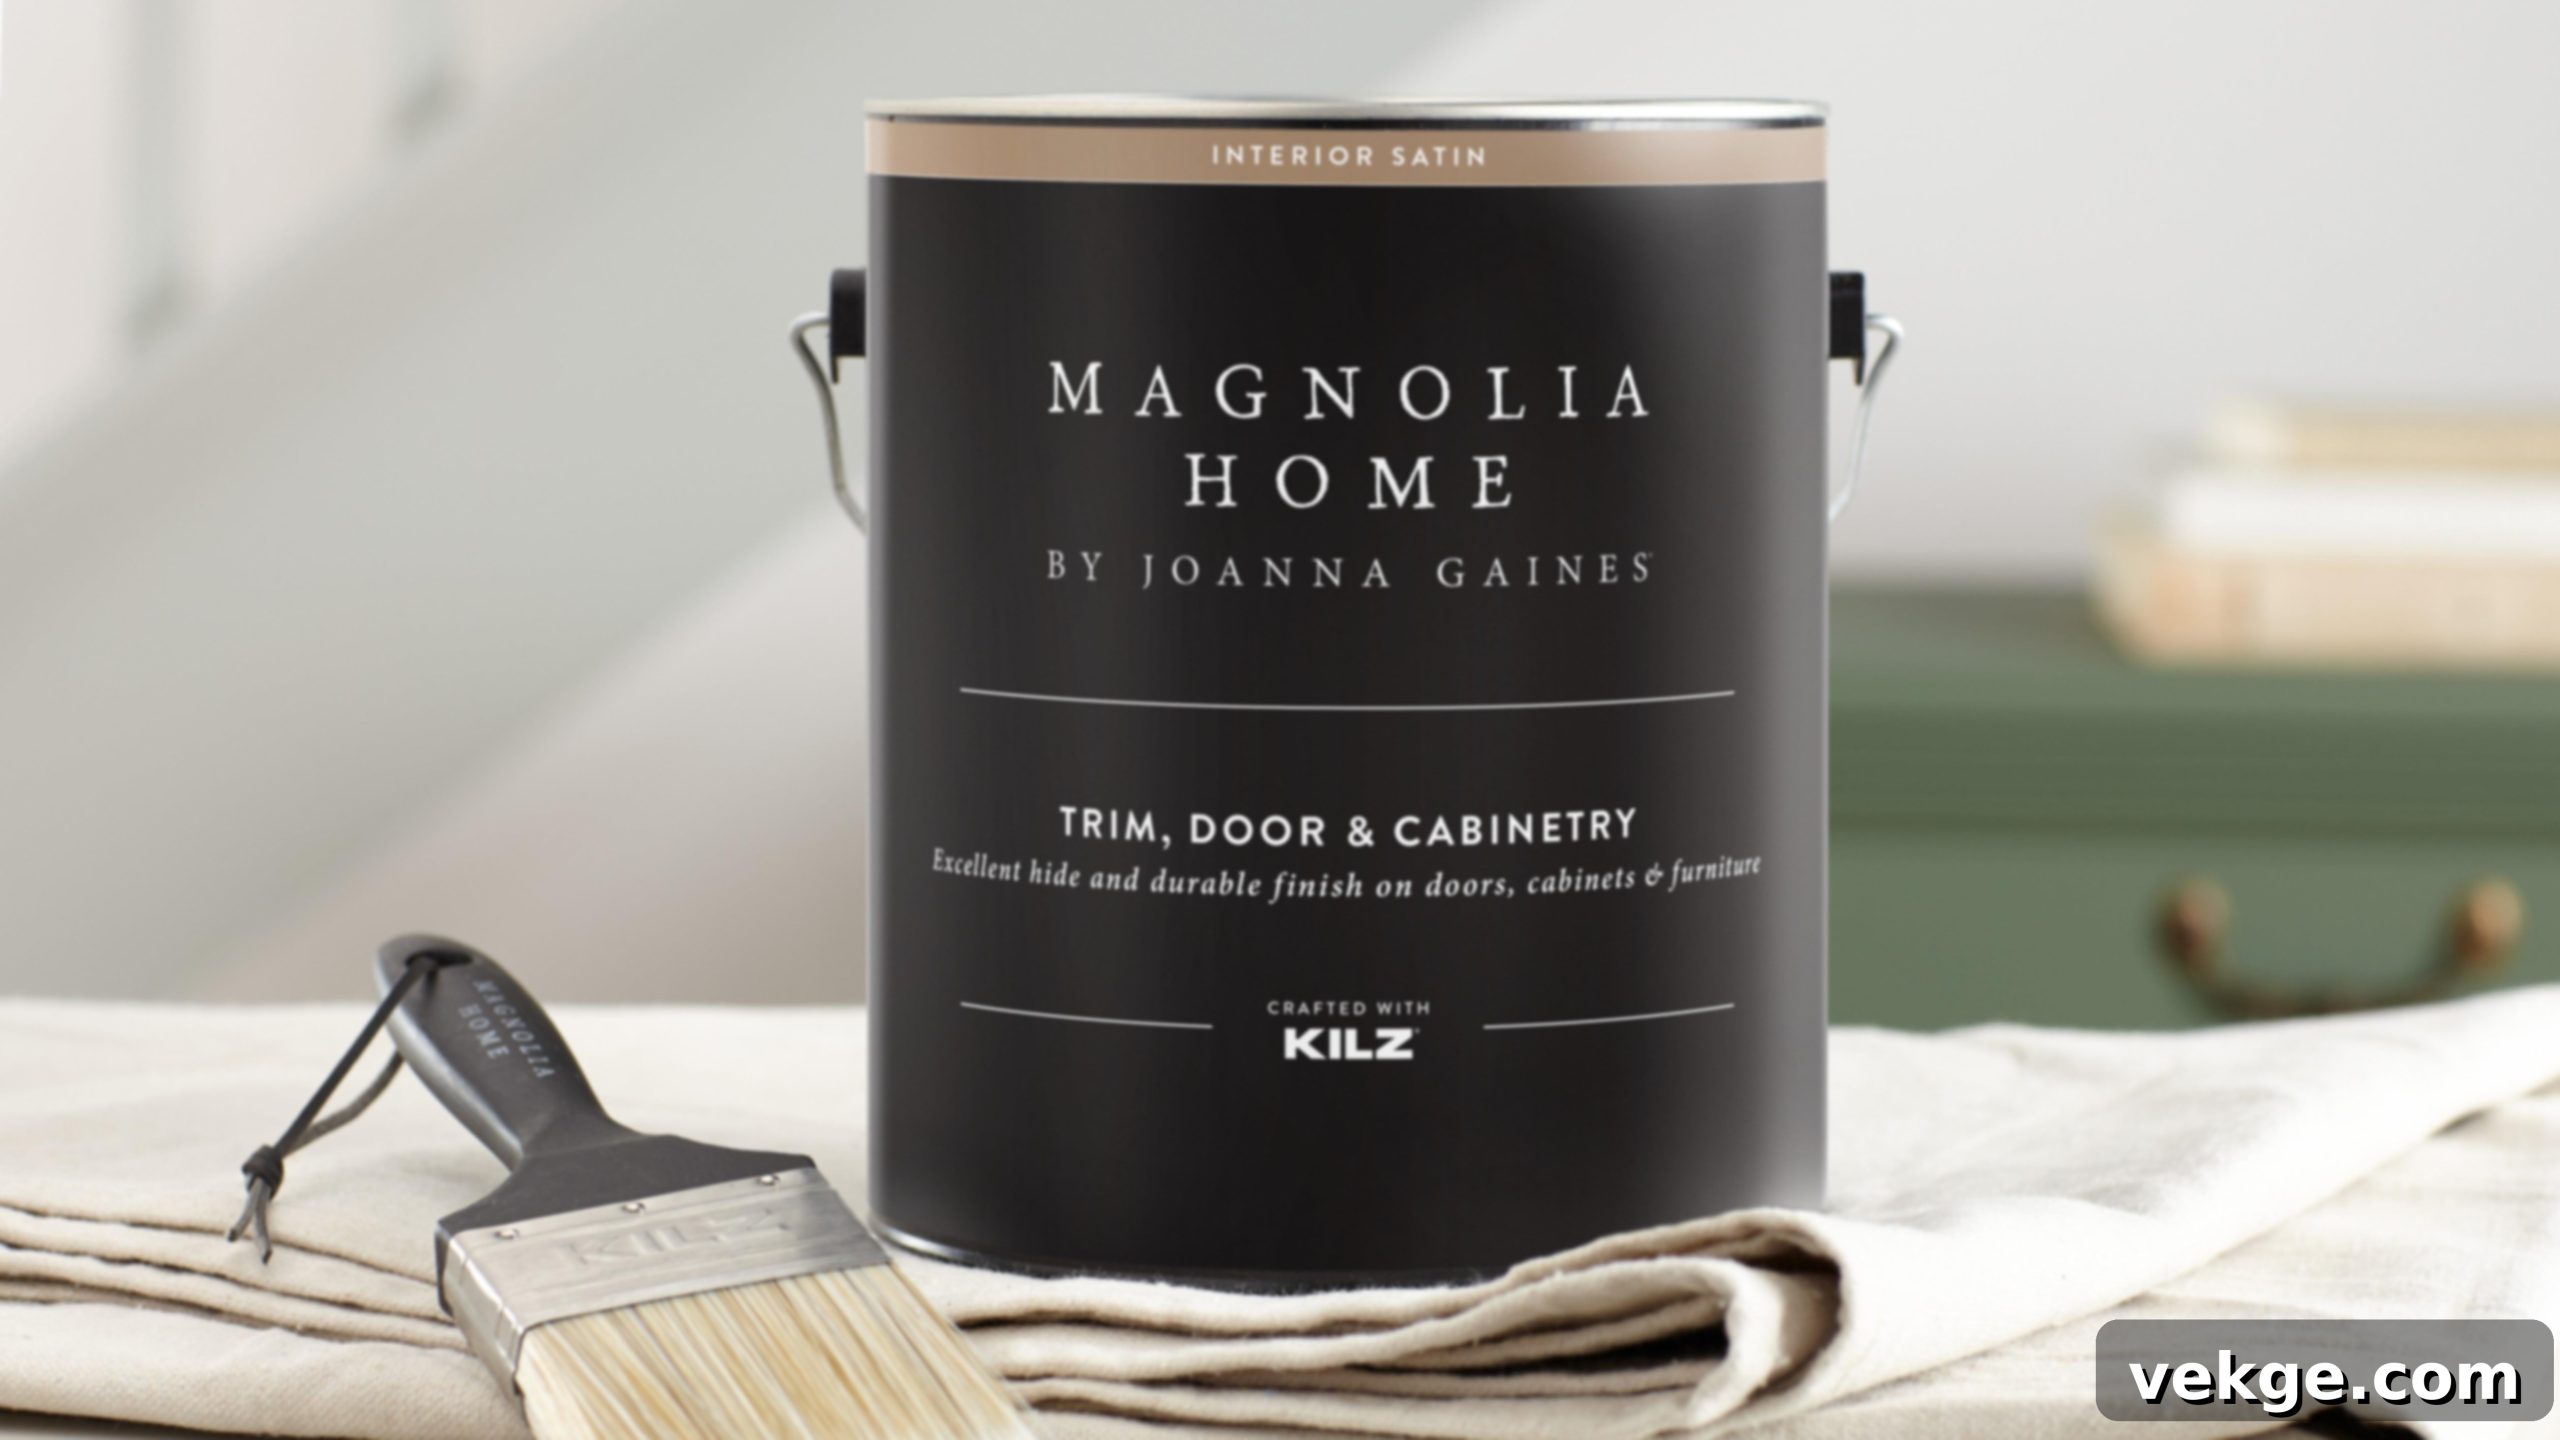
Magnolia Home by Joanna Gaines offers a beautiful, low-luster finish specifically formulated for cabinetry and trim. This paint provides excellent durability and stain resistance, making it suitable for bathroom environments where both aesthetics and practicality are important. It delivers a soft, elegant look that perfectly complements the modern farmhouse or classic design styles.
- Paint Type: Premium interior cabinetry and trim paint, designed for hard-wearing surfaces.
- Paint Finish: Low-luster, creating a soft, elegant look that hides minor imperfections well.
- Surface Material Use: Perfectly suited for wood, cabinets, and trim, offering a smooth, professional result.
- Paint Features: Excellent stain-resistant properties, high durability against everyday use, and is easy to clean.
- DIY Friendly?: Yes, its smooth application makes it suitable for all DIY levels, ensuring a beautiful, lasting finish.
DIY Guide: How to Paint Bathroom Cabinets
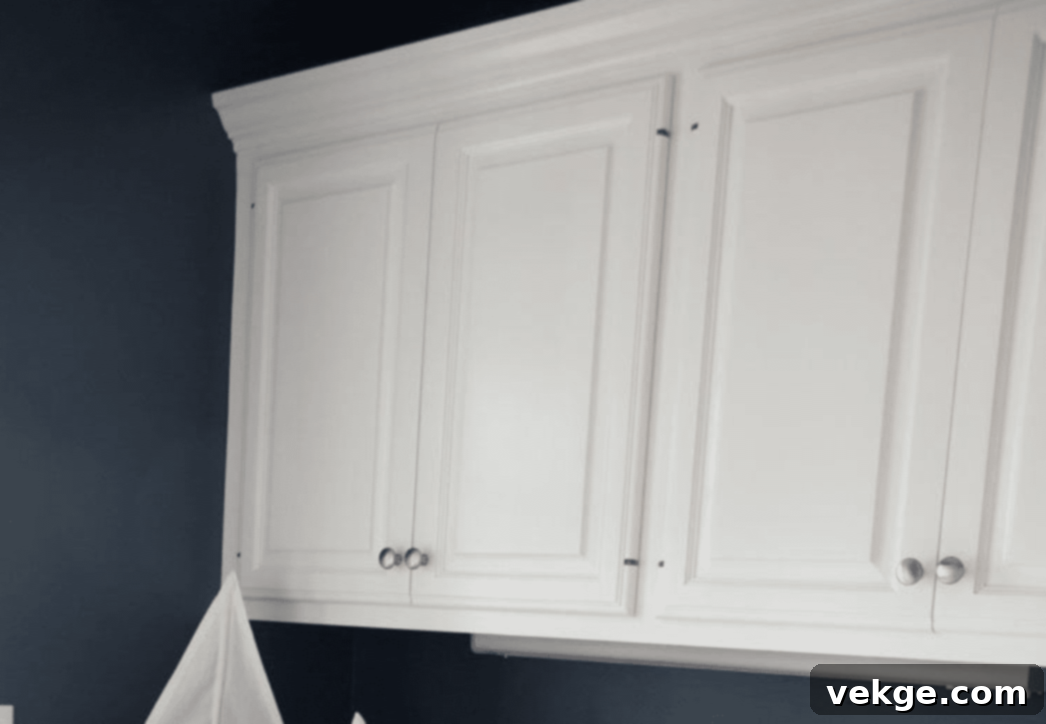
Transforming your bathroom cabinets with a fresh coat of paint is a rewarding DIY project that can significantly update your space. Achieving a durable, professional-looking finish requires careful preparation and precise execution. Follow this step-by-step guide for successful results.
Tools and Materials Required
Before you begin, gather all necessary tools and materials to ensure a smooth, uninterrupted painting process.
| Tools & Materials | Purpose |
|---|---|
| Microfiber Cloth | Wiping down cabinets for initial cleaning and dust removal. |
| Vinegar-Water Solution or Degreaser | Mild cleaning solution for grease, grime, and oils; a dedicated degreaser is even better. |
| Scotch-Brite Hand Pad / 120-180 Grit Sandpaper | Lightly scuffing the surface for improved primer and paint adhesion. |
| Painter’s Tape | Masking off areas you don’t want to paint, like walls and inner cabinet edges. |
| Primer (Stain-blocking, High-Adhesion) | Creating a strong, uniform base for the paint to adhere, especially crucial for cabinets. |
| High-Quality Paint (Acrylic Enamel, Waterborne Alkyd, etc.) | Your chosen finish coats for durability, moisture resistance, and aesthetic appeal. |
| Paint Brush (3″ angled, high-quality synthetic) | Applying paint evenly in corners, edges, and detailed areas. |
| Foam Roller or Paint Sprayer | Optional: For quicker, smoother application on flat surfaces (roller) or a factory-like finish (sprayer). |
| Paint Tray | Holding paint for easy access and even loading of brushes/rollers. |
| Drop Cloths or Plastic Sheeting | Protecting floors, countertops, and surrounding areas from paint splatters and dust. |
| Dust Mask/Respirator | Protecting from sanding dust and paint fumes, especially with sprayers or alkyd paints. |
| Screwdriver/Drill | Removing cabinet hardware and doors. |
| Plastic Bags and Labels | Organizing hardware for easy reassembly. |
Step-by-Step Instructions for Painting Bathroom Cabinets
1. Remove Cabinet Doors and Clean Thoroughly
- Begin by carefully removing all cabinet doors, drawer fronts, and hardware (handles, hinges). Use a screwdriver or drill, keeping screws and hinges organized in labeled plastic bags to simplify reassembly. Take pictures if needed.
- Lay all components on a protected surface (e.g., sawhorses with a drop cloth).
- Clean all cabinet surfaces (boxes, doors, drawers) meticulously. Use a microfiber cloth dampened in a vinegar-water solution (1:1 ratio) or, for better results, a dedicated degreasing cleaner to remove all traces of dust, dirt, soap scum, and especially built-up oils and grease. Rinse with clean water and allow to dry completely.
2. Lightly Scuff the Surface
Using a Scotch-Brite hand pad or fine-grit sandpaper (120-180 grit), gently scuff all surfaces you intend to paint. This step is critical as it creates a subtle texture, or “tooth,” that allows the primer and subsequent paint layers to adhere much better. Avoid aggressive sanding that might damage the cabinet’s structure or veneer. The goal is to dull the existing finish, not remove it entirely. After scuffing, thoroughly wipe away all dust with a tack cloth or a damp microfiber cloth, then let it dry.
3. Apply Primer
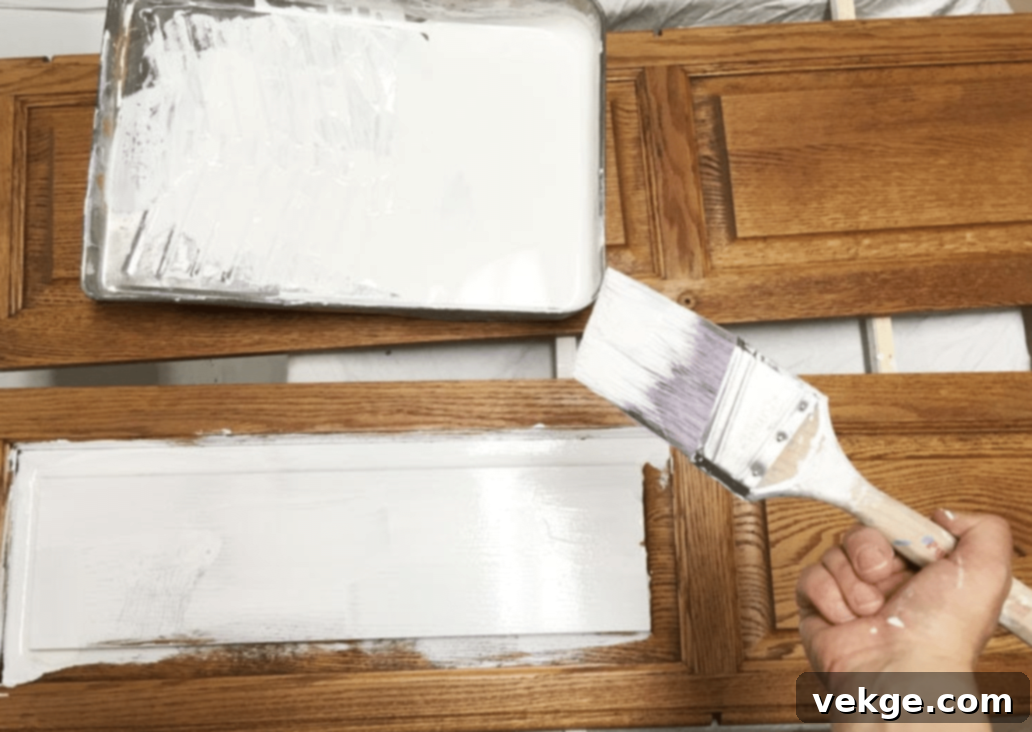
- Apply two thin, even coats of a high-quality, stain-blocking, and high-adhesion primer (like a water-based alkyd primer or shellac-based primer) to all cabinet surfaces. Primer is essential for ensuring the paint sticks well, preventing bleed-through from tannins in wood (especially dark oak), and providing a uniform base for your chosen topcoat.
- Ensure full, consistent coverage, paying attention to edges and corners.
- Allow each coat of primer to dry completely according to the manufacturer’s instructions before applying the next. This typically takes a few hours. Lightly sand with 220-grit sandpaper after the first coat of primer if there are any raised imperfections, then wipe clean.
4. Paint with a Light, Even Coat
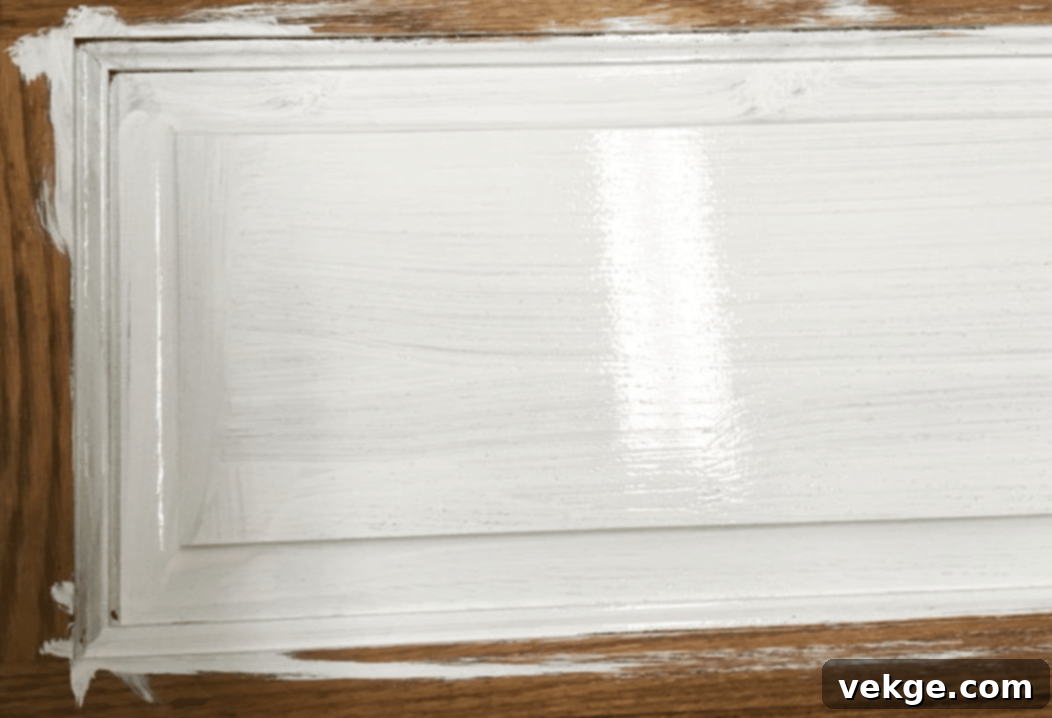
- Once the primer is fully dry, begin applying your chosen paint. Start with a light, even coat using a high-quality synthetic brush for trim and details, and a foam roller for larger flat areas. Foam rollers are excellent for achieving a smooth, lint-free finish on cabinets.
- Work in sections, following the direction of the wood grain for a natural and smooth appearance.
- Be vigilant about spreading any puddles or drips as you go to avoid uneven layers or unsightly runs. Aim for thin coats, as thick coats tend to sag and dry unevenly.
5. Add a Second Coat (and Potentially a Third)
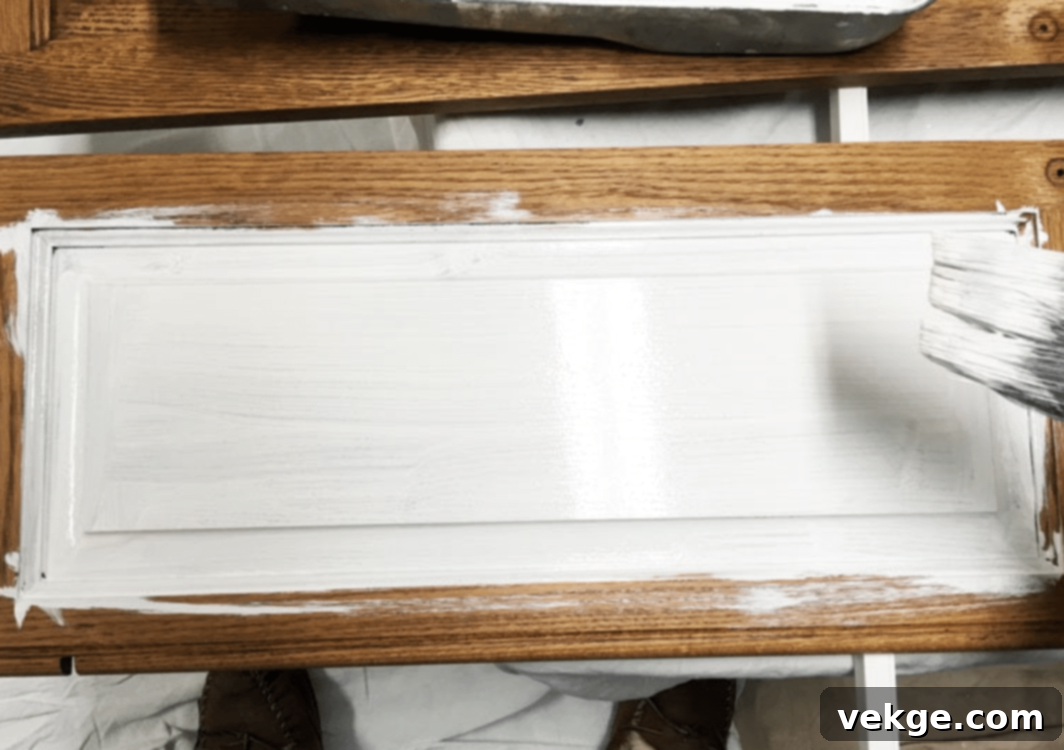
Once the first coat of paint is thoroughly dry (check the manufacturer’s recommended re-coat time, typically 4-8 hours), apply a second light, even coat. Inspect for any missed spots or unevenness. Most cabinet projects benefit from at least two coats of paint for full coverage and optimal durability. For very light colors over dark bases, or for maximum protection, a third thin coat may be beneficial. Allow each coat to dry fully before proceeding.
6. Allow Paint to Cure Completely
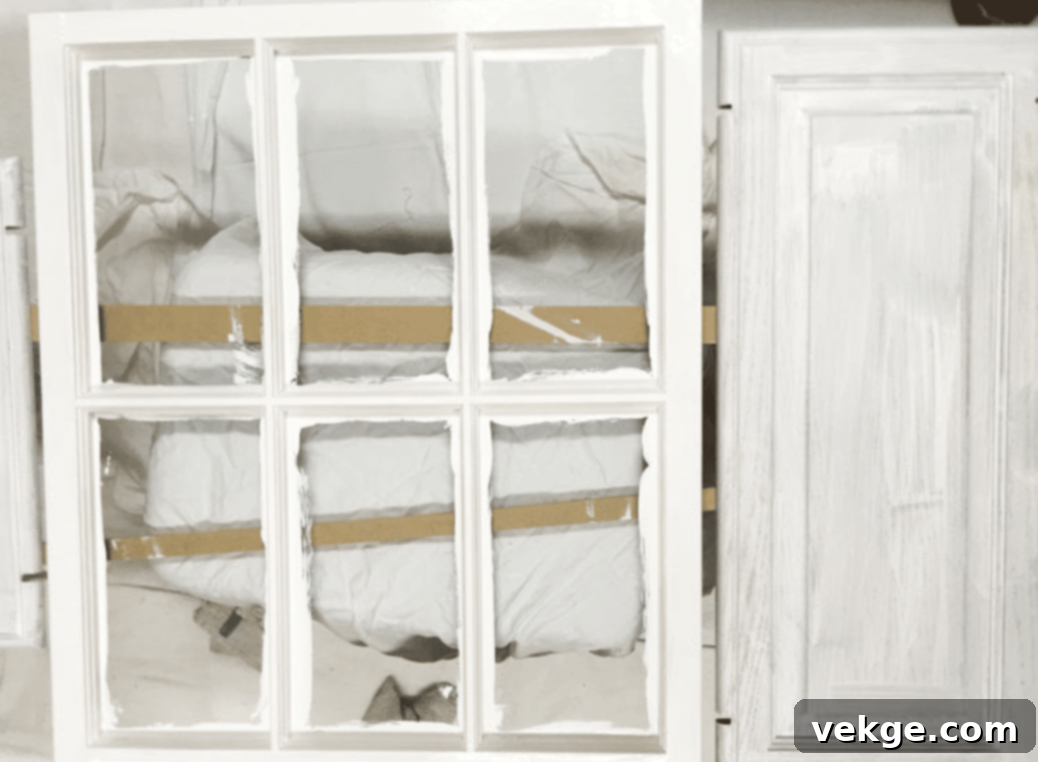
- This is perhaps the most crucial step for long-lasting results. While the paint may feel dry to the touch after a few hours, it needs time to “cure” and harden completely. This curing process strengthens the paint film and makes it durable against moisture and impacts.
- Let the cabinets cure for at least 24-48 hours before gently reattaching the hardware and doors. For best results and maximum hardness, especially in high-traffic bathrooms, allow the paint to cure for up to a week (or even longer, depending on the paint type and humidity) before subjecting the cabinets to full daily use. Patience here will prevent chips, scratches, and adhesion issues down the line.
Tips for Painting Bathroom Cabinets Smoothly
Achieving a smooth, durable finish on your bathroom cabinets is not just about choosing the right paint; it’s heavily reliant on meticulous preparation and careful application. Remember, good prep work accounts for about 70% of the final result.
Here are my tested steps and essential tips for ensuring a professional-looking, long-lasting finish:
Preparation Steps
- Thorough Disassembly: Always take off all cabinet doors, drawer fronts, and hardware. Trying to paint around hinges or knobs will result in a messy, unprofessional finish and compromised durability.
- Label Everything: As you remove each piece of hardware and door/drawer, immediately label them (e.g., “Upper Left Door,” “Drawer 1”) and store associated screws in labeled plastic bags. This will save immense frustration during reassembly.
- Deep Clean First: Begin by cleaning surfaces thoroughly with a heavy-duty degreaser or a strong soap and water solution. Bathrooms accumulate soap scum, hairspray residue, and body oils that must be completely removed for paint to adhere properly.
- Mineral Spirits for Residue: After the initial cleaning and drying, wipe all surfaces with mineral spirits. This helps remove any stubborn oils or residues that regular cleaners might miss, ensuring a perfectly clean surface for primer.
- Proper Sanding for Adhesion: Sand all surfaces lightly but thoroughly with 120-180 grit sandpaper. The goal isn’t to remove the old finish entirely, but to create a “tooth” for the primer to grip onto. Skipping this step is a common mistake that leads to paint peeling.
- Dust Removal is Key: After sanding, meticulously remove all dust. Use a vacuum with a brush attachment, followed by a tack cloth, to pick up fine dust particles that can ruin a smooth finish if left behind.
Priming Tips
- Choose the Right Primer: Select a high-quality primer specifically formulated for adhesion (e.g., gripping primer) and moisture resistance. Many primers are also stain-blocking, which is essential for preventing wood tannins from bleeding through light paint colors.
- Apply Thin, Even Coats: Primer should be applied in thin, consistent layers. Thick coats will take longer to dry, are more prone to drips, and can obscure fine details on your cabinets.
- Allow Full Drying Time: Always let each coat of primer dry completely according to the manufacturer’s instructions. Rushing this step will compromise adhesion and can lead to uneven drying and bubbling in your topcoats.
- Light Sanding After Primer: After the primer dries, lightly sand the primed surfaces with very fine-grit sandpaper (220-320 grit). This smooths out any minor imperfections or brush strokes from the primer, creating an ultra-smooth base for your paint.
- Clean Off Dust Again: Just like after initial sanding, thoroughly clean off all sanding dust from the primed surfaces with a tack cloth before applying any paint.
Painting Process
- Use Quality Tools: Invest in high-quality synthetic paint brushes (angled brushes are great for control) and dense foam rollers for flat areas. Cheap tools will leave brush marks and roller textures.
- Even, Thin Coats: Apply paint in thin, even coats, working methodically and avoiding overloading your brush or roller. This ensures smooth coverage and minimizes drips. Work in the direction of the wood grain.
- Respect Drying Times: Always wait the full recommended drying time (typically 24 hours, or as per manufacturer) between paint coats. This allows each layer to adequately harden and prevents the previous layer from being disturbed.
- Minimum Two Coats: Plan for at least two coats of paint. Often, a third coat is necessary, especially when going from a dark color to a light one, or for maximum durability.
Common Mistakes to Avoid
- Don’t Skip Sanding or Priming: These steps are non-negotiable for a durable finish in a bathroom. Skipping them is the fastest way to a peeling, flaking paint job.
- Don’t Rush Drying Time: Impatience leads to smudges, chips, and poor paint performance. Allow ample time for both drying and curing.
- Don’t Paint in High Humidity: High humidity slows down drying and curing, and can lead to uneven finishes or paint sagging. Ensure good ventilation and low humidity while painting.
- Don’t Close Cabinet Doors Too Soon: Even if dry to the touch, the paint can still stick to itself or the cabinet frame. Wait until fully cured before closing doors.
- Don’t Put Hardware Back Too Soon: Installing hardware too early can damage the still-soft paint, leading to dents, scratches, and compromised protection.
7 Bathroom Cabinets Color and Style Inspiration Ideas
Once you’ve mastered the technical aspects of choosing and applying paint, it’s time for the fun part: selecting the perfect color! Your cabinet color can dramatically influence the mood and style of your entire bathroom. I’ve curated my favorite cabinet color choices that are both timeless and adaptable to various design aesthetics.
1. Espresso Brown
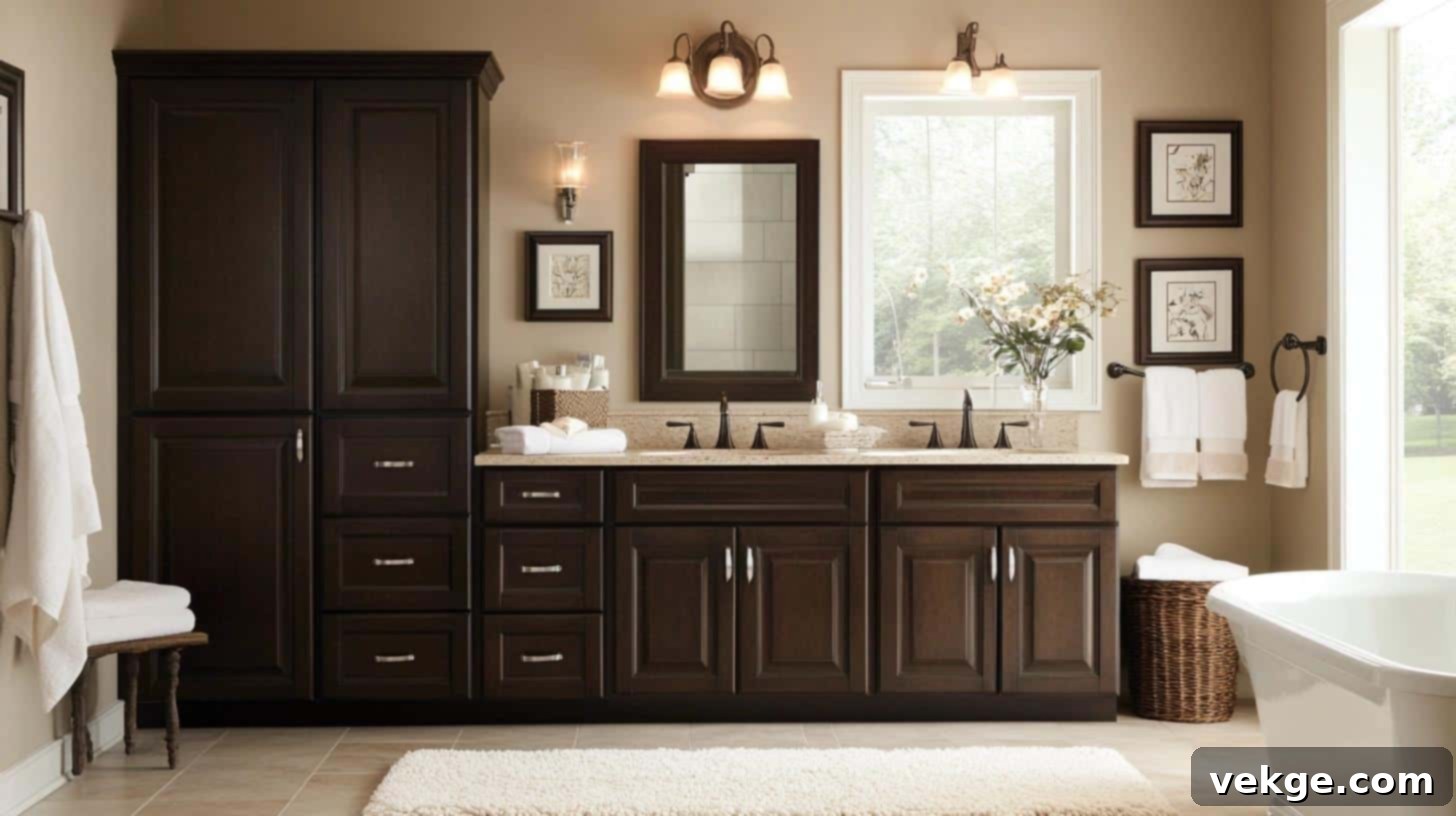
- Mood: Warm, classic, and grounded. Espresso brown creates a sense of luxury and depth, ideal for a sophisticated, cozy bathroom.
- Pair With: This rich, dark brown works beautifully with light beige or creamy ivory tiles to create contrast and brightness. Complement it with brushed bronze or warm copper fixtures for an antique or traditional feel. Adding wooden elements elsewhere in the bathroom can further enhance the natural warmth. Espresso brown is perfect for adding richness and a grounding presence, especially in a traditional or transitional setting.
2. Navy Blue
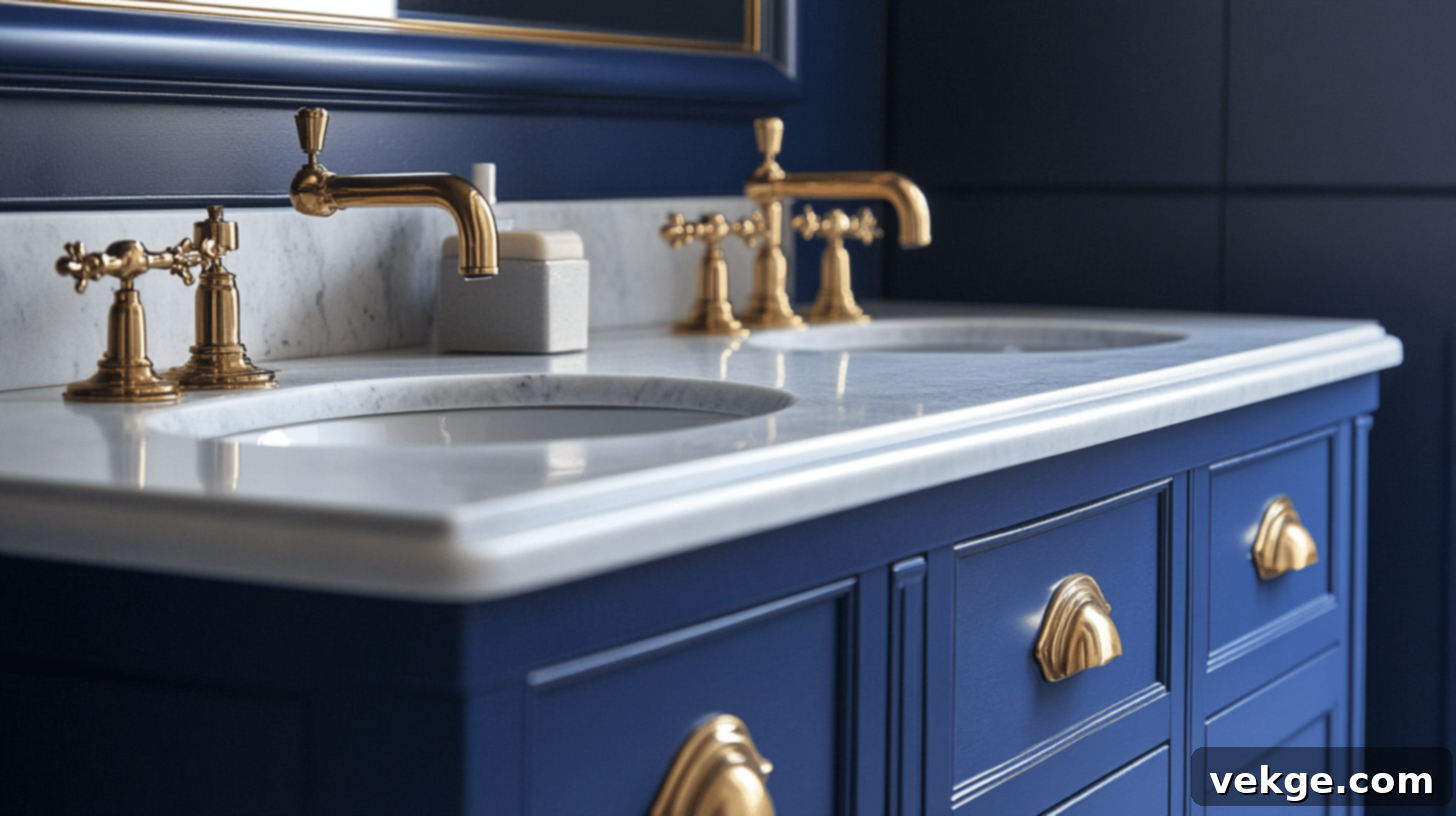
- Mood: Sophisticated, bold, and serene. Navy blue evokes a sense of calm elegance, reminiscent of the deep sea or a clear night sky.
- Pair With: Create a luxurious contrast by pairing navy cabinets with polished brass or gleaming gold fixtures. To maintain balance and prevent the space from feeling too dark, combine it with crisp white or light gray tiles on the floor or walls. This combination is particularly effective for creating a classic coastal, modern, or nautical-inspired bathroom.
3. Charcoal Gray
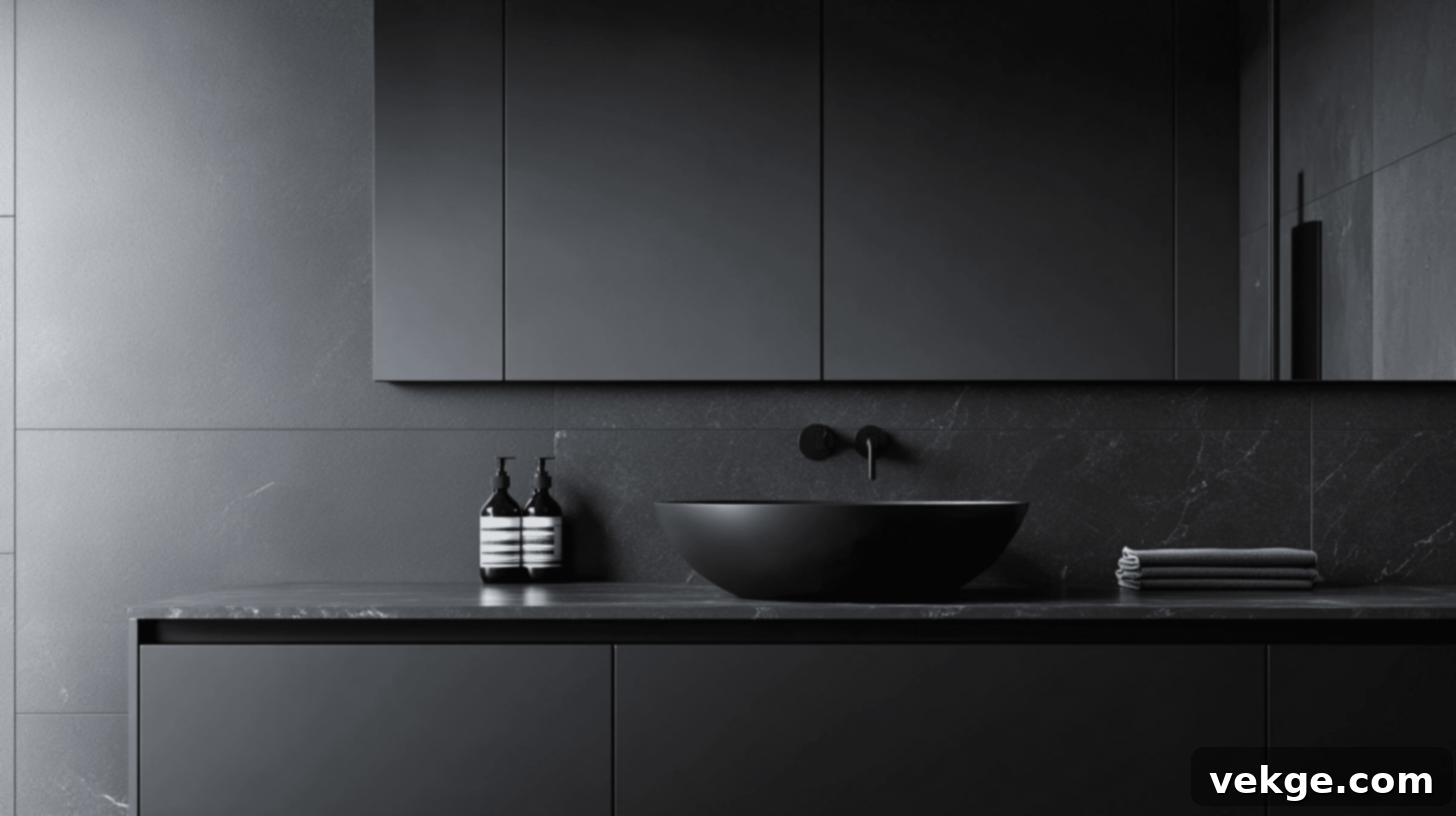
- Mood: Modern, sleek, and grounding. Charcoal gray offers a versatile, contemporary edge that is both powerful and refined.
- Pair With: For an industrial or minimalist aesthetic, opt for matte black or sleek silver fixtures. Crisp white countertops and clean subway tiles provide a striking contrast that keeps the space feeling open and bright. Consider adding natural wood elements or concrete accents to soften the look and add texture. This shade is perfect for a sophisticated, urban bathroom design.
4. Warm Taupe
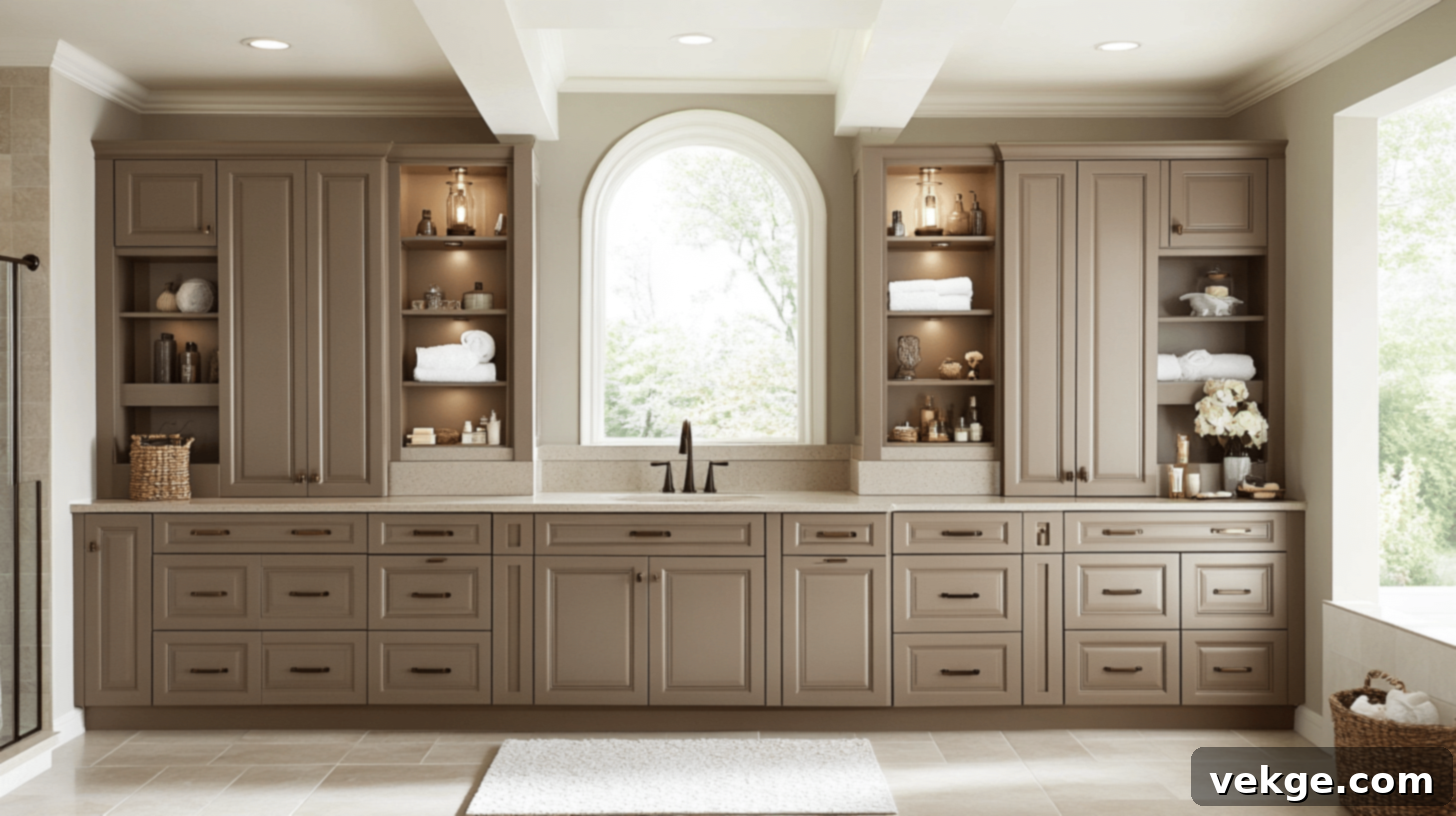
- Mood: Cozy, inviting, and neutral. Warm taupe offers a comforting, earthy palette that feels both modern and timeless, creating a very relaxing atmosphere.
- Pair With: This adaptable color harmonizes beautifully with soft beige or cream tiles, enhancing the inviting feel. Bronze hardware or aged brass fixtures add a touch of warmth and elegance. Soft, diffused lighting further contributes to a serene bathroom oasis. Warm taupe provides an earthy, comforting vibe, making it perfect for a tranquil and restorative bathroom retreat.
5. Blush Pink
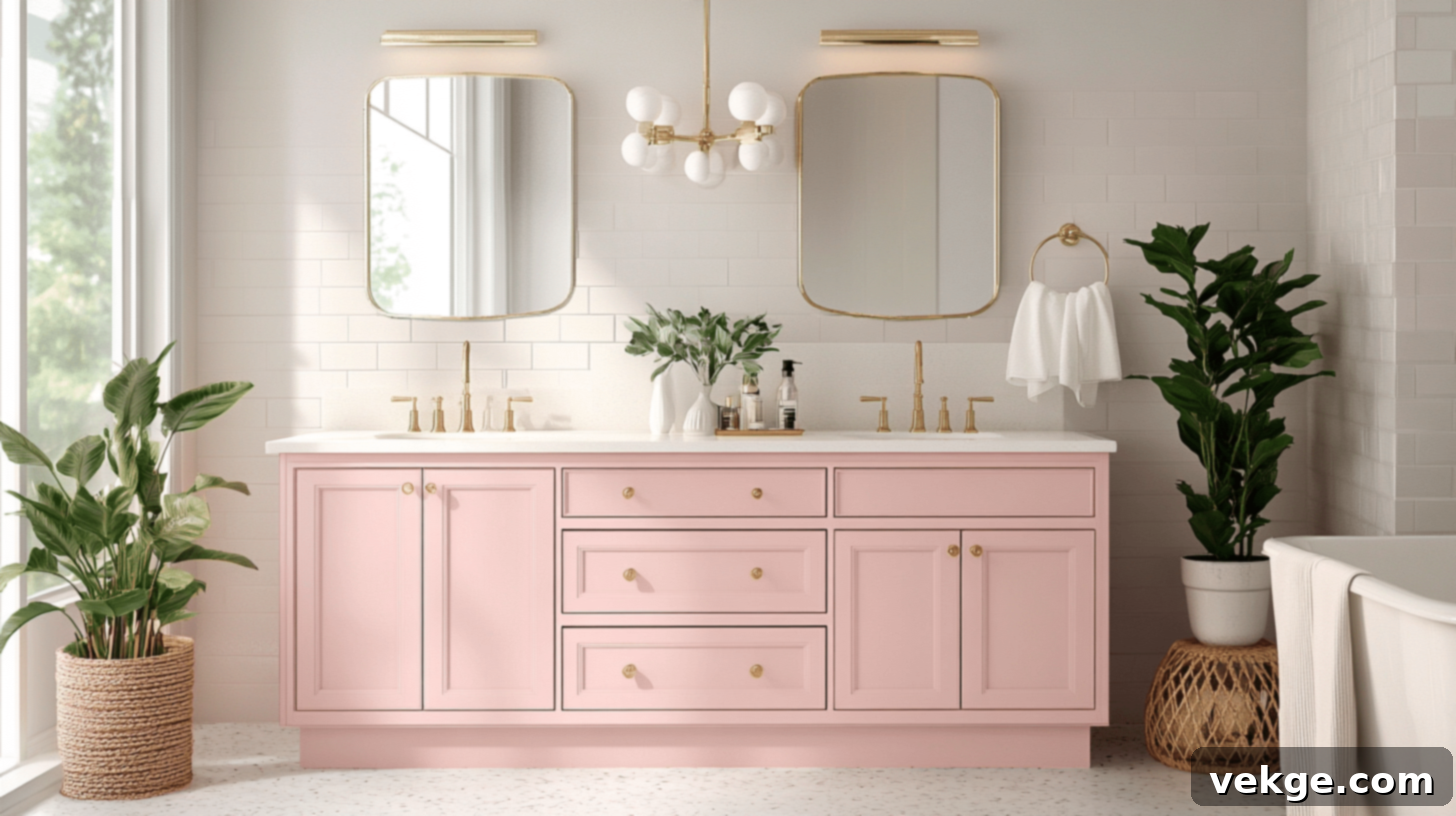
- Mood: Soft, cheerful, and unique. Blush pink introduces a gentle pop of color that feels fresh, playful, and subtly feminine without being overly sweet.
- Pair With: To keep the look sophisticated, balance blush pink with light wood accents (like blonde oak), elegant gold fixtures, and light gray or pure white tiles. Incorporate minimalist decor and perhaps some greenery to enhance the fresh, contemporary feel. Blush pink adds a delightful and unique touch, perfect for creating a chic, modern, or even an Art Deco-inspired bathroom.
6. Mustard Yellow
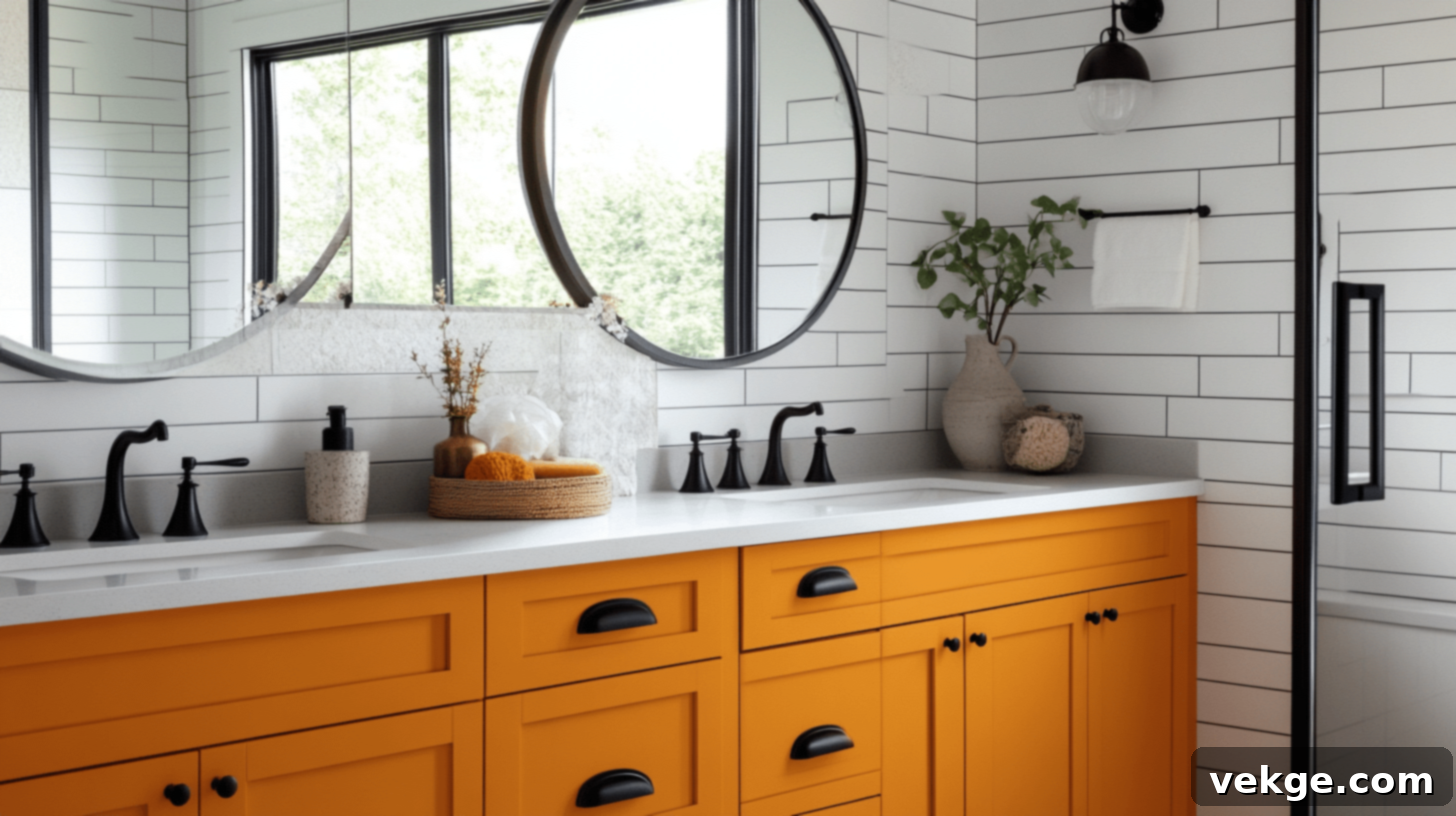
- Mood: Cheerful, retro, and lively. Mustard yellow injects energy and a playful, vintage flair into any bathroom, making a bold statement.
- Pair With: To anchor this vibrant color, consider pairing it with matte black or dark gray fixtures, which provide a strong, modern contrast. White tiles will keep the space bright and clean, allowing the yellow to truly pop. Minimalist decor and perhaps some geometric patterns can enhance its retro appeal. This shade brings a joyful burst of color, perfect for adding a playful, vibrant, and unique touch to the bathroom.
7. Deep Forest Green
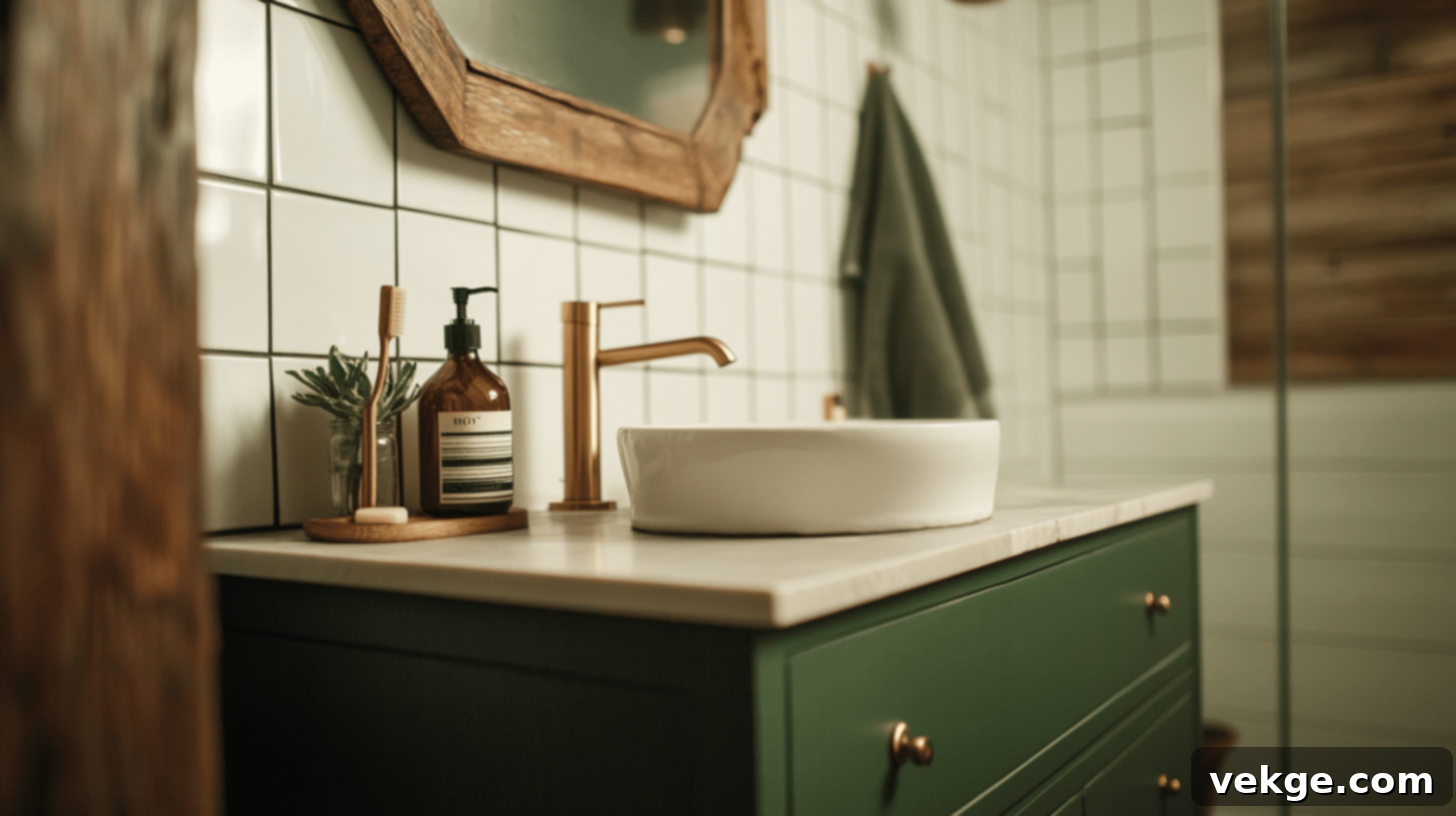
- Mood: Rich, calming, and natural. Deep forest green connects the indoors with nature, creating a tranquil and luxurious sanctuary.
- Pair With: This lush green looks stunning with warm-toned metals like brass or the rustic texture of wooden fixtures. Off-white or soft cream tiles provide a gentle backdrop that allows the green to truly shine. Adding plants or natural stone accents will further enhance the earthy, organic style. This deep green works beautifully in bathrooms designed to be a serene, earthy, and sophisticated escape.
Wrapping Up!
Congratulations! You’re now equipped with the knowledge to give your bathroom cabinets a fresh, durable, and beautiful new look. Understanding why special paints are essential in bathrooms, which sheens offer the best performance, and how to execute a painting project correctly are the keys to a successful outcome.
The right paint choice is about more than just aesthetics; it’s about investing in a finish that will not only look great but also stand up to the unique daily challenges of your bathroom for years to come. Remember that meticulous prep work is the absolute cornerstone of a long-lasting, professional finish – don’t cut corners there!
A well-painted cabinet can dramatically transform the feel of your entire bathroom, making it a more inviting and stylish space. Plus, it’s a significantly more cost-effective solution than undergoing a full cabinet replacement.
So, why wait? Pick your favorite color inspiration from our guide, gather the recommended paint and tools, and confidently follow our step-by-step instructions. Start your cabinet makeover this weekend and enjoy the renewed beauty of your bathroom!
I’d love to hear about your project and see your results – share your success stories and any tips you discovered by leaving a comment below!
