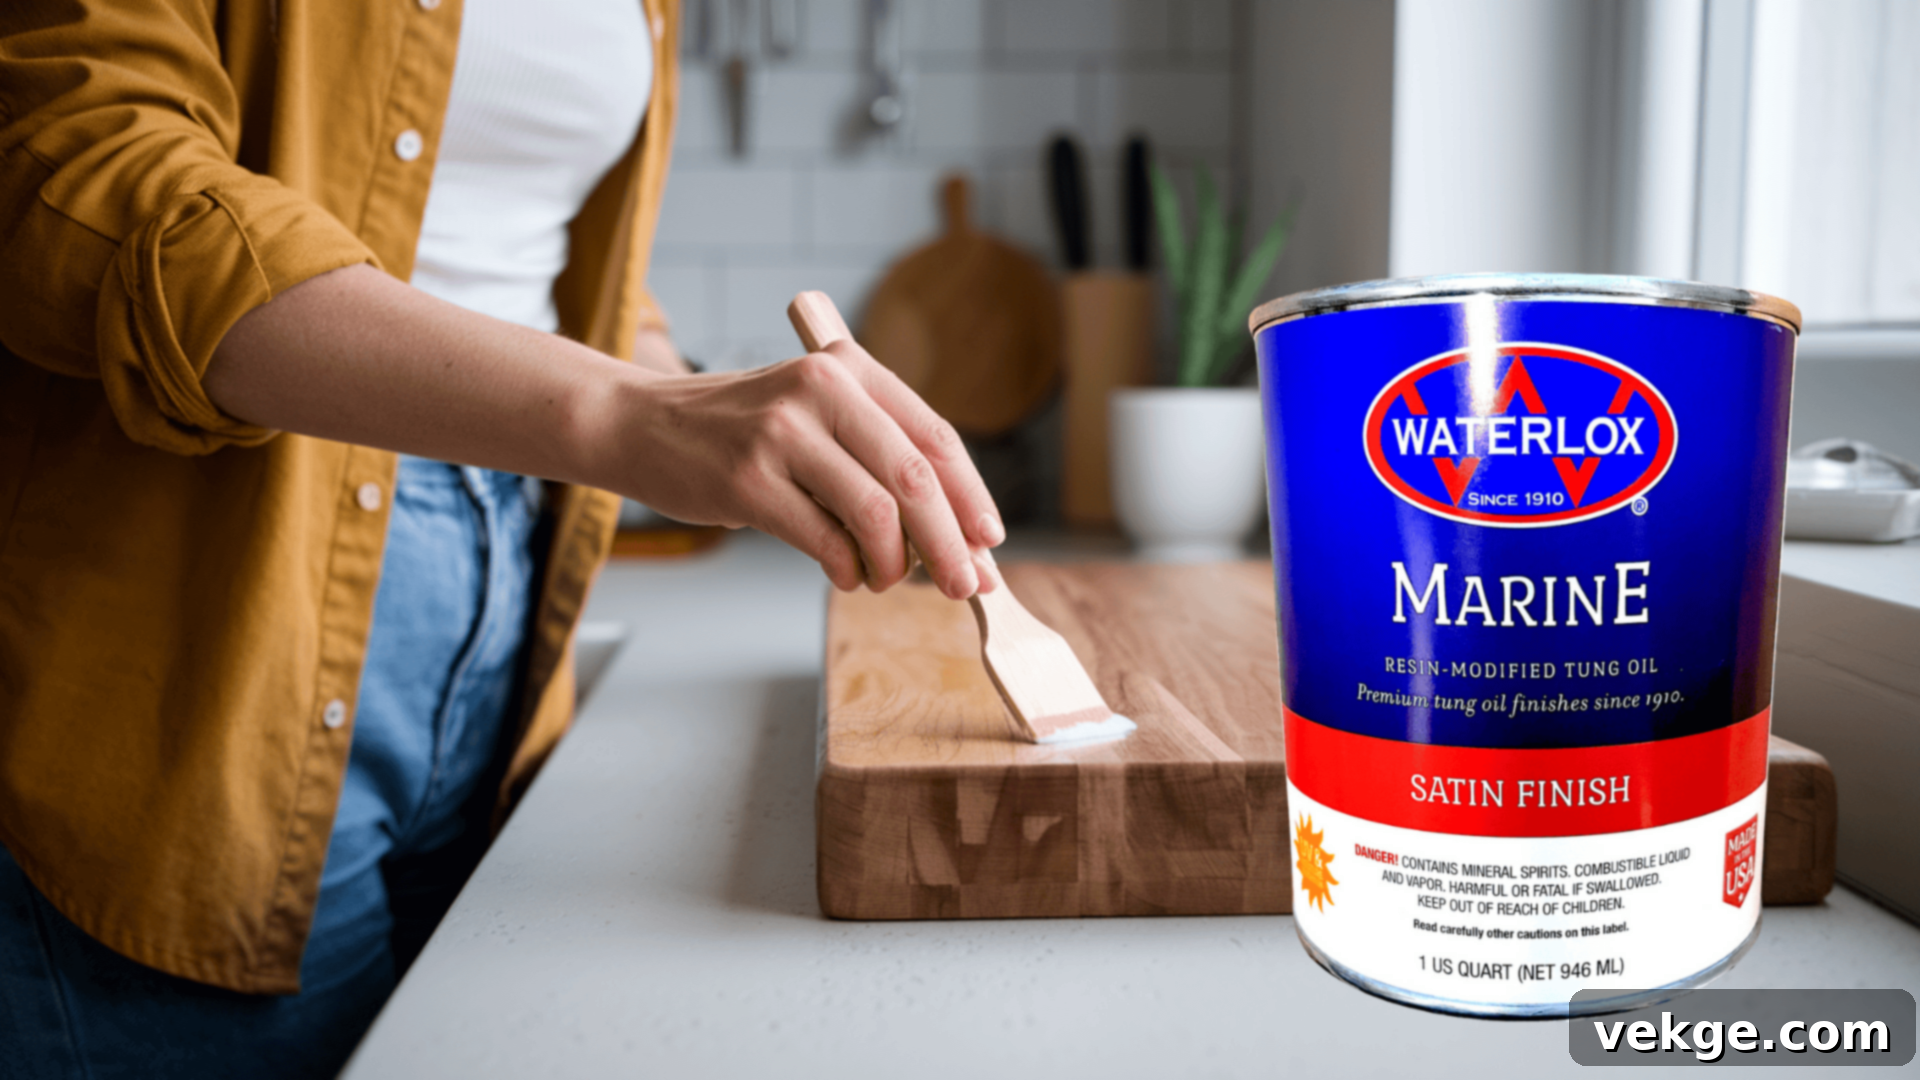
The Ultimate Guide to Waterlox for Butcher Blocks: Application, Benefits & Maintenance
Waterlox is a highly acclaimed finish, particularly favored for butcher blocks due to its exceptional durability, ease of application, and its remarkable ability to enhance the natural beauty of wood. Crafted from tung oil, Waterlox forms a robust protective layer that shields your kitchen surfaces from moisture, spills, and daily wear, all while deeply enriching the wood grain and its inherent character.
Whether you’re embarking on a new butcher block installation or looking to revitalize an existing one with a fresh, resilient finish, Waterlox provides a strong, food-safe solution designed to last for many years. It’s an investment in both the aesthetics and longevity of your wooden surfaces.
This comprehensive guide will delve into the numerous benefits of choosing Waterlox, walk you through a detailed, step-by-step application process, and offer invaluable tips for maintaining your butcher block to ensure it retains its pristine condition and beautiful appearance for decades to come.
Benefits of Waterlox for Butcher Blocks: Why It Stands Out
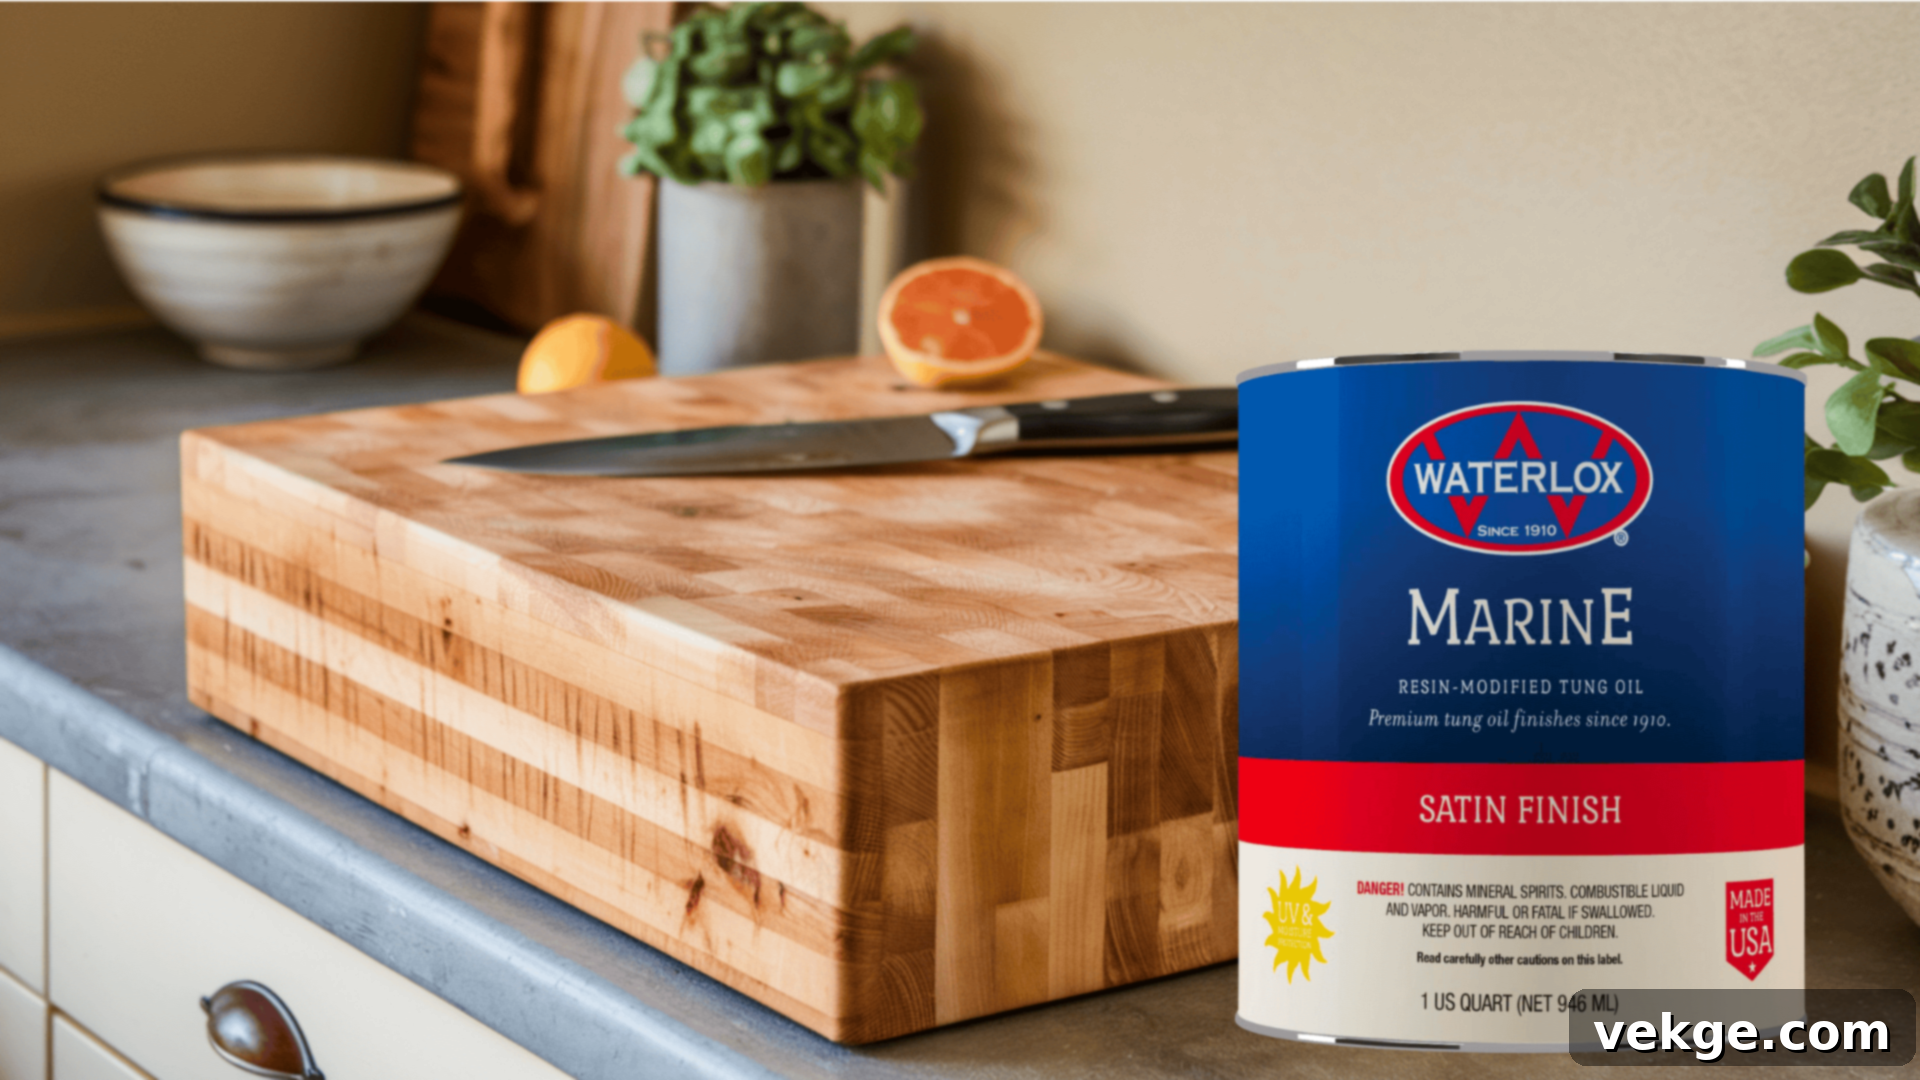
Waterlox distinguishes itself as an excellent choice for butcher blocks by offering a suite of compelling benefits that cater specifically to the demands of kitchen environments:
-
Superior Waterproofing: Waterlox creates a resilient, water-resistant barrier that effectively safeguards the wood from the inevitable spills and moisture exposure common in kitchens. This protective layer penetrates the wood, sealing it from within and on the surface, making it exceptionally resistant to water damage, warping, and staining. This is paramount for maintaining the structural integrity and aesthetic appeal of your butcher block.
-
Certified Food-Safe When Cured: A critical advantage of Waterlox is its food-safe classification once fully cured. This means you can confidently prepare food directly on your butcher block without concerns about harmful chemicals leaching into your ingredients. Its formulation is designed to be inert and non-toxic, ensuring a safe and hygienic cooking environment for you and your family.
-
Enhances Natural Wood Beauty: Beyond protection, Waterlox excels at bringing out the inherent beauty of the wood. Its unique tung oil blend deepens the wood’s natural color, highlighting intricate grain patterns and creating a rich, warm luster. This enhances the aesthetic appeal of your butcher block, transforming it into a vibrant focal point in your kitchen that truly celebrates the material’s organic charm.
These combined benefits firmly establish Waterlox as one of the most effective and desirable options for finishing butcher blocks, delivering an optimal balance of robust protection, enhanced beauty, and peace of mind regarding food safety. It’s a finish that truly protects and beautifies.
Essential Materials Needed for Waterlox Application
Before you begin the application process, gathering all the necessary materials will ensure a smooth and efficient workflow. Having the right tools on hand is crucial for achieving a professional-looking and durable finish.
- Waterlox Original Sealer/Finish: This is the primary product, a tung oil-based finish renowned for its sealing and protective qualities. Ensure you have enough for multiple coats, typically 3-4 for butcher blocks.
- Sandpaper: You’ll need a range of grits. Start with medium-grit sandpaper (e.g., 120-150 grit) for initial sanding to remove imperfections and old finishes. Follow up with fine-grit sandpaper (e.g., 220-320 grit) for subsequent sandings to achieve a silky-smooth surface that readily accepts the finish.
- Clean rags or lint-free cloth: Essential for meticulously wiping away dust after sanding and for applying Waterlox, especially for thinner coats. Lint-free cloths prevent particles from embedding in your finish.
- Brush or foam applicator: Choose a high-quality natural bristle brush for an even, smooth application, or a foam applicator for convenience and streak-free results. Ensure it’s suitable for oil-based finishes.
- Gloves: Protect your hands from the finish, which can be sticky and difficult to remove. Nitrile or latex gloves are ideal.
- Mineral Spirits or Paint Thinner (optional for cleanup): Useful for cleaning brushes and tools after application, though Waterlox is relatively easy to work with.
- Drop Cloths or Plastic Sheeting: To protect your work area from drips and spills.
- Good Ventilation (open windows, fan): Absolutely essential for safety and proper drying, as Waterlox contains solvents.
Having these items prepared and readily accessible will make the application process much more manageable and significantly contribute to a superior final result. Once your workstation is set up and all materials are within reach, you’ll be ready to transform your butcher block.
How to Apply Waterlox to Butcher Blocks: A Step-by-Step Guide
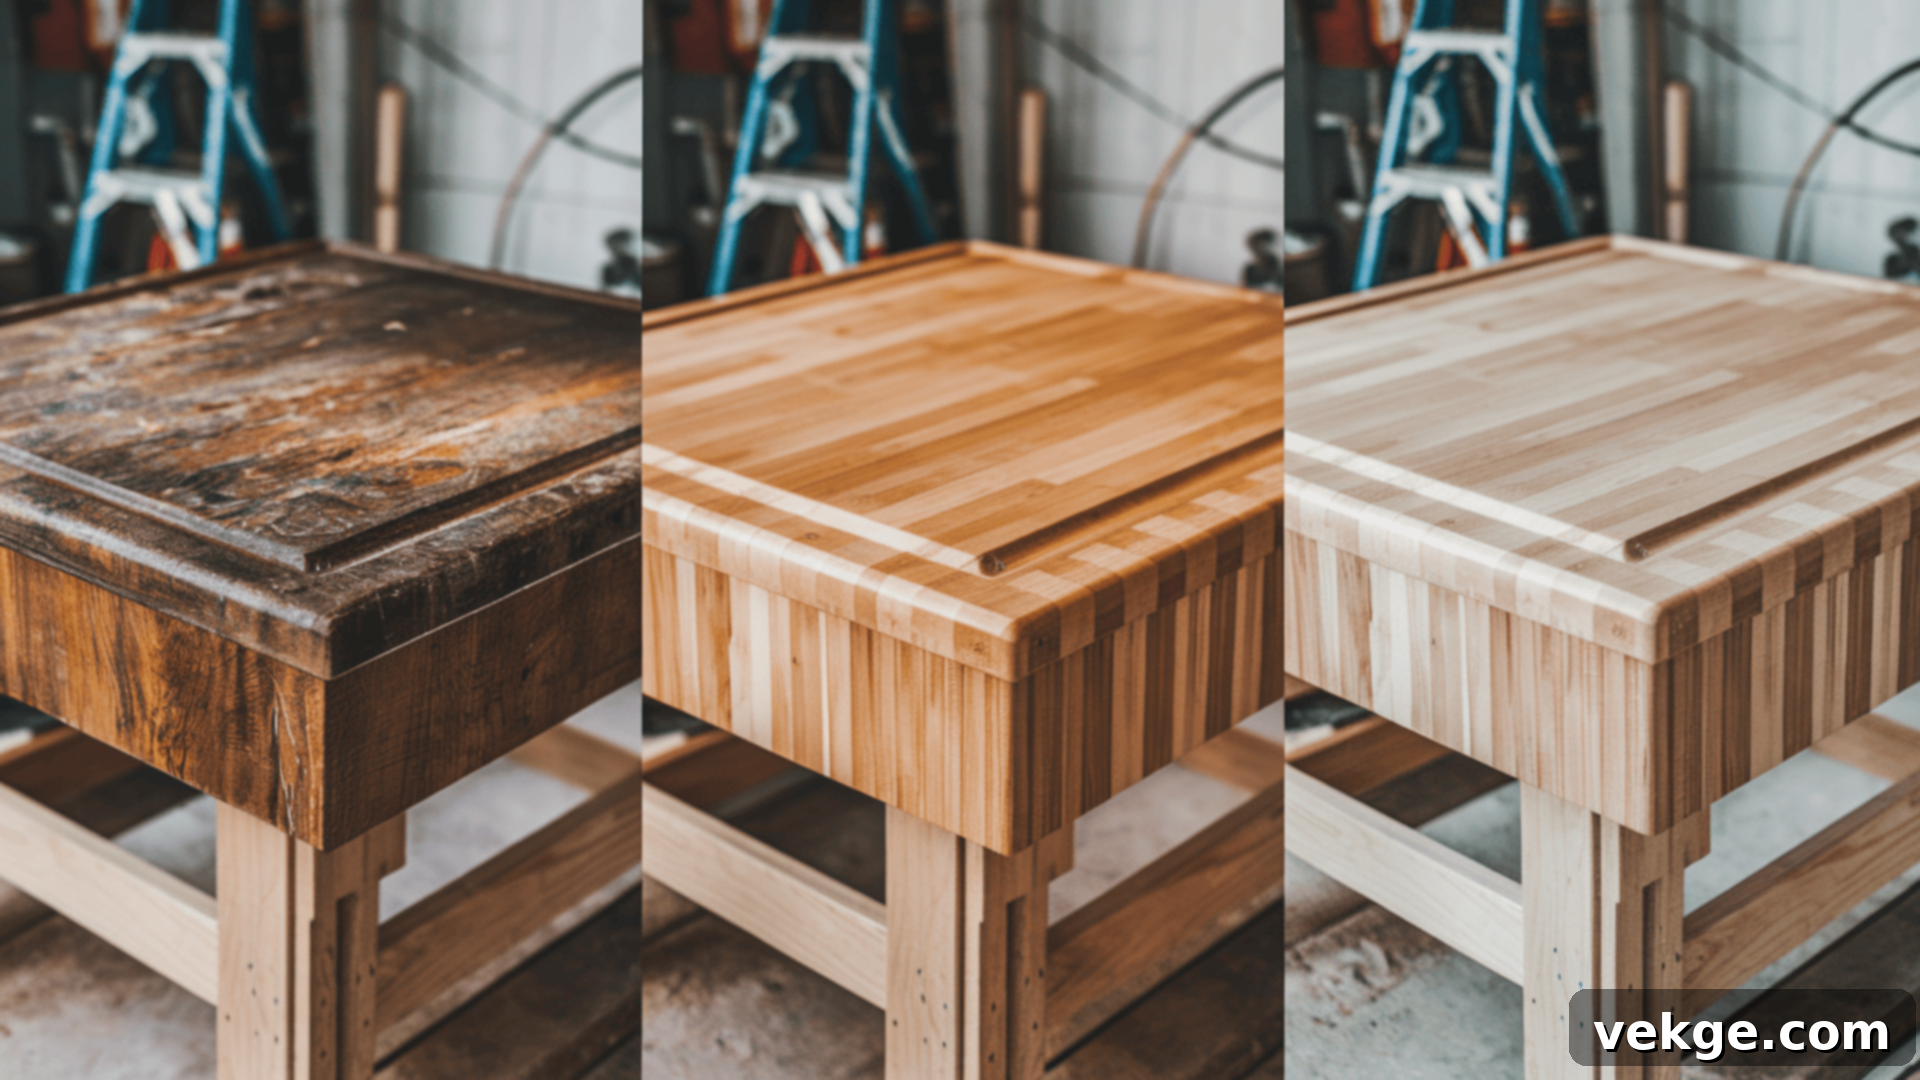
Applying Waterlox is a straightforward process, but it requires attention to detail and patience. By following these steps carefully, you can achieve a stunning, highly durable, and water-resistant finish on your butcher block that will last for many years.
Step-by-Step Guide to a Flawless Finish
1. Prep the Surface Thoroughly
- Sand the Butcher Block Extensively: Begin by thoroughly sanding your butcher block with medium-grit sandpaper (e.g., 120-150 grit). This initial sanding is crucial for removing any existing finishes, deep scratches, stains, or rough patches. Ensure you sand with the grain of the wood to avoid cross-grain scratches.
- Progress to Fine Sanding: Once the surface feels consistently smooth with medium grit, switch to fine-grit sandpaper (e.g., 220-320 grit). This step refines the surface, creating an incredibly smooth texture that allows the Waterlox to penetrate evenly and adhere optimally, contributing to a smoother final finish.
- Clean the Surface Meticulously: After the final sanding, use a clean, dry, lint-free cloth or a tack cloth to meticulously wipe away all traces of sanding dust. Dust particles left on the surface can get trapped in the finish, causing bumps and an uneven texture. You can also use a vacuum with a brush attachment for larger dust removal before the final wipe. A perfectly dust-free surface is non-negotiable for a professional-looking application.
2. Apply the First Coat: The Sealing Layer
- Select the Right Application Tool: Choose a high-quality natural bristle brush or a foam applicator designed for oil-based finishes. These tools help to spread the Waterlox evenly, minimizing streaks and ensuring consistent coverage.
- Embrace Thin Coats: The golden rule of Waterlox application is to apply thin, even coats. Avoid saturating the wood or applying thick layers, which can lead to pooling, longer drying times, and an uneven finish. It’s always better to apply multiple thin coats than a few thick ones.
- Allow Ample Drying Time: After applying the first coat, allow it to dry for at least 6–8 hours, or until it feels completely dry to the touch and no longer tacky. Proper ventilation during this time is crucial to facilitate drying and disperse fumes.
3. Sand Between Coats for Smoothness and Adhesion
- Perform Light Sanding: Once the previous coat is thoroughly dry, lightly sand the entire surface with fine-grit sandpaper (e.g., 320-400 grit). This step serves two purposes: it smooths out any minor imperfections, dust nibs, or raised grain, and it creates a micro-scratched surface that helps the next coat adhere better.
- Remove All Dust Again: Just as with the initial prep, use a clean, dry, lint-free cloth to remove every speck of dust generated by the inter-coat sanding. A pristine surface is essential before proceeding with the next layer.
4. Apply Additional Coats for Enhanced Durability
- Build Layers for Durability: Apply 2–3 more coats of Waterlox, meticulously following the same procedure for each: brush on a thin, even coat, allow it to dry completely, and then lightly sand and clean the surface before the next application. For heavily used butcher blocks, four coats are often recommended for maximum protection and longevity.
- Ensure Even Coverage: Pay close attention to achieving consistent, even coverage with each layer. This cumulative process builds up a robust, protective film that is both beautiful and highly functional.
5. The Crucial Curing Time
- Grant Sufficient Curing Time: After the final coat has been applied and is dry to the touch, it is absolutely essential to allow the surface to cure for a full 7–10 days. Curing is the process where the finish chemically hardens and achieves its maximum durability, water resistance, and food-safe properties.
- Avoid Use During Curing: During this critical curing period, refrain from using the butcher block for food preparation or placing heavy items on it. Premature use can compromise the integrity of the finish, leading to scratches, dents, or an incomplete cure. Patience during this final stage will ensure the best possible long-term results.
By diligently adhering to these steps, you will successfully create a durable, water-resistant, and aesthetically pleasing butcher block countertop that is also easy to clean and maintain. While the process requires time and careful execution, the exceptional and lasting results make it undeniably worthwhile.
Wood Finish Comparison: Waterlox vs. Other Popular Options
When it comes to selecting a finish for your butcher block, understanding how Waterlox compares to other popular options is crucial. Each type of finish offers distinct characteristics in terms of composition, appearance, durability, and maintenance. This comparison will help you make an informed decision tailored to your specific needs and preferences for your wood surfaces.
Below is a detailed comparison table outlining the key differences between Waterlox, Polyurethane, Mineral Oil, and Watco Danish Oil, highlighting their strengths and weaknesses across various factors:
| Factor | Waterlox | Polyurethane | Mineral Oil | Watco Danish Oil |
|---|---|---|---|---|
| Composition | Tung oil-based resin with solvents | Synthetic polymer resin | Pure petroleum-derived oil | A blend of oils, varnish, and solvents |
| Appearance | Amber color, satin to glossy sheen, enhances wood grain deeply | Clear, available in matte to high gloss, forms a plastic-like film | Enhances grain with slight darkening, non-film building | Warm, natural look with good grain enhancement, penetrates wood |
| Durability | High – forms a protective, flexible film that resists wear | Very high – creates the hardest, most scratch-resistant film | Low – requires frequent reapplication, offers minimal protection | Medium – partially penetrating, offers moderate surface protection |
| Water Resistance | Excellent – highly effective at repelling water and moisture | Excellent – forms a waterproof barrier | Poor – provides little to no resistance to water, prone to staining | Good – offers decent water resistance due to oil/varnish blend |
| Heat Resistance | Good – withstands moderate heat well without damage | Good to fair – can be susceptible to heat rings at high temperatures | Good – tolerant to heat, but offers no protective layer | Good – generally holds up well to moderate heat |
| Chemical Resistance | Good – resists many common household chemicals | Excellent (especially water-based) – highly resistant to chemicals | Poor – offers no resistance to most chemicals | Moderate – provides some resistance to mild chemicals |
| Application | Easy to medium, can be brushed or wiped on, forgiving of minor mistakes | Moderate to difficult, typically brushed or sprayed, requires care to avoid bubbles/streaks | Very easy, simply wipe-on and wipe-off excess | Very easy, wipe-on application, simple to reapply |
| Drying Time | 24 hours between coats, 7-30 days for full cure (depending on ventilation/humidity) | 2-24 hours between coats, 21 days for full cure (can vary by type) | No cure time, soaks in, requires regular reapplication to stay effective | 6-10 hours between coats, 72 hours for full cure |
As the table illustrates, while each finish has its place, Waterlox strikes an exceptional balance between aesthetics, durability, and user-friendliness, especially for surfaces like butcher blocks that require robust protection and a food-safe rating. Its tung oil base provides a beautiful, natural look combined with superior water and wear resistance, making it a standout choice for those seeking both beauty and performance.
Common Issues with Waterlox Application and Their Practical Solutions
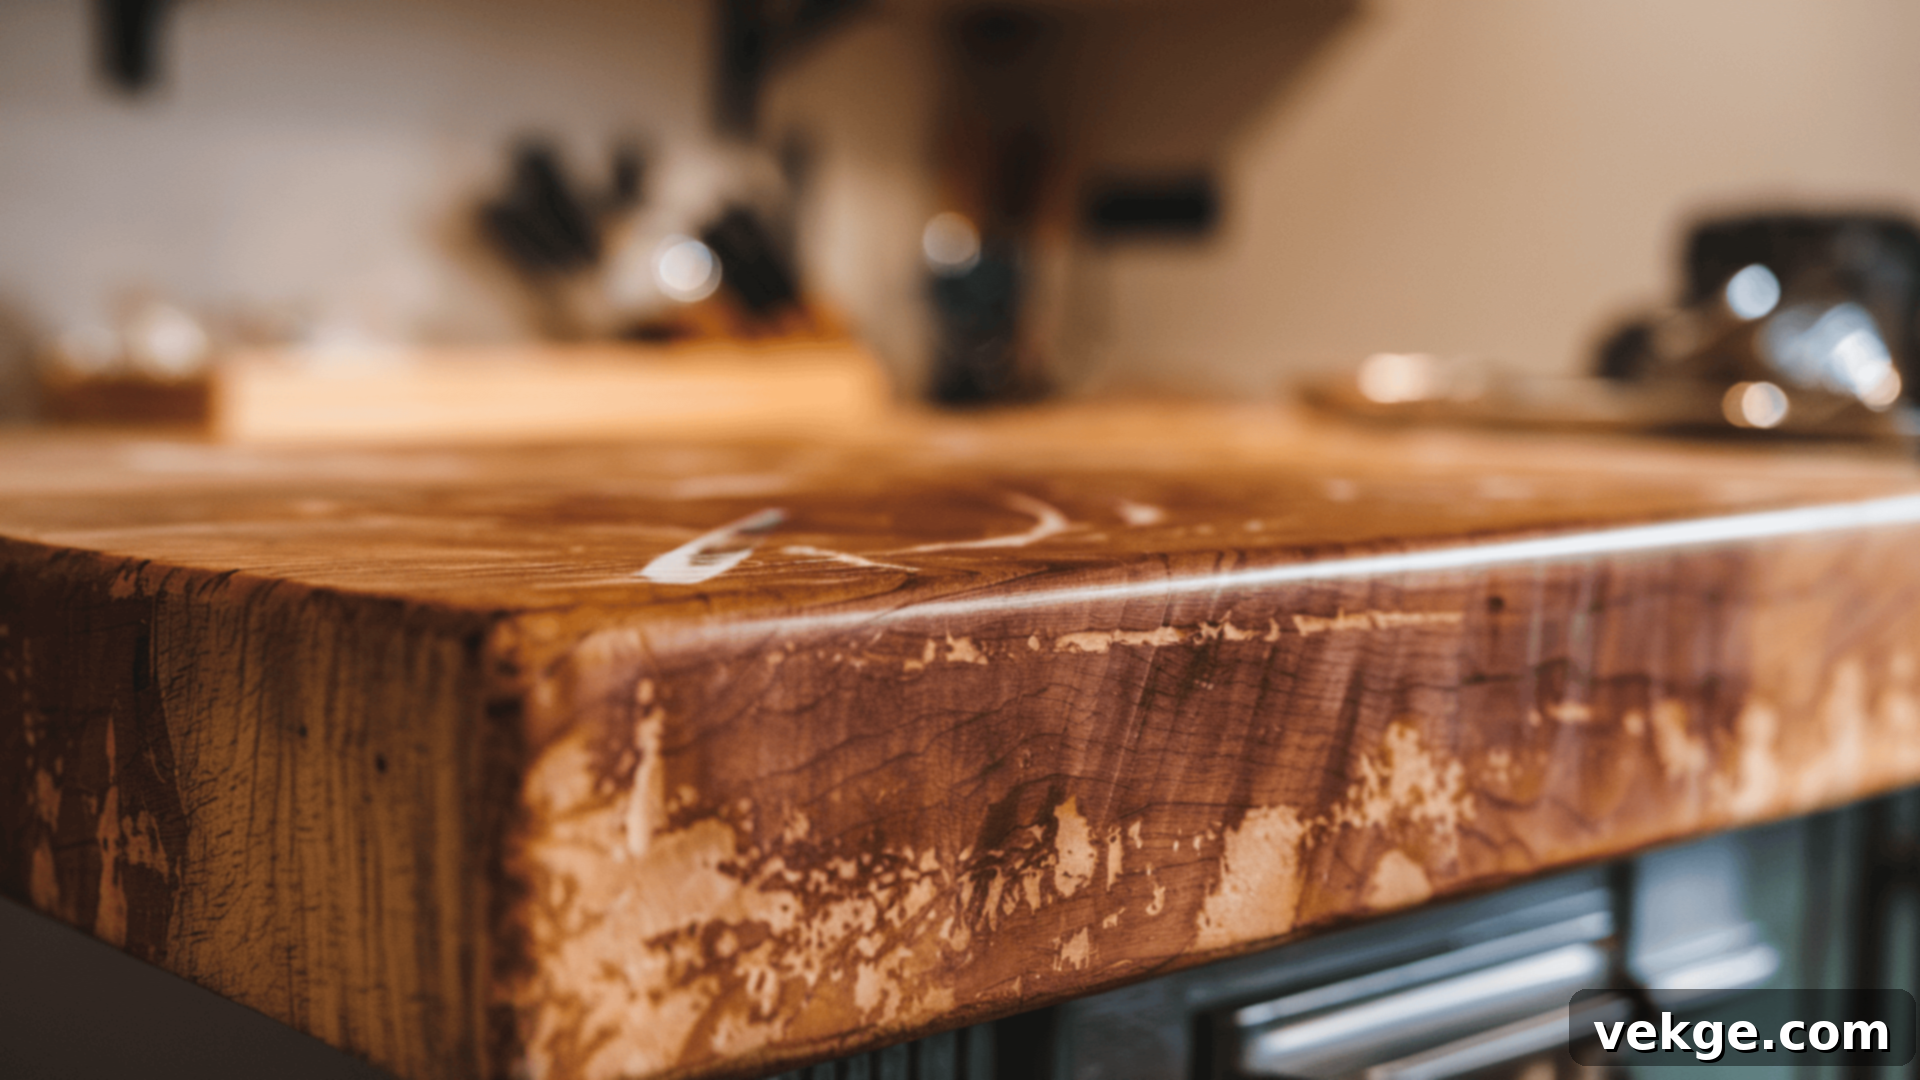
Even with careful application, you might encounter some minor issues while working with Waterlox. Understanding these common problems and their effective solutions will help you troubleshoot and ensure a flawless finish on your butcher block.
Uneven Coverage or Streaking
Cause: The most frequent cause of streaks or uneven coverage is applying too much Waterlox at once or using an inconsistent application technique. Thick layers can sag or dry unevenly, leading to visible lines.
Solution: Always adhere to the principle of applying thin, even coats. Use a high-quality brush or applicator and spread the finish smoothly and consistently across the surface. If you notice streaking after a coat has dried, lightly sand the affected area with fine-grit sandpaper (e.g., 320-400 grit) to smooth it out, then apply another very thin, even layer of Waterlox to blend and even out the finish.
Bumps or Imperfections in the Finish
Cause: Small bumps or a gritty texture in the dried finish are almost always caused by dust, dirt, or lint on the surface before or during application. Even tiny particles can become trapped and harden within the finish.
Solution: Meticulous cleaning is paramount. Ensure your workspace is as dust-free as possible. After each sanding step, use a clean, dry, lint-free cloth or a tack cloth to thoroughly wipe down the surface. Lightly sanding between coats also helps to smooth out any minor imperfections that might have occurred. Consider using an air purifier in your work area if dust is a persistent problem.
Scratching or Dulling Over Time
Cause: While Waterlox is highly durable, heavy daily use, direct cutting, or improper cleaning practices can eventually lead to surface scratches or a dulling of the finish.
Solution: To prevent scratches, always use dedicated cutting boards for food preparation and trivets or hot pads for hot dishes. Avoid dragging heavy or abrasive objects across the surface. If the finish does become dull or shows minor scratches, you can often restore its luster. Lightly sand the affected area with fine-grit sandpaper, clean thoroughly, and then reapply one or two fresh, thin coats of Waterlox. This rejuvenates the finish and provides renewed protection.
Finish Not Drying or Remaining Tacky
Cause: High humidity, poor ventilation, or insufficient drying time between coats are the primary culprits for a Waterlox finish that remains tacky or fails to dry properly.
Solution: Always apply Waterlox in a well-ventilated area with moderate humidity (ideally between 40-70%). Use fans to ensure good air circulation, but avoid direct airflow that could stir up dust. Strictly adhere to the recommended drying times between coats (typically 6-8 hours, but potentially longer in cooler or more humid conditions). If the finish remains tacky after the recommended time, it simply needs more time to cure. Do not attempt to force dry it with excessive heat, as this can lead to other issues. Patience is key here.
By understanding and proactively addressing these common issues, you can ensure your Waterlox-finished butcher block not only achieves a beautiful, professional appearance but also maintains its excellent condition and protective qualities for many years to come.
Long-Term Maintenance of Waterlox-Finished Butcher Blocks
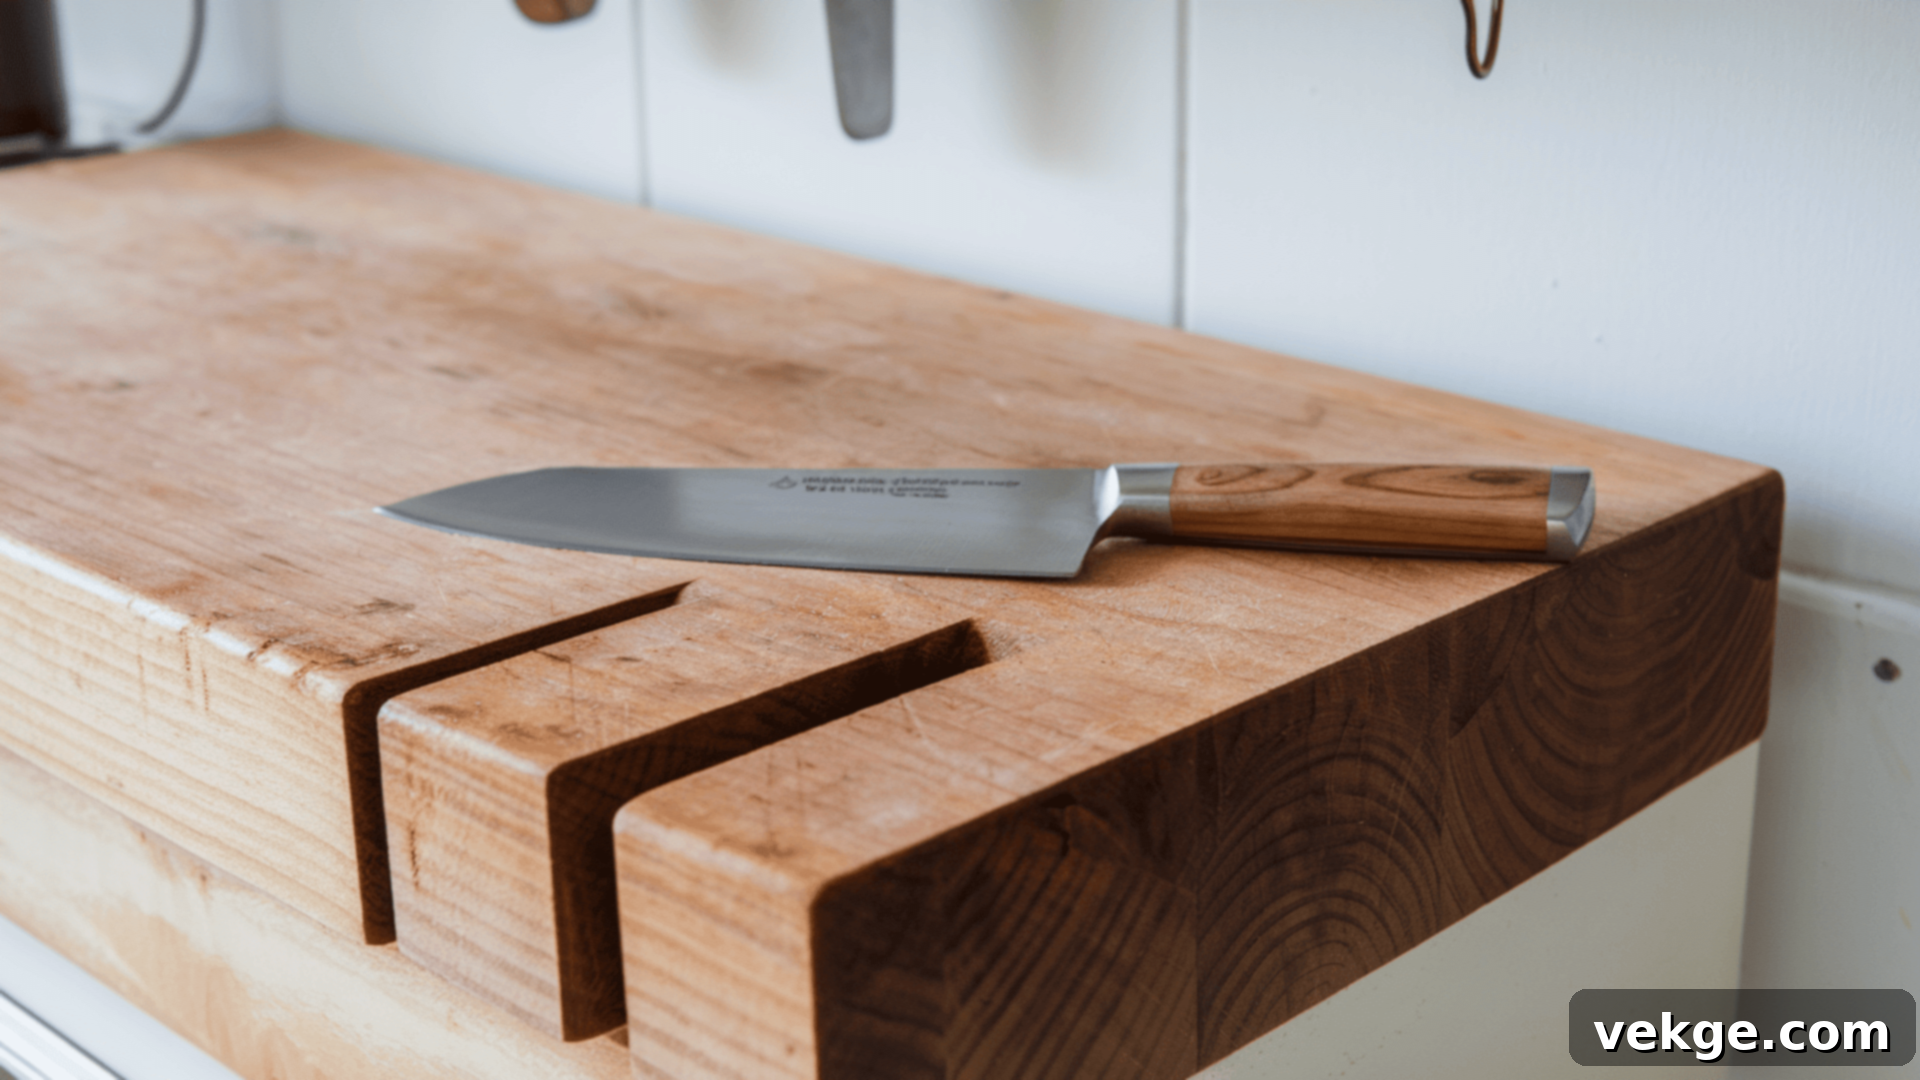
Once your butcher block has been expertly finished with Waterlox and fully cured, proper long-term maintenance is crucial. Consistent care will preserve its stunning appearance, extend its lifespan, and ensure its continued durability against daily kitchen use.
How to Clean and Care for the Finish on a Daily Basis
For routine cleaning, simply wipe down your butcher block with a soft cloth dampened with a mild soap and water solution. Gentle dish soap is usually sufficient. It is vital to avoid using harsh chemical cleaners, abrasive scrubbers, or strong disinfectants, as these can strip away the Waterlox finish or cause it to dull prematurely.
After cleaning, always ensure you dry the surface thoroughly with a clean, dry cloth. Do not allow water to sit on the surface for extended periods, as prolonged exposure to moisture, even on a water-resistant finish, can eventually lead to damage or water spots over time. Promptly wipe up spills to maintain the integrity of the finish.
Reapplication: When and How to Refresh Your Finish
Over time, particularly in high-traffic areas or spots exposed to frequent water contact, the Waterlox finish on your butcher block may naturally show signs of wear. You might notice dull spots, areas where water no longer beads up effectively, or subtle changes in the wood’s appearance.
When these signs become apparent, it’s an indicator that it’s time to reapply a fresh coat of Waterlox. The process is much simpler than the initial application: Lightly sand the worn areas (or the entire surface if needed) with fine-grit sandpaper (e.g., 320-400 grit) to create a smooth, clean surface and ensure good adhesion. Wipe away all dust, and then apply one or two thin, even layers of Waterlox, following the same drying and curing guidelines as your initial application. This revitalizes the finish and restores its protective qualities.
Protecting the Surface for Longevity
To maximize the lifespan and beauty of your Waterlox-finished butcher block, adopt simple protective habits. Always use cutting boards when preparing food to prevent knife marks directly on the finished surface. Similarly, employ trivets or hot pads under hot pots and pans to protect against heat damage.
For a refreshed appearance between reapplication cycles, you can occasionally buff the surface with a clean, soft cloth. This helps to maintain its natural sheen and can gently remove minor surface scuffs. Regular, gentle care will ensure your butcher block remains a beautiful and functional centerpiece in your kitchen for many years.
With consistent care, occasional reapplication, and mindful protection, your Waterlox-finished butcher block will continue to look beautiful, perform excellently, and stand up to the rigors of kitchen life for a remarkably long time.
Waterlox Application for Diverse DIY Projects
Waterlox isn’t just an exceptional choice for butcher blocks; its versatility and robust protection make it a fantastic option for a wide array of other DIY wood projects. Its ability to provide a durable, water-resistant, and aesthetically pleasing finish can elevate any wooden piece, from furniture to custom creations.
Refinishing Old Butcher Blocks and Cutting Boards
If you possess an old butcher block or a cherished cutting board that has become scratched, stained, or simply worn down by years of use, Waterlox can be a game-changer. By thoroughly sanding down the surface to remove accumulated damage and then carefully applying Waterlox, you can astonishingly restore its natural beauty and make it appear virtually new again. The finish will not only protect the wood from future wear but also provide a long-lasting, water-resistant surface that is food-safe once cured, breathing new life into a beloved kitchen item.
Enhancing DIY Kitchen Upgrades and Furniture
Waterlox is perfectly suited for numerous DIY kitchen and home projects beyond just countertops. Consider it for refinishing wooden shelves, constructing custom tables, building rustic kitchen islands, or even for protective finishes on wooden cabinetry or window sills. Waterlox provides a professional-looking finish that consistently enhances the wood’s natural grain and color, adding warmth and sophistication to any space. It’s an excellent option for homeowners who desire to upgrade their kitchen or furniture without the significant expense of replacing entire surfaces, allowing for custom, high-quality results.
A Budget-Friendly Option for Long-Term Value
For passionate DIY enthusiasts and homeowners seeking an affordable yet exceptionally high-quality finish, Waterlox stands out as a smart investment. While its initial cost might be slightly higher than some conventional oils, its longevity and robust protection offer superior long-term value. Unlike some other finishes that demand frequent reapplication or extensive upkeep, Waterlox forms a durable, lasting barrier. This means your projects will remain beautiful and well-protected for years with minimal maintenance, ultimately saving you time and money over the long run. Choosing Waterlox ensures that your hard work results in a professional-grade finish that endures, enhancing the aesthetic and functional value of your creations.
Utilizing Waterlox for your DIY projects can significantly elevate the aesthetic and functional quality of your creations, ensuring both outstanding durability and superior protection. Whether you’re meticulously restoring a piece of antique furniture or meticulously completing a new kitchen upgrade, Waterlox consistently helps you achieve a high-quality, professional-grade finish that truly stands the test of time.
Conclusion: Embrace the Durability and Beauty of Waterlox
Waterlox stands as an outstanding choice for finishing butcher blocks and a broad spectrum of other DIY wood projects. Its unique tung oil-based formulation delivers a remarkably durable, highly water-resistant finish that not only protects but also deeply enriches the natural beauty of the wood. Furthermore, its straightforward application process and manageable maintenance requirements make it accessible for both seasoned DIYers and those new to wood finishing.
Whether your goal is to meticulously restore an old, cherished butcher block or to impart a professional-grade finish to a brand-new project, Waterlox promises long-lasting protection and a consistently professional-looking result. With proper, careful application, diligent regular care, and occasional reapplication as needed, your Waterlox-finished butcher block or other wooden surfaces will retain their beauty and functionality for many, many years, becoming a durable and elegant centerpiece in your home.
Are you ready to embark on your next wood finishing project with confidence? With Waterlox, you have the power to create stunning, resilient surfaces that are truly built to stand the test of time! For more helpful tips, creative inspiration, and insightful DIY ideas to enhance your home, we encourage you to explore other valuable resources and blogs available on our website!
Frequently Asked Questions About Waterlox
How Long Does It Take for Waterlox to Fully Cure?
Waterlox typically requires 7–10 days to achieve a full cure. During this crucial period, the finish undergoes a chemical hardening process that grants it maximum durability and water resistance. It is strongly advised to avoid using the surface for any heavy-duty tasks or food preparation during this entire curing window to ensure the finish hardens completely and performs optimally for years to come.
Can I Apply Waterlox in a High-Humidity Environment?
It is generally best practice to apply Waterlox in a well-ventilated area with moderate humidity, ideally between 40% and 70%. High humidity can significantly extend both the drying and curing times, potentially leading to a tacky finish or other application issues. If high humidity is unavoidable, ensure extra ventilation and be prepared for longer wait times between coats and for the final cure.
Can I Speed Up the Waterlox Curing Process?
The chemical curing process of Waterlox cannot be artificially rushed without compromising the integrity and performance of the finish. While ensuring good ventilation and maintaining low to moderate humidity can help facilitate the process, attempting to force it with excessive heat or airflow can lead to premature drying of the surface while the underlying layers remain soft. Patience is truly key to achieving a properly hardened and durable finish that will last.
