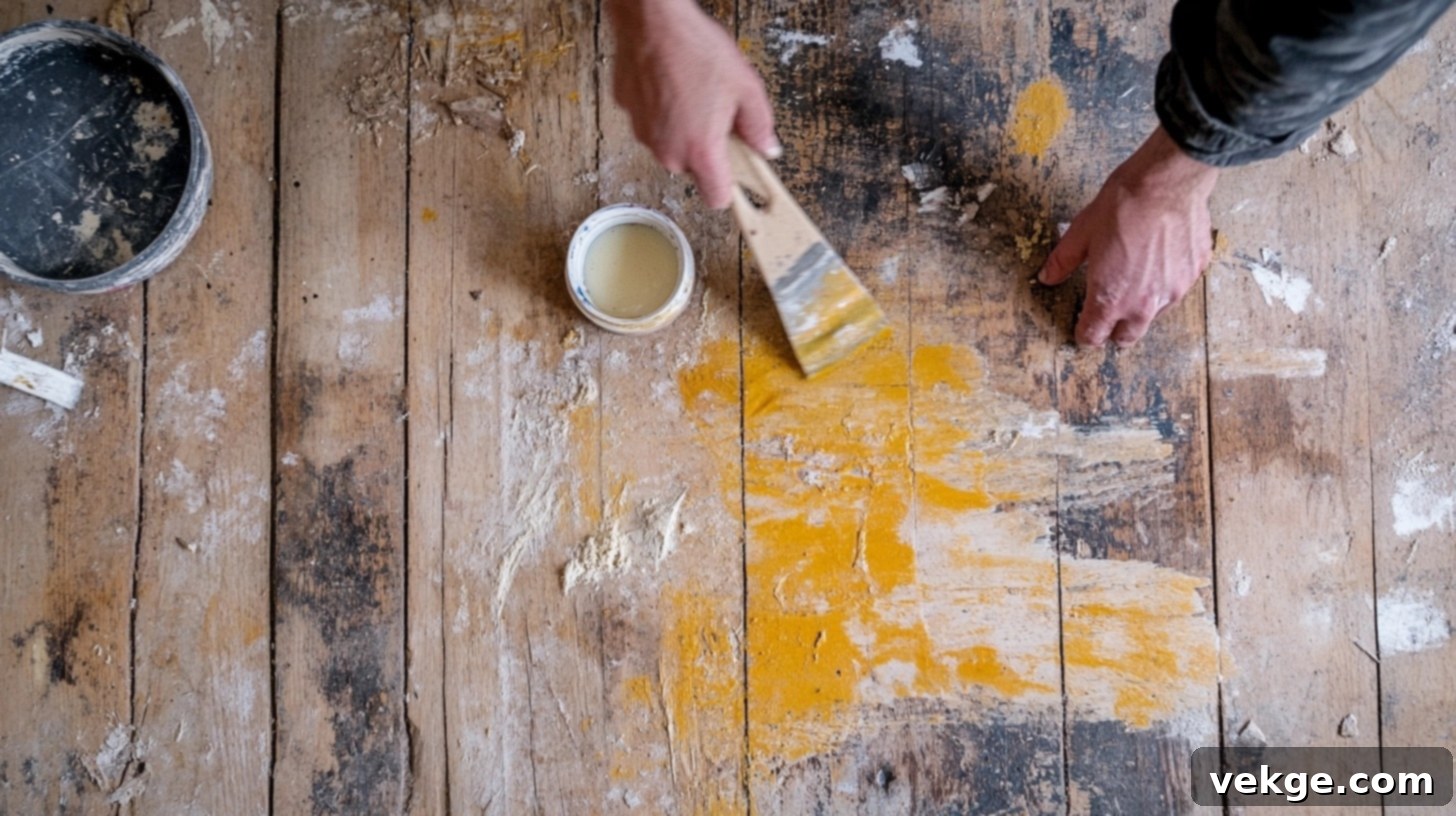
The Ultimate Guide to Safely Removing Paint from Hardwood Floors Without Damage
Discovering an unexpected paint spill on your beautiful hardwood floors can instantly fill any homeowner with dread. That sudden jolt of panic, the worry about permanent damage, and the immediate thought of how much effort it will take to restore their pristine condition – it’s a feeling many of us know all too well. Just last month, I faced this exact scenario when paint unexpectedly spilled across my own stunning hardwood, leaving behind those stubborn marks that seemed intent on ruining the surface.
Trust me, I’ve navigated this frustrating situation firsthand. Through a process of trial and error, testing various methods, and learning from a few mistakes along the way, I’ve uncovered genuinely safe and highly effective techniques to remove paint without causing any harm to the precious wood underneath. The key is knowing which approach to use for different types of paint and how to execute each step meticulously to preserve your floor’s integrity and aesthetic appeal.
This comprehensive guide is designed to share those proven techniques that truly deliver exceptional results. We’ll delve into different approaches tailored to the specific type of paint you’re dealing with, from fresh water-based latex to tough, dried oil-based enamels. We’ll cover the essential tools you’ll need to gather, crucial safety precautions to ensure your well-being, and detailed, step-by-step instructions to ensure your hardwood floors look clean, pristine, and undamaged once again.
Let’s embark on this journey together to expertly remove those unsightly paint spots, all while preserving the perfect finish and structural integrity of your valuable hardwood floors. With the right knowledge, the appropriate tools, and a bit of patience, you can confidently tackle this challenge and restore the natural beauty of your home’s most cherished surfaces.
How to Safely Clean Paint Off Hardwood Surfaces
Successfully removing paint from hardwood floors requires a methodical approach, beginning with proper preparation and a keen understanding of the nature of the paint spill. Before diving into specific cleaning methods, it’s vital to have all your materials ready and to perform a few crucial tests. This section outlines everything you need to begin your paint removal project safely and effectively, minimizing risks and maximizing success.
Essential Materials and Tools for Effective Paint Removal
Having the right supplies on hand before you start can make a significant difference in the success and safety of your paint removal efforts. Here’s a comprehensive breakdown of the materials and tools you’ll need for each recommended method:
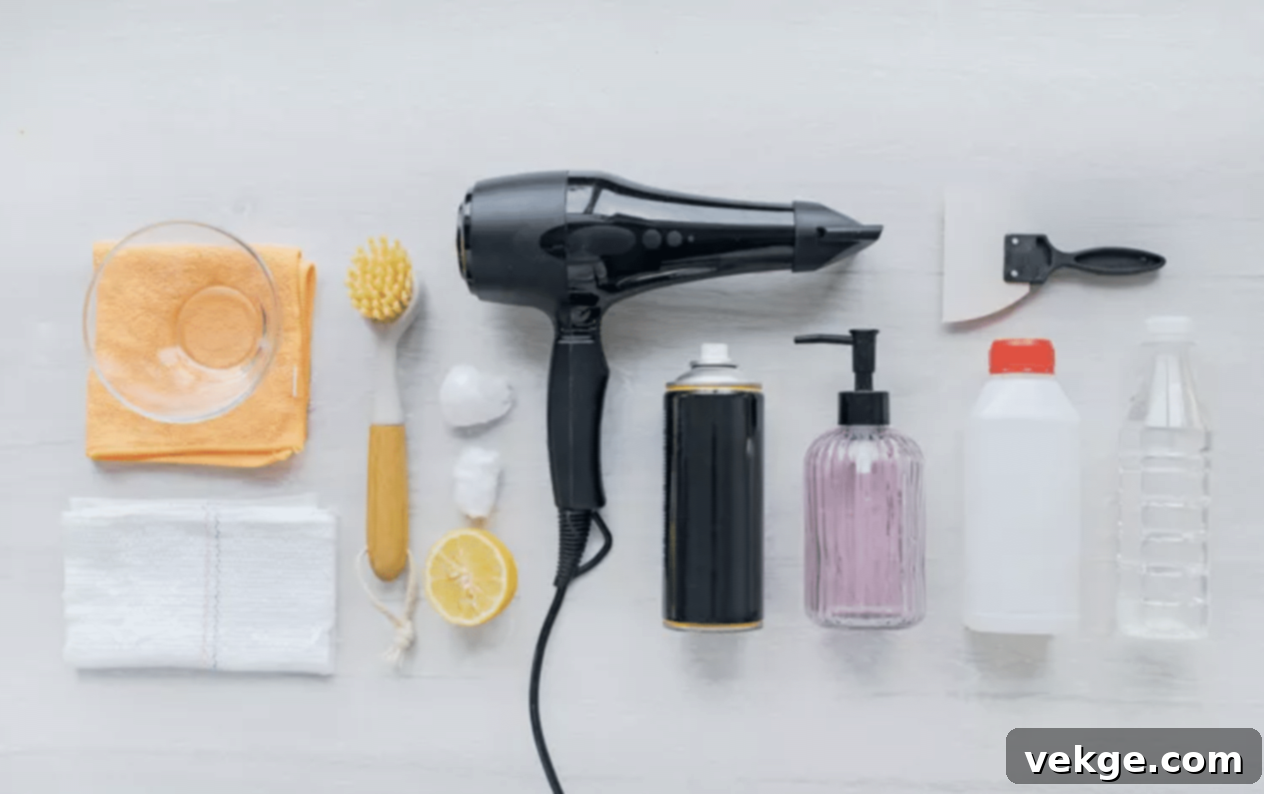
| Method | Materials | Tools |
|---|---|---|
| Gentle Dishwashing Liquid |
|
|
| Isopropyl Alcohol & Lemon Juice Mix |
|
|
| Targeted Heat Application |
|
|
| Controlled Paint Thinner Use |
|
|
Quick Note on Safety and Storage: Always store all cleaning agents, especially powerful solvents like paint thinner and alcohol-based products, safely away from children and pets. Ensure they are kept in a well-ventilated, secure location. When actively using these products, make sure your work area has excellent airflow by opening windows and using fans. Proper ventilation is crucial for your safety and to prevent the buildup of harmful fumes.
Essential Preparation Steps Before You Begin
Thorough preparation is the cornerstone of successful and damage-free paint removal. Skipping these preliminary steps can lead to ineffective cleaning, or worse, unintended harm to your beautiful hardwood floors. Taking a few moments for these crucial checks will save you significant time and potential headaches later on.

- Identify the Paint Type: This is a critical first step that dictates your cleaning strategy. Dip a cotton ball in isopropyl alcohol and gently rub it on an inconspicuous area of the paint spill. Watch for paint transfer to the cotton ball. If the paint comes off easily and smudges, it’s highly likely to be water-based (latex) paint. If the paint remains largely undisturbed and doesn’t transfer, you’re probably dealing with oil-based paint. Knowing the paint type will guide you in selecting the most appropriate and effective cleaning method, preventing unnecessary damage to your floor.
- Test for Lead Paint (Crucial for Older Homes): For any home built before 1978, testing for lead paint is not just recommended, it’s absolutely essential for safety. Lead paint, when disturbed, can release toxic dust that poses serious health risks. Purchase a reliable lead paint test kit from your local hardware store. These kits provide a quick and simple test that can alert you to the presence of harmful old paint. Your safety and the safety of your family are paramount.
- Professional Intervention for Lead Paint: If your lead paint test yields a positive result, stop all DIY removal efforts immediately. Lead paint abatement requires specialized knowledge, specific equipment, and strict safety protocols to prevent the release of toxic dust into your home. Contact a certified professional lead remediation specialist. They possess the expertise and proper tools to safely and effectively remove lead paint without jeopardizing the health of your household.
- Clear and Protect the Area: Before you begin any cleaning, completely remove all furniture, rugs, and any other items that might obstruct your work or get damaged. This provides you with ample space to work safely and effectively. Use painter’s tape and plastic sheeting to protect adjacent baseboards, walls, and any furniture that cannot be moved to prevent accidental splashes or contact with cleaning solutions.
Method 1: The Gentle Approach with Dishwashing Liquid (Ideal for Water-Based Paint)
This method is your first line of defense and should always be attempted first, especially for fresh or water-based paint spills. It’s gentle on your hardwood finish and remarkably effective. The mild surfactants in dish soap work by breaking down the surface tension of the paint, allowing it to lift without the need for harsh chemicals or abrasive scrubbing.
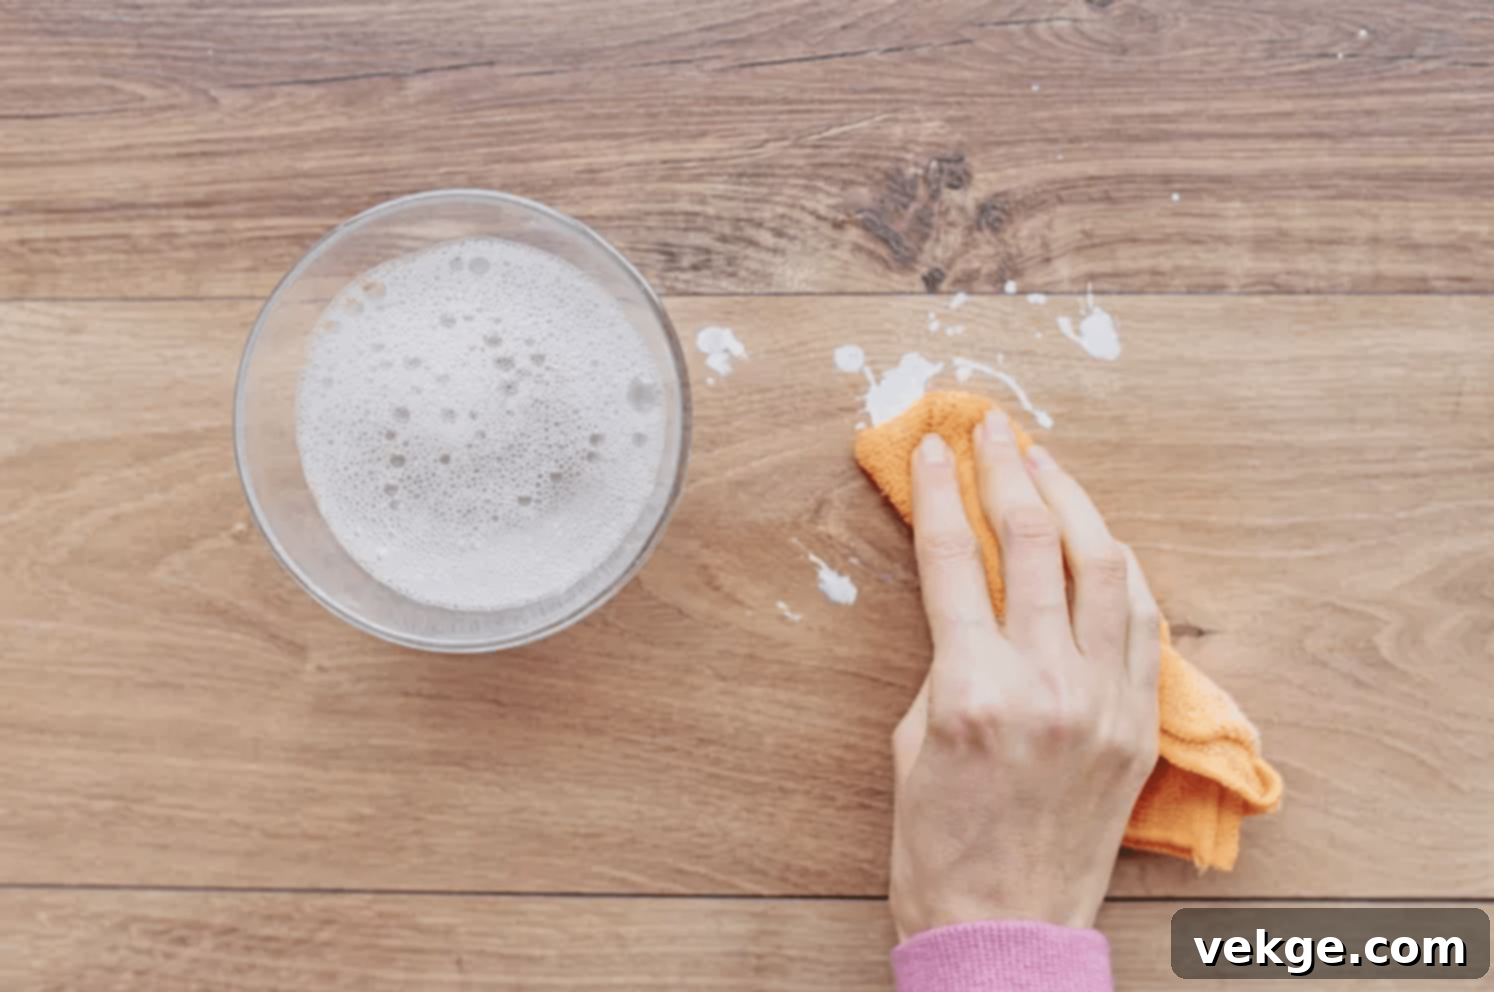
- Prepare Your Cleaning Mixture: In a small bowl, combine 2 cups of warm water with 3-4 drops of a mild dishwashing liquid. Stir gently until a light, bubbly solution forms. The warm water helps to soften the paint, while the soap acts as a mild degreaser and emulsifier, making the paint easier to remove.
- Apply and Agitate Gently: Dip a clean microfiber cloth into the cleaning mixture, making sure to wring out any excess water thoroughly. The cloth should be damp, not dripping. Gently wipe the paint spot, always moving along the wood grain. Apply firm but gentle pressure, allowing the soapy solution to penetrate and loosen the paint. Avoid aggressive scrubbing, as this can potentially damage the wood finish over time.
- Tackle Stubborn Spots: For more persistent or slightly dried paint spots, you might need a little extra persuasion. Hold a hard plastic putty knife at a shallow 45-degree angle to the floor. Carefully and gently scrape to lift the paint, always moving with the wood grain. The plastic knife is crucial here, as metal scrapers can easily scratch, gouge, or permanently mar your beautiful hardwood. After scraping, wipe the area again with a fresh, damp cloth to remove any loosened paint residue and soap.
- Rinse and Dry Thoroughly: Finish by wiping the cleaned area with a separate clean cloth dampened with plain water to remove any lingering soap residue. Immediately follow up with a dry microfiber cloth to thoroughly dry the area. This step is vital to prevent moisture from seeping into the wood, which can lead to warping, swelling, or finish damage.
Method 2: The Middle Ground – Alcohol and Lemon Mix (Good for Latex and Light Oil-Based Paint)
When mild dish soap isn’t quite enough to tackle the paint, this combination offers a slightly stronger solvent action without being overly aggressive. Isopropyl alcohol is an effective solvent for many paint types, while lemon juice adds a mild acidic component that can help break down grime and provides a pleasant, natural scent. This method serves as an excellent intermediate step before resorting to heat or chemical thinners.

- Create Your Solution: In a small bowl, carefully mix 3 parts isopropyl alcohol with 1 part fresh lemon juice. This creates a potent yet generally floor-safe cleaning mixture that targets paint adhesion. The alcohol acts as a solvent, effectively dissolving many paint binders, while the lemon juice helps to cut through grime and provides a natural, fresh scent, masking some of the alcohol odor.
- Soak and Dwell with Care: Saturate a clean rag with the prepared solution. Place the damp rag directly over the paint spot, ensuring good contact across the entire area. Allow the solution to dwell for about 5 minutes. This dwell time allows the alcohol to begin penetrating and breaking down the paint. Crucially, keep a close eye on the area during this time to ensure the solution is not negatively affecting your floor’s finish. If you notice any dulling, discoloration, or softening of the wood finish, remove the rag immediately and rinse the area with plain water.
- Gentle Scrub and Clean: After the recommended dwell time, use an old toothbrush or a soft nylon-bristle brush to gently work on the paint in small, circular motions. Apply only gentle pressure to avoid scratching the wood surface. The bristles will help to agitate and lift the softened paint particles. Finish by thoroughly wiping the area with a clean, damp rag to remove all paint residue and cleaning solution. Finally, dry the area completely with a fresh microfiber cloth to prevent any moisture damage.
Method 3: The Heat Method for Tough Paint (Effective for Dried Latex and Softening Oil-Based)
Heat can be surprisingly effective for removing dried, stubborn paint, as it causes the paint to soften, bubble, and lose its adhesion to the hardwood surface. This method requires a significant degree of care and attention to avoid overheating the wood, which could lead to discoloration, warping, or irreparable damage to the finish. It’s often successful for older, more entrenched paint spots that have proven resistant to liquid cleaners.

- Safe Setup is Paramount: Before turning on any heat source, ensure your workspace is completely clear of any flammable materials, including rags used with solvents. Consider laying down a thick canvas drop cloth around the immediate area to catch any softened paint debris. Keep your tools, especially your plastic putty knife, within easy reach. A well-organized and safe setup minimizes risks and streamlines the cleaning process.
- Controlled Heat Application: Hold your heat source—either a hairdryer on a high setting or a heat gun on its lowest setting—approximately 6 inches away from the paint spill. Move the heat source continuously in gentle, circular motions over the paint. The goal is to gradually warm and soften the paint, not to scorch or burn the wood. Never hold the heat in one stationary spot, as this can quickly overheat and damage your floor’s finish, causing permanent discoloration, blistering, or even warping. Patience is vital here; let the heat slowly do its work.
- Scrape and Clean Carefully: As soon as the paint begins to bubble, soften, or become pliable, immediately turn off the heat. Use your hard plastic putty knife to gently scrape the softened paint away. Always work with the grain of the wood to prevent any scratches or gouges. Once the paint is removed, clean the area thoroughly with a damp cloth to pick up any residue, and then dry it completely with a clean, dry cloth. Allow the floor to cool completely to room temperature before resuming normal use or considering any further finishes.
Method 4: Paint Thinner Method (Specifically for Oil-Based Paint)
This is the most aggressive method and should only be used as a last resort, specifically for oil-based paints that have proven resistant to all other gentler methods. Paint thinners (like mineral spirits or turpentine) are powerful solvents. Due to their potency, flammability, and potential health hazards, extreme caution and strict safety measures are absolutely essential when employing this technique.
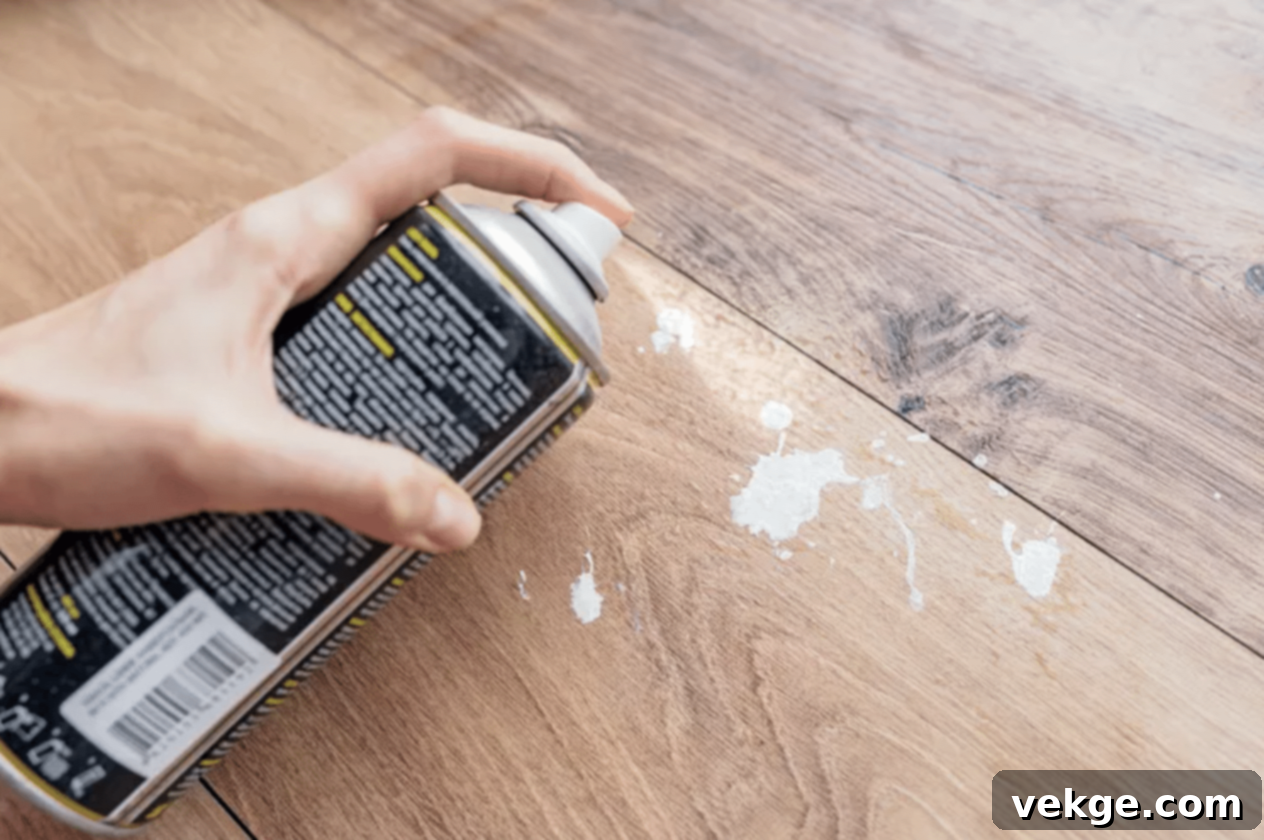
- Prioritize Safety Above All Else: Before opening any paint thinner, ensure maximum ventilation. Open all windows, activate exhaust fans, and even use portable fans to circulate air throughout the room. It is absolutely critical to remove all people and pets from the immediate work area. Put on heavy-duty chemical-resistant gloves, safety glasses or goggles, and a respirator mask to protect yourself from harmful fumes and splashes. Absolutely remove any potential ignition sources (e.g., pilot lights, open flames, sparks, electrical appliances) from the vicinity, as paint thinners are highly flammable.
- Conduct a Discreet Test: This step cannot be overstated due to the aggressive nature of paint thinners. Locate a small, hidden spot on your hardwood floor (e.g., under a rug, inside a closet, or in an inconspicuous corner). Apply a very small amount of paint thinner to a cotton swab and dab it onto the hidden area. Wait at least 10 minutes, then wipe it off and carefully inspect for any signs of damage, discoloration, dulling, or finish degradation. Only proceed with the paint removal if your floor shows absolutely no adverse reaction. If there’s any doubt, stop and consult a professional.
- Careful Application and Removal: Dampen a clean rag or cotton ball with a minimal amount of paint thinner – it should be damp, not soaking wet or dripping. Press the dampened rag onto the paint spot for approximately 30 seconds to allow the thinner to penetrate and soften the paint. Gently wipe the paint, always moving along the wood grain. Avoid aggressive scrubbing or letting the thinner pool on the floor, as prolonged contact can severely damage the finish. Work in very small sections to maintain control.
- Thorough Cleanup and Ventilation: Immediately after removing the paint, clean the entire area with a fresh, damp cloth moistened with a mild wood cleaner to remove all traces of the paint thinner and any paint residue. Follow this with a dry cloth. Continue to ensure the room airs out completely for several hours, or even overnight, to dissipate all fumes. Properly dispose of all used rags, cotton balls, and materials according to local hazardous waste guidelines, as they can remain flammable even after use.
Essential Tips for Paint Removal Success and Long-Term Floor Protection
Achieving a pristine, paint-free hardwood floor while maintaining its integrity involves more than just following steps; it also requires a mindset of caution, precision, and proactive prevention. These essential tips will guide you towards successful paint removal and help safeguard your valuable flooring investment for years to come.
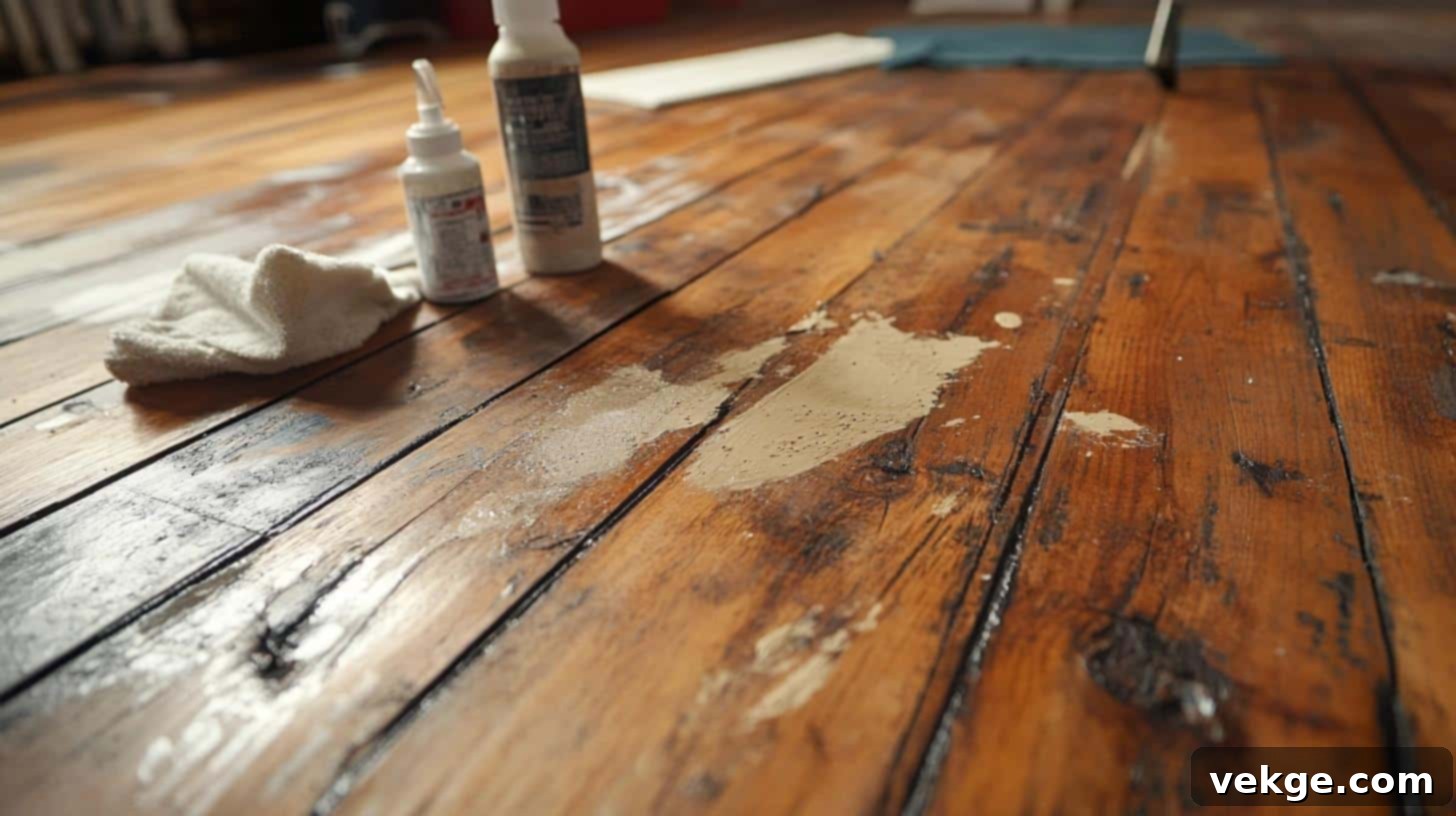
- Work in Small Sections and Always Test First: Never rush the process, especially when dealing with potentially damaging substances. Tackle paint spots in small, manageable sections. This allows you to closely observe how the floor reacts to your chosen method and prevents widespread damage. Crucially, always test any cleaning solution or method on an inconspicuous area of your hardwood floor (like a closet corner or under a heavy appliance) before applying it to the main stain. This ensures compatibility with your specific floor finish and prevents unforeseen damage.
- Prioritize Plastic Over Metal Scrapers: When scraping, a hard plastic putty knife is your indispensable tool. Metal scrapers, even when used with extreme care, can easily scratch, gouge, or permanently mar your hardwood’s beautiful surface. Plastic tools provide enough rigidity to lift softened paint but are forgiving enough to protect the delicate wood finish. Regularly inspect your plastic tools for ragged edges or chips and replace them if they become worn, as even plastic can cause damage if abrasive.
- Recognize and Immediately React to Damage: Pay close attention to your floor’s finish throughout the removal process. If you notice any signs of dulling, discoloration, swelling, softening of the finish, or other adverse reactions, stop immediately. This indicates the method is too harsh or being applied incorrectly for your specific floor. Switch to a gentler approach, dilute your solution further, or consider consulting a professional floor refinisher for expert advice. It’s always better to pause and reassess than to cause irreversible damage.
- Maintain Meticulous Cleanliness of Tools and Materials: Keeping your rags, cloths, brushes, and cleaning solutions clean is vital for effective and safe paint removal. Dirty tools can re-deposit paint, spread grime, or even scratch your floor if abrasive particles are picked up. Use fresh cleaning solution if it becomes murky, and rinse rags frequently, especially when moving between different areas or stages of cleaning.
- Ensure Ample Lighting for Precision: Always work in an area with excellent lighting. Natural daylight is often best, as it allows you to clearly see true colors, detect any subtle paint residue that might otherwise be missed, and quickly spot any potential damage to the floor’s finish. Good lighting helps you work more accurately and notice small details crucial for a perfect finish.
- Start Gentle, Escalate Gradually: This is a golden rule for hardwood floor care. Always begin with the least aggressive cleaning method, such as the mild dishwashing liquid solution. Many fresh or water-based paint spills can be removed with this gentle approach. Only move on to stronger solutions or methods (like alcohol/lemon, controlled heat, or paint thinner) if the initial gentler attempts prove ineffective. This systematic approach significantly reduces the risk of harming your floor’s precious finish.
- Proper Tool Cleaning and Waste Disposal: After completing each section or method, thoroughly clean your tools. For rags and cotton balls used with paint thinners or alcohol, proper disposal is crucial due to flammability and environmental concerns. These materials can spontaneously combust. Check your local municipal guidelines for the correct disposal of hazardous waste materials. Never throw chemical-soaked rags directly into household trash.
- Patience is Your Greatest Virtue: Removing paint from hardwood floors is rarely a quick task. Rushing can lead to mistakes, overlooked spots, or even damage. Take your time, work methodically, and be prepared for multiple applications or passes if the paint is particularly stubborn or has been on the floor for a long time.
How to Take Care of Your Floor After Paint Removal
Once the paint has been successfully removed, the job isn’t quite finished. Proper aftercare is essential to ensure your hardwood floors are fully restored, adequately protected, and their long-term beauty preserved. These steps will help you bring your floors back to their former glory and prepare them for continued enjoyment, protecting your investment for years to come.
- Thorough Inspection and Smoothing: After the paint is gone, meticulously inspect the entire cleaned area under good light. Look for any dull patches, lingering microscopic paint specks, minor scratches, or any areas where the finish might feel slightly rough to the touch. For very minor rough spots or subtle paint residue, use extra-fine steel wool (0000 grade) or a fine-grit sanding sponge, always moving gently with the wood grain. This helps to smooth the surface without causing further damage.
- Gentle Cleaning to Remove All Residue: Wipe the entire treated area with a soft, slightly damp cloth that has been moistened with a pH-neutral wood floor cleaner. This step is critical to remove all traces of the cleaning solutions, paint thinner, or alcohol mixtures used during paint removal. Any lingering chemical residue can continue to affect the floor’s finish over time, leading to dullness or accelerated wear.
- Check and Restore pH Balance: While not always strictly necessary, if you’ve used acidic (like lemon juice) or alkaline (some dish soaps) solutions, you might consider testing the floor’s pH with wood-safe pH testing strips. An imbalanced pH can compromise the finish and make it more susceptible to dulling or damage. If the pH is off-balance, use a specifically formulated pH-neutral wood cleaner to help restore the surface’s natural balance.
- Reapply Finish (If Necessary): If the cleaned area appears duller, hazy, or slightly different in sheen compared to the surrounding unaffected wood, a light reapplication of wood floor polish might be necessary. Choose a polish that precisely matches your existing finish – whether it’s matte, satin, or glossy. Apply a thin, even coat according to the product instructions, blending it carefully into the surrounding area to ensure a seamless and uniform look.
- Ensure Adequate Drying and Protection: Keep the area well-ventilated by opening windows or using fans. Allow your floor a full 24 hours to completely dry and cure before allowing heavy foot traffic, replacing furniture, or letting pets back into the area. Blocking off cleaned sections helps prevent accidental re-damage during this vulnerable post-cleaning period, allowing the finish to fully settle.
- Implement Preventative Measures: To protect your beautifully restored floors from future incidents, consider adding floor protectors (soft felt pads) to the legs of all furniture, especially chairs and tables that are frequently moved. Place durable mats or rugs in high-traffic areas, near entryways, and under office chairs to prevent scratches, dents, and future stains from spills.
- Establish a Regular Maintenance Routine: Consistent and proper care is key to long-lasting hardwood floors. Dust your floors daily or every other day using a microfiber mop or vacuum with a soft brush attachment to remove abrasive particles like dirt and grit. Clean weekly with a proper wood cleaner designed for your specific floor type. Periodically inspect your floors for any signs of wear, minor damage, or potential issues that can be addressed proactively before they become significant problems.
- Keep a Spill Kit Handy: Prepare a small “spill kit” with essential cleaning supplies (microfiber cloths, a mild wood cleaner, and a plastic scraper). The faster you respond to any future spills, whether it’s paint, water, food, or drinks, the easier and more effective the cleanup will be, significantly minimizing the chance of permanent damage.
Conclusion: Reclaiming Your Hardwood Floor’s Splendor
I understand firsthand the initial overwhelm and frustration that comes with discovering a paint spill on your cherished hardwood floors. It can feel like an impossible task to restore their original beauty without causing further harm. However, as this comprehensive guide has demonstrated, with the right approach, a bit of patience, and the correct tools, you absolutely can fix this common household mishap and bring your floors back to life.
The most important takeaway from this guide is to always start with the gentlest cleaning option available. Often, a simple solution of mild dish soap and warm water is all you need for fresh, water-based paint spills. By beginning gently, you significantly minimize the risk to your floor’s delicate finish and avoid the unnecessary application of harsher, potentially damaging treatments.
If the milder methods don’t yield satisfactory results, you can then move step by step through progressively stronger techniques – from the alcohol and lemon mix to controlled heat application, and finally, for stubborn oil-based paints, carefully applied paint thinner. Throughout this entire process, always prioritize protecting your beautiful floors by rigorously testing in inconspicuous areas and closely observing their reaction to each method.
Have you had an experience with removing paint from your hardwood floors? I’m genuinely interested in hearing about your successes, challenges, and what methods proved most effective for you. Sharing your personal tips, tricks, or asking further questions not only enriches our collective knowledge but could also provide invaluable assistance to someone else facing the very same problem.
Please feel free to drop a comment below to share your insights or queries. Remember to stay patient, work meticulously, and soon enough, your hardwood floors will be looking clean, fresh, and splendid once again, as if the spill never even happened. Happy cleaning!
Frequently Asked Questions About Hardwood Paint Removal
Will Vinegar Damage My Hardwood Floors?
While diluted vinegar can be used for general cleaning on some surfaces, it’s best to use it sparingly and with significant caution on hardwood floors. Vinegar is acidic, and over time, consistent use or too strong a concentration (e.g., more than a 1:4 vinegar-to-water ratio) can etch, dull, or even strip the protective finish of your hardwood. This can lead to a faded appearance and leave your wood vulnerable. It’s generally recommended to stick to pH-neutral wood floor cleaners specifically designed to maintain your floor’s integrity and sheen. Use vinegar only when absolutely necessary and always rinse the area thoroughly with plain water afterward.
Can I Use a Steam Cleaner to Remove Paint from Hardwood?
No, absolutely not. Using a steam cleaner on hardwood floors is highly discouraged, especially for paint removal. Steam cleaners introduce excessive moisture and high heat directly into the wood and its finish, which can cause severe and irreversible damage such as warping, cupping, swelling, delamination of the finish, and even mold growth. For paint removal, always stick to the recommended methods outlined in this guide that control moisture and heat more effectively and safely, protecting your valuable hardwood.
What if The Paint Has Been on the Floor for Years?
Old, dried paint requires significantly more patience and persistence compared to fresh spills. Start with the gentlest methods (dish soap) and gradually work your way up to stronger options (alcohol/lemon, then controlled heat) as needed. You may need to allow longer dwell times for solutions, and be prepared for multiple applications and careful scraping. If the paint still won’t budge after trying the heat method and you’re reluctant to use paint thinner, or if you’re concerned about damaging your floor, it’s best to contact a professional floor refinishing specialist. They have access to industrial-grade products and specialized techniques to safely handle very old, stubborn paint without harming your floors.
How Do I Remove Paint from Cracks Between Floorboards?
Removing paint from narrow cracks between floorboards requires precision and care to avoid pushing the paint or cleaning solution deeper. Begin by gently trying to loosen the paint with the corner or very thin edge of a hard plastic putty knife. For smaller, more intricate areas, a wooden skewer, a toothpick, or an old, soft nylon-bristle toothbrush dipped very lightly in your chosen cleaning solution (dish soap or alcohol/lemon mix) can be effective. Work very carefully to avoid pushing liquids deep into the cracks, as this can lead to moisture damage or mold. Avoid metal tools, which can chip or widen the gaps. After loosening, use a dry cotton swab or a piece of thin cloth to absorb and lift the loosened paint and solution.
Is It Possible to Remove Paint from Unfinished Hardwood Floors?
Removing paint from unfinished hardwood can be more challenging because the wood is porous and will absorb the paint more deeply into its fibers. Gentle scraping with a plastic putty knife is often the first step. For absorbed paint, light sanding with very fine-grit sandpaper (180-220 grit) can be effective, but be extremely careful not to sand too deeply or aggressively, as this can create noticeable depressions or unevenness. For liquid methods, apply solutions very sparingly with a cotton swab and wipe immediately to prevent deep penetration. You might need to clean the entire floor and then re-finish it to ensure an even appearance and protection for the wood. Always test a hidden area first.
