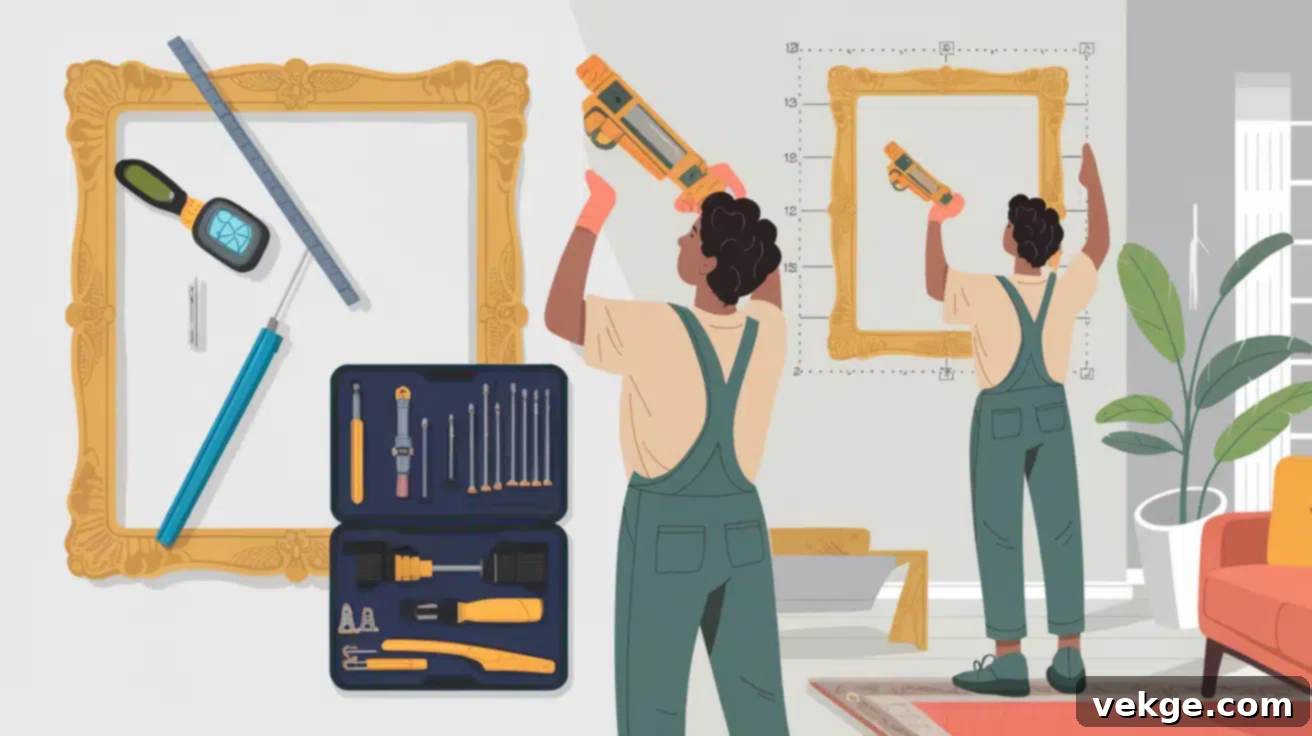
How to Safely Hang Heavy Pictures and Frames: An Expert Guide
Hanging heavy frames, artwork, or mirrors can be a daunting task. Without the proper techniques and hardware, your valuable pieces are at risk of falling, causing significant damage to both the frame and your wall. This isn’t just about aesthetics; it’s about protecting your cherished possessions and ensuring the safety of your home.
Whether you’re looking to hang a grand mirror, a large painting that serves as a focal point, or a collection of heavy family photos, getting the installation right is paramount. The weight and size of your decor demand a thoughtful approach to ensure it remains securely in place for years to come.
This comprehensive guide will walk you through everything you need to know about how to hang heavy pictures safely and effectively. We’ll cover crucial steps such as selecting the correct hanging hardware, mastering precise measurement techniques, and utilizing specialized methods tailored for various wall types. Our goal is to equip you with the knowledge to confidently install your wall decor, protecting your art and your home from potential damage.
Before we delve into the practical steps, we’ll help you accurately determine if your frame qualifies as “heavy” and then guide you toward the most appropriate and secure hanging methods for your specific situation. This foundational understanding is key to a successful and lasting installation.
What Makes a Picture “Heavy”? Identifying Your Artwork’s Weight
Before you begin drilling holes or hammering nails, it’s critical to understand what constitutes a “heavy” picture. The weight of your artwork will dictate the type of hardware and method you need to employ for a secure installation. Misjudging the weight can lead to inadequate support, resulting in your cherished piece falling and sustaining damage.
To provide a clear classification, here are common weight categories for wall decor:
- Light: Pictures weighing less than 10 pounds. These typically include small prints, lightweight canvas art, or frames with acrylic instead of glass.
- Medium: Pictures weighing between 10-25 pounds. This category often includes moderately sized framed photos, standard mirrors, or artwork with glass and a substantial frame.
- Heavy: Pictures weighing between 25-50 pounds. Large framed posters, medium-sized mirrors, or framed original artwork often fall into this range. These pieces require more robust hanging solutions.
- Extra Heavy: Pictures weighing over 50 pounds. This category includes very large mirrors, antique frames, substantial original paintings, or multi-panel art pieces. These demand the strongest and most reliable hanging systems available.
To accurately determine your picture’s weight, a simple bathroom scale is your best tool. First, weigh yourself alone. Then, weigh yourself while holding the picture. Subtract your individual weight from the combined weight, and the difference will be the precise weight of your picture. This accurate measurement is vital for selecting the appropriate hanging method and hardware, ensuring optimal safety and stability.
Remember that frame material significantly impacts the overall weight. Ornate wooden frames, especially those with intricate carvings or made from dense hardwoods, can add substantial weight. Similarly, traditional glass glazing is considerably heavier than acrylic or plexiglass. Be mindful of these components when estimating and measuring your item’s weight.
Proper Measurement Techniques for Perfect Placement
Correct placement is not just crucial for visual appeal; it’s also essential for the safety and stability of your heavy frames. A meticulously planned installation prevents unnecessary wall damage from repositioning and ensures your artwork is displayed at its best.
Consider these standard guidelines for optimal picture placement:
- The general rule of thumb is to hang pictures with their center point approximately 57-60 inches from the floor. This range represents the average eye level for most people, allowing comfortable viewing without craning necks.
- When hanging artwork above furniture, such as a sofa, console table, or headboard, position the bottom of the frame 8-10 inches above the top of the furniture. This creates a cohesive grouping without appearing cramped or disconnected.
- For creating a gallery wall or a cluster of frames, it’s wise to plan the entire arrangement on the floor or by tracing templates on paper and taping them to the wall before making any holes. This allows you to experiment with layouts and spacing.
Step-by-Step Measurement Process
Achieving precise placement for your picture hanging hardware requires a systematic approach:
- Determine Your Desired Top Position: Decide exactly where you want the top edge of your frame to sit on the wall, factoring in eye level, furniture, or ceiling height. Lightly mark this spot with a pencil.
- Measure Hardware to Frame Top: Flip your picture over and measure the distance from the very top edge of the frame down to the actual hanging hardware (e.g., the wire, D-rings, or sawtooth hanger). If using a wire, pull it taut as if it were hanging on a hook to get an accurate measurement.
- Calculate Hook Position: Subtract the measurement from step 2 from your desired top position (step 1). This calculation gives you the exact spot where your nail or anchor should be installed.
- Mark the Spot: Carefully mark this calculated spot on your wall using a pencil or a small piece of painter’s tape.
- Ensure Levelness: Before finalizing, use a level to ensure your marks are perfectly straight, especially if you’re using multiple hangers for a single frame or creating a gallery wall.
Taking the time to measure correctly and double-check your marks prevents unnecessary wall damage and ensures your heavy frames hang perfectly straight and secure on the first attempt.
Step-by-Step Hanging Methods for Heavy Pictures
Essential Tools & Materials for Secure Hanging
Gathering the right tools and materials before you begin will streamline the process and make hanging heavy pictures significantly easier and safer. Don’t underestimate the importance of quality tools for heavy-duty jobs.
- Stud Finder: An absolute necessity for locating wall studs, which are the strongest and most reliable points for hanging heavy items. Investing in a good quality stud finder will save you time and potential headaches.
- Level: Essential for ensuring your picture hangs perfectly straight. A bubble level or a laser level will work effectively.
- Measuring Tape: For precise placement measurements, crucial for both single frames and gallery arrangements.
- Pencil or Painter’s Tape: For marking the wall accurately without causing damage. Painter’s tape can also be used to mock up layouts.
- Appropriate Wall Fasteners: The most critical item, selected based on the picture’s weight and your wall type (discussed in detail below). These include heavy-duty hooks, screws, and various anchors.
- Drill with Various Bits: For creating pilot holes for screws, anchors, and toggle bolts. Ensure you have bits appropriate for wood, drywall, and potentially masonry.
- Hammer: For installing certain kinds of hangers, like traditional picture hooks, or lightly tapping anchors into place.
- Screwdriver: Both Phillips and flathead are usually needed for installing screws and tightening certain types of anchors. A power drill with screwdriver bits can also suffice.
- Safety Glasses: Always protect your eyes, especially when drilling into walls, as dust and debris can be generated.
Having these tools readily available will not only save you time and prevent frustration but also ensure that your heavy art installation is done correctly and safely from the start.
Method 1: Using Wall Studs – The Strongest Foundation
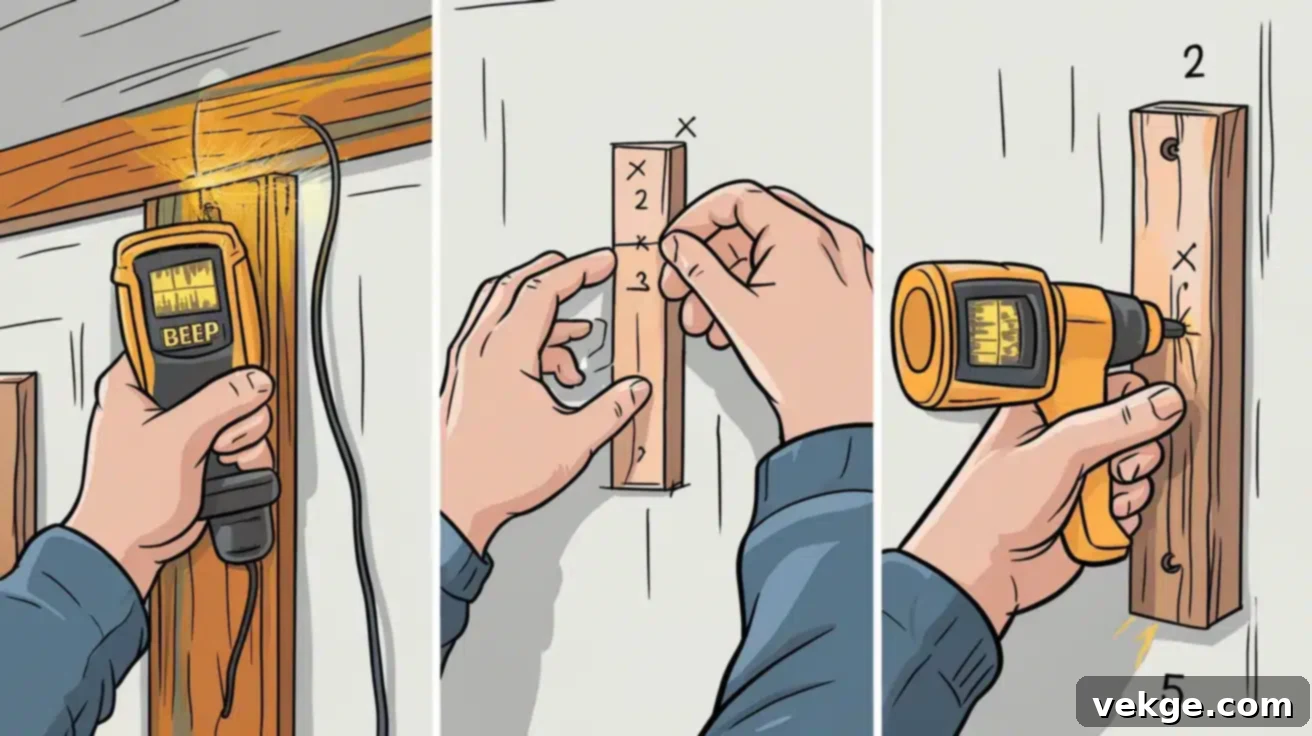
The most secure and highly recommended method for hanging heavy pictures, especially those exceeding 25 pounds, is to attach them directly to wall studs. Studs are the vertical wooden or metal framing components behind your walls, providing a solid anchor point that drywall alone cannot offer. This method virtually eliminates the risk of your artwork falling due to insufficient support.
Steps for utilizing wall studs:
- Locate Wall Studs: Use a reliable stud finder to locate the wall studs. In most modern construction, studs are typically spaced 16 or 24 inches apart on center. Run your stud finder horizontally along the wall at your desired height until it indicates a stud. Mark the edges to find the center.
- Mark the Hanging Location: Once you’ve identified a stud, mark the precise location for your hanging hardware at your desired height, ensuring it aligns with the center of the stud for maximum strength.
- Install Hardware for Lighter Heavy Items (up to 20-25 lbs): For pictures in the lower end of the “heavy” category, you can often drive a sturdy picture-hanging nail directly into the center of the stud at a slight downward angle. Ensure the nail is long enough to penetrate well into the stud.
- Install Hardware for Heavier Items (25+ lbs): For truly heavy or extra-heavy pictures, a screw-based solution is superior. Pre-drill a pilot hole (a smaller hole to guide the screw) into the stud. The pilot hole should be slightly smaller than the diameter of the screw threads. Then, drive a robust screw (e.g., a wood screw or a heavy-duty picture hanging screw) into the pilot hole.
- Consider Specialized Hooks: For even greater security, consider using specialized picture hanging hooks or heavy-duty D-rings/O-rings designed to be screwed directly into a stud. These often come rated for 50-100+ pounds and provide a very reliable anchor point.
When properly executed, this method can safely support pictures weighing 50+ pounds, offering unparalleled stability and peace of mind. Always ensure your chosen screw or nail has sufficient length to penetrate deeply into the stud.
Method 2: Drywall Anchors – When Studs Are Out of Reach
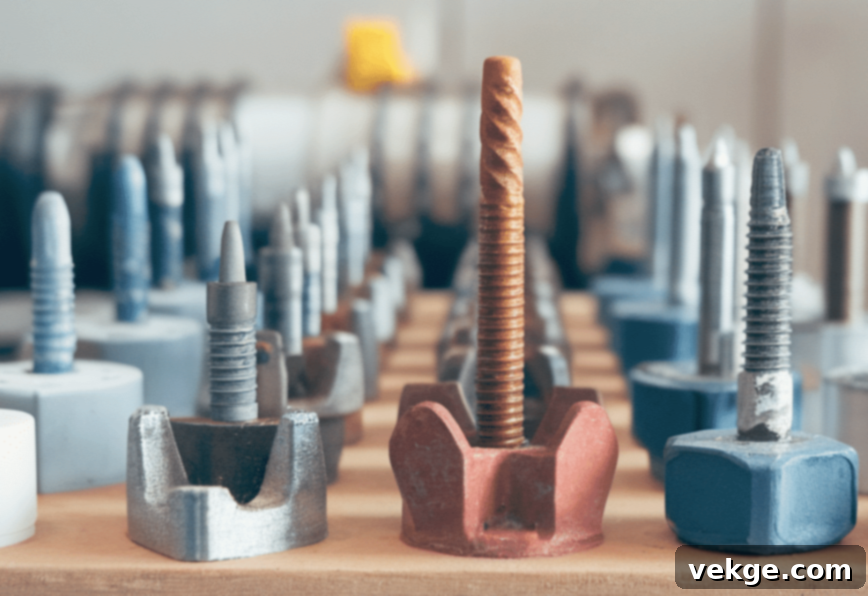
Often, your ideal picture placement won’t align with a wall stud. In such cases, drywall anchors become indispensable. These devices are designed to expand or toggle behind the drywall, creating a much stronger anchor point than a simple nail or screw directly into the gypsum board. Choosing the correct type of anchor for your picture’s weight is crucial.
Here are the common types of drywall anchors and their applications:
1. Plastic Wall Anchors (Conical or Ribbed):
- Suitable for: Light to medium pictures, typically up to 20 pounds. These are the most common and easiest to install for general use.
- Installation:
- Drill a pilot hole in the drywall, matching the anchor’s diameter (check anchor packaging).
- Insert the plastic anchor into the hole, gently tapping it flush with a hammer if needed.
- Screw your chosen hanger (e.g., a screw-eye or a simple screw) into the center of the anchor. The anchor expands slightly, gripping the drywall.
2. Molly Bolts (Hollow Wall Anchors):
- Suitable for: Medium-weight pictures, generally supporting 20-50 pounds depending on size. They offer greater holding power than plastic anchors.
- Installation:
- Drill a hole the same diameter as the folded molly bolt’s barrel.
- Insert the molly bolt into the hole, ensuring the flange is flush with the wall surface.
- Tighten the screw in the center of the molly bolt with a screwdriver or drill. As you tighten, the body of the anchor behind the drywall will expand, creating a strong grip.
- Once tightened, you can remove the screw, hang your item, and re-insert the screw through your picture hanging hardware.
3. Toggle Bolts (Spring Toggle Anchors):
- Suitable for: Heavy and extra-heavy pictures, capable of supporting 50+ pounds. These provide the highest weight rating for hollow walls.
- Installation:
- Drill a hole wide enough for the folded toggle wings to pass through (check manufacturer’s specifications).
- Insert the toggle bolt through the hole. The spring-loaded wings will automatically open up behind the wall, spanning a wider area than other anchors for maximum support.
- Pull the bolt towards you while tightening the nut or screw to engage the toggle wings against the back of the drywall.
Always choose the appropriate anchor based on your picture’s precise weight and your wall’s thickness for optimal safety. Never exceed the manufacturer’s stated weight limit for any anchor.
Method 3: Wall Hanging Hooks – Convenience Meets Strength
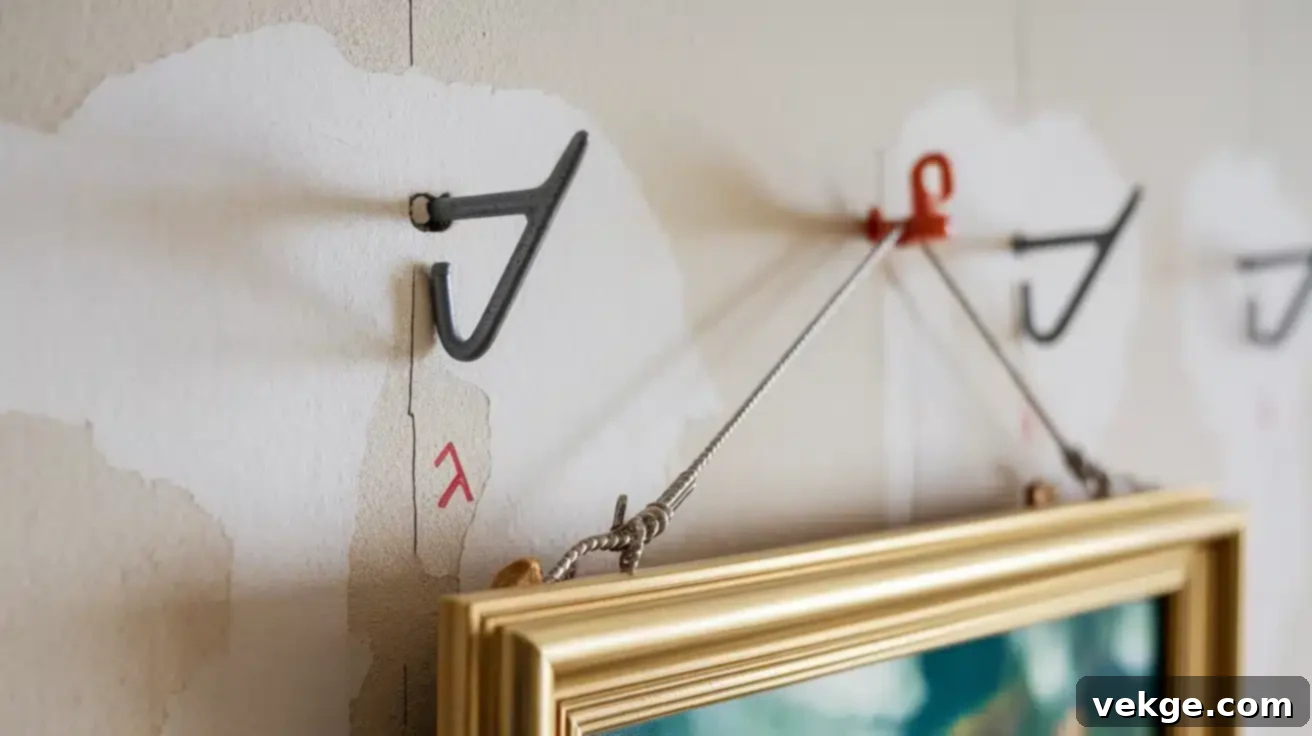
Traditional wall hanging hooks, often deceptively simple in appearance, can support a surprising amount of weight, making them a popular choice for various items. These hooks typically feature a small, angled nail designed to secure the hook directly into the wall material, often at an optimal angle for maximum grip.
Their weight-bearing capacity typically ranges:
- Single-nail wall hooks: Can hold up to 25 pounds, suitable for many medium to heavy frames.
- Double-nail wall hooks: Can hold up to 50 pounds, making them an excellent choice for heavier pictures where a stud isn’t perfectly aligned.
These hooks are favored for their ease of installation and the minimal wall damage they cause, often leaving only small, easily repairable holes. This makes them ideal for renters or individuals who frequently rearrange their wall decor, as they offer flexibility without significant repair work.
Installation is straightforward:
- Mark the Desired Location: Use your measurement calculations to precisely mark where the hook should be placed on the wall.
- Position and Hammer: Place the hook flat against the wall, ensuring the nail is pointed at your mark. Gently but firmly hammer the nail into the wall at a slight downward angle. The angle of the nail is critical for the hook’s weight-bearing capacity, so follow the hook’s design.
- Ensure Security: Before hanging your picture, give the hook a gentle tug to confirm it is securely embedded in the wall. You should feel no movement or wobbling.
While convenient, ensure these hooks are used within their specified weight limits and are installed correctly for optimal performance, especially with heavier items.
Method 4: Rail-Cable Hanging Systems – The Ultimate in Flexibility
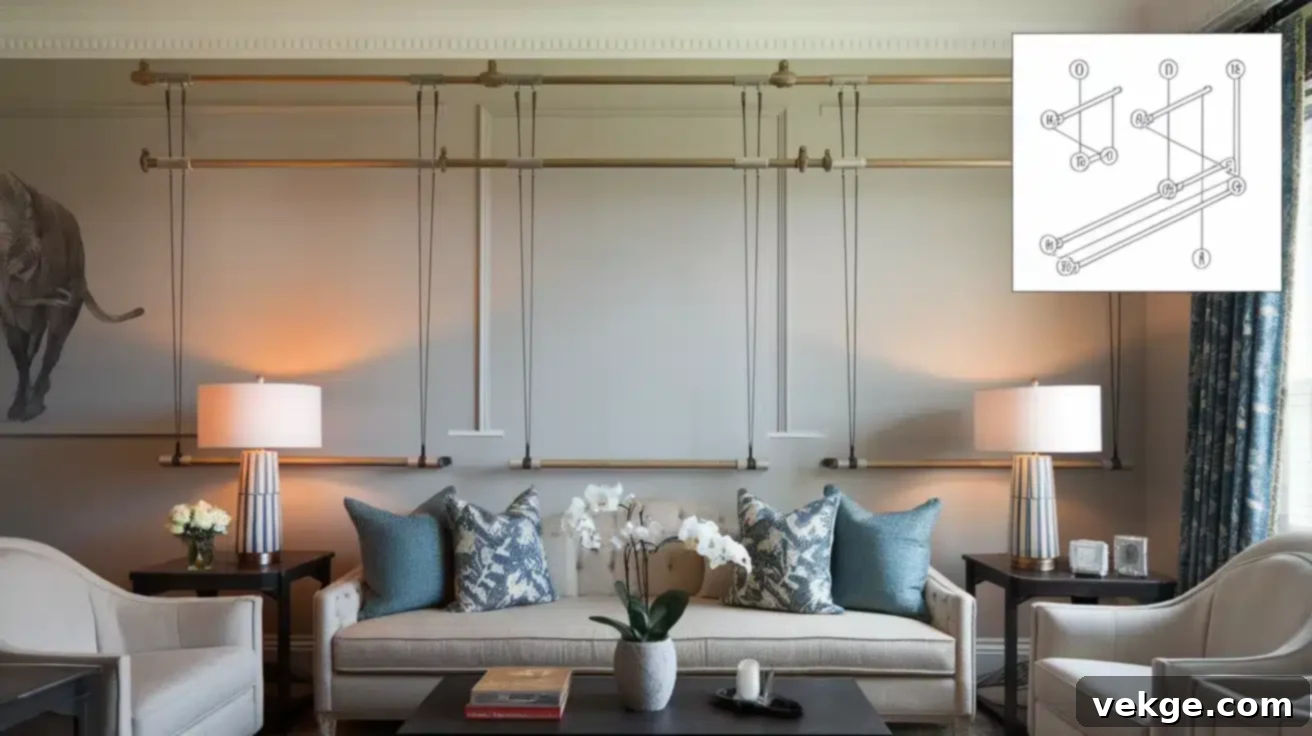
For unparalleled flexibility, strength, and a modern aesthetic, a rail-cable hanging system is an exceptional choice, especially for those who frequently change or adjust their artwork. These systems are commonly found in art galleries and museums for a reason: they offer robust support and effortless rearrangement without ever touching the wall once installed.
Key advantages of rail-cable hanging systems:
- Exceptional Weight Capacity: Many systems can support an impressive 300 pounds or more per linear foot of track, making them suitable for the heaviest artwork and even multiple pieces.
- Universal Wall Compatibility: They work effectively on virtually any wall surface, including drywall, plaster, brick, or concrete, as long as the rail itself is securely mounted.
- Effortless Adjustments: Once the rail is installed, you can easily adjust the height and horizontal position of your artwork simply by sliding the cables and hooks, eliminating the need for additional wall damage.
- Ideal for Dynamic Displays: Perfect for galleries, educational institutions, or homes where artwork is frequently rotated or rearranged, providing a clean, professional look.
- Architectural Element: The sleek rails and fine cables can add a sophisticated, architectural element to your room’s design.
Installation typically involves:
- Mounting the Track: A sturdy aluminum or steel track is mounted horizontally along the top of your wall, close to the ceiling. This rail should ideally be anchored into wall studs whenever possible for maximum stability. If studs are unavailable, heavy-duty toggle bolts or masonry anchors are used.
- Hanging Cables or Rods: Specialized cables (usually clear nylon or steel) or rigid rods are inserted into the track. These can be moved left or right along the track.
- Attaching Adjustable Hooks: Adjustable hooks (often self-locking mechanisms) are then attached to the cables or rods. These hooks can be slid up or down to achieve the desired picture height.
- Hanging Pictures: Your pictures, fitted with D-rings or picture wire, are simply hung from these adjustable hooks.
While the initial installation of the rail system is more involved than a single hook, the long-term benefits in terms of flexibility, safety, and preserved wall integrity are substantial, making it a worthwhile investment for serious art collectors or anyone desiring a dynamic display.
Understanding Your Wall Type: Critical for Secure Hanging
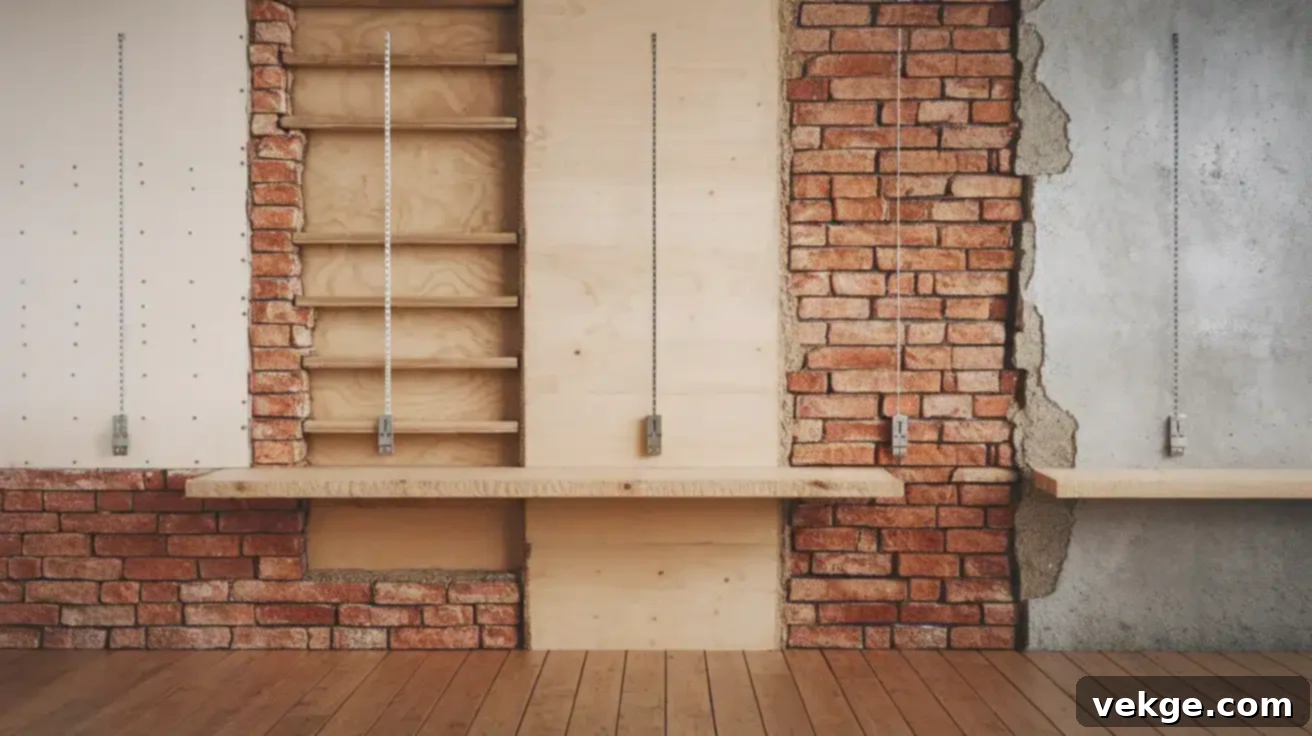
The type of wall you’re working with is arguably the most important factor in choosing the right hanging method and hardware for heavy pictures. Each wall material has unique characteristics that dictate how much weight it can support and what tools are required for a safe installation.
Drywall (Modern Homes)
Most homes built after the 1940s, and certainly in the last few decades, primarily utilize drywall (also known as gypsum board or plasterboard) for interior walls. While convenient for construction, drywall itself is essentially compressed gypsum plaster faced with paper. It is not inherently strong enough to support heavy items without proper reinforcement or specialized anchors.
The hollow space behind the drywall necessitates special anchors to distribute the weight across a larger surface area of the drywall. You can identify drywall by looking for small dimples from screws or seams where panels meet (often taped and mudded). Tapping on the wall will produce a hollow sound, indicating a hollow cavity behind. Using regular nails or small screws directly into drywall for heavy items is highly risky and often leads to the hardware pulling out, causing significant wall damage and a fallen piece of art.
Plaster (Older Homes)
Homes built before the 1940s, and sometimes even into the 1950s, often feature plaster walls. These walls are constructed by applying multiple layers of wet plaster over wooden lath strips or metal mesh. Plaster walls are generally denser and can be stronger than drywall once cured, but they are also more brittle and prone to cracking during installation.
Special care must be taken to prevent cracking when drilling or hammering into plaster. It is essential to pre-drill slowly with a sharp drill bit. A helpful tip is to apply masking tape or painter’s tape over the spot where you intend to drill. This helps to prevent the plaster from chipping and cracking around the hole. Drill slowly with light pressure. Plaster typically feels harder and more solid when tapped, and you might notice small hairline cracks that distinguish it from drywall. While properly anchored plaster walls can hold more weight than drywall, the risk of damage during the installation process is significantly higher.
Brick/Concrete Walls (Solid and Sturdy)
Solid walls made of brick, concrete, or stone offer the ultimate strength for hanging heavy items. However, their hardness also means they require masonry-specific hardware and techniques. You will need a hammer drill (a regular drill may not be powerful enough) and specialized masonry drill bits designed to penetrate these hard surfaces.
Once drilled, you’ll use specific masonry anchors such as expansion anchors, sleeve anchors, or lead anchors, along with appropriate screws or bolts. While installation requires more time, specialized tools, and effort, the good news is that masonry hangers are extremely stable and can support immense weight once installed correctly. Always use a wall detector before drilling into concrete walls, as they can sometimes contain hidden electrical conduits, plumbing, or rebar.
Identifying your wall type is not merely a suggestion; it is a crucial step that directly determines which fasteners will work best and what installation methods to use safely. When in doubt about your wall material, it’s always wise to make a tiny test hole in an inconspicuous area (e.g., behind where the picture will hang) to check the material before proceeding with your main installation. This small precaution can save you a lot of trouble and potential damage.
Maintenance Tips for Long-Term Security
Regular checks are crucial to ensure your heavy frames remain safely on your wall for years. This simple habit can prevent unexpected falls that could damage both your valuable art and your walls. It’s especially important for items weighing over 25 pounds, which exert more continuous stress on the hanging hardware.
Make it a routine to inspect your hanging hardware every few months. Here’s what to look for during your check:
- Signs of Pulling Away: Look for any small cracks, bulging, or separation of the hardware from the wall surface. Dust collection around the hanger can also sometimes indicate slight movement.
- Loose Fasteners: Gently check if screws or nails have loosened over time. Temperature fluctuations, humidity changes, and even vibrations can cause hardware to slightly shift or back out.
- Wire Condition: If your picture uses a wire hanger, inspect the wire for signs of stretching, fraying, or rusting. Over time, heavy loads can weaken wires.
- Frame Stability: Gently touch (do not pull forcefully) the bottom corners or edges of the frame to feel for any wobbling or instability. The frame should feel firmly attached to the wall.
Heavy pictures, by their nature, demand consistent support. If you notice any wobbling, tilting, or if your picture isn’t level anymore, consider adding plastic or felt bumpers to the bottom corners of the frame. These small additions not only help keep the frame straight and stable against the wall but also protect your wall from scratches and scuff marks.
For extra-heavy items (over 50 pounds), consider increasing the frequency of your checks to every 1-2 months. Environmental factors like changes in temperature and humidity can cause walls to expand and contract slightly, potentially affecting the integrity of hanging hardware over extended periods.
If you spot any problems during your inspection, address them immediately. A loose screw or a hairline crack now could escalate into a significant issue and a fallen picture later. Sometimes, a solution might involve simply tightening a screw, but other times you may need to move the hanging point to an undamaged section of the wall or add a second support point to better distribute the weight. Proactive maintenance is the best defense against damage.
Troubleshooting: Common Hanging Issues and Solutions
Even with careful planning and execution, unforeseen issues can sometimes arise when hanging heavy pictures. Knowing how to troubleshoot these problems can save you frustration, prevent damage, and ensure your artwork remains secure.
- Uneven Walls: Many older homes have walls that aren’t perfectly flat. If your picture appears tilted or doesn’t sit flush against an uneven wall, you can use adjustable hanging hardware. Alternatively, strategically placed rubber or felt bumpers on the back of the frame can help compensate for irregularities and push the frame out evenly.
- Hitting a Pipe or Electrical Wire While Drilling: This is a serious safety concern. If you encounter unexpected resistance, hear a different sound, or notice sparks while drilling, STOP IMMEDIATELY. This could indicate a hidden pipe, electrical conduit, or wiring. Never force the drill. Back out and try a different location, preferably after using a pipe/wire detector or consulting a professional.
- Picture Tilting or Sliding: If your picture is prone to tilting out of level or sliding along the hanging wire, there are a few solutions. First, ensure the hanging wire is taut and not too long. Adding a second hanging point (e.g., two D-rings and two hooks) can provide more stability. Additionally, applying rubber or felt bumpers to the bottom corners of the frame will create friction, helping to keep it straight and prevent movement.
- Signs Hardware Isn’t Secure: This requires immediate attention. Watch out for cracking sounds when the picture is hung, visible pulling of the hardware away from the wall (even small gaps), or anchors that seem to be sagging or losing their grip. These are red flags that the current hanging method is failing. Remove the picture immediately, assess the damage, and select a more robust hanging solution or repair the wall before re-hanging.
Addressing these problems promptly is critical to prevent damage to both your walls and your invaluable artwork. Don’t ignore small issues, as they can quickly escalate into larger, more costly problems.
Conclusion: Hang Your Heavy Artwork with Confidence
Safely mounting heavy frames and artwork on your walls is a straightforward yet profoundly important task. By understanding the principles and following the best practices outlined in this guide, you can confidently hang even your largest and most valuable pieces without fear of them falling. The key to success lies in a combination of careful planning, using the right tools, and selecting the most appropriate hardware for both the weight of your frame and the specific type of wall you’re working with.
Remember that wall studs offer the most robust and reliable support for truly heavy items, providing a solid foundation that can handle significant loads. When studs are not available at your desired location, various types of drywall anchors – from plastic inserts for medium weights to robust toggle bolts for heavier objects – provide excellent alternatives, expanding safely behind the wall to distribute the load effectively. For ultimate flexibility and a sleek, professional look, rail-cable hanging systems present a versatile solution, allowing for easy adjustments without ever damaging your wall once installed.
Always take the time to measure meticulously before making any holes, double-checking your calculations to ensure perfect placement. Furthermore, cultivate the habit of regularly inspecting your hanging hardware. This small amount of proactive effort can catch minor issues before they escalate into major problems, protecting both the integrity of your walls and the longevity of your valued artwork.
By diligently following these steps and incorporating our expert tips, your heavy frames will remain secure, perfectly level, and aesthetically pleasing for many years to come, allowing you to enjoy your art with complete peace of mind.
