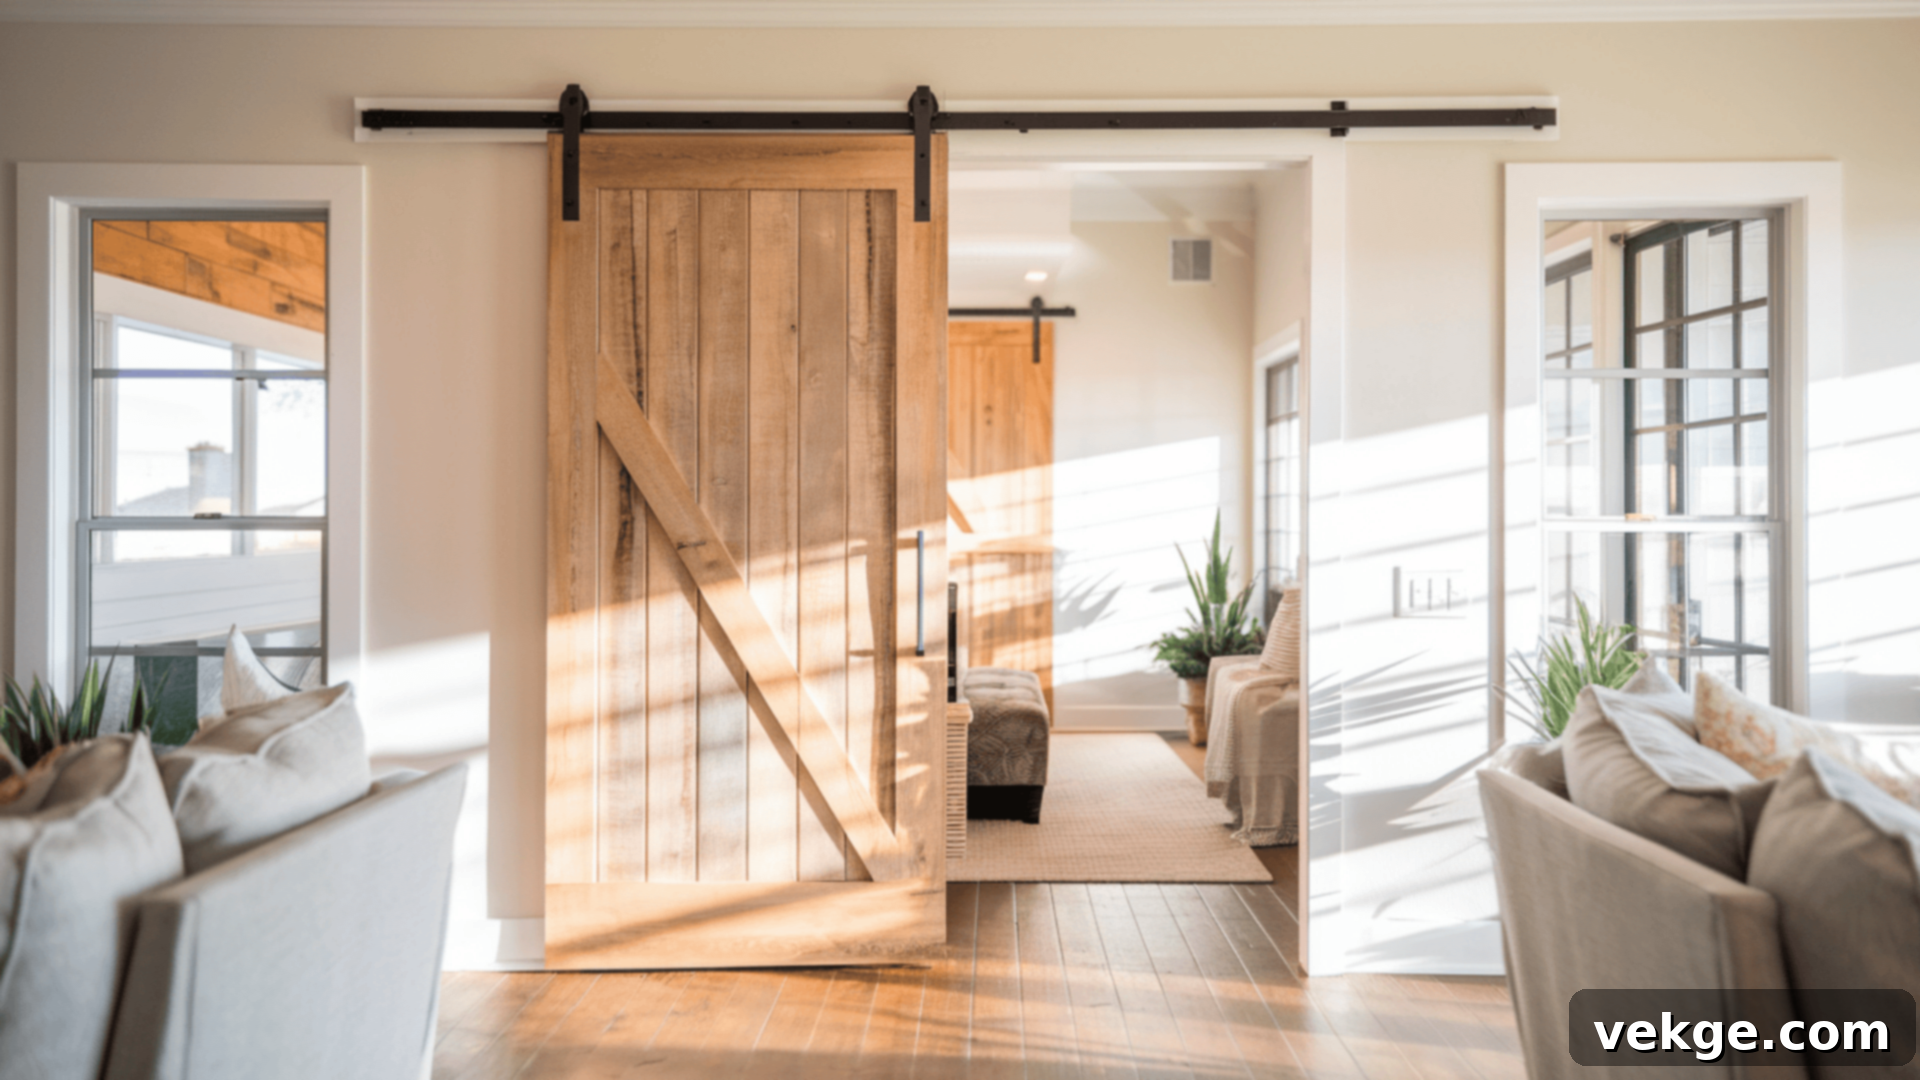
The Ultimate DIY Guide to Barn Door Installation: Enhance Your Home with Style and Space
Are you looking to give your living space a fresh, stylish update while also maximizing room? A barn door offers a perfect solution for both. These versatile sliding doors are not just a trend; they are a functional and aesthetic upgrade that can transform any room.
Many homeowners worry that installing a barn door is a complex task requiring professional help. However, with the right guidance and a bit of DIY spirit, it’s a project you can confidently tackle yourself. This comprehensive guide will walk you through every step of the barn door installation process, from initial measurements to final adjustments.
You’ll learn about the essential tools you’ll need, detailed instructions for each stage, and important tips to avoid common mistakes. By the end of this guide, you’ll be fully prepared to install your new barn door successfully, adding both charm and practicality to your home. Let’s get started and make your barn door installation a rewarding success!
Benefits of Installing a Barn Door
Barn doors are increasingly popular for a reason—they offer a unique blend of practicality and visual appeal that can significantly enhance any home. Choosing a barn door is a smart decision for several key benefits:
- Exceptional Space Saving: Unlike traditional swing doors that require clear floor space to open, barn doors slide along a track, parallel to the wall. This makes them ideal for tight areas where a swinging door would be impractical, such as narrow hallways, small bathrooms, closets, laundry rooms, or even as a stylish room divider in open-concept living.
- Enhanced Aesthetic Appeal: Barn doors add a distinctive design element to your space. They come in a vast array of styles, materials, and finishes—from rustic wood and industrial metal to modern glass or sleek painted MDF. This versatility allows you to easily match or even define your home’s decor, adding a touch of farmhouse charm, contemporary elegance, or minimalist simplicity.
- Ease of Use: The smooth-sliding mechanism of a barn door makes it incredibly easy to open and close, requiring minimal effort. This feature is particularly beneficial for households with children, elderly individuals, or those with mobility challenges.
- Versatility in Application: Barn doors aren’t limited to just traditional doorways. They can be effectively used in many different rooms, including bedrooms, bathrooms, home offices, pantries, and even to conceal media centers or storage areas. Their adaptability makes them a practical choice for various functional and decorative purposes.
- An Engaging DIY Project: For those who enjoy hands-on home improvement, installing a barn door is a rewarding DIY project. With the right instructions, it’s a manageable task that provides a great sense of accomplishment and allows you to customize your space exactly as you envision it.
With the right guide and a little effort, installing a barn door can be a smooth and satisfying task that improves both the look and function of your home, delivering lasting value and enjoyment.
Materials and Tools Required for Barn Door Installation
Before you embark on your barn door installation project, gathering all the necessary materials and tools is crucial. Having everything on hand will ensure a smoother, more efficient, and stress-free installation process. Here’s a detailed list of what you’ll need:
- Barn Door: This is the star of your project! Choose a door that complements your home’s style, desired level of privacy, and budget. Options include solid wood for durability and classic appeal, engineered wood (MDF) for affordability and smooth finishes, metal for an industrial look, or glass for a modern, light-filled space. Ensure its dimensions are slightly wider and taller than your door opening for proper coverage.
- Barn Door Track System: This kit is essential for the door’s functionality. It typically includes the metal rail (or track) along which the door slides, rollers (hangers) that attach to the top of the door, track stoppers to prevent the door from sliding off the ends, and anti-jump discs for safety.
- Floor Guide: This small but vital component keeps the bottom of the door aligned and prevents it from swinging away from the wall as it slides. Various types are available, including U-channel guides that fit into a groove in the door’s bottom, or wall-mounted guides.
- Screws and Anchors: You’ll need appropriate screws for attaching the track and backer board (if used) to wall studs. If attaching to drywall without studs, heavy-duty wall anchors will be necessary, rated for the weight of your door.
- Backer Board (optional, but often recommended): If the mounting holes on your barn door track do not align perfectly with your wall studs, or if your wall isn’t structurally strong enough, a sturdy wood backer board (e.g., a 1×4 or 1×6) provides a solid, continuous mounting surface for the track. It helps distribute the door’s weight evenly across multiple studs.
- Handles and Pulls: Essential for opening and closing the door. You can choose from a wide range of styles, from simple flush pulls for a sleek look to decorative handles that make a statement. Consider a flush pull for the side that slides against the wall to allow the door to open fully.
- Drill and Drill Bits: A cordless drill is indispensable for drilling pilot holes and driving screws. Have a variety of drill bit sizes suitable for both wood and metal (if your track requires it) and for your chosen screws.
- Level: A long level (at least 2-4 feet) is crucial for ensuring that your track and backer board are perfectly straight. A slight misalignment can cause the door to slide unevenly or get stuck.
- Measuring Tape: For accurate measurements of your doorway, door, and hardware placement. Precision is key in every step.
- Screwdriver or Wrench: For tightening any screws or bolts that your drill might not reach, or for specific hardware components.
- Stud Finder: An electronic stud finder is vital for locating the wooden studs within your wall. Mounting your track to studs provides the most secure and safest installation.
- Pencil: For marking measurements and stud locations.
- Saw (if using a backer board): A miter saw or circular saw will be needed to cut the backer board to the precise length of your track.
By gathering these materials and tools beforehand, you’ll ensure your barn door installation project proceeds smoothly and efficiently, leading to a successful and satisfying result.
Step-by-Step Barn Door Installation Guide
Installing a barn door may seem like a challenging task, but by breaking it down into manageable steps, it becomes an easy and rewarding DIY project. Follow this detailed guide to feel confident from start to finish.
Step 1: Measure the Door Opening
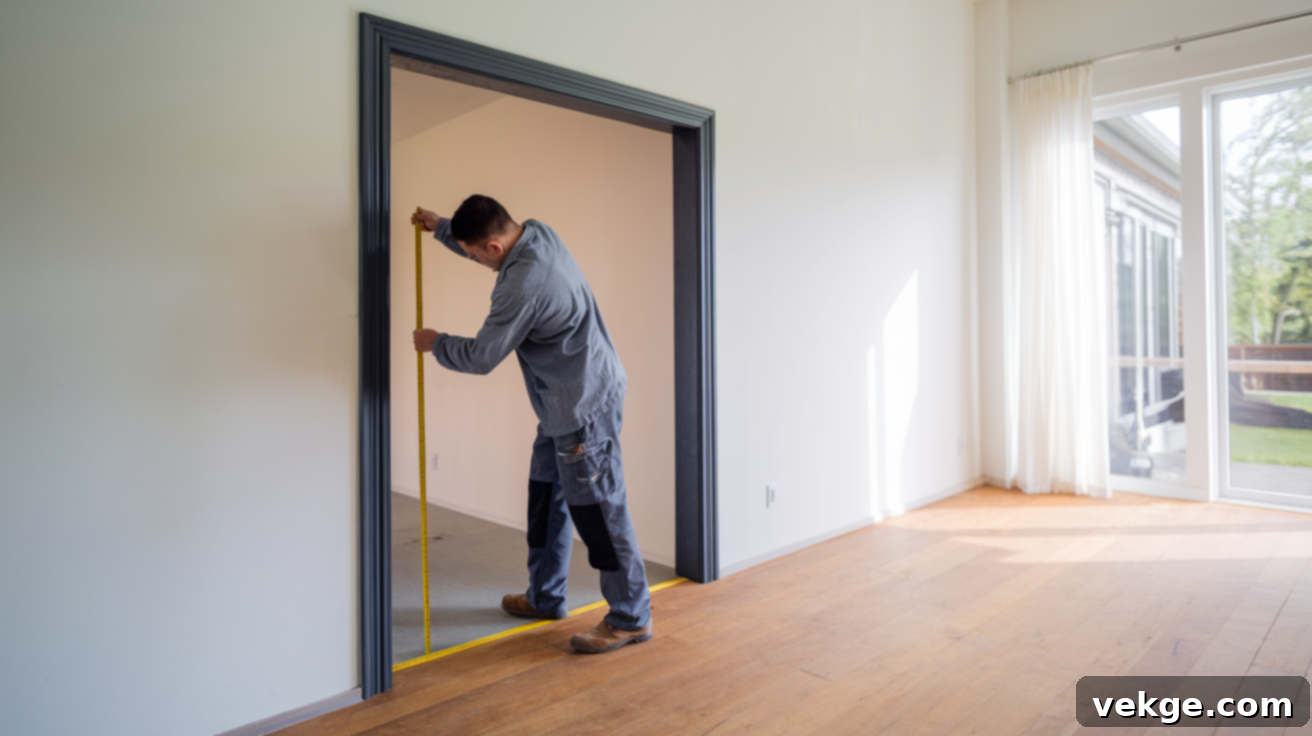
Accurate measurements are the foundation of a successful barn door installation. Begin by carefully measuring the width and height of your doorway opening.
For the width, measure from one side of the opening to the other. For the height, measure from the floor to the top of the door frame or trim. It’s crucial that your barn door is wider than the opening to ensure adequate privacy and prevent gaps when the door is closed. A good rule of thumb is to add at least 1 to 2 inches to each side of the opening’s width, and at least 1 inch to the height. This overlap ensures the opening is fully covered. For example, if your opening is 36 inches wide, your door should be at least 38-40 inches wide.
Write these measurements down clearly, as you’ll need them when selecting your barn door and track system. Double-checking your measurements now will prevent costly mistakes later on and ensure your barn door functions perfectly and looks aesthetically pleasing.
Step 2: Prepare the Mounting Surface
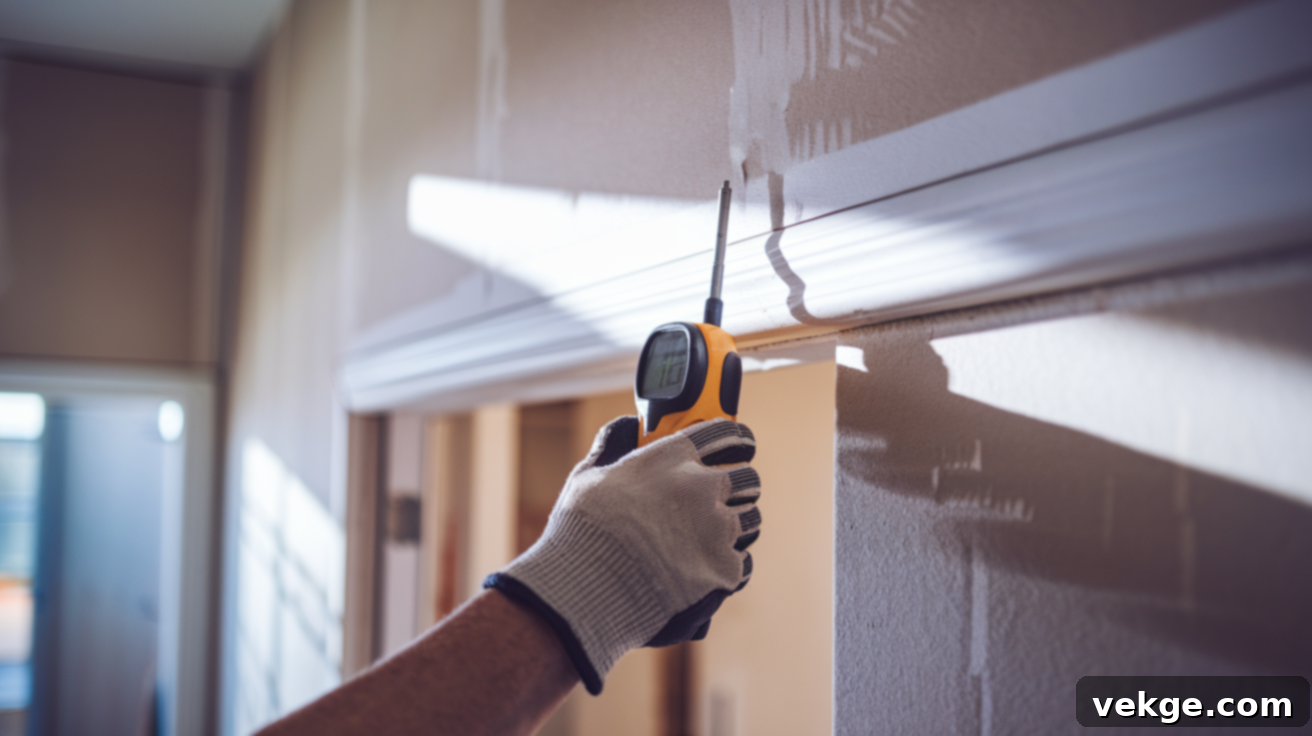
The stability of your barn door depends heavily on a securely mounted track. Use a reliable stud finder to locate the wooden studs within the wall directly above your doorway. Mark the center of each stud clearly with a pencil.
These wall studs are crucial because they provide the structural support needed to hold the significant weight of the barn door and its track system. If the pre-drilled mounting holes on your barn door track do not align with the discovered studs, you will need to install a backer board. This additional piece of wood creates a continuous, sturdy mounting surface, ensuring the weight of the door is safely distributed across multiple studs, thereby preventing damage to your drywall and ensuring the track remains secure for smooth door operation.
Step 3: Install the Backer Board (If Needed)
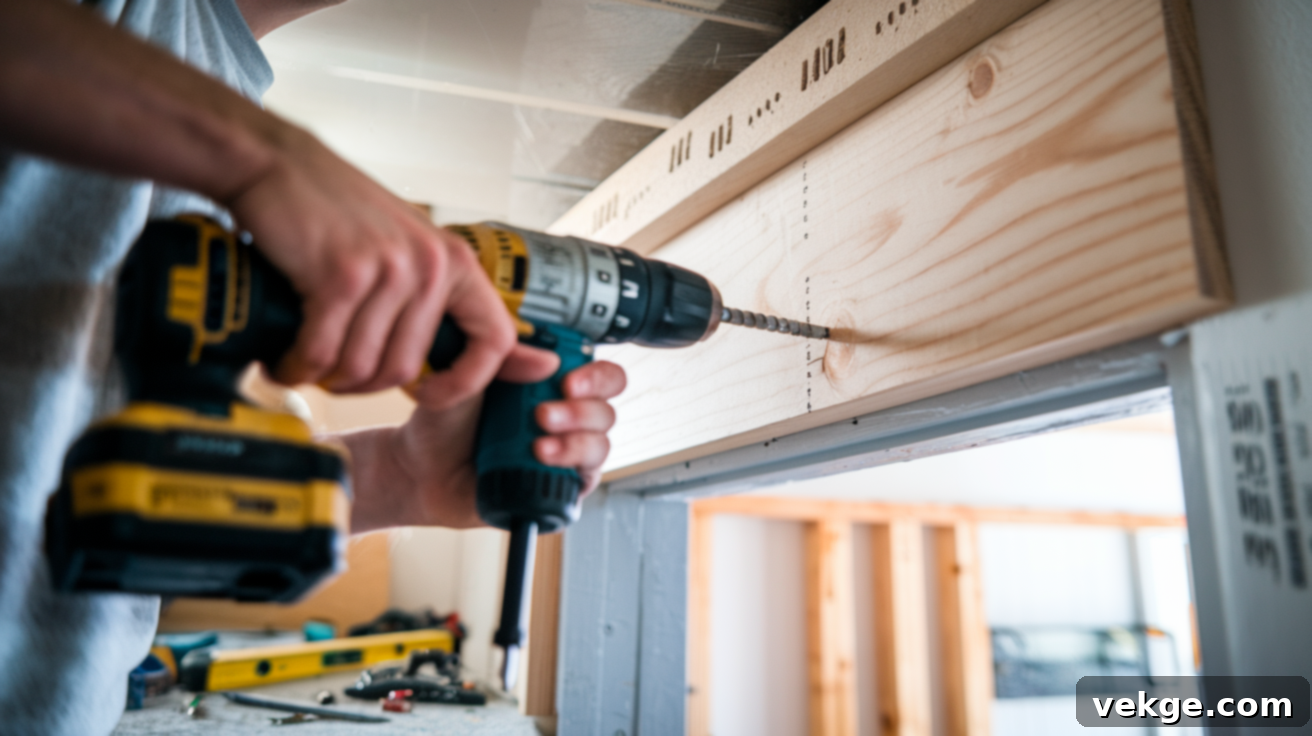
If your installation requires a backer board, start by cutting it to the exact length of your barn door track. A common choice for a backer board is a sturdy 1×4 or 1×6 piece of lumber, painted or stained to match your wall or trim.
Position the cut backer board horizontally above your doorway, aligning it carefully with the stud marks you made in Step 2. Use a level to ensure the board is perfectly straight before securing it. Drill pilot holes through the backer board into the wall studs, and then firmly attach the board using long, strong screws designed for wood. A straight and securely fastened backer board is essential for a level track and smooth door operation.
Step 4: Attach the Track
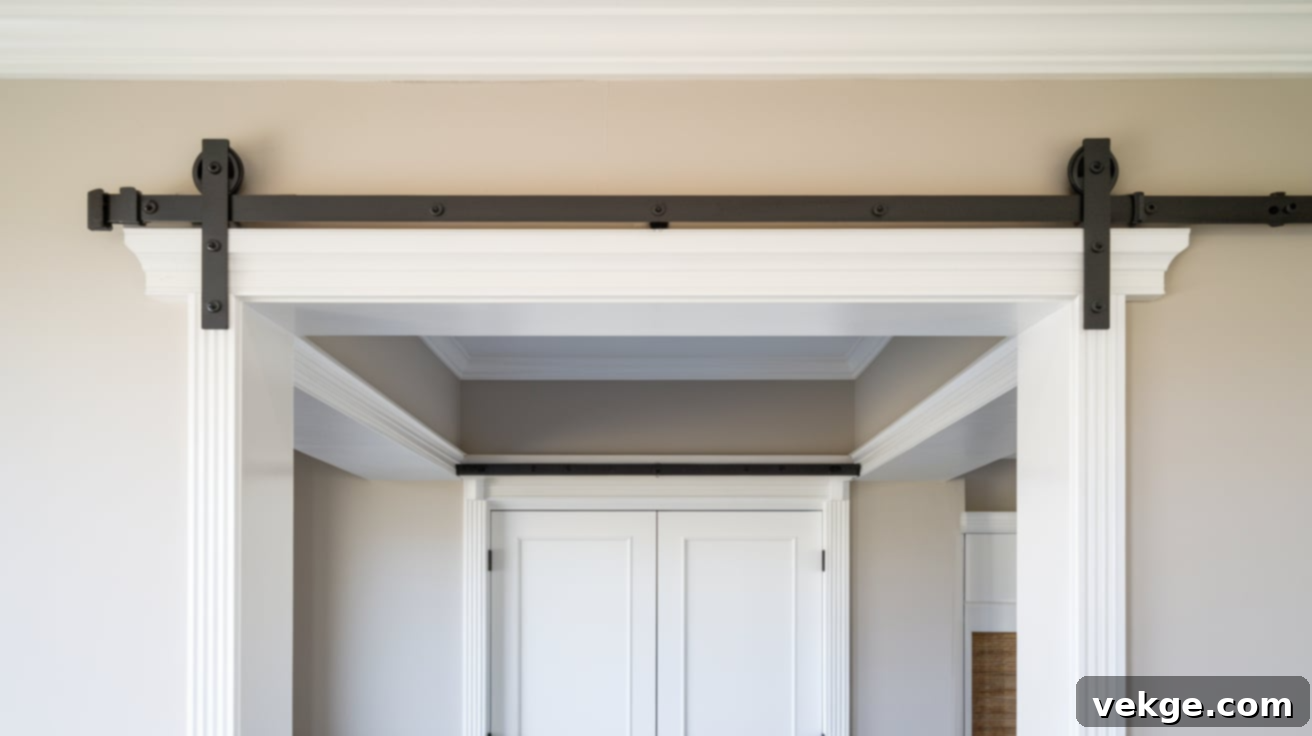
Now, it’s time to install the barn door track. Hold the track firmly against the wall or the newly installed backer board at the desired height. The ideal height for your track will allow the barn door to clear the floor by approximately 1/2 to 3/4 inch once installed. Use your level to ensure the track is perfectly straight and horizontal before marking the locations for your drill holes with a pencil.
Once marked, use your drill to create pilot holes at each point. This makes it easier to drive screws and prevents wood from splitting. Then, use the provided hardware from your barn door kit to attach the track firmly to the wall studs or the backer board. Re-check with your level one last time before tightening all screws completely to ensure the track remains perfectly straight and secure.
Step 5: Install the Rollers on the Door
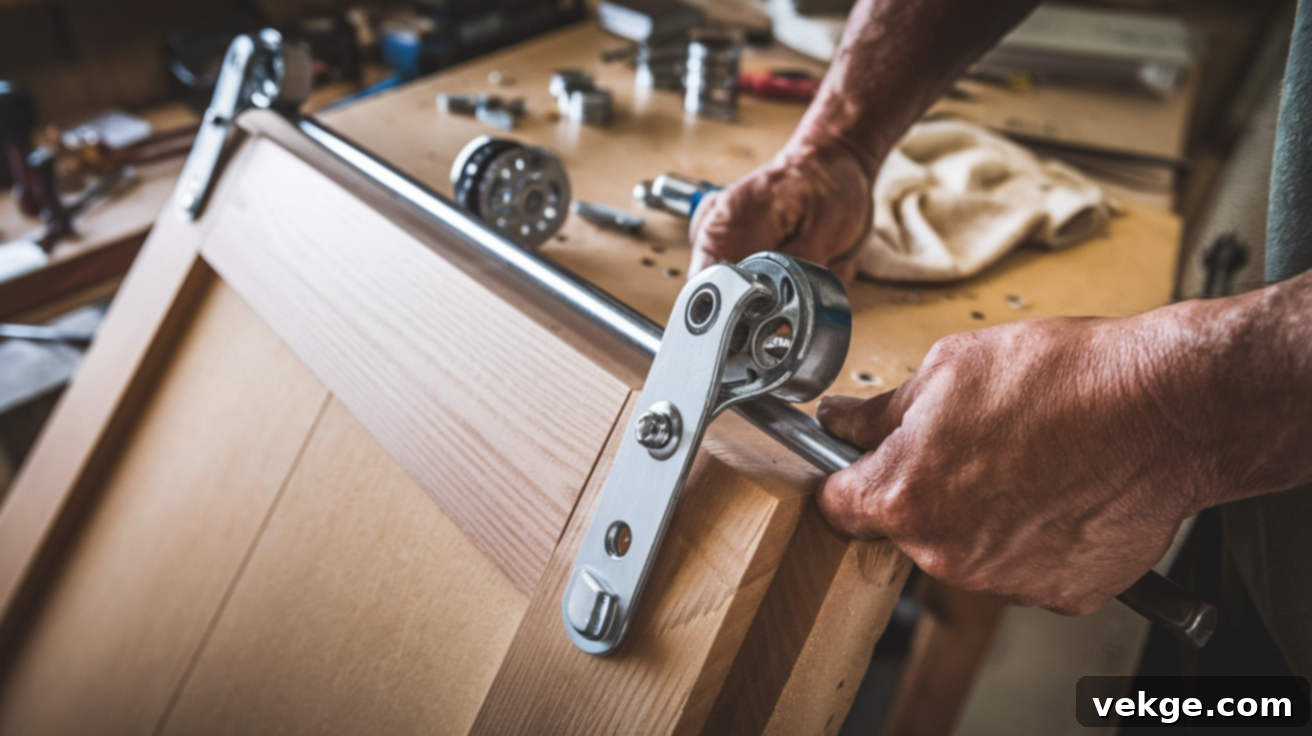
Carefully lay your barn door flat on a clean, stable surface to protect its finish. Refer to the specific instructions provided in your barn door hardware kit to correctly position and attach the rollers (hangers) to the top edge of the door. Pay close attention to the recommended spacing and alignment.
Ensure the rollers are evenly spaced, typically towards the ends of the door, and that they are perfectly straight. Use the appropriate screws and tools to tighten them securely. The rollers must be firmly attached to the door to ensure safe and smooth operation once the door is hanging on the track. Double-check all fastenings to prevent any wobbling or misalignment.
Step 6: Hang the Door
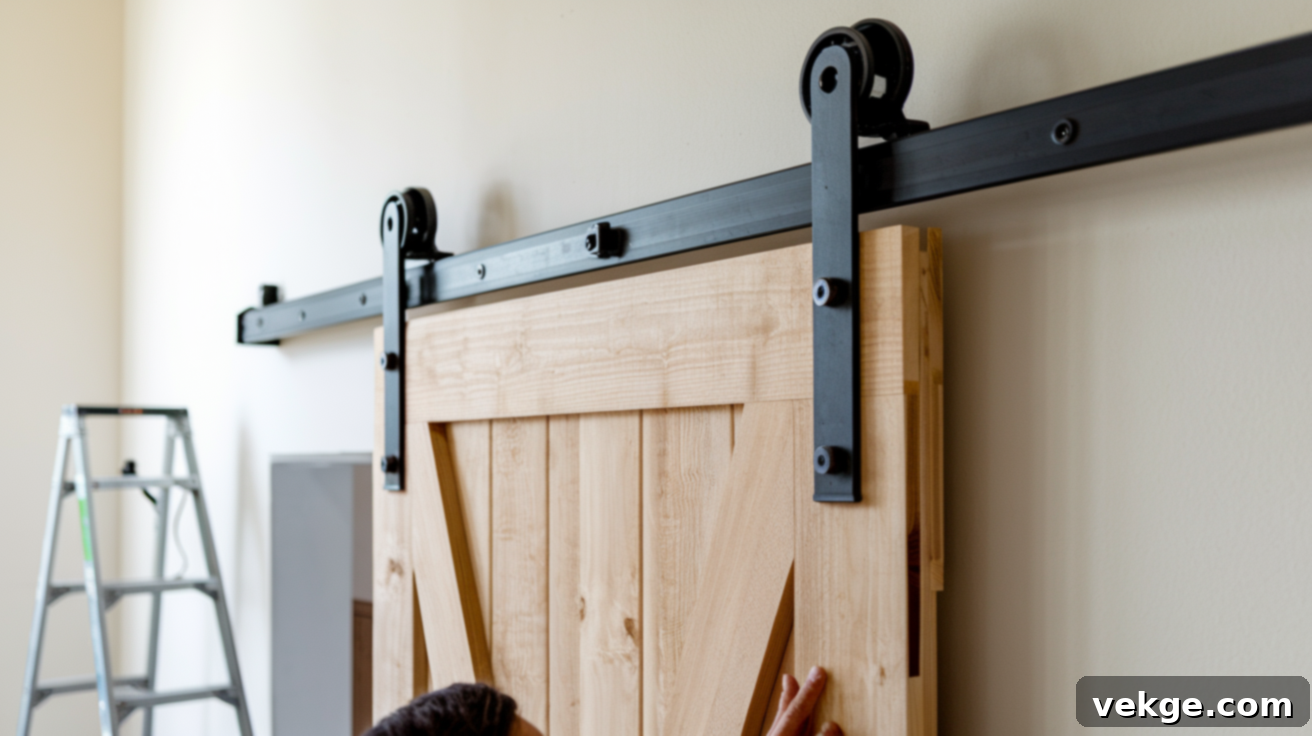
This step is best done with the help of a second person. Carefully lift the barn door and guide the rollers onto the mounted track. The rollers should sit snugly and securely on the top edge of the track.
Once the door is hanging, gently slide it back and forth a few times across the entire length of the track. Observe its movement to ensure it glides smoothly without any catching, scraping, or binding. Confirm that the rollers are properly seated on the track. Take your time during this step; a good initial fit will save you troubleshooting later and guarantee effortless sliding operation for years to come.
Step 7: Install Door Stops and Anti-Jump Discs
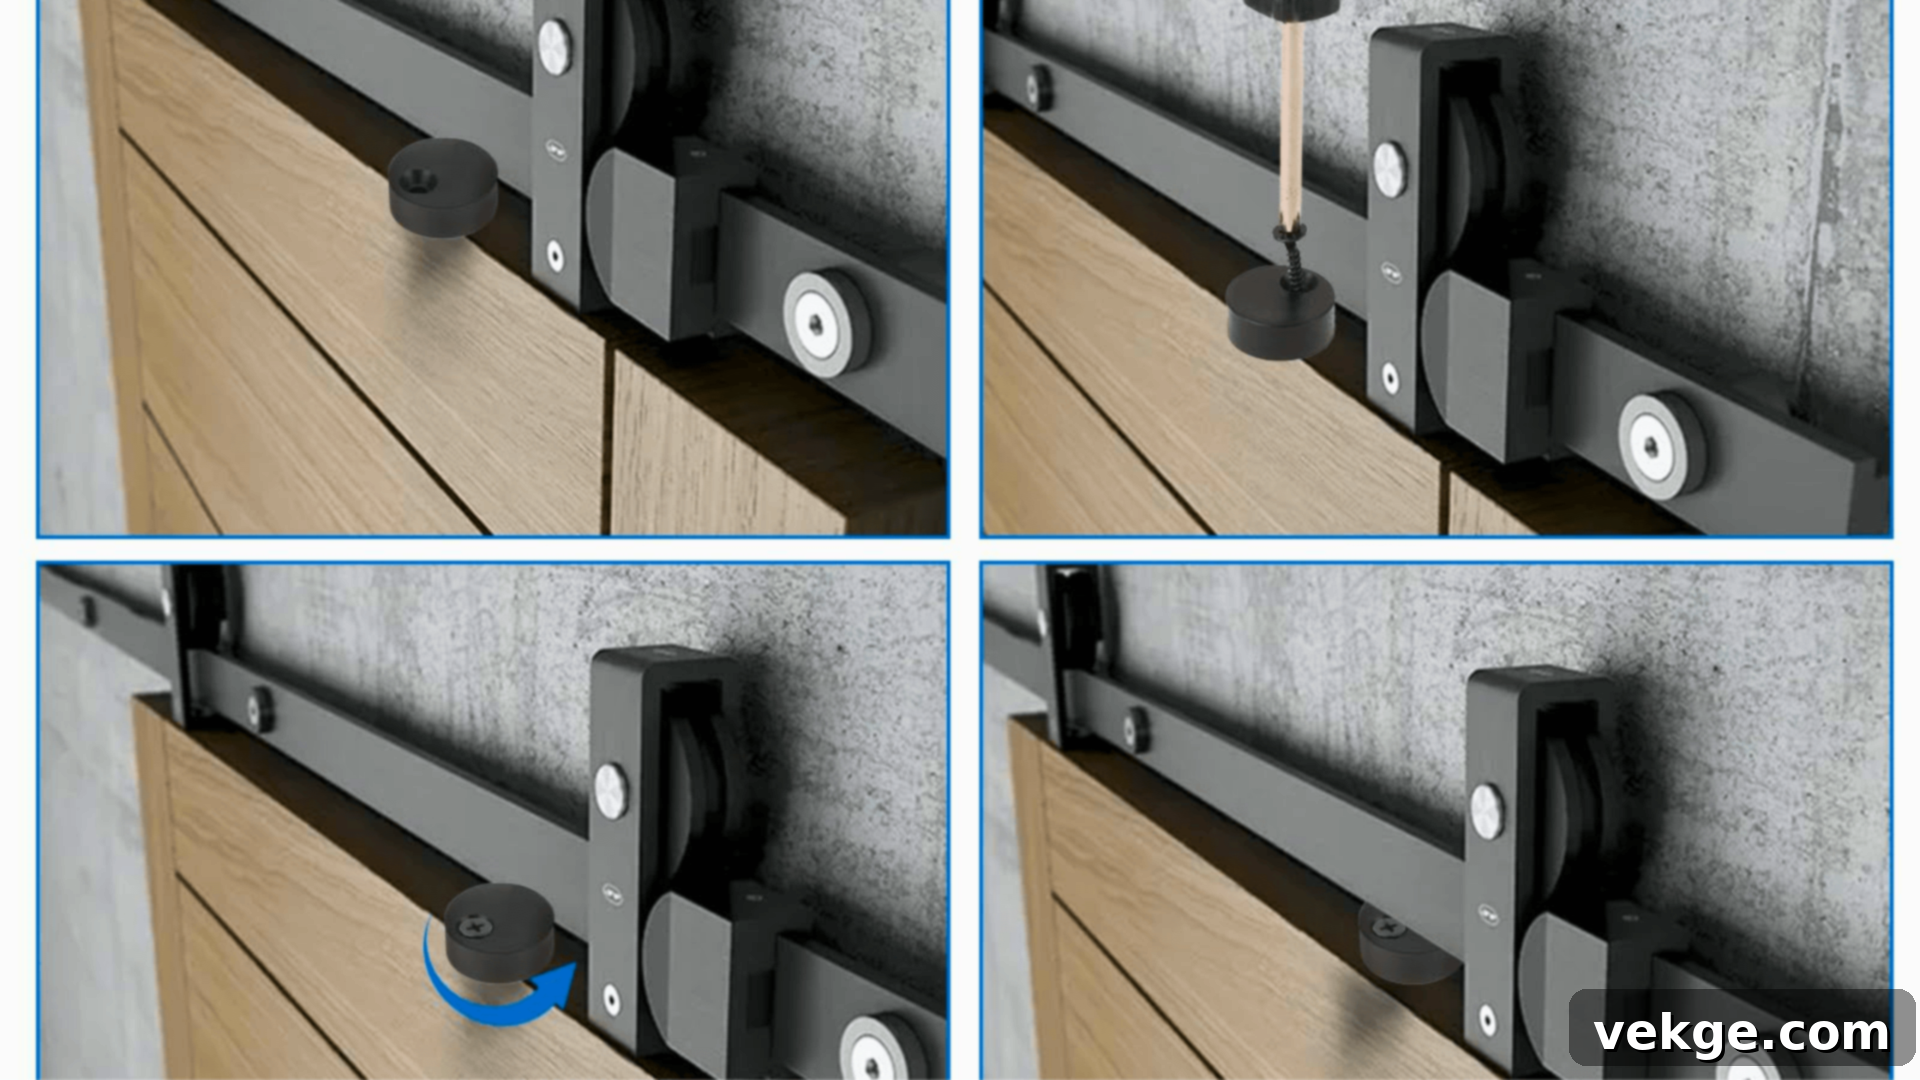
Safety and functionality are key at this stage. First, attach the door stops to both ends of the track. These stops are essential for preventing the door from sliding too far and potentially coming off the track, safeguarding your door and wall from damage.
Next, install the anti-jump discs onto the top edge of the door, typically near the rollers. These small, often inconspicuous pieces of hardware are crucial safety features that prevent the door from accidentally lifting off the track during use. Ensure all these components are tightened firmly according to your hardware kit’s instructions to keep the door safe, secure, and operating as intended.
Step 8: Install the Floor Guide
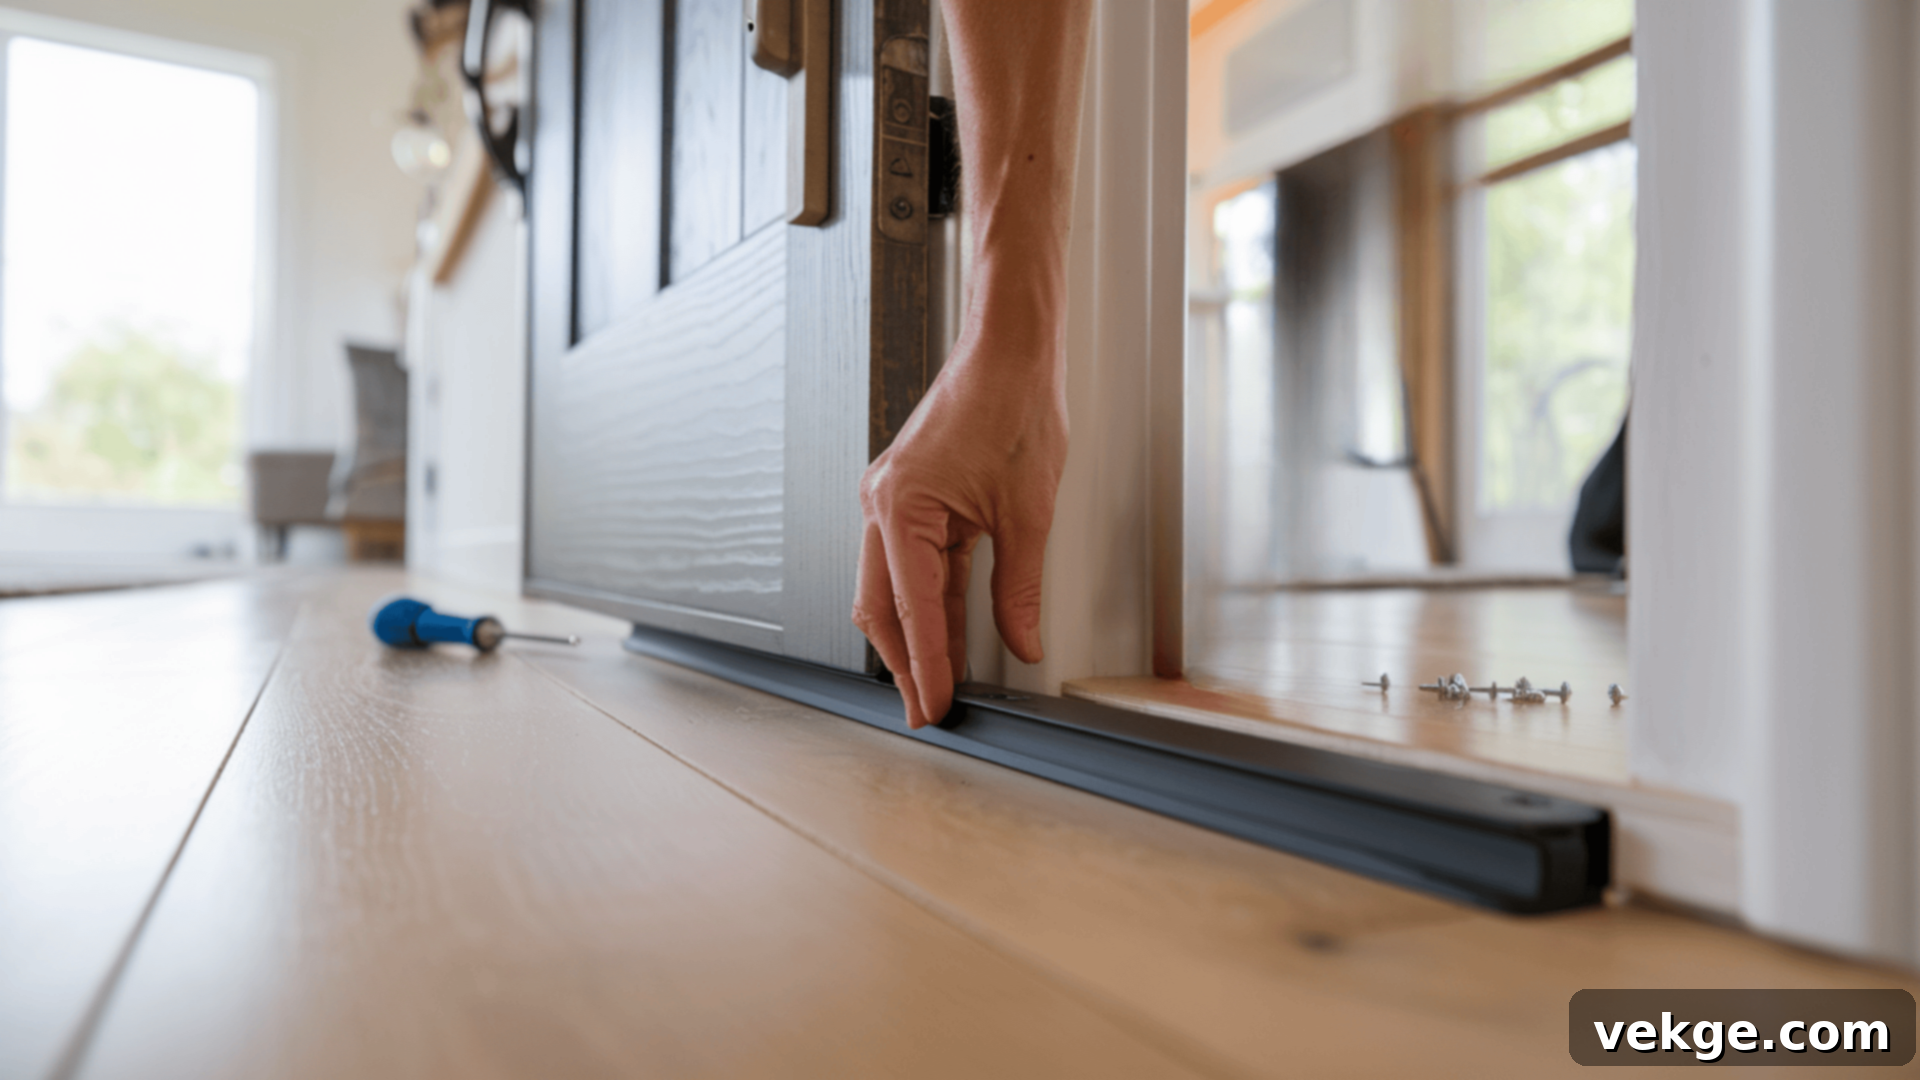
The floor guide is a crucial component that keeps the bottom of your barn door stable and prevents it from swinging away from the wall. Position the floor guide at the base of your doorway, carefully aligning it with the path of the door as it slides.
There are various types of floor guides: some fit into a pre-cut groove at the bottom of the door (U-channel), while others are wheel-based and simply guide the door along its edge. Once you’ve determined the optimal placement for smooth operation, mark the spots for your screws and then securely attach the guide to the floor. Ensure the guide allows the door to slide freely without rubbing or resistance. This small but important part contributes significantly to the door’s overall stability and smooth movement.
Step 9: Final Adjustments
With all components installed, it’s time for the final checks. Slide the barn door back and forth several times, covering its full range of motion. Pay close attention to its movement: Does it glide smoothly and quietly? Are there any scraping sounds or areas where it catches? Check for any noticeable gaps between the door and the wall or floor.
If you notice any issues—such as the door feeling stiff, uneven, or making unusual noises—make necessary adjustments to the hardware. Tighten any loose screws on the track, rollers, or floor guide. Ensure that the anti-jump discs are still in place and properly secured. Taking these few extra minutes for fine-tuning will ensure your barn door functions perfectly, looks its best, and provides long-lasting, trouble-free operation.
Advanced Installation Tips for Your Barn Door
While standard barn door installation is straightforward, some spaces or specific needs might require extra consideration. These advanced tips will help you ensure your barn door works perfectly, even in more unique situations.
For Tight Spaces
In smaller rooms, narrow hallways, or confined areas like pantries and linen closets, a standard sliding barn door might still feel too bulky. For these situations, consider a mini barn door system or a bifold barn door. Mini barn doors are scaled-down versions perfect for smaller openings or cabinet fronts. Bifold barn doors fold in on themselves, significantly reducing the clearance needed on the wall. These styles take up less wall space while still providing the stylish and space-saving benefits of a sliding door, making them excellent choices where every inch matters.
Ceiling-Mounted Tracks
If your wall lacks strong studs, has irregular framing, or if you simply prefer a cleaner, more minimalist aesthetic, a ceiling-mounted track is an excellent alternative. Before installing, it’s crucial to confirm that your ceiling joists can adequately support the weight of the door and its hardware. Locate ceiling joists using a stud finder and ensure your mounting points align. Use heavy-duty toggle bolts or other appropriate anchors designed for ceiling applications if direct joist mounting isn’t possible. A ceiling-mounted track can create a sleek, contemporary look and is often easier to level than a wall-mounted one if your wall is uneven.
Non-Load-Bearing Walls
If the wall where you plan to install your barn door is non-load-bearing (meaning it’s not designed to support significant weight), special precautions are necessary. You have a couple of options:
- Add Blocking: The most secure method is to open up a section of the drywall and install horizontal wood blocking between the existing wall studs. This creates a robust, continuous anchor point for your track.
- Heavy-Duty Wall Anchors: If opening the wall isn’t feasible, use high-strength, heavy-duty wall anchors specifically designed for drywall. Ensure these anchors are rated to support several times the total weight of your barn door and track system combined. Distribute them strategically along the track’s length. Taking this extra step is vital to prevent the door from pulling away from the wall over time, ensuring safety and longevity.
Double Doors and Wider Openings
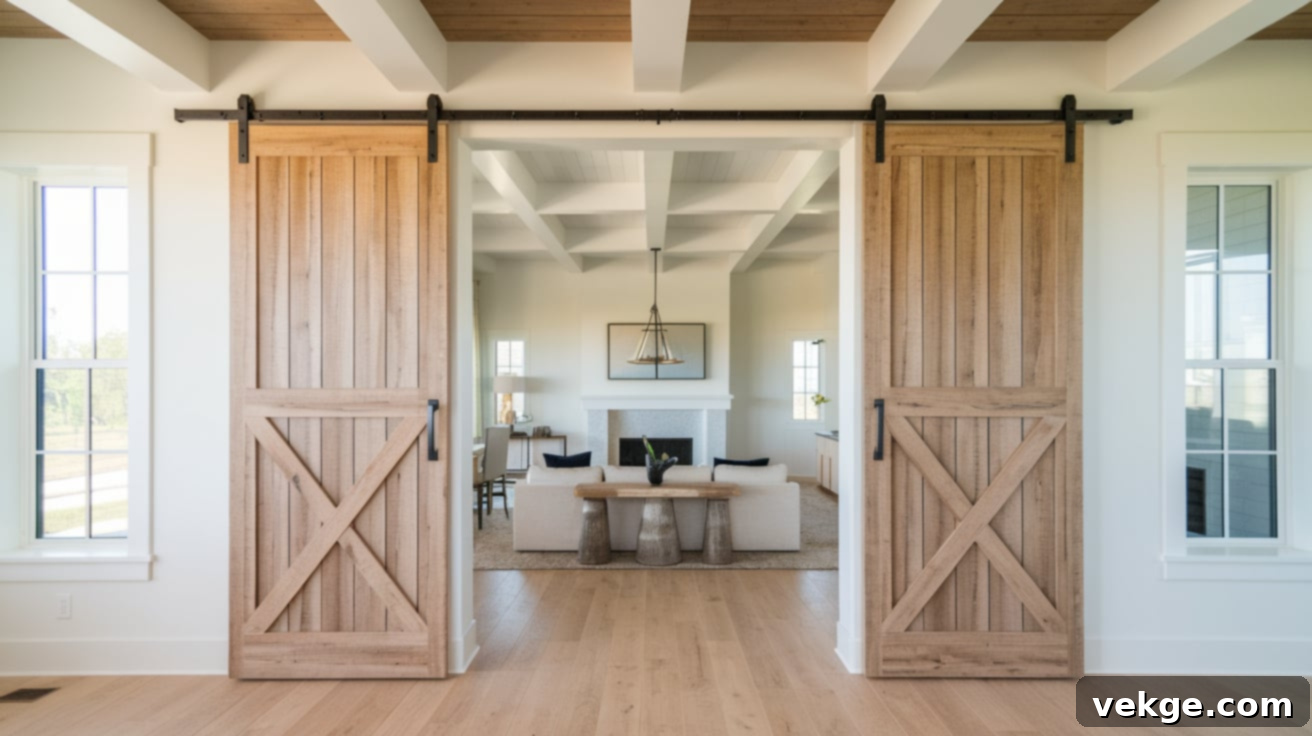
For exceptionally wide doorways or to create a grand entrance, installing double barn doors is a fantastic option. You’ll need two separate tracks or a single, longer track designed for dual doors, along with two complete sets of barn door hardware. Careful measurement is even more critical here. Ensure you have ample wall space on both sides of the opening for each door to slide fully open without obstruction. Also, consider the aesthetics of how the two doors will meet in the middle when closed—some systems include a center guide or overlap mechanism.
Soft-Close and Quiet Options
To enhance the user experience and protect your door, consider adding a soft-close system. This ingenious mechanism gently pulls the door to a close, preventing slamming and ensuring a smooth, quiet operation. It’s a small upgrade that makes a significant difference in daily comfort and helps preserve the door and hardware over time. Soft-close systems are particularly beneficial for bedrooms, nurseries, or shared living spaces where noise reduction is appreciated. Look for hardware kits that include integrated soft-close features or offer them as an add-on.
Post-Installation Barn Door Care
Once your barn door is beautifully installed, a little ongoing care will ensure it continues to operate smoothly and look great for many years. Regular cleaning and occasional checks can significantly extend the life and performance of your new door.
Start by routinely wiping down the track and rollers with a soft, dry cloth every few weeks. This helps to remove accumulated dust, pet hair, and debris that could otherwise impede the door’s smooth sliding motion. If you encounter stubborn dirt or grime, a slightly damp cloth can be used, but always make sure to dry the components thoroughly afterward to prevent rust, especially on metal parts.
Every few months, perform a quick inspection of all the hardware components to ensure everything remains tight and secure. Look out for:
- Loose screws, bolts, or brackets on the track, rollers, and handles.
- Any signs of rust or corrosion, particularly in humid environments like bathrooms.
- Parts that feel worn, shaky, or show visible damage.
It’s also a smart practice to apply a silicone-based lubricant (avoid oil-based lubricants as they can attract dust) to the rollers and along the track periodically. This helps to eliminate any squeaks, reduce friction, and maintain effortless sliding. Apply a small amount and wipe off any excess to prevent residue buildup.
Don’t overlook the floor guide. Ensure it remains clean and securely fastened to the floor. Dust and debris can build up in the guide, affecting the door’s stability. If it becomes loose, gently tighten the screws. If your floor guide uses rollers or glides, ensure they are free-moving and clean.
Finally, inspect the anti-jump discs. These small but critical safety features prevent the door from lifting off the track. If they appear loose or worn, tighten or replace them immediately to maintain your door’s security. With these simple maintenance steps, your barn door will continue to be a functional and attractive feature in your home.
Common Mistakes to Avoid During Barn Door Installation
Even with a detailed guide, it’s easy to overlook crucial details during a DIY project. Keeping these common mistakes in mind will help you avoid potential problems during and after your barn door installation, ensuring a safer and more durable result:
- Insufficient Wall Support: Attaching the track directly to drywall without hitting studs or using a proper backer board is a recipe for disaster. This can lead to the door pulling away from the wall, causing significant damage and posing a safety risk.
Solution: Always mount the track to solid wood studs or a robust backer board securely fastened to studs. - Inaccurate Measurements: Failing to precisely measure the door opening and not allowing for adequate overlap. If the door is too small, it won’t fully cover the opening, compromising privacy and aesthetics.
Solution: Double-check all measurements. Ensure your barn door is at least 1-2 inches wider than the opening on each side and 1 inch taller. - Loose Hardware: Not tightening all screws and bolts securely on the track, rollers, and other components. This can lead to wobbling, excessive noise, and eventual failure of the system.
Solution: Use appropriate tools (drill, wrench, screwdriver) to tighten all hardware firmly. Re-check after a few days of use. - Uneven Track Alignment: Installing the track even slightly off-level. A crooked track will cause the door to naturally slide open or closed on its own, or bind and create excessive wear on the rollers.
Solution: Use a long level repeatedly throughout the track installation process to ensure perfect horizontal alignment. - Forgetting Anti-Jump Discs: Neglecting to install the anti-jump discs on top of the door. These are vital safety features that prevent the door from lifting off the track if accidentally bumped or lifted.
Solution: Always install anti-jump discs according to your hardware kit instructions. - Skipping the Floor Guide: Not installing or improperly installing the floor guide. Without it, the bottom of the door can swing freely, potentially hitting the wall or causing instability.
Solution: Securely install the floor guide, ensuring it’s aligned with the door’s path to prevent swinging and maintain stability. - Neglecting Final Adjustments: Rushing through the post-installation testing and adjustments. Ignoring minor issues can lead to bigger problems down the line.
Solution: Slide the door fully open and closed multiple times, listening for sounds and checking for smooth operation. Adjust anything that seems off. - Ignoring Regular Maintenance: Failing to perform periodic cleaning and lubrication of the track and rollers. Dust and friction can degrade performance over time.
Solution: Implement a simple maintenance schedule: wipe down the track regularly and lubricate rollers periodically.
By being mindful of these common pitfalls, you can ensure a safer, more durable, and aesthetically pleasing barn door installation for your home.
Cost Considerations for Barn Door Installation
Installing a barn door is a fantastic way to elevate your home’s style and improve its functionality. Understanding the potential costs involved will help you budget effectively for your project. Here’s a breakdown of the typical expenses you might encounter:
Door Material Costs
The type of material you choose for your barn door is a primary factor influencing the overall cost:
- Wood Doors: A popular choice for their classic appeal and durability. Prices typically range from $300 to $2,500. More affordable options include pine, while premium hardwoods like oak, walnut, or reclaimed barn wood will be at the higher end of this spectrum.
- Metal Doors: Offering a more industrial or contemporary look, metal doors usually cost between $400 and $2,000. Lighter aluminum doors are generally less expensive, whereas heavier steel or custom fabricated options will command higher prices.
- Glass Doors: Ideal for modern aesthetics, allowing light to pass through. These doors typically range from $600 to $1,800, depending on the type of glass (e.g., frosted, tempered) and framing material.
- MDF (Medium-Density Fiberboard) Doors: A more budget-friendly option, MDF doors are versatile and can be painted to match any decor. Prices usually fall between $200 and $800.
- Vinyl Doors: Often the most economical choice, vinyl barn doors typically range from $200 to $500, offering a lightweight and low-maintenance solution.
Hardware Expenses
The hardware is crucial for the barn door’s operation and significantly impacts the total cost:
- Track Systems: A basic barn door track kit can start from around $100. However, for heavier doors, longer tracks, or more decorative/custom designs, systems can easily exceed $500.
- Handles and Pulls: These accessories vary widely in design and material, typically ranging from $20 to $100 per set. Decorative or specialty handles can cost more.
- Additional Hardware: Optional enhancements like soft-close mechanisms, locks, or decorative rollers can add an extra $50 to $500 to your total hardware expenses.
Labor Costs
If you choose not to DIY, professional installation labor charges will be a significant part of the cost:
- Professional Installation: For a single barn door, expect to pay between $200 and $1,000 for labor. Simple installations on standard walls will be on the lower end, while complex scenarios (like non-load-bearing walls requiring blocking) or custom jobs will incur higher fees.
- DIY Installation: Opting for the DIY route can save you substantially on labor costs. However, ensure you have the necessary tools, skills, and time to avoid potential issues that might ultimately lead to professional repair costs.
Total Estimated Costs
Combining materials and potential labor, here’s a general estimate for your barn door project:
- Single Interior Barn Door: Total costs typically range from $600 to $3,050. This wide range depends heavily on your chosen door material, hardware quality, and whether you opt for professional installation or DIY.
- Double Barn Doors: As you’ll need two doors, a longer track, and additional hardware, costs usually double. Expect a range from $1,200 to $6,100 for a double barn door setup.
Factors Influencing Costs
Several other elements can impact your overall expenses:
- Door Size: Larger or oversized doors require more material and more robust hardware, naturally increasing costs.
- Customization: Unique designs, specialized finishes, or custom-built doors will add to the price tag.
- Installation Complexity: Structural modifications to the wall (e.g., adding blocking), challenging ceiling installations, or difficult access can raise labor fees.
- Location: Labor rates and material costs can vary significantly depending on your geographical region and local market conditions.
By understanding these various cost components, you can make informed decisions and budget effectively for your barn door installation, ensuring you achieve the look and functionality you desire within your financial plan.
Note: Prices provided are estimates and can vary based on your specific location, chosen supplier, hardware brand, and individual project complexities. For the most accurate rates, it’s always recommended to consult with local suppliers or contractors in your area.
Conclusion
Installing a barn door is a fantastic and intelligent way to simultaneously save space and introduce a unique style element into your home. Its versatility allows it to seamlessly integrate into various rooms, from bedrooms and bathrooms to living areas, adding a distinctive and charming finishing touch that enhances your home’s character.
With this comprehensive, step-by-step guide and the right tools, you have the confidence to tackle this rewarding home improvement project yourself. Alternatively, if DIY isn’t your preference, you can always enlist the help of a professional. From carefully selecting your barn door to meticulously setting up the track system, each stage plays a crucial role in achieving a smooth, functional, and aesthetically pleasing result.
Once your barn door is successfully installed, remember that a little post-installation care goes a long way. Regular cleaning of the track and periodic checks of the hardware will ensure your door continues to slide effortlessly and maintain its beautiful appearance for many years to come.
Use this guide as your trusted resource to plan and execute your barn door project. Embrace the satisfaction of transforming your space, and don’t hesitate to explore our other DIY guides for more helpful tips to keep all your home improvement projects moving forward with confidence!
