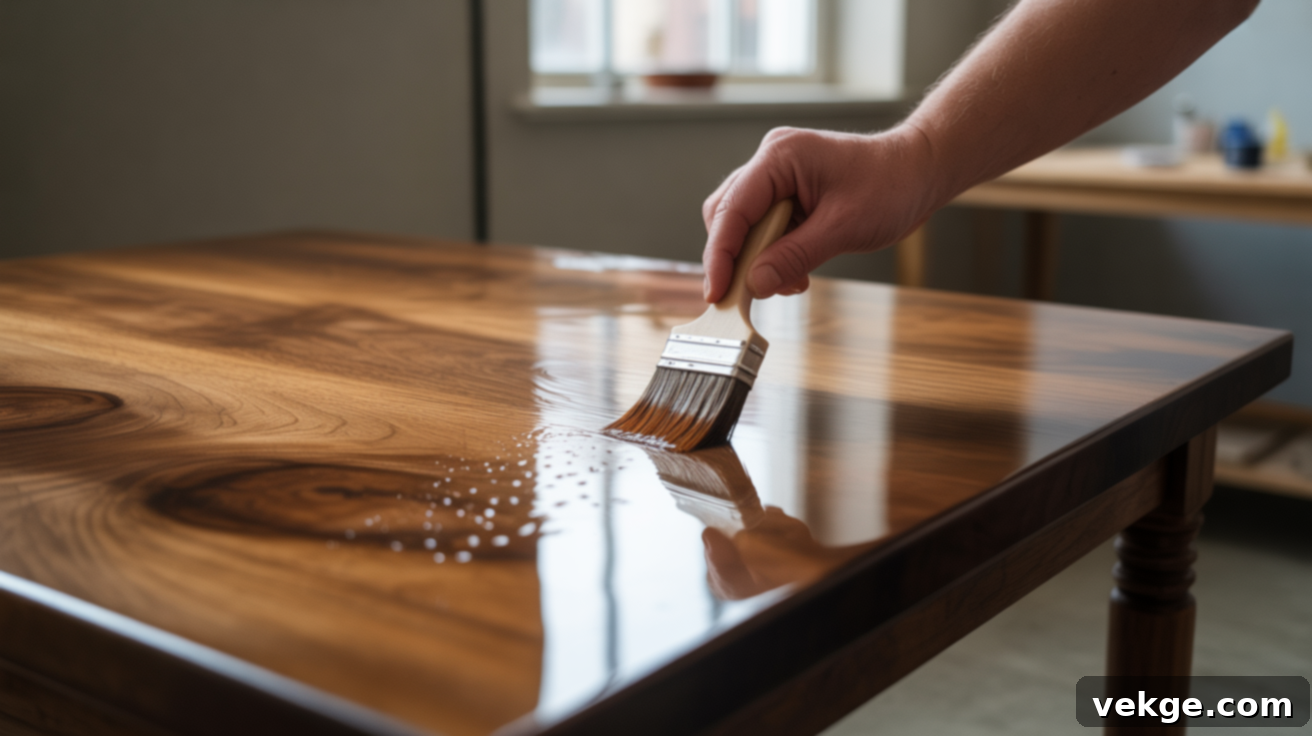
Is Polycrylic Waterproof? An In-Depth Guide to Water Resistance & Wood Protection
The question, “Is polycrylic really waterproof?” echoes through countless DIY forums and woodworking shops. Many wood enthusiasts and crafters find themselves pondering this when selecting a protective finish. While polycrylic offers a strong, clear shield for your wooden creations, its ability to repel water is often misunderstood. Is it truly a watertight barrier, or does it offer a more nuanced level of protection?
The straightforward answer is that polycrylic is water-resistant, not fully waterproof. This distinction is crucial, as misapplying or misusing it can lead to compromised finishes and frustrating damage to your hard work. Understanding its limitations and proper applications is key to achieving durable and lasting results.
In this comprehensive guide, we’ll demystify polycrylic. We’ll explore its composition, how it functions as a protective layer, and when it’s the ideal choice for your projects. Crucially, we’ll also highlight scenarios where polycrylic falls short and what alternatives you should consider for robust, fully waterproof protection. You’ll learn the correct application techniques to maximize its effectiveness and ensure your projects not only look great but also stand the test of time against moisture.
From sealing indoor tables and protecting delicate crafts to understanding the best finishes for high-moisture environments, this guide equips you with the knowledge to avoid common mistakes and confidently select the right protective finish for every endeavor.
What is Polycrylic? Understanding This Popular Water-Based Finish
Polycrylic is a clear, water-based protective finish widely used by DIYers and professionals alike. Essentially, it acts as a transparent shield designed to protect various surfaces, most commonly wood and painted items, from everyday wear and tear. When applied, it forms a durable film that safeguards your furniture, cabinetry, or craft projects from unsightly scratches, smudges, light moisture, and general damage.
Imagine it as a thin, see-through coat that significantly enhances the longevity of your finished piece without drastically altering its original appearance. Its popularity stems from its ease of use and the beautiful, non-yellowing finish it provides.
Why Polycrylic is Popular and Its Appearance Options
Polycrylic is a go-to finish for a multitude of indoor applications, including furniture, kitchen cabinets, various wood crafts, painted surfaces, and even children’s toys. Its widespread appeal is largely due to several key advantages: it dries remarkably quickly, boasts a minimal and low odor (making it ideal for indoor use without strong fumes), and cleans up easily with water.
It performs exceptionally well on lighter woods like birch, maple, or pine, where its non-yellowing characteristic ensures the wood’s natural color remains true and vibrant over time. Polycrylic also offers versatility in its final sheen. You can choose from various levels of gloss to achieve your desired aesthetic:
- Gloss: Provides a highly reflective, very shiny appearance.
- Semi-Gloss: Offers a noticeable shine, but less intense than gloss.
- Satin: Delivers a soft, smooth, and subtle sheen, often described as a natural, understated glow.
- Matte: Produces a flat, no-shine look that enhances the natural texture of the wood.
Leading Manufacturer: Minwax Polycrylic
When discussing polycrylic, it’s almost impossible not to mention Minwax. They are one of the most recognized and popular brands producing this finish. If you’ve ever browsed the paint or wood finish aisle at a hardware store, you’ve undoubtedly come across their distinctive products.
Minwax has built a strong reputation over decades for its range of wood care and protection solutions, and their Polycrylic Protective Finish is a trusted staple for countless home improvement and craft projects. Its reliability and consistent performance have made it a preferred choice for DIY enthusiasts and professionals alike.
Is Polycrylic Water-Resistant or Truly Waterproof? The Critical Difference
This is the core question that often causes confusion. To clarify, let’s properly define the terms:
- Water-Resistant: A water-resistant material or finish can repel or withstand the penetration of water to some degree, but not entirely or for an indefinite period. It will protect against light splashes, brief spills, or condensation, but if water pools on it, sits for an extended time, or if the surface is submerged, it can eventually penetrate and cause damage.
- Waterproof: A truly waterproof material or finish is impermeable to water. It prevents water from passing through it under any condition, regardless of exposure time or pressure. Think of raincoats, boat hulls, or bathroom shower surrounds.
With these definitions in mind, polycrylic is definitively water-resistant, not waterproof. It excels at protecting surfaces from incidental moisture, such as a quickly wiped-up spill, condensation rings from a cold glass (if attended to promptly), or general humidity.
However, if water is allowed to pool and sit on a polycrylic-finished surface for too long, it will eventually penetrate the film. This can lead to unsightly white rings or “blushing” in the finish, causing it to soften, peel, or even allowing moisture to damage the wood underneath. For this reason, polycrylic is perfectly suited for most indoor furniture and decorative crafts where exposure to heavy, prolonged moisture is unlikely. Always make it a habit to wipe spills promptly to maintain your project’s pristine condition and ensure the longevity of the finish.
Polycrylic vs. Polyurethane: A Detailed Comparison for Wood Finishes
When you’re faced with selecting a protective finish for your wood projects, polycrylic and polyurethane are two of the most popular contenders. Both are designed to safeguard wood, but they possess distinct differences in their composition, application, durability, and overall performance. Understanding these variations is crucial for choosing the right product for your specific needs.
Here’s an expanded comparison to help you differentiate between these two powerful finishes:
| Feature | Polycrylic | Polyurethane |
|---|---|---|
| Composition | Water-based (acrylic resins) | Oil-based (urethane resins in mineral spirits) or Water-based |
| Durability & Hardness | Good for light to moderate use; offers decent scratch and abrasion resistance for indoor projects. | Generally stronger and significantly more durable. Oil-based offers superior resistance to impacts, heat, and heavy wear. Water-based polyurethane is more durable than polycrylic but less than oil-based polyurethane. |
| Finish Look & Yellowing | Dries crystal clear and stays clear, making it ideal for light-colored woods, painted surfaces, or white finishes where yellowing is undesirable. | Oil-based versions can impart a subtle amber or yellowish tint that deepens over time, especially on light woods or white paint. Water-based polyurethane is clearer but can still yellow slightly compared to polycrylic. |
| Ease of Use & Cleanup | Very user-friendly. Water-based, so it has low odor, dries quickly, and brushes clean up easily with soap and water. | Oil-based requires mineral spirits for cleanup and has a stronger, more persistent odor, necessitating good ventilation. Water-based polyurethane cleans with water and has less odor than oil-based. |
| Drying & Curing Time | Dries to the touch very quickly (within hours), allowing for multiple coats in a single day. Achieves full cure in 24-72 hours. | Oil-based takes significantly longer to dry (up to 24+ hours per coat) and a full cure can take 30 days. Water-based polyurethane dries faster than oil-based but generally slower than polycrylic. |
| Toxicity & VOCs | Low odor and lower Volatile Organic Compounds (VOCs), making it a safer option for indoor application without extensive ventilation. | Oil-based polyurethane has strong fumes and high VOCs, requiring excellent ventilation and potentially a respirator. Water-based polyurethane has lower VOCs than oil-based but still higher than polycrylic. |
| Water Protection | Water-resistant only. Offers good protection against light spills but will fail under prolonged water exposure or standing water. | Oil-based polyurethane, when fully cured, is significantly more waterproof and forms a robust, impermeable barrier against moisture. Water-based polyurethane is also highly water-resistant and offers better protection than polycrylic. |
| Recommended Use | Indoor furniture (low to medium traffic), cabinets, painted surfaces, crafts, children’s toys, light-colored woods. | Hardwood floors, kitchen countertops, dining tables, outdoor furniture (for oil-based), and any surface requiring maximum durability and water protection. |
In essence, if you need a clear, quick-drying finish with low odor for indoor projects that won’t see extreme abuse or moisture, polycrylic is an excellent choice. For heavy-duty applications, high-traffic areas, or any environment where robust waterproofing is paramount, polyurethane (especially oil-based) is the superior option, despite its longer drying times and stronger fumes.
Best Ways to Use Polycrylic Indoors: Ideal Applications
Given its specific properties, polycrylic truly shines in indoor environments where a clear, durable, and smooth finish is desired without the harsh odors or yellowing effect of other sealers. Here are the top ways to utilize polycrylic effectively for your interior projects:
- Indoor Furniture: It’s an excellent choice for pieces that experience moderate wear, such as dressers, bookcases, coffee tables (when protected with coasters), and shelves. It provides a good layer of protection against minor scratches and spills.
- Cabinets: Polycrylic adds a clean, protective coat to kitchen or bathroom cabinets. Its non-yellowing formula ensures that white or light-colored cabinets retain their crisp appearance over time, resisting smudges and light moisture.
- Painted Surfaces: When you want to seal and protect your painted furniture, decorative items, or murals, polycrylic is ideal. It locks in the paint color, prevents chipping, and adds durability without altering the original hue.
- Crafts and Home Décor: Perfect for smaller items like picture frames, wooden signs, decorative boxes, and other DIY home décor pieces. It offers a professional-looking finish that protects these items from dust and light handling.
- Kid’s Furniture and Toys: Once fully cured, polycrylic is considered safe for children’s items. Its low odor and fast-drying nature make it a practical choice for finishing toy boxes, small chairs, or handmade wooden toys, providing a protective barrier that is easy to clean.
Why You Shouldn’t Use Polycrylic Outdoors: The Environmental Impact
Despite its many benefits for indoor use, polycrylic is emphatically not designed or recommended for outdoor applications. Exposing polycrylic to the harsh elements of an outdoor environment will inevitably lead to its premature failure and degradation. Here’s why:
- UV Degradation: Polycrylic lacks the necessary UV inhibitors found in outdoor-specific finishes. Prolonged exposure to sunlight will cause the finish to break down, leading to cloudiness, hazing, yellowing, and eventually cracking or peeling.
- Temperature Fluctuations: Extreme changes in temperature, from hot summers to cold winters, cause wood to expand and contract. Polycrylic’s rigid film is not flexible enough to accommodate these movements, leading to cracking and delamination.
- Moisture Exposure: While water-resistant, polycrylic cannot withstand constant or heavy outdoor moisture such as rain, dew, or humidity. It will eventually absorb water, leading to blushing, peeling, and allowing moisture to damage the underlying wood.
- Mold and Mildew: Outdoor conditions are ripe for mold and mildew growth, which can penetrate and thrive on a polycrylic finish that lacks antifungal additives.
In summary, the finish will wear out significantly faster and provide inadequate protection when subjected to UV rays, consistent moisture, and varying temperatures, making it a poor and short-lived choice for anything kept outside.
How to Apply Polycrylic in Easy Steps: A Beginner’s Guide
Applying polycrylic correctly is crucial for achieving a smooth, durable, and clear finish that truly protects your wood. This simple, step-by-step guide is perfect for beginners looking to master the process and avoid common pitfalls.
Tools and Materials You’ll Need
- Minwax Polycrylic Protective Finish: Ensure you have enough for multiple coats.
- High-Quality Synthetic Bristle Brush or Foam Brush: Synthetic brushes are best for water-based finishes, as natural bristles can absorb water and swell. Foam brushes minimize brush marks.
- Fine-Grit Sandpaper (220-grit): For light sanding between coats to ensure smoothness and adhesion.
- Clean Cloth or Tack Cloth: Essential for removing dust and debris.
- Stir Stick: To gently mix the polycrylic. (Never shake the can!)
- Drop Cloth or Plastic Sheeting: To protect your work area from spills and drips.
- Gloves: To protect your hands.
Step 1: Prep and Clean the Surface for Optimal Adhesion

The foundation of a great finish is a well-prepared surface. Begin by ensuring that your wood or painted surface is completely dry, clean, and free of any dirt, dust, grease, or previous finishes. Use 220-grit sandpaper to gently sand the entire surface. This step helps to smooth out any rough spots, minor imperfections, or scratches, and creates a slightly abraded surface for the polycrylic to adhere to better.
After sanding, it is absolutely critical to remove all sanding dust. Use a tack cloth or a clean, lint-free rag (lightly dampened with water, then thoroughly wrung out) to meticulously wipe off every speck of dust and debris before proceeding. Any residual dust will become trapped in the finish, creating an uneven and gritty texture.
Step 2: Stir the Polycrylic, Never Shake
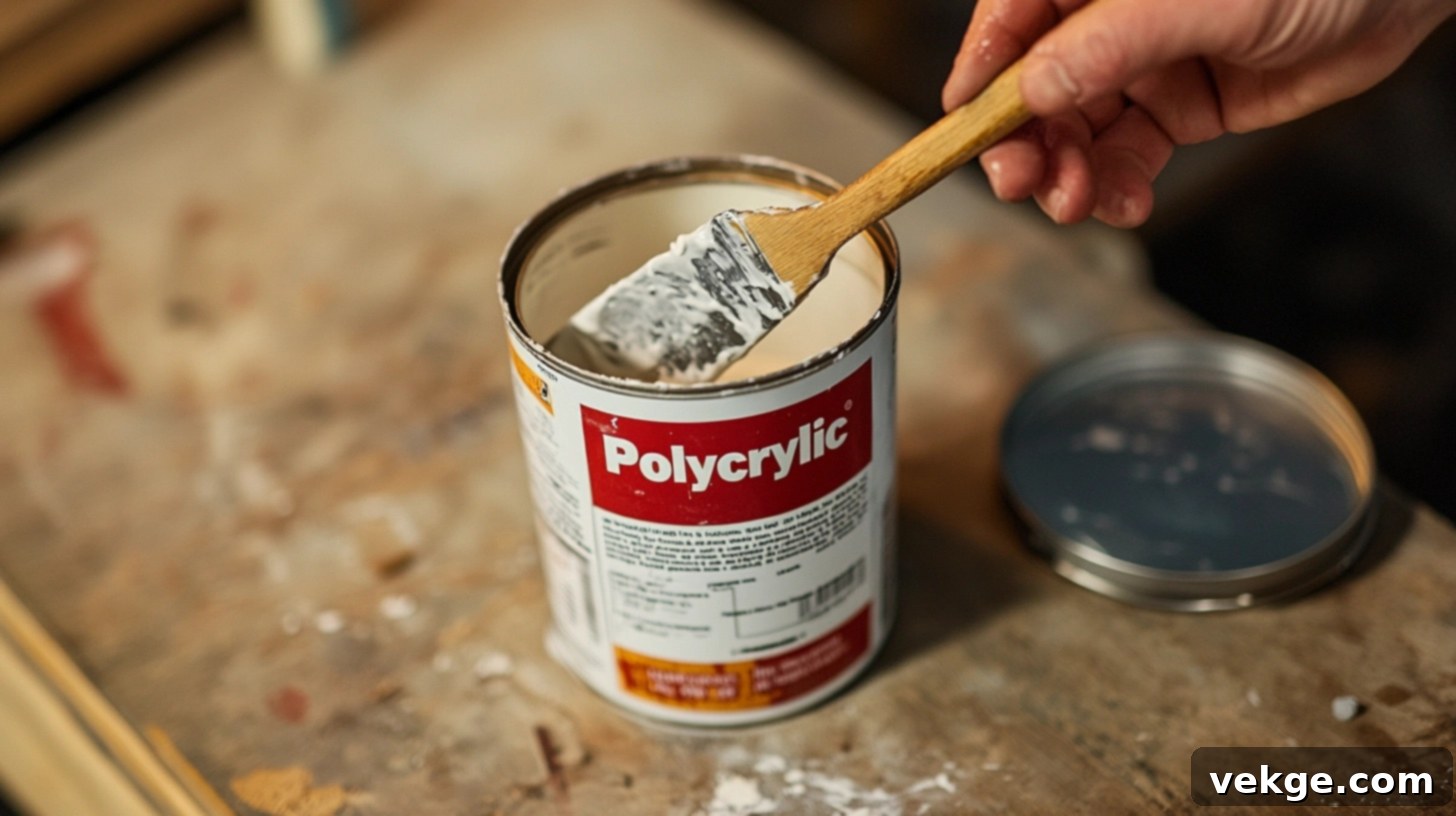
Carefully open the can of polycrylic. With a clean wooden stir stick, slowly and gently stir the product. It’s imperative to avoid shaking the can, as this introduces air bubbles into the finish. These bubbles will transfer to your project surface, resulting in an undesirable bumpy texture that can ruin your smooth finish. Stirring gently helps to evenly mix the protective solids that may have settled at the bottom of the can without creating foam.
Always give the polycrylic another gentle stir between coats to ensure a consistent texture, sheen, and flow, preventing any settling and ensuring uniform application.
Step 3: Apply the First Thin Coat Evenly
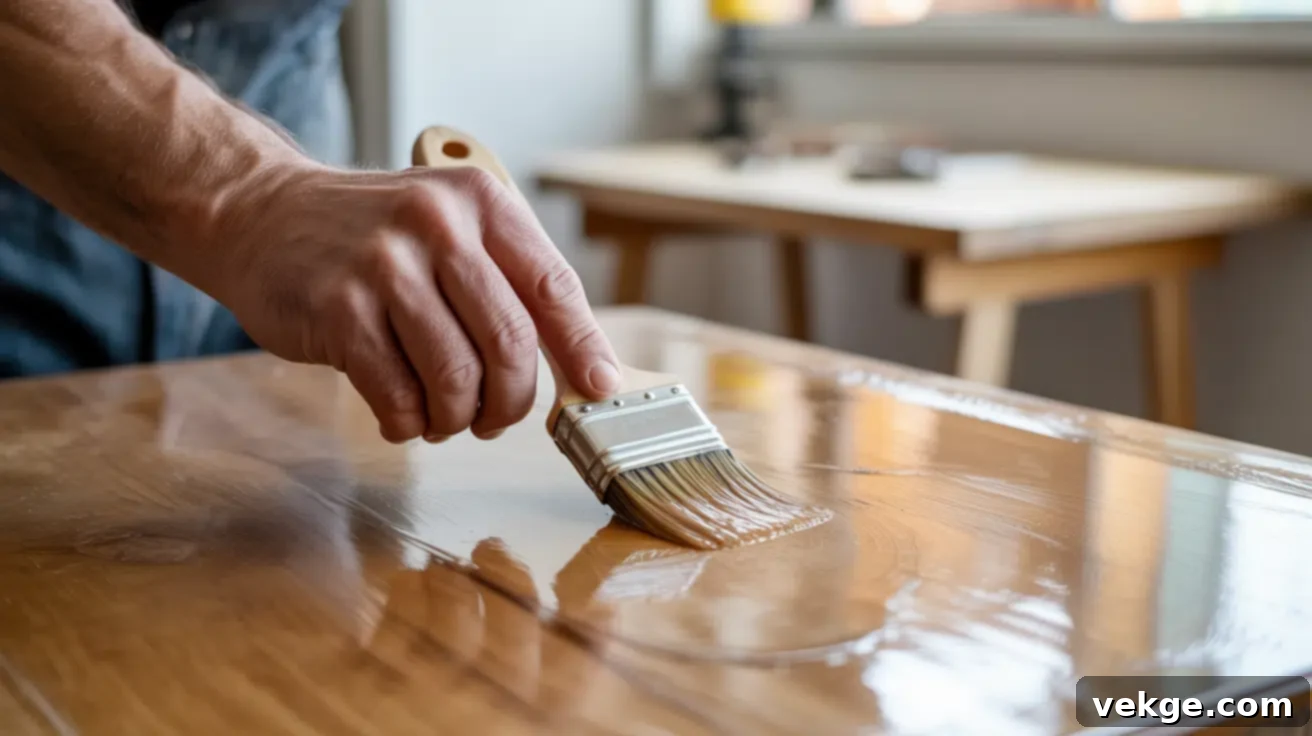
Dip your synthetic bristle brush or foam brush into the polycrylic, taking care not to overload it. Apply a thin, even layer to your surface, working with long, smooth, overlapping strokes in the direction of the wood grain. Avoid pressing too hard, as this can squeeze out air bubbles, and resist the urge to go over the same area multiple times once the finish begins to set.
The key here is thin coats. Thin coats dry more efficiently, self-level better, and are much less prone to drips, bubbles, or streaky brush marks, which are common issues with overly thick applications. Aim for complete coverage without visible pooling.
Step 4: Dry, Sand, and Repeat for Multiple Coats
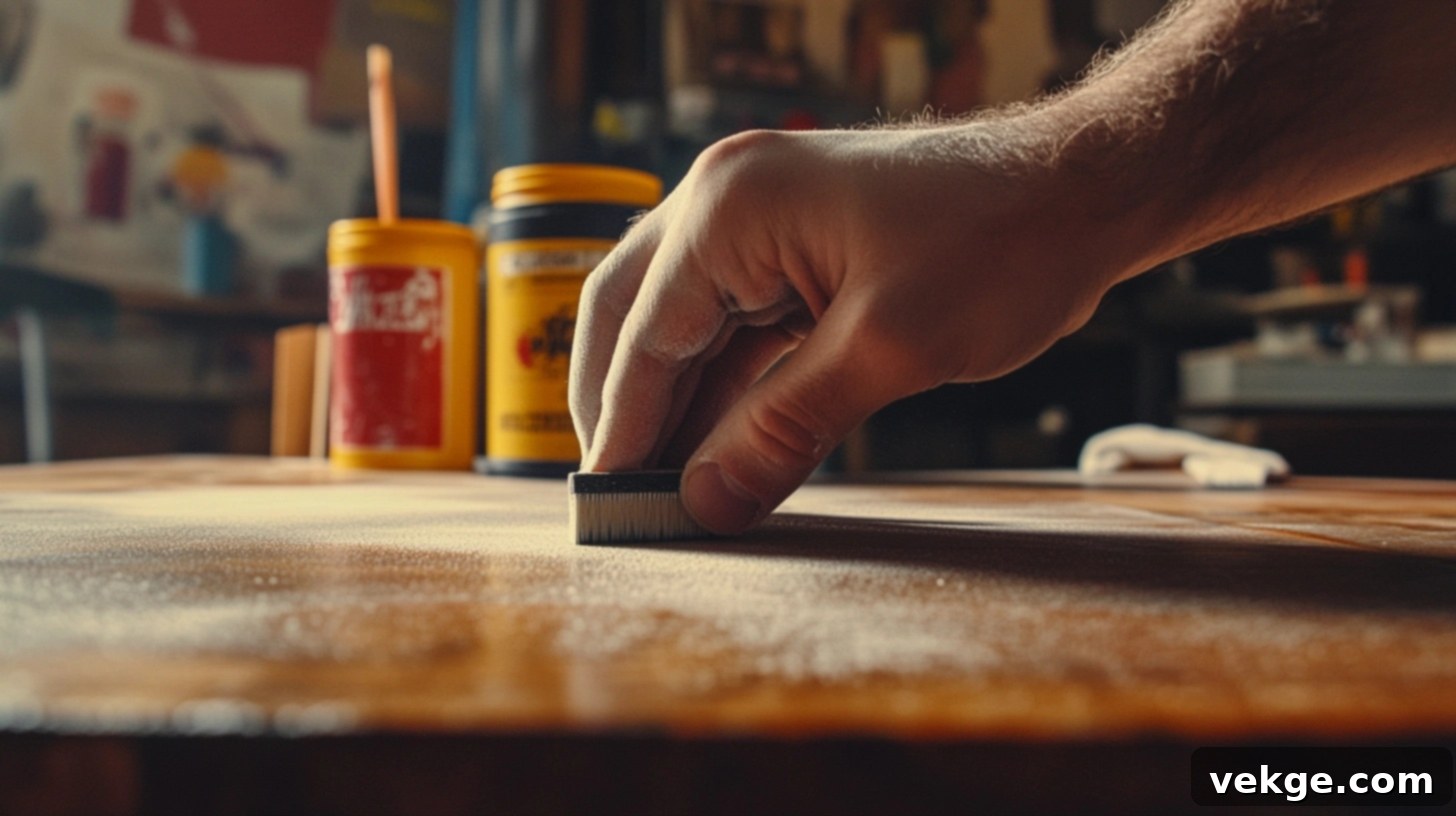
Allow the first coat to dry thoroughly. Polycrylic typically dries to the touch in about 2 hours, but always refer to the manufacturer’s instructions on the can for precise drying times, as this can vary with humidity and temperature. Once completely dry, lightly sand the entire surface with 220-grit sandpaper. This step helps to smooth out any minor imperfections, dust nibs, or slight texture from the brush strokes, and it creates a “tooth” for the next coat to adhere to firmly.
After sanding, use your tack cloth or clean rag to wipe off all sanding dust once more. Repeat this process for a total of 2 to 3 coats, or even 4 coats for higher durability, always sanding lightly between each coat and thoroughly cleaning the dust away. More thin coats generally yield a more durable and smoother finish than fewer thick coats.
Step 5: Let It Cure Fully for Maximum Durability
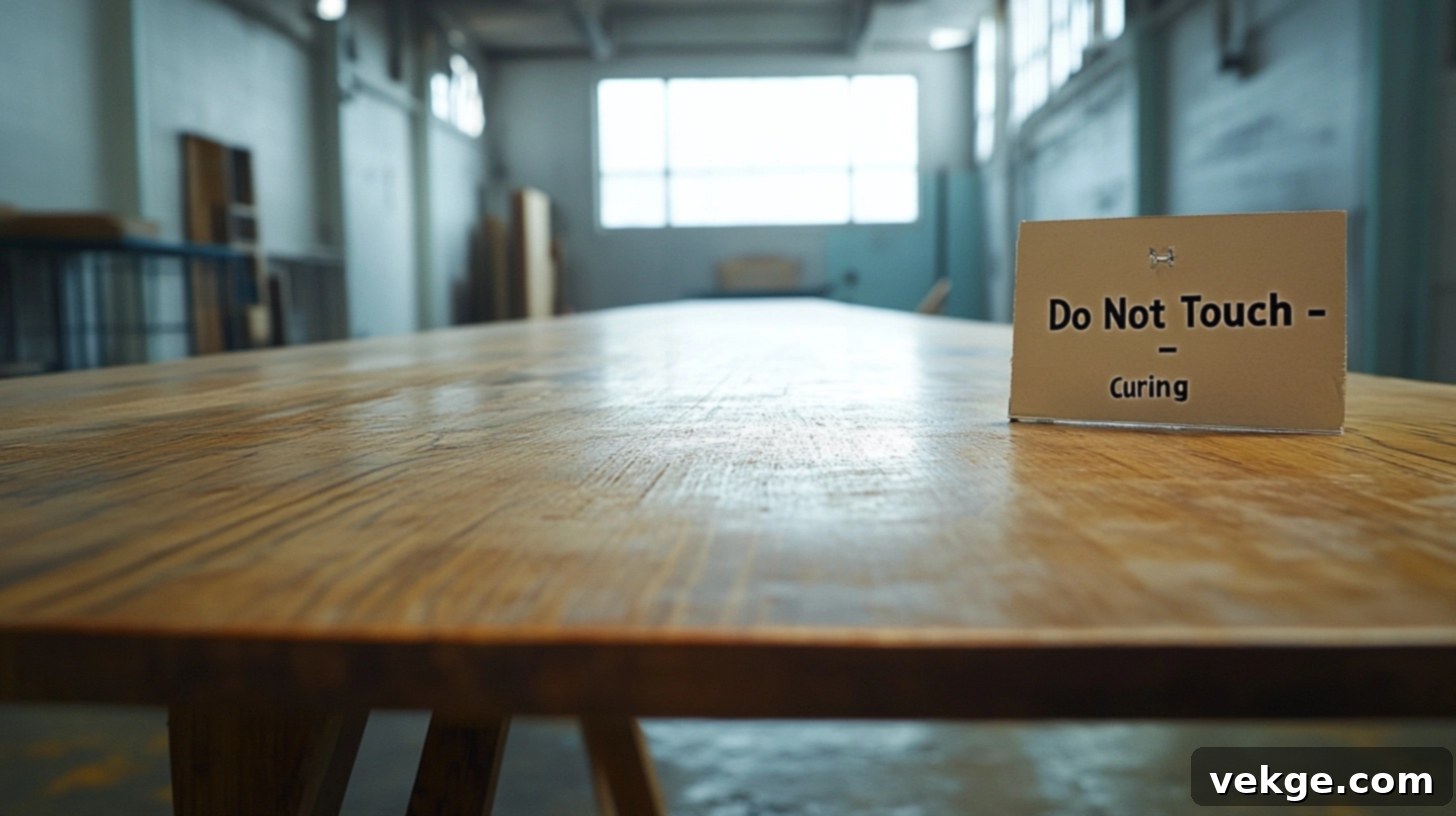
While polycrylic may feel dry to the touch after just a few hours, it is not yet fully cured. The “dry to touch” stage means the solvents have evaporated, but the finish has not reached its maximum hardness and protective properties. For polycrylic to achieve its full durability and water resistance, it needs adequate time to fully cure.
Avoid placing heavy objects, using the item, or exposing it to moisture for at least 24 to 72 hours, or even up to 7 days for maximum hardness, depending on the product and environmental conditions. Full curing involves a chemical process where the finish hardens through molecular cross-linking. During this critical time, keep the surface clean, dry, and free from any stress or contact that could compromise the developing film.
Tips to Avoid Streaks or Bubbles in Your Polycrylic Finish
Achieving a perfectly smooth, streak-free, and bubble-free finish with polycrylic is highly satisfying. Here are some essential tips to help you avoid common pitfalls:
- Stir Gently, Don’t Shake: As mentioned, shaking introduces air bubbles. Always stir slowly and thoroughly.
- Apply Thin Coats: This is the most critical rule. Thin coats self-level better, dry faster, and are less prone to trapping air or creating drips.
- Use the Right Brush: A high-quality synthetic bristle brush or a foam brush is recommended for water-based finishes like polycrylic. Natural bristles can absorb water and swell, leading to brush marks.
- Brush in Long, Smooth Strokes: Work in the direction of the wood grain, maintaining an even pressure. Avoid overworking the polycrylic by going back over areas that have already begun to dry.
- Work in a Controlled Environment: Choose a clean, dust-free space with good airflow, but avoid direct drafts from fans or open windows. Too much airflow can cause the polycrylic to dry too quickly, leading to brush marks, while too little airflow can prolong drying and increase dust collection. Ideal temperature is usually between 65-75°F (18-24°C).
- Don’t Overbrush Wet Spots: Once you’ve applied a coat, let it be. Going back over areas that are already starting to dry will only create brush marks and potentially introduce bubbles. Polycrylic has good self-leveling properties if left undisturbed.
- Maintain a Wet Edge: Work in sections, ensuring that the edge of your applied polycrylic remains wet as you move to the next section. This helps to prevent lap marks and ensures a seamless finish.
- Wipe the Rim: Before closing the can, wipe any excess polycrylic from the rim to prevent the lid from sticking and to ensure an airtight seal for future use.
Ups and Downs of Choosing Polycrylic: A Balanced Perspective
Polycrylic stands out as a versatile and user-friendly finish, particularly for indoor projects. However, like any product, it comes with its own set of advantages and limitations. Understanding these pros and cons will help you determine if it’s the right choice for your specific project.
| Pros (Advantages) | Cons (Disadvantages) |
|---|---|
| Easy to Use & Clean: Water-based formula means easy application and effortless cleanup with just soap and water. | Not Waterproof: Offers water resistance, but fails under prolonged exposure to water or standing liquid. |
| Low Odor & Fast Drying: Minimal VOCs and quick drying times make it ideal for indoor projects, allowing multiple coats in a day. | Not Suitable for Outdoor Use: Lacks UV resistance and flexibility needed to withstand harsh outdoor elements like sun, rain, and extreme temperature changes. |
| Non-Yellowing Formula: Dries crystal clear and maintains its clarity over time, preserving the true color of light woods and painted surfaces. | Prone to Streaks or Bubbles: Can show brush marks or trap bubbles if applied too thickly, shaken, or overbrushed. |
| Safe for Indoor & Kids’ Furniture: Once cured, it’s a safe choice for items used by children, thanks to its low toxicity. | Less Durable than Polyurethane: Offers good protection but isn’t as hard or as resistant to heavy impacts, heat, or abrasion as oil-based polyurethane. |
| Versatile Sheen Options: Available in multiple sheens (gloss, semi-gloss, satin, matte) to match desired aesthetic. | Not Ideal for High-Wear or Wet Areas: Not recommended for surfaces like countertops, bar tops, or flooring that experience heavy use or frequent moisture contact. |
Ultimately, polycrylic excels in specific indoor scenarios where ease of use, a clear finish, and moderate protection are priorities. For more demanding applications, especially those involving significant moisture or heavy wear, alternative finishes should be considered.
Alternatives for Full Waterproofing: When Polycrylic Isn’t Enough
While polycrylic offers valuable water resistance for many indoor applications, there are numerous situations where its protection simply isn’t sufficient. If your project demands true waterproofing – whether for outdoor exposure, high-moisture areas, or surfaces subjected to heavy use – you’ll need to turn to more robust alternatives. Here are some superior choices that provide a comprehensive seal and resilient protection against water:
1. Oil-Based Polyurethane: The Heavy-Duty Protector
Oil-based polyurethane is a powerhouse when it comes to durability and waterproofing. It forms an exceptionally strong, thick, and highly waterproof barrier, making it an ideal choice for surfaces that endure significant wear and tear, such as hardwood floors, kitchen countertops, and dining tabletops. Its solvent-based composition allows for deeper penetration into wood fibers, resulting in a tougher, more resilient film.
While it does take longer to dry and emits strong fumes (requiring excellent ventilation), its superior resistance to moisture, scratches, heat, and chemicals is unparalleled among clear finishes. A key characteristic is its tendency to impart a warm, amber tone to the wood, which deepens over time – a desirable effect for some, but something to consider for very light or white finishes.
2. Waterlox: The Penetrating Oil Finish with Robust Water Resistance
Waterlox is a unique tung oil-based finish that stands apart due to its penetrating properties. Unlike film-forming finishes that sit purely on the surface, Waterlox soaks into the wood, creating a protective finish from within while also building a beautiful surface film. This results in exceptional waterproofing that allows the wood to retain a more natural, hand-rubbed look and feel, rather than a thick plastic-like coating.
It’s a favorite for demanding applications such as wooden countertops, bathroom vanities, floors, and even boat interiors where moisture resistance is critical. Waterlox offers excellent durability against water and spills, is highly resistant to alcohol and household chemicals, and allows for easy maintenance and spot repairs, making it a practical and long-lasting choice.
3. Marine Spar Varnish: Built for the Harshest Environments
When you need a finish engineered for the most extreme outdoor conditions, marine spar varnish is the answer. Originally developed for boats, this type of varnish is formulated with specific resins that provide superior flexibility and UV inhibitors. Its elasticity allows it to expand and contract with the wood as temperatures and humidity fluctuate, preventing cracking and peeling – common failures of less flexible finishes.
Marine spar varnish offers unparalleled protection against intense sunlight (UV rays), heavy rain, salt spray, and extreme temperature changes. It’s the ultimate choice for outdoor wood furniture, exterior doors, wooden boat components, and even decks and fences, providing a long-lasting, clear, and durable shield against the elements, preventing fading and degradation over many years.
4. Epoxy Sealants: The Ultimate Waterproof Barrier
For applications demanding the absolute highest level of waterproofing, extreme durability, and a strikingly thick, glossy finish, epoxy sealants are the go-to solution. Epoxy creates a rock-hard, non-porous layer that is completely impermeable to water, stains, and most forms of physical damage. It effectively encapsulates the surface beneath, providing an almost indestructible shield.
Commonly used for bar tops, “river tables,” garage floors, and even as a clear coat for boat parts or industrial surfaces, epoxy is a professional-grade solution. While its application requires meticulous mixing and careful pouring to avoid bubbles and achieve a perfectly level surface, the resulting finish is incredibly long-lasting and offers unparalleled protection against virtually any liquid or impact.
Wrapping Up: Making the Right Choice for Your Project
By now, you should have a clear and definitive answer to the question, “Is polycrylic waterproof?” The truth is, it’s not truly waterproof but rather water-resistant. This distinction is paramount, as understanding polycrylic’s capabilities and limitations is key to selecting the right finish and ensuring the success and longevity of your projects. While it provides excellent protection against light spills and everyday moisture for indoor items, it simply cannot withstand prolonged water exposure or the harsh conditions of the outdoors.
Throughout this guide, we’ve walked through what polycrylic is, how its water resistance differs from true waterproofing, and how it stacks up against other popular finishes like polyurethane. We’ve also provided detailed steps for its correct application and, crucially, presented a range of superior alternatives—including oil-based polyurethane, Waterlox, marine spar varnish, and epoxy sealants—for those instances where robust, long-term waterproofing is non-negotiable.
If you’re embarking on an indoor project, such as a dresser, a bookshelf, or painted furniture, polycrylic could be the perfect match, offering a beautiful, clear, and low-odor finish. However, if your project involves high-moisture environments, outdoor exposure, or surfaces requiring maximum durability, you now know the better, more specialized options available to ensure unparalleled protection.
Ready to protect your next project the smart way? Save this comprehensive guide, carefully follow the application steps, and most importantly, choose your finish wisely, always aligning the product with the specific demands and environment of your creation. Your hard work deserves the best protection!
