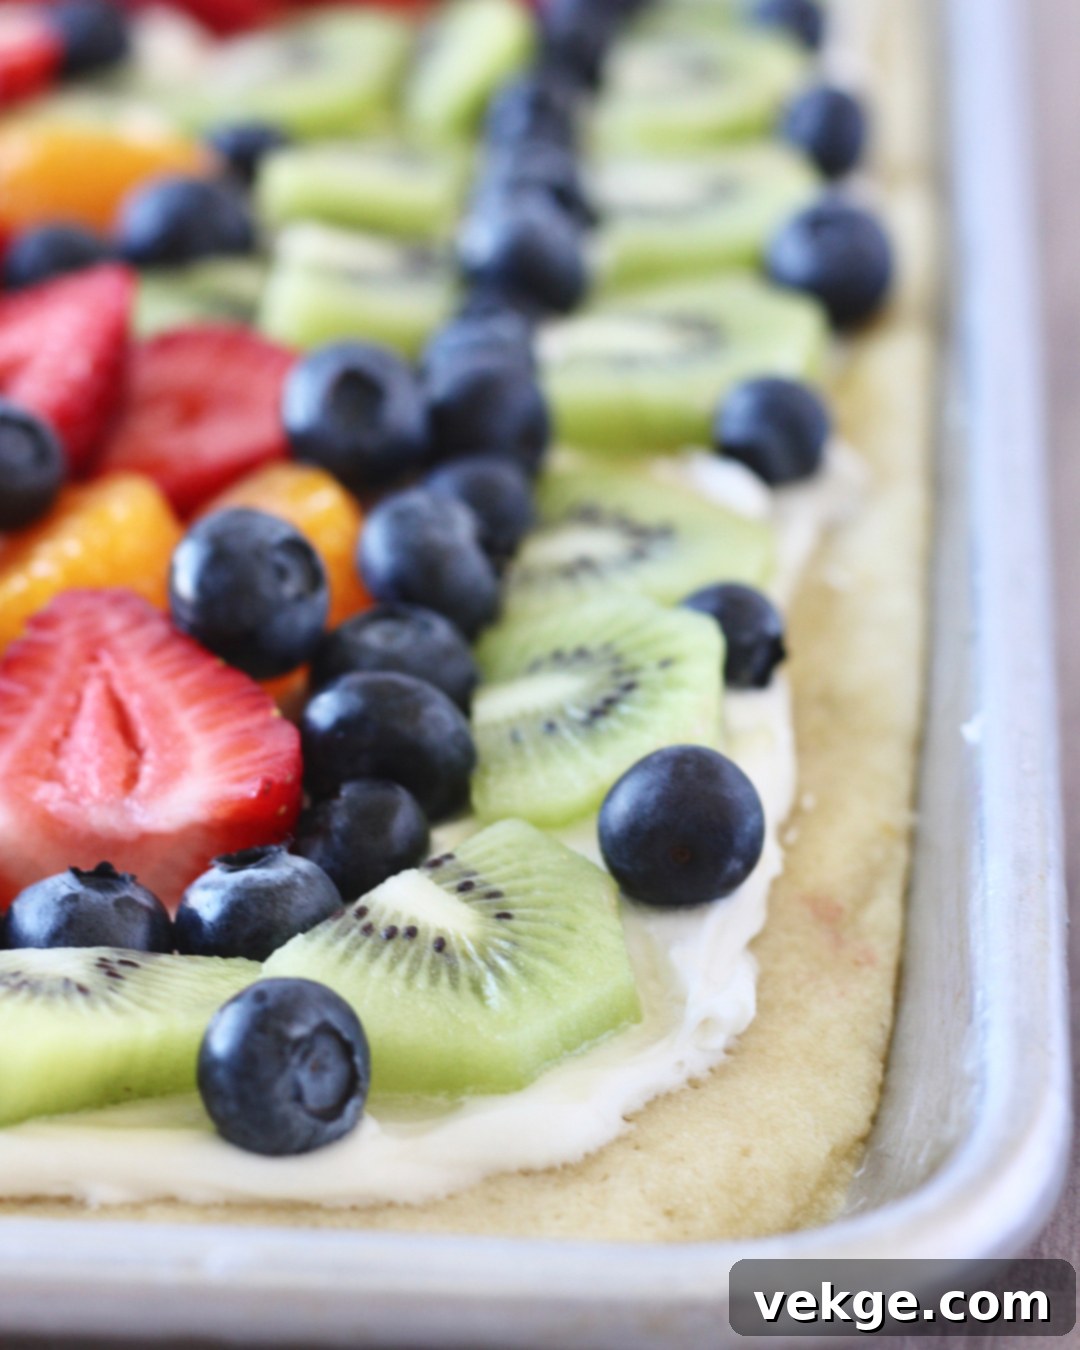
The Ultimate Classic Fruit Pizza: A Refreshingly Delicious Dessert
If you’re searching for a dessert that’s as vibrant and beautiful as it is incredibly delicious, look no further than the classic Fruit Pizza. This beloved treat perfectly combines the comforting chewiness of a giant sugar cookie crust, the silky smoothness of a sweet vanilla cream cheese frosting, and the refreshing burst of colorful fresh fruits. It’s more than just a dessert; it’s an edible work of art that’s perfect for summer gatherings, family dinners, potlucks, or simply as a delightful treat to brighten any day. Once you taste this homemade version, you’ll understand why it’s a timeless favorite that consistently steals the show!
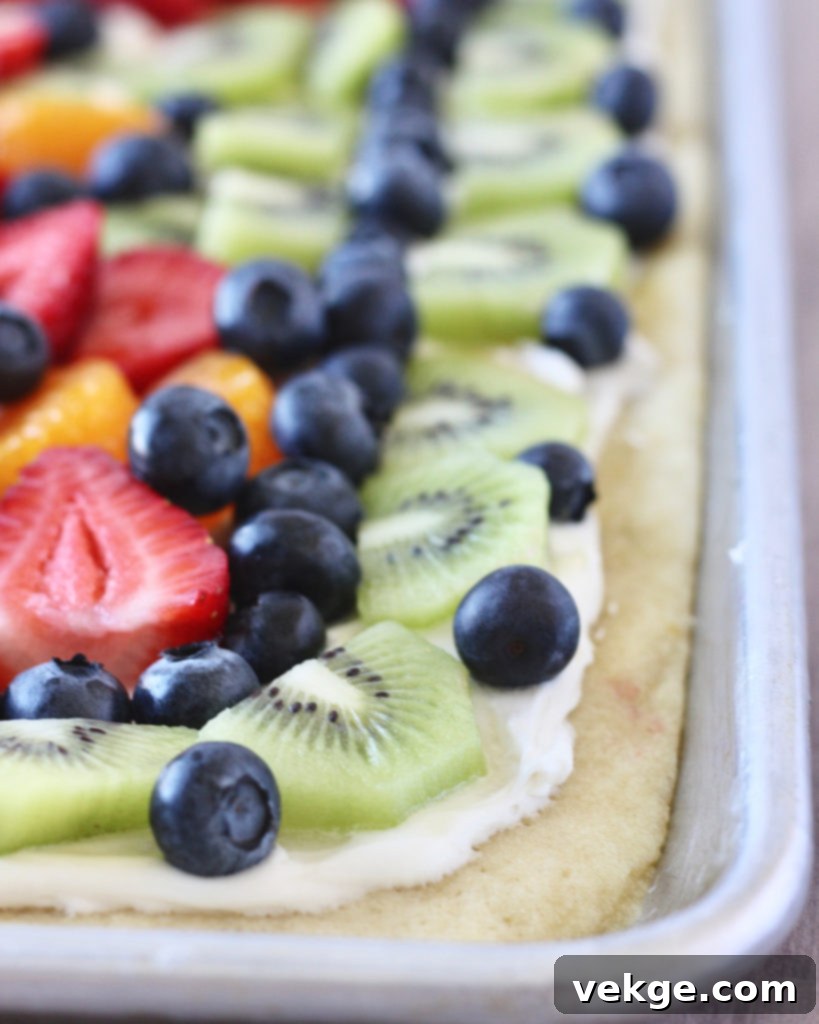
Why You’ll Love This Easy Fruit Pizza Recipe
There are countless reasons why this fruit pizza stands out as a must-make dessert. Firstly, its **irresistible flavor profile** offers a delightful balance of sweet and tangy. The buttery cookie crust provides a sturdy and flavorful foundation, while the light and creamy frosting adds a luxurious richness without being overly heavy. Then, the fresh fruit topping brings a natural sweetness and a refreshing tartness that cuts through the richness, creating a harmonious symphony of flavors in every bite.
Secondly, this recipe is incredibly **versatile and customizable**. While we’ll guide you through a classic version, the beauty of fruit pizza lies in your ability to get creative. You can choose any combination of your favorite seasonal fruits, experiment with different frosting extracts, or even vary the cookie base. This adaptability makes it a perfect dessert for any occasion and ensures you can always put your unique spin on it.
Lastly, it’s surprisingly **simple to make**, even for novice bakers. The steps are straightforward, and the ingredients are readily available. Plus, it’s a fantastic recipe to involve kids in the kitchen, especially during the fun fruit decorating stage. Get ready to impress your friends and family with this visually stunning and utterly delicious fruit pizza!
Essential Ingredients for Your Homemade Fruit Pizza
Crafting the perfect fruit pizza begins with selecting high-quality ingredients. Our recipe is divided into two main parts: the delightful cookie crust and the luscious cream cheese frosting, with an optional glaze to make your fruit shine even brighter.
For the Irresistible Cookie Crust:
- 1 cup (2 sticks) softened unsalted butter: Softened butter is key for a smooth, lump-free dough. It creams easily with sugar, creating air pockets that lead to a tender cookie.
- 1 1/3 cup cane sugar: Cane sugar provides a subtle, natural sweetness and a fine texture. Granulated sugar can also be used.
- 2 large eggs: Eggs act as a binder, adding moisture and richness to the dough, helping it hold its shape.
- 2 teaspoons vanilla extract: A staple in baking, vanilla extract enhances all the other flavors, giving the cookie a warm, inviting aroma and taste.
- 3 cups all-purpose flour: The main structural component of our cookie base.
- 2 teaspoons cream of tartar: This ingredient is essential for giving the cookie its characteristic soft, chewy texture and preventing it from spreading too much. It also reacts with baking soda.
- 1 teaspoon baking soda: A leavening agent that helps the cookie rise slightly and become tender.
- 1/2 teaspoon salt: A pinch of salt balances the sweetness and brings out the depth of flavor in the cookie.
For the Velvety Cream Cheese Frosting:
- 8 oz. (1 block) cream cheese, softened: Make sure your cream cheese is at room temperature to ensure a perfectly smooth, lump-free frosting.
- 4 Tablespoons (1/2 stick) unsalted butter, softened: Like the cream cheese, softened butter is crucial for achieving that light and airy frosting texture.
- 3 cups powdered sugar (confectioners’ sugar): Powdered sugar dissolves easily, giving the frosting its smooth consistency and sweetness. You can adjust the amount to your desired sweetness and thickness.
- 1 teaspoon vanilla extract: Adds a classic, warm flavor to the frosting.
- Optional Flavor Enhancers: For a delightful twist, consider adding either 1 teaspoon almond extract for a nutty depth or 1 teaspoon lemon extract for a bright, citrusy zing.
Optional Glaze for a Professional Finish:
- 2 Tablespoons apricot jam: Provides a natural shine and subtle fruity flavor. Peach or apple jelly can also be used.
- 1 teaspoon water: Thins the jam to create a brushable glaze.
Step-by-Step Guide to Crafting Your Perfect Fruit Pizza
Follow these detailed instructions to create a fruit pizza that will be remembered long after the last slice is devoured.
Part 1: Preparing the Delicious Cookie Crust
- Preheat Your Oven and Prepare the Pan: Begin by preheating your oven to 350° F (175° C). This ensures your oven is at the correct temperature for even baking. Prepare a large cookie sheet (approximately 26×18 inches) by spraying it generously with non-stick cooking spray. For easier removal and cleanup, you can also line the pan with parchment paper.
- Cream Butter and Sugar: In a large mixing bowl, combine the softened butter and cane sugar. Using an electric mixer, beat them together on medium speed until the mixture is light, fluffy, and smooth. This typically takes about 2-3 minutes. Properly creaming the butter and sugar incorporates air, contributing to a tender cookie.
- Incorporate Wet Ingredients: Add the large eggs one at a time, mixing well after each addition until fully incorporated. Then, stir in the vanilla extract. Scrape down the sides of the bowl to ensure everything is evenly mixed.
- Add Dry Ingredients: In a separate bowl, whisk together the flour, cream of tartar, baking soda, and salt. Gradually add these dry ingredients to the wet mixture in the large bowl, mixing on low speed until just combined. Be careful not to overmix, as this can lead to a tough cookie. Stop mixing as soon as no streaks of flour are visible.
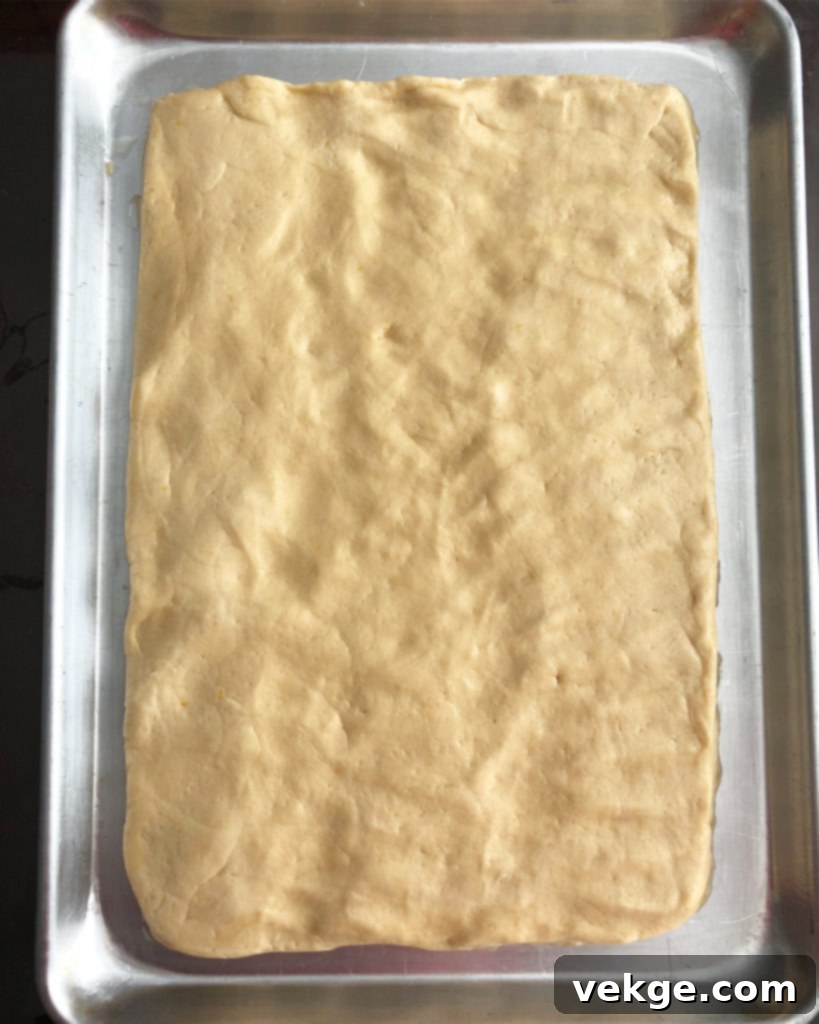
- Spread the Dough Evenly: Gently drop spoonfuls of the dough onto the prepared cookie sheet. Using your hands (lightly floured if the dough is too sticky) or a rubber spatula, carefully spread the dough out evenly across the entire surface of the pan. Pay attention to spreading it into an even layer to ensure consistent baking.
- Create Room for Spreading: This is a crucial step! Using a rubber spatula or your fingertips, gently push the dough away from the outer inch of the pan’s edges. This creates a small gap around the perimeter of the dough, allowing the giant cookie to spread naturally as it bakes without climbing up the sides of the pan or becoming too thick at the edges.
- Bake to Golden Perfection: Place the cookie sheet in the preheated oven and bake for 10-12 minutes. Keep a close eye on it; the goal is for the cookie to be very lightly browned around the edges but still soft in the center. Avoid overbaking, as this will result in a dry, hard crust rather than a soft, chewy one.
- Cool Completely: Once baked, remove the cookie sheet from the oven and let the giant cookie cool completely on the pan. It’s essential for the crust to be entirely cool before you apply the frosting, otherwise, the frosting will melt and slide off. This can take at least 1-2 hours at room temperature, or you can speed up the process by placing it in the refrigerator for about 30-45 minutes.
Part 2: Preparing the Creamy Frosting
- Beat Cream Cheese and Butter: In a medium mixing bowl, combine the softened cream cheese and softened butter. Using an electric mixer, beat them together on medium-high speed until the mixture is incredibly smooth and fluffy, with no lumps of cream cheese remaining. This usually takes about 2-3 minutes.
- Add Vanilla (and Optional Extracts): Stir in the vanilla extract. If you’re using almond or lemon extract for an enhanced flavor, add it now and mix until just combined.
- Gradually Add Powdered Sugar: Gradually add the powdered sugar, one cup at a time, mixing on low speed until each addition is incorporated, then increasing to medium speed to beat until smooth. Continue until all the powdered sugar is added and you’ve reached your desired consistency.
- For a thicker frosting: Add a bit more powdered sugar, a tablespoon at a time, and mix.
- For a thinner frosting: Add a teaspoon of milk (or cream) at a time, mixing until smooth, until you reach your preferred spreading consistency.
Part 3: Assembling and Decorating Your Fruit Pizza
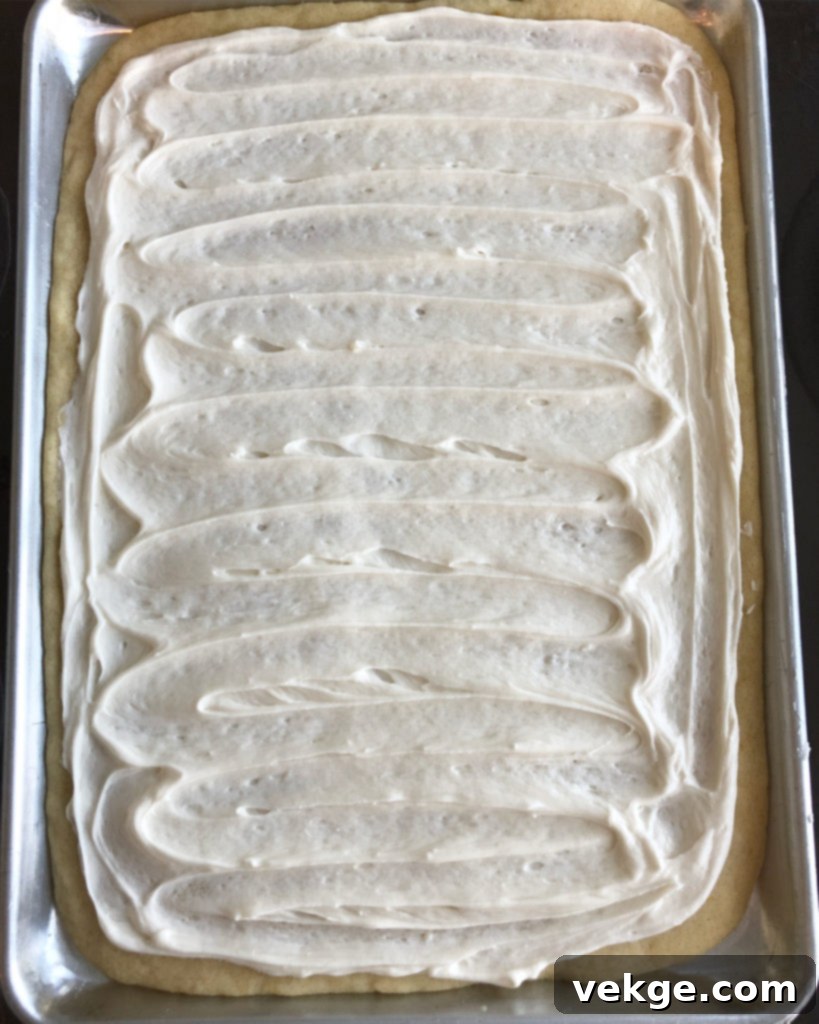
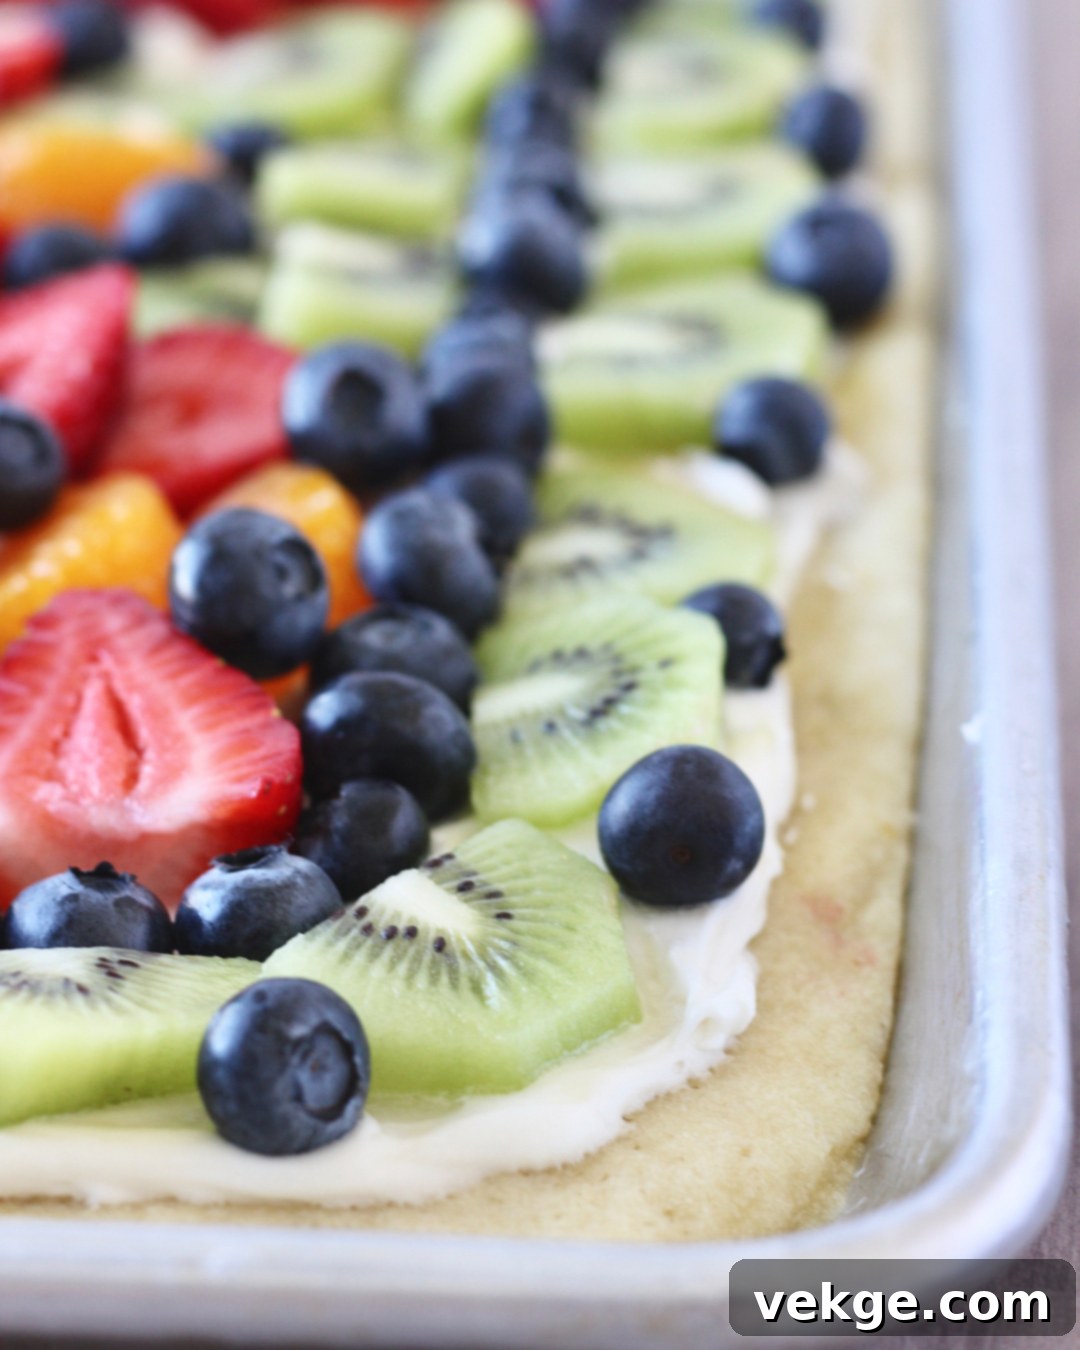
- Frost the Cooled Cookie Crust: Once the cookie crust is completely cool, use an offset spatula or the back of a spoon to evenly spread the cream cheese frosting over the entire surface of the cookie. Leave a small border around the edge if you prefer, or spread it all the way to the edge.
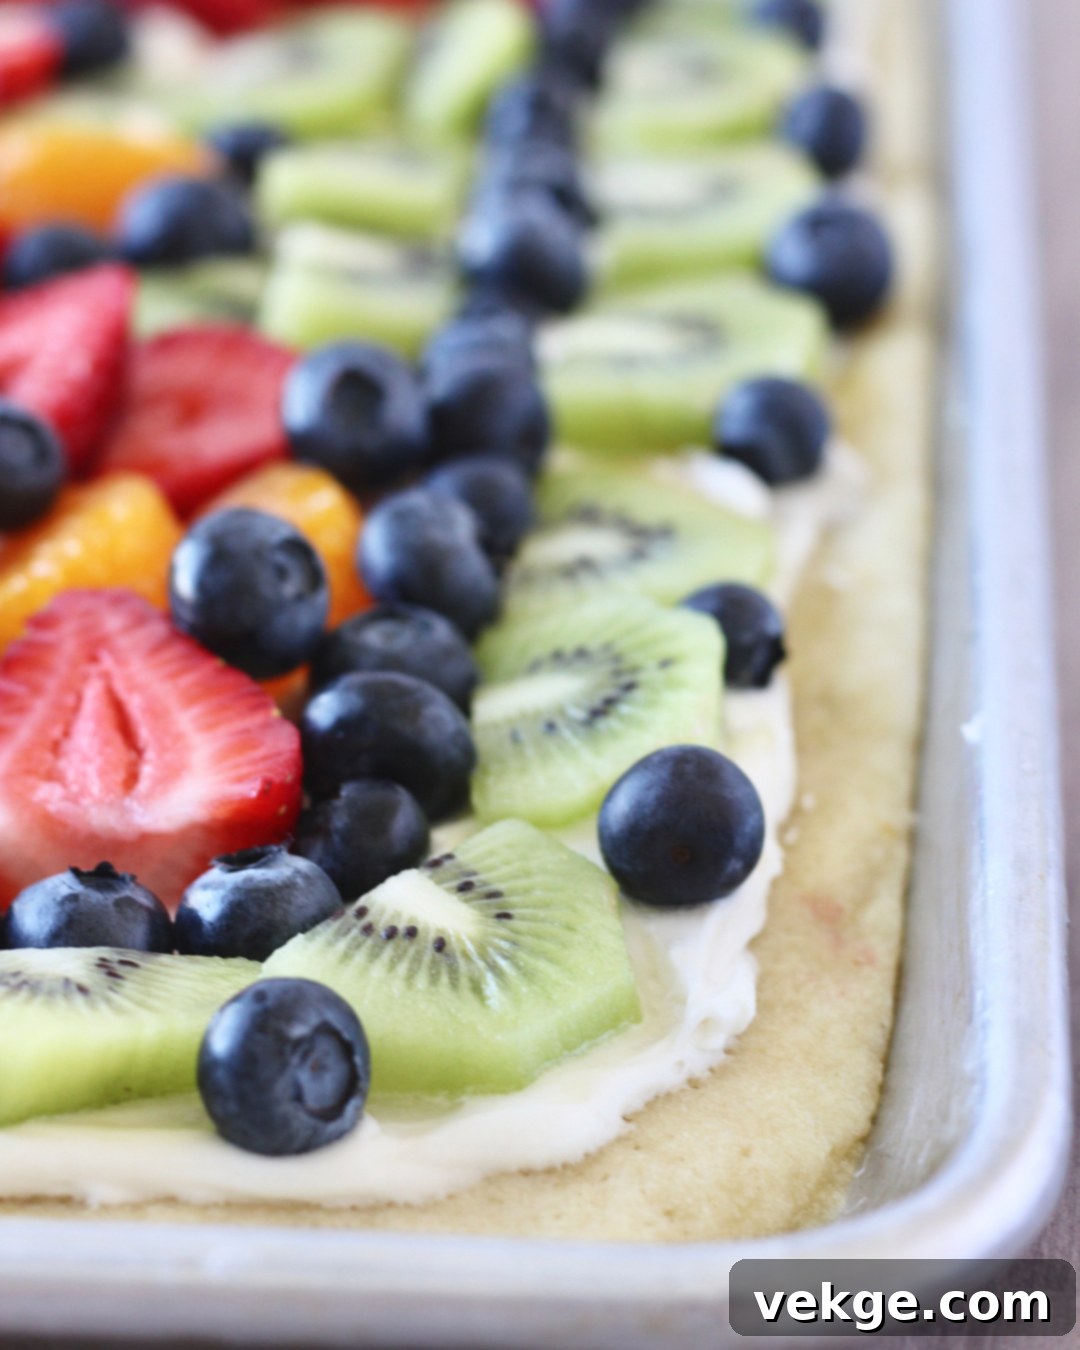
- Arrange Your Fruit: Now for the fun part! Arrange your colorful fresh fruits creatively on top of the frosting. You can create patterns, stripes, or simply scatter them artfully. Think about contrasting colors and textures for a visually appealing presentation. Popular choices include strawberries, blueberries, raspberries, kiwi, mandarin oranges, grapes, and peaches.
- Optional Glaze for Shine and Freshness: To give your fruit pizza a beautiful, glossy finish and to prevent the fruit from drying out or discoloring, prepare a simple glaze. In a small microwave-safe bowl, combine 2 Tablespoons of apricot jam and 1 teaspoon of water. Warm the mixture in the microwave for about 20-30 seconds, or until it’s melted and easily stirrable. Use a pastry brush to *lightly* spread this warm glaze over the arranged fruit. This adds a professional touch and helps preserve the fruit’s freshness.
- Chill Before Serving: For best results and to allow the flavors to meld, chill the fruit pizza in the refrigerator for at least 30 minutes before slicing and serving. This also helps the frosting set and makes for cleaner slices.
Tips for Fruit Pizza Success
- Room Temperature Ingredients: Always ensure your butter and cream cheese are softened to room temperature for both the dough and the frosting. This is paramount for smooth mixing and a uniform texture.
- Don’t Overbake the Crust: A slightly underbaked cookie crust is better than an overbaked one. You want a soft, chewy base, not a crisp, hard cracker. The edges should be just barely golden.
- Cool the Crust Completely: Patience is key here. If the crust is warm, the frosting will melt, making a messy fruit pizza.
- Prevent Soggy Crust: For extra insurance against a soggy crust, you can spread a very thin layer of white chocolate or melted regular chocolate on the cooled cookie before adding the frosting. This creates a barrier against the moisture from the fruit.
- Choose Fresh, Ripe Fruit: The quality of your fruit significantly impacts the overall taste. Select seasonal, ripe fruits that are firm and free from blemishes. Wash and thoroughly dry all fruits before use.
- Dry Your Fruit: Excess moisture from washed fruit can make your frosting watery. Pat fruits like berries and sliced kiwi completely dry with paper towels before placing them on the pizza.
- Chill Before Slicing: A chilled fruit pizza is much easier to slice neatly. The frosting sets up, allowing for clean cuts.
Creative Variations & Customizations
While the classic fruit pizza is wonderful, don’t hesitate to put your unique spin on this recipe:
- Crust Variations: Instead of a sugar cookie base, try a chocolate chip cookie crust, a shortbread crust, or even a healthier oatmeal cookie crust for a different texture and flavor profile.
- Frosting Flavors: Beyond vanilla, explore other extracts for your frosting. Lemon, orange, or almond extract can add a delightful twist. A touch of citrus zest (lemon, lime, or orange) can also brighten the flavor. For a chocolate version, mix in some cocoa powder.
- Fruit Combinations: The possibilities are endless!
- Berry Blast: A mix of strawberries, blueberries, raspberries, and blackberries.
- Tropical Paradise: Sliced kiwi, mango, pineapple, and mandarin oranges.
- Autumn Harvest: Sliced apples (tossed in lemon juice to prevent browning), pears, and grapes.
- Citrus Dream: Segments of oranges, grapefruit, and kumquats.
Consider color and texture when arranging for the most appealing look.
- Mini Fruit Pizzas: For individual servings, bake smaller cookie circles using a round cookie cutter. These are perfect for parties or lunchboxes.
Serving and Storage Suggestions
Fruit pizza is best enjoyed the day it’s made, especially if you’re using delicate fruits that can get soggy quickly. However, you can prepare components ahead of time:
- Make Ahead: The cookie crust can be baked 1-2 days in advance and stored at room temperature in an airtight container. The cream cheese frosting can also be made a day or two ahead and stored in an airtight container in the refrigerator. Just whip it briefly before spreading if it stiffens too much.
- Assembly: Assemble the fruit pizza no more than a few hours before serving for the freshest taste and appearance. If serving for a party, assemble about 1-2 hours beforehand and keep it refrigerated.
- Storage: Leftover fruit pizza should be stored in an airtight container in the refrigerator. It will remain good for up to 2-3 days, though the fruit may lose some of its crispness, and the crust might soften slightly over time.
Frequently Asked Questions (FAQs) About Fruit Pizza
Can I make the fruit pizza crust gluten-free?
Yes! You can typically substitute all-purpose flour with a 1:1 gluten-free baking flour blend in this recipe. Just be sure the blend contains xanthan gum for best results. The texture might be slightly different, but it will still be delicious.
How do I prevent the fruit from making the crust soggy?
There are a few tricks:
- Make sure the cookie crust is completely cool before frosting.
- Ensure all fruits are thoroughly washed and dried before placing them on the pizza.
- Consider applying a very thin layer of melted white chocolate or regular chocolate on the cooled crust before the cream cheese frosting. This acts as a barrier to moisture.
- Don’t assemble the fruit pizza too far in advance; ideally, within a few hours of serving.
What are the best fruits to use for fruit pizza?
Any fresh, ripe, and relatively firm fruit works well! Popular choices include strawberries, blueberries, raspberries, kiwi, mandarin oranges (canned, drained well), grapes (halved), sliced peaches, and mangoes. Avoid fruits that release a lot of water quickly, like watermelon, or those that brown easily without treatment, like apples (unless tossed in lemon juice).
Can I freeze fruit pizza?
It’s generally not recommended to freeze a fully assembled fruit pizza. The fresh fruit often becomes mushy and loses its texture when thawed, and the frosting’s consistency can change. However, you can freeze the baked cookie crust on its own for up to a month. Thaw it at room temperature before frosting and decorating.
Is this fruit pizza suitable for parties?
Absolutely! Fruit pizza is a show-stopping dessert that’s perfect for parties, potlucks, BBQs, and family gatherings. It’s easy to slice and serve, and its vibrant appearance makes it a beautiful centerpiece on any dessert table. It’s also lighter than many traditional heavy desserts, making it a refreshing option, especially in warmer weather.
The Verdict: Your New Go-To Dessert!
This classic fruit pizza recipe is truly a gem. With its tender cookie crust, smooth and tangy cream cheese frosting, and an explosion of colorful, fresh fruit, it’s a dessert that consistently delights both the eyes and the taste buds. Whether you’re making it for a special occasion or just to treat yourself, this recipe promises a refreshing, delicious, and utterly satisfying experience. So, roll up your sleeves, gather your ingredients, and get ready to create a masterpiece that everyone will rave about. Enjoy every delightful bite!
Fruit Pizza Recipe
Delicious cookie crust, smooth vanilla frosting, and colorful fruit make this pizza one for the books!
Dessert
Ingredients
Cookie Dough
- 1 cup softened butter
- 1 1/3 cup cane sugar
- 2 large eggs
- 2 teaspoons vanilla extract
- 3 cups flour
- 2 teaspoons cream of tartar
- 1 teaspoon baking soda
- 1/2 teaspoon salt
Cream Cheese Frosting
- 8 oz. cream cheese, softened
- 4 Tablespoons butter, softened
- 3 cups powdered sugar
- 1 teaspoon vanilla extract (optional: add 1 tsp almond extract or 1 tsp lemon extract for a different flavor)
Optional Fruit Glaze
- 2 Tablespoons apricot jam
- 1 teaspoon water
Instructions
For the Cookie Crust
- Preheat the oven to 350° F (175° C). Spray a large cookie sheet (26×18 inch) with non-stick spray.
- In a large bowl, cream together the softened butter and cane sugar until smooth and fluffy. Mix in the eggs, then the vanilla extract until well combined.
- In a separate bowl, whisk together the flour, cream of tartar, baking soda, and salt. Gradually add the dry ingredients to the wet mixture, mixing on low speed until just combined. Do not overmix.
- Drop the dough onto the prepared cookie sheet. Using your hands or a rubber spatula, spread it out evenly across the pan. Then, use a rubber spatula to push the dough away from the outer inch of the pan’s edges. This allows the giant cookie to spread slightly as it cooks.
- Bake the dough for 10-12 minutes, or until the edges are very lightly browned. Avoid overbaking to keep the crust soft and chewy. Let it cool completely on the pan.
For the Cream Cheese Frosting
- In a medium bowl, beat the softened cream cheese and softened butter together with an electric mixer until completely smooth and fluffy, with no lumps.
- Add the vanilla extract (and any optional almond or lemon extract) and mix until just combined.
- Gradually add the powdered sugar, mixing on low speed until incorporated, then beating on medium speed until you have reached your desired consistency. For a thicker frosting, add more powdered sugar; for a thinner frosting, add milk one teaspoon at a time.
Assembly and Decoration
- Once the cookie crust is completely cool, spread the cream cheese frosting evenly over the entire surface.
- Decorate generously with your choice of colorful fresh fruits. Arrange them in a visually appealing pattern.
- *Optional Glaze: To prevent fruit from drying out and add a beautiful shine, prepare a glaze. In a small microwave-safe bowl, combine 2 Tablespoons apricot jam and 1 teaspoon water. Warm the mixture in the microwave for 20-30 seconds until melted and smooth. Then, *lightly* brush this warm glaze over the arranged fruit.
- Chill the fruit pizza for at least 30 minutes before slicing and serving for best results.
