This post contains affiliate links, meaning I may receive a commission on purchases made through my links, at no extra cost to you. Your support is greatly appreciated!

Discover the Irresistible Charm of Homemade Orange Rolls
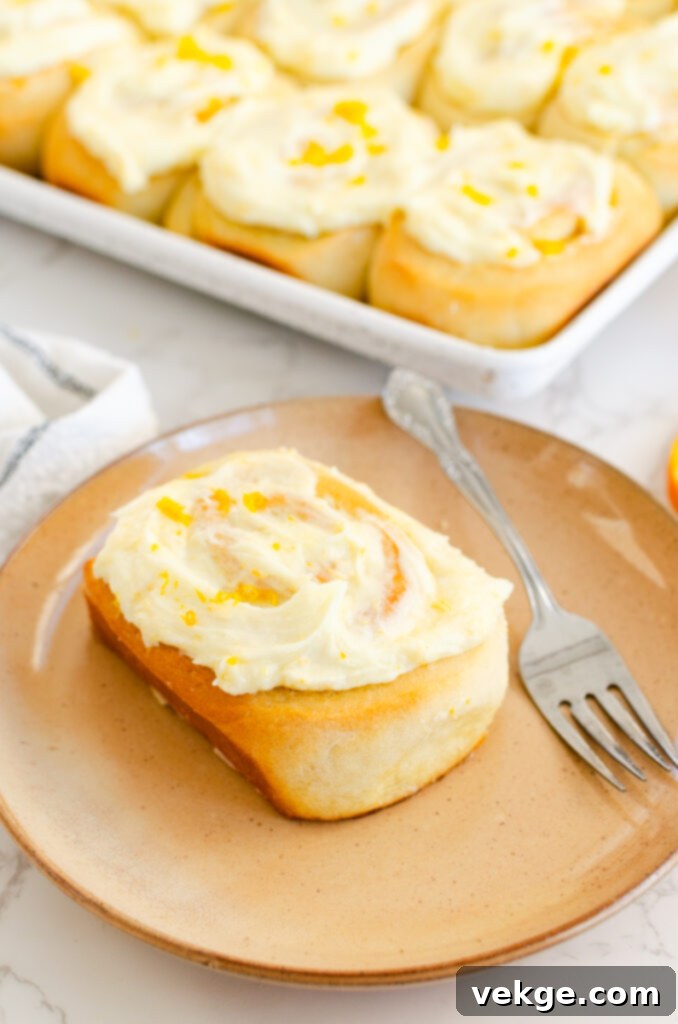
There’s nothing quite like the aroma of freshly baked goods filling your kitchen, and these orange rolls are designed to deliver an unforgettable sensory experience. Imagine delightfully soft, pillowy rolls, generously infused with the bright, citrusy essence of fresh orange zest, and crowned with a luscious, tangy orange glaze. They offer a refreshing and captivating alternative to the classic cinnamon roll, providing a burst of sunshine in every bite. Perfect for a cozy breakfast, a festive brunch, or a comforting dessert, these rolls are not just a treat for your taste buds but a celebration of simple, wholesome ingredients. If you’re looking to elevate your baking repertoire with something truly special and wonderfully different, these orange rolls are an absolute must-try. Their unique flavor profile and incredibly tender texture will undoubtedly make them a new favorite in your home.
Mastering the Art of Orange Rolls: Key Ingredients Revealed
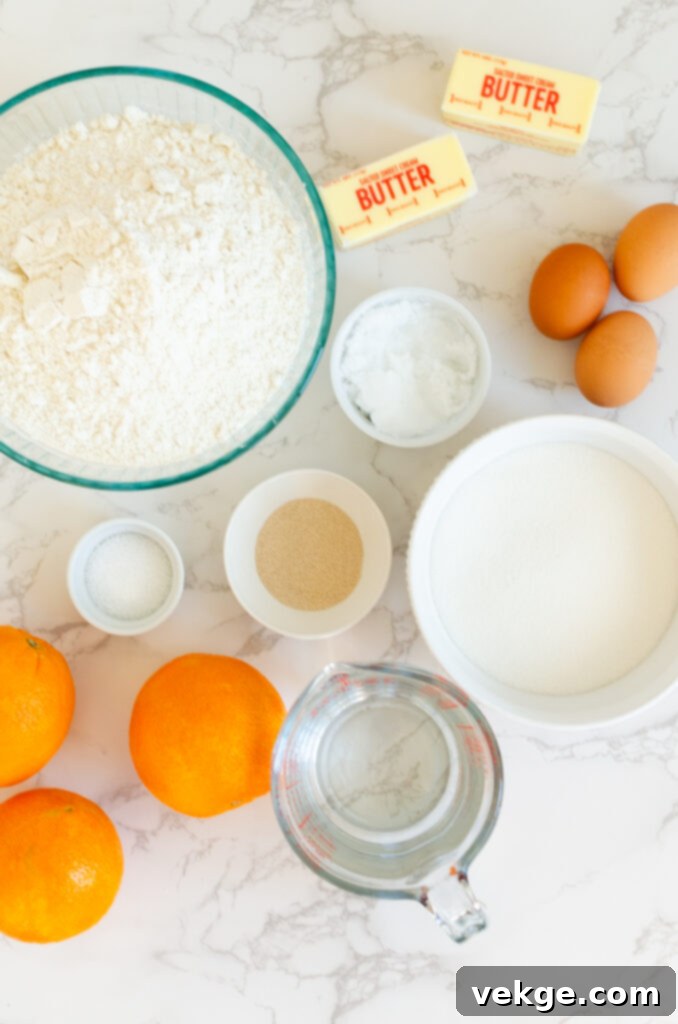
The secret to truly exceptional orange rolls lies in selecting high-quality ingredients. Each component plays a crucial role in achieving the desired texture, flavor, and rise. Let’s delve into why specific choices make all the difference in this recipe.
Flour: The Foundation of Perfect Rolls
When it comes to baking rolls, bread flour is my unwavering favorite, and for good reason. Its higher gluten content, compared to all-purpose flour, is key to achieving that desirable tall, buoyant rise and an incredibly soft crumb with a beautiful, elastic stretch. This gluten network traps gases released by the yeast, allowing the dough to expand magnificently and retain its airy structure. Most grocery stores conveniently stock bread flour right alongside all-purpose varieties, making it easily accessible. For an even higher quality experience, I frequently use organic bread flour from a local mill, specifically LEHI MILLS.* I wholeheartedly recommend their products, not just for their superior performance but also because they responsibly source their wheat from farmers who prioritize sustainable practices and do not use glyphosate on their crops. *Don’t forget to use my affiliate coupon code AMBERSKITCHEN for 10% off your Lehi Mills order!*
Salt: Enhancing Flavor and Nutrition
Salt is more than just a seasoning; it’s a critical component in baking, balancing sweetness and enhancing the overall flavor profile. My stringent standards for salt lead me exclusively to Redmond Real Salt. This remarkable salt is harvested from an ancient sea bed in central Utah, making it a true, unprocessed sea salt. What sets it apart is its rich profile of naturally occurring trace minerals, which are often stripped from conventional salts. Redmond Real Salt contains no fillers, no anti-caking agents, no unhealthy pollutants, and absolutely no additives. It’s pure, unadulterated salt that not only tastes incredible but also offers a myriad of health benefits. I purchase my salt directly from HERE*, and to make it more cost-effective for my frequent baking, I typically buy a 25-pound bag every few years, storing it conveniently in mason jars. It’s an investment that truly pays off in terms of flavor and quality. *Remember to use my affiliate coupon code AMBERSKITCHEN for a generous 15% off all Redmond products.*
Water: The Secret to Activating Yeast
The temperature of your water is paramount when working with yeast. Aim for room temperature to slightly warm, similar to the temperature of a baby bottle. Water that is too cold will hinder yeast activity, slowing down the dough’s rise significantly. Conversely, water that is too hot can shock, weaken, or even kill the yeast, preventing your dough from rising altogether. The ideal slight warmth provides the perfect environment for the yeast to activate efficiently, ensuring a robust and timely rise for your rolls. This seemingly small detail is critical for baking success.
Sugar: Sweetening Every Layer
Sugar plays multifaceted roles in these orange rolls, contributing to both texture and flavor. For the dough itself, granulated sugar is my preferred sweetener. While honey or coconut sugar can be substituted directly, granulated sugar yields a classic, consistent texture. When preparing the vibrant orange filling, it’s crucial to stick with white granulated sugar. Brown sugar, with its molasses content, would introduce a different flavor and moisture level that could alter the delicate balance of the orange zest. Finally, for the dreamy, smooth frosting, powdered sugar is non-negotiable. Its fine texture dissolves effortlessly, creating a silky glaze without any undesirable graininess that other sweeteners might produce. Each sugar choice is intentional, contributing to a harmonious and delicious end product.
Coconut Oil: For Unmatched Softness
I am a firm believer in the transformative power of coconut oil for enriched breads and rolls. Its unique properties imbue the dough with an unparalleled softness, often surpassing the results achieved with butter or vegetable oil. Coconut oil helps create a tender, almost melt-in-your-mouth texture that is simply divine. If you don’t already have it in your pantry, I strongly encourage you to procure some; it’s a game-changer for these rolls and many other baked goods. Ensure it is melted for easy incorporation into the dough.
Eggs: Adding Richness and Boost
Eggs are a vital ingredient in this recipe, serving multiple purposes to enhance the final product. They contribute significant richness to the dough, creating a more indulgent and flavorful roll. Beyond flavor, eggs also provide an extra boost in the dough’s rise, adding to its impressive volume and light, airy texture. The proteins in eggs strengthen the dough structure, allowing it to hold more air and achieve that perfect, puffy appearance. Their emulsifying properties also contribute to a smoother, more cohesive dough.
Yeast: The Leavening Power
This recipe utilizes conventional active dry yeast, a reliable leavening agent that ensures a quick and consistent rise. However, for those who enjoy the unique tang and health benefits of sourdough, this recipe can absolutely be adapted. If you’re interested in exploring the sourdough method for a similar type of roll, I invite you to check out my Sourdough Cinnamon Rolls post for detailed instructions and guidance on that alternative approach. Whichever yeast you choose, ensuring it is active and properly handled is key to beautifully risen rolls.
The Star of the Show: Fresh Oranges
The very essence of these orange rolls hinges on the vibrant flavor of fresh oranges. This is one ingredient where quality simply cannot be compromised. The zest, packed with aromatic oils, infuses the rolls with an intense, bright citrus flavor that truly makes them special. Once you’ve zested the oranges, don’t discard them; their juice is then used to create the sensational frosting. It’s crucial to use fresh orange juice for the glaze, as store-bought orange juice, even 100% juice, often lacks the vibrant freshness and complexity of flavor found in freshly squeezed juice. The subtle bitterness and natural oils from fresh oranges are irreplaceable, ensuring your rolls turn out absolutely exquisite. Take the extra moment to zest and squeeze – it’s worth every second.
Step-by-Step Guide: How to Bake Irresistible Orange Rolls
While the idea of making homemade rolls might initially seem a bit daunting, I assure you that with these clear, step-by-step instructions, the process is incredibly straightforward and rewarding. Follow along, and you’ll be enjoying warm, fragrant orange rolls in no time!
Crafting the Perfect Dough
- In the bowl of a stand mixer, or a large mixing bowl, begin by combining the sugar, warm water, and yeast. Give these ingredients a gentle, quick stir to combine them. Cover the bowl loosely and allow the yeast to dissolve and bloom for about 10 minutes. This step is crucial as it activates the yeast, ensuring your dough will rise properly. You should see a frothy layer develop on top, indicating active yeast.
- After the yeast has bloomed, add the eggs, melted coconut oil, and salt directly into the bowl with the yeast mixture. Mix these wet ingredients thoroughly until well combined.
- Gradually begin adding the bread flour, one cup at a time, mixing well after each addition. Continue adding flour until the dough reaches the perfect consistency: it should pull away from the sides of the bowl, feel tacky to the touch, but no longer stick to your fingers. Be careful not to add too much flour, as this can result in dry, dense rolls. If you accidentally add too much, a small amount of extra melted coconut oil can help re-hydrate the dough.
- Once the flour is incorporated, knead the dough for a full 5 minutes. If using a stand mixer with a dough hook, ensure the mixer is covered to help trap heat and promote optimal kneading. Proper kneading develops the gluten, which is essential for the rolls’ soft and elastic texture.
The First Rise: A Moment of Transformation
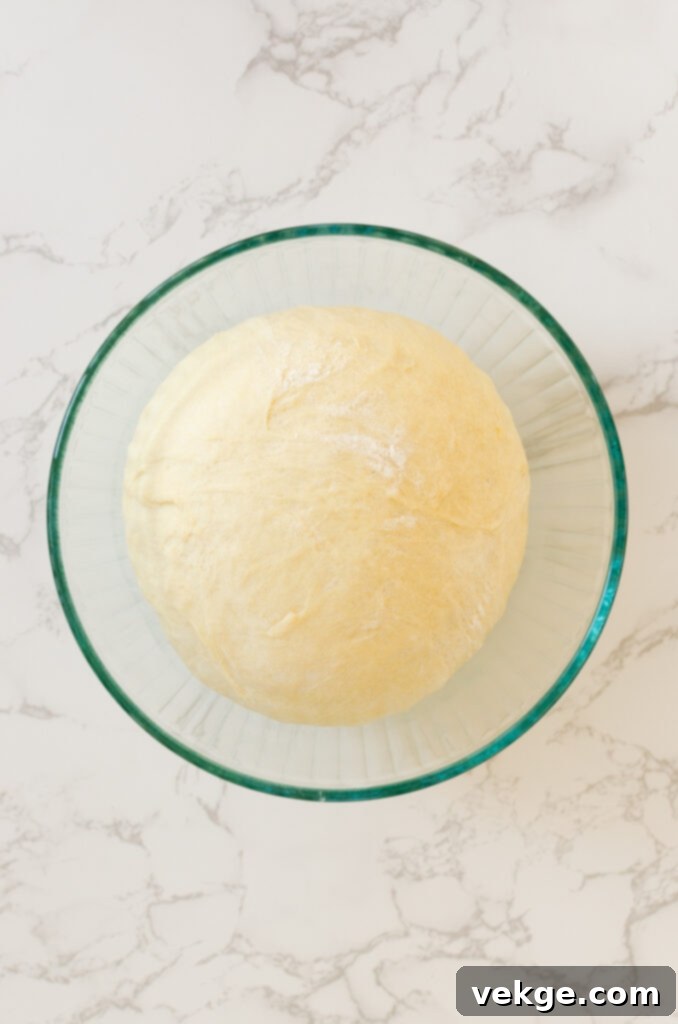
One of the beauties of this recipe is its relatively quick rise time. After kneading, simply cover the dough again and let it rise for just 10 minutes. Set a timer and make sure not to forget it, as this initial brief rise is important for developing flavor and relaxing the gluten before shaping.
Shaping Your Delightful Rolls
- Lightly flour a clean work surface and turn the dough out onto it. Divide the dough into two equal halves.
- Working with one half at a time, roll it out into a large, even rectangle. Aim for a thickness of about 1/4 to 1/2 inch.
- Evenly spread half of the softened butter over the surface of the rolled dough. It’s much easier to spread if the butter is very soft (at room temperature), but not melted and oily. Then, generously sprinkle half of the white granulated sugar and half of the fresh orange zest over the butter.
- Starting from one long edge, tightly roll the dough into a uniform log, or “snake.” The tighter you roll, the better the swirls in your finished rolls will be.
- To cut the rolls, you can use a length of cinnamon-flavored dental floss or plain, strong thread for clean, sharp cuts without squishing the dough (as demonstrated in the video). Alternatively, a very sharp knife can be used. Cut each dough log into 16 even slices. Discard any uneven end pieces if desired for perfect presentation.
- Repeat the rolling and cutting process with the second half of the dough.
The Second Rise: Achieving Ultimate Fluffiness
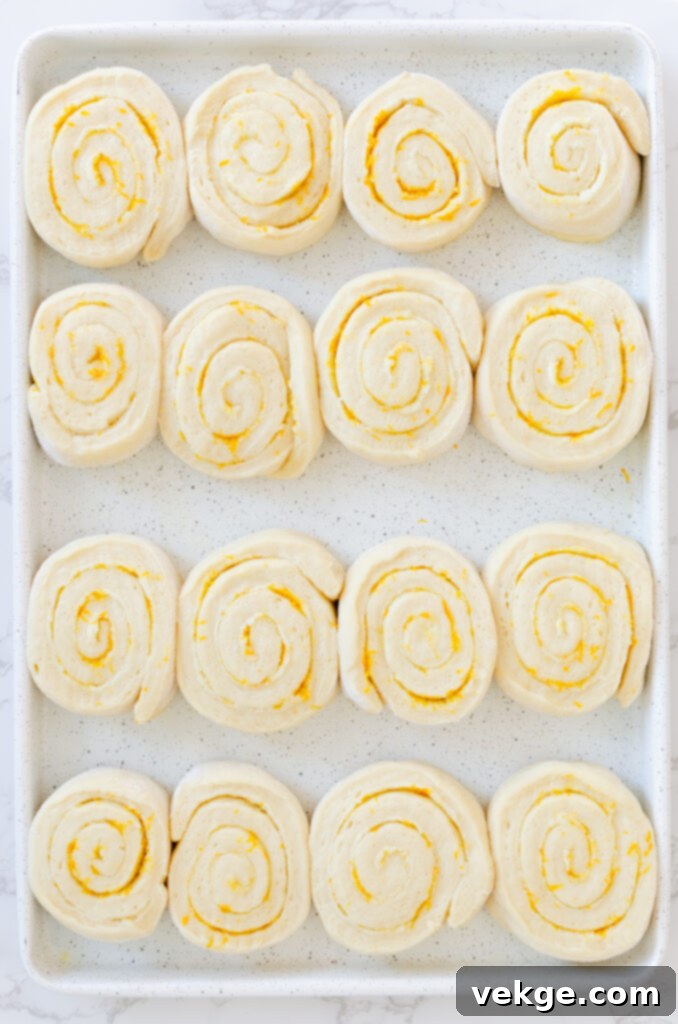
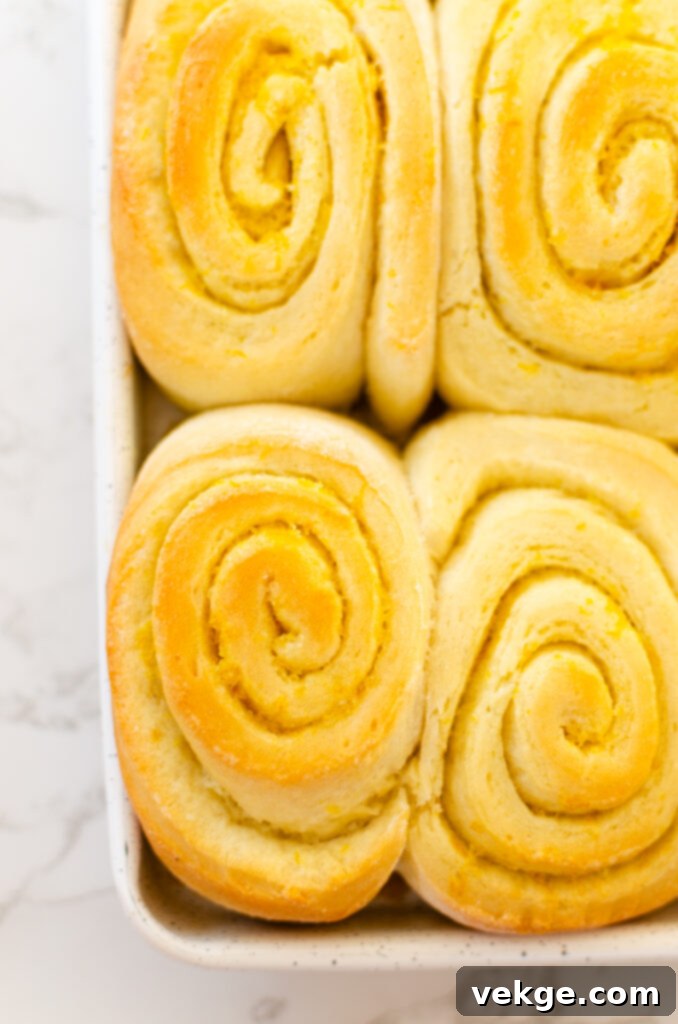
Carefully place the sliced orange rolls onto two greased jelly roll pans, ensuring they are evenly spaced. Cover the pans and allow the rolls to undergo their second rise for 10 to 30 minutes, or until they appear noticeably puffy and almost doubled in size. This final rise is crucial for creating that airy, soft texture that makes these rolls so irresistible.
Baking to Golden Perfection and Frosting with Zesty Glaze
- While your rolls are enjoying their second rise, preheat your oven to 375°F (190°C).
- Once the rolls are puffy, place them in the preheated oven and bake for 14-15 minutes, or until they are golden brown on top and cooked through. Keep a close eye on them to prevent over-baking, which can lead to dry rolls.
- While the rolls are baking, prepare your exquisite orange frosting. In a medium bowl, combine the softened butter, powdered sugar, fresh orange zest, and freshly squeezed orange juice. Whisk vigorously until the mixture is light, smooth, and perfectly creamy.
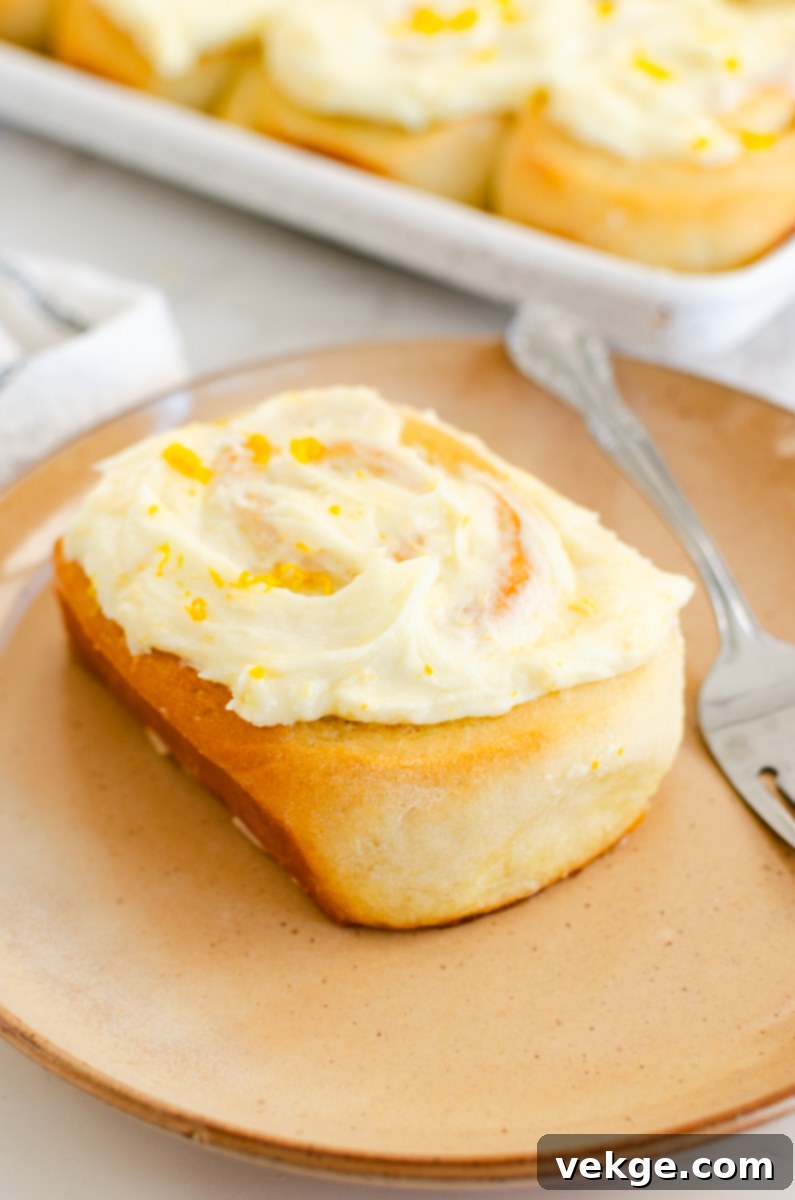
- As soon as the rolls emerge from the oven, let them cool on the baking sheets for a few minutes. This allows them to set slightly before you generously spread the vibrant orange glaze all over them. The warmth of the rolls will help the glaze melt slightly and soak in, creating an even more delicious experience. Serve warm and enjoy!

Pro Tips for Baking Success
Achieving bakery-quality orange rolls at home is entirely within reach with a few key tips:
- Don’t Over-Flour: Resist the temptation to add too much flour. A dough that’s slightly tacky but doesn’t stick to your fingers is perfect. Over-flouring leads to dense, dry rolls.
- Mind the Water Temperature: As highlighted, warm (not hot, not cold) water is vital for yeast activation. This directly impacts your dough’s rise and fluffiness.
- Freshness is Key: Especially for the oranges! Fresh zest and juice provide an incomparable vibrant flavor that bottled alternatives simply cannot match.
- Softened Butter for Filling: Ensure your butter for the filling is genuinely soft (room temperature) but not melted. This allows it to spread easily and adhere well to the dough.
- Don’t Overbake: Rolls can go from perfectly golden to dry very quickly. Keep an eye on them in the last few minutes of baking. A light golden color is usually sufficient.
- Storage: Store leftover rolls in an airtight container at room temperature for up to 2-3 days, or in the refrigerator for up to a week. Reheat gently in the microwave or oven for that fresh-baked feel.
- Make Ahead Option: You can prepare the dough, shape the rolls, and place them on the greased pans. Cover them tightly with plastic wrap and refrigerate overnight. In the morning, let them come to room temperature and rise for 1-2 hours (or until puffy) before baking as directed.
Delicious Variations to Explore
Once you’ve mastered the classic orange roll, feel free to get creative with these delicious variations:
- Spice It Up: Add a pinch of cinnamon, cardamom, or nutmeg to the orange filling for an extra layer of warmth and complexity.
- Citrus Swap: Experiment with other citrus fruits! Lemon rolls or lime rolls could offer an equally zesty and refreshing treat.
- Cream Cheese Frosting: For a richer, tangier topping, try a cream cheese frosting instead of the simple glaze. Combine softened cream cheese, butter, powdered sugar, and a splash of fresh orange juice for a delightful alternative.
- Nutty Crunch: Sprinkle finely chopped pecans or walnuts into the filling along with the orange zest and sugar for added texture and flavor.
More Yummy Treats to Try
If you loved making these orange rolls, be sure to explore some of my other delightful baking recipes:
Sourdough Pumpkin Cinnamon Rolls with Browned Butter Frosting
Browned Butter Sourdough Chocolate Chip Cookie Bars
Cinnamon White Bread
Enjoy Your Baking Journey!
I genuinely hope you cherish this orange roll recipe as much as I do. It brings so much joy to share these homemade treats. If you’d like to follow along on my culinary adventures, find me on Instagram @AMBERSKITCHEN. Happy baking!
Orange Rolls
Quick and heavenly. That’s really all you need to know. You will not regret making these!
Print Recipe
Pin Recipe
Rate This Recipe
Course: Breakfast
Prep Time: 1 hour
Cook Time: 15 minutes
Rising time: 10 minutes
Servings: 32
Ingredients
Dough
- 3 1/2 cups warm water
- 3/4 cups sugar
- 2 T active dry yeast
- 3 eggs
- 1/2 cup melted coconut oil
- 1 T salt
- 10-11 1/2 cups unbleached bread flour
Filling
- 10 T butter, softened and divided
- 1 1/3 cup white sugar, divided
- Zest of 3-4 oranges
Frosting
- 1 cup butter, softened (2 sticks)
- 5-6 cups powdered sugar
- Zest of 3-4 oranges (about 1.5 tbsp)
- Juice of 3-4 oranges (squeeze the juice from the zested oranges)
Instructions
- Combine sugar, warm water, and yeast in a stand mixer or large bowl. Mix briefly, cover, and let dissolve for 10 minutes.
- Add eggs, oil, and salt. Mix. Then add flour cup by cup, mixing between additions, until the dough doesn’t stick to the bowl sides but remains tacky. Avoid too much flour.
- Knead for five minutes. Cover the dough while kneading in a mixer to retain heat.
- Cover the dough and let it rise for 10 minutes. Preheat the oven to 375°F.
- Dump dough onto a floured surface. Divide in half and roll each half into a large rectangle.
- Spread half of the softened butter on each half, then evenly sprinkle half of the sugar and orange zest.
- Tightly roll dough into one long log. Using thread or a very sharp knife, cut into 16 even slices per log.
- Arrange orange roll rounds onto two greased jelly roll pans, 16 per sheet. Cover and let rise for 10-30 minutes until puffy.
- Bake at 375°F for 14-15 minutes.
- For frosting: Whip softened butter, powdered sugar, orange zest, and orange juice together until light and smooth. Once rolls are out of the oven, let cool slightly, then spread the orange glaze generously over them. Enjoy!
Notes
Watch the Process:
Orange Rolls Video Tutorial
