Mastering Homemade Jalapeño Jelly: Your Guide to Sweet, Spicy Perfection
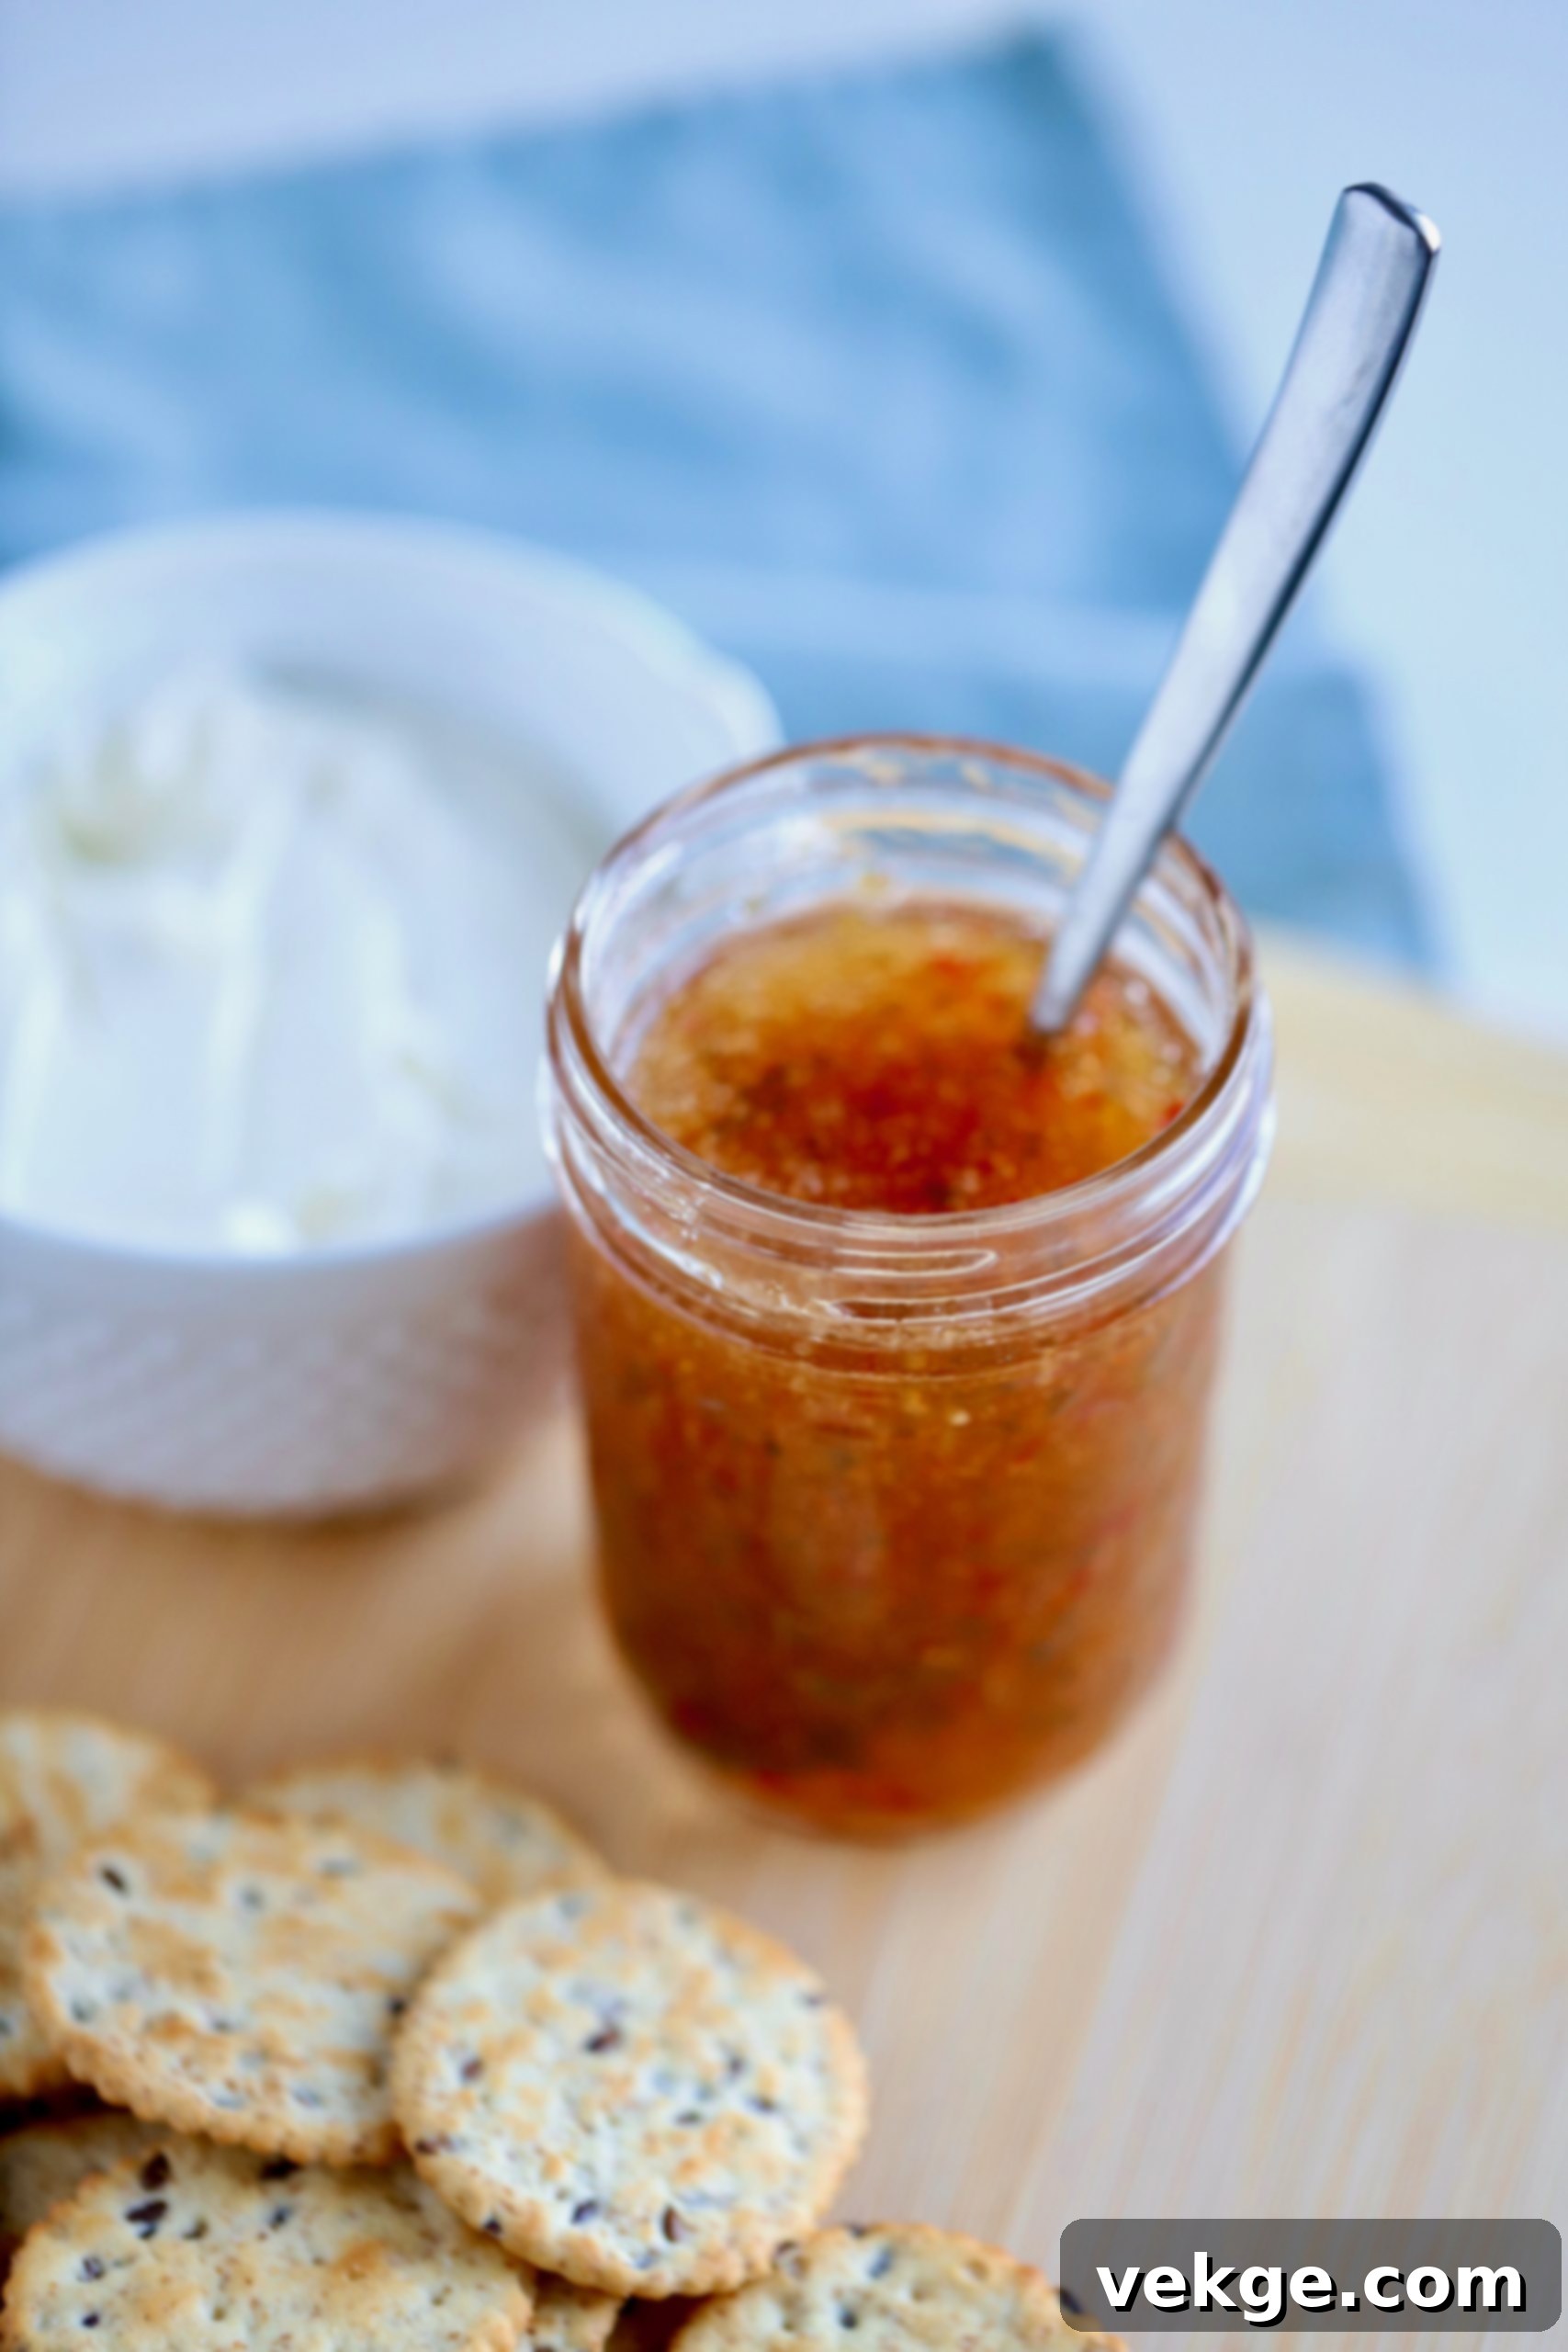
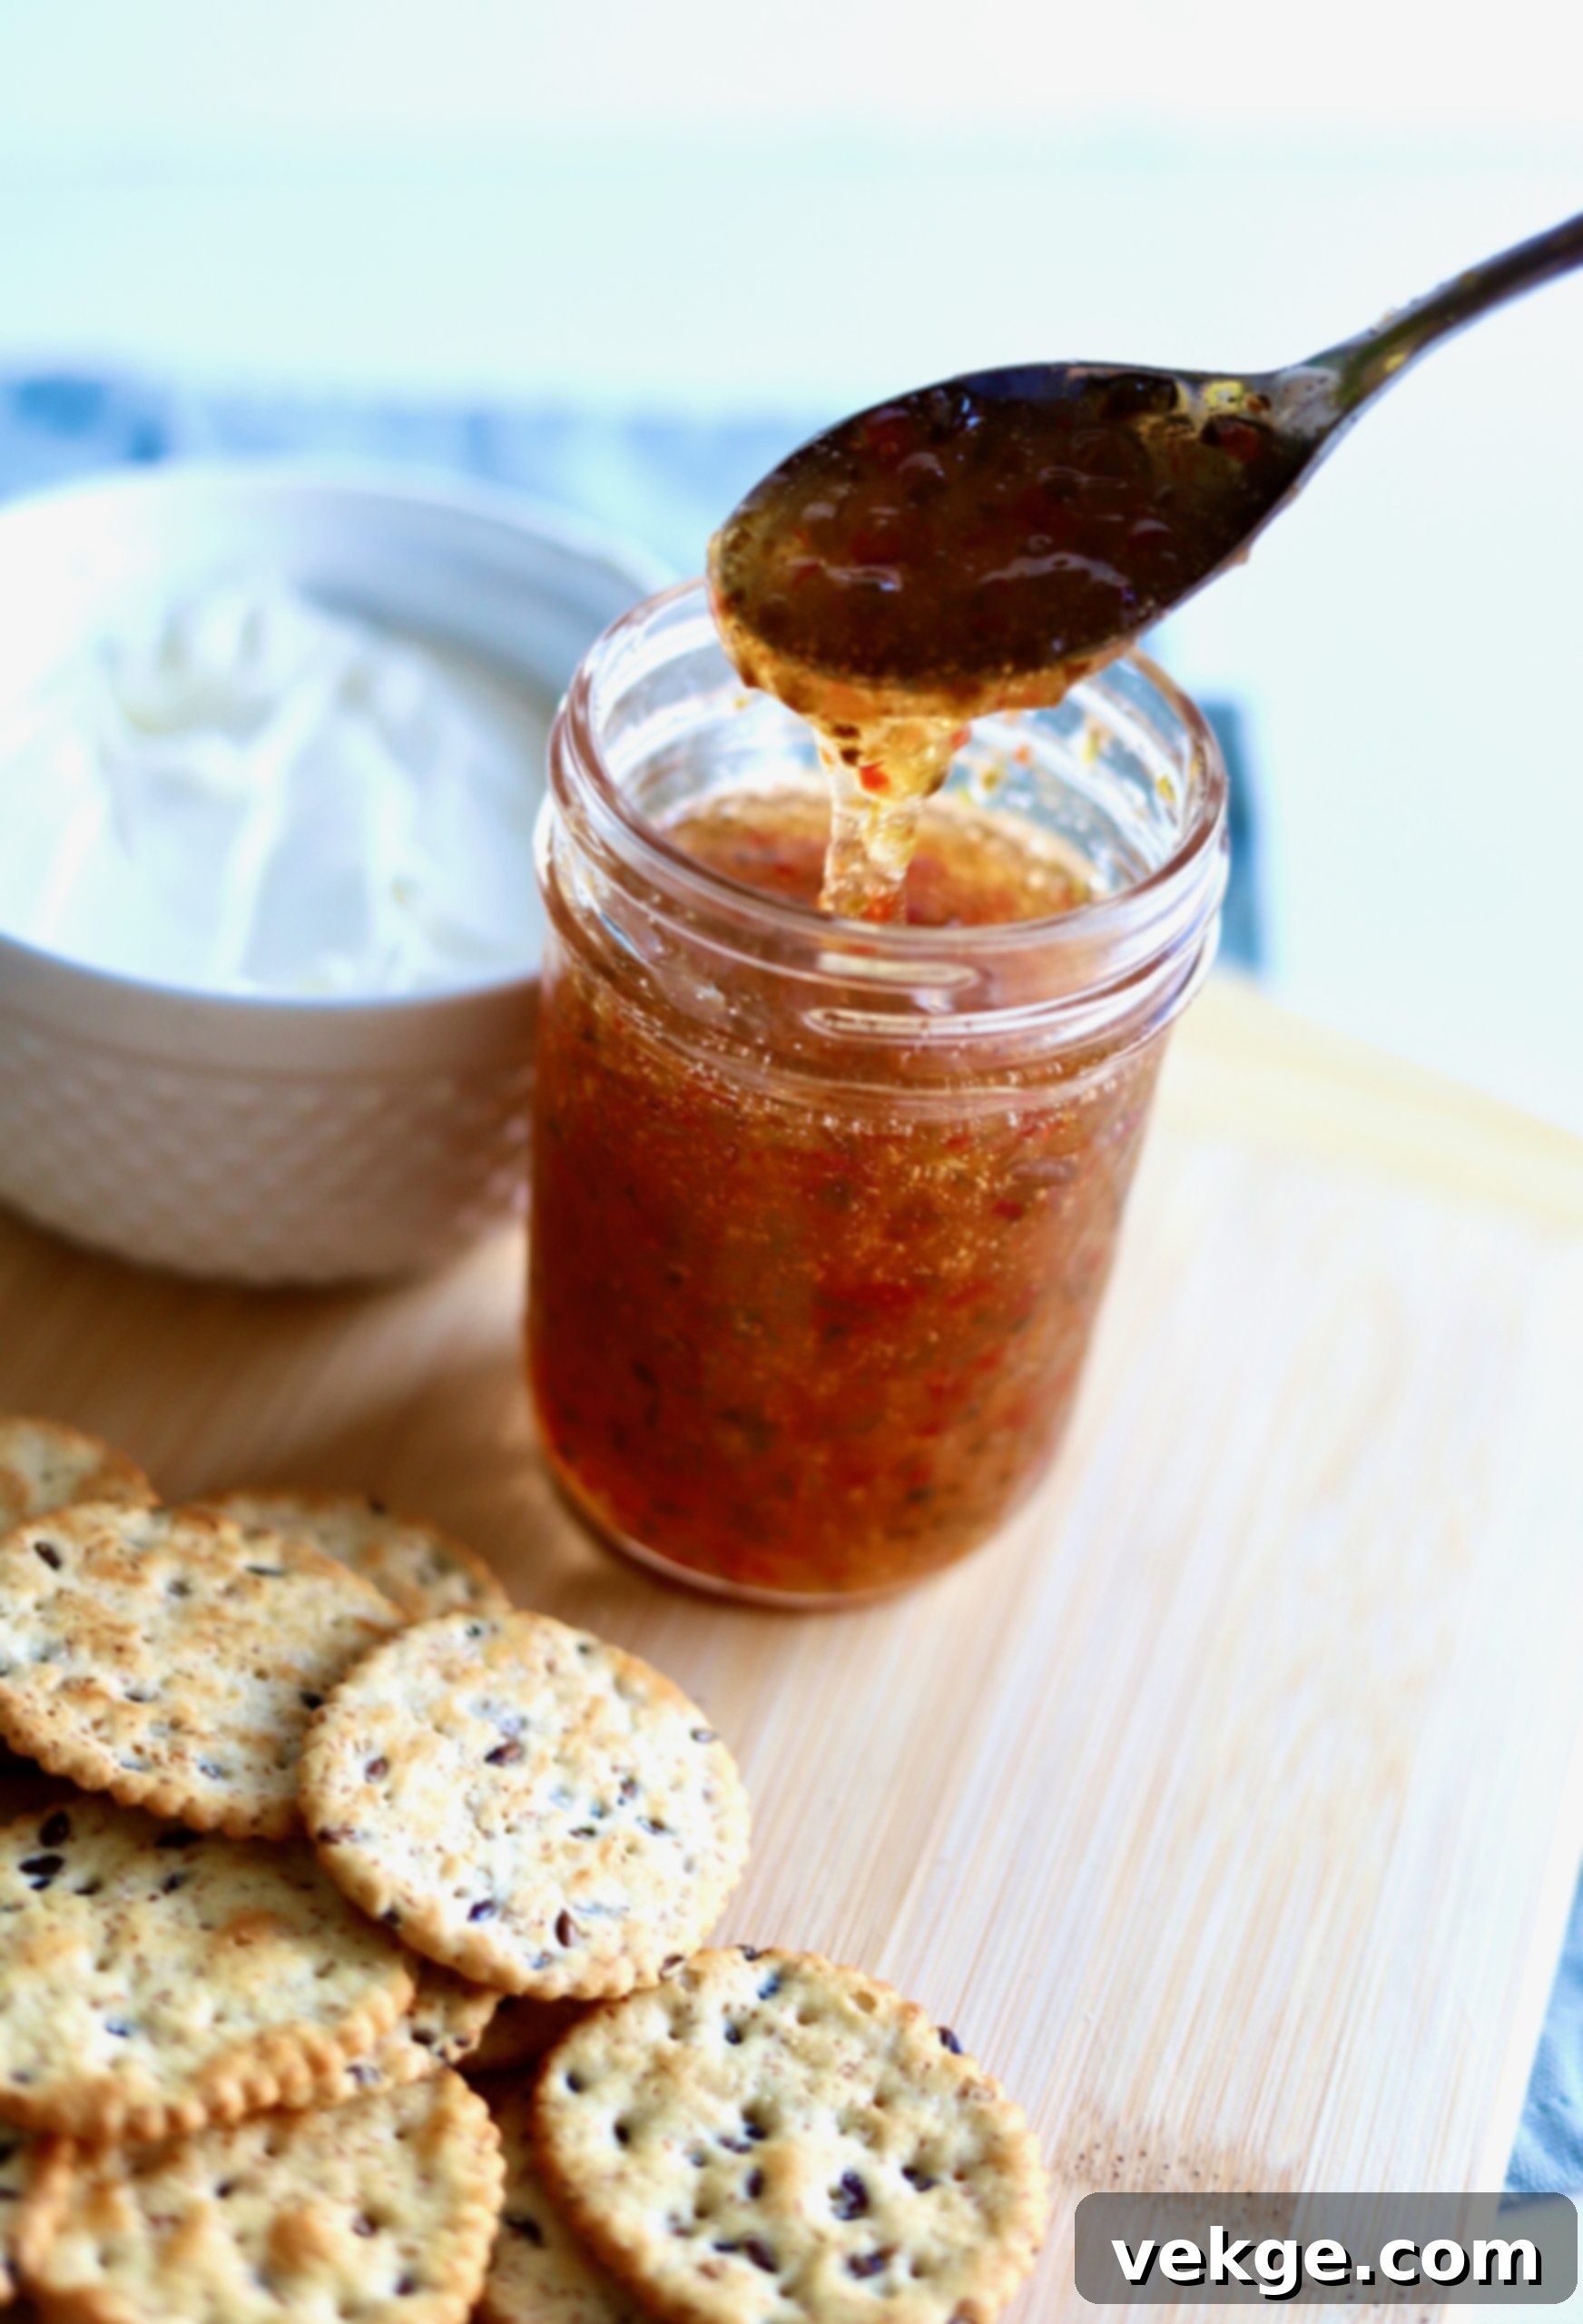
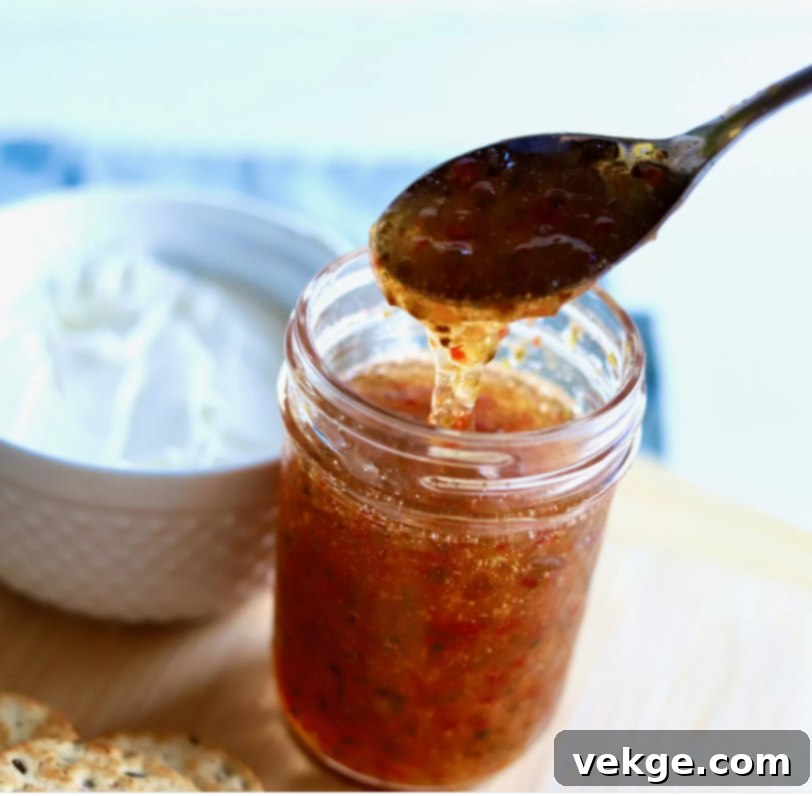
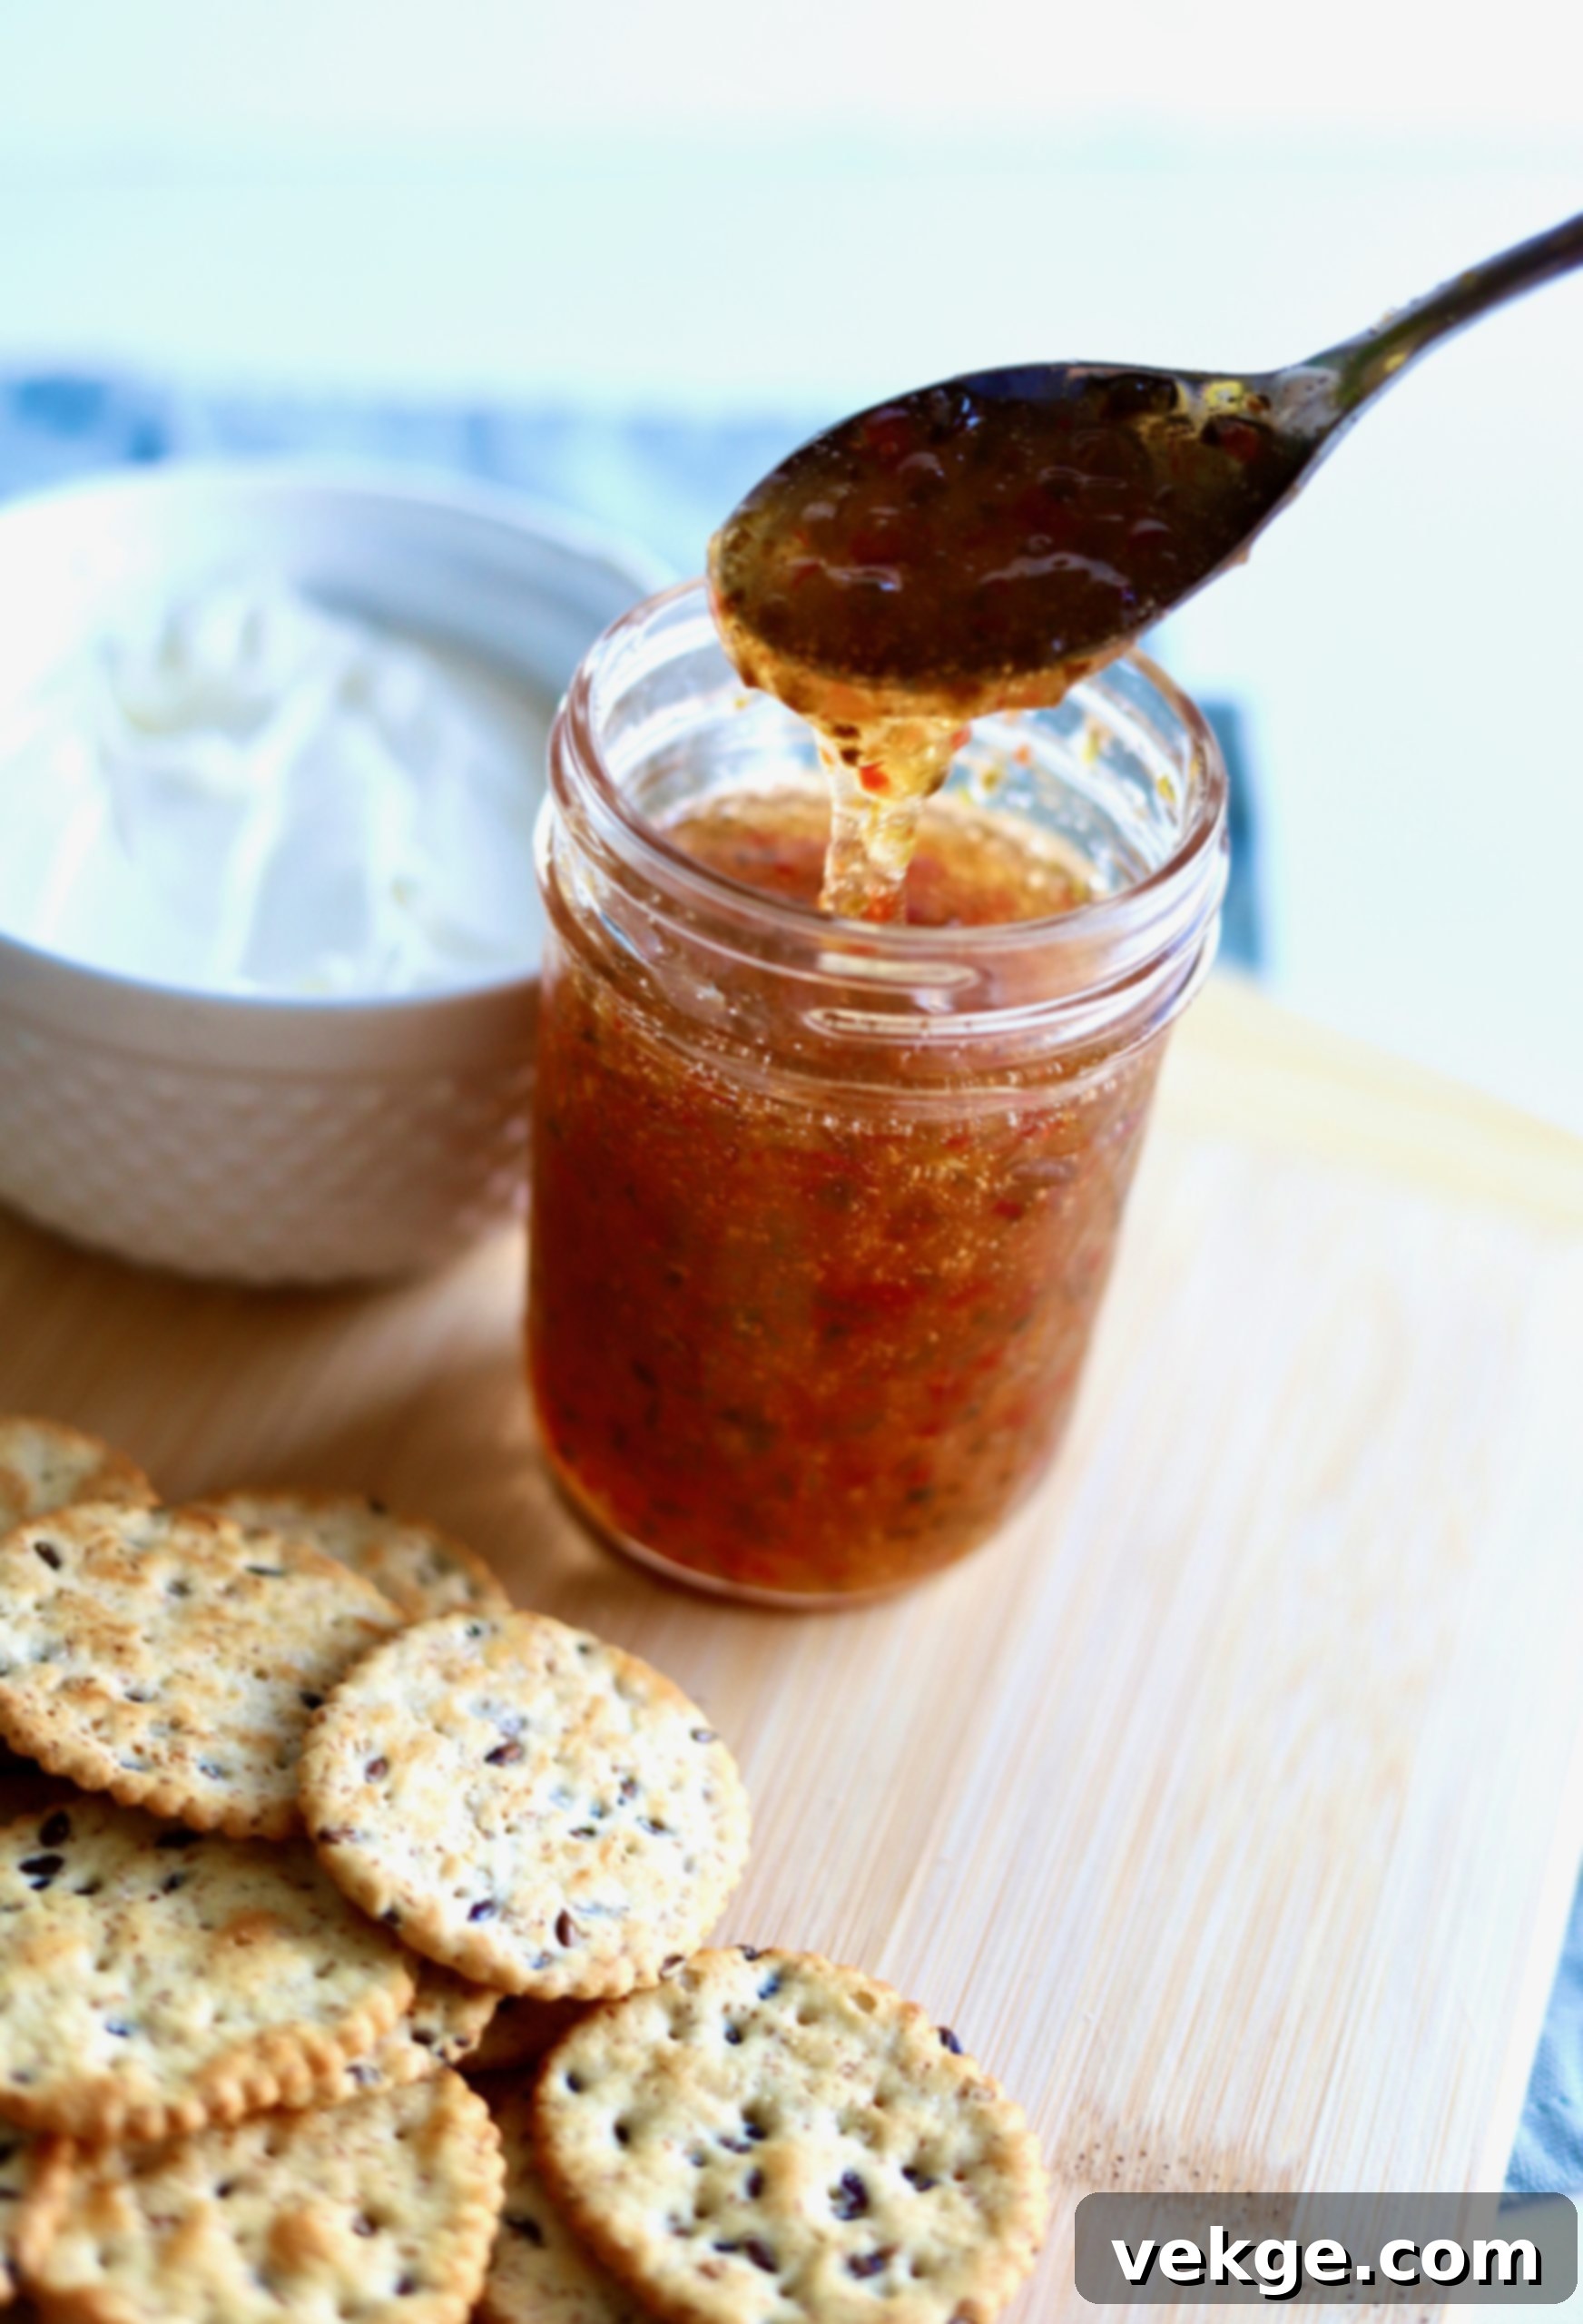
Prepare to elevate your culinary creations with the vibrant and irresistible charm of homemade Jalapeño Jelly! This delightful condiment offers a unique fusion of sweet and spicy notes that can transform an ordinary meal into an extraordinary experience. Imagine it shimmering on a cheese board, adding a zesty kick to your sandwiches, or providing a sophisticated glaze over a tender pork loin. My absolute favorite pairing? A dollop spread generously over cream cheese and served with crisp crackers – a truly addictive appetizer!
And for those who, like me, prefer a gentle warmth over an inferno, there’s no need to fear the heat. The beauty of crafting your own jalapeño jelly lies in the control you have over its spice level. Simply remove the seeds and the white pith (membranes) from the jalapeños to tame the fire, allowing the pepper’s distinct flavor to shine through with just a hint of pleasant warmth.

Why Homemade Jalapeño Jelly is a Must-Try
While store-bought options exist, there’s nothing quite like the flavor, freshness, and satisfaction of making your own jalapeño jelly. Here’s why you should roll up your sleeves and give it a try:
- Unmatched Freshness and Flavor: When you make jelly at home, you control the quality of your ingredients. Fresh jalapeños and bell peppers deliver a brighter, more authentic taste compared to mass-produced versions.
- Customizable Heat Level: This is perhaps the biggest advantage. Are you a spice enthusiast who loves a fiery kick? Leave some seeds in. Prefer a milder, more approachable tang? Remove all seeds and membranes. The power is in your hands!
- No Unwanted Additives: Many commercial jellies contain artificial colors, flavors, or preservatives. With your homemade batch, you know exactly what’s going into your food – just natural ingredients.
- Economical: Making jelly from scratch can often be more cost-effective, especially when peppers are in season and readily available.
- Impressive Gift Idea: Beautifully bottled homemade jalapeño jelly makes an exceptional gift for friends, family, and hosts. It’s thoughtful, unique, and delicious!
- Culinary Versatility: As you’ll discover, this jelly isn’t just for toast. Its sweet, spicy, and tangy profile makes it incredibly adaptable in the kitchen, from appetizers to main courses.
Thanks for the recipe inspiration: @cookiesbykateandmore
View this post on Instagram
A post shared by Amber (@amberskitchen)

The Endless Uses of Jalapeño Jelly
Beyond the simple cracker and cream cheese pairing, this jelly is a surprisingly versatile ingredient that can elevate many dishes. Its balance of sweetness, tang, and heat makes it a fantastic addition to both savory and even some sweet applications.
Appetizers & Snacks:
- Cream Cheese & Crackers: The classic! The cool, creamy texture of cream cheese provides the perfect counterpoint to the jelly’s vibrant flavors.
- Cheese Boards & Charcuterie: A must-have for any sophisticated spread. Pair it with aged cheddar, goat cheese, brie, or even a smoked gouda. The sweet-spicy notes cut through the richness of the cheeses beautifully.
- Glazed Meatballs/Lil’ Smokies: Simply warm the jelly and toss with cooked meatballs or cocktail sausages for an easy and crowd-pleasing appetizer.
- Quesadillas & Tacos: A thin layer inside a cheese quesadilla or drizzled over fish tacos adds an unexpected pop of flavor.
Main Courses & Sides:
- Pork Loin Glaze: Brush it over roasting pork loin or chicken during the last 15-20 minutes of cooking for a glossy, flavorful crust. The sugar caramelizes beautifully, and the peppers infuse a subtle heat.
- Sandwich & Wrap Spread: Ditch the plain mustard or mayo. A spread of jalapeño jelly on turkey, ham, or even veggie sandwiches adds a gourmet touch.
- Grilled Cheese Upgrade: Spread a thin layer on one side of your bread before grilling your cheese sandwich. It introduces a delightful sweet and spicy kick that takes a comfort food favorite to a new level.
- Marinades & Dressings: Whisk a spoonful into your favorite vinaigrette for a salad with a difference, or incorporate it into a marinade for grilled chicken or shrimp.
- Burger & Hot Dog Topping: For those who love a unique twist, try it as a topping on your next burger or hot dog for a sweet-spicy relish alternative.
Breakfast & Brunch (for the adventurous!):
- On Toast or Bagels: If you enjoy a savory-sweet breakfast, try it on buttered toast or a toasted bagel instead of traditional fruit jam.
- With Eggs: A dollop alongside scrambled eggs or an omelet can add an exciting twist to your morning meal.
Controlling the Heat: Your Guide to Spicy Perfection
The beauty of making jalapeño jelly is the absolute control you have over its intensity. The heat in a jalapeño comes primarily from a compound called capsaicin, which is concentrated in the seeds and the white pith (the membrane that holds the seeds). By understanding this, you can tailor your jelly to your exact preference:
- For a Mild Jelly (Wimpy like me!): Wear gloves (this is crucial to avoid irritation!) and carefully remove all seeds and the entire white membrane from the jalapeños. This will give you the distinct flavor of the pepper with minimal heat. The resulting jelly will have a gentle warmth that’s approachable for all palates.
- For a Medium Jelly: Remove the seeds but leave some of the white pith attached to the jalapeño flesh. Alternatively, you could remove all seeds and pith from half the peppers and leave some of the pith on the other half. This provides a noticeable warmth without being overwhelmingly spicy.
- For a Hot Jelly: If you’re a true heat seeker, simply remove the stems and chop the jalapeños, leaving all the seeds and pith intact. Be warned, this will create a significantly spicier jelly! Always use gloves when handling hot peppers to prevent skin irritation and accidental contact with eyes.
Remember, the color of your bell peppers will also influence the final color of your jelly. Red bell peppers will yield a lovely crimson jelly, while green or yellow bell peppers will result in a more emerald or golden hue, respectively. The choice is yours, adding another layer of customization to your homemade creation.

Jalapeño Jelly Recipe
Ingredients
- 10 medium jalapeños (choose fresh, firm peppers)
- 2 large bell peppers (red for a vibrant red jelly, green for classic emerald, or yellow for a golden hue)
- 6 cups granulated sugar (yes, it’s a generous amount, essential for texture and preservation)
- 1 teaspoon salt
- 1.5 cups white vinegar (provides tang and aids in setting)
- 1 pouch Certo liquid fruit pectin (typically found in a blue box in the baking aisle, crucial for jelly to set)
Instructions
- Prepare your canning jars: Begin by sterilizing six, 8 oz (half-pint) glass canning jars. Place them in a large pot on a rack, ensuring they don’t touch the bottom or each other. Fill the pot with enough very hot, almost boiling water to cover the jars by at least an inch. Bring to a gentle boil and continue sterilizing for 10 minutes. Once done, carefully remove them using jar lifters and set them aside on a clean dish towel to air dry, keeping them warm.
- Sterilize the sealing lids and rings: In a separate small pot, heat your new, unused sealing lids and bands (rings) in very hot (but not boiling) water for 10 minutes. This softens the sealing compound and ensures a proper seal. Do not boil, as this can damage the seals. Remove them and place them on a clean dish towel.
- Safety First: Put on protective gloves before handling the jalapeños. The capsaicin can cause severe skin irritation, and accidentally touching your eyes can be extremely painful.
- Prepare the jalapeños: Carefully remove the stems from all jalapeños. For a milder jelly, thoroughly remove all seeds and the white pith (membranes) inside each pepper. If you desire a spicier jelly, you can leave some or all of the seeds and pith intact. Roughly chop the cleaned jalapeños.
- Prepare the bell peppers: Remove the stem and seeds from both bell peppers. Give them a rough chop similar in size to your jalapeños. The color of your bell pepper will contribute to the final hue of your jelly.
- Process the peppers: Combine the chopped jalapeños and bell peppers in a food processor. Process until the mixture is very finely minced, almost forming a thick paste. Avoid over-processing to prevent it from becoming watery.
- Cook the jelly mixture: In a large, heavy-bottomed pot, combine the processed pepper mixture with the granulated sugar, white vinegar, and salt. Bring this mixture to a rolling boil over medium-high heat, stirring constantly to dissolve the sugar and prevent sticking. Once boiling, continue to boil vigorously for 10 minutes. After 10 minutes, add the entire pouch of Certo liquid fruit pectin, stirring well to ensure it’s fully incorporated. Continue boiling for another 1 to 2 minutes, stirring continuously. This second boil is crucial for activating the pectin and ensuring your jelly sets properly.
- Fill and process the jars: Carefully ladle the hot jelly mixture into your prepared, warm canning jars, leaving about 1/4 inch of headspace at the top. Wipe the rims of the jars clean with a damp cloth to ensure a good seal. Place a hot sealing lid on top of each jar, followed by a hot sealing ring, tightening it finger-tight (not too tight). Place the filled jars back into the large canning pot, ensuring they are covered with at least 1 inch of hot water. Bring the water back to a full, rolling boil and process the jars for 10 minutes.
- Cool and check seals: After processing, carefully remove the hot jars from the canner using jar lifters and place them upright on a clean dish towel on your counter. Allow them to cool undisturbed for 12-24 hours. As they cool, you should hear a “pop” sound from each jar, indicating that the lid has sealed properly. To check the seal, press down on the center of the lid; if it doesn’t flex, it’s sealed. Any jars that do not seal (the lid gives when pressed) are not shelf-stable and must be stored in the refrigerator for up to two weeks.
Storage and Shelf Life
Proper storage is key to enjoying your homemade Jalapeño Jelly for an extended period.
- Sealed Jars: Jars that have properly sealed through the canning process are shelf-stable. Store them in a cool, dark place (like a pantry or cellar) for up to 18 months.
- Opened Jars: Once a jar of jelly has been opened, or if a jar did not seal properly during canning, it must be stored in the refrigerator. Consume refrigerated jelly within 2-3 weeks for the best quality.
- Freezing: If you prefer not to can, you can also freeze your jelly in freezer-safe containers for up to a year. Thaw in the refrigerator before use.
Troubleshooting Common Jelly Issues
Even experienced jelly makers can encounter snags. Here are a few common issues and how to address them:
- Jelly Didn’t Set (Too Runny): This is often due to insufficient pectin, not enough acid (vinegar), or not boiling long enough. Ensure your pectin is fresh and accurately measured. The high sugar content and a vigorous boil are critical for setting. You can sometimes reprocess runny jelly by re-boiling it with more pectin and a touch of lemon juice, but results may vary.
- Jelly is Too Hard/Stiff: This usually means there was too much pectin or the jelly was over-boiled. Over-boiling causes too much moisture to evaporate, concentrating the pectin. Unfortunately, this is harder to fix once it’s set. Next time, be careful not to exceed the boiling times.
- Jars Didn’t Seal: If some jars don’t “pop” or the lid flexes when pressed, it means they didn’t seal. This can happen if the rims weren’t perfectly clean, the lids were faulty, or the water bath wasn’t maintained at a rolling boil for the full processing time. These jars should be refrigerated immediately and consumed within two weeks.
- Cloudy Jelly: Cloudiness can result from not skimming foam during cooking, over-processing the peppers, or improperly preparing the jars. It’s usually a cosmetic issue and doesn’t affect safety or taste.
Making homemade Jalapeño Jelly is a rewarding experience that yields a versatile, delicious condiment. With a little care and attention to detail, you can create perfectly set, flavorful jelly that will impress everyone who tries it. So grab your peppers, gather your canning supplies, and get ready to add a fantastic sweet and spicy kick to your kitchen!
