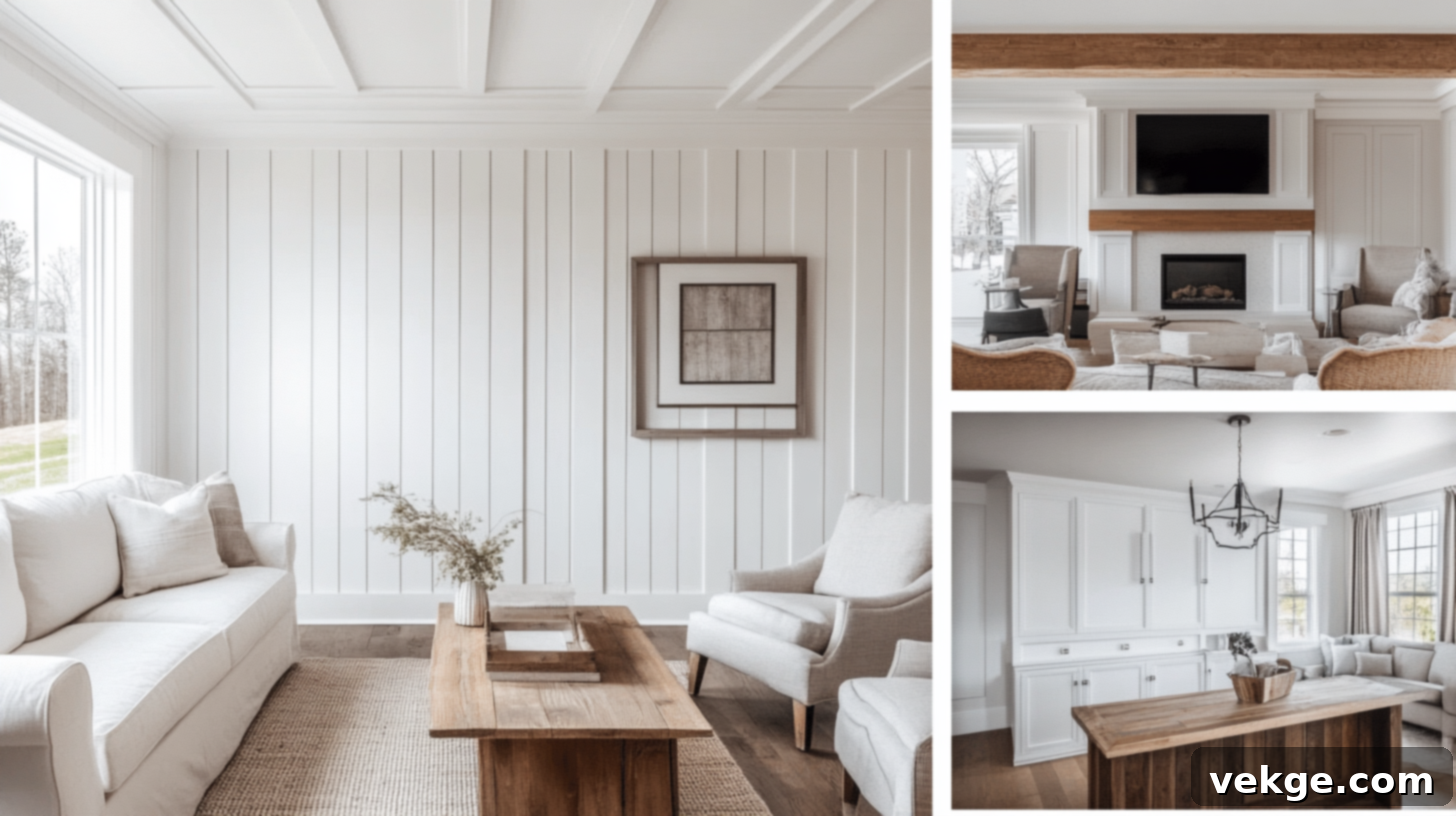
The Ultimate Guide to Shiplap Trim: Ideas, Installation, and Flawless Finishing
Have you ever looked at your beautifully installed shiplap walls and felt like they were missing that final, professional touch? The detail you’re searching for might just be the right trim. Just like a perfectly chosen frame elevates a piece of art, well-applied trim transforms shiplap from merely nice to truly exceptional, giving your space a polished, intentional, and complete feel.
This comprehensive guide will walk you through everything you need to know about shiplap trim. We’ll explore the vital role trim plays in both aesthetics and protection, delve into various style-specific trim ideas, and provide practical solutions for those tricky corners. You’ll also discover room-by-room inspiration and essential DIY installation tips to ensure your project goes smoothly.
By the time you finish reading, you’ll be equipped with the knowledge and confidence to select and install the perfect shiplap trim that complements your unique style and space, making your walls truly shine. Let’s get started on giving your shiplap that stunning, finished look!
What is Shiplap Trim and Why It Matters for Your Walls
Shiplap trim refers to the various pieces of molding and casing used to finish the edges and corners of shiplap-paneled walls. While shiplap itself adds texture and character, the trim acts as its essential counterpart, creating clean lines and a refined appearance. These seemingly small additions make a significant difference in the overall perceived quality and completeness of your home’s interior and exterior design.
Understanding the fundamental purpose of shiplap trim and where it’s most effectively used is key to achieving a professional and durable finish. It’s not just about covering gaps; it’s about elevating your design and protecting your investment.
The Essential Purpose of Trim with Shiplap Walls
Trim serves multiple crucial functions when paired with shiplap:
- Hiding Imperfections and Gaps: The primary role of trim is to conceal the often-uneven points where shiplap boards meet adjacent walls, ceilings, floors, or window/door frames. Without trim, these meeting points can appear unfinished, rough, or reveal slight imperfections in cuts or wall alignment. Trim provides a seamless, neat cover, creating a clean visual transition.
- Adding Character and Architectural Detail: Beyond mere concealment, trim frames your shiplap walls, much like an elegant border around a piece of artwork. It adds depth, visual interest, and architectural character to your space. The right trim profile can transform a simple shiplap wall into a sophisticated design element, enhancing the room’s aesthetic and making it feel more thoughtful and complete.
- Protecting Edges: Exposed shiplap edges, particularly at outside corners or around doorways, are vulnerable to everyday bumps, scuffs, and impacts. Trim acts as a protective barrier, shielding these delicate edges from damage. This not only maintains the pristine appearance of your shiplap but also contributes to the longevity of your wall treatment, reducing the need for repairs.
Where Shiplap Trim is Commonly Used Throughout Your Home
You’ll find shiplap trim indispensable in numerous locations within and outside your home, each application serving a specific aesthetic and functional purpose:
- Baseboards: These run along the bottom of your shiplap walls where they meet the floor. Baseboards elegantly hide the expansion gap required for flooring and the cut edges of your shiplap, creating a clean, finished line and protecting the wall base from scuffs and vacuum cleaner bumps.
- Crown Molding: Positioned at the top of your walls where they meet the ceiling, crown molding provides a graceful transition. This type of trim can make ceilings appear higher, add a sense of grandeur, and beautifully cap off your shiplap walls.
- Window and Door Casings: These frame openings, neatly concealing the gap between the shiplap wall and the window or door frame. Casings add structural definition, style, and a cohesive finish to these essential architectural features.
- Corner Trim Pieces: Crucial for both inside and outside corners, these pieces cover the seams where two shiplap walls meet at an angle. Without them, corners can look awkward, unfinished, or prone to damage, especially outside corners.
- Feature Accents: Shiplap trim is also excellent for creating custom built-ins, framing a fireplace surround, or adding decorative panels that integrate seamlessly with your shiplap design.
Moreover, specialized shiplap trim is essential in high-moisture areas like bathrooms and kitchens, where it provides extra protection against humidity and daily wear, ensuring your shiplap remains beautiful for years.
Popular Shiplap Trim Ideas Based on Interior Design Styles
The style of trim you choose can dramatically influence the overall feel of your shiplap walls and the room itself. Each design aesthetic calls for specific trim profiles and finishes to truly capture its essence. Explore these popular ideas to match your home’s unique personality and design goals.
Farmhouse Style Shiplap Trim
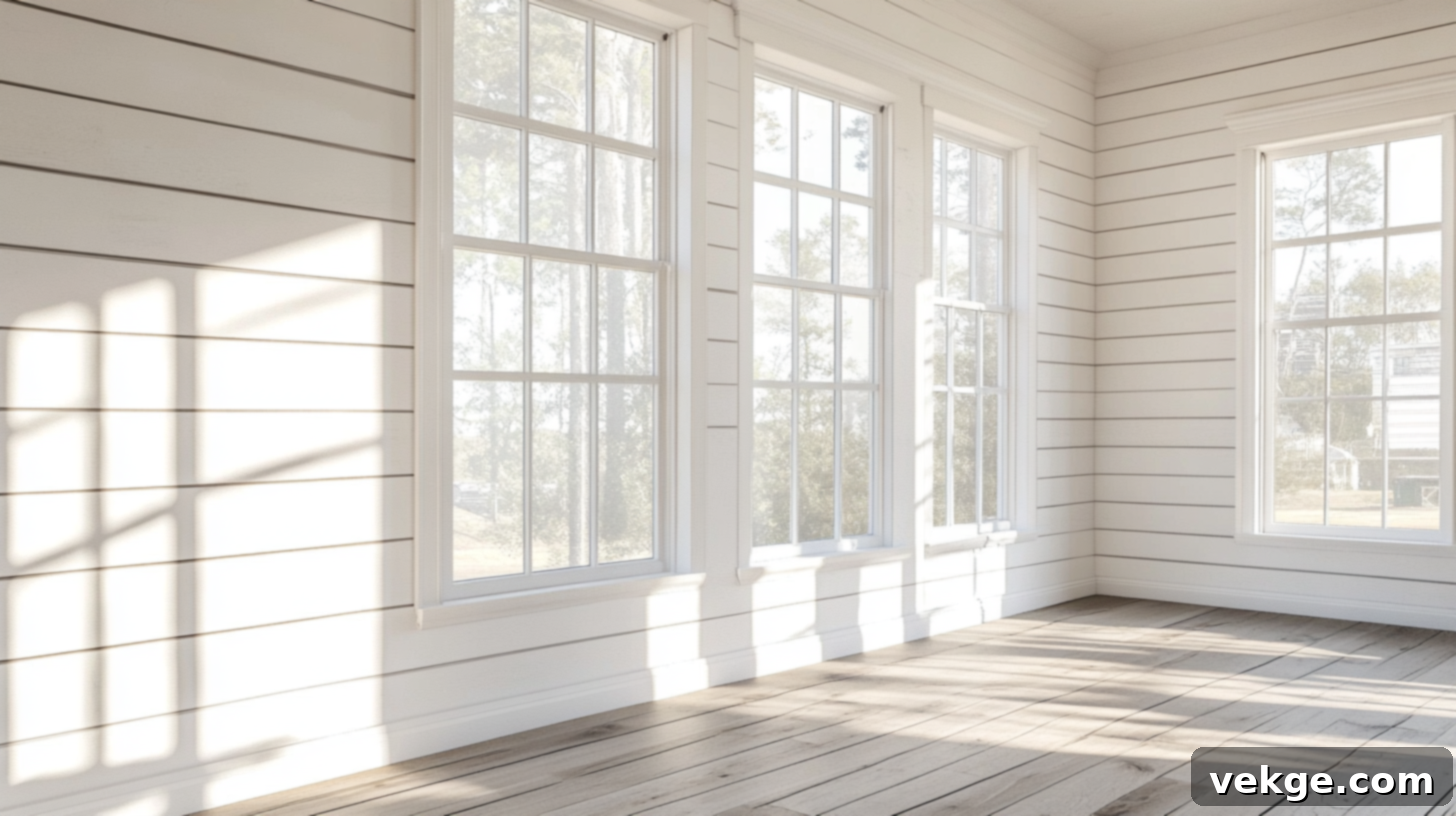
Farmhouse style embodies warmth, comfort, and a welcoming atmosphere. To achieve this look with your shiplap, opt for substantial, often thicker trim profiles around doors and windows. Crown molding is almost a must-have, adding a touch of classic elegance to the ceiling line.
The timeless white-on-white aesthetic remains a favorite: crisp white shiplap paired with matching white trim creates a clean yet incredibly cozy ambiance. The subtle shadow lines inherent in shiplap boards provide just enough visual interest. For an authentic touch, consider adding rustic corner blocks or trim pieces that boast a slightly weathered or handcrafted appearance. These small, thoughtful details contribute to a lived-in, loved home feeling, rather than a sterile showroom vibe.
Modern Farmhouse Shiplap Look
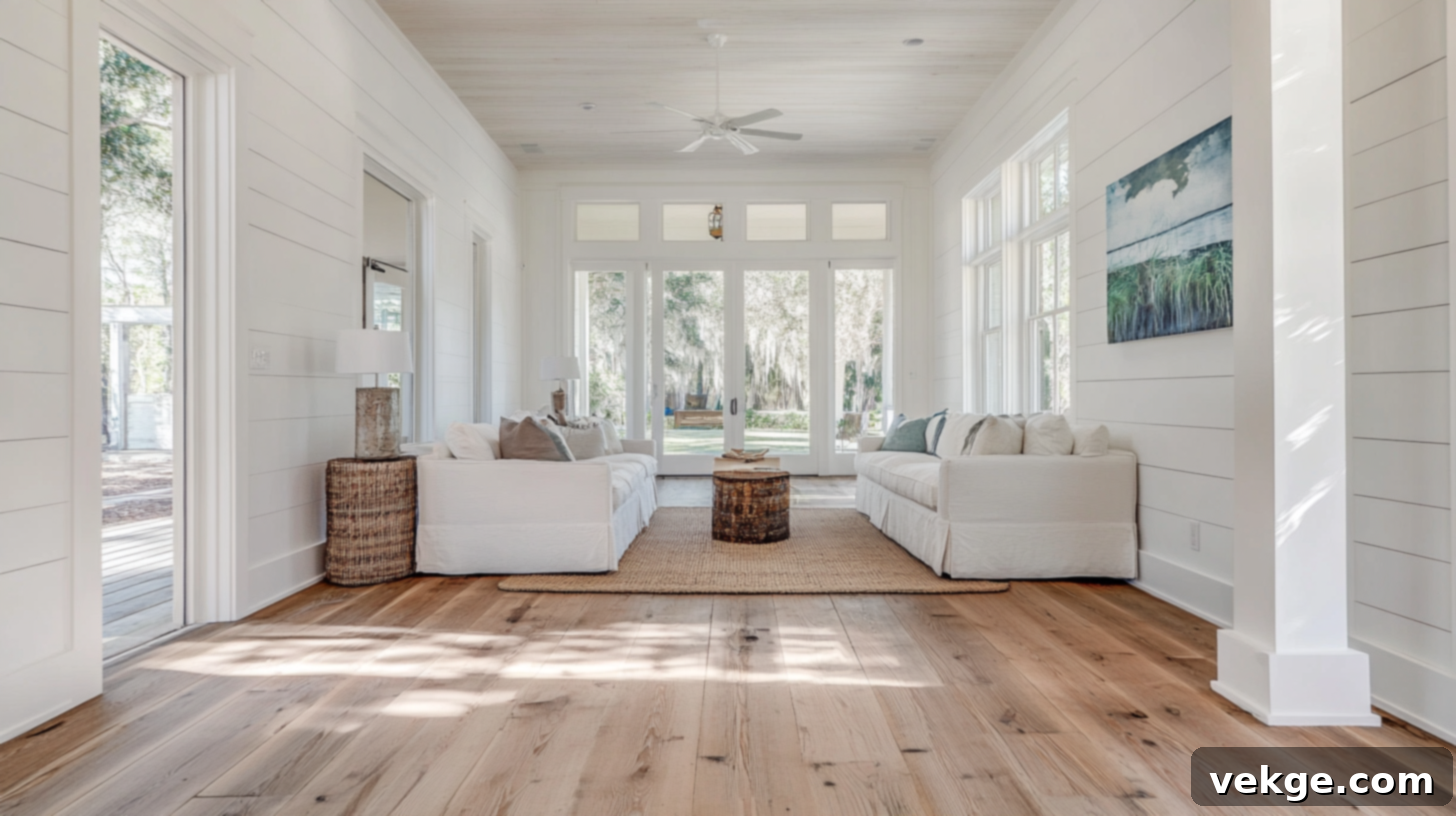
If you’re seeking a look that blends the comfort of farmhouse with a fresh, contemporary edge, modern farmhouse is your ideal style. For shiplap, this typically translates to wide, flat trim pieces that offer clean lines while retaining a sense of solidity. When paired with classic white shiplap, this creates an aesthetic that feels current, spacious, and inviting without being overly traditional or cold.
The key here is simplicity. Keep your corners neat with straightforward mitered or butt joints, minimizing any ornate fuss. The beauty of modern farmhouse trim lies in its understated elegance – you get the warmth and charm of farmhouse style complemented by a sleek, uncluttered finish.
Modern Shiplap Trim Ideas
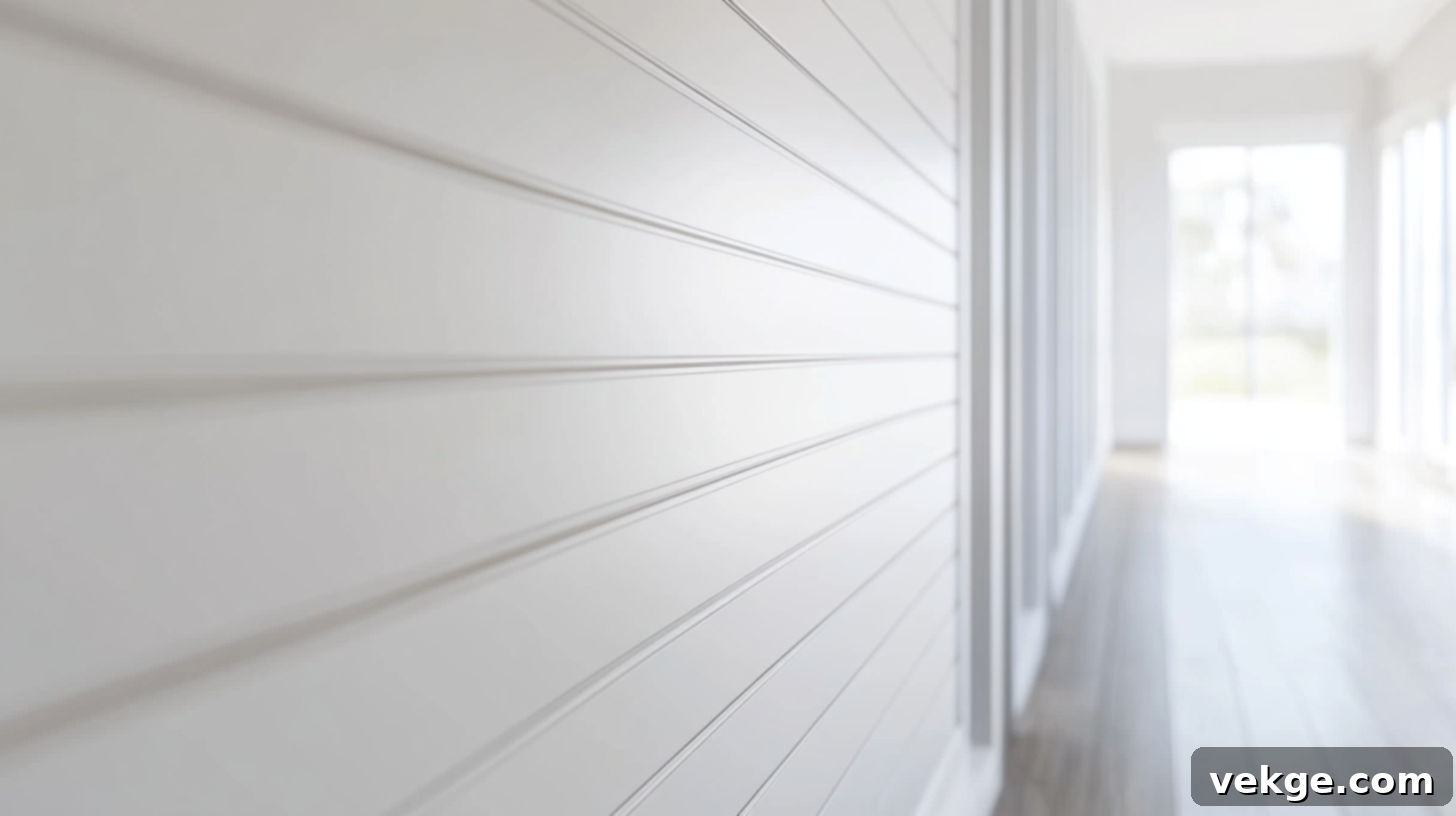
Modern design prioritizes clean, unadorned lines and a minimalist aesthetic. When selecting trim for modern shiplap, choose profiles that are flat, sleek, and entirely devoid of elaborate details, curves, or excessive ornamentation. Think simple rectangular profiles or even recessed trim for an ultra-contemporary feel.
Minimalist casing around windows and doors ensures the focus remains on the overall architectural shape of the room and the linear quality of the shiplap, rather than on the trim itself. In some highly modern or minimalist designs, trim is deliberately omitted entirely. Instead, sophisticated edge techniques like perfectly mitered corners or intentional shadow gaps are employed to achieve a super clean, almost invisible transition. This creates that “less is more” vibe, contributing to the serene and uncluttered ambiance characteristic of modern spaces.
Rustic and Cottage-Style Shiplap Trim
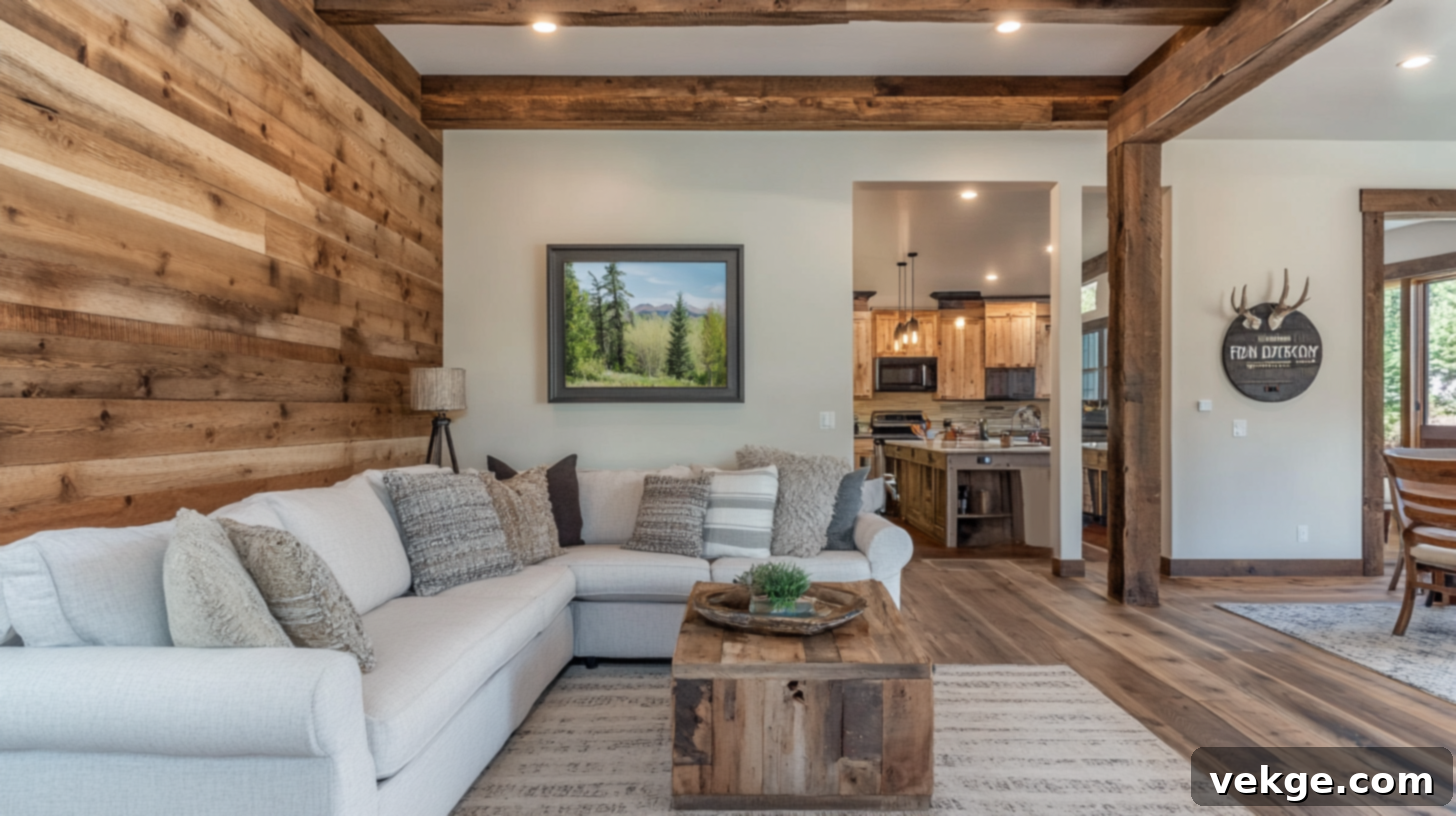
For a home that evokes the cozy charm of a rustic cabin or a quaint cottage retreat, allow the inherent beauty of natural wood to take center stage. Opt for trim that showcases distinctive wood grain patterns, natural knots, and inherent imperfections. Materials like reclaimed wood are particularly effective, as each piece brings its own history and character that new materials simply cannot replicate, with every mark telling a unique story.
Inside corners can become charming features with the addition of decorative corner blocks, adding a touch of bespoke craftsmanship. Don’t shy away from imperfect edges; rough-sawn trim or even subtly visible seams can enhance the authentic, handmade appeal. Chunky, substantial trim boards in natural or subtly stained finishes complete this look, making your home feel like a warm, inviting hideaway nestled in nature.
High-Contrast Shiplap Design
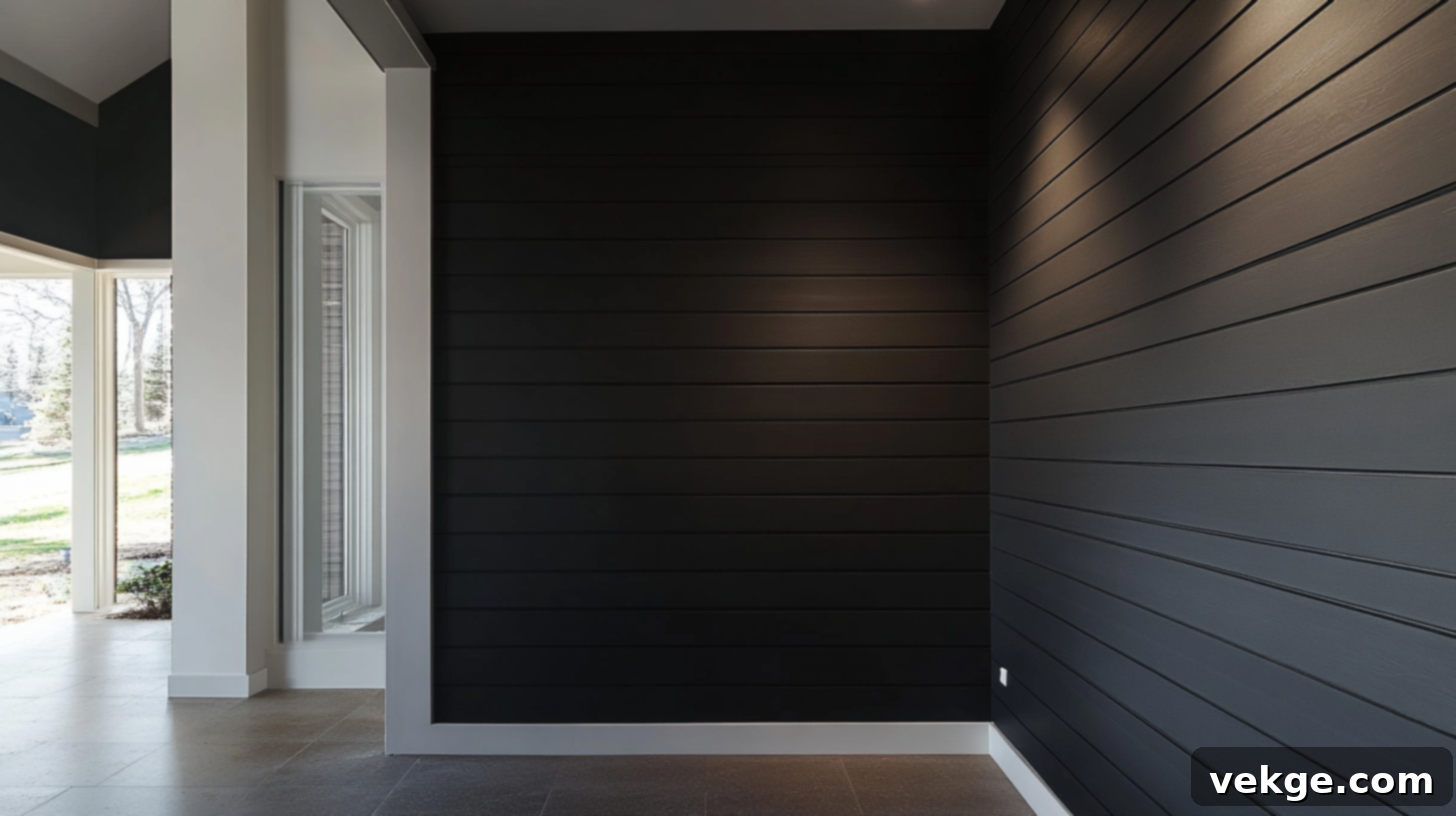
If you’re looking to infuse your space with a sense of drama and contemporary flair, a high-contrast design with your shiplap and trim is an excellent choice. Consider pairing dark-colored shiplap walls with bright white trim. This striking juxtaposition makes your walls incredibly dynamic and instantly gives your room significant style points and a sophisticated edge.
This approach works exceptionally well for accent walls. Paint or stain your shiplap in a bold, rich color like deep navy, charcoal gray, or even black, then frame it with crisp white or light-colored trim. It’s akin to putting a custom picture frame around your favorite wall, drawing the eye and making it the undeniable focal point of the room. This design choice creates a powerful visual statement that is both modern and memorable.
Best Shiplap Trim Ideas by Room in Your Home
Each room in your home serves a different purpose and faces unique conditions, which should influence your shiplap trim choices. The right trim can optimize each space not just aesthetically, but also functionally. Here are some tailored ideas for various rooms in your house.
Living Room Shiplap Trim
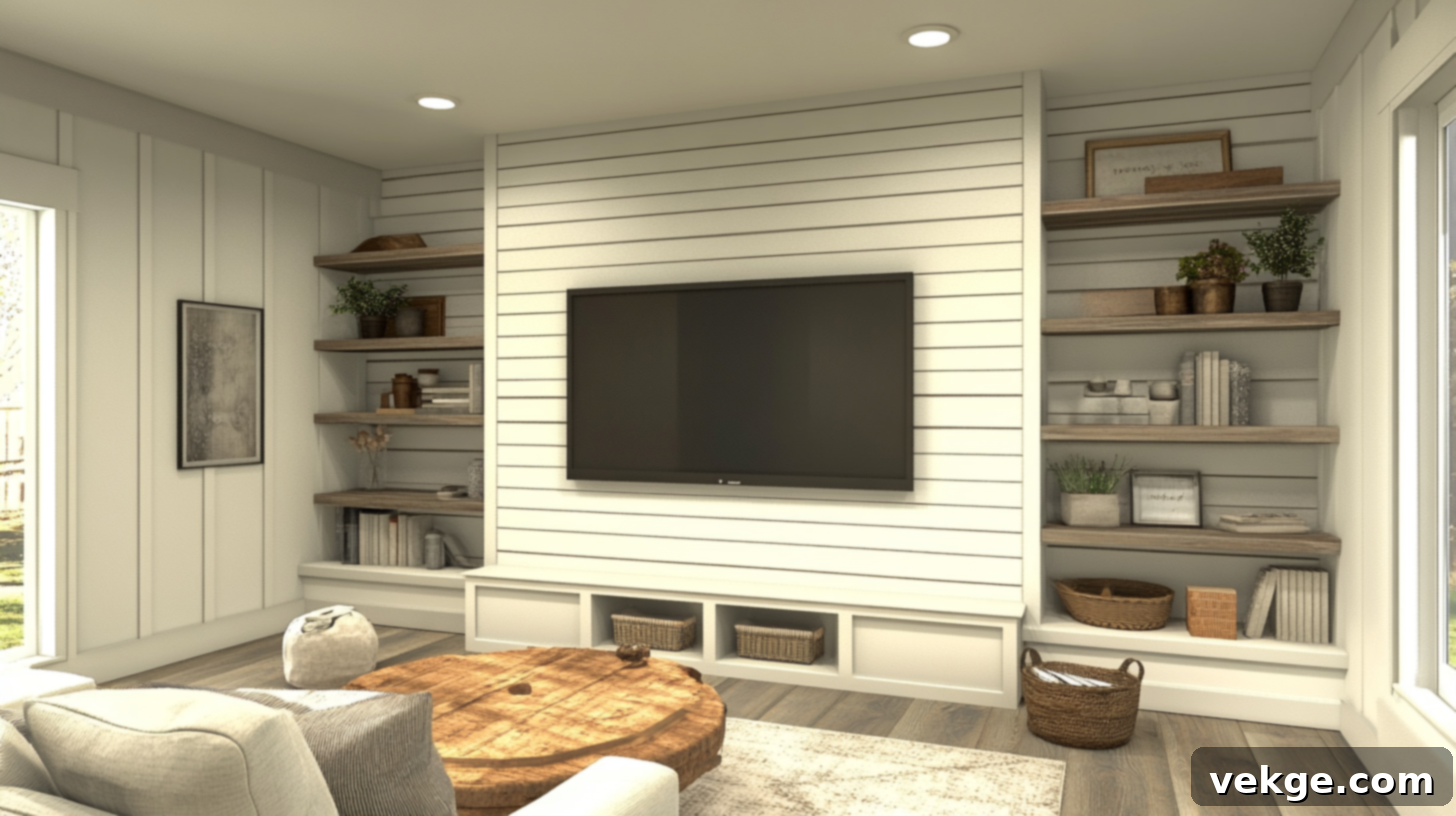
The living room is often the heart of the home, a place for relaxation and gathering. Here, shiplap trim should contribute to a warm and inviting atmosphere. Consider using substantial, wider trim around a shiplap accent wall, perhaps framing a fireplace or an entertainment center. This draws attention to the feature and makes it feel more integrated into the room’s design.
For media walls or built-in shelving, use trim to create a cohesive, custom look around your TV or display units. This approach helps electronics blend seamlessly, making them appear as integral parts of the architecture rather than standalone pieces. Your living room will achieve a well-appointed, cozy, and casually elegant feel.
Bedroom Shiplap Trim
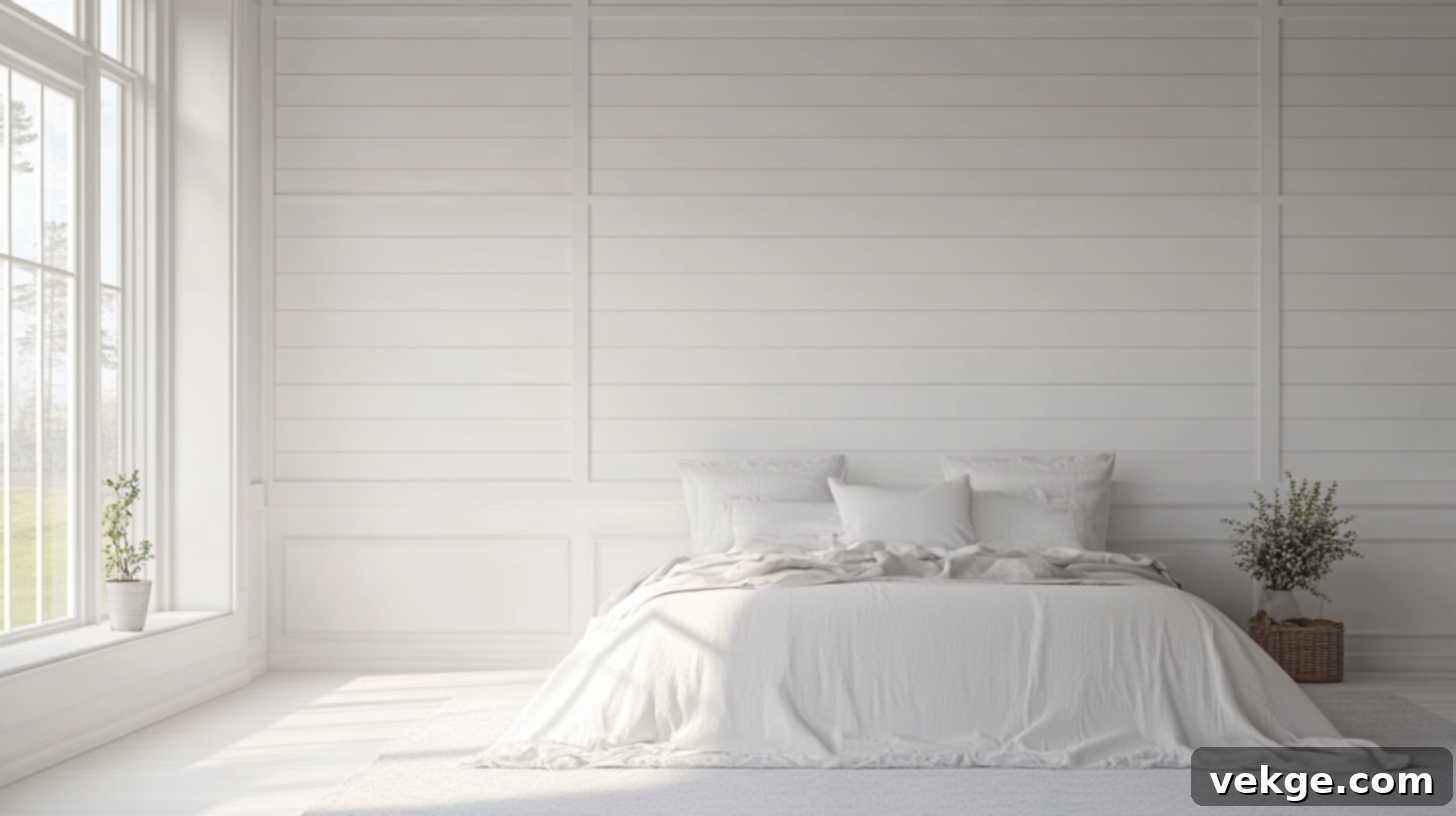
In the bedroom, the goal is often tranquility and a sense of retreat. Look upwards for inspiration: ceiling trim, especially when paired with a shiplap accent wall behind the bed, can dramatically transform your space. This combination beautifully frames the room and adds an engaging visual element overhead, creating a layered and luxurious feel.
The trim establishes a gentle, defining boundary between walls and ceiling, making your bedroom feel like a special, enclosed haven. Choose trim profiles and colors that promote relaxation and comfort, contributing to a serene sleeping environment. Subtle crown molding or a simple, flat ceiling band can work wonders.
Bathroom Shiplap Trim
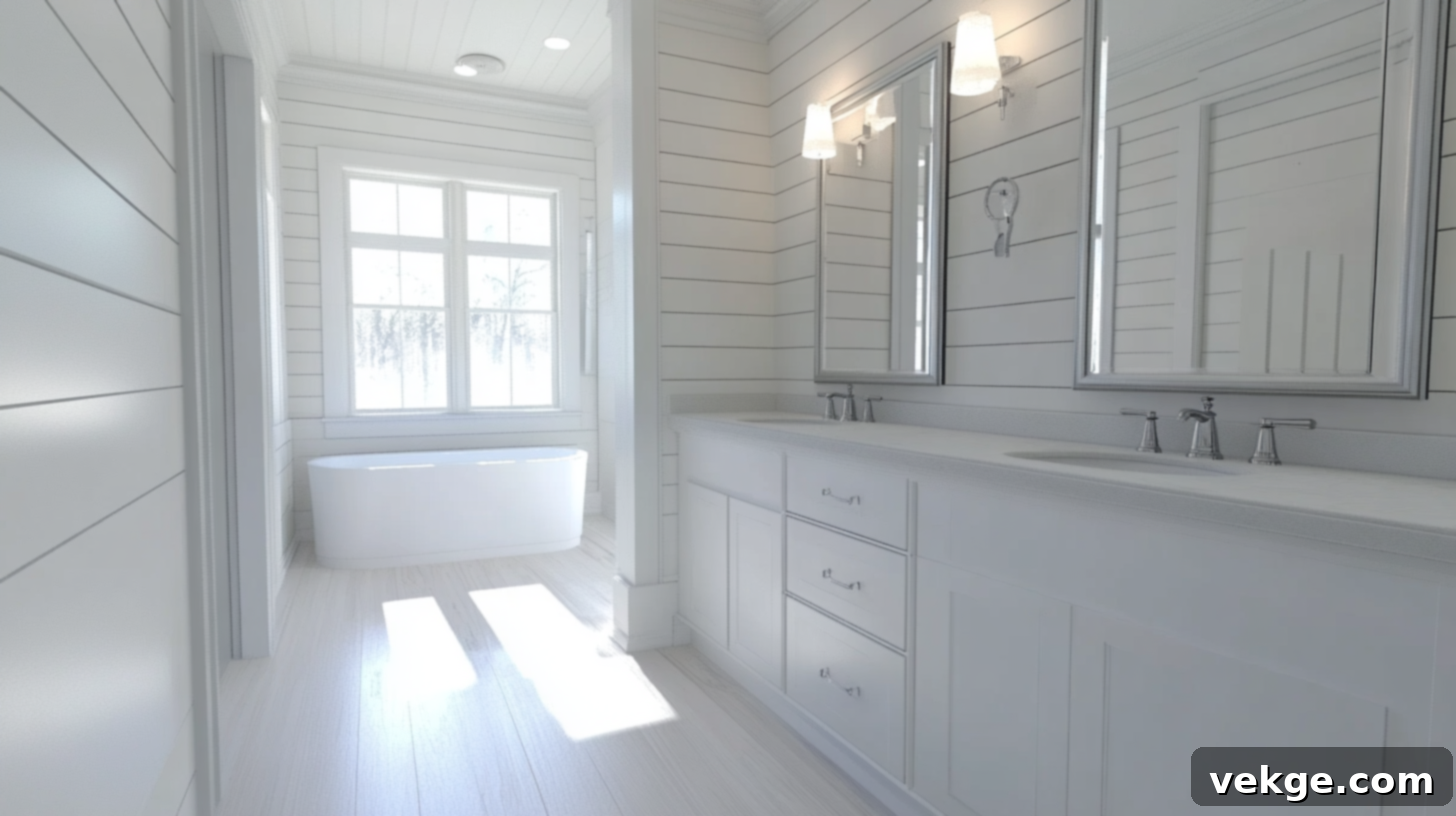
Bathrooms present unique challenges due to high moisture levels. Therefore, material selection for shiplap trim is paramount. Opt for trim made from water-resistant materials like PVC, cellular vinyl, or specially treated moisture-resistant wood. These materials will resist warping, swelling, and the growth of mold or mildew, ensuring the trim maintains its appearance and integrity over time.
Applying marine-grade finishes or high-quality paint with excellent moisture resistance to your trim will further enhance its durability. It’s crucial to seal all edges thoroughly, particularly where the trim meets the shower, tub, or sink areas, to prevent water penetration. With the right materials and careful installation, your bathroom shiplap trim will remain fresh, clean-looking, and protected for years.
Kitchen Shiplap Trim
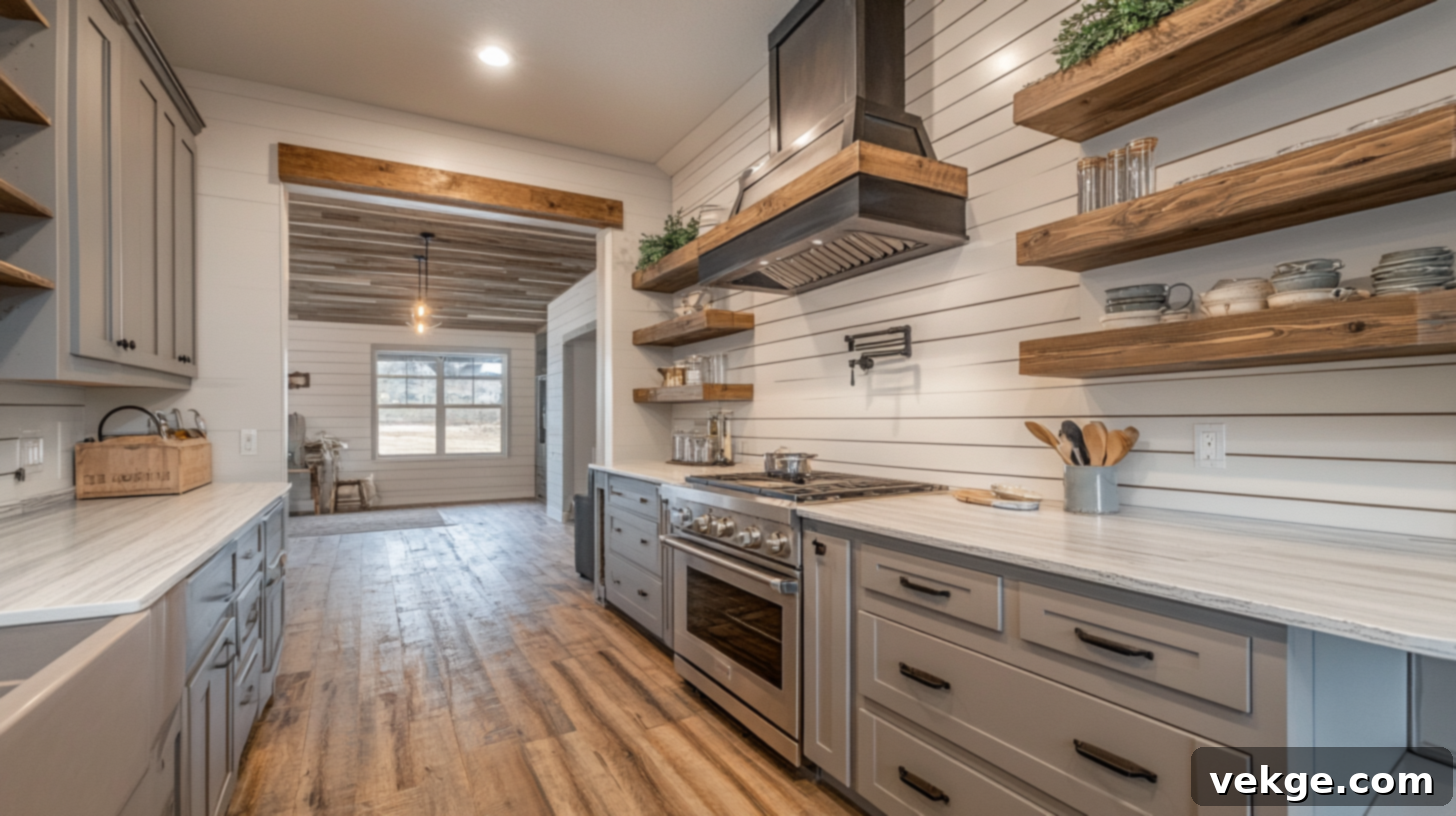
In the kitchen, shiplap trim can play a significant role in creating a bespoke, high-end feel, especially around cabinetry and shelving. Consider adding trim where your shiplap walls meet cabinets, creating a seamless, custom-built appearance that makes your kitchen feel thoughtfully designed and integrated.
Use trim to neatly finish the edges of open shelving units, giving them a more substantial and finished look. You can also employ trim to create a distinctive frame around your backsplash area, turning a functional element into a decorative feature. These small but impactful details contribute to a kitchen that feels professional, cohesive, and exceptionally well-designed.
Exterior Shiplap Trim
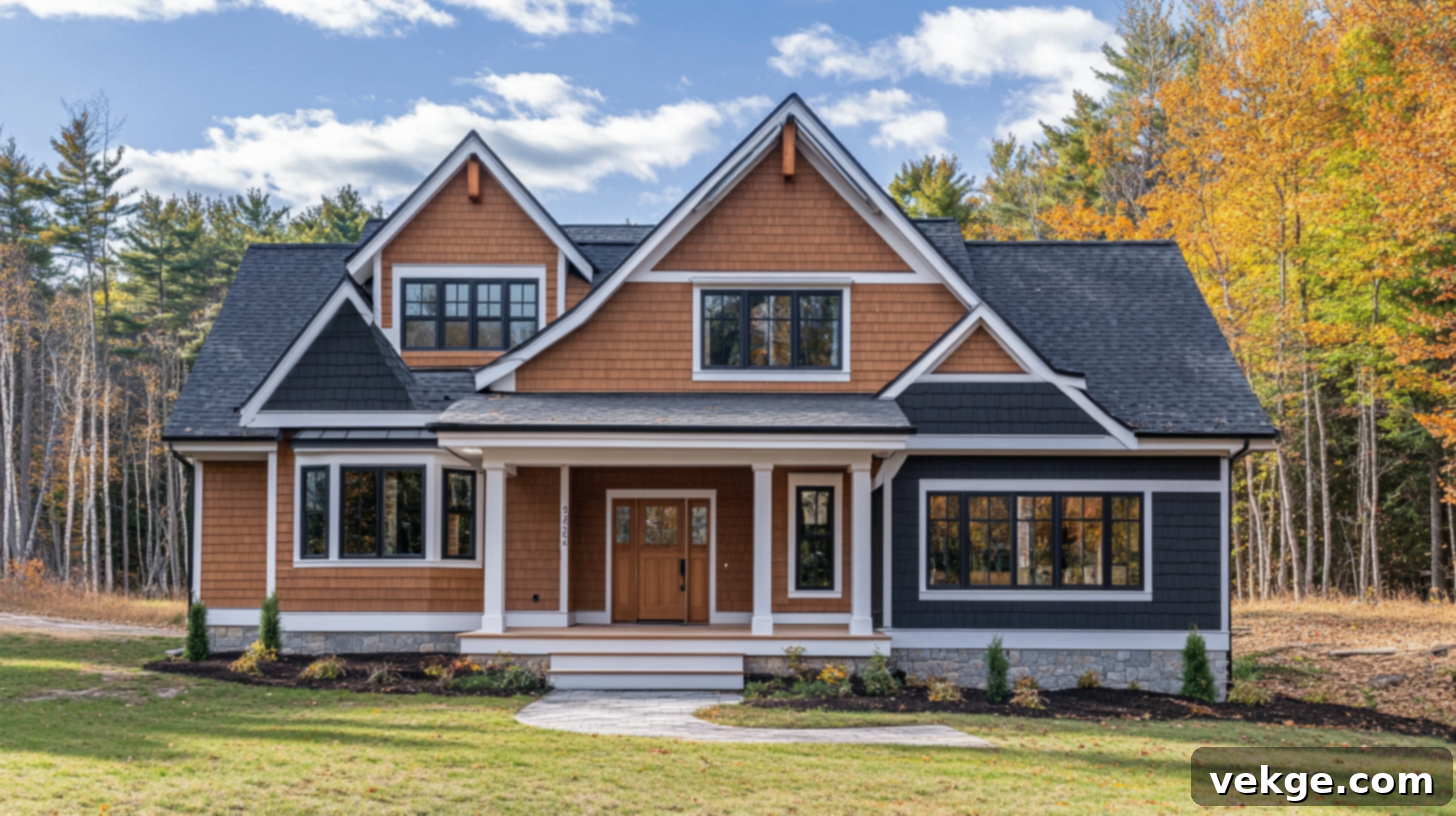
Exterior shiplap trim must withstand the harshest elements, from extreme temperatures to moisture and UV exposure. Therefore, choosing robust, weather-resistant materials is critical for long-lasting results. Excellent choices include fiber cement, cellular PVC, or pressure-treated wood, which are specifically engineered for outdoor use.
Focus particular attention on high-exposure areas such as outside corners, soffits, fascia boards, and where siding meets windows and doors. These points require superior protection to prevent water intrusion and maintain structural integrity. High-quality exterior trim not only enhances your home’s curb appeal but also serves as a vital protective barrier, keeping moisture out of your wall cavities and extending the life of your exterior shiplap.
Flawless Finishing: Handling Shiplap Inside and Outside Corners
Achieving a clean, professional finish on shiplap walls often comes down to how well you manage those critical inside and outside corners. Proper corner treatment can elevate your entire shiplap project, transforming potential problem areas into stylish, intentional details that make your walls look truly amazing.
Inside Corner Trim for Shiplap Walls
It’s a common scenario: you’ve meticulously installed your shiplap, but the boards don’t meet perfectly in that inside corner. This is where inside corner trim comes to the rescue. It elegantly conceals those small gaps or less-than-perfect cuts where two walls converge, turning what could be an eyesore into a refined element of your design.
You have several effective options to choose from:
- Square Trim Pieces (1x boards): Simple 1x lumber boards, often painted to match or contrast, create a clean, sharp look. These offer a substantial border that frames your walls beautifully and can be customized in width.
- Cove Molding: For a softer, more traditional transition, cove molding (a concave profile) gently rounds the inside corner, adding a subtle decorative touch.
- Caulking and Painting: For a completely smooth, almost invisible transition, apply a bead of paintable caulk along the inside corner gap. Once dry, paint it to match your shiplap or wall color for a seamless, finished look, especially effective in modern minimalist designs.
The best part is that these fixes are generally straightforward enough for most DIY enthusiasts. With the right technique, your inside corners will appear thoughtfully finished, not like a project mishap.
Outside Corner Trim for Shiplap Walls
When your shiplap wall extends beyond a simple plane and turns an outside corner, exposed edges become vulnerable. Outside corner trim is your best defense and aesthetic solution. Without it, those raw shiplap edges can easily chip, splinter, or look unfinished over time, detracting from the overall quality of your installation.
Here are popular approaches for outside corners:
- Pre-Assembled Corner Pieces: You can purchase pre-fabricated corner trim pieces specifically designed to slip neatly over your shiplap edges. These are often the easiest to install and consistently provide a perfect, protected corner.
- Mitered Trim Boards: For a custom look, create your own corner trim by cutting two pieces of trim at opposing angles (typically 45 degrees for a 90-degree corner) and joining them to form a crisp corner. This requires precision but offers a very clean, tailored finish.
- Butt Joints with a Cap: A simpler method involves butting one shiplap edge into the other, then covering the exposed edge with a flat trim board or a small rectangular cap piece.
Before you begin, accurately double-check your corner angles; not all walls are perfectly square. Measuring twice and cutting once is paramount here to ensure a tight fit. Proper installation of outside corner trim will ensure your walls look sharp, professional, and remain protected for many years to come.
Essential Shiplap Edge Finishing Techniques for a Polished Look
The way you choose to finish the edges of your shiplap walls can significantly impact the overall aesthetic and professionalism of your project. These techniques ensure a clean, deliberate transition from your shiplap to other surfaces. Here are three simple, yet effective methods you can employ to perfect your shiplap edges.
1. Caulking for a Seamless Shiplap Look
If your goal is for your shiplap to blend almost imperceptibly into adjacent walls, ceilings, or corners, caulking is an invaluable tool. It effectively fills small gaps and minor imperfections, creating a smooth, monolithic surface. Application is straightforward: simply squeeze a continuous bead of paintable caulk into the seam, smooth it with a damp finger or caulking tool, and allow it to dry completely before painting.
This technique results in walls that appear clean, unified, and free of distracting lines, making it an excellent choice for modern, minimalist, or very clean farmhouse aesthetics where a crisp, unadorned finish is desired.
2. Using Trim Boards for Added Style and Definition
Employing dedicated trim boards (like baseboards, door casings, or flat stock) around your shiplap edges can add significant architectural depth and style. These boards create distinct shadows and visual breaks that make your shiplap stand out and feel intentionally framed. You have the flexibility to paint them the same color as your shiplap for a subtle, cohesive look, or choose a contrasting color for a more dramatic, eye-catching effect.
Trim boards are particularly effective when you want your shiplap wall to be a central design feature, giving it a strong visual presence. This method showcases careful attention to detail and enhances the perceived craftsmanship of your space, impressing guests with its refined finish.
3. Quarter Round and Other Molding Profiles
Quarter round molding is a versatile and often essential trim piece, perfect for those tighter, trickier spots where your shiplap meets the floor, ceiling, or even existing cabinetry. Its small, rounded profile discreetly covers gaps and provides a clean transition without overwhelming the space.
For a more decorative touch at the ceiling line, crown molding can beautifully frame your room, adding a sense of elegance and completion. Alternatively, if your preference leans towards contemporary design, flat trim boards or even a simple square edge molding can maintain clean lines while providing a finished edge. These various molding profiles offer diverse aesthetic options, ensuring your space feels finished, well-planned, and tailored to your specific style.
DIY Shiplap Trim Installation Tips & Common Mistakes to Avoid
Ready to tackle your shiplap trim project? With a bit of planning and attention to detail, you can achieve professional-looking results. These practical tips will help you navigate common challenges and avoid frustrating mistakes, ensuring your DIY effort is a success.
Should Trim Go Over or Under Shiplap? The Right Order
For the vast majority of shiplap projects, the trim should be installed over the shiplap boards. This method allows the trim to effectively cover any rough edges, imperfect cuts, or slight inconsistencies where your shiplap meets other surfaces, creating a clean, finished look.
- Baseboards and Crown Molding: These should always be installed over the shiplap, neatly capping the top and bottom edges.
- Window and Door Casings: While you might see some variations, installing casings over the shiplap typically looks cleaner and more effectively hides the gaps between the shiplap and the window/door frame.
Installing trim over shiplap ensures a more polished aesthetic and often simplifies the measuring and cutting process for the trim itself.
Critical Leveling Tips and Effectively Closing Corner Gaps
Precision is paramount when installing trim. Use a reliable level for every single piece of trim you install! Even minor errors in leveling will become glaringly obvious once the paint is applied, detracting from the professional finish.
- Dry Fitting: Before permanently fastening any piece, always dry-fit your trim. Hold it in place and check for levelness, fit, and how it aligns with adjacent pieces. Your walls are likely not perfectly square, and this crucial step allows you to identify and adjust for inconsistencies before nailing.
- Tricky Corners: For those challenging inside and outside corners, a useful trick is to cut your trim pieces slightly long (e.g., 1/16th of an inch more than needed). Then, carefully shave or sand them down for an incredibly tight, seamless fit. This technique helps to eliminate visible gaps that might otherwise appear over time.
- Shimming: If you encounter small gaps between the trim and an uneven wall, use small shims behind the trim to push it flush with the wall before nailing.
Remember the adage: “measure twice, cut once.” This will save you significant headaches and material waste.
Caulking and Painting Advice for a Perfect Finish
Proper caulking and painting techniques are the final steps that transform your trim installation from good to great.
- Caulk Strategically: Only apply caulk where the trim meets the wall or where two pieces of trim meet each other. Do NOT caulk the grooves between individual shiplap boards; these natural shadow lines are part of the shiplap’s charm and design.
- Allow for Drying Time: Once applied, let the caulk dry completely according to the manufacturer’s instructions before painting. Rushing this step can lead to cracked paint and an unsightly finish down the road.
- Pre-Paint for Efficiency: Consider painting your trim pieces before installation, especially if you’re using a contrasting color or have intricate profiles. This saves a tremendous amount of time on taping and allows for cleaner, sharper paint lines. After installation, you’ll only need to do minor touch-ups over nail holes and caulk lines.
These careful finishing steps ensure your shiplap walls and their new trim look impeccable and last for years.
Wrapping Up Your Shiplap Trim Transformation
Congratulations! Now that we’ve thoroughly discussed the ins and outs of shiplap trim, from its fundamental purpose to intricate installation techniques, you’re well-equipped and ready to embark on your own project. We’ve covered everything from basic edge finishing and solving tricky corner dilemmas to exploring diverse style-specific ideas tailored for every room in your home.
Remember, the right shiplap trim is far more than just a minor detail; it’s the transformative element that elevates your shiplap walls from simply good to truly exceptional. It beautifully frames your hard work, adds significant architectural character, and crucially, protects those vulnerable edges for years to come, ensuring the longevity and pristine appearance of your investment.
Don’t be hesitant to experiment with different trim profiles, mix various styles, or play with contrasting colors to create a look that feels genuinely unique and perfectly reflective of your personal taste. Your home is a canvas, and shiplap trim is a powerful tool to express your design vision.
We sincerely hope this comprehensive guide has provided you with a wealth of inspiration, practical insights, and actionable tips to make your shiplap walls not just look amazing, but truly shine. Trust your aesthetic judgment, take your time with those crucial corners, and most importantly, enjoy the rewarding process of bringing your vision to life.
