DIY Napkin Holders: Craft Your Own Stylish and Personalized Table Accessory
A well-set table often begins with thoughtful details, and a napkin holder is much more than just a functional item. It’s an elegant addition that brings style, organization, and a touch of refinement to any dining experience. Napkin holders ensure your napkins are neatly stacked, easily accessible, and protected from accidental spills or kitchen messes, making every meal more pleasant.
While store-bought napkin holders offer convenience, crafting your own unlocks a world of creative possibilities. Building your custom napkin holder allows you to fully control the design, exact size, and aesthetic style, ensuring it perfectly complements your home decor. Plus, it’s often a more budget-friendly approach, as you can utilize readily available or recycled materials.
This comprehensive guide will show you how to create beautiful and functional napkin holders that truly reflect your personal style and taste. Whether you’re a seasoned crafter or just starting, you’ll discover options suitable for every skill level, from minimalist wooden designs to elaborate, decorative pieces perfect for parties and special occasions.
We’ll walk you through essential material choices, provide crucial safety tips, and offer solutions for common crafting challenges. You’ll also learn how to customize your creations for specific seasons, holidays, and events, adding a unique festive touch to your table settings. Get ready to transform your dining space with a handmade masterpiece!
Ready to embark on your exciting napkin holder project? Let’s begin by exploring the compelling reasons why crafting your own holder is a rewarding endeavor.
Why Make Your Own Napkin Holder? Unlocking Creativity and Value
Personalization and Creative Expression
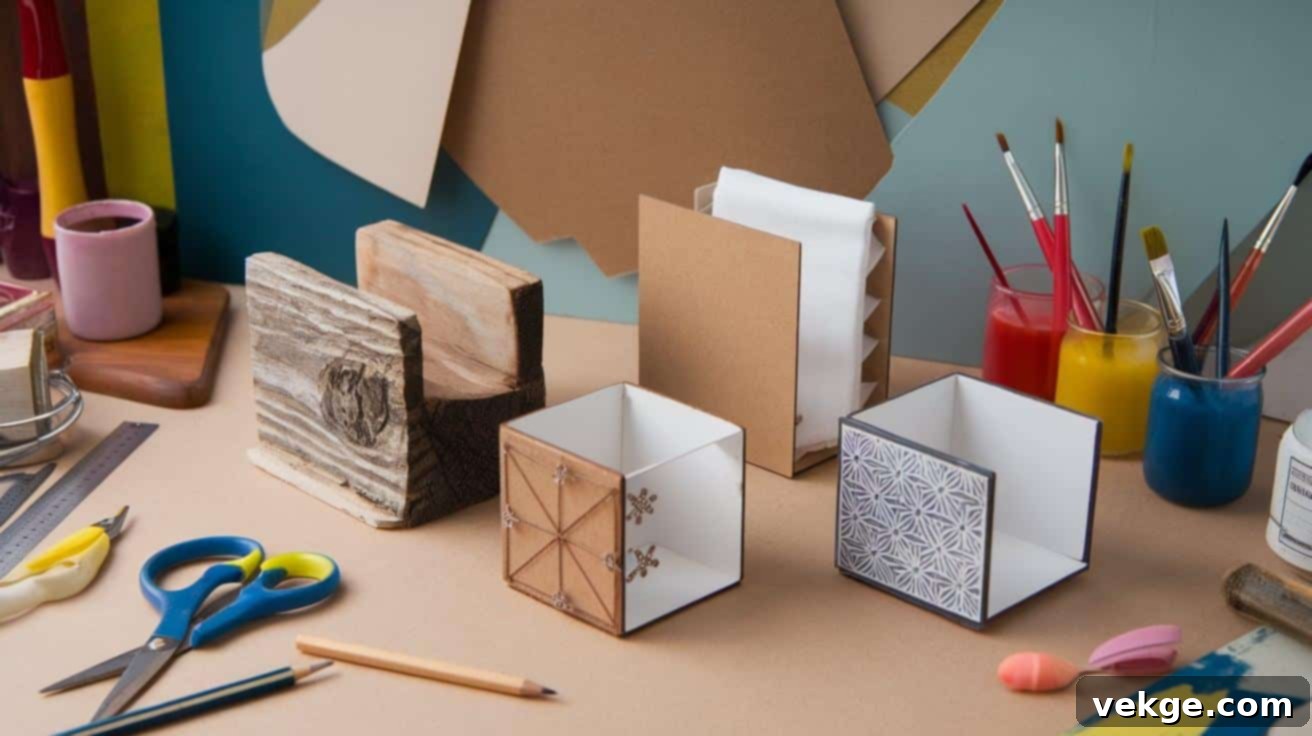
Generic, mass-produced napkin holders often lack the distinctive character and personal flair that truly matches your home’s unique style. When you decide to make your own napkin holder, you gain complete artistic control over every single detail of its design. You can hand-pick materials, select custom colors, and choose a style that perfectly harmonizes with your dining room or kitchen aesthetic. Imagine a holder that echoes the textures of your living room, or features a color palette from your favorite artwork.
Your handcrafted napkin holder can transcend its basic function, becoming a genuine statement piece that sparks conversation and admiration at your dining table. The profound satisfaction that comes from creating something both useful and beautiful adds immeasurable value beyond its simple utility. It’s a reflection of your personality and a testament to your creativity.
Cost-Effectiveness and Smart Savings
Crafting a napkin holder at home presents a significant opportunity for saving money compared to purchasing one from a retail store. Most DIY napkin holders can be constructed for less than $10, utilizing basic, affordable materials readily available at your local craft store or hardware shop. Think about the variety of designs you could achieve within a modest budget!
Furthermore, you can often repurpose items you already have around your home, such as discarded scrap wood, sturdy cardboard from shipping boxes, or even leftover fabric pieces. This ingenious approach makes your project even more budget-friendly, transforming potential waste into a practical and charming addition to your home decor.
Eco-Friendly Benefits and Sustainable Crafting
Creating your own napkin holder is a wonderful way to embrace sustainability and actively contribute to reducing waste. By giving new life to materials you might otherwise discard—like old wooden boards, empty paper towel rolls, or forgotten craft supplies—you participate in the eco-conscious practice of upcycling. This not only diverts items from landfills but also encourages mindful consumption.
This thoughtful approach to crafting wholeheartedly supports a more sustainable lifestyle. You can take pride in knowing that your beautiful table decoration serves a practical purpose while also benefiting the environment. It’s a small, tangible step towards a greener home, proving that utility and environmental responsibility can go hand-in-hand.
Essential Materials and Tools for Crafting Your Napkin Holder
1. Common Materials Used in Napkin Holder Projects
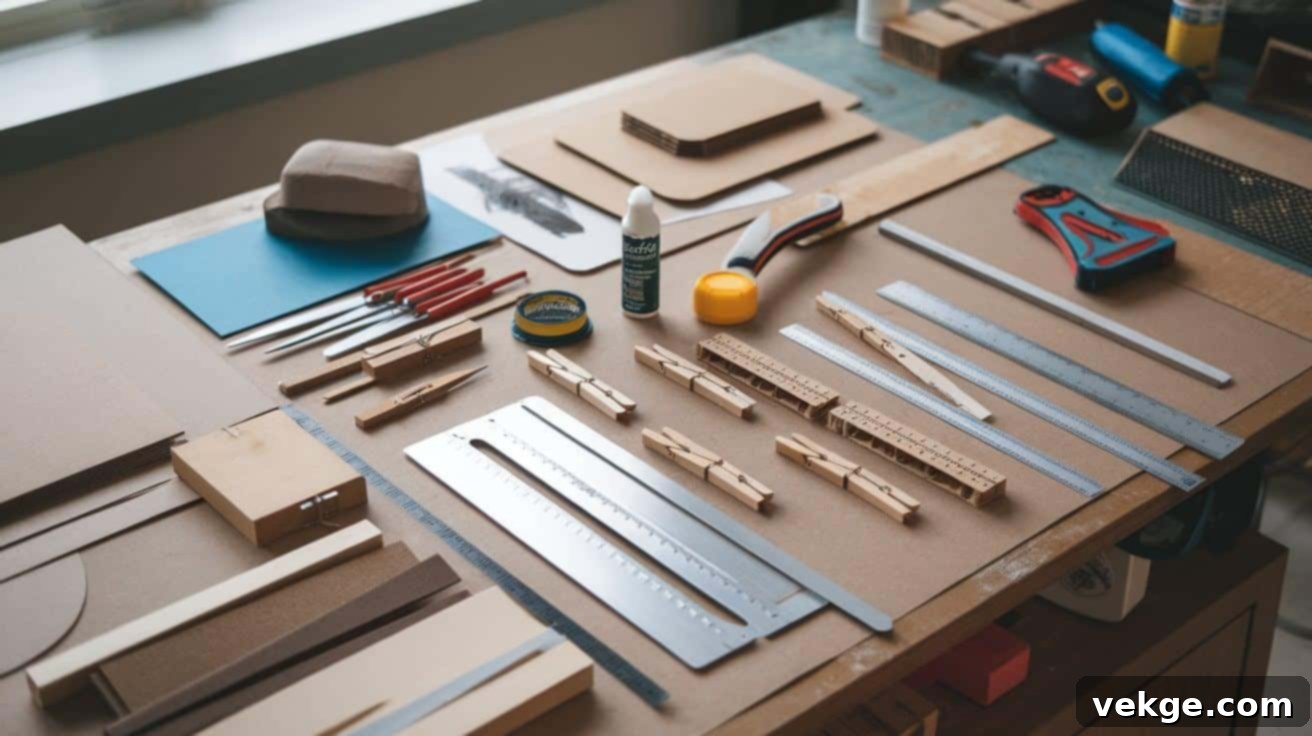
For sturdy and long-lasting napkin holders, pinewood and plywood are excellent choices, offering durability and a classic aesthetic that can be stained or painted. With proper care, these materials will serve you for many years. For simpler, more temporary, or budget-conscious designs, robust cardboard sourced from shipping boxes provides a free and versatile alternative. It’s surprisingly strong when properly folded and glued.
Beyond traditional wood and cardboard, consider more unique options. Wooden clothespins can be creatively arranged and glued together to form surprisingly sturdy bases and decorative sides, adding a rustic charm. Other materials like acrylic sheets, thick felt, or even repurposing old ceramic tiles can also inspire innovative designs.
2. Essential Tools Needed for Your Crafting Journey
A fundamental toolkit for any DIY project typically includes sandpaper (various grits for smoothing), strong wood glue, and a reliable measuring tape. If you’re working with wood, you’ll also need a saw—a simple hand saw for basic cuts or a jigsaw for more intricate shapes—and clamps to securely hold pieces together while the glue dries. This ensures strong, lasting bonds.
For cardboard projects, sharp scissors or a utility knife are essential for clean cuts, paired with craft glue for assembly. A small metal ruler is indispensable for marking straight lines, guaranteeing precise dimensions and a professional finish to your homemade napkin holder.
3. Tips for Sourcing Affordable Crafting Materials
To keep your project budget-friendly, start by checking the scrap wood sections at your local hardware stores or lumberyards. These areas often contain smaller, irregularly shaped pieces that are perfect for napkin holders and sold at significantly reduced prices. Don’t hesitate to ask if they have any off-cuts or remnants.
Next, explore your own home for unused items that can be repurposed. Old picture frames, leftover craft supplies from previous projects, or even sturdy shipping materials can be given a new life. Think outside the box and consider what might be transformed.
Thrift stores, antique shops, or even online marketplaces can also be treasure troves. You might find inexpensive wooden boxes, small furniture pieces, or decorative items that can be disassembled for their quality wood components at a fraction of the cost of new materials. Estate sales and yard sales are also great places to find hidden gems.
Safety Guidelines to Follow While Crafting Your Napkin Holder
1. General DIY Safety Tips for a Secure Workspace
Safety should always be your top priority when embarking on any DIY project. Begin by ensuring your work area is consistently clean, well-organized, and brightly lit. A cluttered space not only makes it harder to find your tools but significantly increases the risk of trips, falls, and other accidents. Good lighting helps you clearly see what you are doing, reducing errors.
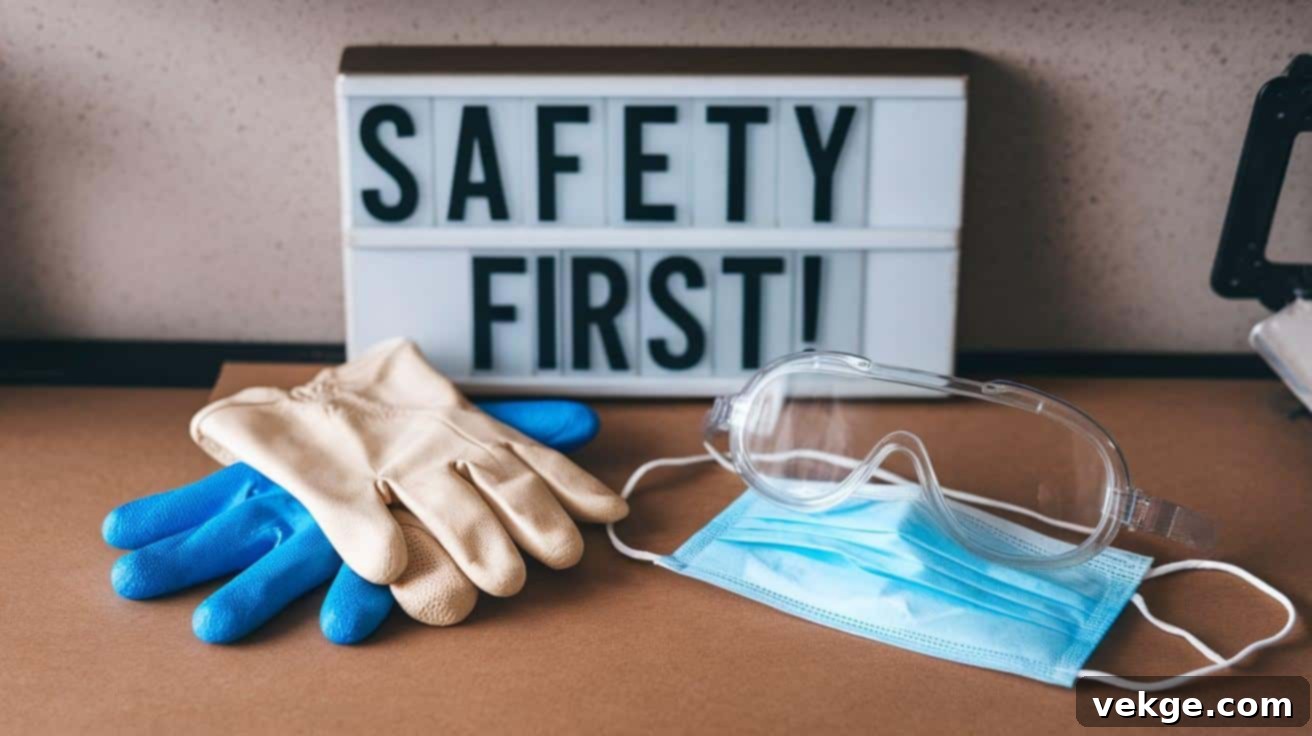
Always wear appropriate personal protective equipment (PPE). Safety glasses are non-negotiable when cutting, sanding, or using any power tools, protecting your eyes from flying debris. Avoid wearing loose clothing, jewelry, or anything that could get caught in machinery. If you have long hair, always tie it back securely before you begin working.
2. Tool-Specific Precautions for Safe Operation
Before using any new tool, especially power tools, take the time to thoroughly read and understand the manufacturer’s instructions and safety manual. This is crucial for proper operation and avoiding injury. When handling sharp tools like saws, chisels, or utility knives, exercise extreme caution, always keeping blades pointed away from your body and using stable cutting surfaces.
Proper storage of tools after use is equally important. Store sharp tools with their edges or points protected, ideally in a toolbox or on a pegboard. Ensure all dangerous items, especially power tools and sharp implements, are stored out of the reach of children and pets to prevent accidental harm.
3. Child-Friendly Practices for Collaborative Crafting
If you’re planning a crafting session with children, select projects and tasks that are well-matched to their age and skill level. Young helpers can safely participate in less hazardous steps such as sanding wood pieces with fine-grit sandpaper, marking measurement lines with pencils, or applying glue under direct supervision. These tasks build confidence and fine motor skills.
Maintain constant and close supervision over all tools when children are involved in crafting. Before starting any project, establish a clear set of safety rules and ensure everyone understands them. Emphasize that certain tools are for adults only or require explicit permission and supervision, creating a fun yet secure environment for learning and creativity.
A DIY Step-By-Step Guide on Crafting a Wooden Napkin Holder
STEP 1: Measure and Plan the Dimensions Accurately
Begin by taking a standard napkin that you typically use and carefully measuring its dimensions. To allow for easy placement and removal, add approximately an eighth of an inch (around 3mm) to each side for a comfortable “wiggle room.” Also, factor in the thickness of the upright pieces that will hold the napkins in place. This ensures a functional fit.
For a common design, mark your dimensions for the base—a practical size like 8.5 inches (21.5 cm) x 6.75 inches (17 cm) works well. For the uprights, a height of approximately 4.25 inches (10.8 cm) is often suitable, but you can adjust this height according to your aesthetic preference or the specific type of napkins you plan to use (e.g., taller for dinner napkins, shorter for cocktail napkins).
STEP 2: Cut and Shape the Base and Uprights with Precision
Using your chosen hand tools—a hand saw or jigsaw—carefully cut the base and upright pieces according to the precise dimensions you marked in the previous step. Once the cuts are made, enhance the aesthetic appeal of the base by rounding its edges. This can be achieved smoothly with a wood plane for larger curves or progressively with sandpaper for a softer, more refined look.
For an added decorative flourish, consider shaping gentle arcs or curves to the top of the uprights. These subtle details can elevate the holder’s design. Use sandpaper or a hand plane to smooth these curves, ensuring they are even and free of splinters, contributing to a professional finish.
STEP 3: Mark and Cut Tenons and Mortises for Strong Joints
To create a robust and stable structure, you will employ classic woodworking joinery: tenons and mortises. Carefully mark the exact locations for the mortises (the slots) on the base piece. Then, mark the corresponding tenons (the protruding parts) on the bottom of the uprights. Accuracy here is key for a tight fit.
Using a sharp chisel, carefully cut out the mortises in the base. Work slowly and patiently, removing small amounts of wood at a time. Then, shape the tenons on the uprights, ensuring they fit snugly into the mortises. Test the joints by dry-fitting them. If too tight, shave off very small amounts of wood from the tenons. Aim for a fit that is slightly tight, as this will ensure maximum stability and strength once glue is applied.
STEP 4: Assemble and Test the Fit of Your Napkin Holder
With your tenons and mortises ready, fit the tenons into the mortises without glue. This is a critical dry-fitting stage. Carefully check for perfect alignment of all components, ensuring the uprights are perpendicular to the base and parallel to each other. Examine all edges and surfaces for any unevenness; make minor adjustments with a plane or sandpaper if needed.
Confirm that the overall structure feels sturdy and well-balanced. It should sit flat on a surface without wobbling. This dry assembly allows you to make any necessary modifications before applying glue, ensuring a smooth, square, and strong final assembly. Patience at this stage will prevent frustrations later on.
STEP 5: Final Sanding and Preparing for a Flawless Finish
Before applying any finish, a thorough sanding process is essential to achieve a smooth, professional result. Sand all edges and surfaces of your napkin holder to meticulously remove any tool marks, rough spots, or potential splinters. Start with a medium-grit sandpaper (e.g., 120-grit) to remove imperfections, then move to a finer grit (e.g., 220-grit) for a silky-smooth touch.
Pay extra attention to any rounded edges and decorative curves, ensuring they are consistently smooth. For detailed or hard-to-reach areas, wrap sandpaper around a dowel or a small stick to create a precise sanding tool. Wipe away all dust with a tack cloth or a slightly damp cloth before proceeding. Ensure all parts fit perfectly and securely one last time before moving to the finishing stage.
STEP 6: Add the Final Touches and Protective Finish
Once all sanding is complete and you’re satisfied with the dry fit, it’s time for the final assembly. Apply wood glue sparingly but firmly to the tenons and mortises, then join the pieces. Clamp them securely and wipe away any excess glue that squeezes out with a damp cloth immediately. Allow the glue to cure completely according to the manufacturer’s instructions, usually several hours or overnight.
Once the glue is dry, you can apply your desired finish. This could be a protective clear varnish, a rich wood stain to highlight the grain, or a vibrant paint color to match your decor. Apply thin, even coats and allow each coat to dry thoroughly before adding another. This final step not only enhances its appearance but also protects the wood from moisture and wear. Let your handcrafted napkin holder dry completely before proudly displaying and using it on your table.
Video Tutorial
For more detailed visual instructions and insights, check out this helpful tutorial by Kinderhook Woodcraft.
Themed and Seasonal Napkin Holders: Adding Festive Flair
1. Holiday-Themed Napkin Holders for Festive Celebrations
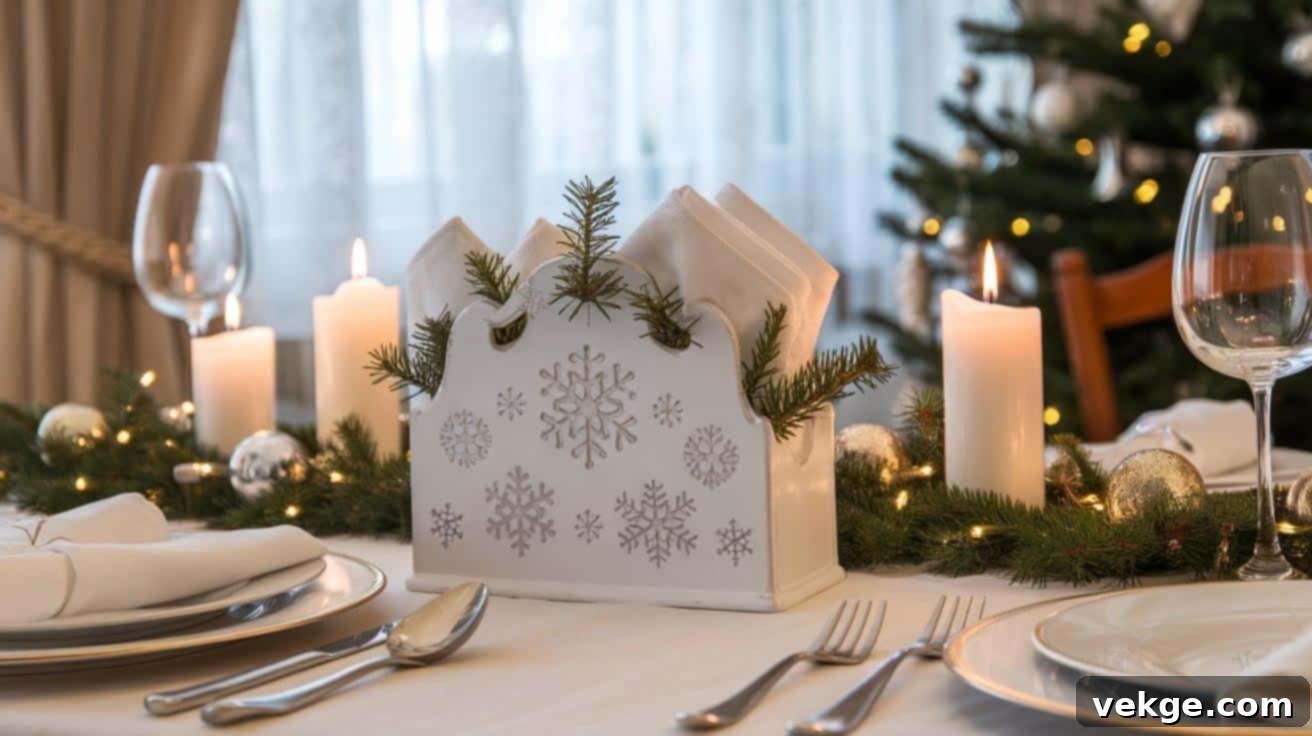
Winter holidays provide a wonderful opportunity to infuse your dining space with warmth and cheer. For Christmas, paint your napkin holder a crisp white or deep evergreen, then adorn it with miniature pine sprigs, small red berries, or delicate silver bells for a classic festive touch. You could also use stencils to add snowflakes or reindeer motifs.
The vibrant autumn season calls for napkin holders featuring rich orange, deep brown, and golden yellow tones. Enhance the base with small artificial leaves, miniature pumpkins, or natural acorns and pinecones for a charming Thanksgiving feel. For Halloween, unleash your creativity with black paint, accented by bold orange or glowing green details. Small paper bats, spooky spider cutouts, or tiny plastic eyeballs can be attached to the holder’s sides for a delightfully eerie seasonal addition.
Other holidays can also inspire: for Easter, use pastel colors and add small decorative eggs or bunny cutouts. Valentine’s Day can feature reds and pinks with heart embellishments. The possibilities are endless!
2. Event-Themed Napkin Holders for Special Occasions
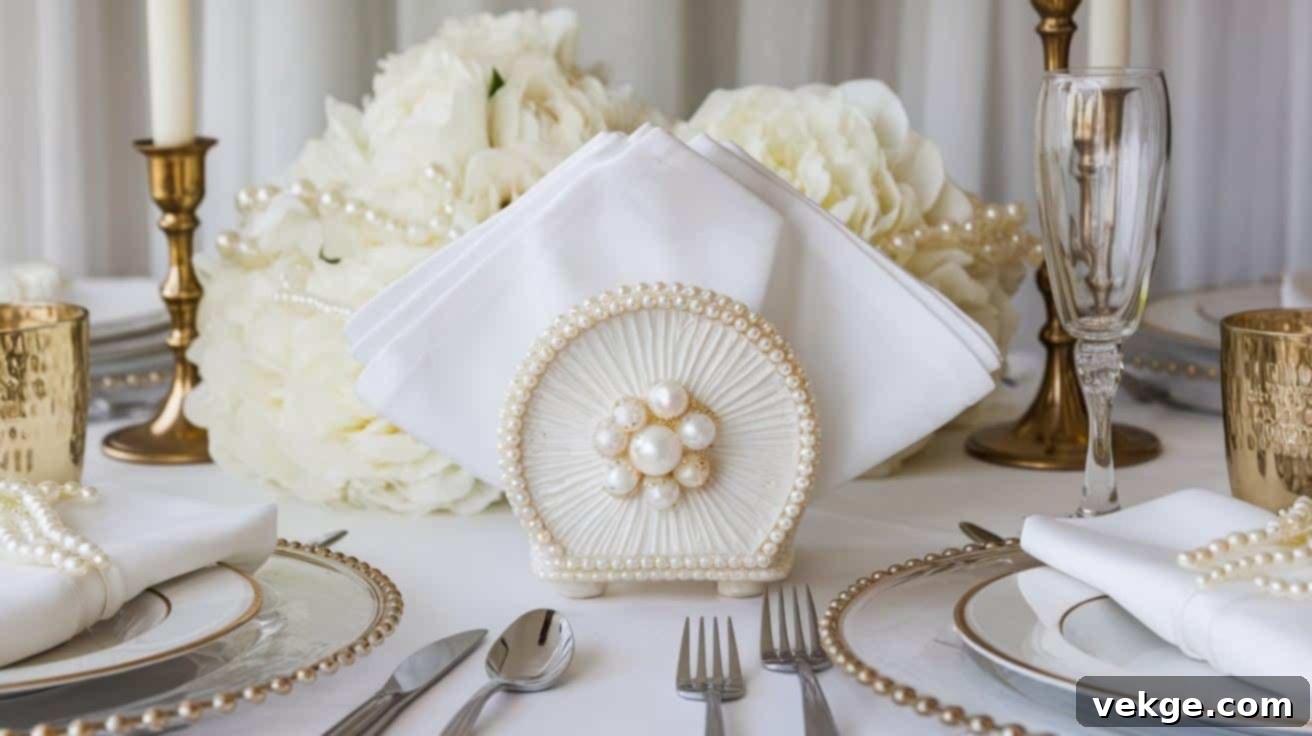
Wedding table settings demand a touch of elegance and romance. Opt for napkin holders in soft, subtle hues like pure white, delicate cream, or shimmering ivory. Adorn them with pearl accents, delicate lace, or small silk flowers to create an ideal, refined look for the celebration of love.
Birthday celebrations, on the other hand, are perfect for bright colors, playful patterns, and fun designs. Paint the napkin holder in the party’s main color scheme and add small, festive cutouts such as balloons, confetti shapes, or party hats. Personalize it further with the birthday person’s initial or age.
For baby showers, sweet and charming holders in soft pink, calming blue, or gender-neutral yellow or mint green are perfect. Small wooden shapes like stars, hearts, or tiny baby bottles can be glued to the basic design, adding an adorable touch that complements the joyous occasion. Consider also themes for anniversaries, graduation parties, or even themed dinner parties.
3. How to Effectively Customize Designs for Any Theme
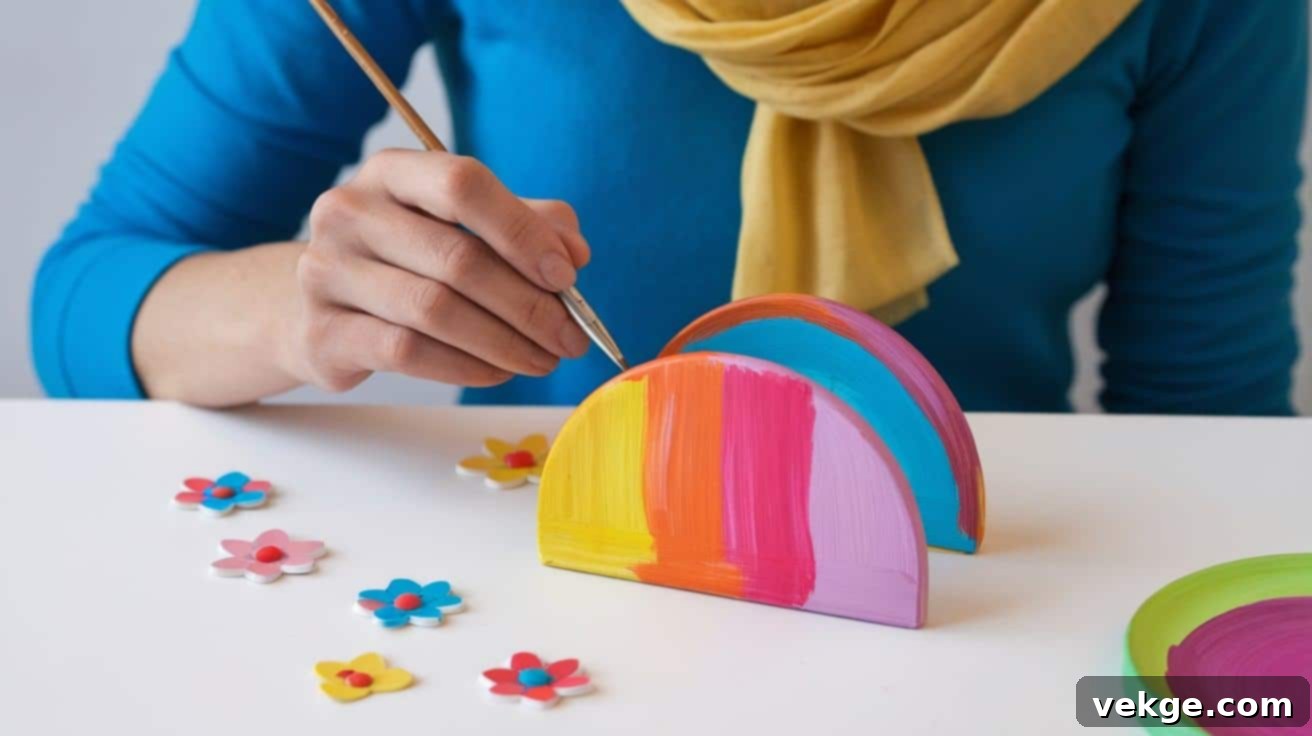
The key to successful theme customization is to start with a simple, versatile base design that comfortably accommodates standard napkin sizes. This provides a blank canvas for your creativity. Next, choose paint colors that precisely match the main shades of your chosen theme, setting the foundation for your design.
When adding decorations, aim for simplicity and ensure they are securely attached to the holder. Small, well-integrated items tend to work better than large, overpowering ones for most napkin holder designs. Consider using stencils for intricate patterns, adding glitter for sparkle, or attaching small themed figurines. Always test the adhesive on a hidden spot first to ensure it holds well and won’t damage the finish.
Beyond Holders: DIY Napkin Rings for Every Occasion
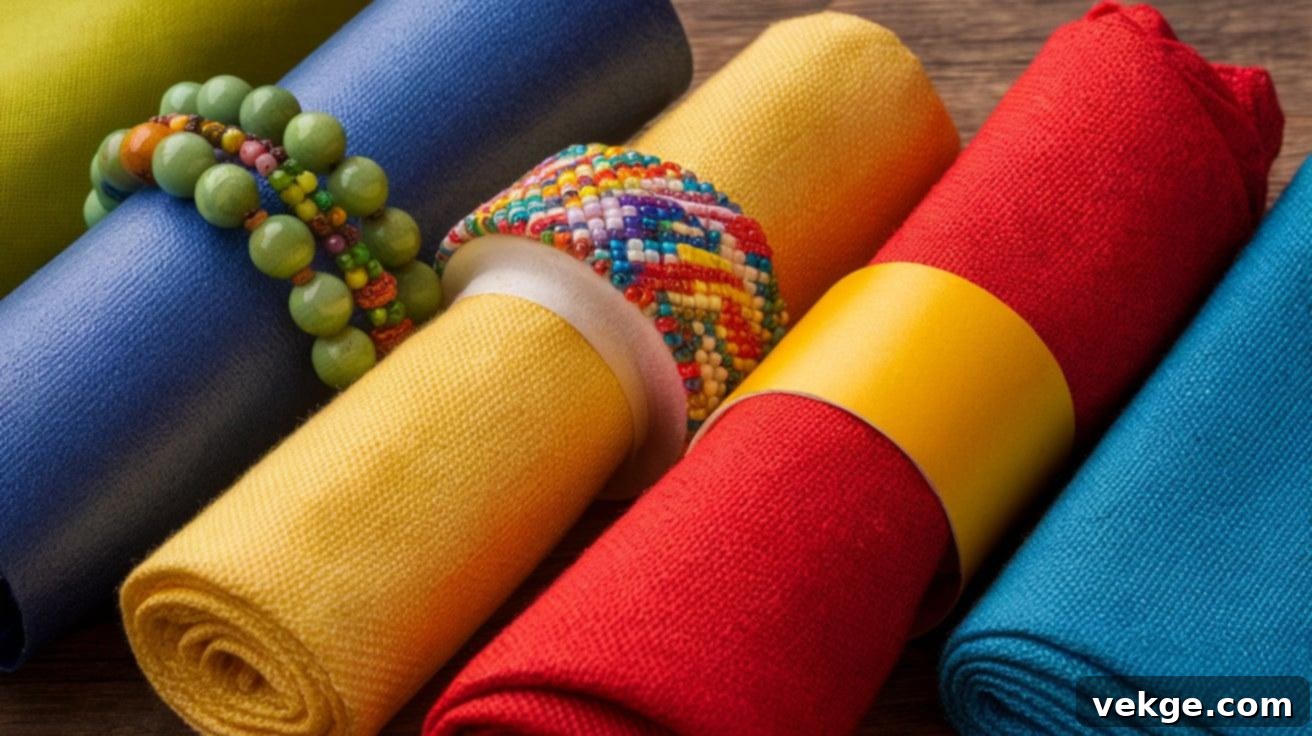
Difference Between Napkin Holders and Napkin Rings
Understanding the distinction between napkin holders and napkin rings helps in choosing the right accessory for your table. Napkin holders are stationary tabletop devices designed to store and display multiple napkins, typically in a stack. They are ideal for everyday use, casual family meals, and buffets, keeping napkins organized and easily accessible for everyone.
Napkin rings, on the other hand, are individual decorative loops or bands that wrap around a single napkin, often folded artfully. They are primarily used in more formal dining settings, such as dinner parties, holidays, or special events, to add an elegant and personalized touch to each place setting. They elevate the presentation, making each guest feel special.
Easy DIY Projects for Creative Napkin Rings
Creating your own napkin rings is a quick and satisfying craft project. Empty paper towel or toilet paper rolls are fantastic starting points; simply cut them into small, uniform sections (about 1.5 to 2 inches wide) to form basic ring shapes. These can then be covered with decorative paper, fabric scraps, ribbon, or painted to achieve a polished look.
Another simple yet elegant idea involves stringing wooden beads onto elastic cord or thin wire. This design creates flexible rings that can accommodate different napkin thicknesses and adds a natural, artisanal feel. You can also use PVC pipe sections cut to size, then decorated.
Decorating Ideas to Personalize Your Napkin Rings
Paint is a versatile medium for setting the base for most napkin ring designs. Applying two thin, even coats typically yields better, more professional-looking results than a single thick layer, ensuring smooth coverage and preventing drips. Experiment with metallic paints for a touch of glamour or chalk paint for a rustic finish.
Small buttons, delicate beads, or tiny charms can add significant sparkle and visual interest to plain rings. Attach these embellishments with a strong, clear-drying craft glue, ensuring they are firmly secured. Allow them to dry completely before use to prevent any accidents. Consider also using small artificial flowers, faux greenery, or even simple twine bows for a charming, rustic appeal.
Tips for Customizing and Personalizing Your DIY Napkin Holder
1. Painting and Staining Techniques for a Unique Finish
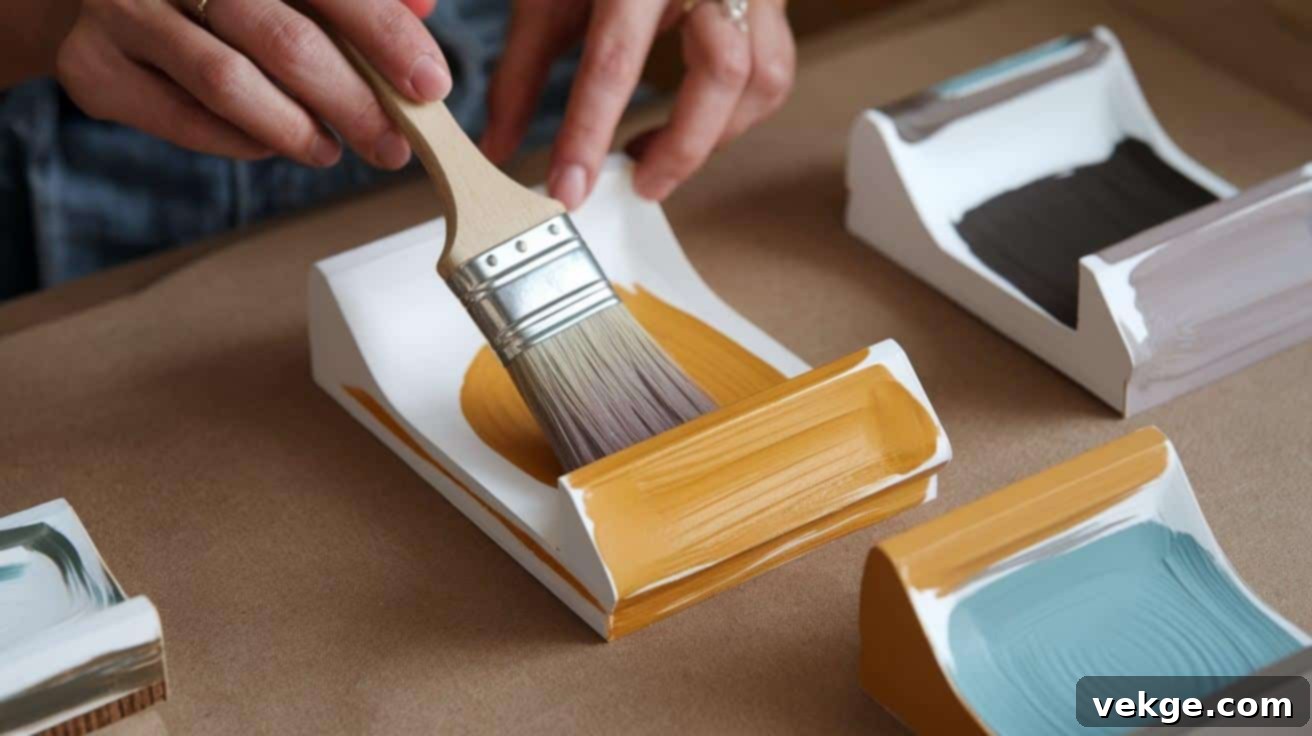
Before applying any paint or stain, always ensure your surfaces are impeccably clean, dry, and smooth. Sand wooden pieces meticulously until they feel soft and free of imperfections to the touch. This preparation is crucial for a professional-looking finish that adheres well.
For beginners, water-based paints are highly recommended due to their ease of application, faster drying times, and simple cleanup with just soap and water. For stains, choose shades that beautifully complement the existing wood tones of your dining table, cabinets, or other furniture. Apply stains in thin, even coats, and remember to wipe off any excess with a clean, lint-free cloth to prevent blotchiness and achieve a uniform color. Experiment with distressing techniques for an aged look, or stenciling for intricate patterns.
2. Creative Ways to Add Decorative Elements
Small wooden shapes, such as stars, hearts, or geometric cutouts, can be securely glued to most napkin holder surfaces, adding instant charm. Always test your chosen adhesive on a hidden spot first to verify strong adhesion and ensure it won’t damage the finish of your project. Consider using strong wood glue or a clear-drying super glue for durability.
Buttons, in various sizes, colors, and textures, can create simple yet incredibly effective decorative patterns. Line them up neatly along edges for a clean look, group them in corners for visual interest, or arrange them in a mosaic fashion. Natural items like small, smooth river stones, delicate seashells, or even dried pressed flowers can add beautiful texture and an organic feel. Seal these natural elements with a clear protective coat to keep them secured and protected from wear and tear.
3. Engraving and Etching for a Personal Touch
For hand etching or engraving on wood, simple yet elegant patterns often yield the best results. Before committing to the wood, sketch your desired design first with a pencil as a guide. This allows you to refine your artwork and correct any mistakes before permanent etching. You can use wood-burning tools for intricate details or a Dremel tool with appropriate bits for carving.
If you’re adding text, ensure that letters and numbers are properly sized for your holder, maintaining readability and aesthetic balance. Keep any text short, clear, and impactful for the best visual results. Consider adding monograms, significant dates, or small, meaningful quotes to truly personalize your creation, making it a cherished heirloom.
Resolving Common Issues with Your DIY Napkin Holder
1. Fixing Unstable or Wobbly Napkin Holders
If your handcrafted napkin holder wobbles or doesn’t sit flat on an even surface, the first step is to meticulously check all joints for looseness or improper alignment. Sometimes, adding small, thin wood shims or felt pads discreetly under uneven areas of the base can create balance and stability. You can also attach small rubber feet to all corners for better grip and levelness.
If any parts feel loose, they likely need fresh glue application. Carefully disassemble the loose joint if possible, clean off any old, dried glue (which can prevent proper adhesion), and then reapply a strong wood glue. Clamp the pieces firmly and allow ample time for the glue to cure completely before handling, ensuring a solid, stable structure.
2. Adjusting Sizes for Different Napkin Types
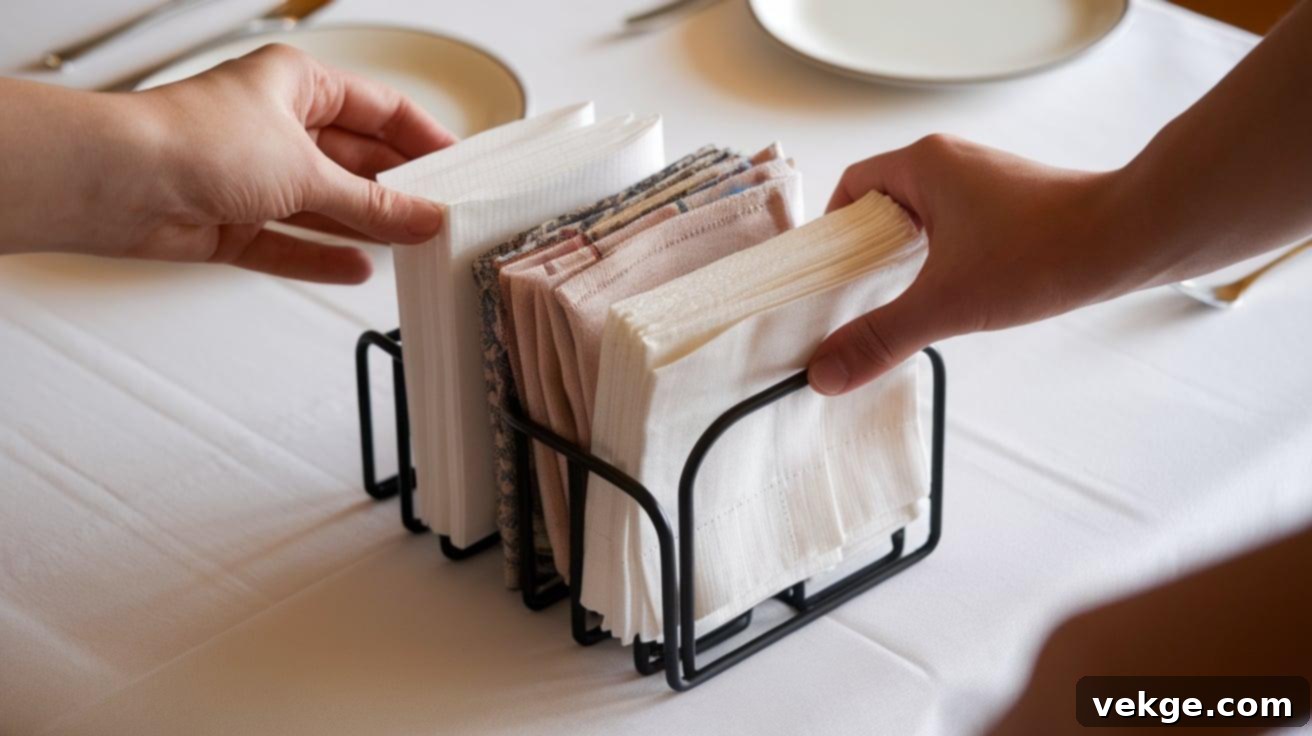
Not all napkins are created equal! Paper napkins, whether cocktail or dinner-sized, typically require less space than thicker, folded cloth napkins. When designing your holder, consider the types of napkins you’ll primarily use. Generally, make the holder opening slightly wider than the compressed stack of your chosen napkins to allow for easy insertion and removal.
It’s highly recommended to test your holder with both paper and cloth napkin types before its final assembly or finishing. This allows you to make any necessary adjustments to the width or height of the holder. Always allow a bit of extra room for effortless access, preventing napkins from getting stuck or tearing when pulled out.
3. Maintenance and Care Tips for Longevity
To keep your DIY napkin holder looking its best, clean it regularly with a soft, dry cloth to remove dust and crumbs. For wooden surfaces, it’s crucial to avoid using wet cleaners or abrasive chemicals, as these can damage the finish, cause warping, or strip away protective layers. If absolutely necessary, a slightly damp cloth followed immediately by a dry one can be used, but sparingly.
Store your napkin holders away from direct sunlight when not in use. Prolonged exposure to UV rays can cause wood finishes to fade and potentially warp wooden components over time. Additionally, keep your napkin holders in dry areas of your home. Excessive moisture can lead to wood swelling, cracking, or the growth of mold, and can cause any metal embellishments to rust. Proper care ensures your handmade item lasts for years to come.
Final Thoughts on Your DIY Napkin Holder Journey
Embarking on the journey of making your own napkin holder truly unlocks a plethora of creative options for enhancing your table setting. Start with basic, straightforward designs to build your confidence and familiarize yourself with the tools and techniques. As you gain experience, don’t hesitate to experiment with new ideas, materials, and more intricate patterns.
Remember, your very first project might be simple, but with each new attempt, you’ll undoubtedly achieve better and more refined results. Keep a small notebook to jot down what methods work best for you, which materials you prefer, and any valuable tips you discover along the way. This personal log will become an invaluable resource for future crafting endeavors.
We are genuinely excited to see your finished napkin holders! Please share photos of your beautiful creations in the comments section below. Tell us all about the materials you chose, the inspirations behind your designs, and any clever tips or tricks you learned during your crafting process. Your insights can inspire others!
Do you have any lingering questions about making your own napkin holder? Don’t hesitate to ask us in the comments. Our vibrant community of DIY enthusiasts loves helping fellow crafters succeed with their projects and overcome any challenges. We believe in sharing knowledge and fostering creativity.
Now, gather your supplies, let your imagination soar, and start creating your perfect, personalized napkin holder. Your table setting eagerly awaits its newest handmade addition – a testament to your skill and unique style!
Frequently Asked Questions (FAQs) About DIY Napkin Holders
How Can I Keep Napkins From Blowing Away Outdoors?
To prevent napkins from blowing away during outdoor dining, opt for weighted napkin holders specifically designed for outdoor use. Alternatively, you can use decorative clips, small decorative stones, or even a heavy, decorative object placed on top of the stack. Another practical solution is to choose heavier-weight cloth napkins, which are less prone to being displaced by wind compared to lighter paper varieties.
How To Make A Napkin Holder Without Power Tools?
You can easily create a simple and attractive napkin holder using only basic craft supplies and no power tools. Materials like sturdy cardboard (from old shipping boxes), strong craft glue, and decorative paper or fabric are perfect. Fold and assemble the cardboard pieces securely, using templates for precise cuts, and then decorate to form a sturdy and functional holder. You might also consider using thick felt or heavy-gauge wire that can be bent by hand.
Can Kids Make DIY Napkin Holders Safely?
Yes, children can absolutely make DIY napkin holders safely, provided there is appropriate adult supervision and age-friendly materials are used. Focus on projects involving materials like cardboard, construction paper, child-safe glues, and non-toxic paints. Always avoid sharp objects, and guide them through the process. Encourage their creativity in crafting their unique designs, allowing them to personalize their holders with stickers, glitter, or drawings.
