Transform Your Home: The Ultimate Guide to Beginner-Friendly DIY Projects
Embarking on DIY home projects might seem daunting at first, but with the right guidance, essential tools, and a sprinkle of enthusiasm, you’ll soon be crafting functional and beautiful pieces that truly personalize your living space. This comprehensive guide is designed for every aspiring DIYer, from those looking to add practical shelves to building custom furniture or simply injecting more personality into their home.
Within this article, we’ll demystify the process, showing you how to select the best materials for durability and aesthetics, navigate common pitfalls that often trip up beginners, and ensure your projects not only look fantastic but also stay well within your budget. Get ready to dive into the exciting world of do-it-yourself, where creativity meets practicality, and every project is an opportunity to transform your home with your own hands. Let’s begin making your space uniquely yours with these easy, rewarding projects.
Choosing the Right Materials for Your DIY Projects
The foundation of any successful DIY home project lies in selecting the appropriate materials. High-quality materials not only ensure your creations are sturdy and long-lasting but also contribute significantly to their overall aesthetic appeal. Your material choices should always align with the project’s purpose, your financial plan, and the desired lifespan of the finished item.
Wood: A Versatile Choice for Home DIY
Wood remains a perennial favorite for countless DIY endeavors, from crafting simple shelves and robust tables to elegant chairs. For beginners, pine is an excellent starting point due to its affordability and ease of workability. It’s soft, takes paint and stain well, and is readily available. If you’re seeking greater strength and a more refined finish, oak and maple are superior choices, though they come with a higher price tag and require a bit more effort to cut and shape. For outdoor projects where resistance to moisture and insects is paramount, cedar and redwood are ideal, offering natural durability against the elements.
- Pine: Cost-effective, easy to cut and sand, great for indoor furniture, shelves.
- Oak/Maple: Strong, durable, beautiful grain, ideal for high-use furniture, more challenging to work with.
- Cedar/Redwood: Naturally resistant to rot and insects, perfect for outdoor furniture, planter boxes, or decks.
- Plywood: Stable, strong, and available in various grades. Good for cabinet backs, drawer bottoms, or larger flat surfaces when veneered.
Metals and Plastics: Durability and Lightweight Solutions
For projects demanding exceptional strength and longevity, metal is an unbeatable option. Steel, for instance, is incredibly tough but prone to rust if not properly treated. Aluminum, while not as strong as steel, offers excellent corrosion resistance and is considerably lighter, making it suitable for applications where weight is a concern. Plastics provide a lightweight, rot-proof, and often more economical alternative to wood or metal, particularly for outdoor items, storage solutions, or components that need to withstand moisture without degrading.
- Steel: Extremely strong, good for structural elements, but requires rust protection for outdoor use.
- Aluminum: Lightweight, rust-proof, suitable for modern designs or light-duty frames.
- Plastic (PVC, Acrylic): Inexpensive, waterproof, versatile for various applications, especially outdoor or moisture-prone areas.
Beyond the Main Materials: Fasteners, Adhesives, and Finishes
Don’t overlook the importance of complementary materials. Choosing the right screws, nails, and adhesives is critical for the structural integrity of your project. Always match fasteners to the material (e.g., galvanized for outdoor use, brass for decorative indoor accents). Wood glue is indispensable for strong wood joints. Finally, the finish – paint, stain, varnish, or sealer – not only protects your project but also defines its final look. Always purchase a bit extra of each material to account for mistakes or future repairs. Before you begin, confirm you have all the necessary tools; some materials, like metal, require specialized equipment for cutting or joining.
Step-by-Step Guide to Completing DIY Projects
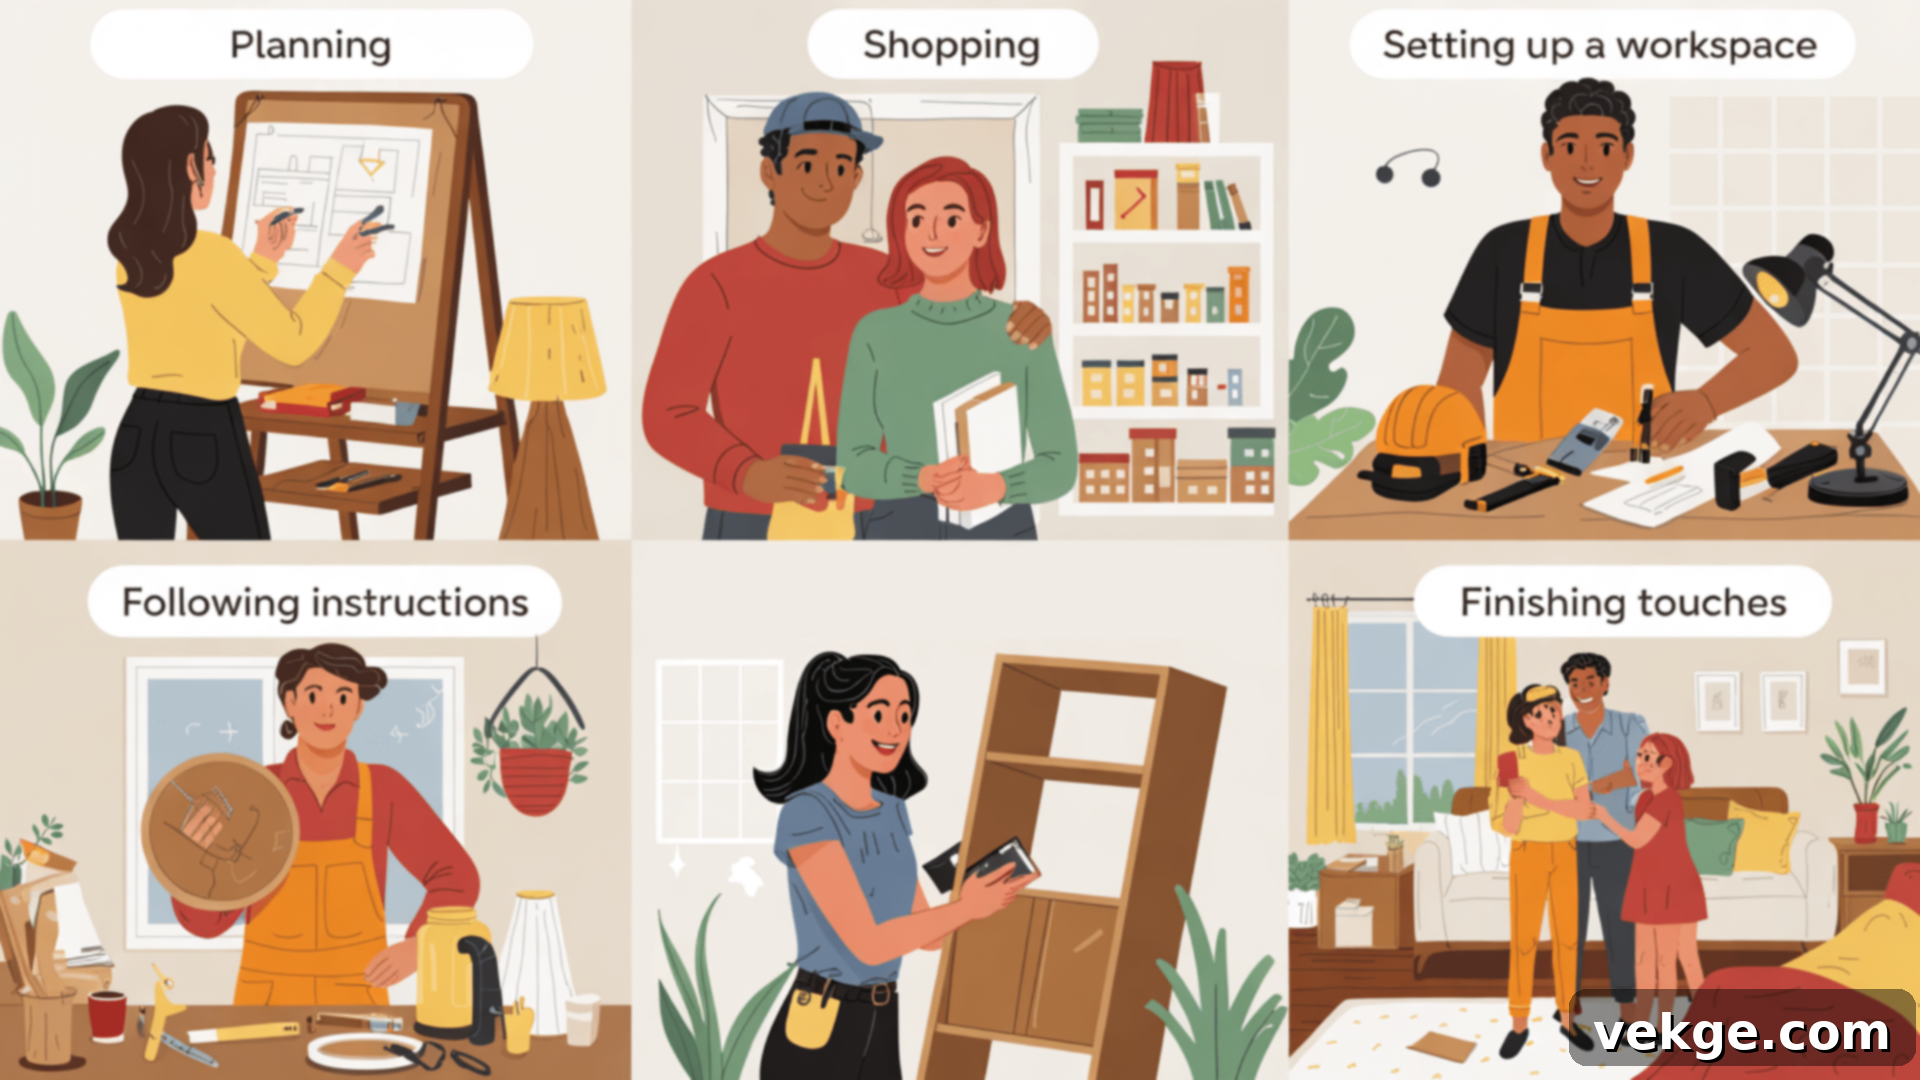
The journey of any DIY project, no matter how ambitious, becomes manageable when broken down into a series of clear, sequential steps. This structured approach helps prevent overwhelm, minimizes errors, and ensures a smooth, satisfying experience from start to finish.
1. Plan Your Project Thoroughly
Effective planning is the cornerstone of a successful DIY project. Begin by clearly defining your objective: what exactly do you want to create? Sketch out your design, including precise measurements, to visualize the end result and identify any potential challenges. Research similar projects online or in magazines for inspiration and practical tips. Create a comprehensive list of every material and tool you’ll need, right down to the smallest screw. Evaluate your current skill set; are there new techniques you need to learn before you start? Establish a realistic budget and commit to sticking to it. Finally, allot more time than you initially anticipate – unexpected delays are common in DIY. Meticulous planning drastically reduces mistakes and ensures the entire project progresses smoothly.
2. Gather Your Materials and Tools
With a detailed shopping list in hand, head to your local hardware store or preferred supplier. Compare prices across different retailers to maximize savings. As a rule of thumb, always purchase a little extra material to compensate for any cutting errors or for future touch-ups. When buying wood, carefully inspect each piece for straightness, cracks, knots, or warps. For paint, it’s wise to buy small samples to test colors on your wall before committing to a larger can. Don’t hesitate to ask store staff for advice if you’re unsure about specific materials or tools. Most importantly, remember essential safety gear: gloves, safety glasses, and masks should always be on your list. Bring your measurements to ensure all pieces will fit perfectly in your designated space.
3. Set Up Your Work Area Safely and Efficiently
A well-organized and safe work area is crucial for productivity and preventing accidents. Clear a space that provides ample room for your project, allowing you to move freely and safely. Protect your floors and surrounding areas with drop cloths or old sheets. Ensure your work zone is brightly lit so you can clearly see what you’re doing, minimizing errors. Set up a stable and sturdy work surface, such as a workbench or a robust table. Keep your tools within easy reach but arranged so they don’t obstruct your movements. Plan for dust and debris removal before you even begin, and ensure adequate ventilation, especially when working with paints, stains, or adhesives that emit fumes. Always keep children and pets away from the work zone for their safety.
4. Follow Instructions Carefully and Patiently
Before making your first cut or applying your first coat of paint, read all instructions thoroughly. If any step or term is unclear, look it up or ask for clarification. Patience is a virtue in DIY; avoid rushing through any stage. Tackle one step at a time, ensuring it’s completed correctly before moving on to the next. The old adage “measure twice, cut once” is invaluable here – it prevents waste and frustration. Always test new techniques, paints, or glues on scrap material first to predict the outcome. Take short breaks when you feel fatigued to maintain focus. For projects with many small components, label containers to keep parts organized. If you encounter a roadblock, don’t despair; online tutorials or experienced friends can often provide solutions.
5. Finish Strong with Attention to Detail
The finishing touches can elevate a good project to a great one. Meticulously sand all rough edges for a smooth, professional feel. Prior to painting or staining, ensure all dust and debris are completely removed. Apply paints and stains in thin, even coats rather than one thick layer, allowing each coat to dry fully according to manufacturer instructions. This prevents drips, ensures even coverage, and enhances durability. Attach any final hardware like knobs, handles, or decorative elements. Test that everything functions as intended. Capture photos of your completed masterpiece to celebrate your achievement. Finally, clean all your tools and store them properly, ensuring they’re ready for your next inspiring DIY adventure. Enjoy the satisfaction of creating something special!
List of DIY Home Projects for Beginners
Home improvement doesn’t have to be a complicated or expensive undertaking. These 33 straightforward projects are specifically curated to help you revitalize your living space without requiring advanced skills or a hefty investment in specialized tools. Ideal for weekend enthusiasts and first-time DIYers alike, these projects offer quick and effective ways to update your home, learn fundamental building skills, and enjoy the immense satisfaction of creating something with your own hands.
1. DIY Floating Shelves
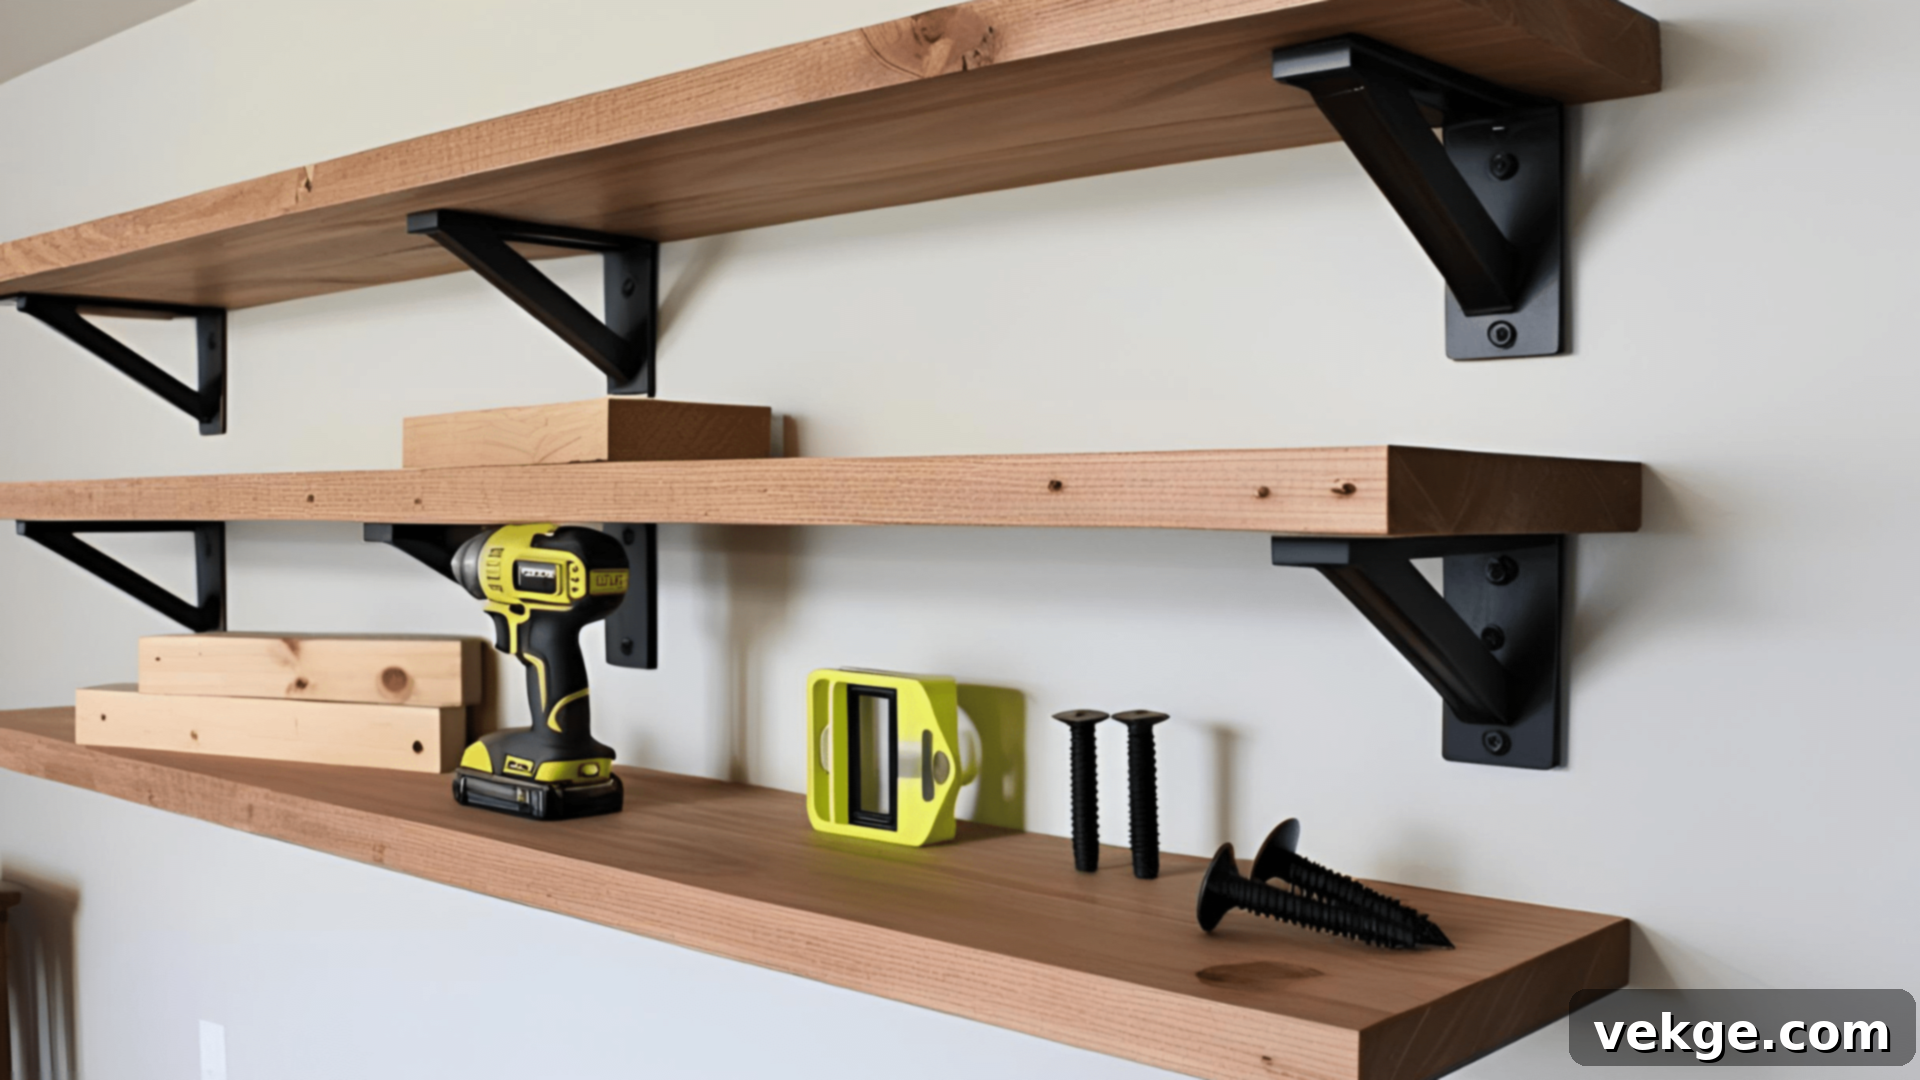
Floating shelves are a fantastic way to introduce both style and functional storage to any room, maximizing vertical space without encroaching on your floor plan. To construct them, you’ll need sturdy wood boards, hidden brackets, screws, a drill, a level, and reliable wall anchors. Begin by carefully locating and marking wall studs for secure attachment of the hidden bracket system – this is crucial for stability. Cut your chosen wood boards to the desired lengths, then sand all edges until perfectly smooth. Finish your shelves with paint or stain that beautifully complements your room’s existing decor. Once dry, simply slide the finished wood boards over the mounted brackets and secure them firmly in place. These versatile shelves are perfect for displaying spices in the kitchen, cherished photos and small plants in the living room, or providing essential extra storage for everyday items in the bathroom.
2. Build a Simple Coffee Table
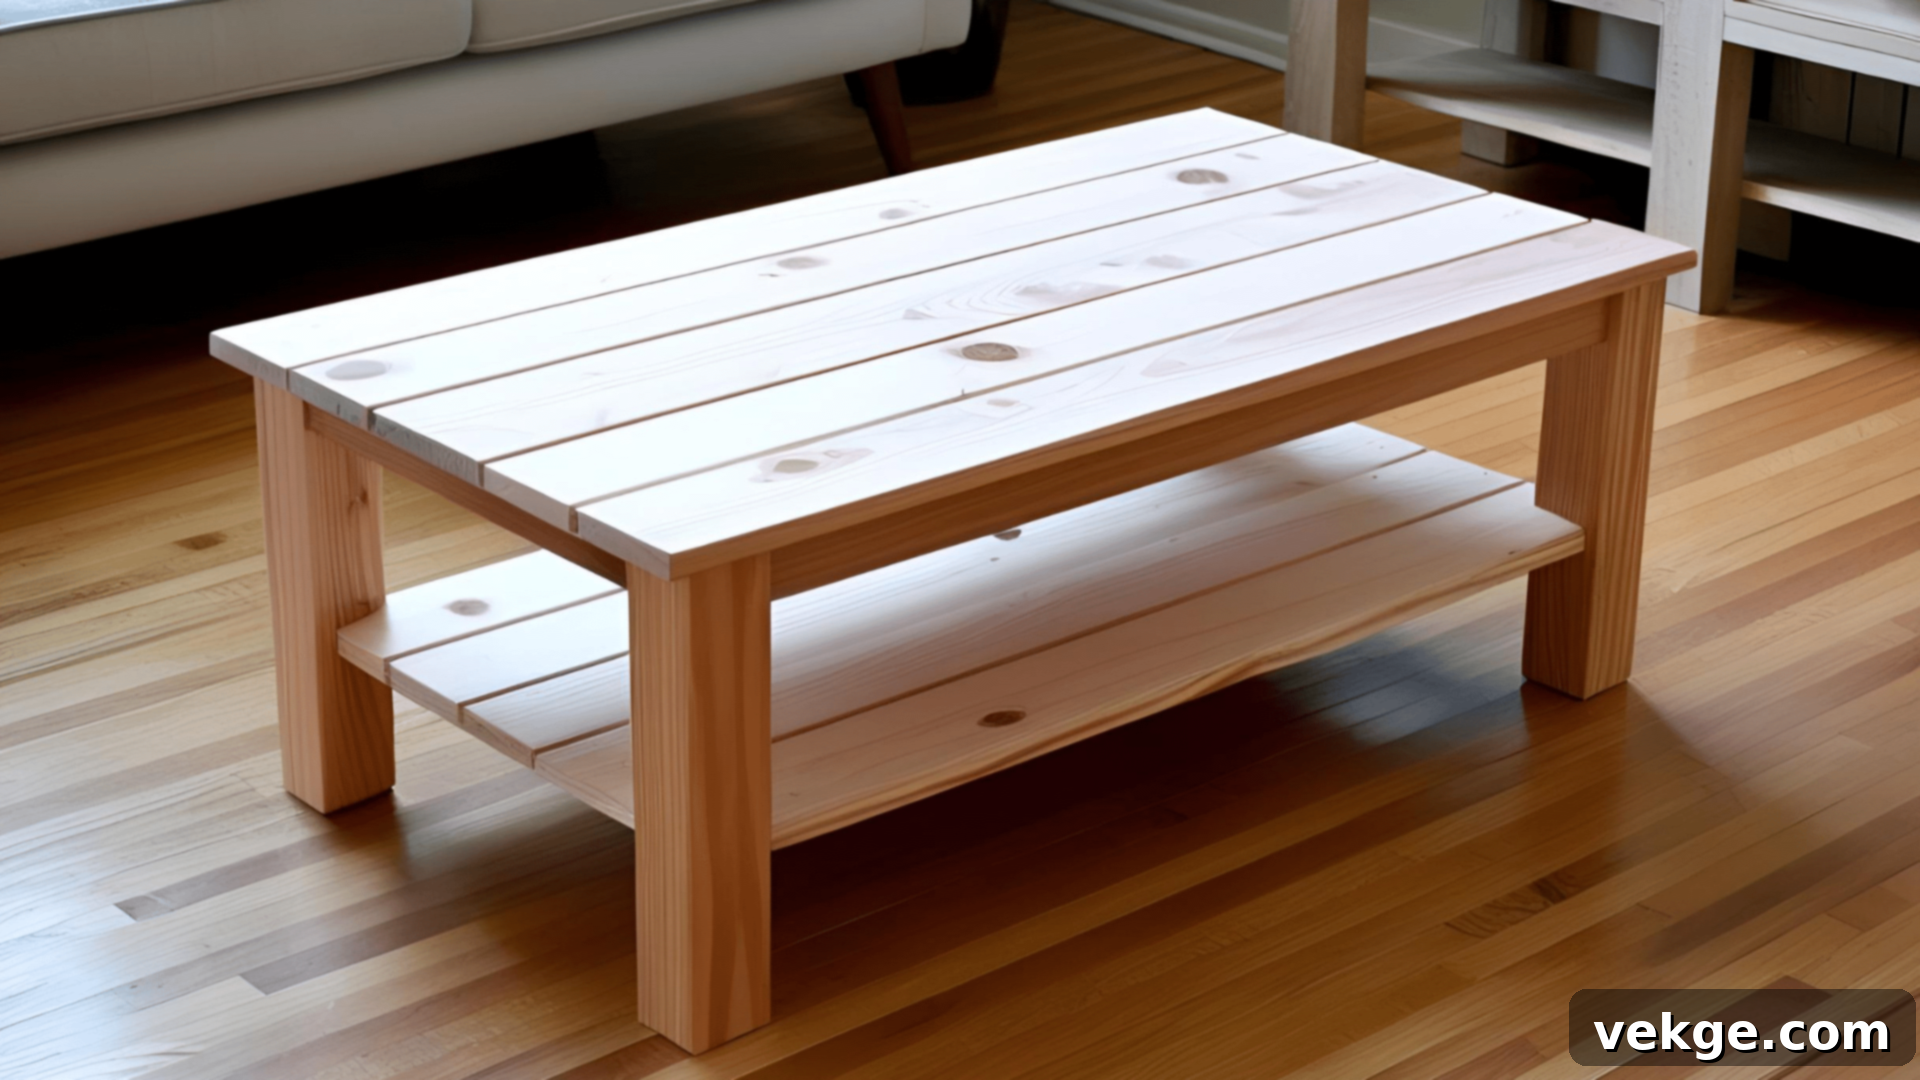
A custom-built coffee table can quickly become the elegant centerpiece of your living room, all without the steep price tag of retail furniture. Your project begins with selecting the right wood; pine offers a budget-friendly and easy-to-work-with option, while oak or maple will provide superior durability and a richer aesthetic. Essential tools include a saw, drill, sandpaper, wood glue, screws, and your chosen finishing materials. Cut all pieces according to your meticulously planned measurements, then sand every surface until it is impeccably smooth. Assemble the table using a combination of wood glue for strong joints and screws for reinforcement. For a truly professional finish, fill any visible screw holes with wood filler before applying your chosen paint or stain. Finally, add a clear topcoat to protect the surface from spills, water rings, and scratches. This new, handcrafted coffee table will serve as both a highly functional piece and a delightful conversation starter.
3. Make a Window Seat
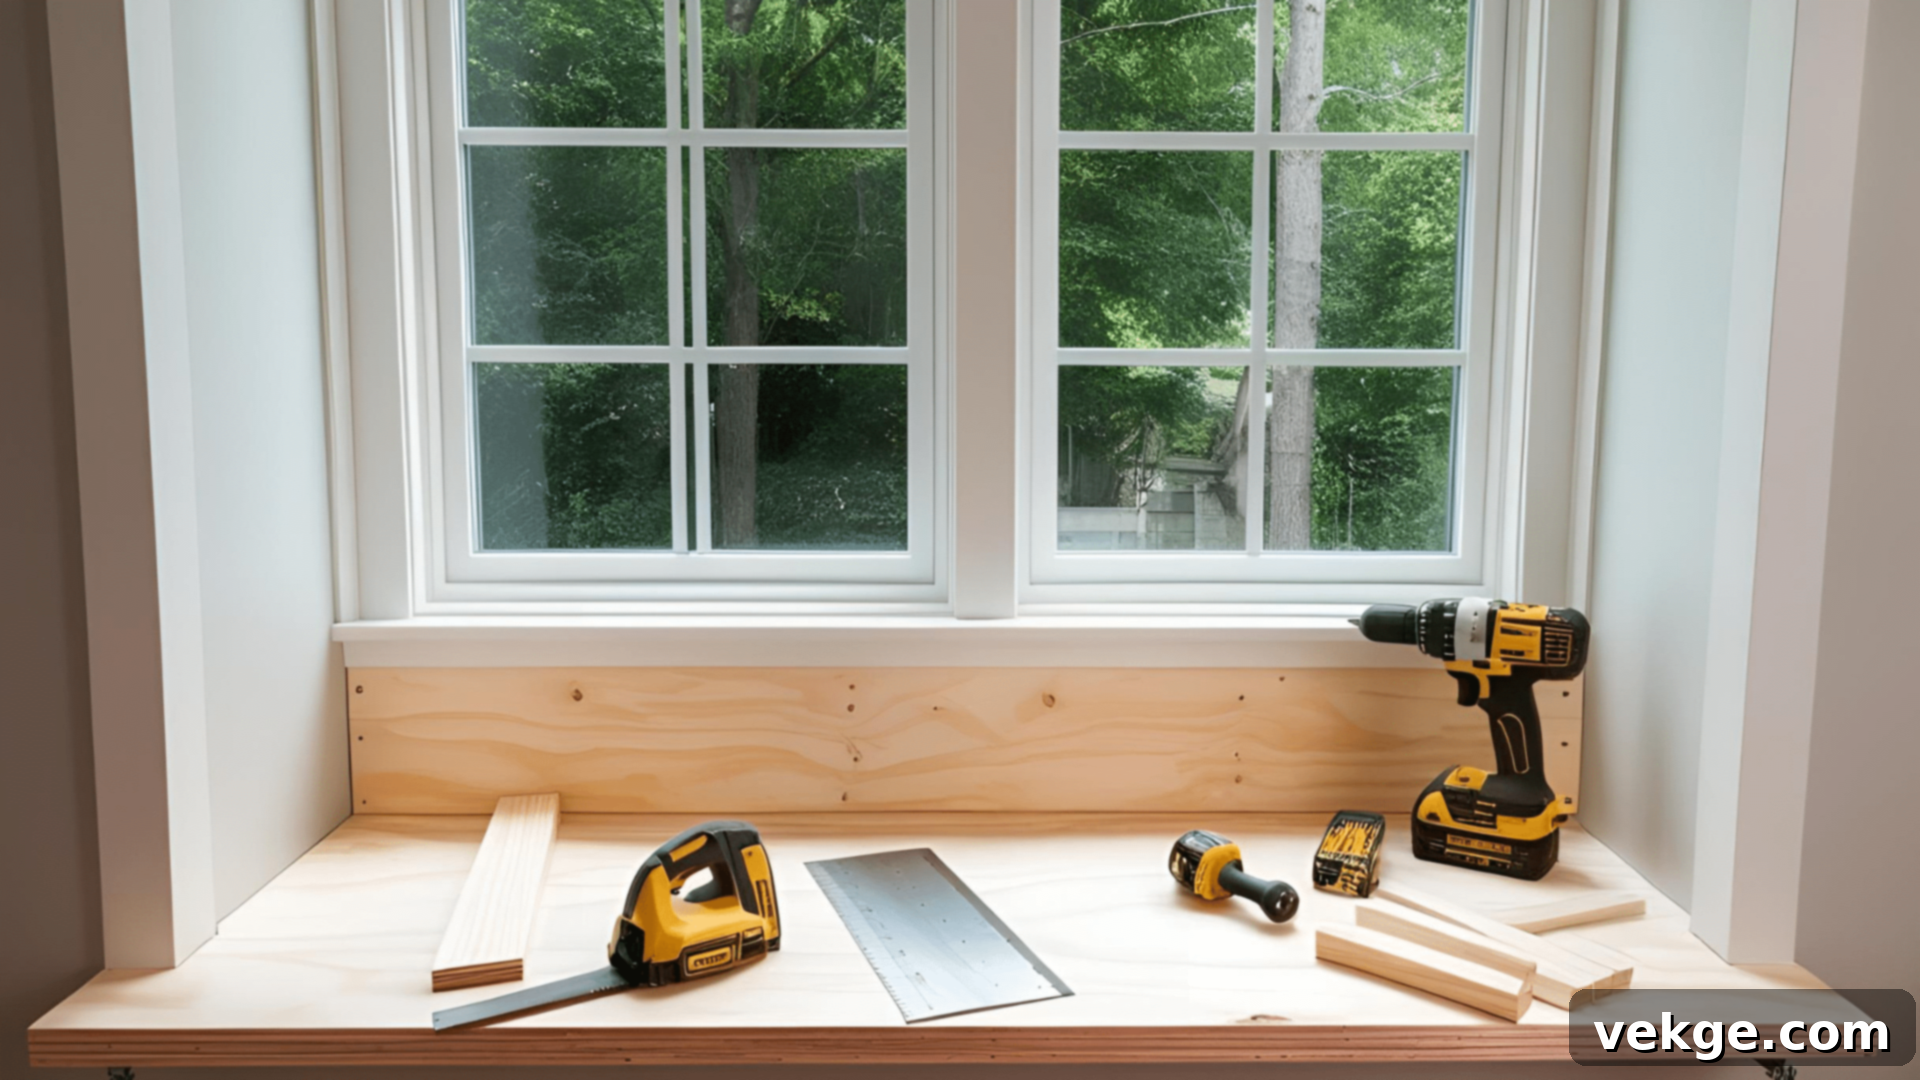
Transform an often-overlooked area into a charming and cozy haven with a DIY window seat. This project creates a perfect spot for reading, relaxing, or simply enjoying the view. Start by gathering your materials: sturdy plywood for the top and base, 2x4s for the frame, screws, a saw, a drill, and a measuring tape. Construct a basic box frame that precisely fits the dimensions of your window space, ensuring it is robust enough to comfortably support weight. Securely attach the frame to the wall studs for maximum stability. Add a plywood top, sanding all edges until smooth. For ultimate comfort, cut foam to fit the top, then cover it with your chosen fabric, using a staple gun to neatly secure it underneath. Complete the look with an array of colorful pillows that complement your room’s color scheme. This project elevates a plain window into an inviting and functional nook.
4. Create a Wooden Planter Box
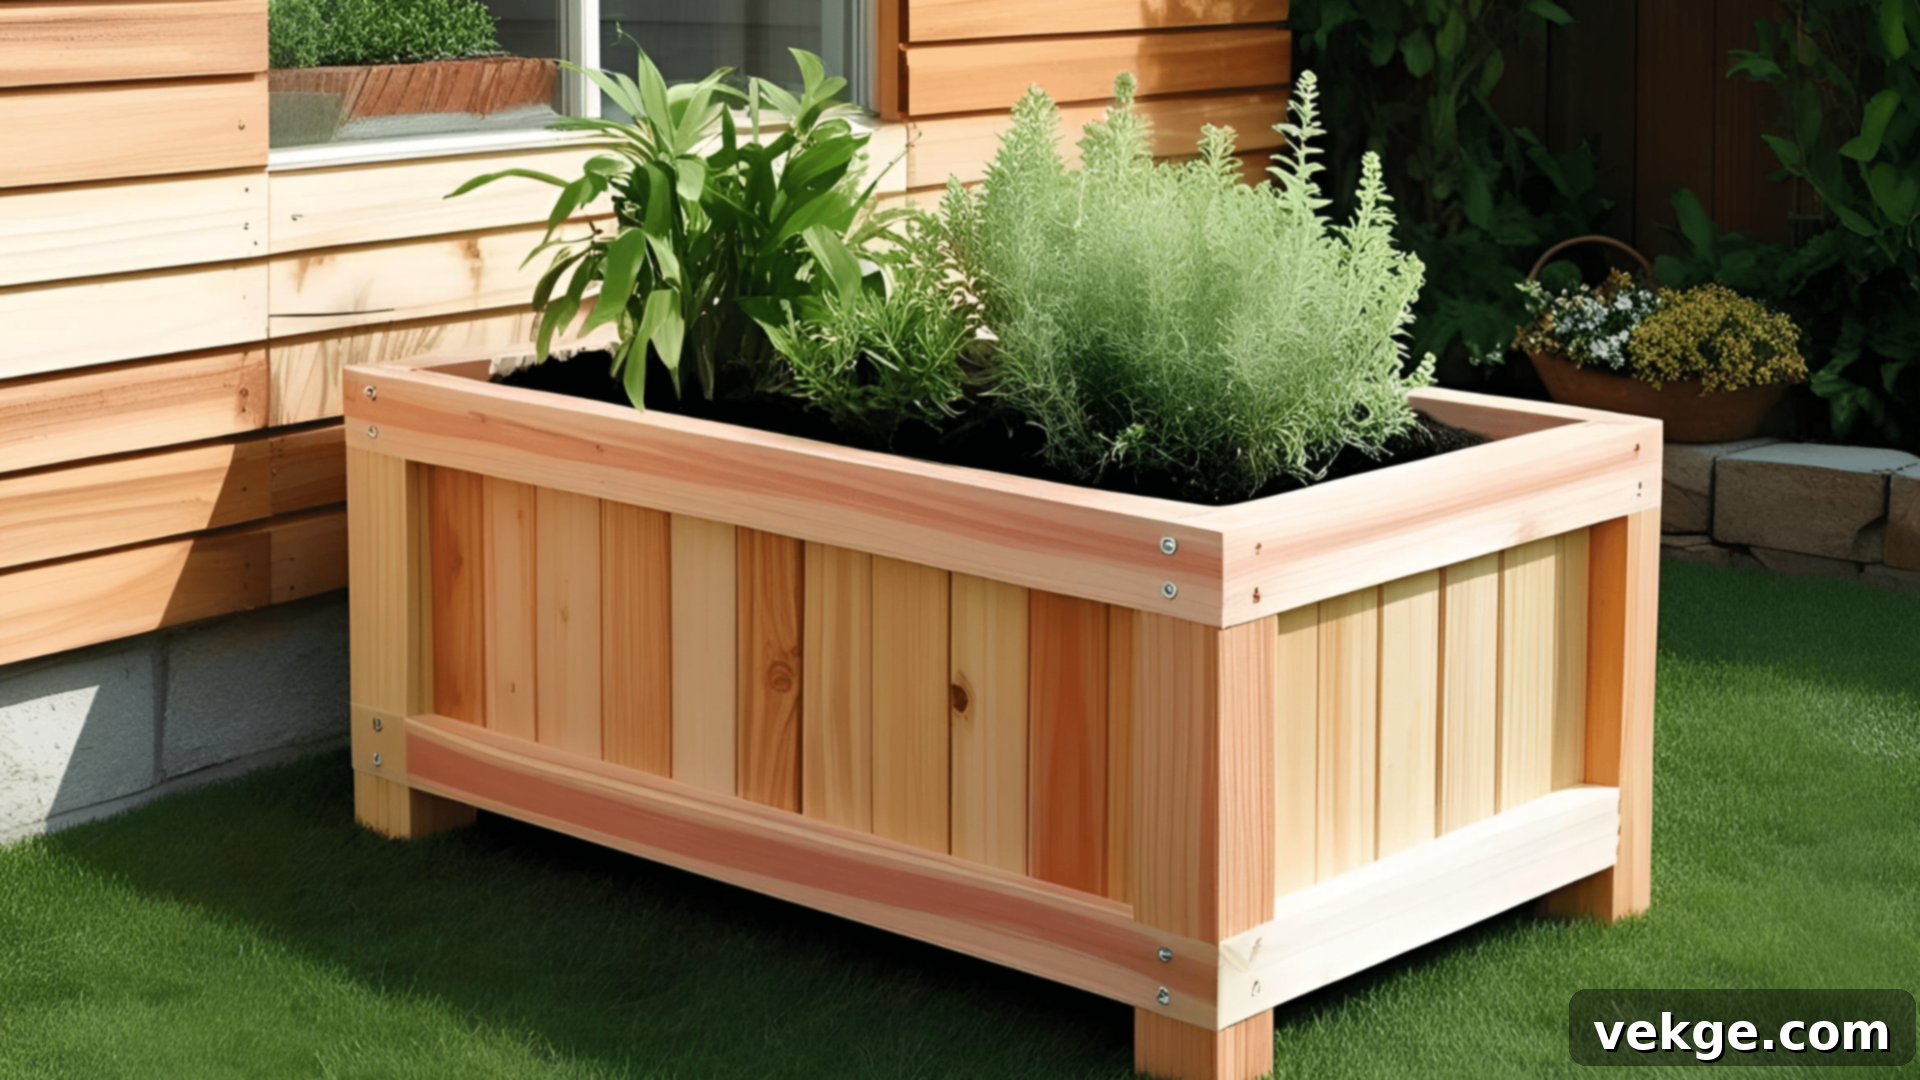
Bring the beauty of nature closer to home with a custom-built wooden planter box, perfect for herbs, flowers, or small shrubs. For optimal longevity and resistance to the elements, select rot-resistant woods like cedar, redwood, or cypress. Cut your boards to your desired dimensions, meticulously sand all edges, and assemble them using galvanized or stainless-steel screws to prevent unsightly rusting. Don’t forget to drill several small drainage holes in the bottom to ensure healthy plant growth. Consider adding a protective liner inside to further shield the wood from constant moisture. You have the option to stain or paint your planter box to harmonize with your home’s exterior or interior style, or you can embrace its natural wood grain for a more rustic, organic appeal. Place your new planter in a sunny spot for a thriving herb garden, a vibrant flower display, or on a patio for a charming mini-garden oasis.
5. Install Wall-Mounted Shelves
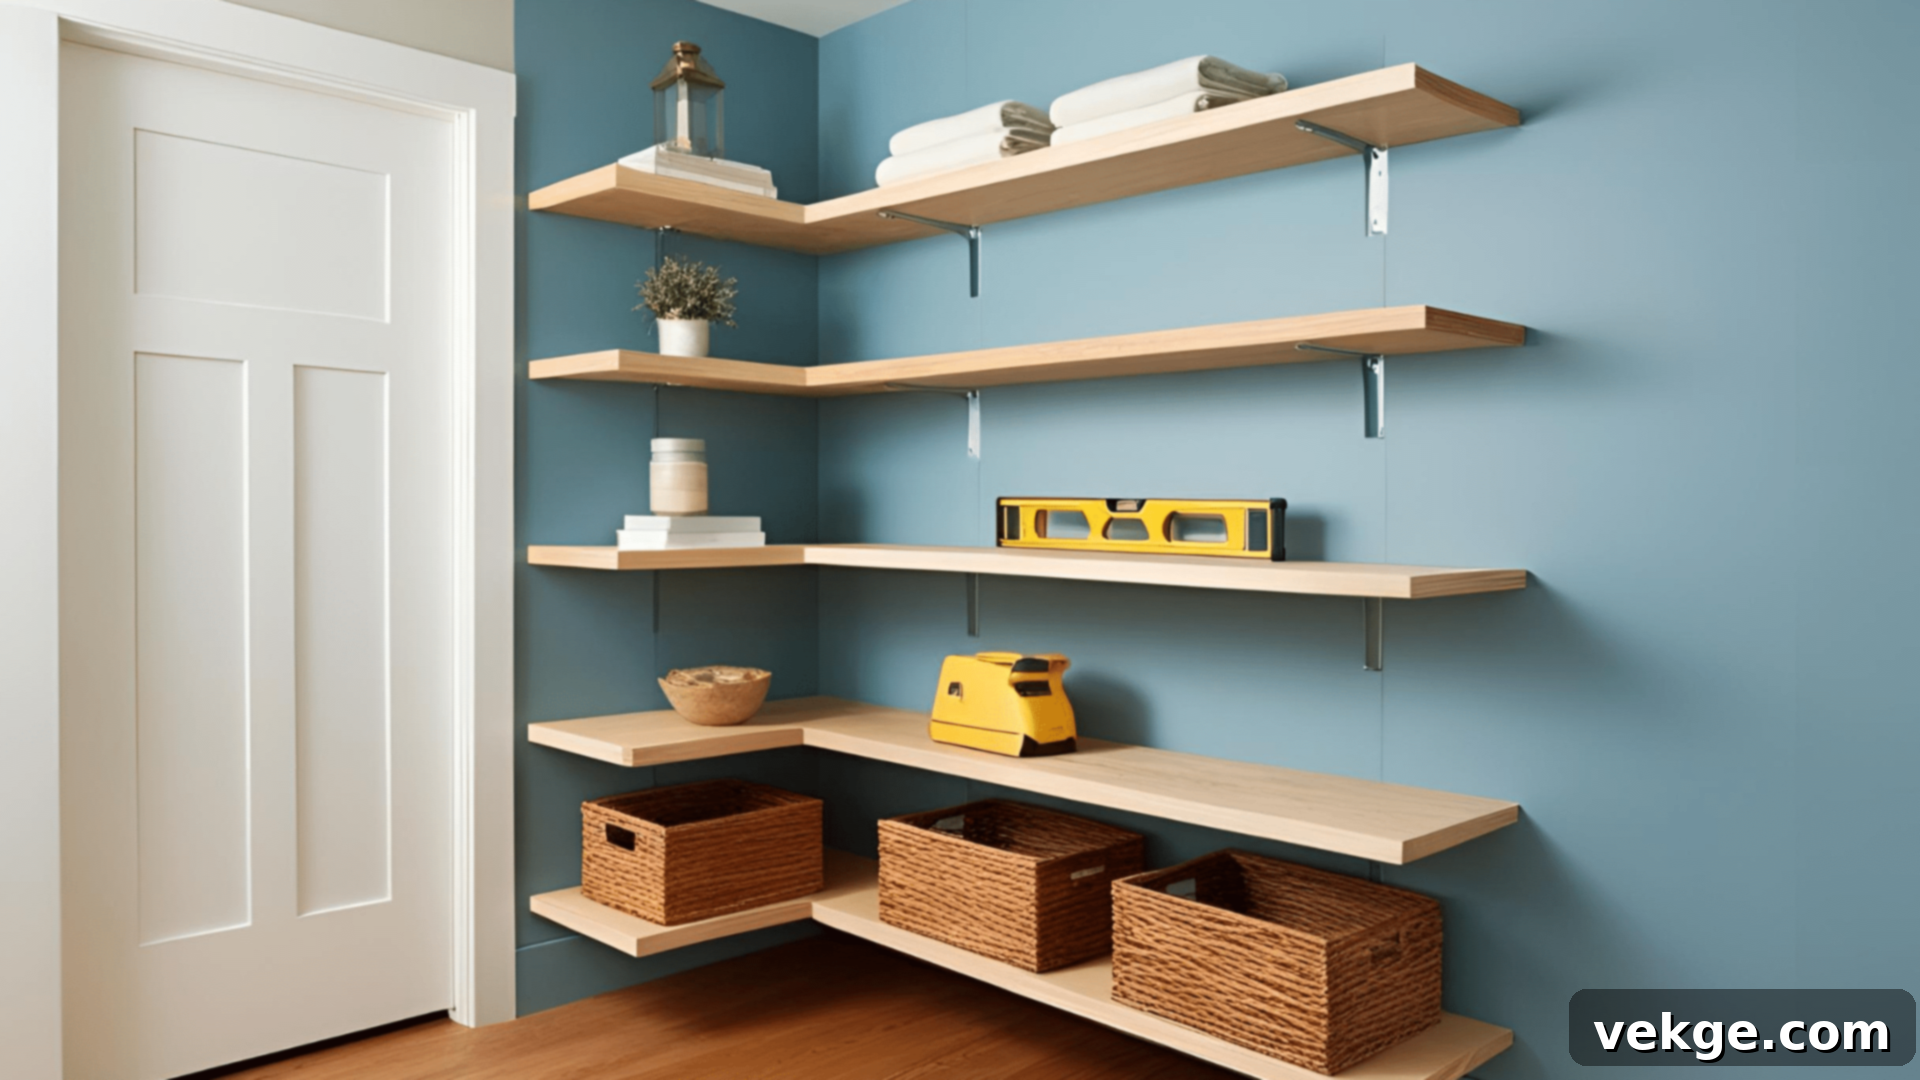
Wall-mounted shelves provide versatile and practical storage without occupying any valuable floor space, making them ideal for smaller rooms or for decluttering. Begin by sketching out your desired layout on paper, carefully considering both the functional needs and the aesthetic impact. Use a pencil to mark the precise positions for your shelves on the wall, employing a level to guarantee perfectly straight lines. Essential tools for this project include a stud finder, a drill, screws, appropriate wall anchors, a level, and your chosen shelves and brackets. Whenever possible, secure your shelf brackets directly into wall studs for maximum support. If studs aren’t available, utilize robust wall anchors designed for drywall. Once the brackets are firmly attached, place your shelves and secure them according to the specific type of bracket you’re using. These shelves are perfect for organizing books, displaying cherished small plants, or showcasing decorative items throughout your home.
6. Build a Custom Bookshelf
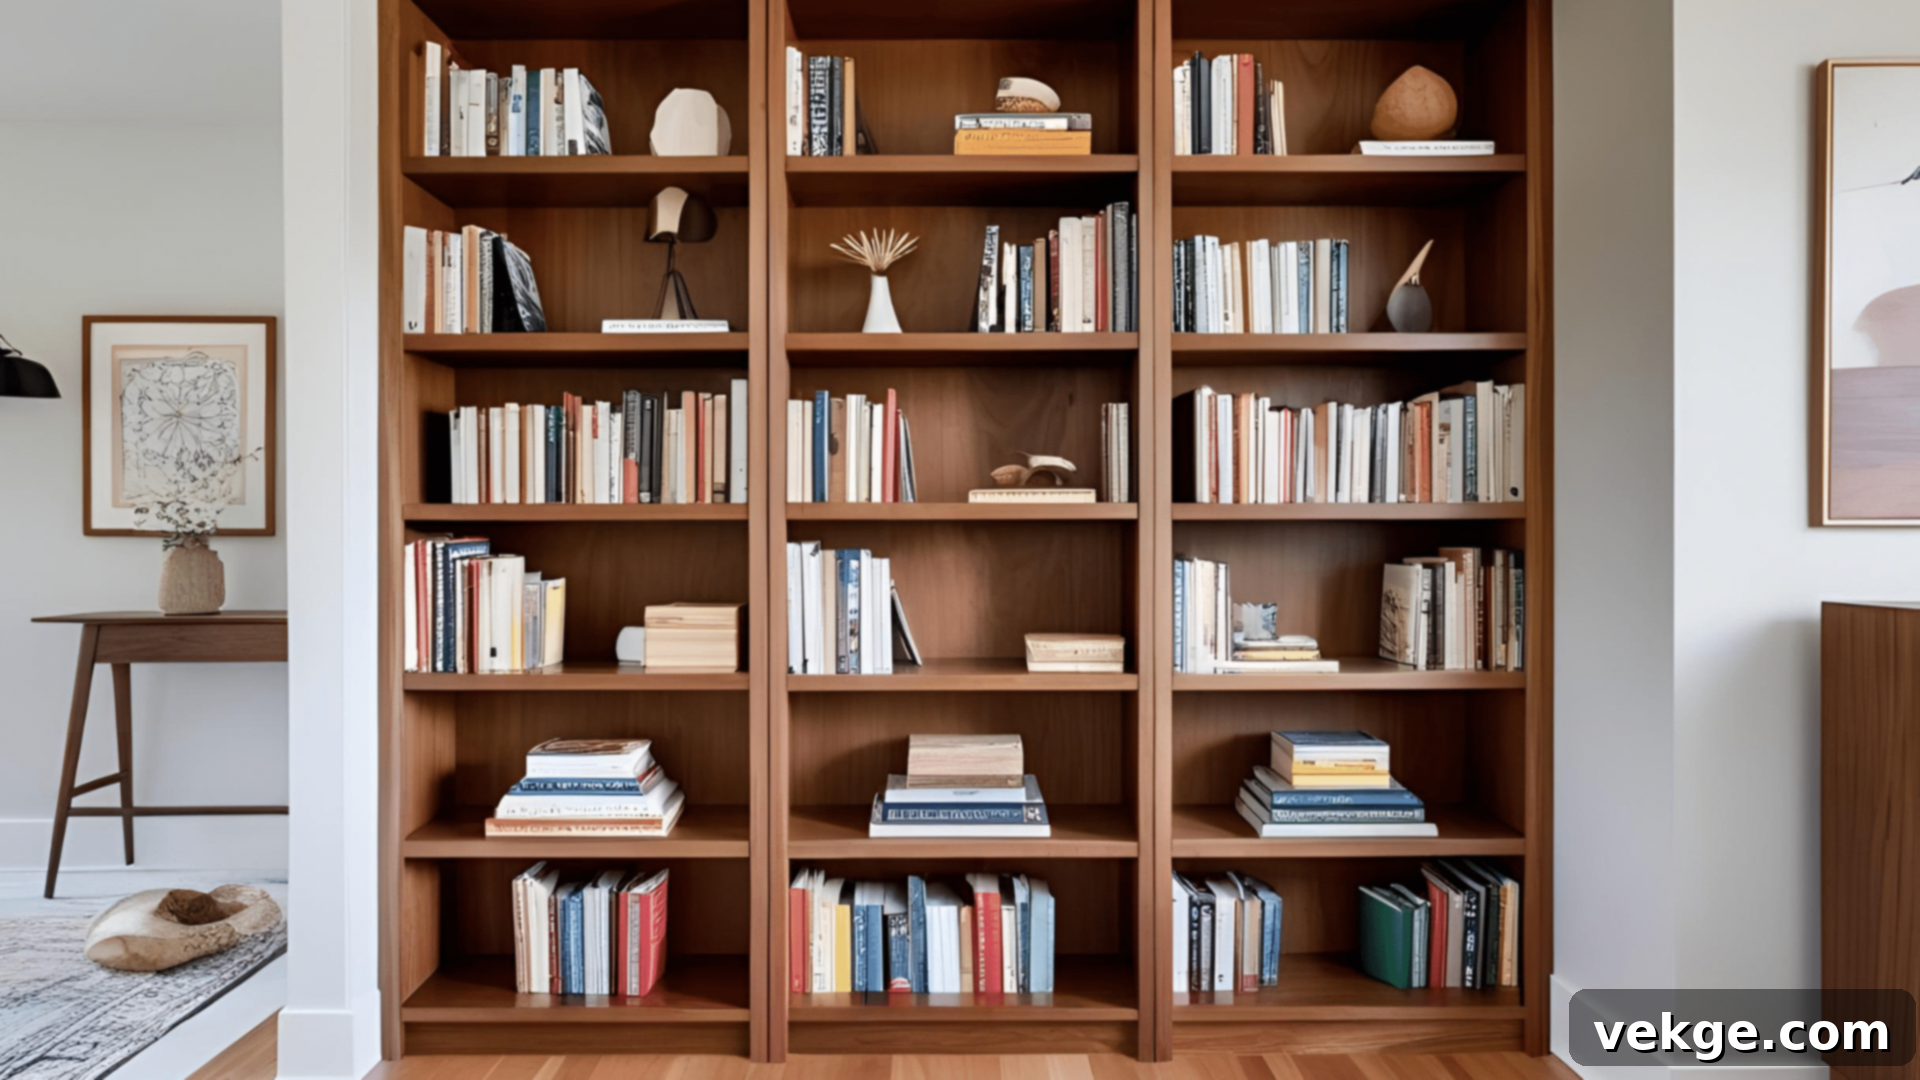
A custom bookshelf is an excellent project for tailoring storage precisely to your needs and expressing your personal style. Begin by selecting materials that can adequately support the weight of what you intend to store: plywood is suitable for lighter items, while solid wood is indispensable for heavy book collections. Measure your available space meticulously, accounting for baseboards and ensuring sufficient ceiling clearance. Cut your boards to the precise dimensions, thoroughly sand all edges, and then assemble the structure using wood screws and glue for robust stability. For added rigidity and to prevent bowing, consider adding a backing board. Finish your bookshelf with paint or stain that beautifully complements your room’s existing color scheme, followed by a clear sealant for protection. Adjusting the height of your shelves to accommodate specific items will maximize the bookshelf’s functionality and visual appeal.
7. Make a Wooden Coat Rack
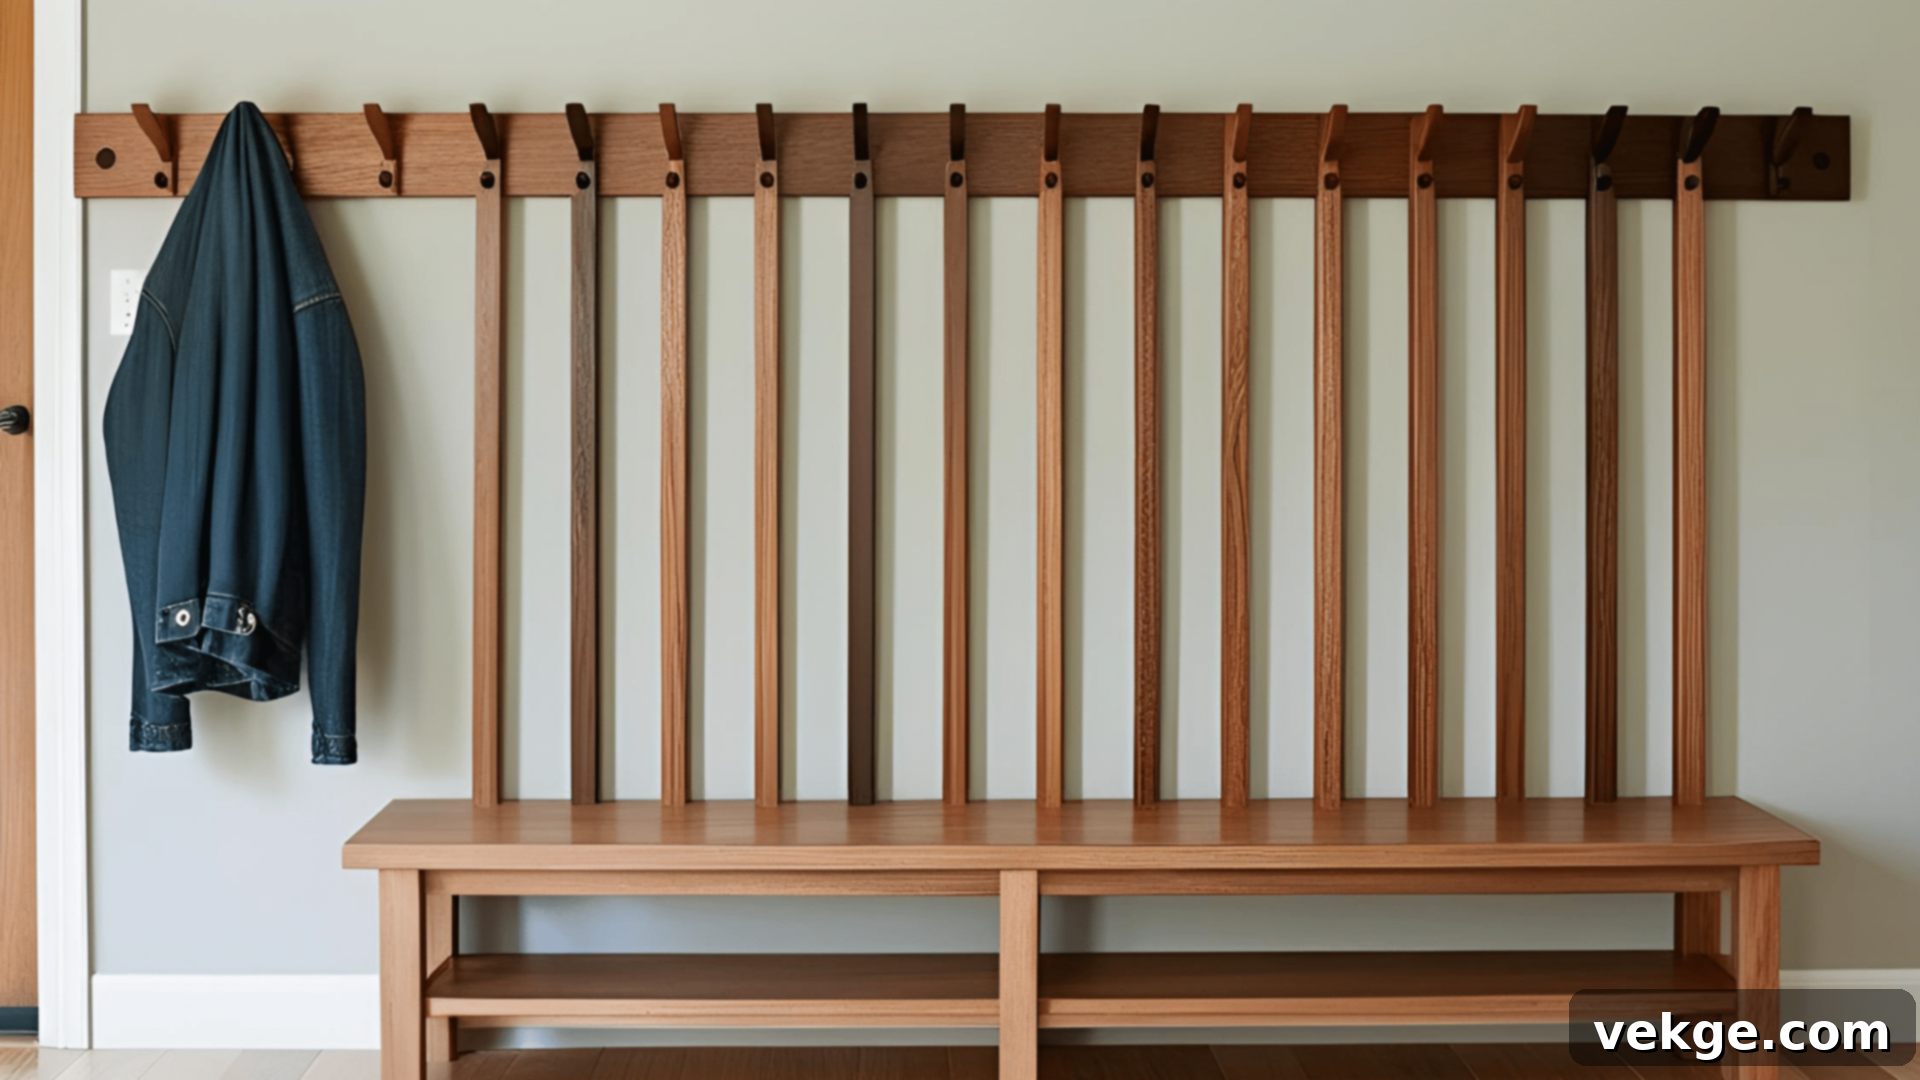
A handmade wooden coat rack offers both essential functionality and a touch of rustic charm for your entryway or mudroom. Choose a durable hardwood board, such as oak or maple, typically 3-4 feet long, to ensure it can withstand daily use. Sand all edges until they are perfectly smooth, then apply your chosen finish – be it paint, stain, or a natural wood sealer. Carefully mark even spacing for your coat hooks, then pre-drill pilot holes to prevent the wood from splitting when you insert the screws. Attach your chosen decorative hooks securely. Mount the entire rack to your wall by locating and screwing into studs for maximum stability, or use appropriate heavy-duty wall anchors. Position it at a comfortable height for easy access. For a truly unique touch, consider adding family initials, a welcoming message, or decorative elements that harmonize with your home’s overall style.
8. DIY Headboard for Your Bed
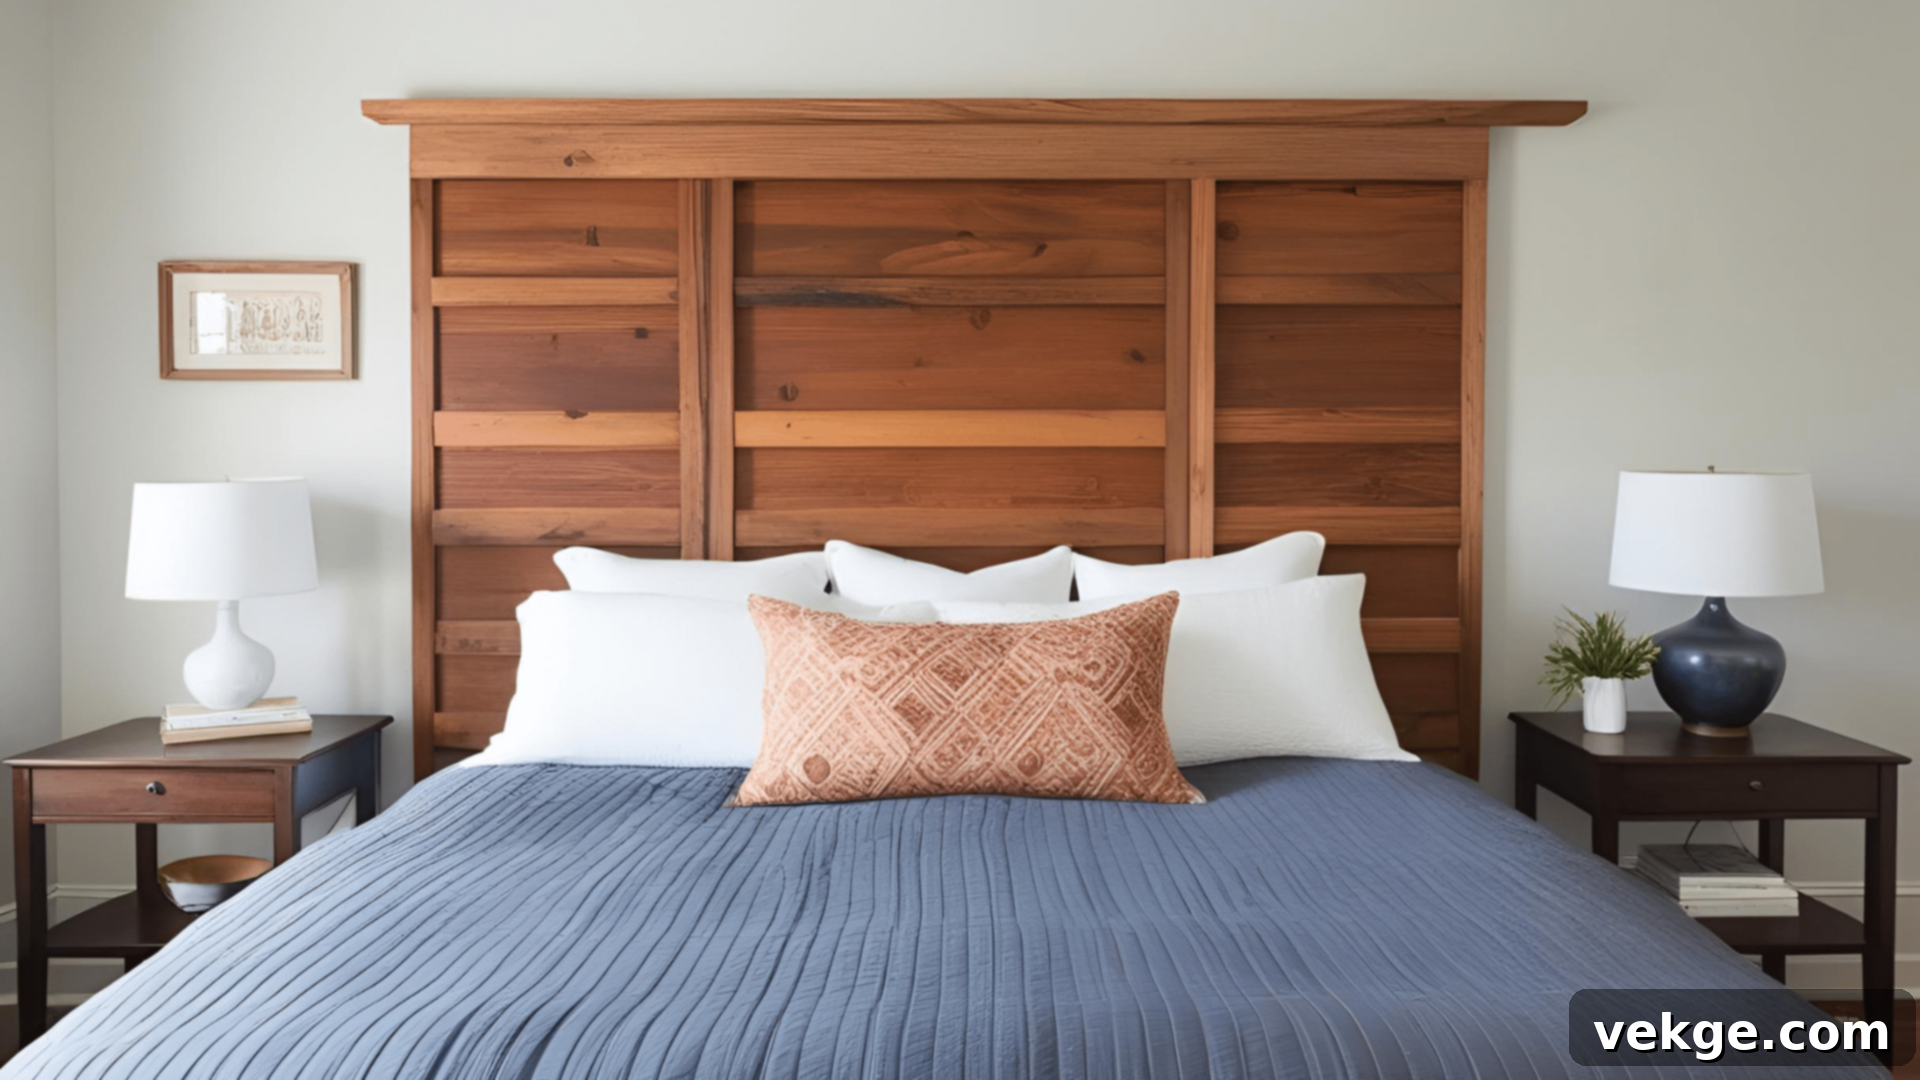
Crafting your own headboard allows for unparalleled customization, giving your bedroom the exact look and feel you envision. Explore various material options, such as sturdy wood panels, versatile plywood, or even creatively repurposed items like an old door or window frame. Measure the width of your bed precisely and determine a height that complements your room’s proportions. Cut your chosen materials to size, sand all edges smooth, and then assemble them into your desired shape. For a soft, luxurious upholstered look, add foam padding and cover it with your favorite fabric. Alternatively, for a more natural or rustic style, finish the wood with paint or stain. Mount the headboard securely to the wall or directly to your bed frame. Add personalizing details like decorative nails, tufted buttons, or elegant wood trim to make it truly a reflection of your unique taste.
9. Paint Your Front Door
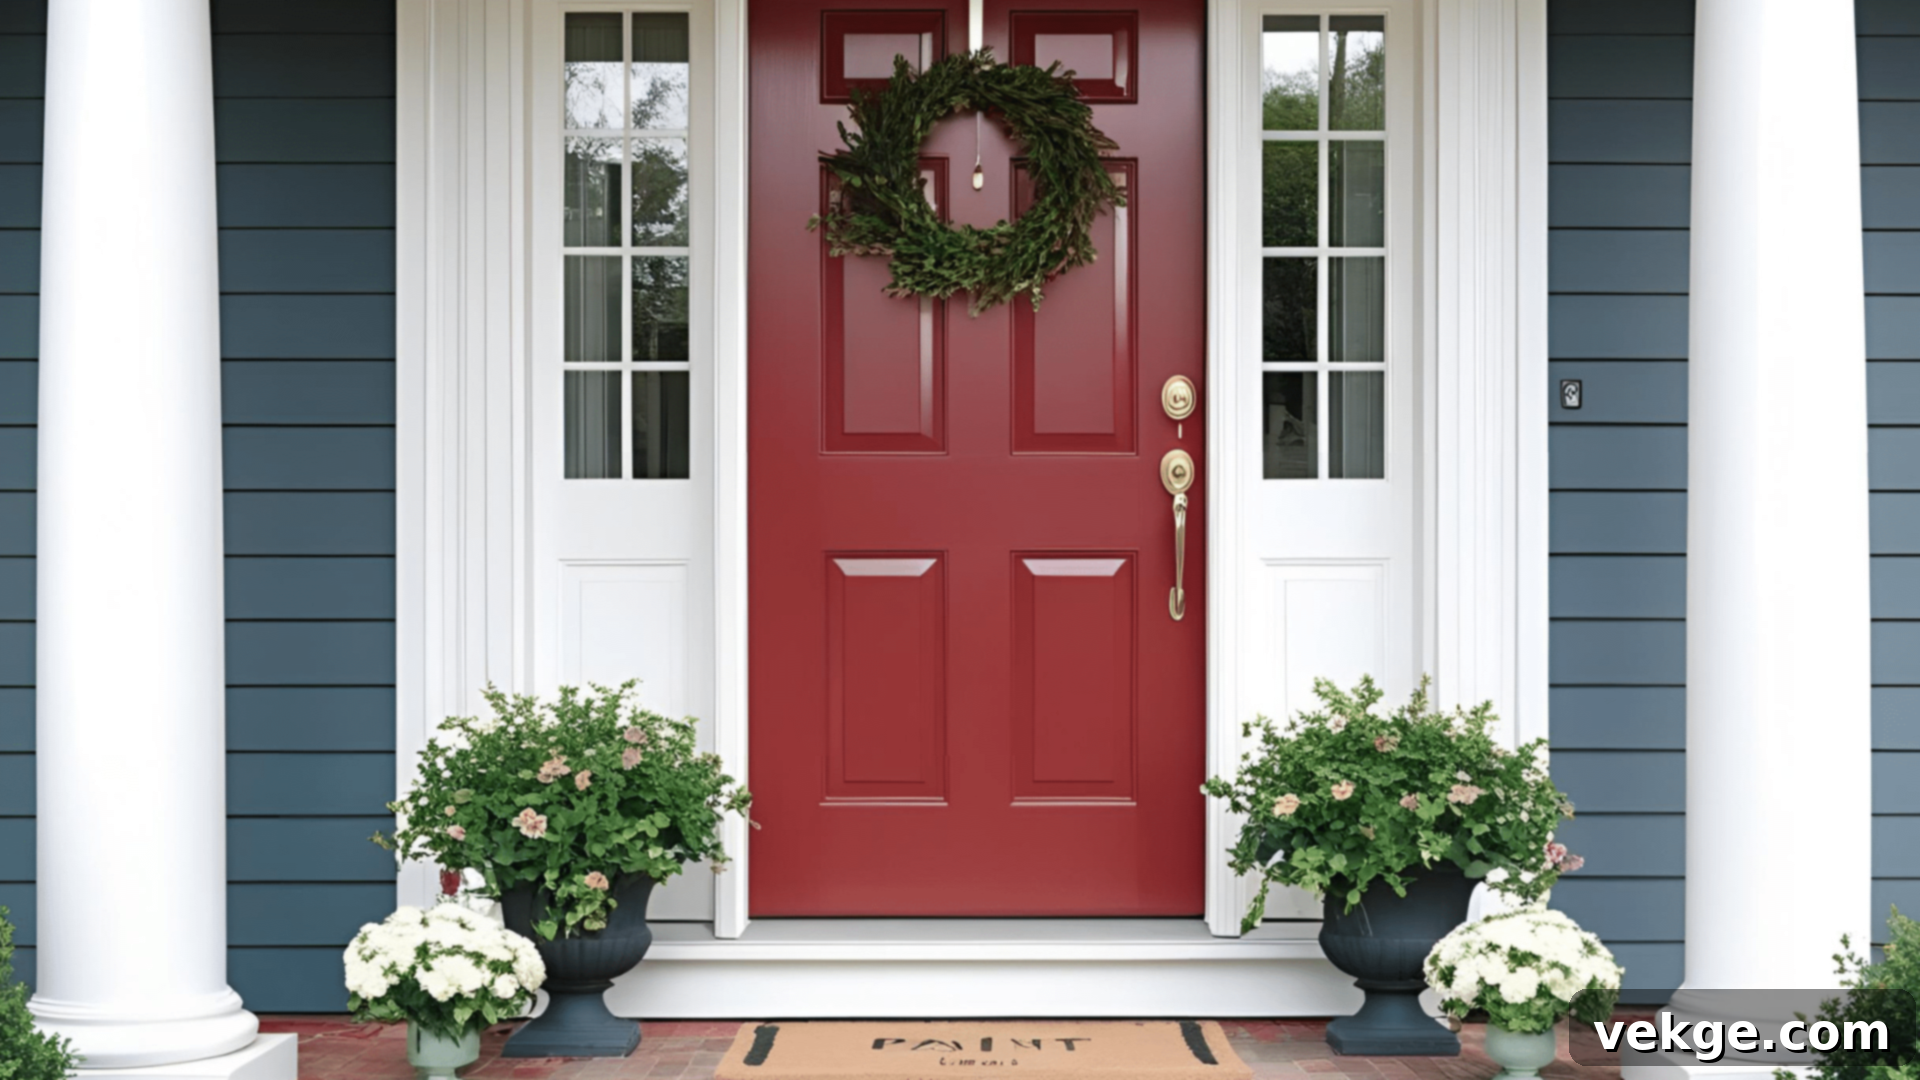
A fresh coat of paint on your front door is one of the most impactful and budget-friendly ways to instantly boost your home’s curb appeal. Begin by selecting an exterior-grade paint specifically formulated for doors, choosing a color that beautifully complements your home’s exterior palette. Carefully remove all hardware, including the doorknob, knocker, and any decorative elements. Thoroughly clean the door’s surface to remove dirt, grime, and cobwebs. Lightly sand any rough spots or peeling paint, and apply a high-quality primer if you’re making a dramatic color change or painting over a dark shade. Apply the paint in thin, even coats, working with the wood grain for a smooth finish, and allow ample drying time between each coat. Consider taking this opportunity to update your door hardware for a complete refresh, perhaps with new knobs, a stylish knocker, or modern house numbers. This simple weekend project creates a welcoming entrance that powerfully reflects your personal style and makes an unforgettable first impression.
10. Build a Simple Desk
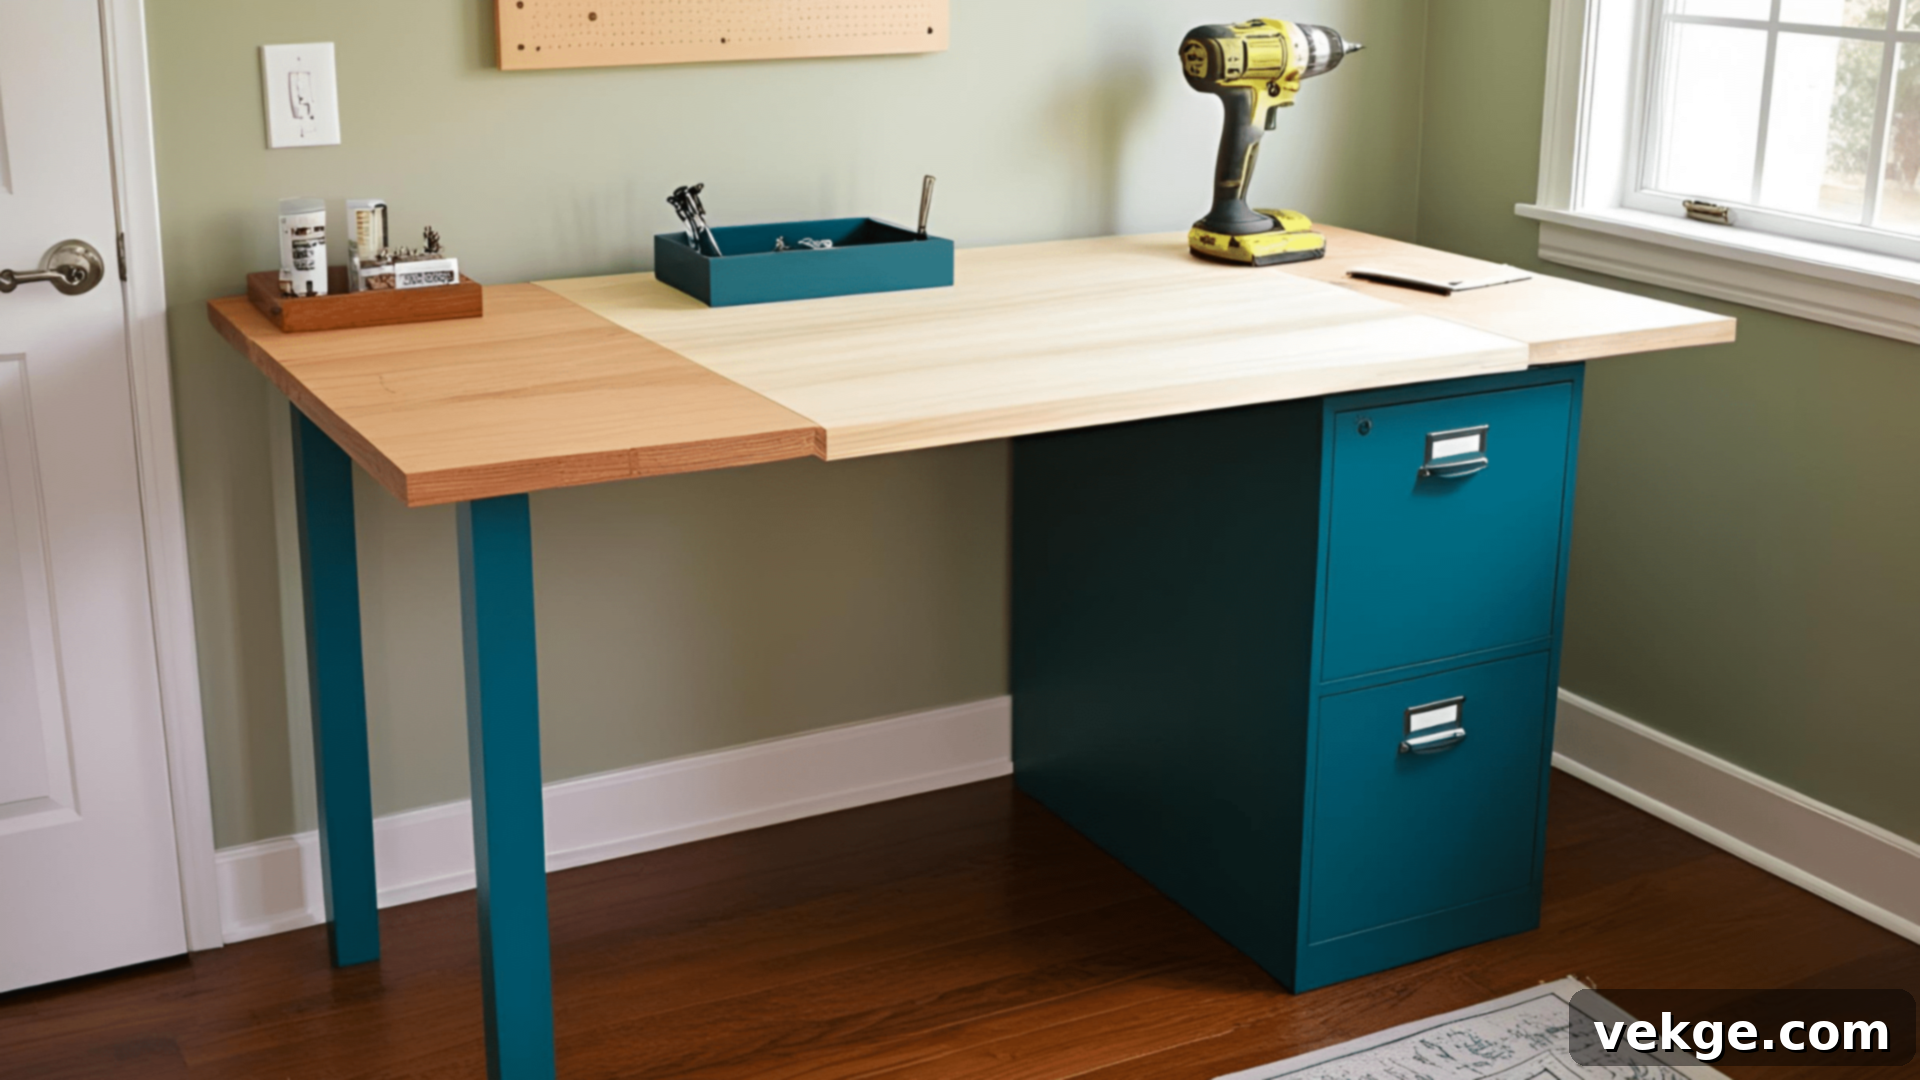
A custom-built desk offers the perfect workspace, meticulously tailored to your specific needs and the dimensions of your room. For a straightforward design, you’ll typically need a large, sturdy wood panel for the desktop, along with four legs or two filing cabinets to serve as sturdy supports. Gather screws, a drill, and your chosen finishing materials. Begin by cutting the desktop to your ideal size, then sand all edges until they are perfectly smooth. Apply your preferred paint or stain to achieve the desired aesthetic. Attach the legs securely, or simply place the desktop atop filing cabinets for instant stability and built-in storage. Enhance its functionality by adding a pull-out keyboard tray or a few small, integrated drawers. Complete your personalized workspace with thoughtful additions like proper lighting and essential organizing tools, such as pencil holders and file sorters. This practical project creates a dedicated, efficient, and inspiring spot for work, study, or creative hobbies.
11. Install a Chalkboard Wall
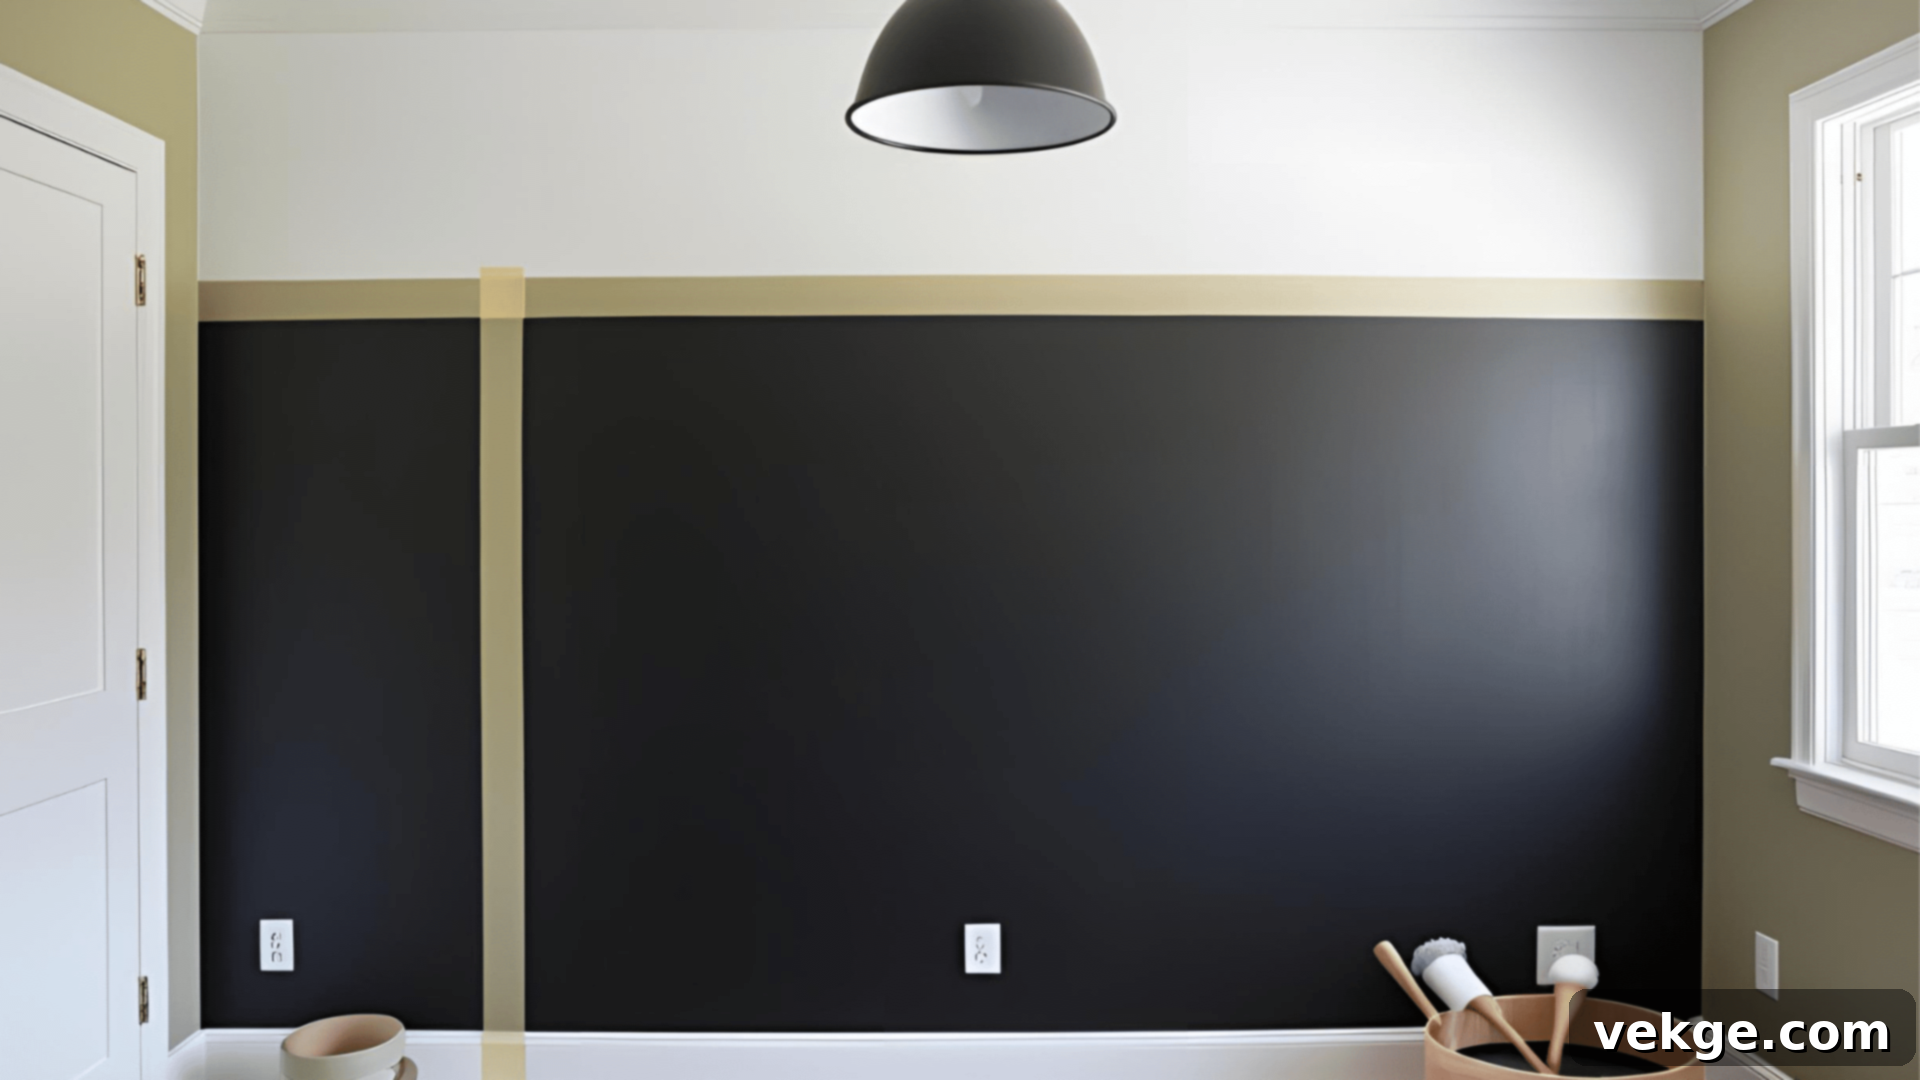
A chalkboard wall is a wonderfully fun and functional addition to kitchens, playrooms, home offices, or even entryways. To create this dynamic feature, you’ll need chalkboard paint, painter’s tape for crisp edges, a paint roller, a paint tray, and chalk for conditioning the surface. Start by thoroughly cleaning and lightly sanding your chosen wall surface to ensure optimal paint adhesion. Apply painter’s tape around the perimeter of your designated chalkboard area to achieve perfectly clean, straight lines. Apply 2-3 thin, even coats of chalkboard paint, allowing adequate drying time between each application as specified by the manufacturer. Once the final coat is completely dry (typically 24 hours), condition the surface by rubbing the side of a piece of chalk over the entire painted area, then wipe it clean with a soft cloth. Your new chalkboard wall is perfect for grocery lists, children’s spontaneous artwork, family messages, or weekly meal planning – a truly practical and endlessly creative element for any home.
12. Create a Custom Rug
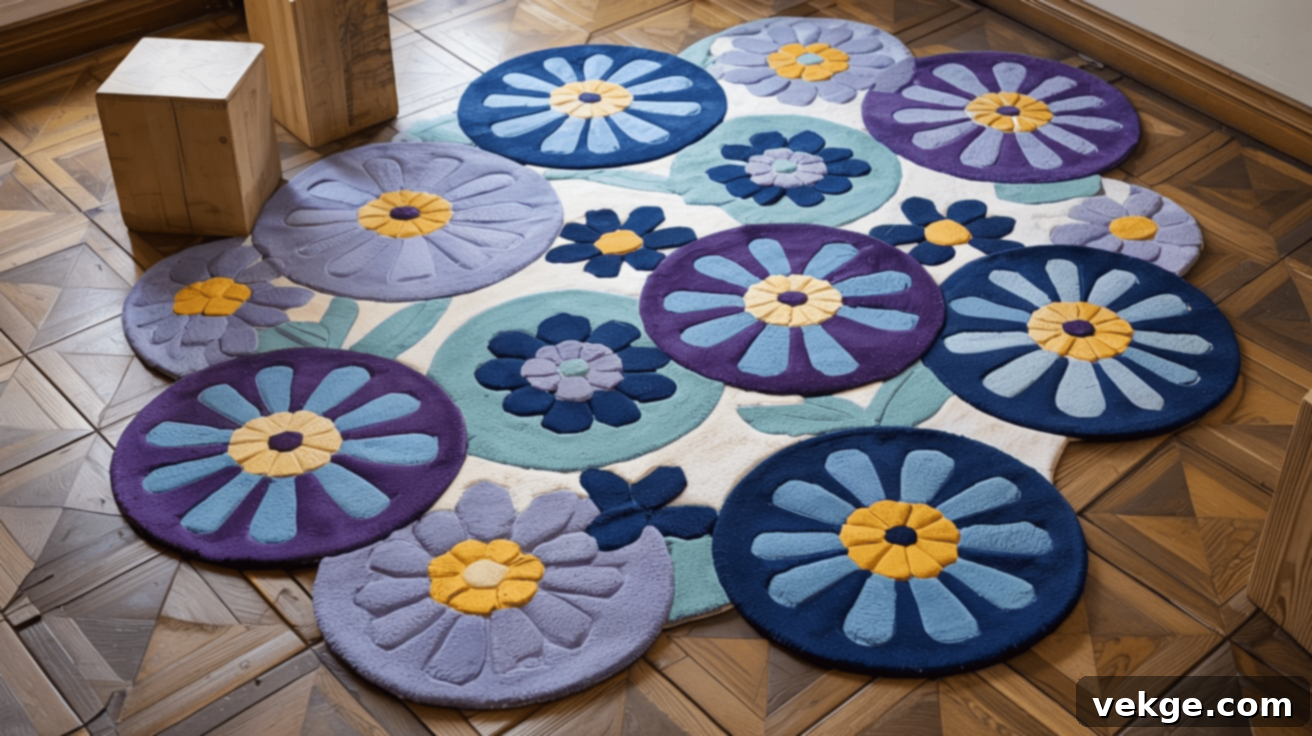
Designing and making your own rug is an excellent way to achieve a perfect match for your exact color scheme and specific size requirements, adding a unique touch to any room. Choose a durable fabric that suits its intended use – fleece offers maximum warmth for a cozy throw rug, heavy cotton is great for living areas, or consider recycled materials for an eco-friendly approach. Cut your base fabric to the desired size, remembering to allow extra material for hemming the edges. For a simple no-sew option, cut two equal-sized pieces of fabric and create fringes along the edges, then tie them together with small knots. If sewing, place fabric pieces right sides together, stitch around the edges leaving a small opening, then turn right-side out and close the opening with a hidden stitch. For simple painted rugs, use fabric paint and painter’s tape to create bold patterns or clean stripes. Maintain your rug’s cleanliness by vacuuming regularly and promptly spot-cleaning any spills. For high-traffic zones, consider adding a non-slip backing for safety. This personalized piece will add warmth, texture, and distinct personality to any room.
13. DIY Plant Stand
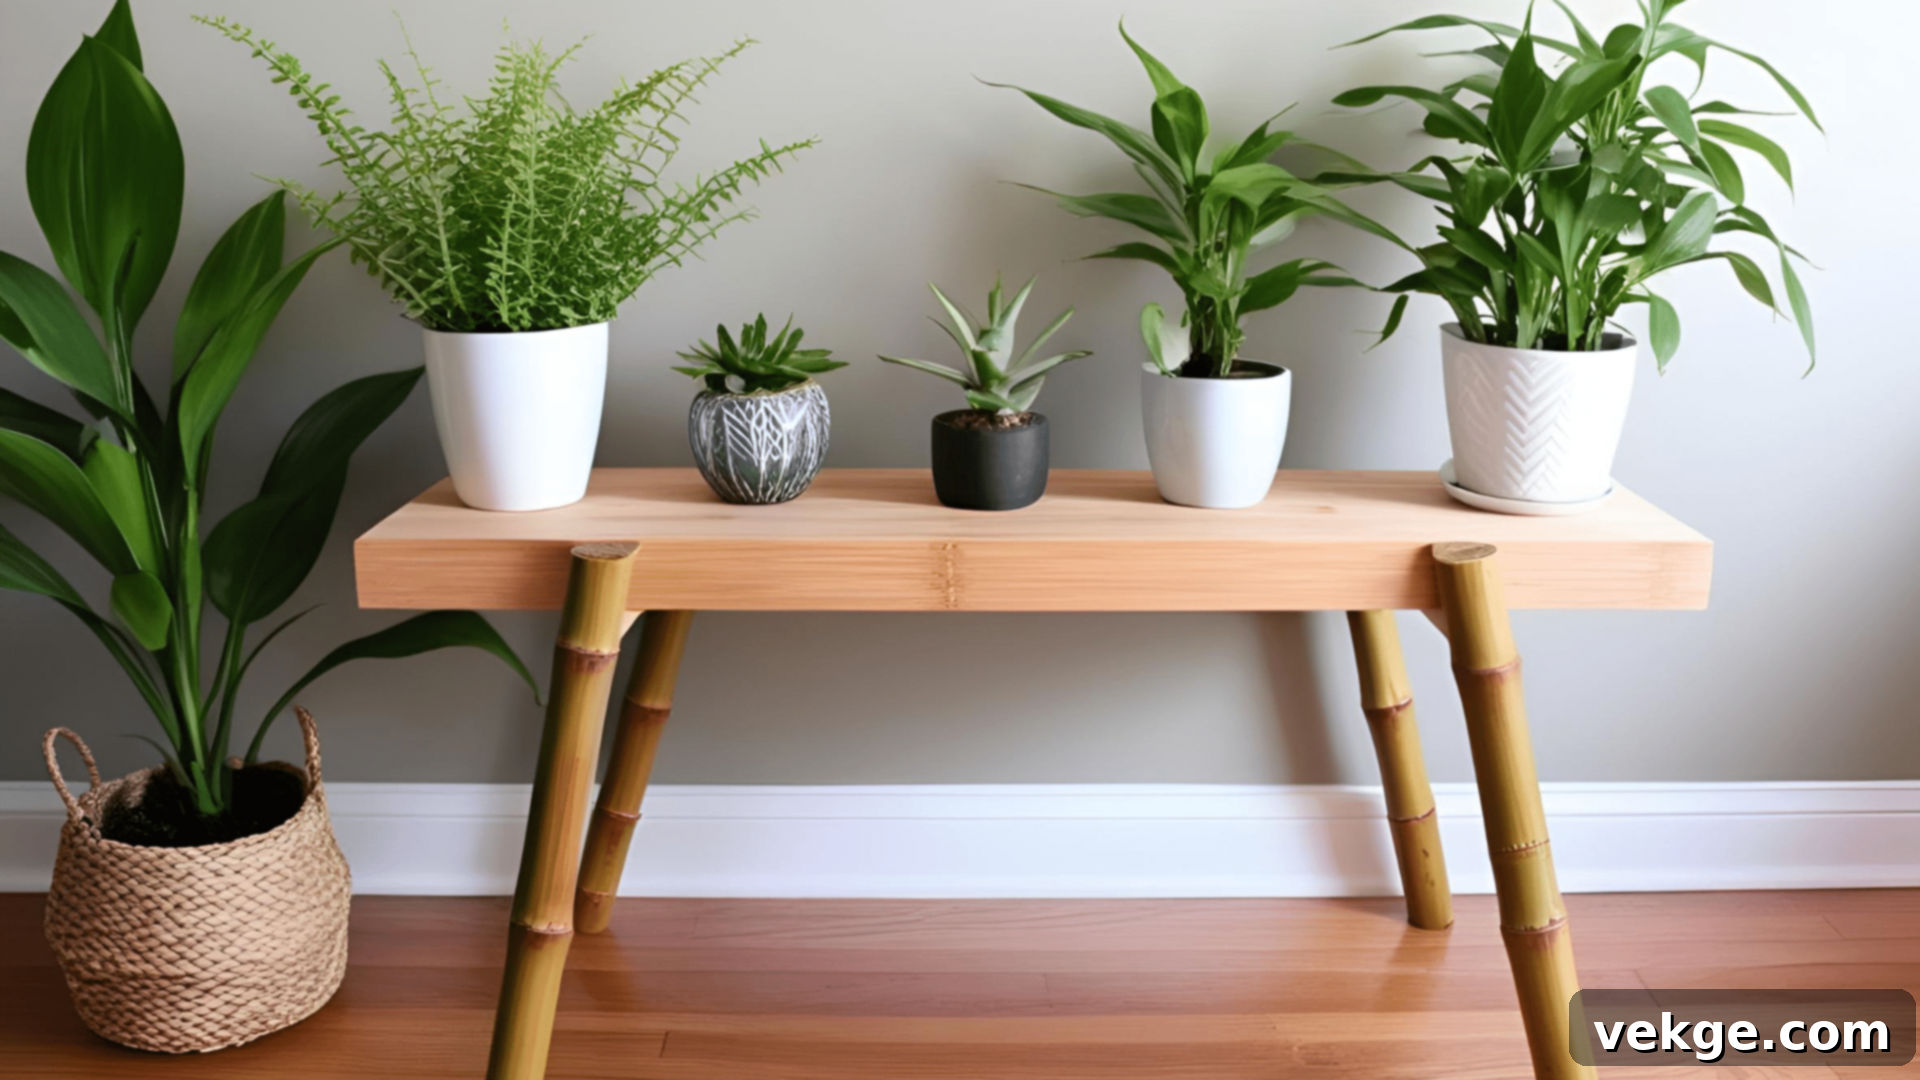
Elevate your indoor greenery with a custom-built plant stand that beautifully showcases your plants while enhancing your home’s decor. Select a wood type that complements your existing furniture – pine is easy to work with for beginners, while bamboo offers a contemporary, natural aesthetic. For a straightforward design, cut four legs and cross supports to your desired dimensions, sand all pieces thoroughly, and then assemble them using a combination of wood glue for strong joints and screws for reinforcement. For added visual interest and to accommodate various plant sizes, consider incorporating shelves at different heights. Finish your plant stand with paint, stain, or a clear sealer to protect the wood from potential water damage. Personalize it further with decorative elements such as carved details, metal accents, or unique paint patterns. Position your new plant stand near windows where your plants can thrive with optimal light exposure.
14. Build a Simple Bench
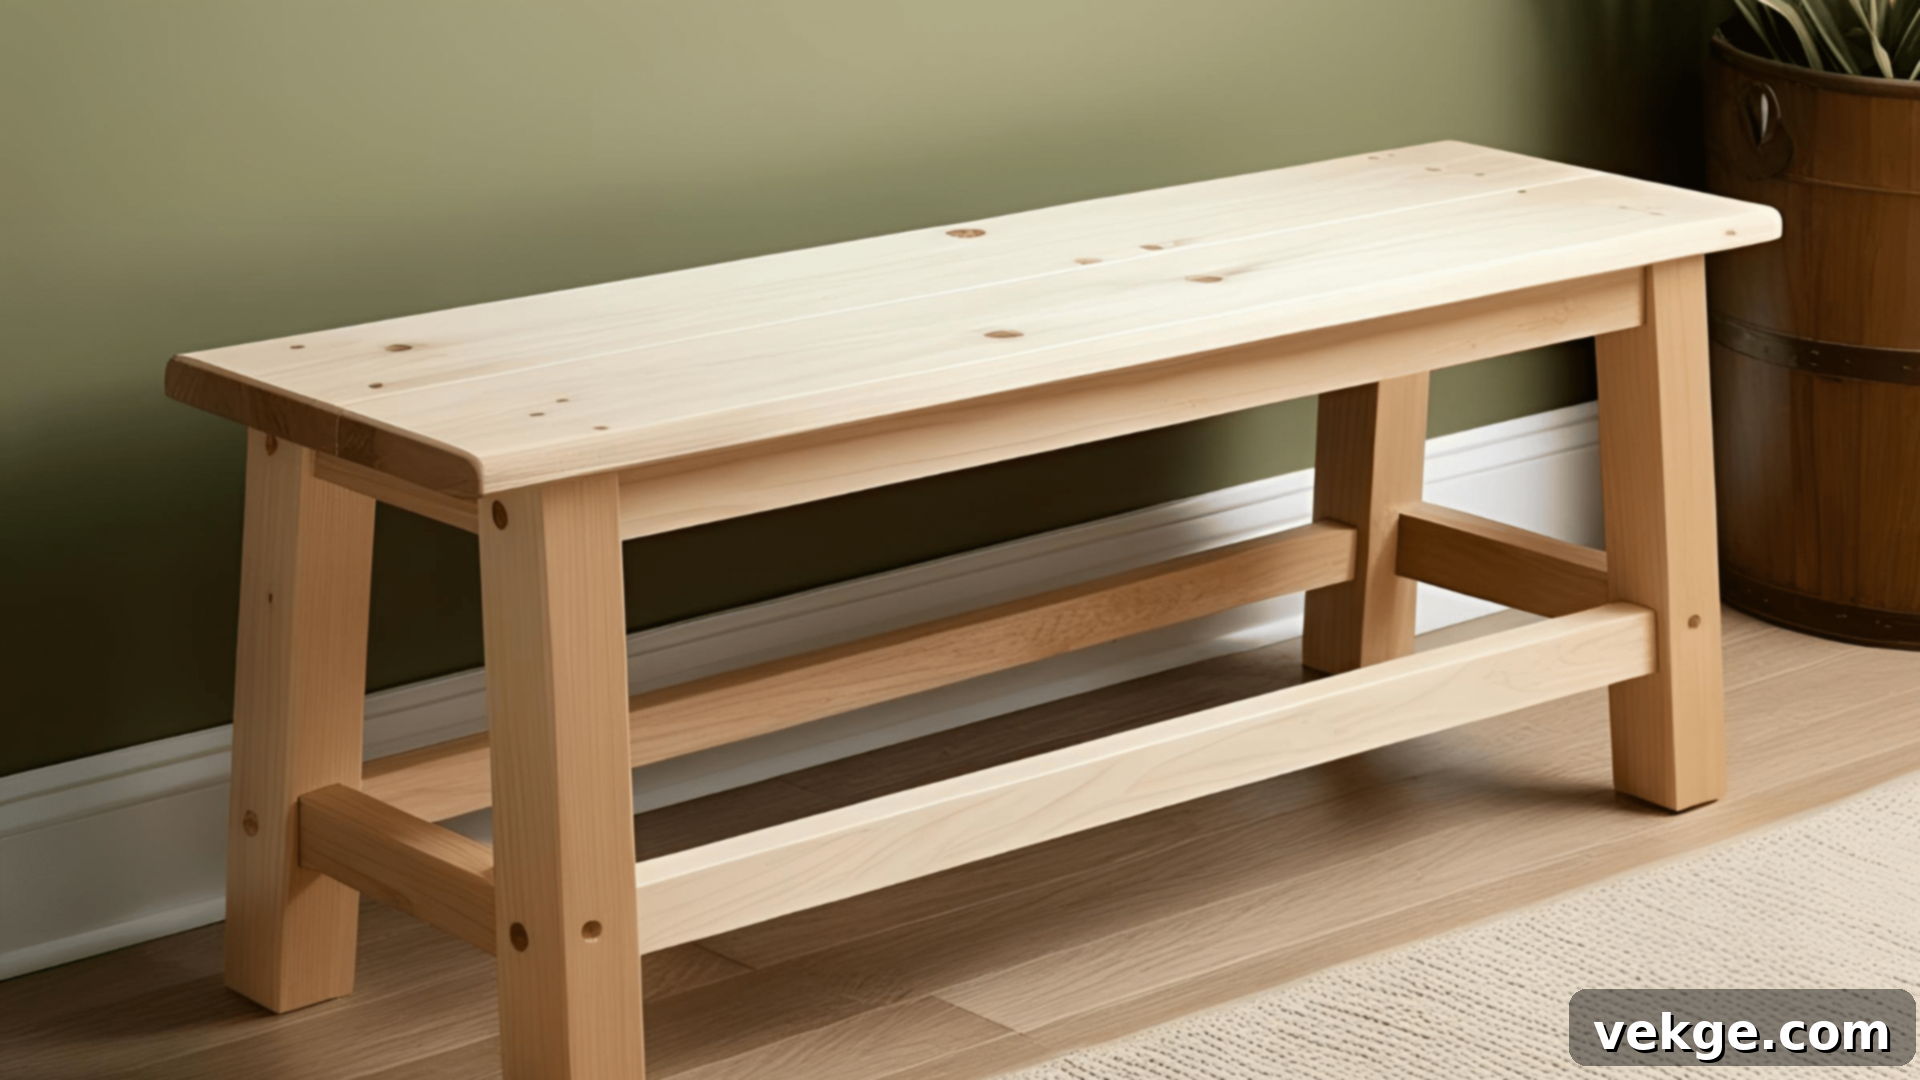
A handmade bench is an incredibly versatile and useful addition to any home, fitting perfectly in entryways, at the foot of beds, or as extra seating in living spaces. Opt for solid wood, such as pine or oak, for superior durability and a long lifespan. Cut your seat board, legs, and support pieces precisely according to your planned measurements. Thoroughly sand all individual parts until they are impeccably smooth before beginning assembly. Connect the pieces using a combination of wood screws and wood glue for maximum strength and stability. For enhanced comfort, cut a piece of foam to fit the top, then cover it with a durable fabric, securing it neatly underneath with staples. If creating an entryway bench, consider integrating storage solutions underneath, perhaps with open cubbies for baskets or built-in compartments with lids. Finish the bench with paint or stain that harmonizes with your home’s existing style, creating both a useful and attractive piece of furniture.
15. Revamp Your Bathroom with New Shelving
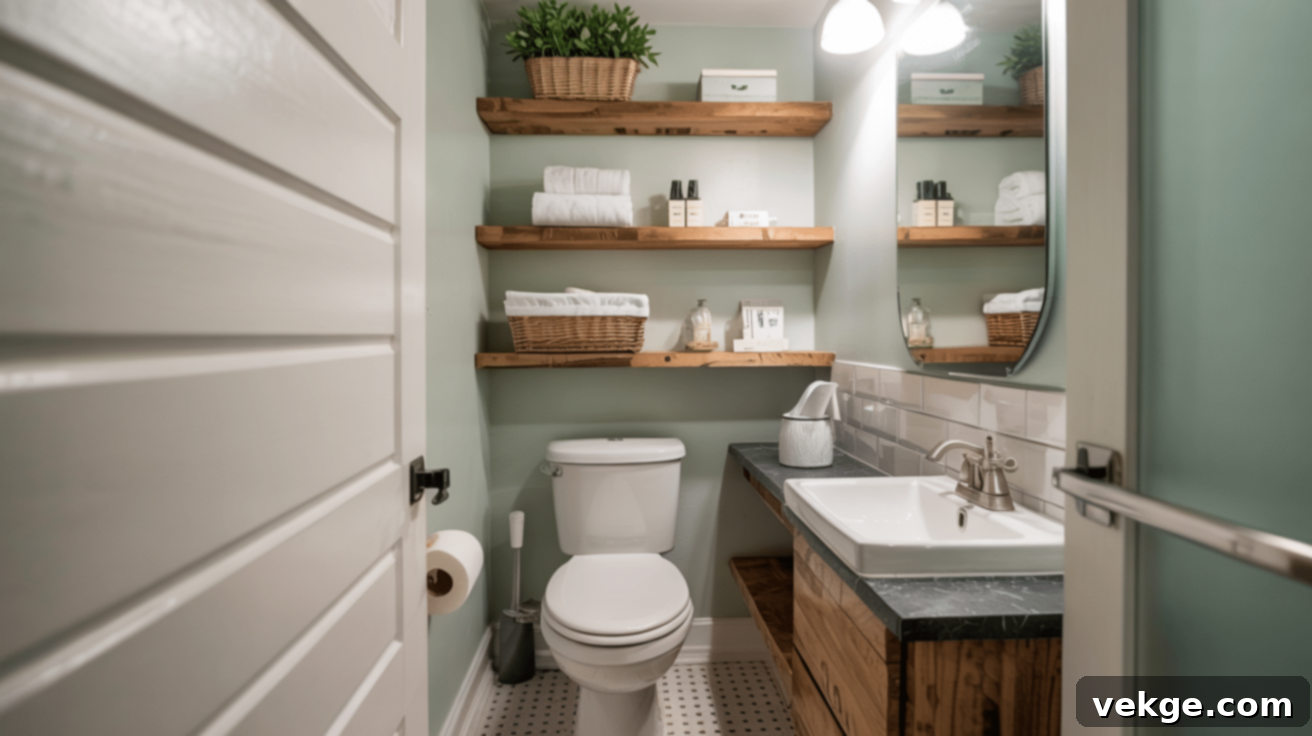
Adding new shelving is a highly effective way to create much-needed storage in the bathroom, often one of the most space-challenged rooms in the house. For smaller bathrooms, space-saving solutions like corner units or sleek floating shelves work best to keep the floor clear. Choose moisture-resistant materials such as pressure-treated wood, elegant glass, or durable metal to withstand the bathroom’s humid environment. Always locate wall studs for the most secure mounting, or use appropriate wall anchors specifically rated for the weight of your items and for bathroom conditions. Install shelves strategically above toilets, beside mirrors, or in any previously unused corners. Organize your items by frequency of use, keeping everyday essentials within easy reach. Enhance organization and aesthetics by adding small baskets or decorative containers to group similar items. This simple yet impactful update significantly increases functionality while adding a touch of personalized style to your bathroom.
16. Make Your Wall Art
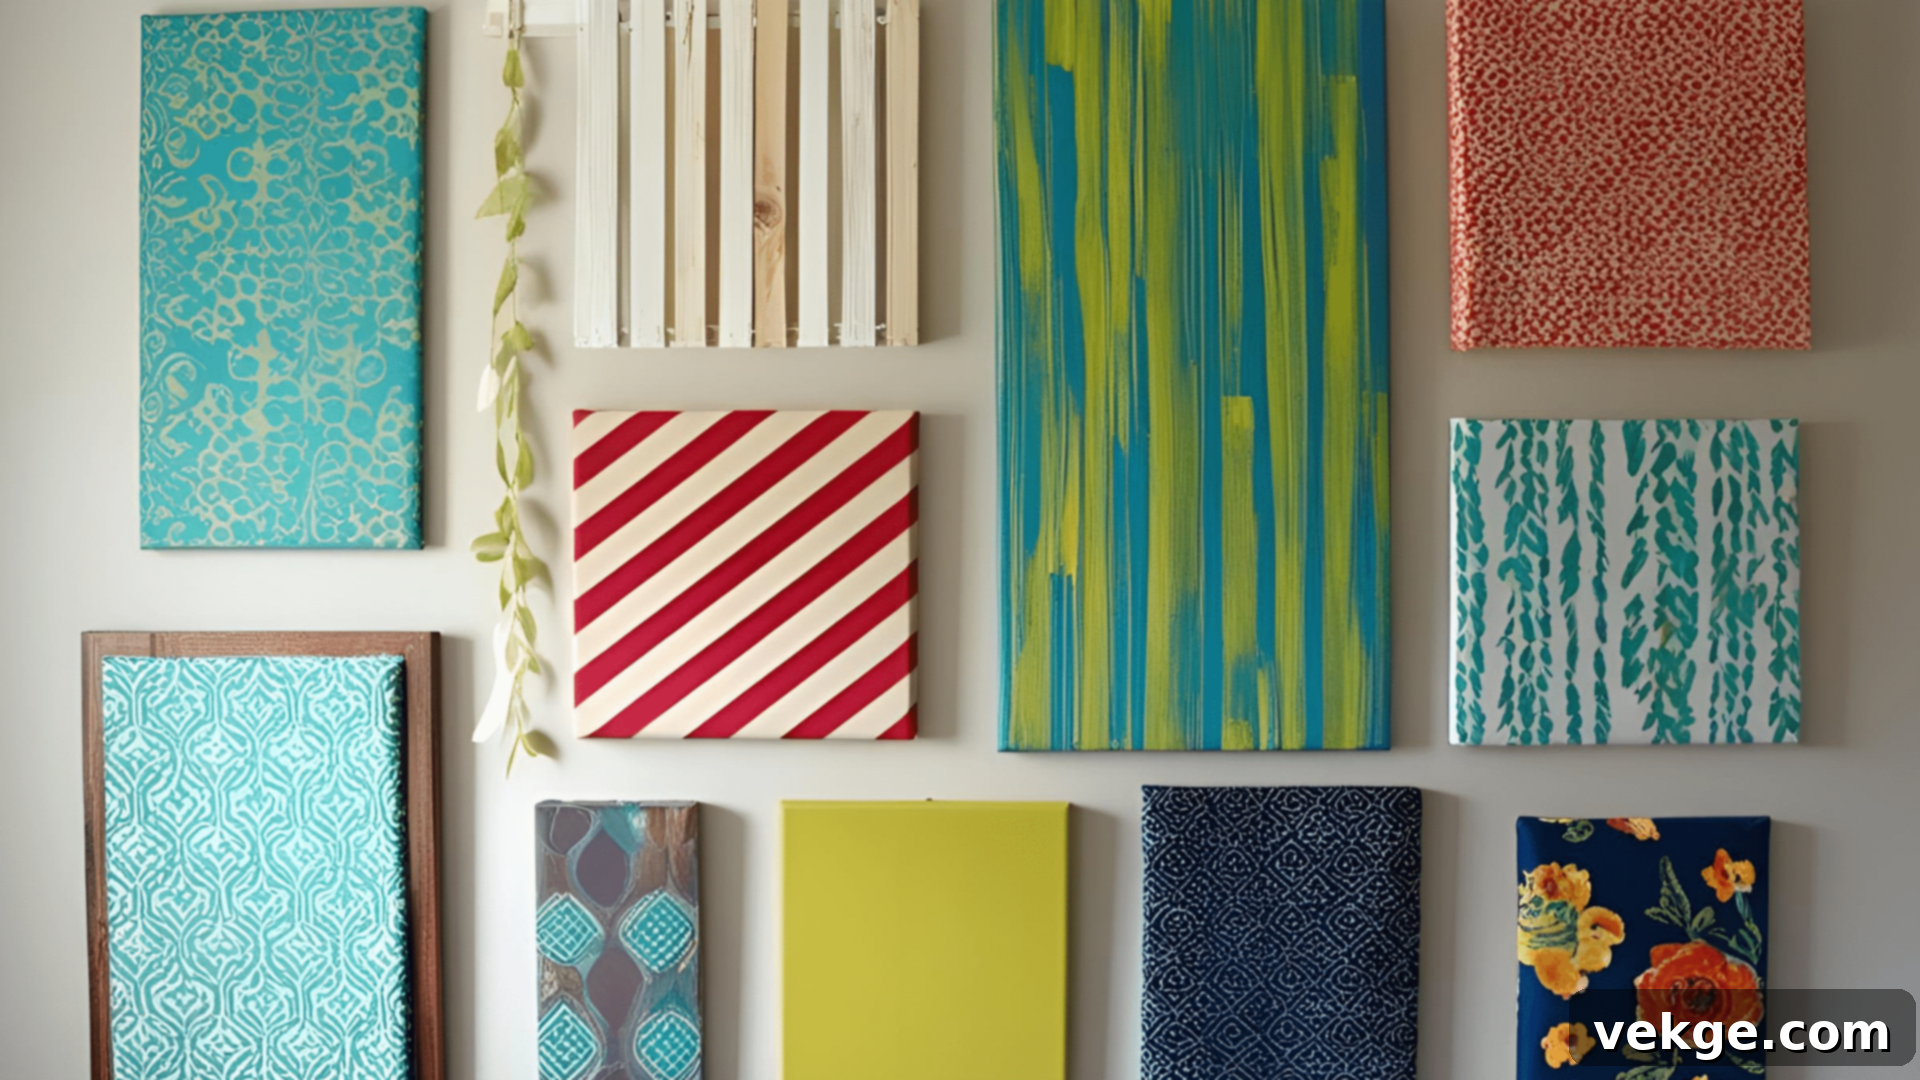
Creating your own wall art is a fantastic way to infuse personality and character into any room without spending a fortune. Explore a variety of materials such as traditional canvas, versatile wood panels, textured fabric, or even ingeniously repurposed items. For simple yet striking art, apply paint in bold colors or patterns that perfectly complement your existing decor. Experiment with creating texture by layering different materials, incorporating found objects, or adding 3D elements for visual interest. For a dramatic effect, arrange multiple smaller pieces into a cohesive gallery wall. When hanging your artwork, aim to place it at eye level and consider the overall balance and flow of the wall. If you enjoy changing your decor seasonally, try temporary hanging solutions that allow for easy rotation. This innovative project not only lets you express your unique personality but also fills blank walls with meaningful, one-of-a-kind pieces.
17. Update Your Kitchen Backsplash
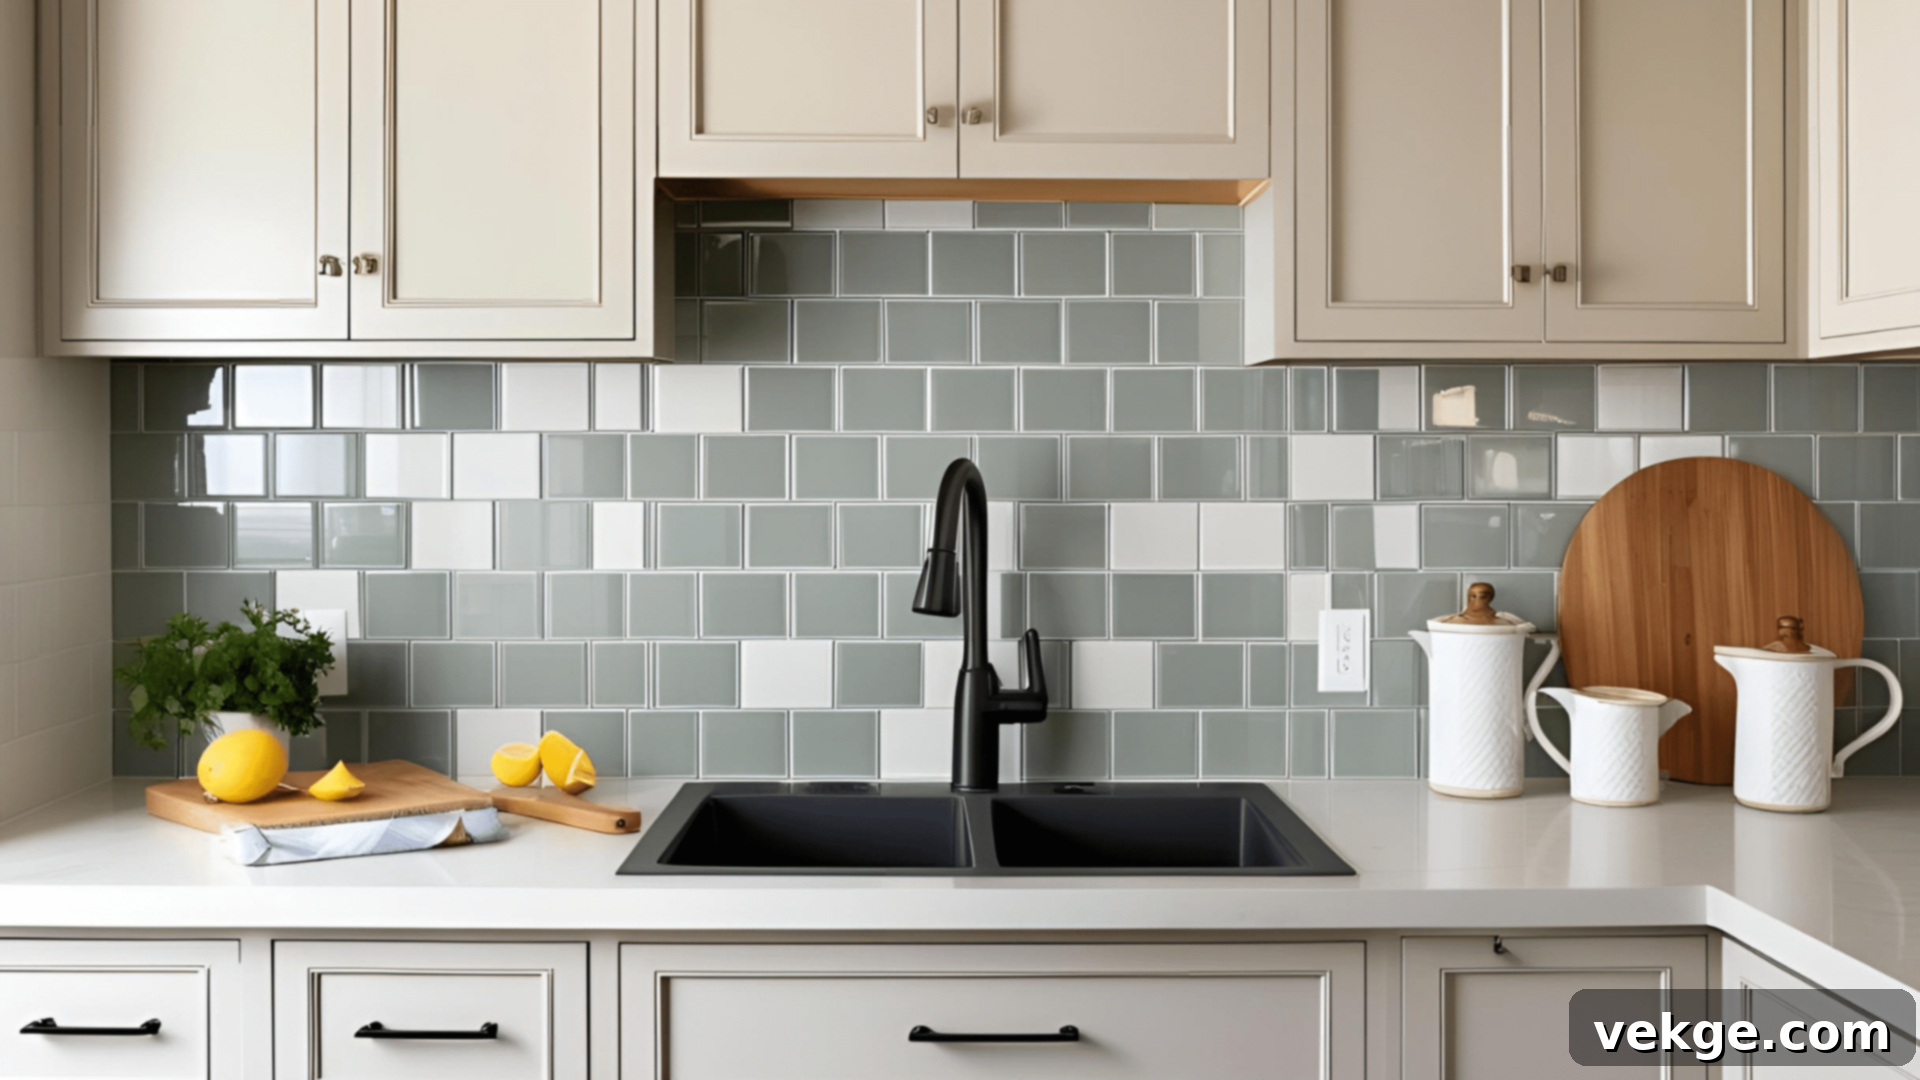
A new kitchen backsplash can dramatically transform the entire look and feel of your kitchen with surprisingly minimal effort. Begin by selecting tiles that beautifully complement your existing countertops and cabinetry. Ceramic, glass, or convenient peel-and-stick options are all excellent choices for beginners. Measure your space carefully and purchase a few extra tiles to account for cuts and potential mistakes. Thoroughly clean the wall surface before you start to ensure proper adhesion. For traditional tiles, apply adhesive in small, manageable sections, placing tiles with spacers to maintain even gaps. Allow the adhesive to dry completely before applying grout. For precise cuts, you can rent a tile cutter or use a scoring tool for straight lines. This weekend project not only adds a splash of color and pattern but also provides essential protection for your kitchen walls against splashes and spills, making your kitchen more beautiful and easier to maintain.
18. Build a Wooden Jewelry Box
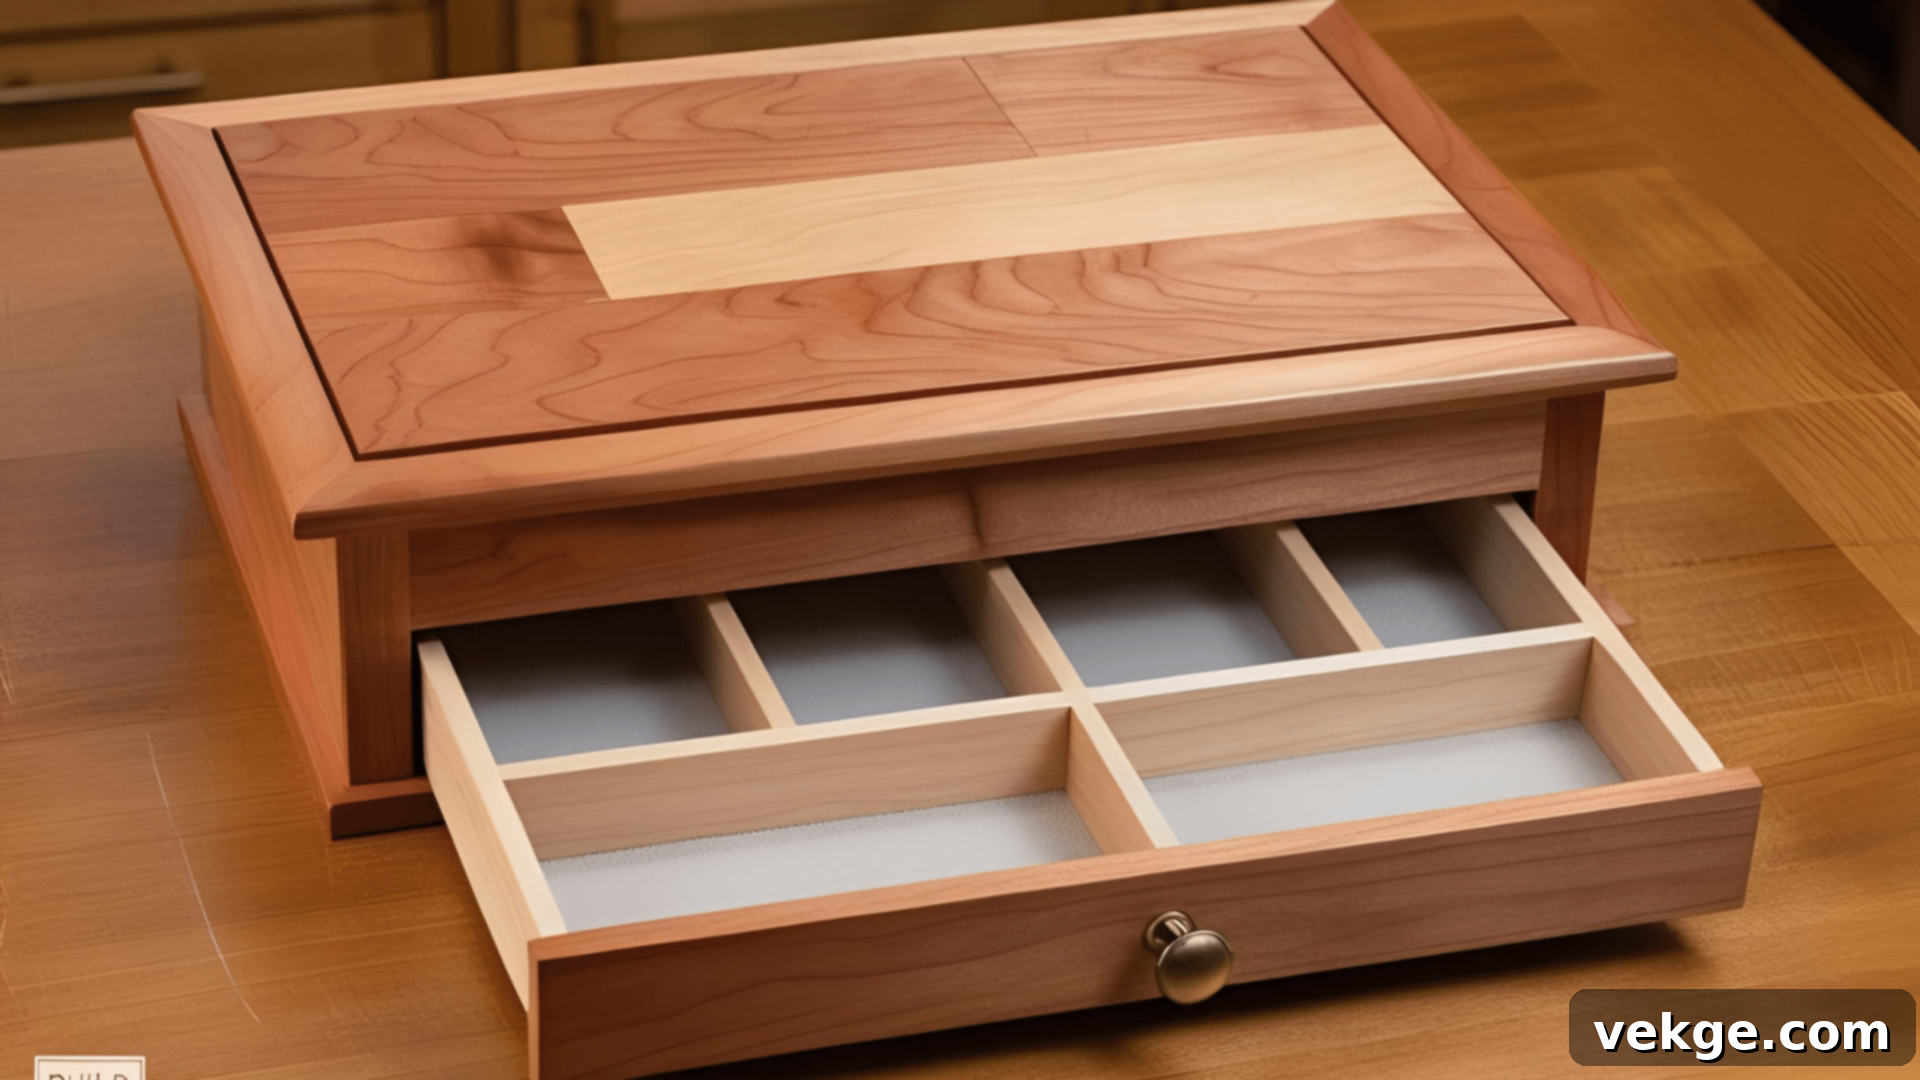
A handcrafted wooden jewelry box is a beautiful and thoughtful project that keeps your precious treasures safe while showcasing your woodworking skills. Select a fine-grained hardwood like cherry or maple for a luxurious, smooth finish. Carefully cut panels for all six sides of the box, as well as any internal dividers or trays you wish to include. Sand all pieces until they are exceptionally smooth before beginning assembly. Join the corners using small finishing nails and wood glue for superior strength and a clean appearance. Add elegant hinges for the lid and, if desired, a small latch or lock for extra security. Line the interior with soft felt or velvet to provide a gentle cushion that protects jewelry from scratches. Finish the exterior with several coats of clear polyurethane or varnish for lasting protection and a beautiful, enduring shine.
19. Create a Custom Mirror Frame
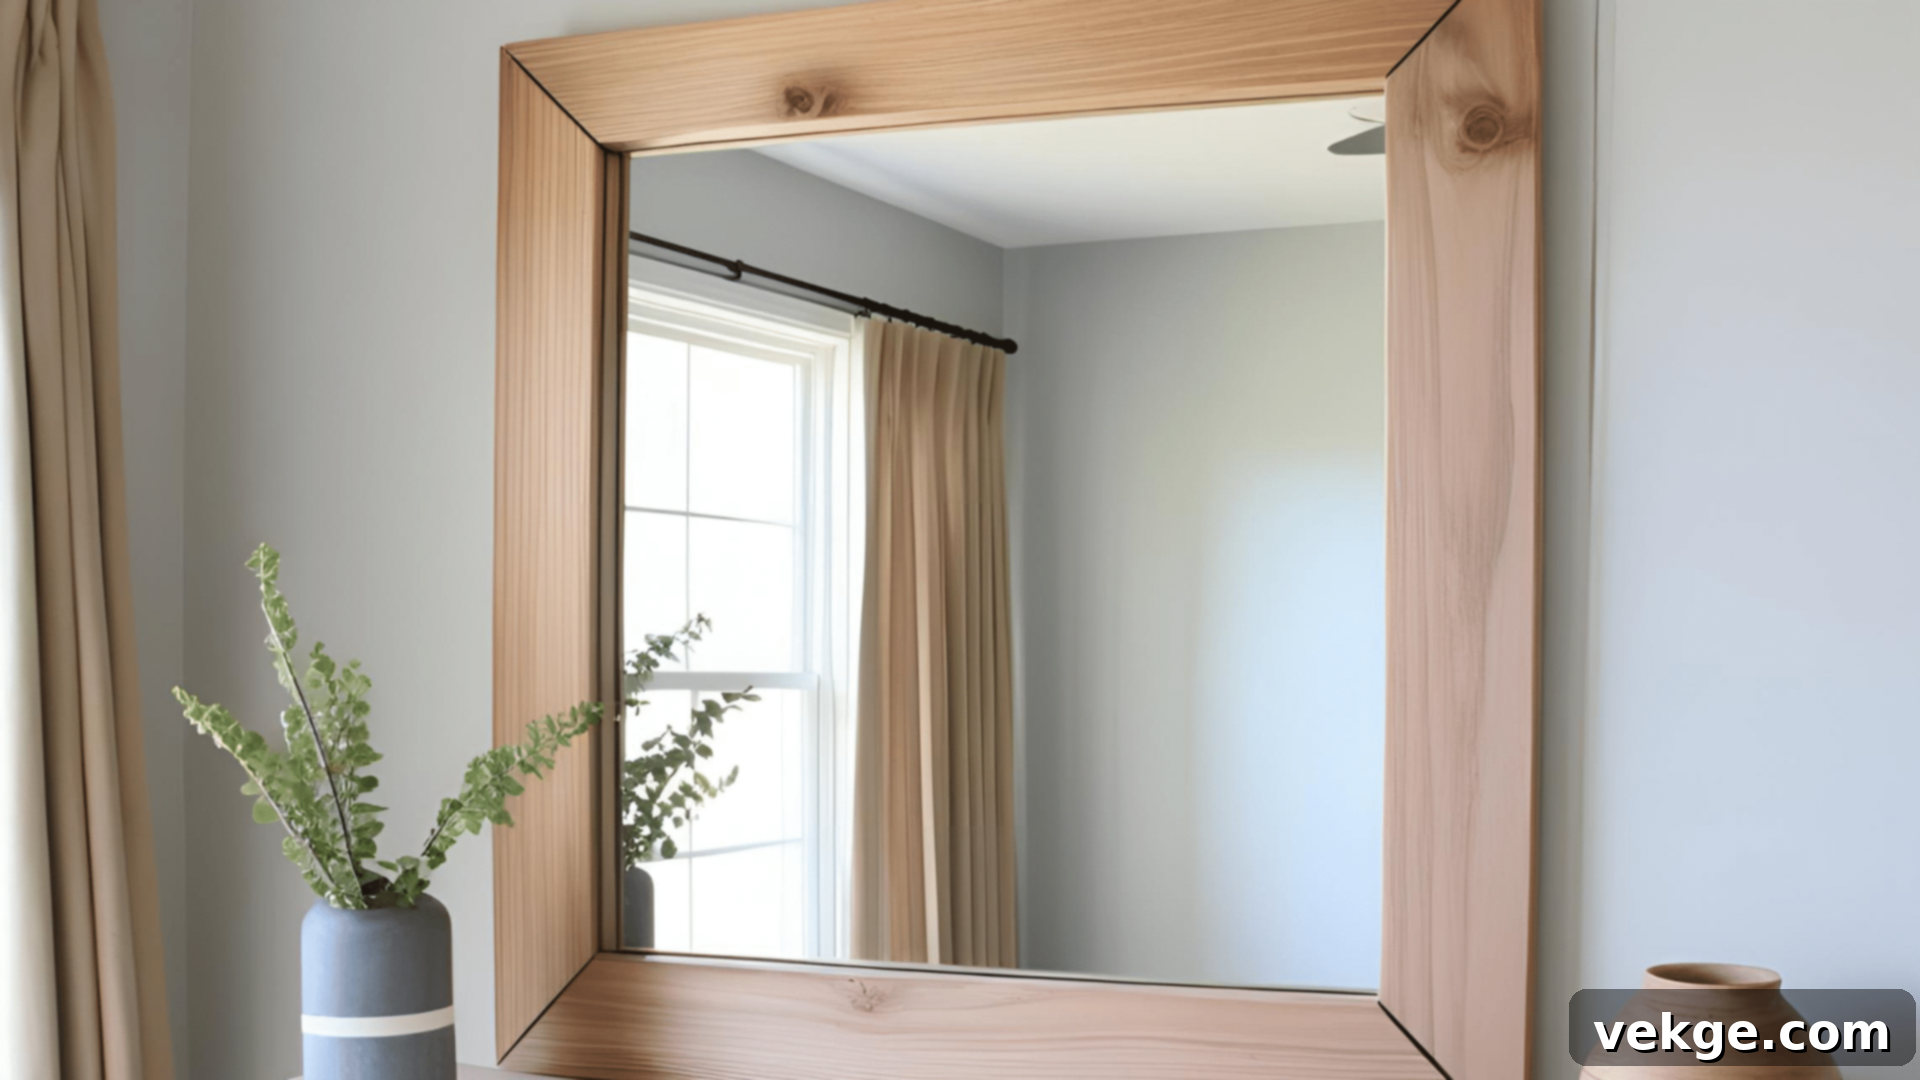
Adding a custom frame to a plain mirror is a quick and effective way to refresh your space without significant expense. Choose wood that harmonizes with your room’s existing decor – pine, oak, or even charming reclaimed wood can all work beautifully. Measure your mirror precisely and cut four pieces of wood at 45-degree angles for perfectly mitered corners. Sand all wood pieces until smooth, then apply your desired paint or stain. Allow the finish to dry completely before assembling. Join the corners using wood glue and small corner brackets for added strength. Attach the completed frame to your mirror using a strong mirror adhesive, or design the frame to slip over the existing mirror for a snug fit. This simple yet impactful change will add character and a touch of personalized style to any bathroom or bedroom mirror, transforming it into a decorative focal point.
20. Install a Pegboard Wall Organizer
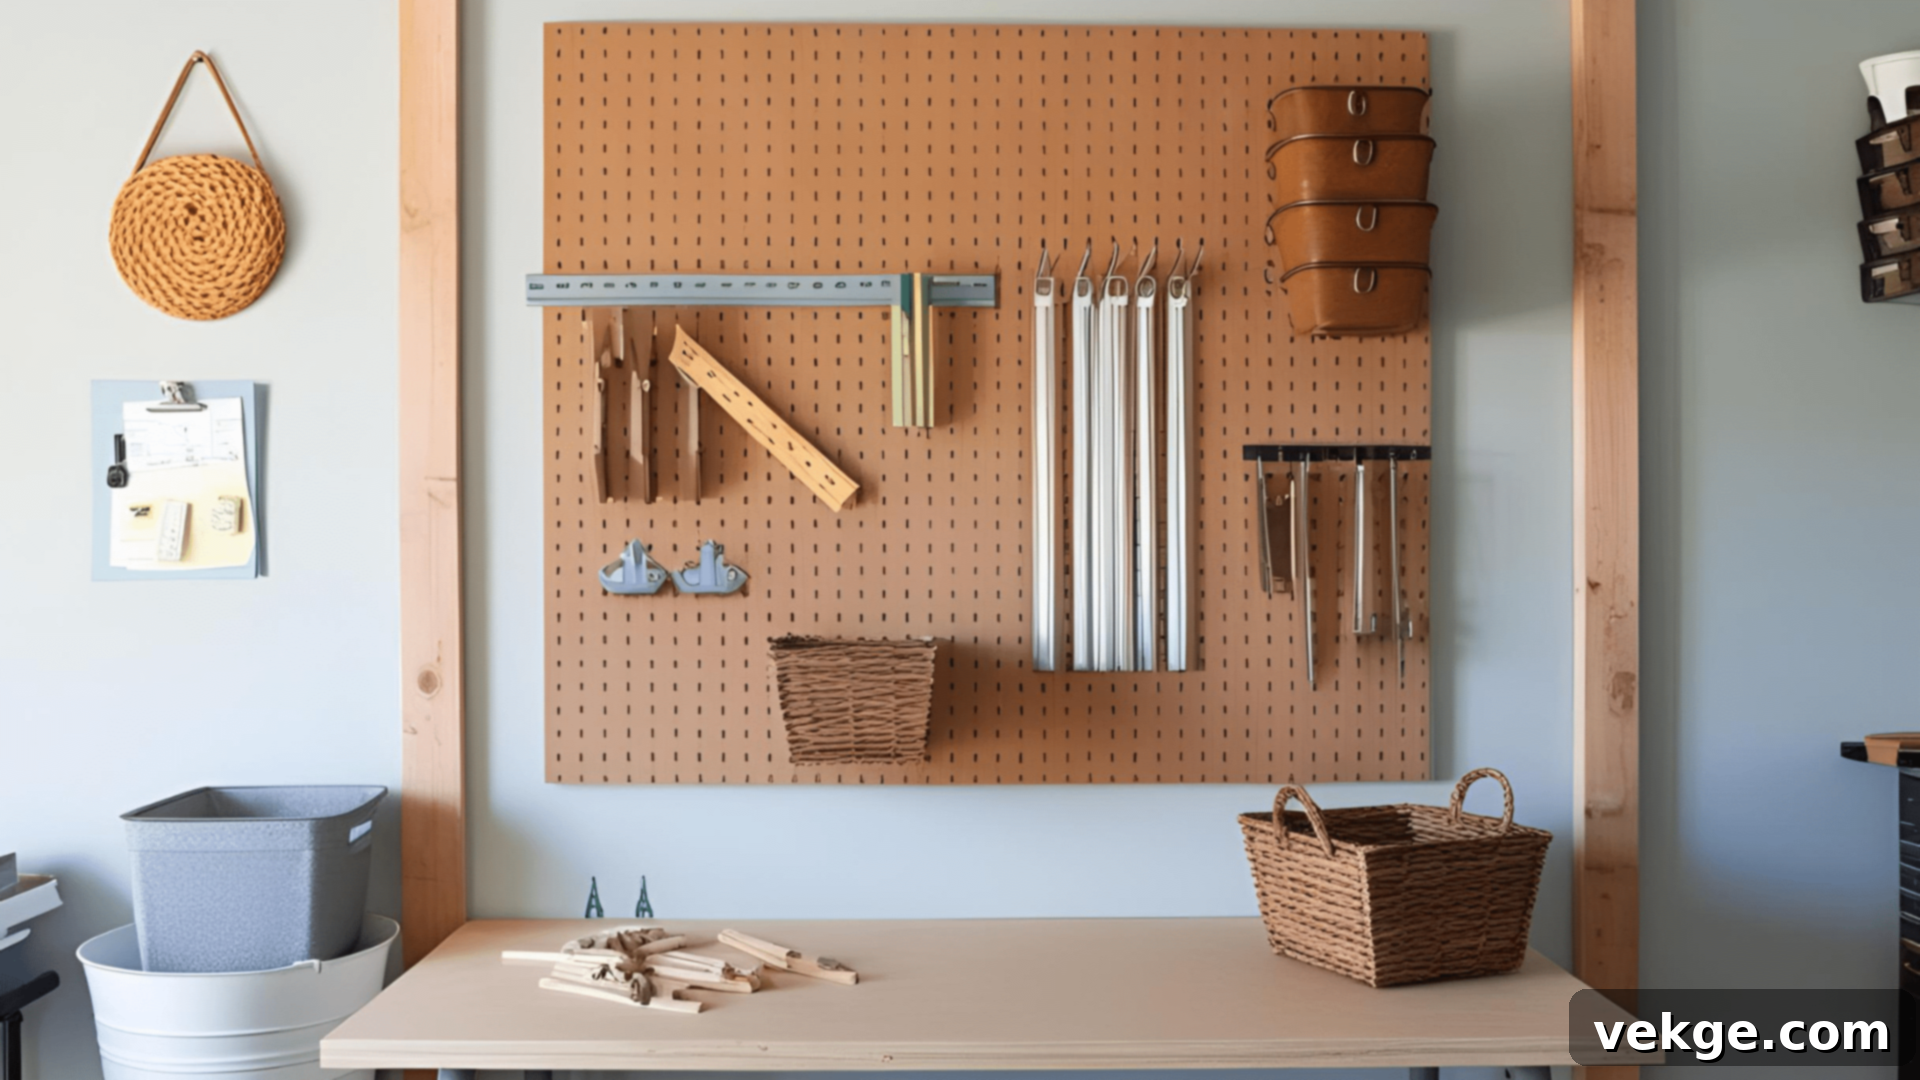
A pegboard wall organizer is an ingenious solution for bringing order to cluttered spaces such as home offices, craft rooms, garages, or even utility closets. To set up this incredibly versatile system, you’ll need a pegboard sheet, furring strips, screws, and a variety of hooks and baskets tailored to your storage needs. Begin by mounting the furring strips horizontally to your wall studs; this creates a crucial gap between the wall and the pegboard, allowing for easy insertion of hooks. Then, attach the pegboard securely to these strips with screws. Now, the fun part: add an assortment of hooks, shelves, and containers to perfectly accommodate your specific items, whether they’re tools, craft supplies, or cleaning products. Group similar items together for logical organization and place frequently used tools within easy reach. Remember to leave some room for future additions as your storage needs evolve. This adaptable system keeps everything visible, accessible, and neatly organized in one efficient space.
21. Make Your Curtain Rods
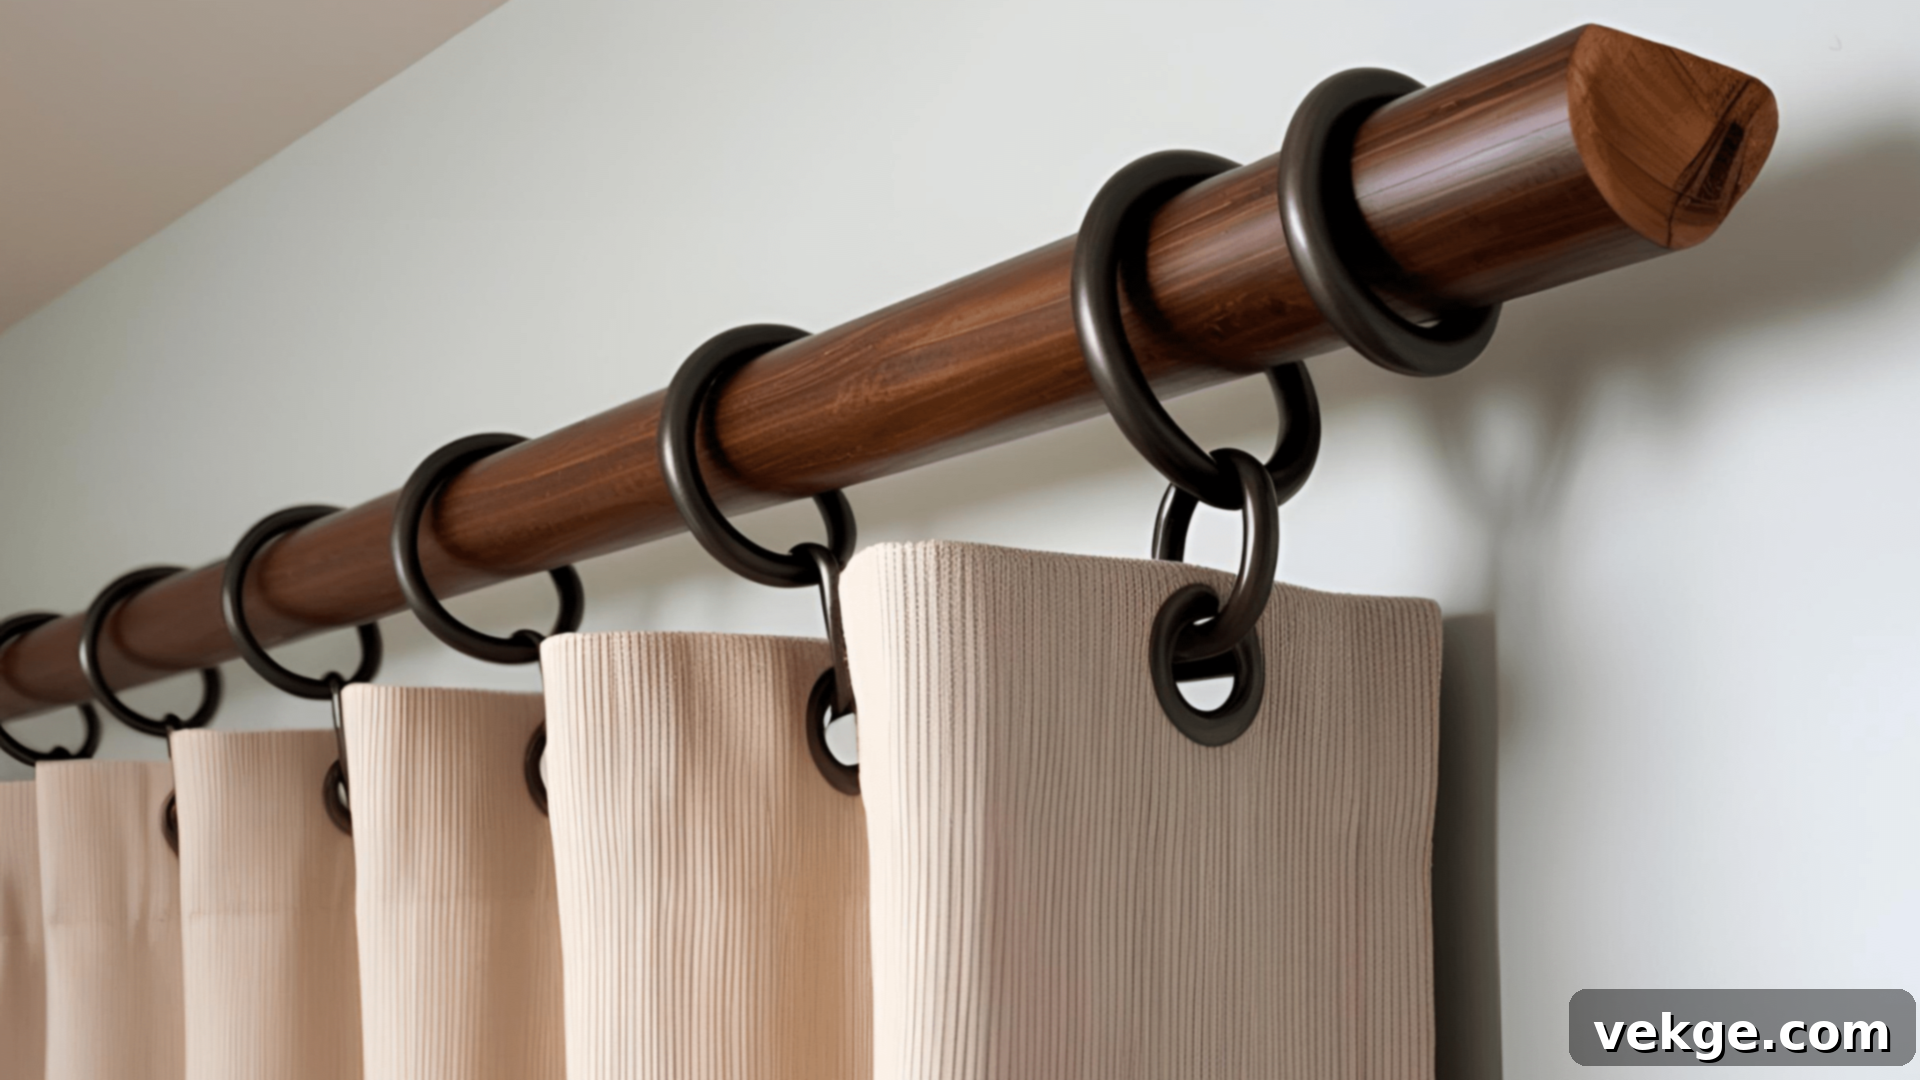
Crafting your own curtain rods is a brilliant way to achieve a custom look at a fraction of the cost of store-bought options, all while perfectly matching your interior style. Explore various materials: classic wooden dowels, industrial-chic metal pipes, or even natural branches for a unique, organic aesthetic. Cut your chosen material to the desired length, allowing extra room on either side for curtains to slide freely and for decorative finials. If using wood, sand the rods smooth and apply your preferred paint or stain. Install sturdy brackets securely into wall studs, typically 4-6 inches above the window frame, or use appropriate heavy-duty anchors for drywall. Add finials or other decorative ends to complete the look. For an extra touch of coordination, create matching tiebacks using smaller versions of your rod material, bent into hooks or loops, and mounted on either side of the window. This project adds a bespoke touch and functionality to any window.
22. Build a Simple Shoe Rack
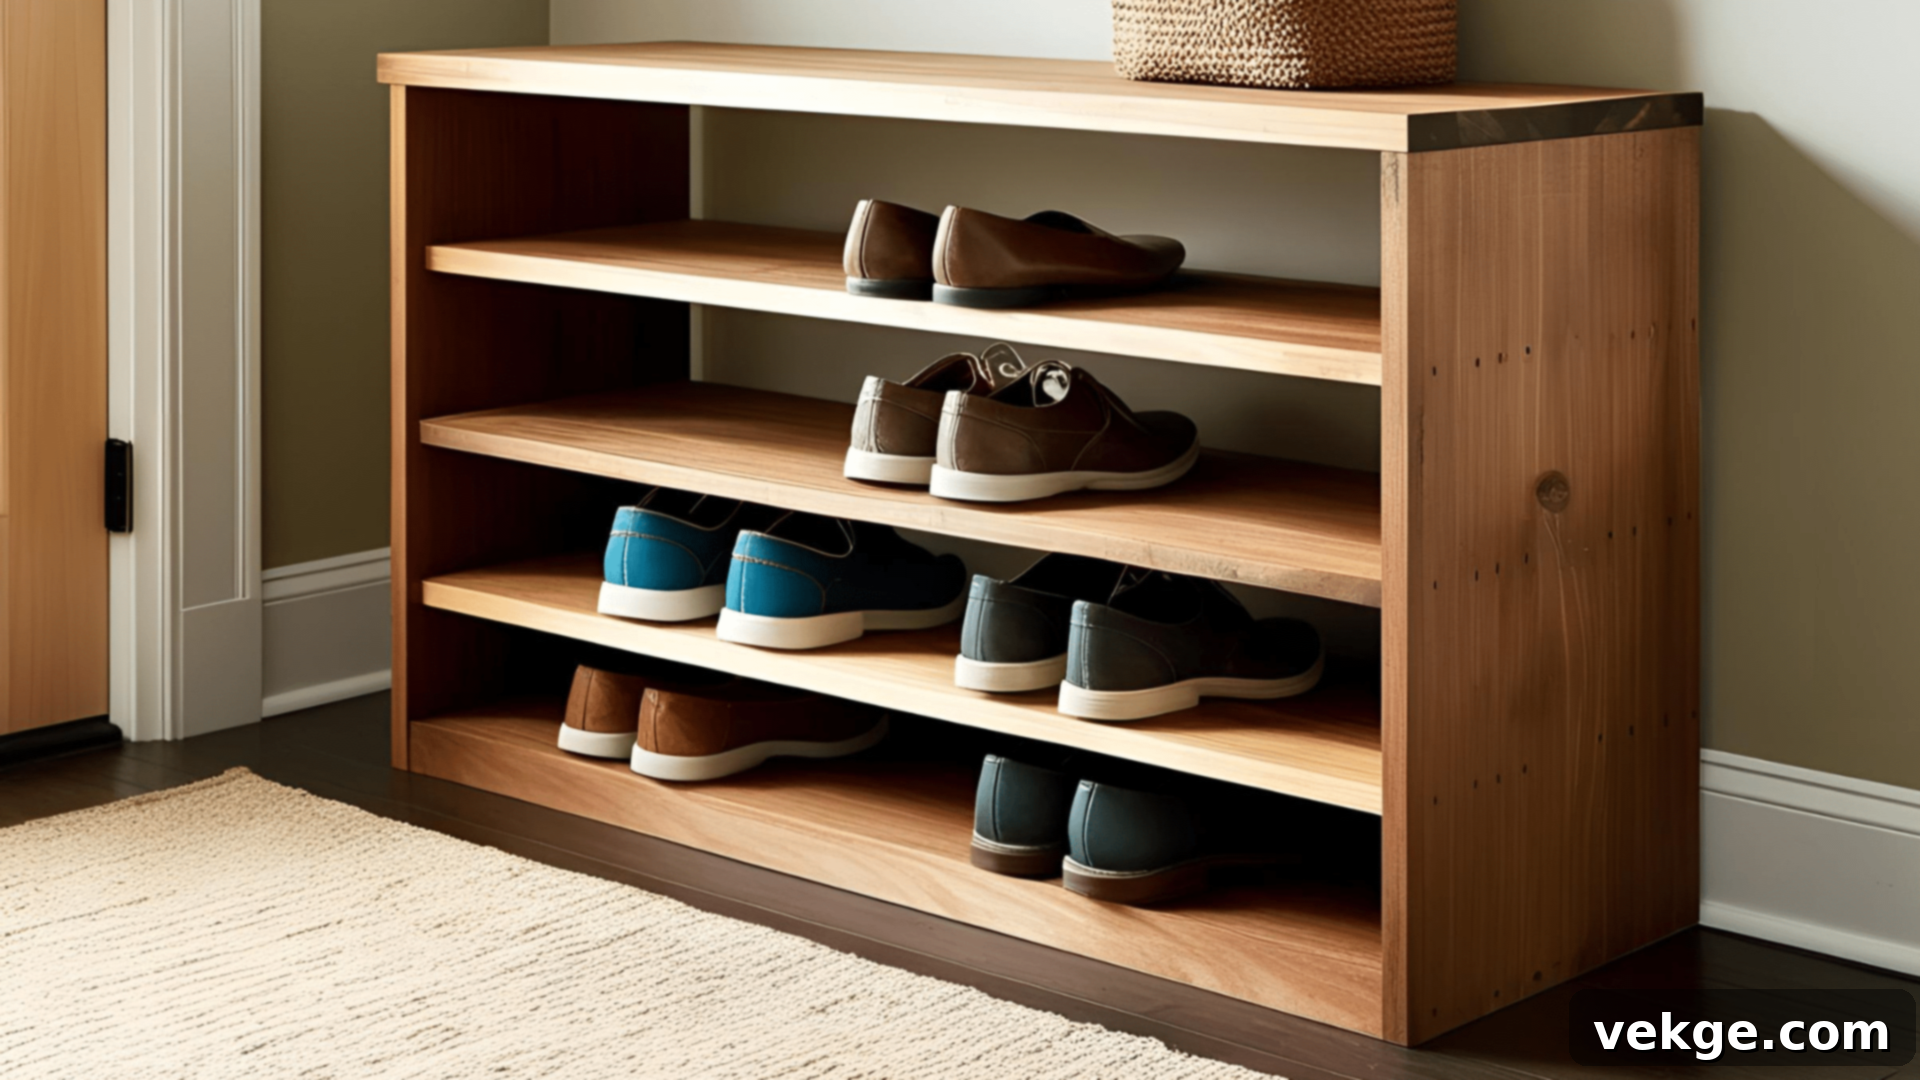
A custom-built shoe rack is an indispensable solution for keeping entryways, closets, or mudrooms tidy and organized. For a basic yet effective design, select durable wood boards for the shelves and support pieces that can withstand daily use. Determine your ideal height and width based on the available space and the number of shoes you need to store. Cut all the necessary pieces, thoroughly sand all edges until smooth, and then assemble the rack using wood screws and glue for superior strength. For enhanced stability, consider attaching the finished rack to the wall, especially if it’s tall and freestanding, or incorporate anti-tip features. To improve shoe visibility and accessibility, you might angle the lower shelves slightly. Finish with paint or stain that complements your entryway decor. This practical project significantly reduces clutter and makes finding the right pair of shoes quick and effortless, streamlining your morning routine.
23. Create a Custom Wall Shelf for Your Bathroom
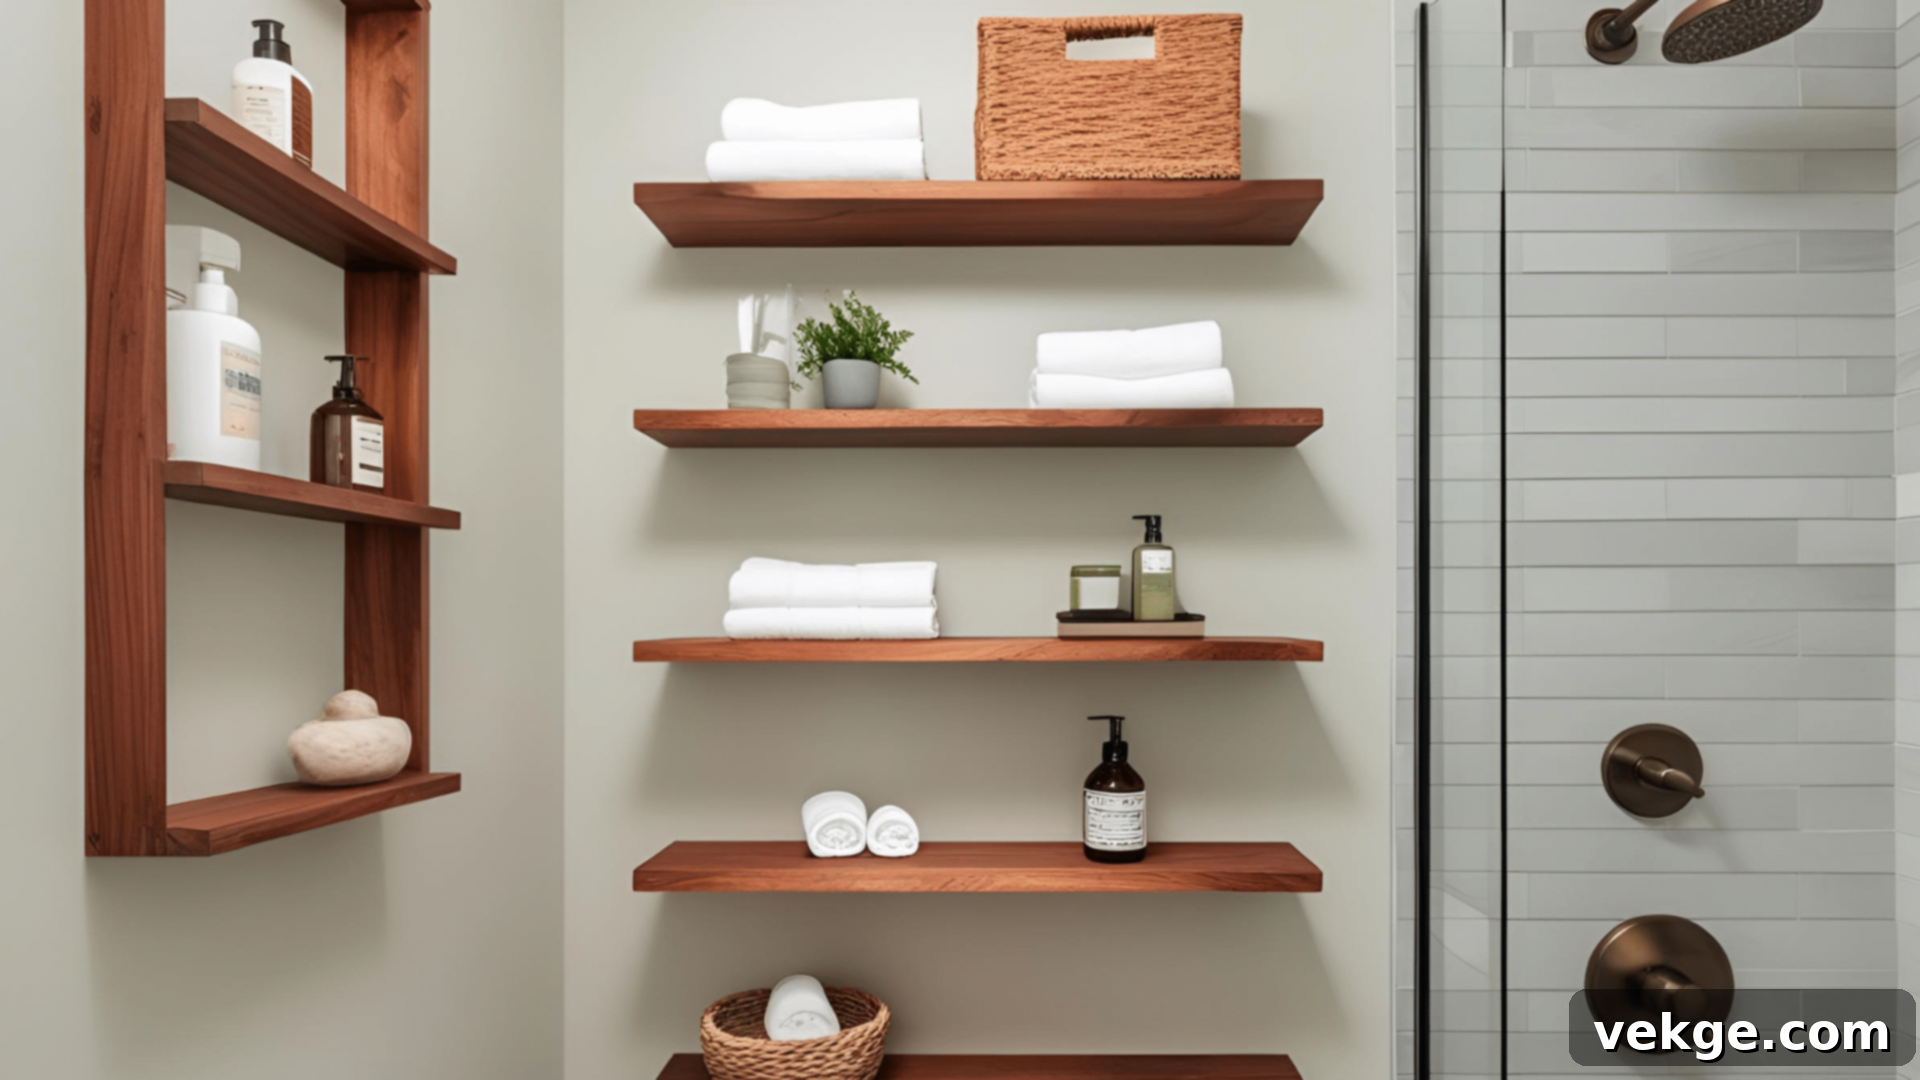
Bathroom wall shelves are a smart and stylish way to maximize storage in a room where floor space is often at a premium. When selecting materials, prioritize those that are inherently moisture-resistant, such as cedar, glass, or sealed hardwoods, to ensure longevity in a humid environment. Carefully measure your available wall space and strategically plan the placement of your shelves, keeping them away from direct shower spray but still within easy reach. Cut wood to size, or purchase pre-cut glass shelves for a sleek look. If using wood, sand all pieces thoroughly and apply several coats of a high-quality waterproof sealer. Mount your chosen brackets securely into wall studs for maximum support, or use appropriate wall anchors specifically rated for bathroom use. Style your new shelves with neatly rolled towels, elegant glass containers for cotton balls and swabs, or display your favorite toiletries and decorative accents. This thoughtful addition dramatically increases storage capacity, even in the smallest of bathrooms, enhancing both functionality and aesthetics.
24. Install a Barn Door
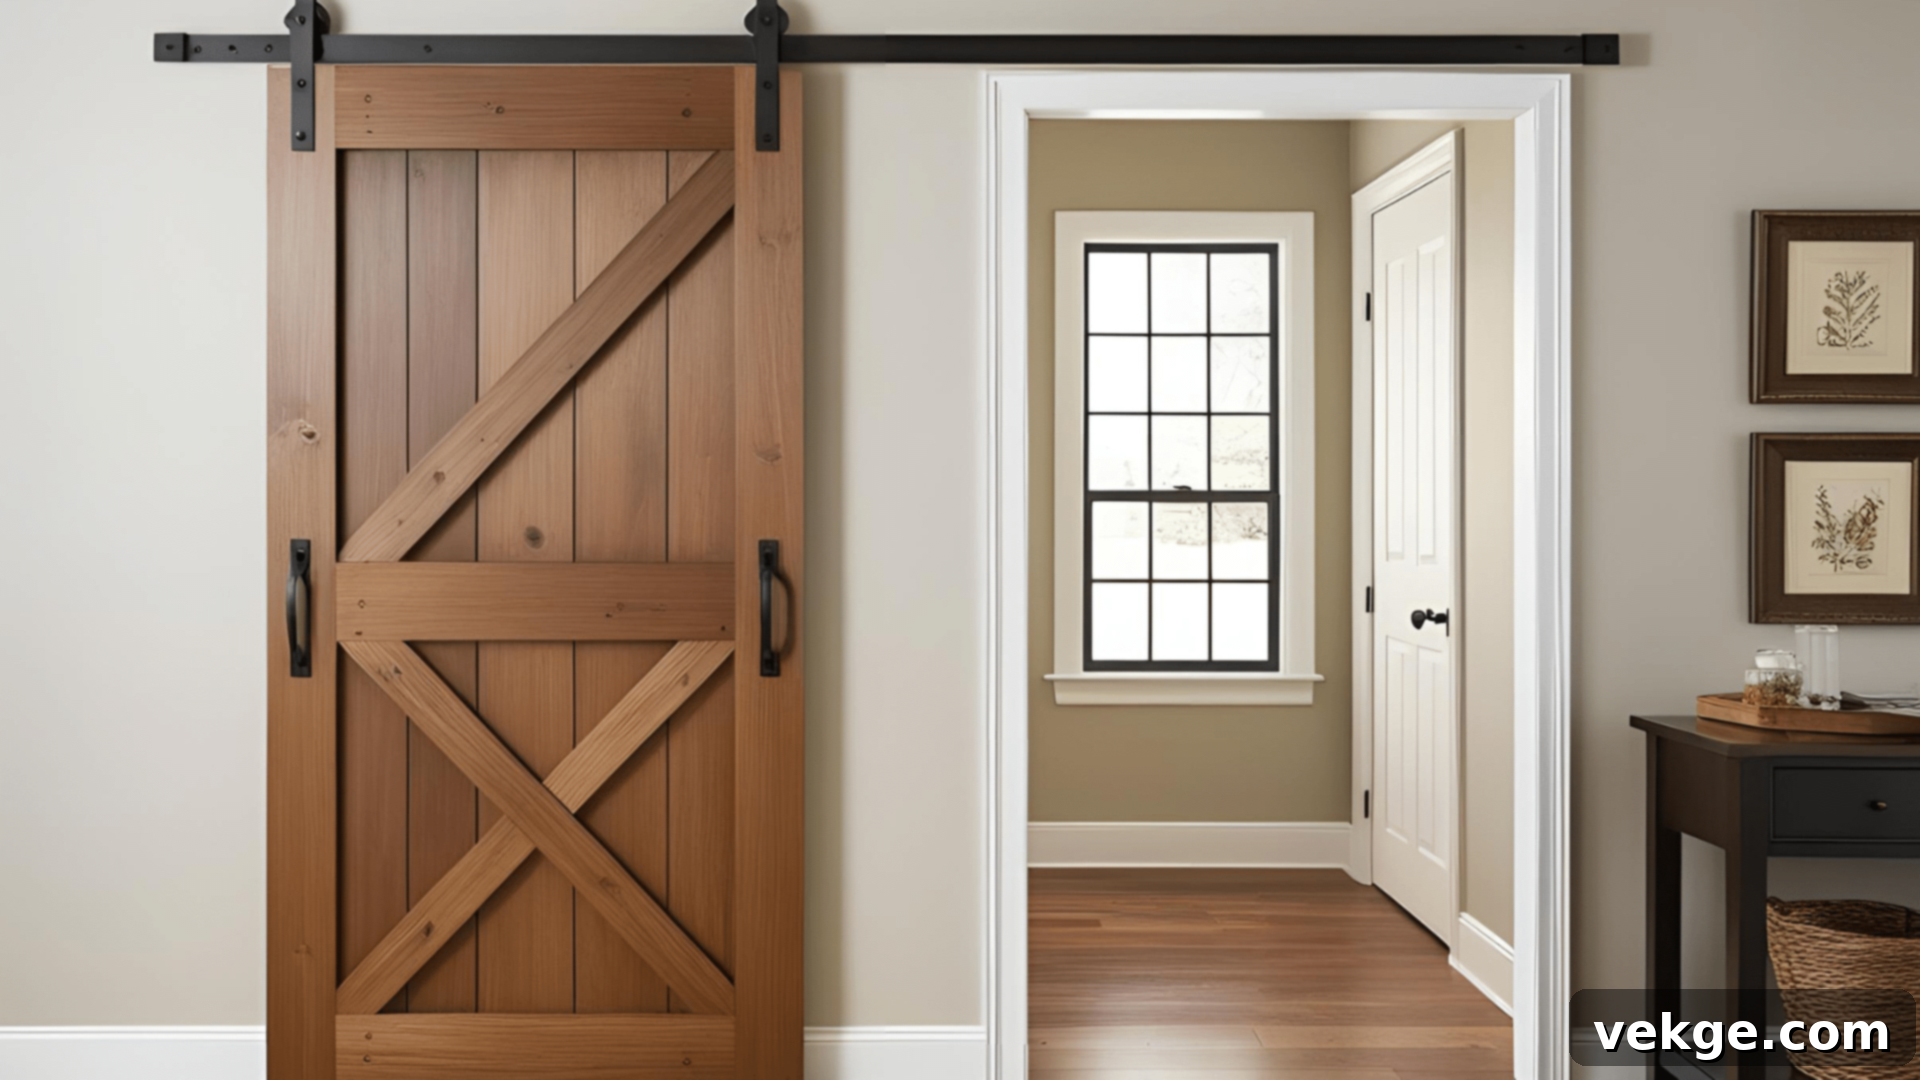
A sliding barn door is a fantastic design element that adds significant character to your home while ingeniously saving the floor space typically required by a swinging door. To undertake this project, you’ll need a solid wood door (either custom-built or repurposed), robust track hardware, spacers, and suitable mounting materials. The most critical step is to mount the track securely into wall studs, ensuring your wall can safely support the door’s substantial weight. Always follow the manufacturer’s specific instructions for proper track installation, which typically involves positioning it approximately 2 inches above the door opening. Once the track is in place, attach the door hangers to the top of your door and carefully hang it onto the track. Finally, install a floor guide to prevent the door from swinging or shifting. This statement piece works exceptionally well for closets, bathrooms, or as a stylish divider between living spaces, seamlessly blending rustic charm with modern functionality.
25. DIY Decorative Throw Blanket
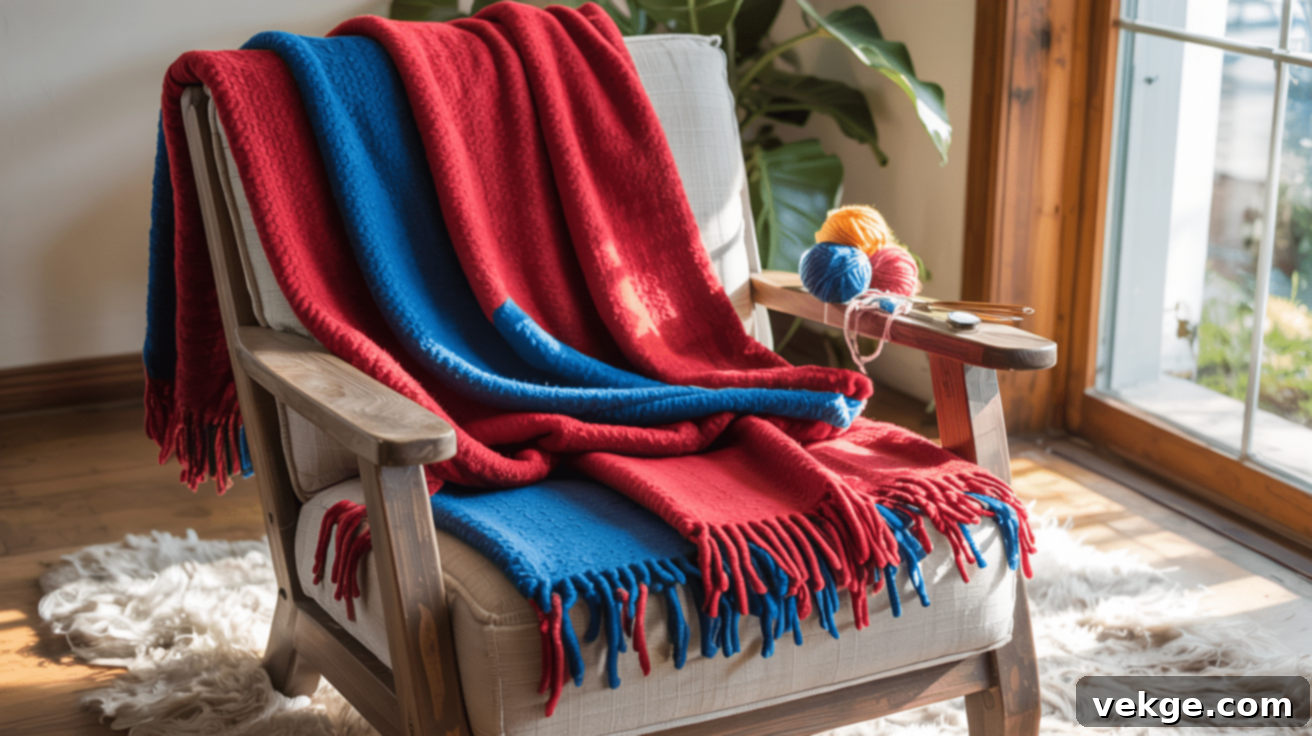
A handmade decorative throw blanket is a cozy addition that instantly adds warmth, texture, and a pop of color to any room. Begin by selecting a fabric that aligns with your specific needs: fleece for maximum warmth and softness, cotton for a lighter, breathable feel, or a durable blend for long-lasting use. For a super easy no-sew option, cut two equal-sized pieces of fabric, then create fringes along all four edges and tie them together with small, neat knots. If you prefer to sew, place two fabric pieces with their right sides facing each other, stitch around the edges leaving a small opening, then turn the blanket right-side out and hand-stitch the opening closed. Personalize your throw further with creative touches like embroidery, appliqué designs, or fabric paint. This simple and rewarding project allows you to create a useful, beautiful item that perfectly matches your exact color scheme and adds a delightful layer of comfort and personality to sofas, chairs, or beds.
26. Make a Wooden Spice Rack
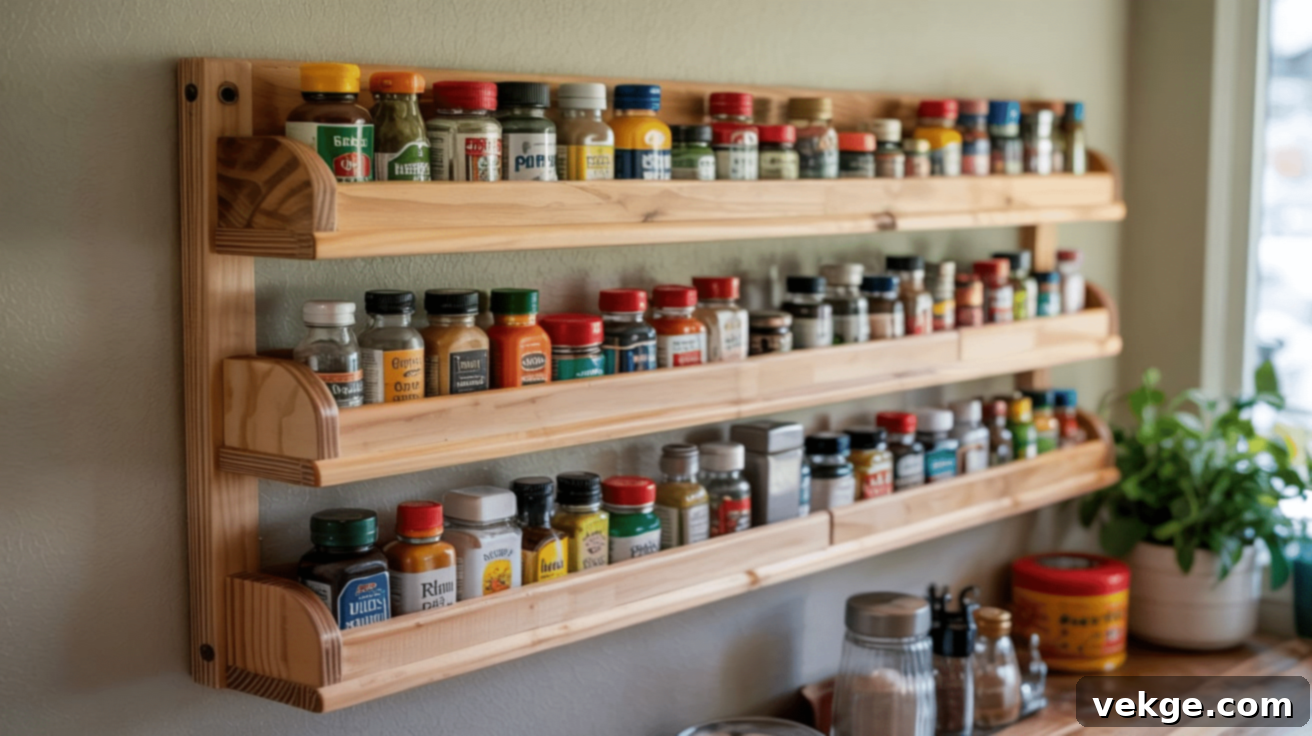
A custom-built wooden spice rack is an invaluable organizational tool for any kitchen, keeping your cooking ingredients neatly arranged and always within arm’s reach. Select thin wood boards for the shelves and sides, typically about 1/2-inch thick, which are ideal for housing spice jars. Design your rack with slightly angled shelves; this ingenious feature ensures that spice labels are easily visible from below. Carefully cut all the pieces according to your plan, sand them until impeccably smooth, and then assemble them using a combination of wood glue and small nails for sturdy construction. Add a subtle lip at the front edge of each shelf to prevent bottles from accidentally falling off. Finish the rack with food-safe paint or a clear sealer for protection and easy cleaning. Mount it securely to your kitchen wall by screwing into studs, or design a freestanding version for convenient counter placement. This practical project makes cooking more efficient and enjoyable, while adding a charming handcrafted touch to your kitchen decor.
27. Create a DIY Coffee Bar
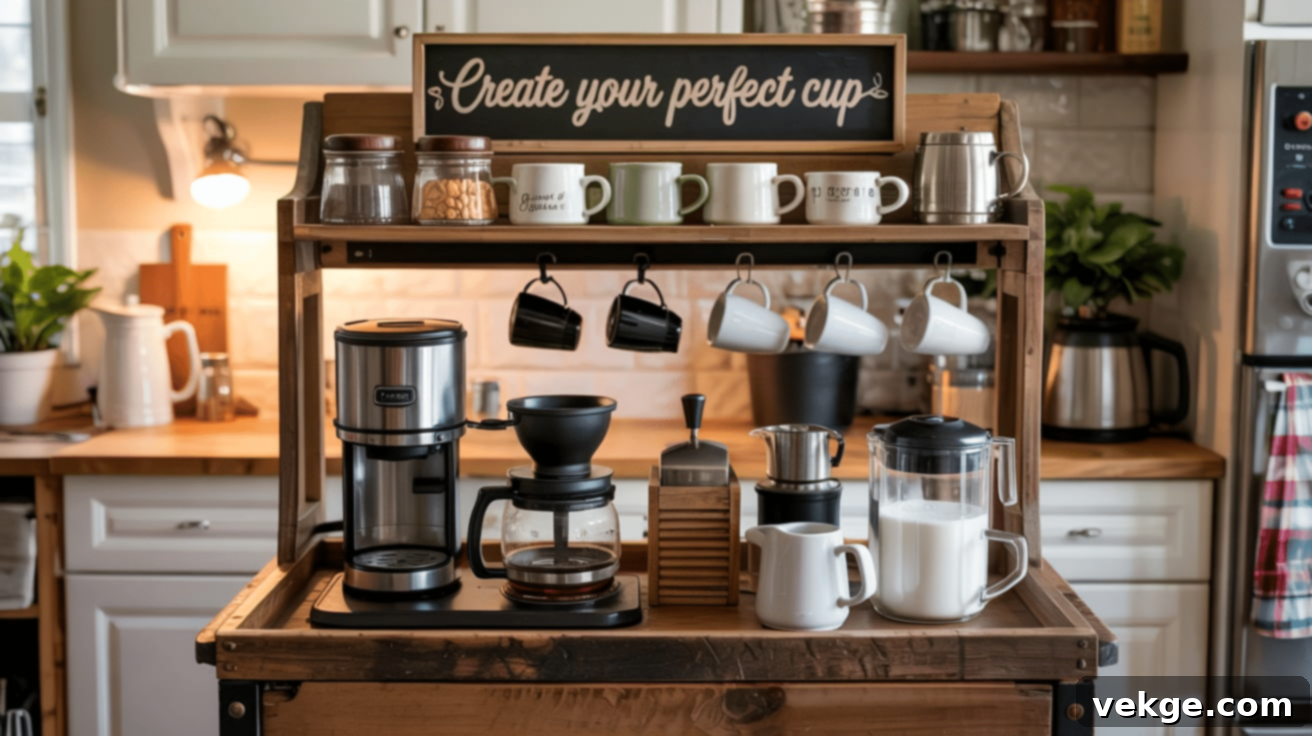
Bring the delightful ambiance of a coffee shop right into your home with a dedicated DIY coffee bar. Begin by choosing a suitable base: a small table, a mobile cart, or a creatively repurposed cabinet all make excellent foundations. Install shelving above or beside your base to neatly store mugs, saucers, and various coffee supplies. Integrate attractive storage containers for coffee beans, ground coffee, sugar, and other essentials. Add hooks underneath upper shelves for conveniently hanging mugs, keeping them accessible and adding a decorative touch. Ensure you have a power strip nearby for your coffee maker, grinder, milk frother, or other appliances. Personalize your coffee bar with charming signs, framed artwork, or photos of your favorite coffee shops. Keep frequently used items within easy reach for a seamless morning routine. This morning hub centralizes everything needed for your perfect cup, adding a fun and functional element to your kitchen or dining area.
28. Build a Ladder Shelf
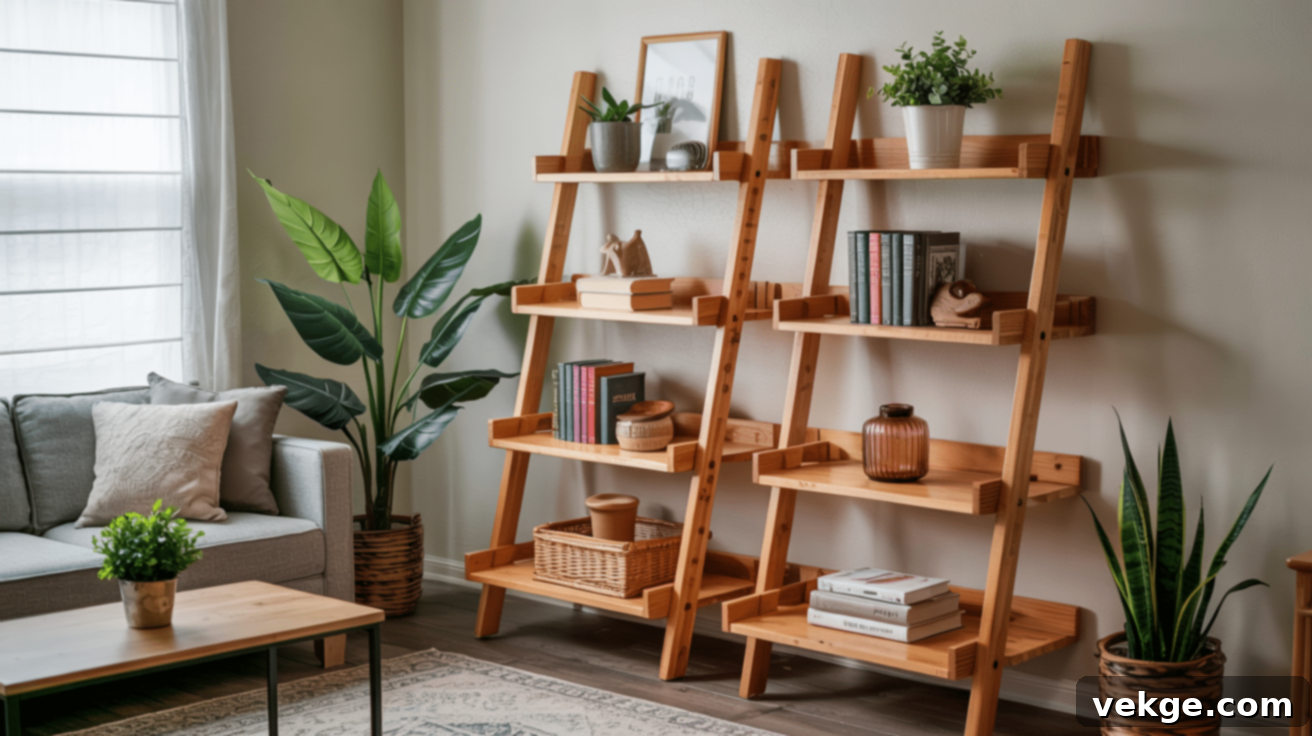
A ladder shelf is an exceptionally stylish and space-efficient solution that maximizes vertical storage while maintaining a minimal footprint. Begin by selecting lumber that beautifully complements your home’s existing decor; typically, 1x2s are used for the frame, and 1x10s or 1x12s for the shelves. Cut two long pieces for the sides, ensuring they have angled tops to create the distinctive ladder look, and then cut cross pieces for each shelf level. Thoroughly sand all individual parts before assembly, then securely attach the shelves to the frame, screwing from the back for a clean finish. For enhanced stability and safety, firmly attach the top of the ladder shelf to the wall using sturdy brackets. Finish the entire piece with a paint or stain that harmonizes with your room’s color scheme. Arrange your items thoughtfully, placing heavier objects on the bottom shelves for stability and lighter, decorative pieces on the higher shelves. This versatile and elegant piece works wonderfully in bathrooms, living rooms, or home offices, offering both storage and display opportunities.
29. DIY Wine Rack

A custom-built wine rack is a sophisticated addition to any home, ensuring your wine bottles are stored properly while adding a touch of personalized style to your space. Choose a robust wood type, such as pine or oak, that can reliably support the considerable weight of filled wine bottles. Design your rack with angled slots, a crucial feature that keeps corks moist by storing bottles horizontally, thereby preserving the wine’s quality. Cut all the pieces precisely according to your detailed plan, sand all edges until they are perfectly smooth, and then assemble the structure using wood glue and screws for maximum durability. Before finalizing the assembly, test the spacing with an actual wine bottle to ensure a perfect fit. Finish your wine rack with a stain or paint that complements your decor, but avoid strong-smelling finishes that could impact the wine. For freestanding units, ensure stability; for wall-mounted racks, anchor them securely into wall studs. This rewarding project not only saves money compared to store-bought racks but also perfectly accommodates your unique space and cherished bottle collection.
30. Install a Wall-Mounted TV Stand
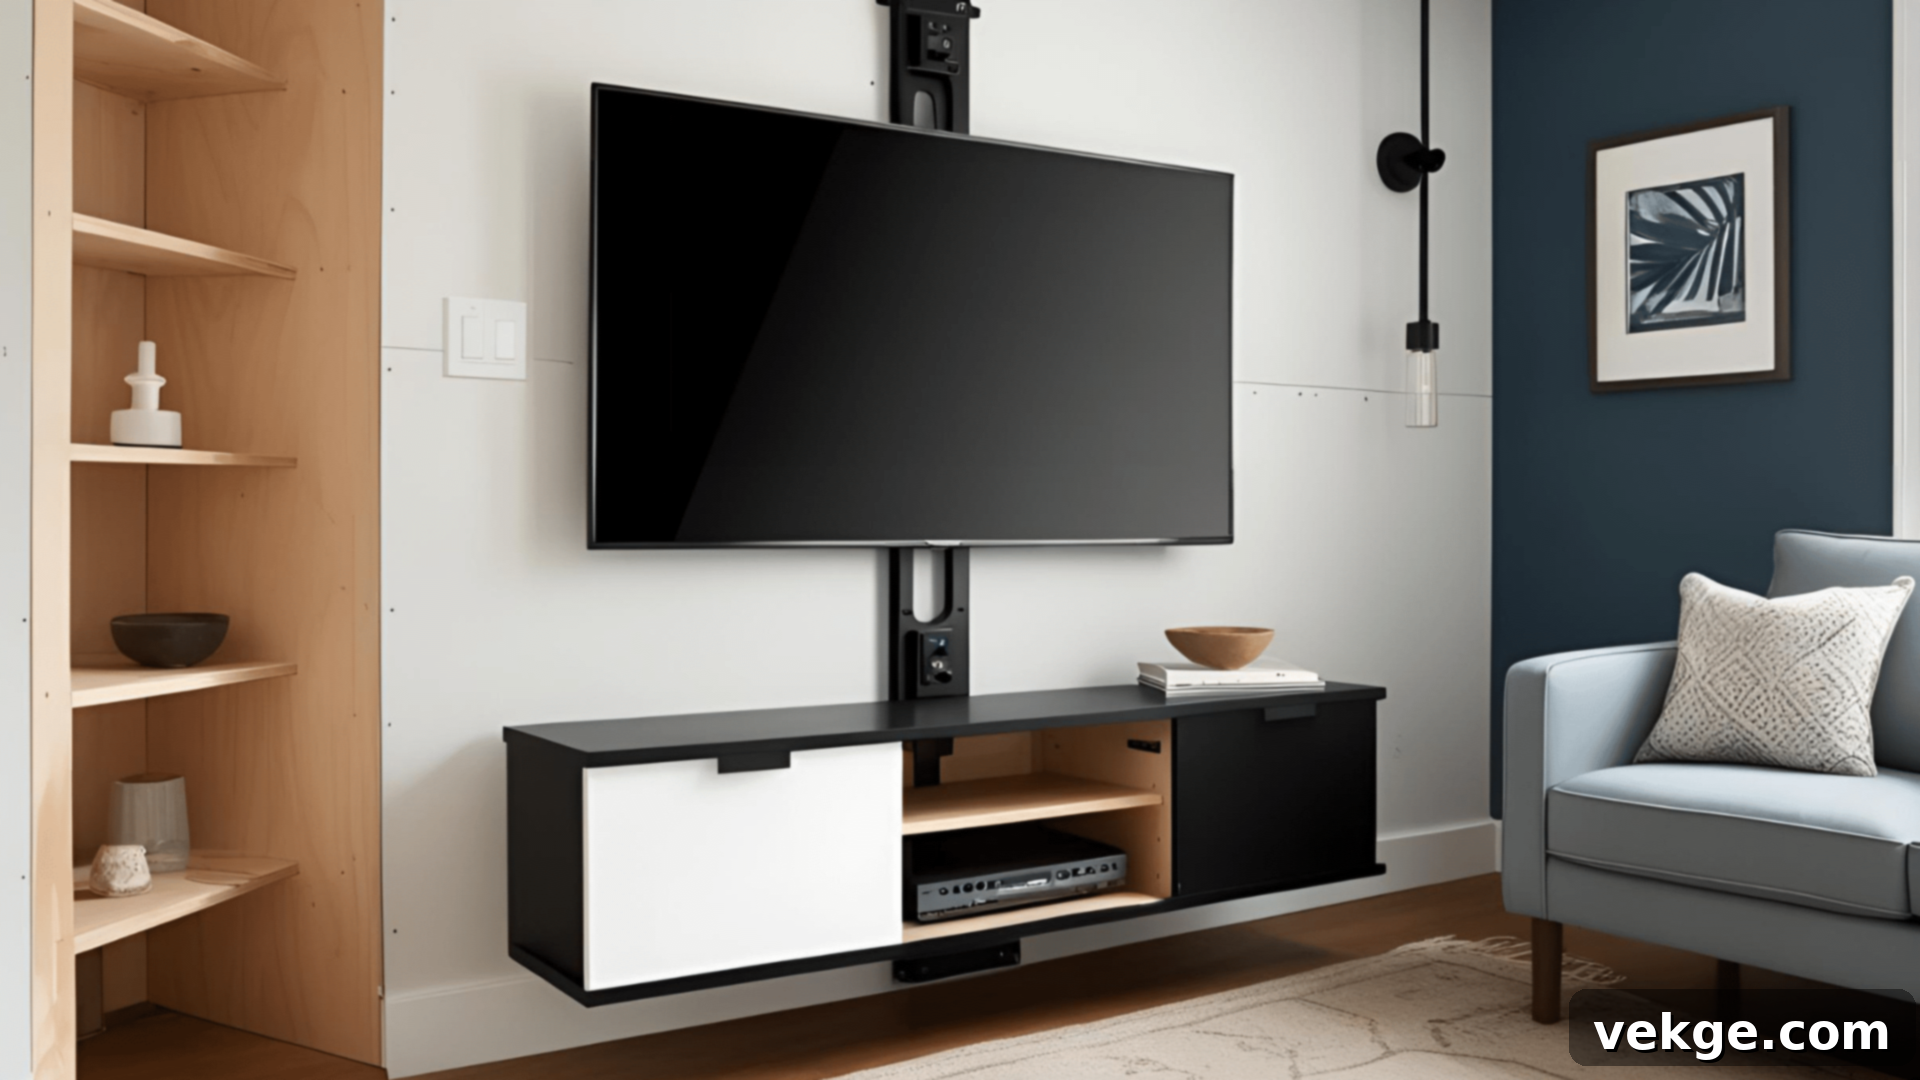
A wall-mounted TV creates a sleek, modern aesthetic in any living space while freeing up valuable floor area. The initial step is to purchase a high-quality mounting bracket that is specifically rated for your TV’s size and weight. Crucially, use a stud finder to locate and precisely mark the wall studs – never attempt to mount a TV directly onto drywall alone. Carefully follow the bracket manufacturer’s instructions regarding the optimal installation height and spacing for a comfortable viewing experience. Employ a level to ensure your mount is perfectly straight before securing it with robust lag bolts driven firmly into the studs. For a truly clean and streamlined look, plan for efficient cable management; this might involve installing cord covers or, if feasible, creating a small channel within the wall to conceal wires. This project creates a stunning floating appearance for your television, making rooms look larger, more organized, and wonderfully contemporary.
31. Create a DIY Desk Organizer
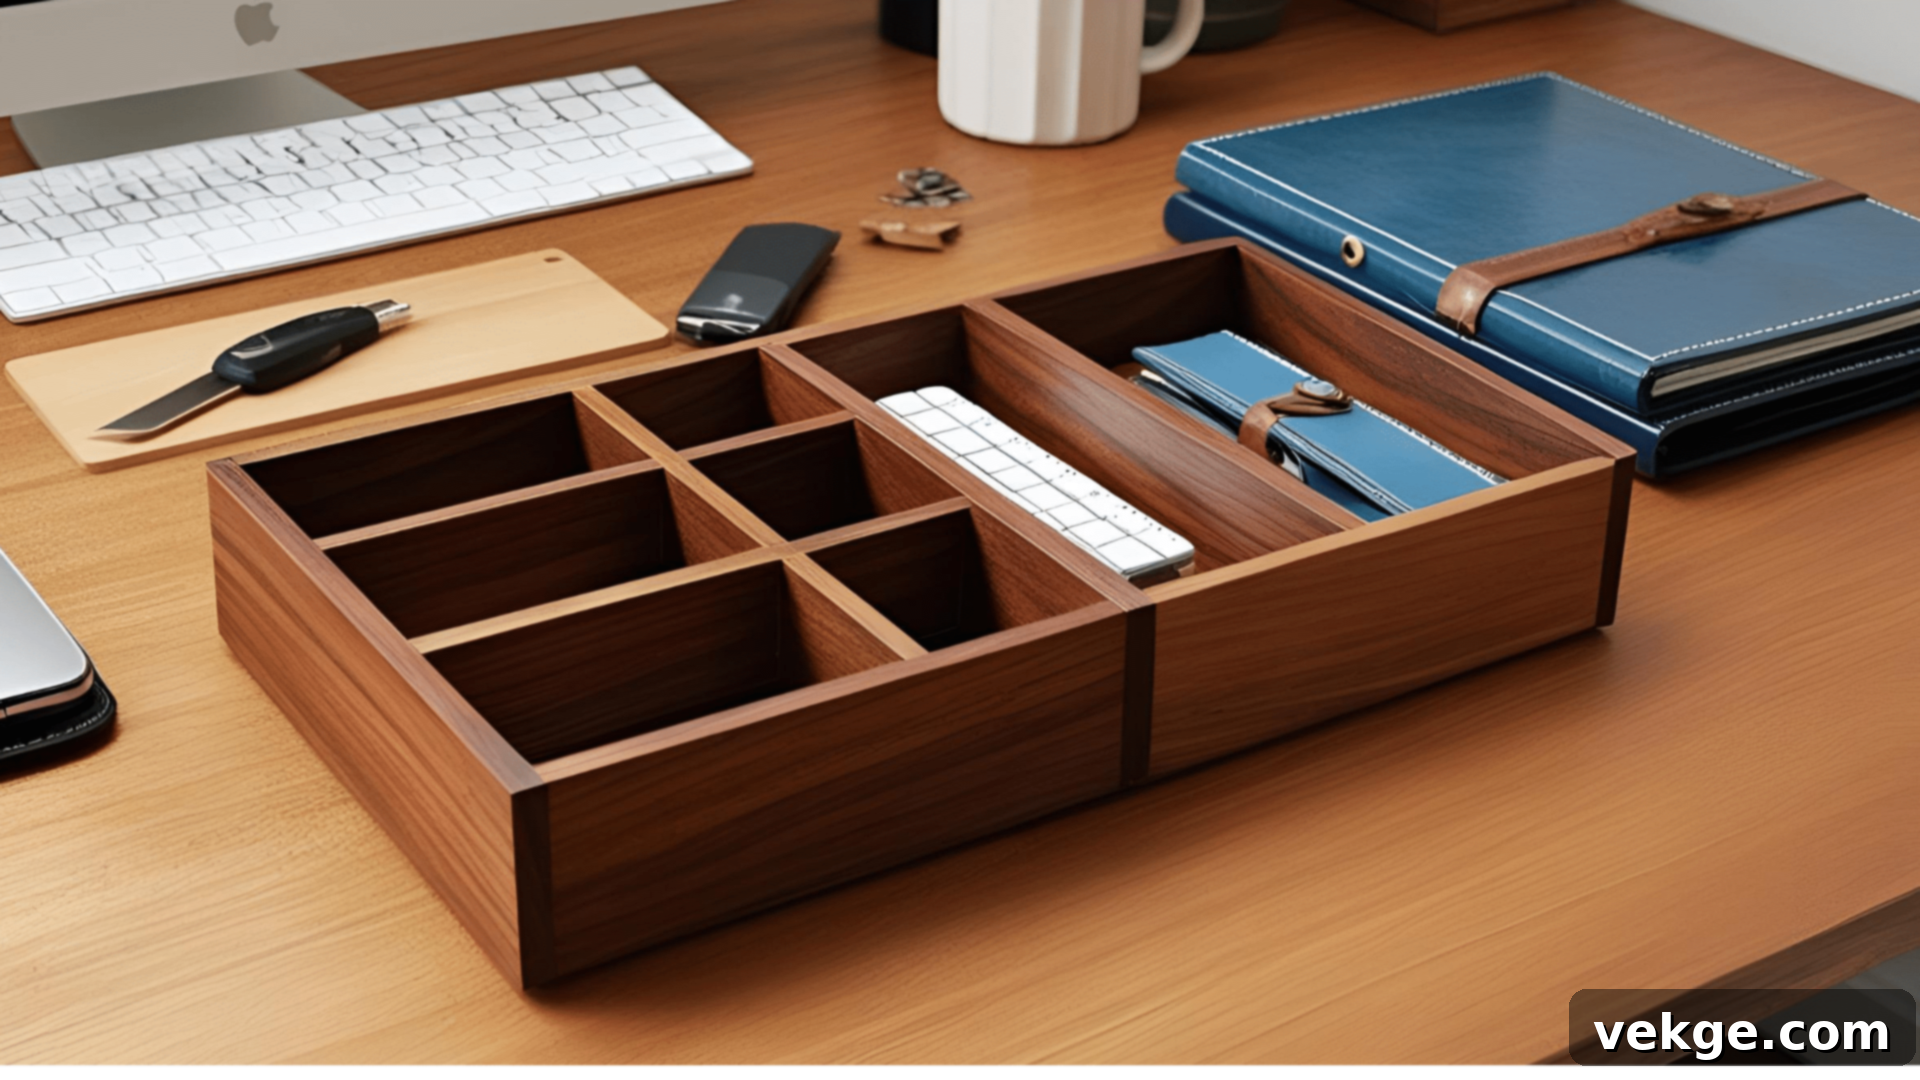
A custom-built desk organizer is an absolute game-changer for maintaining a neat, efficient, and inspiring workspace. Begin by choosing materials that perfectly match your desk style and personal preference, such as wood, acrylic, or cleverly upcycled containers. Measure the items you use daily – pens, paper clips, sticky notes, charging cables – to ensure you create compartments of the ideal size. For a wooden organizer, cut the base and various dividers, sand all the pieces until smooth, and then assemble them using wood glue for sturdy construction. Design specific sections for different categories of items. Consider incorporating a raised platform for your computer monitor, providing ergonomic benefits and creating additional storage space underneath for a keyboard or notebooks. Add a personal touch with a coat of paint or a decorative paper lining. This practical and customizable project saves precious time by keeping everything you need within easy reach during your work or creative sessions.
32. Build a Floating Nightstand
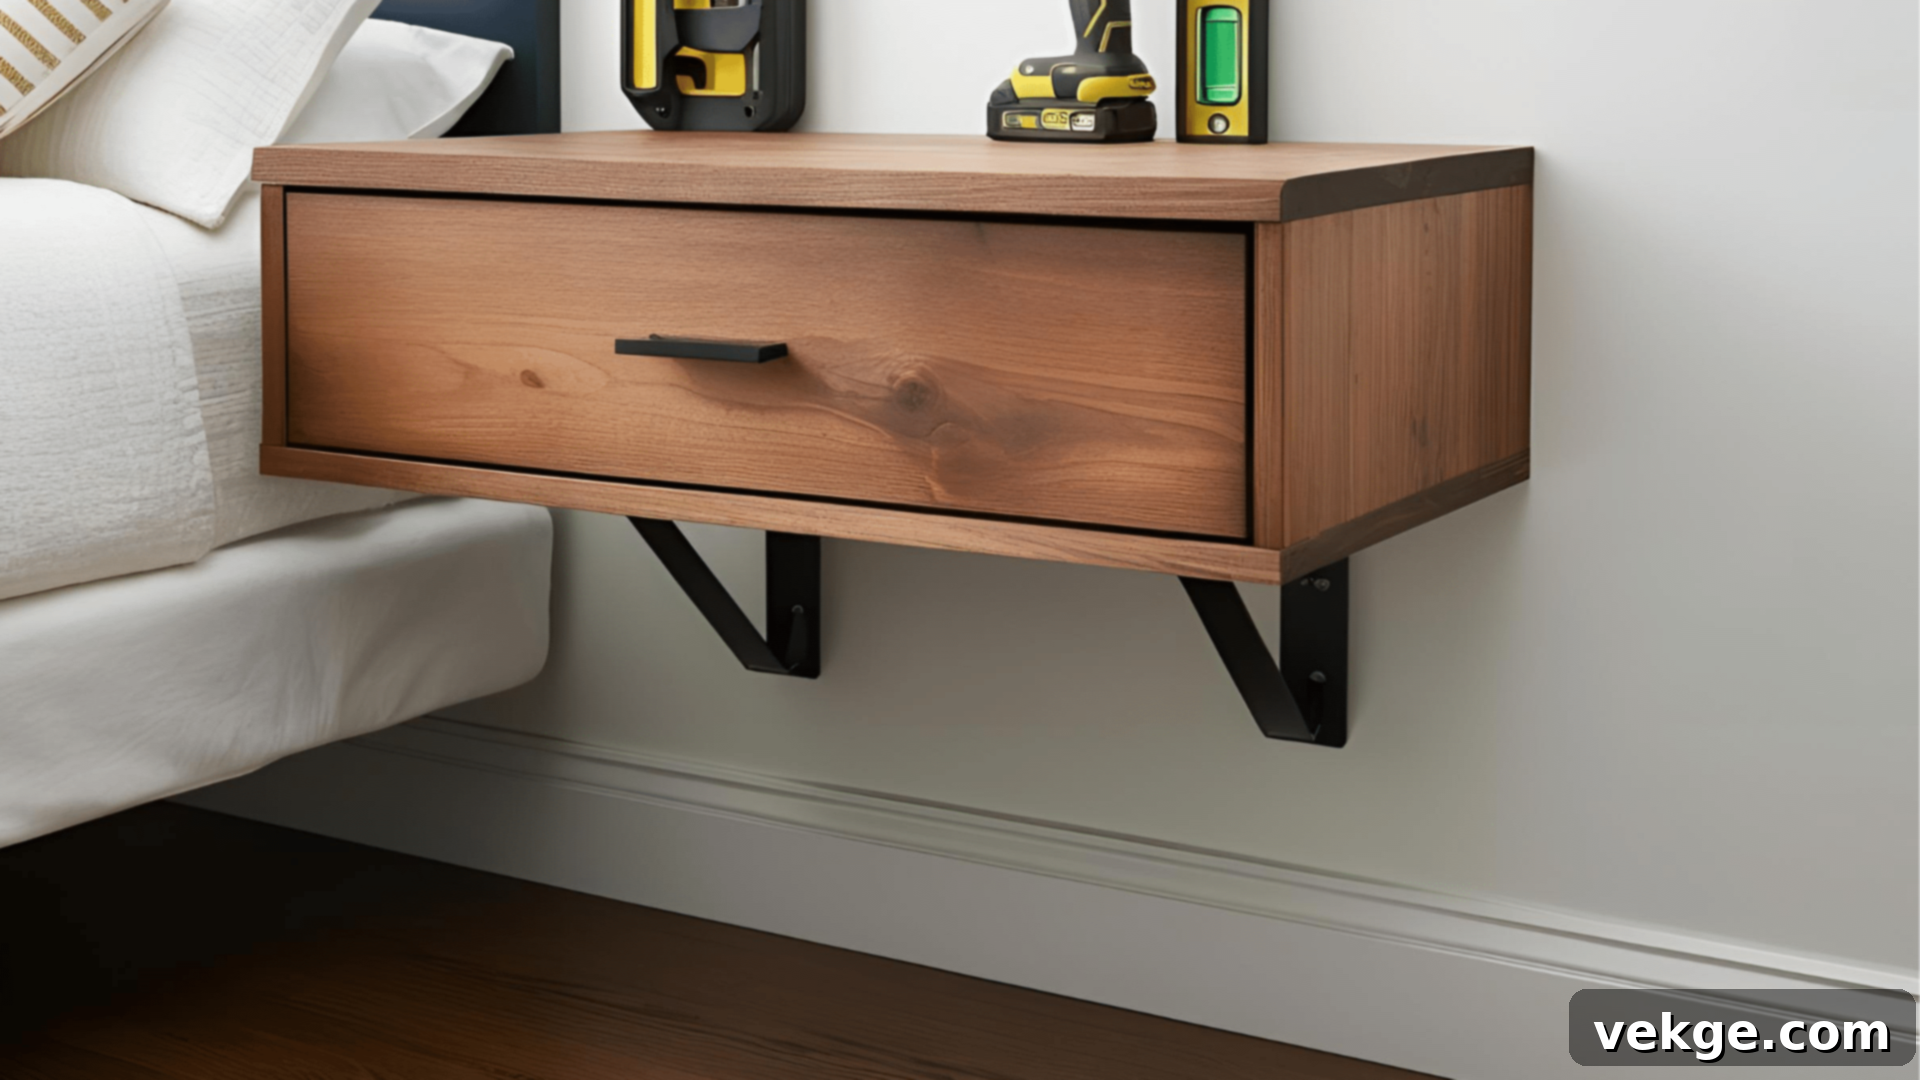
A floating nightstand is a brilliant design choice that not only saves valuable floor space but also contributes to a sleek, modern aesthetic in your bedroom. To construct one, you’ll need a sturdy wood panel for the top surface, reliable brackets for mounting, and essential tools including a drill, a level, and a stud finder. Cut your wood panel to the desired size, typically between 16-20 inches square, then sand all edges until they are perfectly smooth. Apply your chosen finish – paint, stain, or a clear coat – to match your bedroom decor. Carefully locate wall studs and precisely mark the mounting positions at your preferred height, usually level with the top of your mattress. Attach the brackets securely to the studs, always adhering to the manufacturer’s weight guidelines. Mount your finished wood top to the brackets, ensuring it is perfectly level. For added utility, consider incorporating a small drawer or an open shelf beneath the main surface for extra storage. This project creates a truly unique and functional bedside table that enhances the spaciousness and contemporary feel of your bedroom.
33. Make a DIY Potting Bench
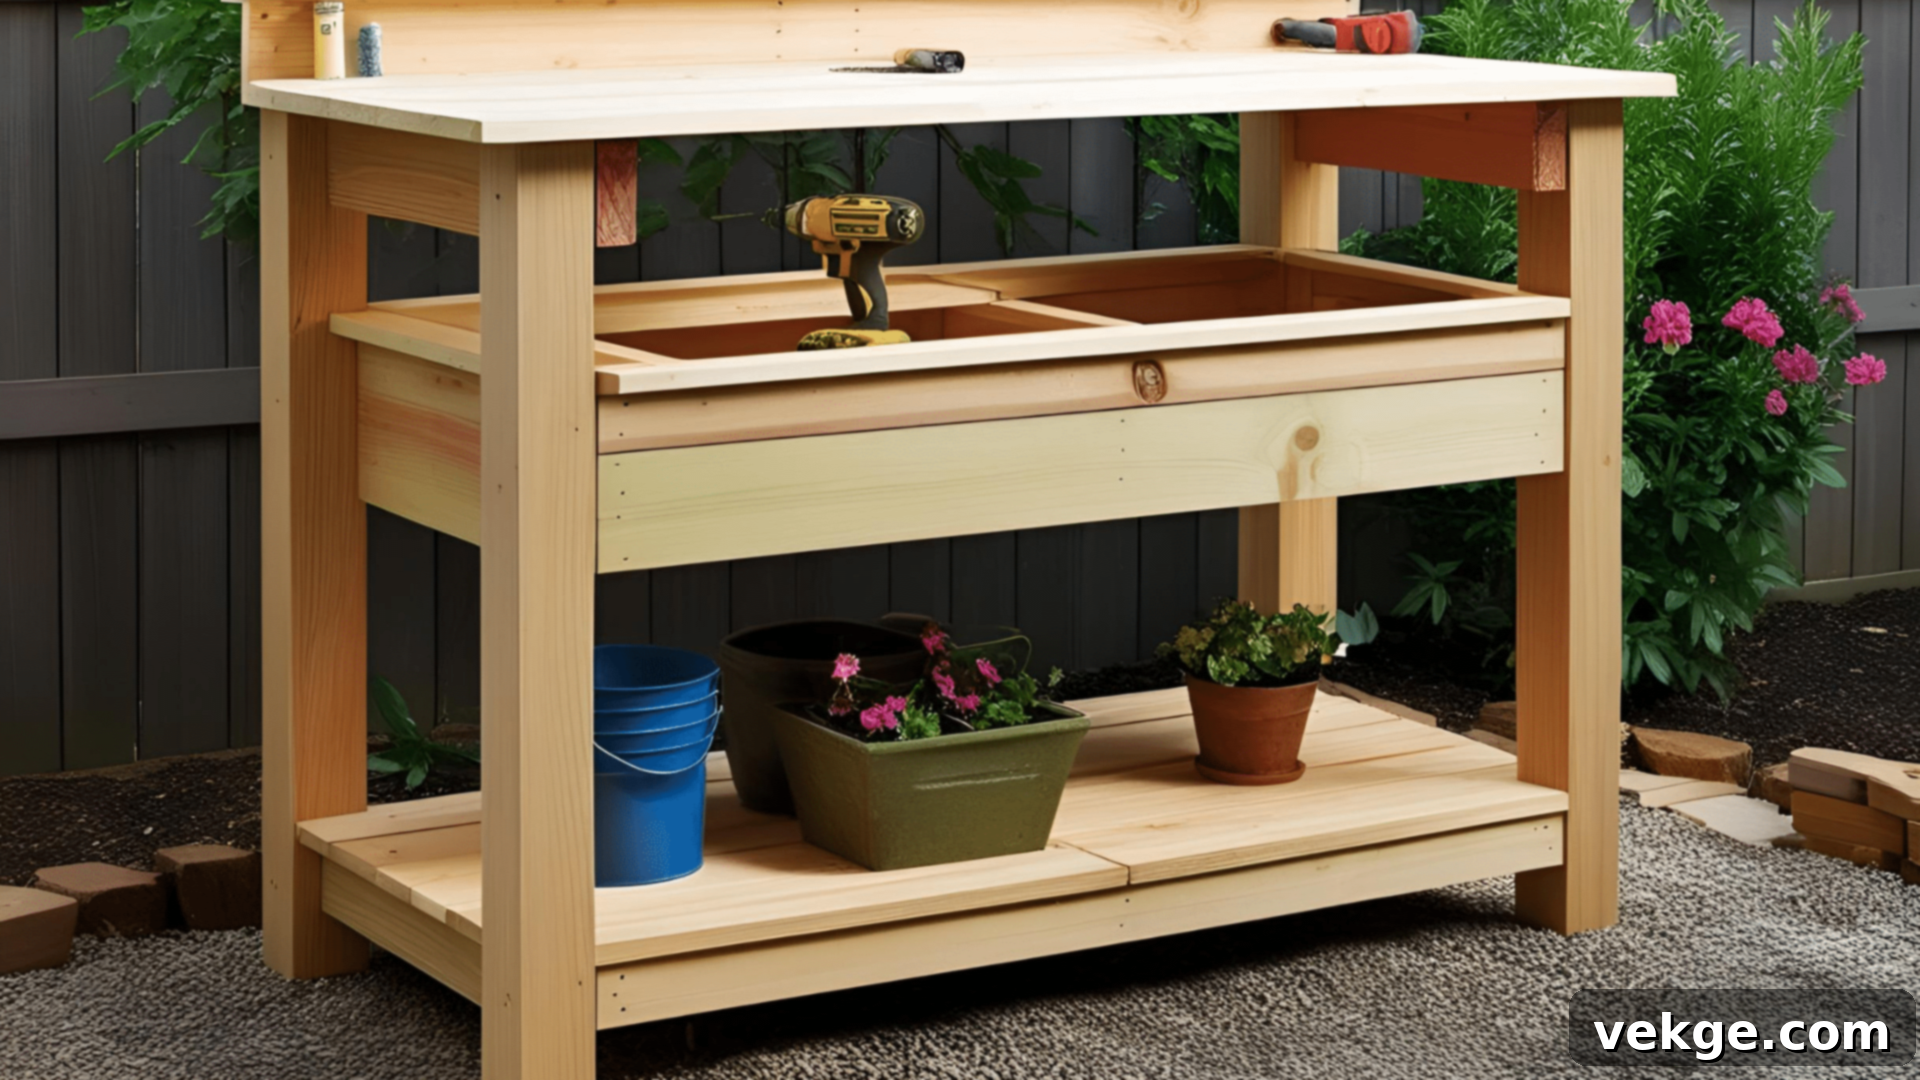
A DIY potting bench provides a dedicated and organized space for all your gardening tasks, making planting and tending to your plants much easier and more enjoyable. Select weather-resistant wood like cedar or pressure-treated pine to ensure longevity outdoors. You’ll need lumber for the main frame, a solid top work surface, and a lower shelf, along with screws, a saw, a drill, and sandpaper. Construct a sturdy frame that stands about waist-high, providing a comfortable working height. Add a solid top for potting activities and a robust lower shelf for conveniently storing pots, bags of soil, and other gardening essentials. Consider incorporating practical features like hooks for hanging hand tools and a small, easily accessible bin for soil or compost. If possible, position your potting bench near a water source. Finish the entire structure with an exterior-grade sealer to protect it from the elements. This incredibly useful station keeps your gardening supplies neatly organized while transforming tedious planting tasks into a more comfortable and back-friendly activity.
Maintenance Tips for Long-Lasting DIY Projects
Ensuring your DIY projects maintain their beauty and functionality over time requires a commitment to regular care and maintenance. For wooden items, weekly dusting with a soft cloth helps prevent grime buildup. For painted or stained wood, applying furniture wax or polish twice a year will protect the finish and restore its luster. Periodically, every few months, inspect all screws, bolts, and fasteners, tightening any that have become loose from regular use. Promptly address any paint chips, scratches, or minor damages as soon as they appear to prevent further deterioration and moisture ingress. For outdoor projects, a seasonal cleaning is essential, followed by reapplication of a weather sealant or protective finish annually to guard against rain, sun, and temperature fluctuations. Fabric components, such as cushions or throw blankets, should be cleaned according to their specific material requirements – some may be machine-washable, while others require gentle spot-cleaning. Finally, keeping photographs of your completed projects can be surprisingly helpful; they serve as a visual reference point for how things should look if repairs or touch-ups are needed down the line, aiding in accurate restoration.
Common DIY Project Mistakes to Avoid
The excitement of starting a new DIY project is contagious, but even seemingly minor errors can significantly impact your results, leading to frustration and wasted resources. By becoming aware of these common pitfalls, you can approach your projects with greater confidence, create higher-quality, longer-lasting items, and achieve success from your very first attempt. Investing a little extra time in proper planning and preparation upfront will undoubtedly save you both money and headaches in the long run.
- Skipping Proper Measurements: Rushing into cutting materials without double-checking measurements often leads to ill-fitting pieces and wasted wood. Always measure twice, or even thrice, before making a single cut.
- Using the Wrong Tools: Employing an incorrect tool for a specific task can damage your materials, the tool itself, or even cause injury. Ensure you have the right tool for the job, and know how to use it safely.
- Forgetting to Sand Wood: Neglecting to properly sand wood before applying paint or stain results in a rough, uneven finish that won’t absorb color uniformly and can splinter. Sanding creates a smooth, professional surface.
- Applying Too Much Paint: Laying down one thick coat of paint instead of multiple thin layers leads to drips, uneven coverage, and a longer drying time. Thin coats dry faster and create a much smoother, more durable finish.
- Choosing Incorrect Fasteners: Using the wrong type, size, or length of screws or nails for your project can compromise its structural integrity, leading to instability or premature failure. Match fasteners to the material and load.
- Skipping the Primer Step: Especially when painting over dark colors, glossy surfaces, or raw wood, skipping primer can lead to poor paint adhesion, uneven color, and requiring more coats of topcoat. Primer creates an ideal base for your paint.
Conclusion
DIY projects offer a truly rewarding path to enhancing your home’s aesthetics and functionality without straining your finances. By embracing careful material selection, diligently following step-by-step instructions, and proactively avoiding common beginner mistakes, you empower yourself to craft personalized, functional pieces that breathe new life into your living spaces. Remember, patience is not just a virtue in DIY; it is an essential tool that ensures quality and enjoyment.
Every project you undertake, regardless of its scale, is an opportunity to cultivate new skills, build confidence, and deepen your connection with your home as you make it truly and uniquely yours. The satisfaction of stepping back to admire something you’ve built with your own hands is unparalleled. Now, the only thing left to do is choose your next exciting project, gather your materials, and immerse yourself in the fulfilling process of building something special!
