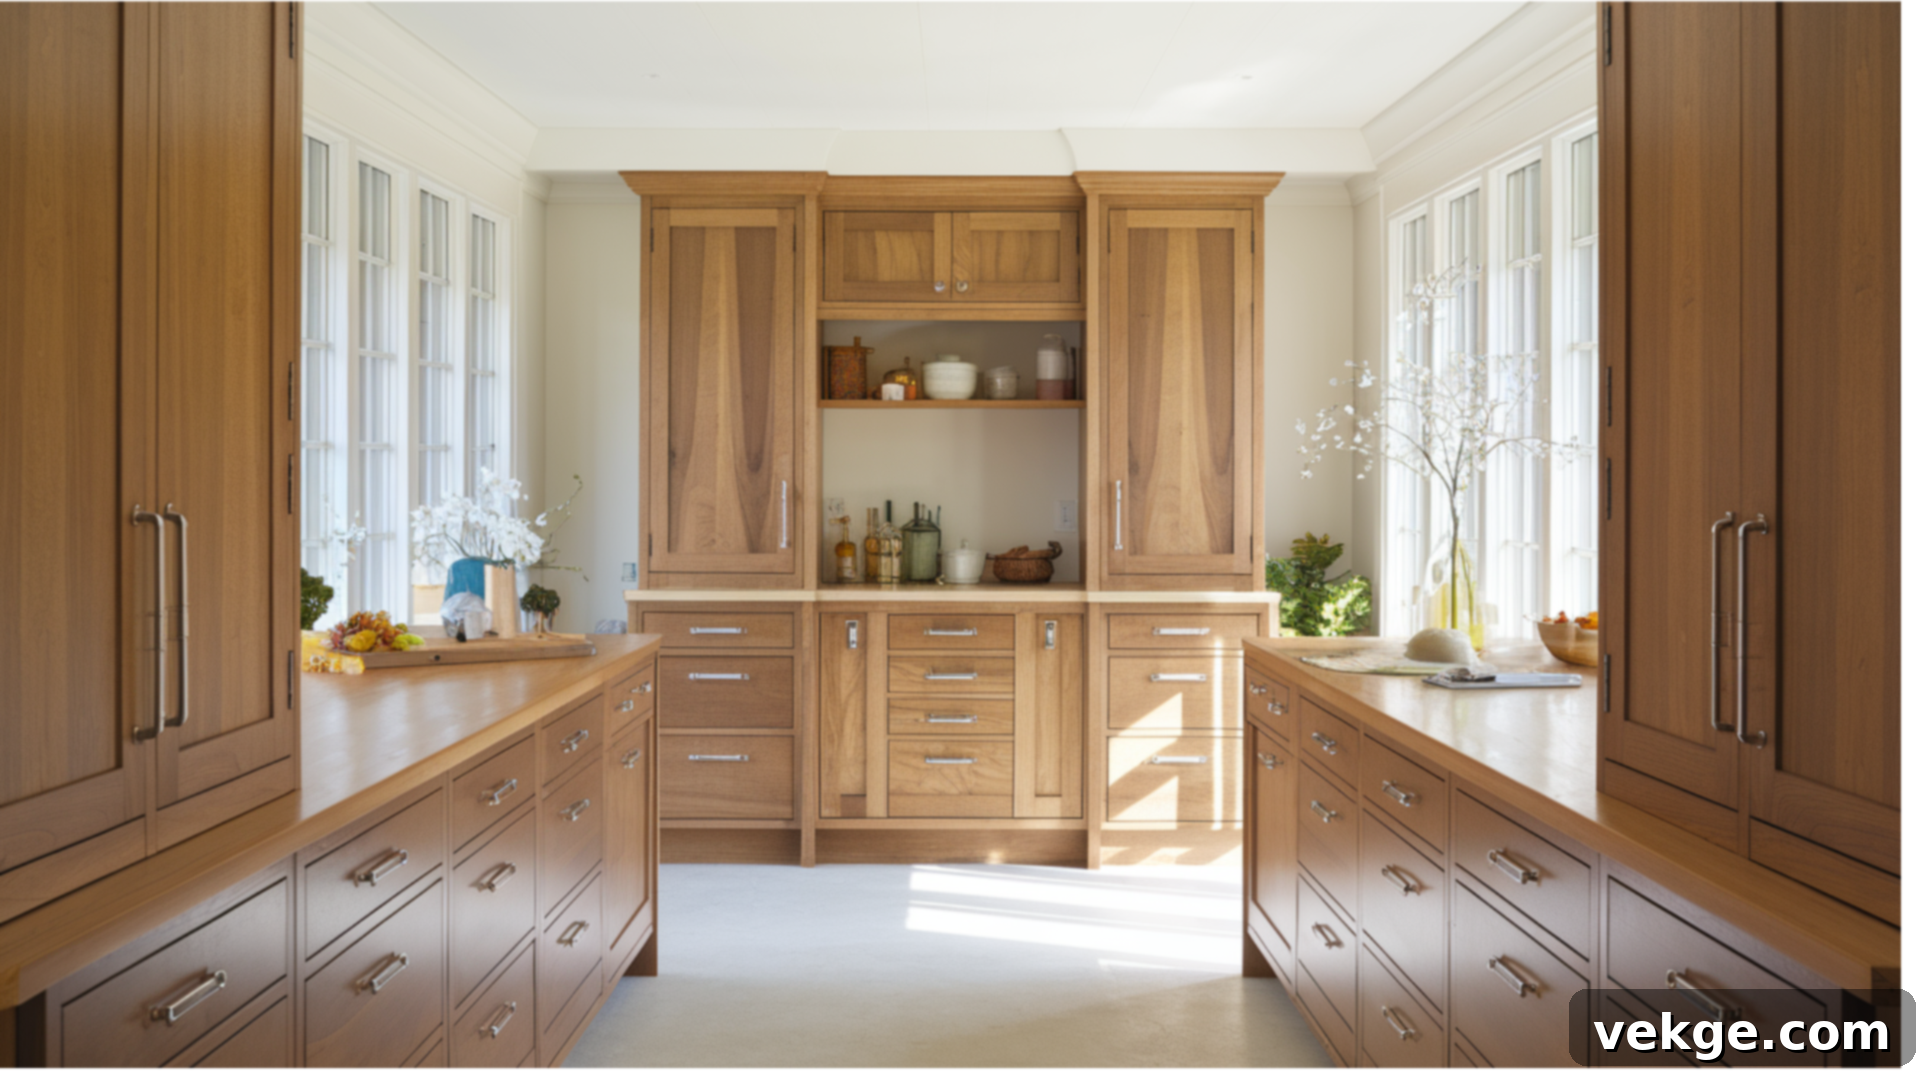
DIY Cabinet Staining: A Complete Guide to Refresh Your Kitchen & Home
A fresh coat of stain can dramatically transform the entire aesthetic of your cabinets, breathing new life into tired spaces. It’s a remarkably effective and budget-friendly way to make old cabinets look clean, updated, and vibrant again, completely bypassing the significant cost and disruption of a full replacement. This DIY project is highly popular among homeowners because it accentuates the natural beauty of wood, introducing warmth and character into any room, and significantly boosts home value.
Even if you’re new to home improvement projects, staining cabinets is a manageable task that yields impressive results with the right guidance. In this comprehensive guide, we’ll walk you through the entire process of staining your cabinets, from initial preparation to the final touches. We’ll provide easy-to-follow steps, invaluable expert tips, and a detailed list of all the necessary materials. By undertaking this project, you’ll not only save a substantial amount of money but also imbue your kitchen or any other space with a brand-new, refreshed feel. Let’s delve into the specifics of how to achieve this stunning transformation and give your home a personalized touch.
Understanding the Benefits of Stained Cabinets
Stained cabinets are treated with a specialized wood stain that penetrates the wood’s surface, rather than simply coating it. This process deeply enriches the natural grain patterns, highlighting their unique beauty, and imparts a rich, lasting color. Unlike paint, which completely covers the wood, stain allows the intricate texture and character of the wood to remain visible, resulting in a refined and authentic appearance.
This method is a highly favored choice for homeowners looking to rejuvenate their living spaces without obscuring the natural wood grain or undertaking a costly and time-consuming full cabinet replacement. The appeal of stained cabinets lies in several key advantages, making them a wise investment for any home:
- Cost-Effectiveness: Staining offers one of the most budget-friendly avenues to update the look of your cabinets. It delivers a significant aesthetic upgrade and a fresh, custom appearance without the hefty price tag associated with purchasing and installing new cabinetry. This makes a major impact on your home’s appeal for a fraction of the cost.
- Enhanced Durability & Protection: When properly applied and sealed with a protective topcoat, stained cabinets are exceptionally durable. The finish penetrates the wood, providing a robust layer of protection against daily wear and tear, moisture, and minor scratches. This makes them an ideal and long-lasting option for high-traffic areas such as kitchens, bathrooms, and utility rooms, ensuring your investment stands the test of time.
- Timeless Natural Look: Stain celebrates and enhances the inherent beauty of real wood. It brings out the unique grain patterns, knots, and natural variations, giving your cabinets a warm, inviting, and timeless finish. This classic aesthetic seamlessly integrates with a wide array of interior design styles, from rustic farmhouse to modern contemporary, ensuring your home always looks sophisticated.
- Easy Maintenance: Stained surfaces are generally easy to clean and maintain. Their durable finish repels spills and dirt, making a simple wipe-down with a damp cloth often sufficient to keep them looking pristine. This low-maintenance aspect is particularly appealing for busy households.
- Increased Home Value: Updating your kitchen or bathroom cabinets is one of the most effective ways to increase your property’s value and appeal to potential buyers. A professional-looking stained finish can significantly contribute to this.
Is Staining Kitchen Cabinets the Right Choice for Your Home?
While staining cabinets offers a fantastic opportunity for an impactful home upgrade, it’s crucial to evaluate its suitability for your specific situation. Consider your existing cabinets, your budget, time commitment, and desired outcome before making a decision.
When to Opt for Cabinet Staining
Staining is an excellent choice if your current cabinets are structurally sound and in decent overall condition. This means minimal deep scratches, dents, or significant water damage that would be difficult to repair. It’s particularly ideal if you appreciate the authentic look of natural wood and wish to enhance, rather than hide, its grain. For homeowners seeking a budget-friendly way to refresh their space and who are comfortable with a hands-on DIY project, staining provides immense satisfaction and value. It’s also perfect for cases where you’re happy with your current cabinet layout and simply want a cosmetic update without altering the structure.
Potential Drawbacks and Considerations
It’s important to approach cabinet staining with realistic expectations. This project requires a significant investment of time, patience, and careful attention to detail. Unlike paint, stain does not conceal surface imperfections; instead, it tends to highlight them. This means any existing flaws like deep scratches, dings, or uneven patches in the wood will likely remain visible, or even become more pronounced, after staining. Furthermore, once a color is applied, it’s very difficult to change without stripping the wood entirely, which is a laborious process. Cabinets made from particle board, MDF, or those covered with a laminate veneer may not absorb stain properly or at all, making staining an unsuitable option for them. These materials typically require specialized primers and paint rather than stain.
Before committing, carefully consider your budget, the amount of time you can realistically dedicate, and the current condition and material of your cabinets. If these factors align favorably, staining could be an incredibly rewarding and transformative way to update your space without the need for extensive and costly remodeling. If your cabinets are severely damaged or made of non-wood materials, painting or refacing might be more appropriate.
Exploring Types of Wood Stain for Cabinets
Choosing the right type of wood stain is paramount to achieving your desired look and ensuring durability. Each stain type offers unique characteristics in terms of application, appearance, and drying time. Understanding these differences will help you select the best product for your cabinet project. Here’s a detailed overview of the most common options available:
| Stain Type | Ideal For | Key Considerations & Benefits | Application Notes |
|---|---|---|---|
| Oil-Based Stain | Achieving deep, rich, and long-lasting color. Excellent for hardwoods like oak, cherry, and maple where a traditional, warm finish is desired. Known for enhancing wood grain beautifully and offering superior durability. | Requires longer drying times (up to 8-12 hours or more between coats), emits stronger fumes, and requires mineral spirits for clean-up. Provides a very durable, penetrating finish that resists wear. | Applies smoothly, allows ample working time before wiping off excess. Can be layered for deeper color saturation. Use natural bristle brushes. Ensure good ventilation. |
| Water-Based Stain | Faster projects and easier clean-up. Ideal for softwoods or when a wider range of colors, including pastels or vibrant hues, is desired. Environmentally friendly with low VOCs and less odor. | Dries very quickly (1-3 hours), which can make application challenging for even coverage, requiring faster work. May cause wood grain to “raise,” potentially requiring light sanding after the first coat. Less durable than oil-based if not properly sealed. | Apply quickly and evenly. Work in small sections to avoid lap marks. Cleans up with water. Use synthetic brushes. |
| Gel Stain | Vertical surfaces, challenging woods (like pine or veneer), and projects where even absorption is difficult. Its thick consistency minimizes drips and blotching, offering more control. | Thicker consistency means it might not penetrate as deeply as traditional stains, sitting more on the surface like a thin paint. Can be harder to spread evenly if not accustomed to its texture. Excellent for achieving uniform color on blotch-prone woods. | Apply with a brush or rag, then wipe off excess for desired color depth. Great for achieving a more uniform color. Minimal drips, making it user-friendly for doors and frames. |
| Wood Dye | Achieving bright, vibrant, or custom colors that pop. Dyes penetrate deeply and offer excellent clarity, allowing the wood grain to show through vividly without obscuring it. | Fades faster than pigment stains if not adequately protected with a strong, UV-resistant topcoat. Can be less forgiving if application is uneven, as it penetrates quickly and deeply. Offers brilliant, transparent color. | Often applied by spraying or with a foam brush for even coverage. Dries quickly. Requires a robust clear coat for UV protection and durability, especially on kitchen cabinets. |
Instead of focusing solely on the features of each stain, consider what matters most for your specific project: do you prioritize speed and easy clean-up, deep and lasting color saturation, simple application on tricky surfaces, or a unique, vibrant color profile? The right stain depends entirely on the aesthetic you aim to achieve, your project timeline, the type of wood you’re working with, and the level of durability and maintenance you’re willing to commit to. Select the option that best aligns with your priorities and complements your home’s style for a truly successful cabinet transformation.
How to Stain Kitchen Cabinets: A Detailed Step-by-Step Guide
Staining your cabinets is a deeply rewarding DIY project that can significantly elevate the look of your kitchen or any room. Follow this comprehensive step-by-step guide to ensure a smooth process and professional-looking results. Patience and meticulous attention to detail are your best allies.
Tools and Materials Required
Before you begin, gather all your essential tools and materials. Having everything at hand will prevent interruptions and make the process more efficient, ensuring a seamless workflow:
- Screwdriver (Manual or Power Drill): For safely removing cabinet hardware (doors, drawer fronts, hinges, knobs, handles). A power drill with appropriate bits can speed up the process.
- Mineral Spirits or Heavy-Duty Degreaser: Essential for thoroughly cleaning greasy or grimy surfaces, crucial for proper stain adhesion.
- Plenty of Soft, Clean Cloths or Rags: For cleaning, applying stain (if using a wiping method), and wiping off excess. Microfiber cloths are excellent.
- 220-grit Sandpaper (and potentially 150-grit, 320-grit): 220-grit for light sanding to prep the wood surface. 150-grit for more stubborn areas. Finer grits (320-400) can be used between coats of topcoat for extra smoothness.
- Tack Cloth or Lint-Free Rag: Crucial for removing every last speck of sanding dust before staining, preventing a bumpy finish.
- Wood-Tone Touch-Up Pen (optional): To address any minor imperfections, scratches, or faded areas that might show through the stain. Choose a color close to your desired final stain.
- Wood Stain of Choice: A combination stain and polyurethane product can save time. Alternatively, separate wood stain and a clear polyurethane (or other topcoat) for maximum durability.
- Stir Stick: For thoroughly mixing the stain, ensuring pigments are evenly dispersed.
- Quality Bristle Brush: Choose a fine, tightly packed natural bristle brush for oil-based stains, or a synthetic brush for water-based products. A good brush is vital for smooth, even application without streaks.
- New Knobs, Handles, and Hinges (optional): An excellent opportunity to update your hardware for a completely fresh and modern look, complementing your newly stained cabinets.
- Protective Gear: Chemical-resistant gloves, safety glasses, and a respirator mask (especially for oil-based products) are essential for safety due to fumes and skin contact.
- Drop Cloths or Plastic Sheeting: To protect your floors, countertops, and surrounding furniture from spills and drips.
- Painters Tape (Blue Tape): To mask off adjacent walls, appliances, or cabinet interiors you don’t want to stain.
- Work Area Setup: Tarps or old sheets to lay doors/drawers flat for drying. Sawhorses or blocks to elevate pieces.
Step 1: Remove Hardware and Thoroughly Clean Cabinet Surfaces
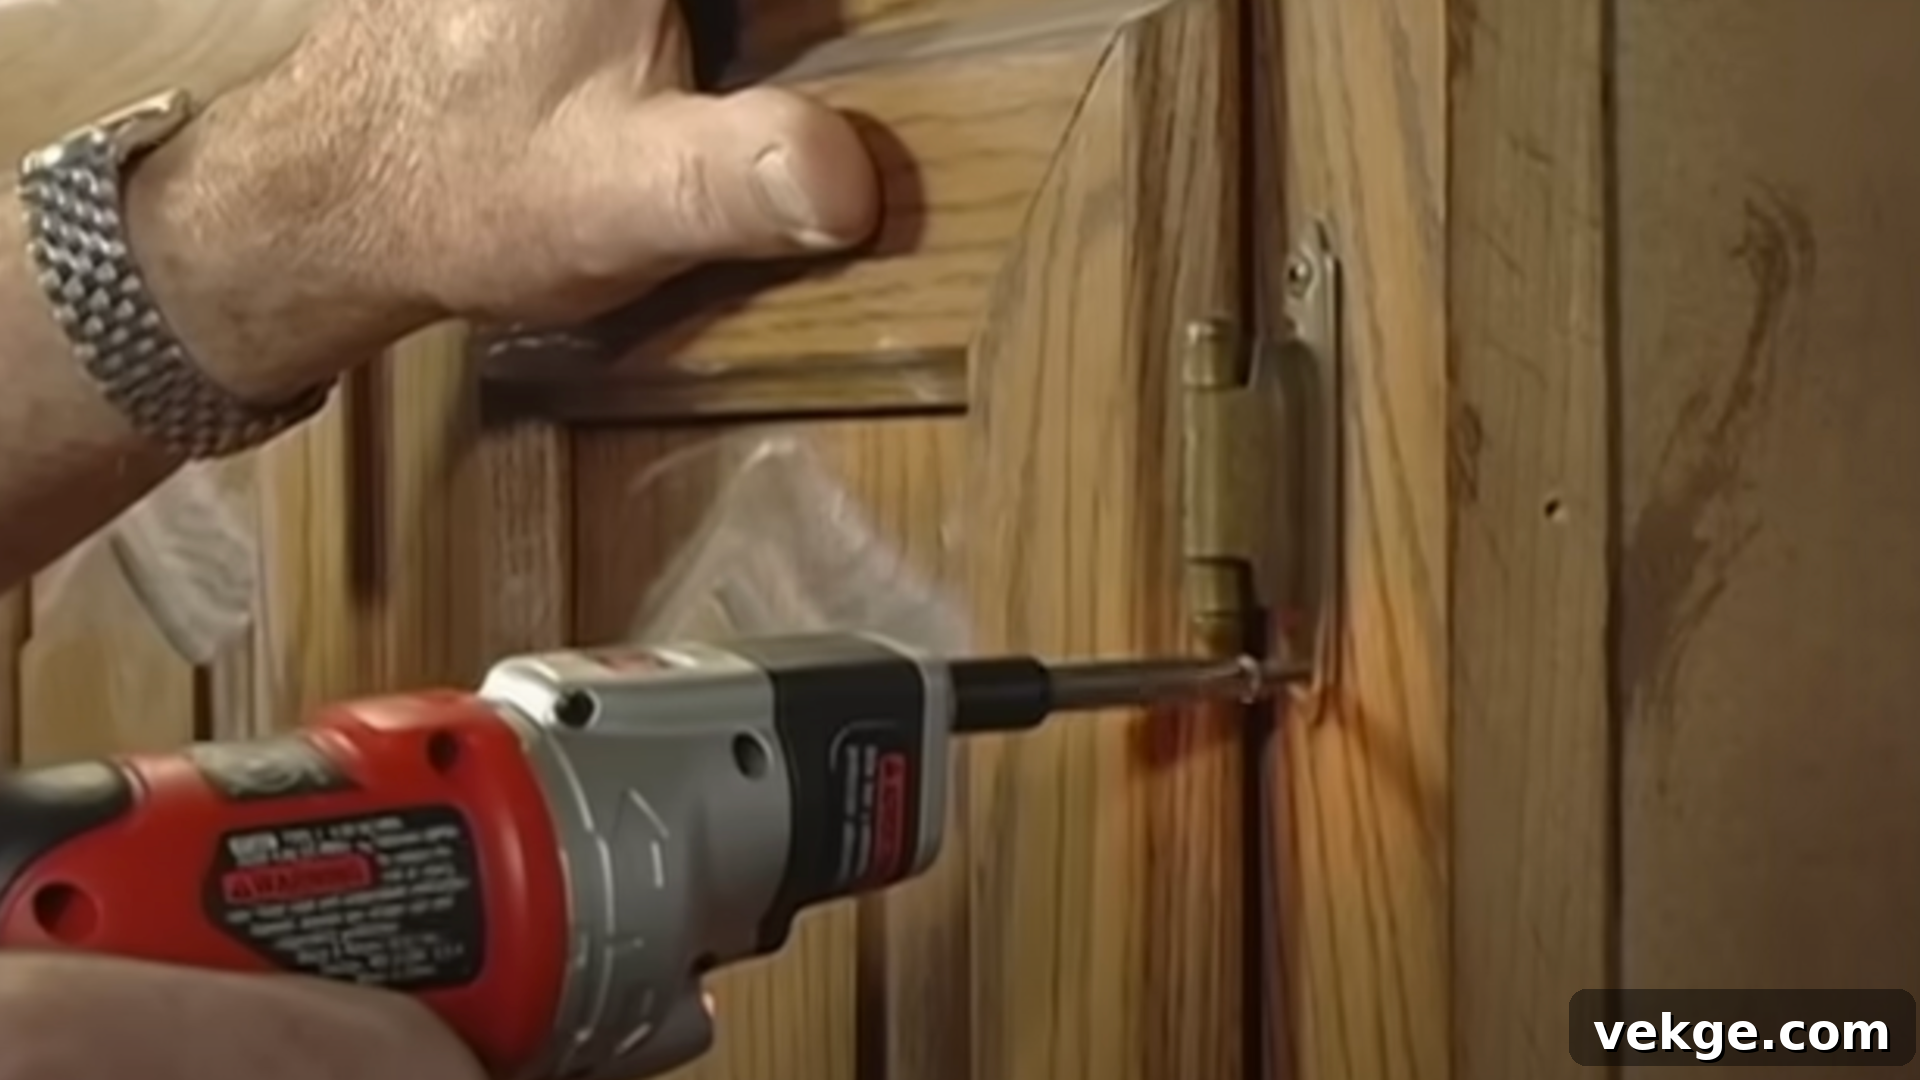
Begin by carefully removing all cabinet doors, drawer fronts, knobs, handles, and hinges using your screwdriver. It’s highly recommended to label each piece as you remove it (e.g., “Upper Left Door,” “Drawer 1”) and place corresponding small parts (screws, hinges) into separate, labeled bags or containers. This meticulous organization will make reassembly much smoother and prevent any mix-ups.
Once all components are detached, thoroughly clean all cabinet surfaces, both the frames and the removed doors/drawer fronts. Grease, grime, and kitchen residue can prevent the stain from adhering properly, leading to an uneven finish. Use a soft cloth dampened with mineral spirits or a good quality degreaser, paying special attention to areas around the stove, sink, and handles where grease tends to accumulate. Wipe each area two or three times, turning the cloth frequently to avoid spreading dirt. Allow all parts to dry completely – this is a critical step to ensure optimal stain penetration and a smooth, professional-looking outcome. Good ventilation during cleaning is also advised.
Step 2: Sand, Remove Dust, and Touch Up Worn Areas
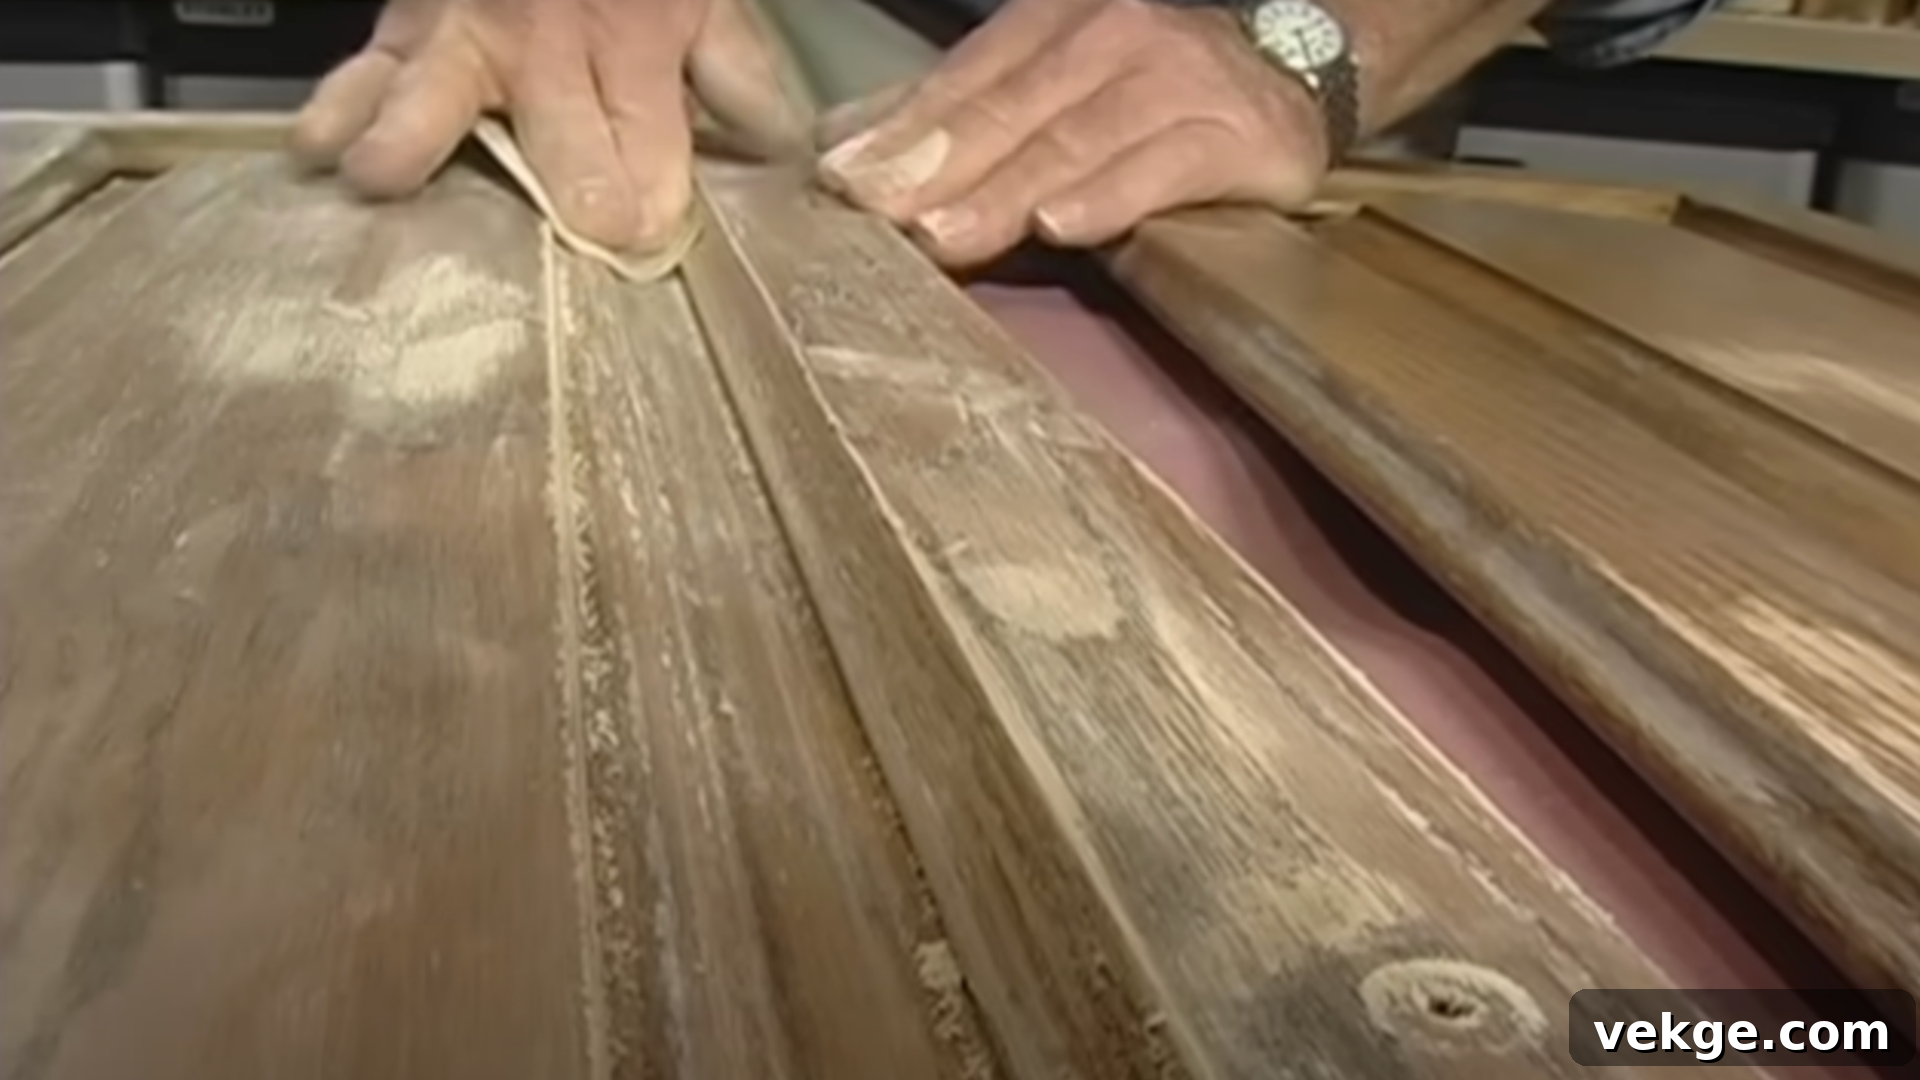
Once your cabinets are completely clean and dry, it’s time for sanding. Lightly sand all surfaces – doors, drawer fronts, and cabinet frames – using 220-grit sandpaper. This isn’t about removing the old finish entirely, but rather about creating a microscopic “tooth” for the new stain to grip onto, ensuring excellent adhesion and a uniform finish. For better control, fold the sandpaper into thirds and use long, consistent strokes always moving with the wood grain. Avoid sanding against the grain, as this can create visible scratches that will be highlighted by the stain. For intricate trim, carved details, and curved edges, use your fingers to press the paper into the contours, maintaining an even pressure.
After sanding, the most critical step is to remove every speck of dust. Use a tack cloth or a clean, lint-free rag to meticulously wipe down all surfaces. Dust particles left behind will show through the stain and result in a bumpy, uneven finish. If you notice any areas where the wood has faded significantly or lost its original color, use a wood-tone touch-up pen that matches your desired base color to fill in those spots before applying the new stain. This ensures a more consistent color depth across all surfaces, providing a flawless foundation for the stain.
Step 3: Prepare the Stain and Polyurethane Mix
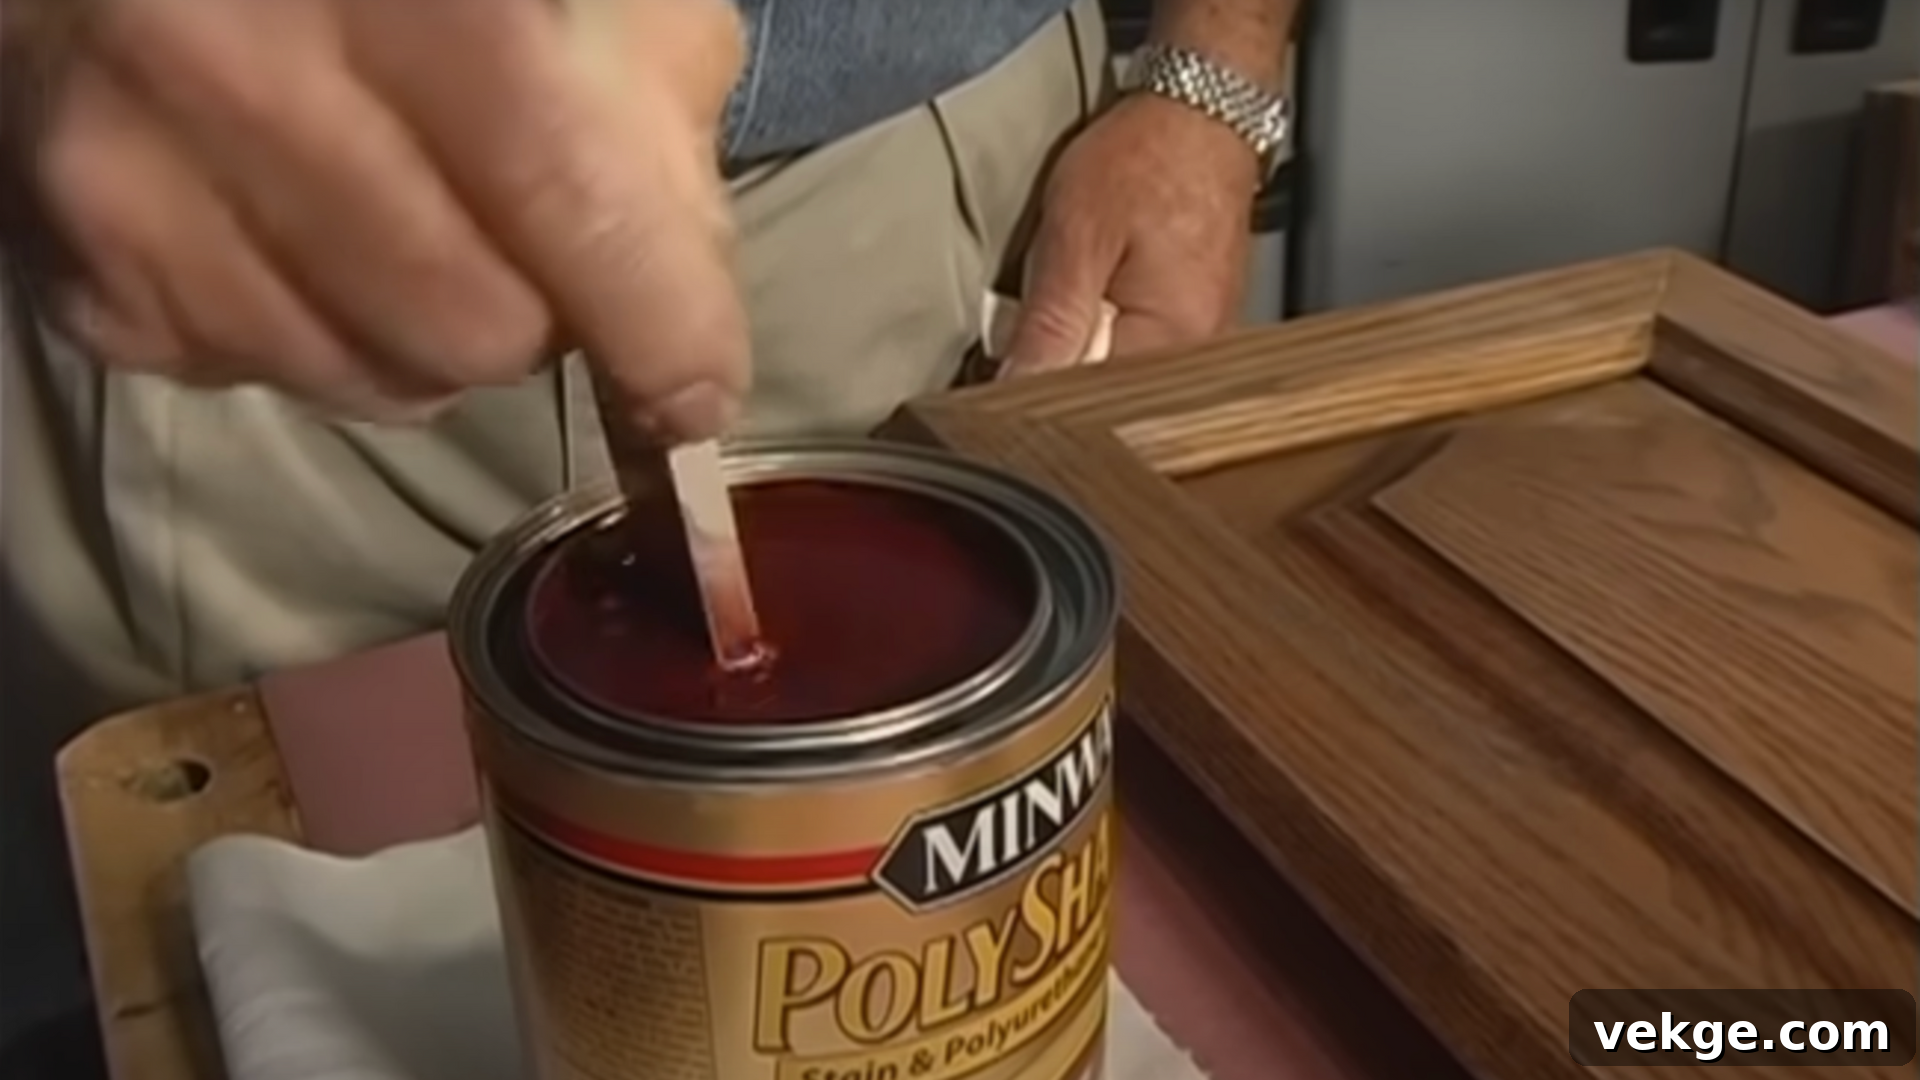
Proper preparation of your finishing product is crucial for a flawless application and consistent color. If you are using a combination product that includes both stain and polyurethane, open the can and stir the contents *thoroughly* with a dedicated stir stick. Pigments in stain often settle at the bottom, so it’s essential to scrape the bottom and sides of the can vigorously to ensure everything is evenly dispersed. Continue stirring until the liquid looks perfectly consistent and your stir stick comes out clean without any visible settled pigment.
A vital tip: never shake the can of stain or combined product. Shaking introduces air bubbles, which can transfer to your brush and dry into tiny, undesirable holes or imperfections in your final finish. Gentle, continuous stirring is the key to achieving a smooth, consistent color application that will look professional once brushed on. Always re-stir periodically during application if the project takes a long time.
Step 4: Apply the Finish
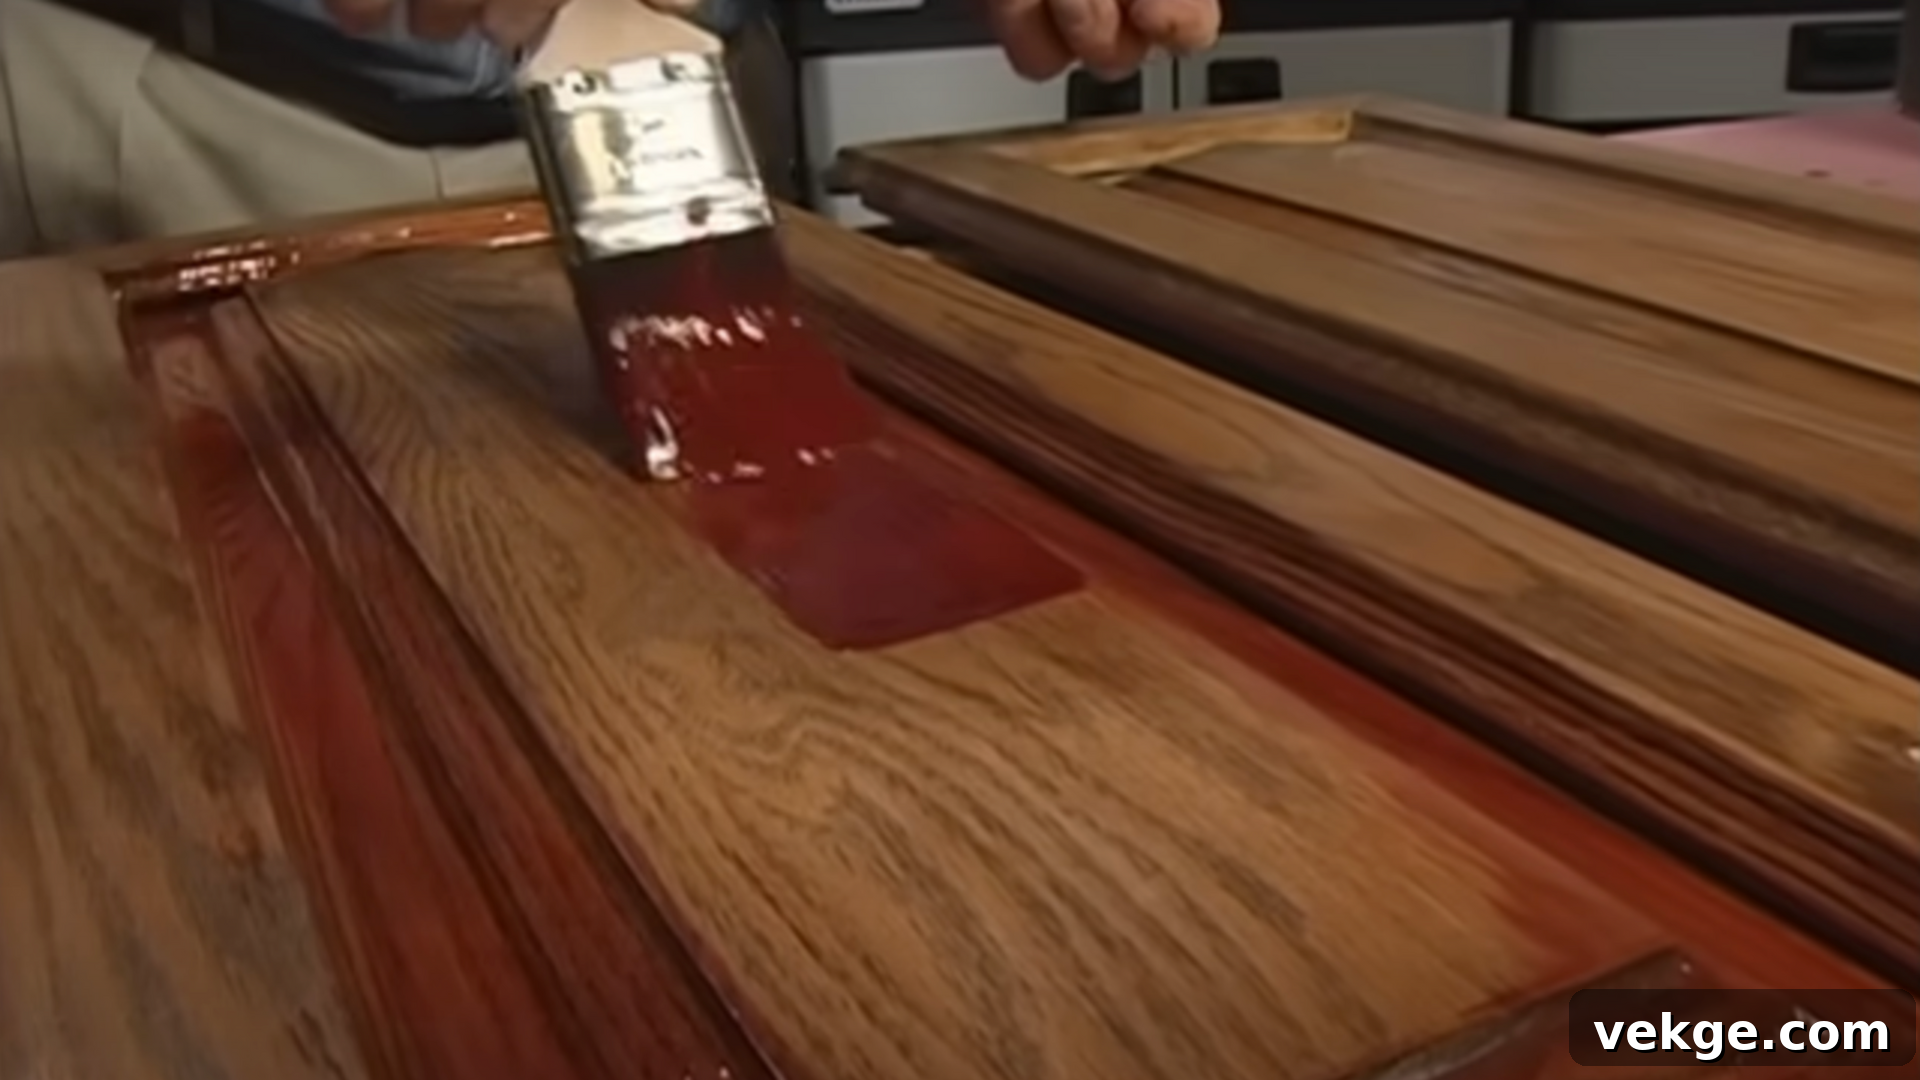
Now for the exciting part! Using your good-quality brush, begin by applying the stain and polyurethane (or just stain, if you’re doing a two-step process) to any detailed or carved areas of your cabinet doors and frames. This includes raised panels, grooves, edges, and corners. Working on these intricate sections first ensures they are adequately covered before moving to larger, flat surfaces. Wipe off any excess quickly to prevent puddling or uneven absorption.
Once the detailed areas are done, move on to the flat surfaces. Apply a smooth, thin, and even layer of finish using long, straight strokes that follow the direction of the wood grain. Overlap each stroke slightly to prevent lap marks. It’s crucial to avoid brushing over the same spot too many times, as this can lead to an uneven appearance or cause the stain to become sticky. If you desire a deeper or richer color, it’s always better to achieve this with a second or third thin coat after the previous one has fully dried, rather than trying to apply a thick, heavy layer in one go. Always strive to finish each section with a single, long, even stroke in one direction to achieve a perfectly uniform and streak-free appearance. Work in a well-ventilated area to help with drying and reduce fume exposure.
Step 5: Let It Dry Completely and Recoat if Needed
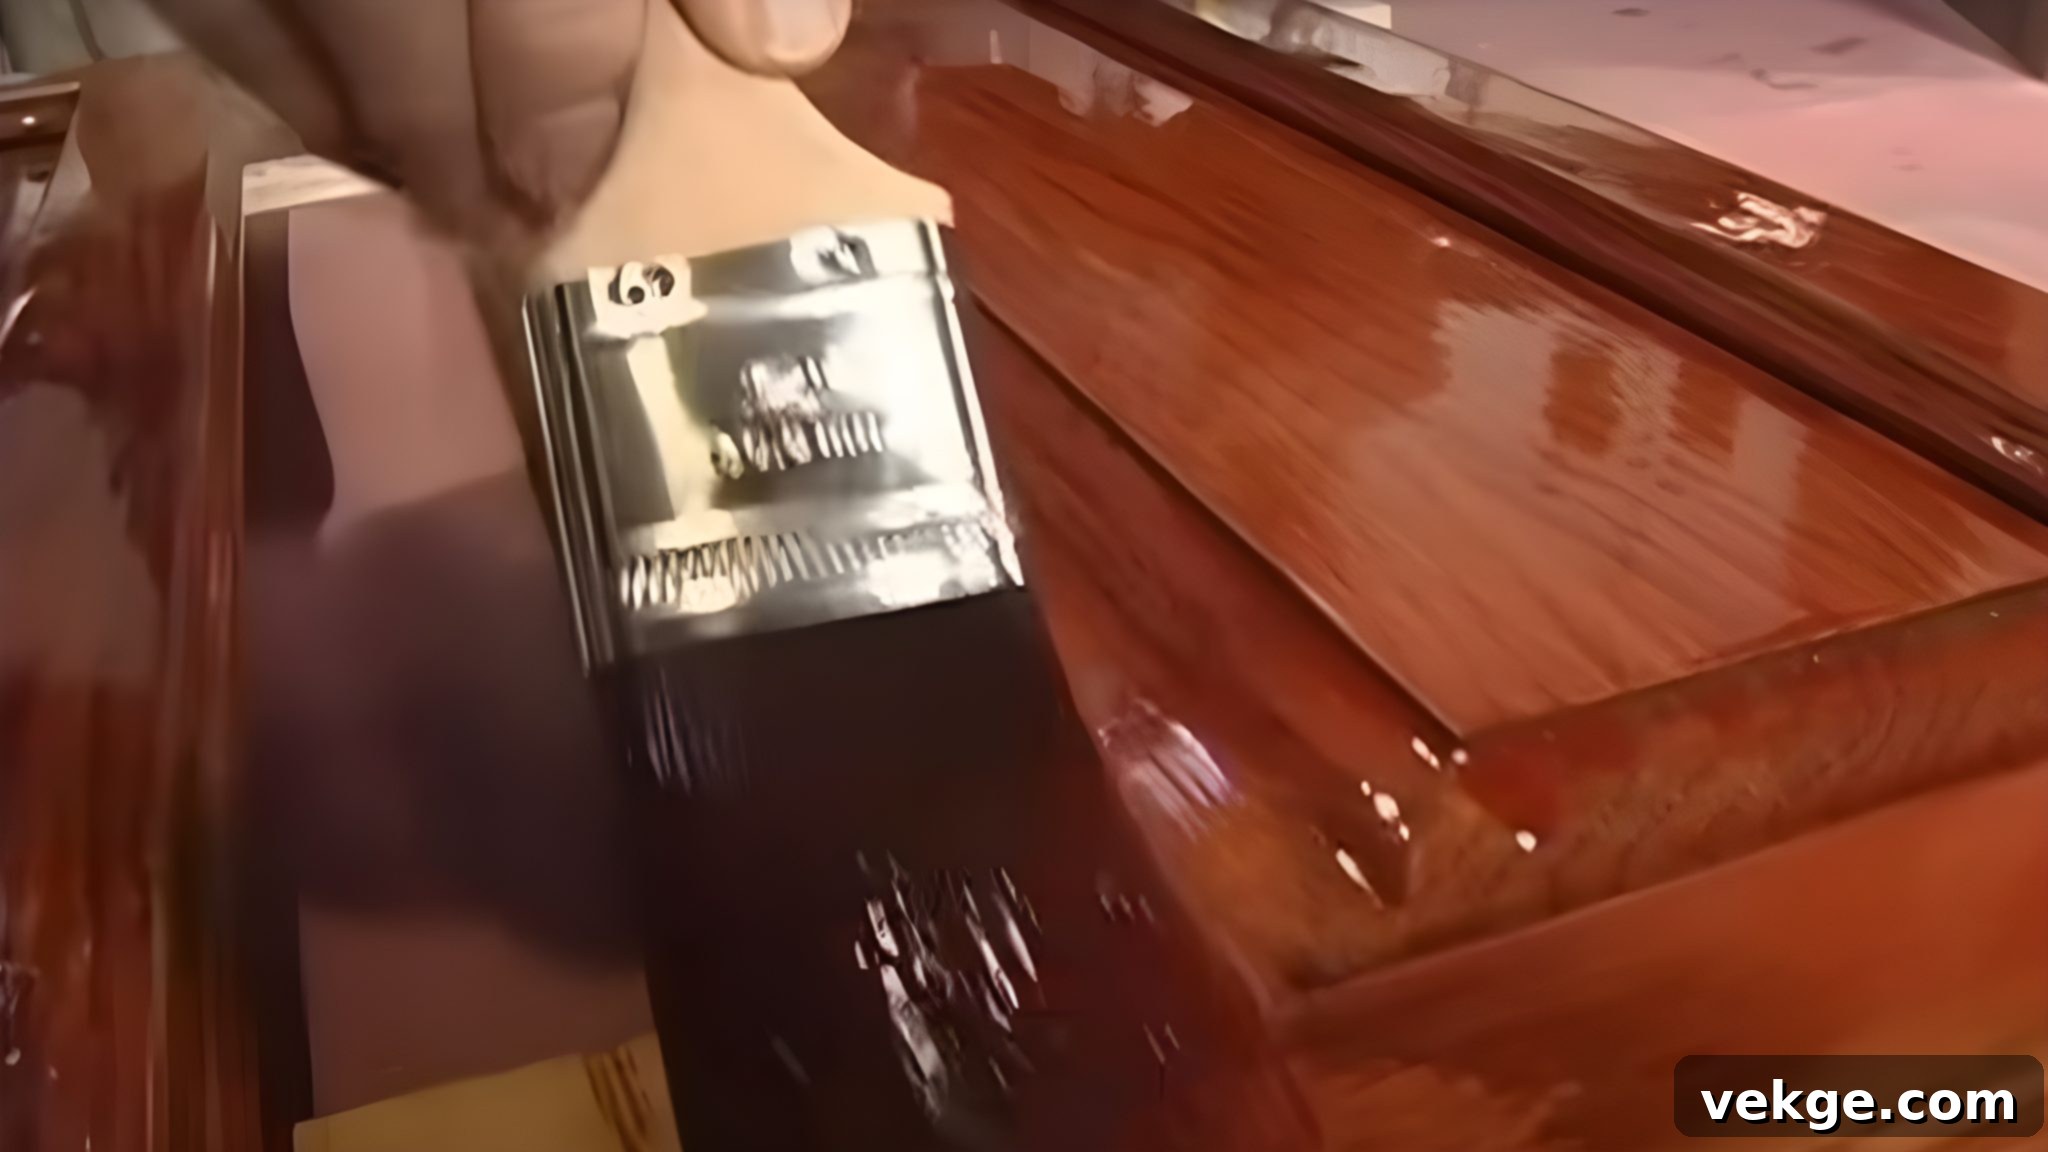
After the first coat of stain and polyurethane has been applied, it is absolutely essential to allow the finish to dry completely. This drying time can vary significantly, ranging from several hours to overnight, depending on the specific product used, the ambient temperature, and the humidity levels in your room. Always refer to the manufacturer’s instructions on the product can for recommended drying times. Adequate air circulation helps speed up drying.
Do not rush this step! Touching, handling, or attempting to reassemble cabinets prematurely can easily mar the finish, leaving fingerprints, smudges, or even stripping off parts of the stain. Once the first coat is fully dry, inspect your cabinets carefully. If you desire a darker shade, notice any thin spots, or simply want to build up more protection, apply a second coat using the exact same technique as the first. For multi-coat applications of clear topcoat (if using separately), a very light sanding with 320-grit sandpaper between coats can create a smoother finish, but always clean off dust meticulously afterward. Allow this second coat to dry just as thoroughly. A completely dry, evenly applied finish not only ensures your cabinets look their best but also provides optimal protection, making them more durable and longer-lasting.
Step 6: Reassemble the Cabinets and Enjoy Your New Look!
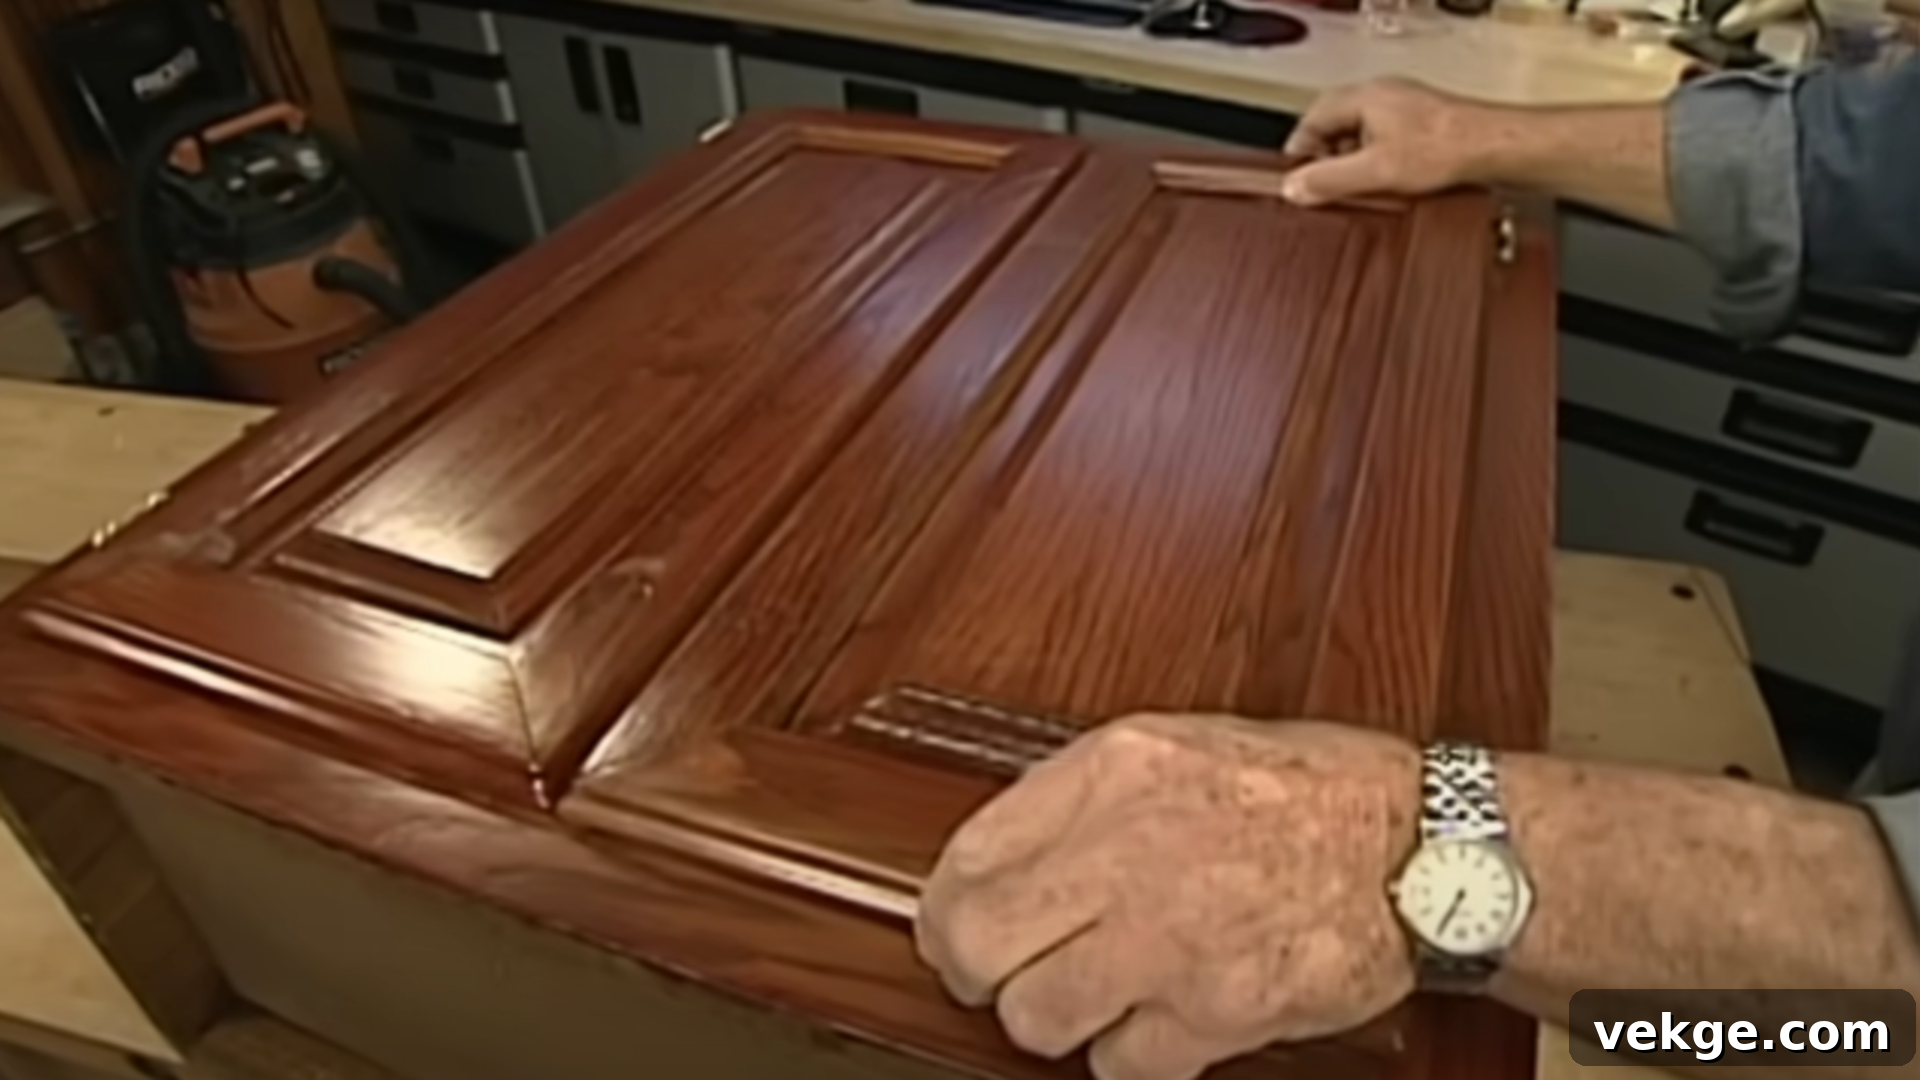
Once the final coat of stain and polyurethane has dried and fully cured (check manufacturer’s recommendations for full cure time, which can range from a few days to a week or more for maximum hardness), you can begin the exciting process of reassembling everything. Carefully reattach the doors to the cabinet boxes and reinstall the drawer fronts, making sure to use the labels you created in Step 1. This is a perfect opportunity to either reuse your existing hinges and knobs if they are in good condition or to elevate your kitchen’s style even further by updating them with brand-new hardware that complements your new cabinet finish.
Take your time with this final step. Ensure that all doors are aligned correctly, open and close smoothly, and that all hardware is securely fastened. Adjust hinges as needed for perfect alignment. A proper reassembly will make your newly stained cabinets feel solid and professionally finished. At this point, step back and admire your handiwork! Your kitchen should now boast a beautifully refreshed, clean, and thoroughly updated appearance, all achieved without the significant expense and hassle of purchasing brand-new cabinets. You’ve successfully completed a transformative DIY project!
For a visual demonstration of the entire cabinet staining process, watch this helpful video below:
DIY Cabinet Staining vs. Hiring a Pro: A Cost and Effort Breakdown
Staining your cabinets is undeniably a cost-effective method to refresh your living space, but the overall investment in time and money largely depends on whether you opt for a DIY approach or decide to hire a professional. Both options have distinct advantages and disadvantages, and the best choice often comes down to your budget, time availability, and desired level of finish quality.
The DIY Route: Save Money, Gain Control
Embarking on a DIY cabinet staining project allows for significant cost savings on labor and gives you complete creative control over the entire process. You will personally handle all the preparation, staining, and sealing, which requires a substantial commitment of your time, effort, and patience. This approach is best suited for smaller projects, basic cabinet styles, or for individuals who genuinely enjoy hands-on home improvement tasks. If you are meticulous, follow instructions carefully, and are willing to dedicate the necessary time, you can achieve excellent, professional-looking results. However, be aware that common mistakes for inexperienced DIYers include uneven color application, drips, brush marks, or inadequate sealing, which can compromise the finish and potentially require rework. Factor in the learning curve and the cost of your own time.
Hiring a Professional: Expertise and Flawless Finish
Opting to hire a professional cabinet refinisher means you’ll have less work to do yourself and can expect more consistent, high-quality results. Experienced professionals possess specialized knowledge in handling various wood types, understanding different stain properties, and applying advanced sealing methods. They can complete the job much faster and often deliver a superior level of detail and finish, especially if you have a complex cabinet design or desire a very specific, custom look. The trade-off for this convenience and expertise is, of course, a higher cost, which can be substantial for larger kitchens or intricate custom designs. However, for those seeking a flawless, long-lasting finish without the time commitment or learning curve, a professional is often the best investment, providing peace of mind and guaranteed quality.
Here’s a quick comparison of the estimated costs to help you decide:
| Option | Estimated Cost (Per Linear Foot of Cabinetry) | Notes |
|---|---|---|
| DIY | $2–$5 | This estimate primarily covers the cost of materials such as stain, sealer, sandpaper, brushes, and cleaning supplies. You contribute the invaluable time, effort, and skill, potentially spanning several days or weekends. |
| Professional | $10–$25+ | This comprehensive cost includes professional labor, high-quality materials, thorough preparation (sanding, cleaning), precise staining, and expert sealing. Expect a faster project completion and a meticulously detailed finish with professional guarantees. |
Best Places in Your Home for Stained Cabinets
Stained cabinets are not only aesthetically pleasing but also remarkably versatile, making them suitable for many areas throughout your home. Their inherent durability, ease of maintenance, and warm, natural finish make them an exceptionally wise choice for frequently used and demanding spaces, adding both functionality and style.
Here are some of the prime locations where stained cabinets truly shine, along with reasons why they are an excellent fit:
- Kitchens: As the heart of the home, kitchens are high-traffic areas subjected to daily use, spills, and grease. Staining kitchen cabinets provides a robust, resistant finish that can withstand regular wear and tear, making them easy to clean and maintain – perfect for daily cooking, meal prep, and family gatherings. The natural wood tones also create a warm, inviting atmosphere.
- Bathrooms: These environments are often characterized by high levels of moisture and humidity. When properly sealed with a suitable topcoat, stained cabinets can effectively resist moisture damage, preventing warping or peeling, and maintaining their beautiful appearance over time in steamy conditions. They offer a touch of elegance in a functional space.
- Laundry Rooms: Laundry rooms frequently encounter detergent spills, water splashes, and fluctuating temperatures from appliances. Stained cabinets offer a durable and practical storage solution that can handle these challenges while keeping the space organized and looking neat, enduring the demands of a busy utility area.
- Garages: If your garage serves as more than just a parking spot – perhaps a workshop, storage area, or hobby zone – stained cabinets provide an exceptionally functional, robust, and tidy way to organize tools, equipment, and supplies. Their resilience stands up well to the grittier environment, offering a more finished look than bare wood.
- Mudrooms or Entryways: These transitional areas are often entry points for dirt, wet shoes, coats, and bags. A stained cabinet finish is inherently strong and resilient enough to withstand the scuffs, bumps, and general wear associated with high-traffic entryways, all while maintaining a welcoming and clean appearance, helping to keep clutter at bay.
- Home Offices/Libraries: For a touch of classic elegance and warmth, stained cabinets in a home office or library can create a sophisticated and inviting atmosphere, perfect for storing books, documents, and office supplies. The rich wood tones enhance a studious or professional environment.
- Built-in Shelving/Entertainment Centers: Staining custom built-ins or entertainment units can integrate them seamlessly into your home’s decor, adding a refined touch and enhancing the architectural features of a room.
In essence, stained cabinets are an ideal choice for any space that demands a combination of strength, straightforward maintenance, and a natural, classic look that effortlessly complements a diverse range of interior design palettes. Their versatility makes them a smart and stylish choice throughout the home.
Common Mistakes to Avoid When Staining Cabinets
To ensure your cabinet staining project is a success and yields beautiful, long-lasting results, it’s vital to be aware of and actively avoid these common pitfalls. Awareness and careful execution will save you time, effort, and potential disappointment:
- Inadequate Cleaning and Preparation: This is perhaps the most critical mistake. If dirt, grease, or old polish residues are not thoroughly removed, the stain will not penetrate evenly, leading to blotchy, uneven, or peeling finishes. Always dedicate ample time to meticulous cleaning and degreasing.
- Skipping or Rushing the Sanding Process: Insufficient or improper sanding means the wood surface won’t have the necessary “tooth” for the stain to adhere well. This can result in poor adhesion, uneven color absorption, and a rough, unprofessional finish. Always sand with the grain, use the correct grit, and ensure the surface feels smooth to the touch.
- Applying Too Much Stain at Once: Over-applying stain can lead to dark, sticky, uneven spots, especially on softer woods that absorb more pigment. It’s always better to apply multiple thin coats, wiping off excess within the recommended time, rather than attempting one thick, heavy layer.
- Neglecting to Wipe Off Excess Stain: Stain is meant to penetrate the wood, not sit on top of it like paint. Failing to wipe off excess stain within the manufacturer’s specified window (usually 5-15 minutes) can result in a tacky, uneven, and poorly cured finish that is prone to chipping, rubbing off, or remaining sticky.
- Not Sealing the Surface (or Using the Wrong Sealer): Without a protective topcoat (like polyurethane, lacquer, or varnish), the stain color will fade quickly, and the wood will be vulnerable to moisture damage, scratches, and daily wear. Ensure your chosen sealer is compatible with your stain type (oil-based with oil-based, water-based with water-based).
- Ignoring Safety Gear: Stains and sealers often emit strong fumes (VOCs) that can irritate the skin, eyes, and respiratory system. Always wear chemical-resistant gloves, safety glasses, and a respirator mask, and ensure proper ventilation by opening windows or using fans. Your health is paramount.
- Rushing Drying Times Between Coats: Applying a subsequent coat (whether stain or topcoat) before the previous one is completely dry can lead to an uneven finish, trapped moisture, peeling, or a cloudy appearance. Patience is key for durable, professional-looking results. Always follow manufacturer guidelines.
- Not Testing the Stain First: Different wood species and even different sections of the same wood can absorb stain differently. Always test your chosen stain color and application method on an inconspicuous area of your cabinets or on a scrap piece of the exact same wood before committing to the entire project.
- Working in Poor Lighting: Inadequate lighting can make it difficult to see imperfections, uneven application, or missed spots, leading to a less-than-perfect finish. Ensure your work area is brightly lit.
By taking your time with meticulous preparation, careful application, and appropriate sealing, and by being mindful of these common errors, you can confidently avoid major staining mistakes and achieve a truly professional and stunning cabinet transformation that will enhance your home for years to come.
Conclusion: Achieve a Stunning Cabinet Transformation with DIY Staining
Staining your cabinets stands out as one of the most accessible, affordable, and impactful ways to revitalize your kitchen and other living spaces. It’s a rewarding project that delivers a fresh, clean, and custom look without the considerable expense and inconvenience of replacing your existing cabinetry, offering significant value and aesthetic appeal.
With the right preparation, a modest investment in quality materials, and a bit of patience, you can confidently tackle this DIY project yourself, even if you’re a first-time home improvement enthusiast. This comprehensive guide has equipped you with all the knowledge needed, from understanding different stain types to a detailed step-by-step application process, ensuring you have the expertise to succeed.
Now that you know exactly how to stain cabinets, you possess everything required to embark on this rewarding journey with confidence. Take your time, meticulously follow each step, and delight in the stunning, personalized results. Your beautifully refreshed cabinets will not only enhance the beauty and functionality of your home but also serve as a testament to your newly acquired DIY skills.
If this guide has proven helpful in your home transformation endeavors, please feel free to share it with friends and family or bookmark it for future reference. For more practical tips and inspiring ideas for simple home projects, be sure to explore our other blogs and continue your journey of making your home truly yours!
