Ultimate Guide to End of Tenancy Cleaning: Secure Your Full Deposit Refund
Moving out of a rental property can feel like a monumental task. Between the meticulous packing, the physical effort of hauling boxes, and the emotional whirlwind of transitioning to a new home, it’s easy to overlook one crucial aspect: end of tenancy cleaning. While cleaning might not seem as urgent as safeguarding your cherished possessions, neglecting this vital duty can lead to significant financial repercussions, most notably the loss of part or all of your security deposit. This comprehensive guide will walk you through everything you need to know to ensure a spotless handover and a full deposit return.
Why End of Tenancy Cleaning is Non-Negotiable
So, why exactly does end of tenancy cleaning hold such immense importance? Beyond simply leaving a tidy space, there are several compelling reasons why this task is crucial for every departing tenant:
- Contractual Obligation: First and foremost, a thorough end of tenancy clean is almost always a strict requirement explicitly stated within your tenancy agreement. Landlords and letting agencies depend on these clauses to ensure their property is returned in a condition ready for new occupants. Failing to meet these stipulated cleanliness standards provides them with legitimate grounds to deduct costs from your initial deposit to cover professional cleaning services.
- Maintaining Positive Relationships: Leaving a property immaculate demonstrates respect for your landlord and their investment. This can foster a positive relationship, which is invaluable for future reference checks. Imagine the favorable impression you’ll leave if you ensure their property looks as good, if not better, than when you first moved in. A good reference can be crucial for securing future rental accommodations.
- Ensuring Optimal Hygiene and Health: Deep cleaning before moving out is paramount for health and safety. It ensures that unwanted elements like mold, mildew, dust mites, allergens, or pests do not get left behind for the next tenant. This commitment to cleanliness contributes not only to a healthy living environment for future residents but also promotes long-term property maintenance by preventing minor issues from escalating.
- Environmental Responsibility: In today’s world, our responsibility extends beyond just personal gain. Maintaining excellent cleanliness habits, especially by disposing of waste properly and using eco-friendly products, aids in the preservation and sustainability of our environment. It’s about leaving a minimal footprint and ensuring the property remains a pleasant and safe space for years to come.
The Ultimate End of Tenancy Cleaning Checklist
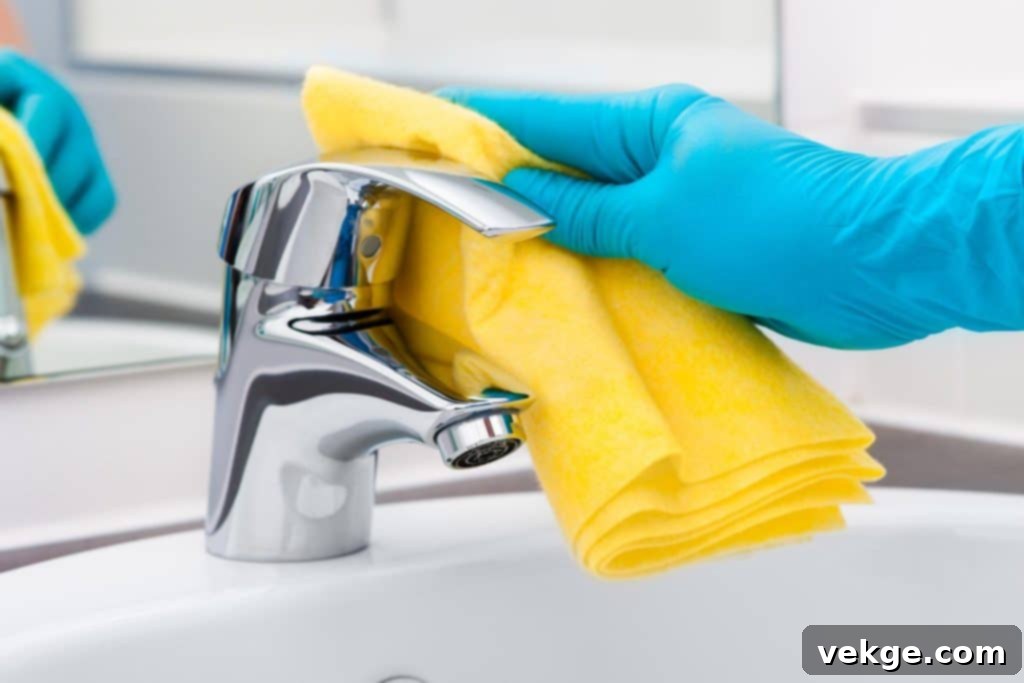
An effective end of tenancy cleaning checklist will vary based on your property’s size, type, and specific clauses in your rental agreement. However, certain universal tasks are non-negotiable for a successful handover:
General Areas & Throughout the Property:
- Flooring: All carpets must be deep cleaned, preferably steam cleaned, to remove embedded dirt and stains. Hard floors should be thoroughly swept, vacuumed, washed, and polished.
- Windows: Ensure all windows, including frames and sills, are sparkling clean, free of streaks, dirt, or cobwebs, both inside and out (where safely accessible).
- Surfaces: All surfaces, including skirting boards, light switches, door frames, radiators, and curtain rails, must be dusted, wiped, and polished until spotless. Don’t forget the tops of doors and picture rails.
- Walls: Check for any marks, scuffs, or cobwebs and spot-clean appropriately without damaging the paint.
- Fixtures and Fittings: Clean all light fittings, lampshades, plug sockets, and vent covers.
- Doors: Wipe down all doors, paying attention to handles and frames, ensuring they are free of fingerprints and smudges.
Bathrooms: A Deep Dive into Cleanliness
Bathrooms are notorious for grime and require meticulous attention. A thorough deep clean should eliminate any traces of limescale, soap scum, or mold. Every fixture should not only look clean but also function properly:
- Toilet: Must be disinfected, scrubbed inside and out, including the base and behind the bowl, ensuring it smells fresh.
- Shower/Bathtub: Descale and scrub showerheads, taps, tiles, grout, and shower screens. Ensure no soap residue or watermarks remain.
- Basin & Countertops: Clean and polish the basin, taps, and surrounding countertops until they gleam.
- Mirrors: Clean mirrors until they are streak-free and sparkling.
- Ventilation: Wipe down extractor fans to remove dust and grime.
- Storage: Clean inside and out of all cabinets, drawers, and shelving units.
Kitchen: The Heart of the Home Requires Extra Care
The kitchen often demands the most extensive effort due to accumulated grease, food residues, and daily use. Varied tasks will include:
- Oven & Hob: Degrease and deep clean the oven, including racks, glass door, and hob.
- Extractor Fan: Clean the extractor fan and degrease/replace filters.
- Appliances: Clean the refrigerator (defrost if necessary, wipe down all shelves, drawers, and seals), dishwasher (clean filters and interior), microwave, and any other built-in appliances, inside and out.
- Cupboards & Drawers: Ensure all cupboards, drawers, and pantry spaces are completely empty, then clean them thoroughly, removing crumbs, spills, and fingerprints.
- Sink & Taps: Scrub and descale the sink and taps, ensuring no food residue remains and the plughole is clean.
- Surfaces: All countertops, backsplashes, and tiled areas must be scrubbed to their best possible shine.
Bedrooms and Living Areas: Leaving a Pristine Space
These areas should feel inviting and perfectly maintained:
- Curtains/Blinds: Depending on the material, curtains or blinds need to be laundered, dry-cleaned, or thoroughly vacuumed and wiped down.
- Wardrobes/Cupboards: Clean inside and out, ensuring all shelves and hanging rails are dust-free.
- Furniture: Dust all surfaces, polish wooden furniture, and vacuum upholstered items.
- Windows: As with general areas, ensure they are sparkling.
Always refer to your rights and responsibilities as a tenant regarding cleaning requirements to avoid misunderstandings and ensure you meet all clauses in your tenancy agreement.
Professional VS DIY End of Tenancy Cleaning: Making the Right Choice
One of the most critical decisions you’ll face is whether to hire professional cleaners or tackle the end of tenancy clean yourself. Both options have their merits and drawbacks:
Hiring Professional Cleaners: The Expert Approach
Many tenants opt for professional services due to their specialized skills, efficiency, and the peace of mind they offer. Professionals typically:
- Adhere to Industry Standards: They follow extensive cleaning checklists aligned with stringent industry standards, often defined by reputable organizations such as The British Institute of Cleaning Science. This means they know precisely what landlords and letting agencies look for during final inspections.
- Possess Specialized Equipment: Professionals come equipped with industrial-grade tools, detergents, and steam cleaners that deliver results far superior to typical household products, especially for carpets and hard-to-reach areas.
- Offer Guarantees: Many professional end of tenancy cleaning companies offer a guarantee, meaning they will return to re-clean any areas that don’t pass the landlord’s inspection, usually within a specified timeframe. This significantly increases your chances of a full deposit refund.
- Save Time and Effort: Moving is already incredibly demanding. Outsourcing the cleaning frees up your valuable time and energy to focus on other aspects of your relocation.
DIY End of Tenancy Cleaning: The Cost-Effective Route
On the flip side, opting for a DIY clean can save you money, provided you have the right equipment, ample time, and the energy to give your rental the deep clean it truly deserves. However, this option comes with potential risks:
- Time Commitment: A truly thorough end of tenancy clean can take days, depending on the size and condition of the property. This is time you might not have during a busy move.
- Risk of Oversight: It’s easy to miss crucial spots or not clean to the required standard, which could still lead to deposit deductions. Landlords often have a very keen eye for detail.
- Equipment and Supplies: You’ll need to purchase a range of cleaning products and potentially rent specialized equipment like a carpet cleaner, which adds to the cost and effort.
- No Guarantee: If your DIY clean doesn’t meet the landlord’s expectations, you’ll likely have to pay for professional cleaning out of your deposit anyway, negating any initial savings.
Expert Tips for Efficient End of Tenancy Cleaning (DIY Edition)

If you decide to take the DIY route, here are some invaluable tips to make the process as efficient and effective as possible:
- Work Systematically, One Room at a Time: Instead of jumping between rooms, tackle one room completely before moving to the next. Within each room, work from top to bottom (dusting ceilings and light fixtures first) and from back to front (cleaning away from the door). This systematic approach ensures no detail is missed.
- Invest in Quality Equipment and Supplies: Professional-like results require professional-like tools. Stock up on microfiber cloths, sponges, scrub brushes, a good quality vacuum cleaner, a mop, window cleaner, oven cleaner, limescale remover, degreaser, and all-purpose cleaners. Consider renting a carpet cleaner for truly deep-seated dirt.
- Thoroughly Review Your Tenancy Agreement: Before lifting a single cloth, meticulously read your tenancy agreement again. Pay close attention to any specific clauses regarding cleaning, especially for carpets (some agreements mandate professional carpet cleaning) or specific appliance cleaning requirements. Create a checklist that directly aligns with these requirements.
- Start Early – Weeks in Advance if Possible: Don’t leave cleaning until the last minute. Begin the process a few days or even weeks before your official move-out date, focusing on less-used areas first. Cleaning is significantly less stressful and more thorough when not done in haste, and it allows time for repeat cleans wherever necessary.
- Document Everything with Photos and Videos: This is arguably the most crucial tip. Always take clear, date-stamped “before” and “after” photos (and even videos) of every room and significant appliance. This visual evidence will be your strongest defense in case of any deposit disputes with your landlord or letting agency. Focus on areas that were problematic or could be misconstrued as unclean.
- Declutter and Depersonalize First: Before you even start cleaning, ensure all your personal belongings are removed from the property. This makes cleaning much easier and helps you identify areas that need attention. Donate, sell, or dispose of unwanted items responsibly.
Beyond Clean: Keeping a Healthy Environment Post-Tenancy
Moving out is more than just a deep clean; it’s also about ensuring you’re not leaving a harmful footprint behind on the environment and setting up the next tenants for success:
- Responsible Waste Disposal & Recycling: Make a conscious effort to responsibly dispose of all your waste. Separate recyclables (paper, plastic, glass) and ensure general waste is bagged and put out correctly according to local council guidelines. Consider donating usable items to charity to minimize landfill waste.
- Embrace Eco-Friendly Cleaning Products: Opting for environmentally friendly cleaning products not only aids in your deep cleaning process but also helps minimize your carbon footprint. Natural alternatives like vinegar (excellent for limescale and glass), baking soda (great for scrubbing and deodorizing), and lemons (natural degreaser and freshener) can work wonders for many cleaning tasks and are safer for you and the environment.
- Ensure a Healthy Start for New Tenants: A truly clean and well-maintained environment is a gift to the next occupants. Allowing them a happy, healthy, and pristine start in their new living space can surely bring positive karma back to you and reflects well on your tenancy.
- Verify Functionality of Utilities and Fixtures: Maintenance shouldn’t stop at just deep cleaning. Before handing over the keys, ensure everything is left functioning properly. This includes checking smoke alarms, carbon monoxide detectors, heating elements, light bulbs, and all appliances (if included in the tenancy). Ensuring these safety and functionality aspects are in order further adds to post-tenancy health and safety measures and can prevent further deposit deductions.
End of Tenancy Cleaning: A Detailed Kitchen Focus
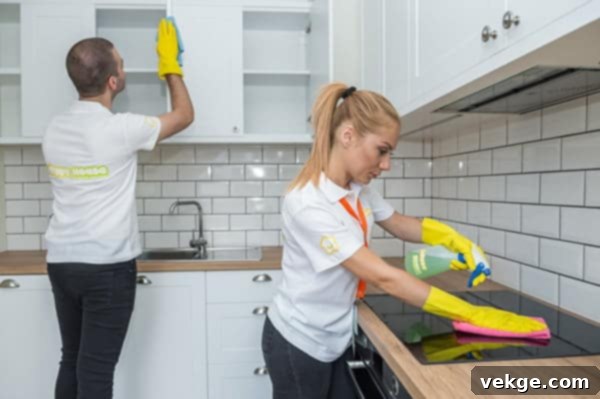
The kitchen is undeniably the area that demands the most rigorous attention during end of tenancy cleaning. Its frequent use means it often accumulates layers of grease, dirt, and food remnants that require detailed work to ensure no part is overlooked, ultimately risking your deposit.
- Floors and Countertops: Start by thoroughly sweeping or vacuuming, then meticulously scrub and mop all floors and counters until they gleam. Pay special attention to grout lines and corners where dirt often collects.
- Appliances Inside and Out:
- Oven: This is a major hotspot. Use a strong oven cleaner (or a natural baking soda paste) to remove all baked-on grease and food spills from the interior, racks, and glass door.
- Refrigerator/Freezer: Defrost the freezer if necessary. Remove all food items, clean all shelves, drawers, and door seals with an antibacterial cleaner. Wipe down the exterior thoroughly.
- Dishwasher: Clean the filter, spray arms, and interior. Run an empty hot cycle with a dishwasher cleaner or white vinegar to sanitize.
- Microwave: Wipe down the interior and exterior, including the turntable, to remove any food splatters.
- Cupboards and Drawers: Ensure they are entirely empty, then wipe them clean inside and out, removing all crumbs, stains, and dust. Don’t forget the tops of wall units.
- Extractor Fan and Hood: Degreasing the hood filter above your stovetop is a critical step many overlook. Clean the fan blades and exterior casing.
- Sink and Taps: Scrub and descale the sink, taps, and plughole. Ensure drains are clear and free-flowing.
- Walls and Tiles: Wipe down any splashbacks and tiled areas to remove grease and food residue.
While harsh chemical cleaners can be effective, they can leave lingering odors or sometimes damage surfaces. Consider using natural cleaning alternatives like baking soda and vinegar for tough grease stains; they’re eco-friendly, highly effective, and leave your kitchen smelling fresh. According to The British Institute of Cleaning Science, a standard kitchen deep clean can take anywhere from 1-3 hours for professional cleaners, depending on its initial condition.
End of Tenancy Cleaning: A Sparkling Bathroom Focus
Bathrooms can prove particularly tricky to clean due to constant moisture, which can lead to rapid grime build-up, limescale, soap scum, or even mold and mildew. A well-cleaned bathroom speaks volumes about how well you’ve maintained the rest of the property, so this room needs meticulous detailing too.
- Basin, Faucets, and Countertops: These need to be scrubbed thoroughly until they’re free from soap scum, toothpaste marks, and water stains. Polish taps to a shine and descale where necessary.
- Bathtub, Shower Enclosure, and Tiles: These areas require degreasing, descaling, and thorough scrubbing. All traces of limescale, mold, and soap scum should be removed from tiles, grout lines, and shower screens. Ensure showerheads are descaled and free-flowing.
- Toilet: The toilet should not only be cleaned but also disinfected. Pay special attention to the toilet seat, lid (both sides), hinges, flush handle, and the base of the toilet bowl, where dust and grime can easily accumulate.
- Mirrors: Deep clean all mirrors until they’re sparkling and streak-free.
- Ventilation: Wipe down extractor fans to remove dust and improve air circulation.
- Drains: Finally, ensure all drains in the basin, shower, and bath are clear and functioning properly. A slow-draining or stuffy bathroom is an instant red flag for any inspection.
- Storage: Clean inside and out of any bathroom cabinets, shelves, and medicine chests.
Managing Carpets and Upholstery During End of Tenancy Cleaning
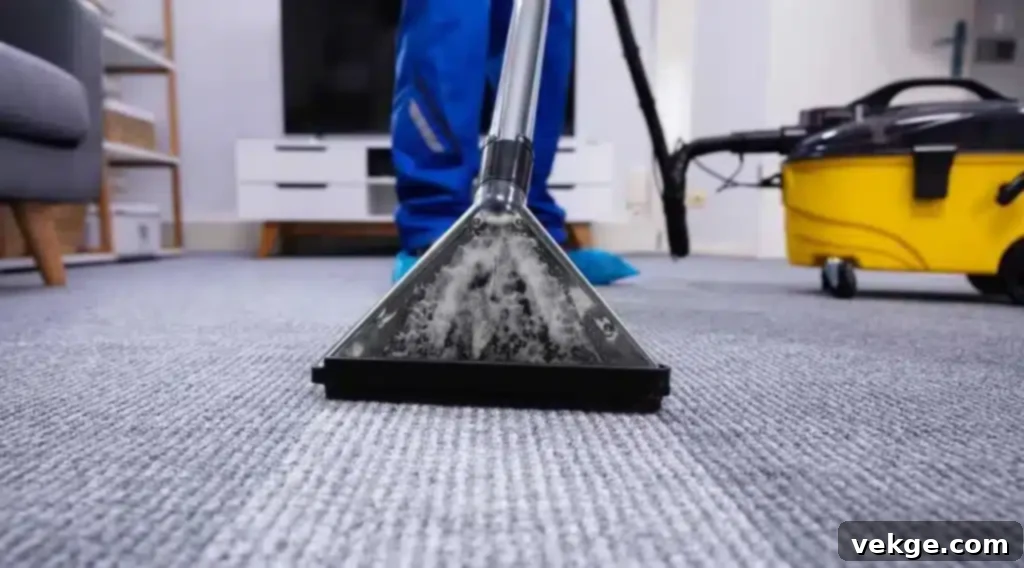
Other crucial areas to cover in your end of tenancy cleaning are your carpets and upholstery. These are notorious for harboring dust, dirt, allergens, and bacteria particles, which can seep deep into their fibers over time, leaving unwanted odors and potentially triggering allergies.
- Vacuum Thoroughly: Start by thoroughly vacuuming all carpets, rugs, sofas, and fabric-covered chairs. Use appropriate attachments to reach corners, under cushions, and along skirting boards.
- Deep Clean Carpets: For heavy stains or general grime, consider deep cleaning your carpets. This might involve renting a steam cleaner or hiring a professional commercial carpet cleaner. Always check your tenancy agreement, as some landlords mandate professional carpet cleaning with a receipt.
- Treat Stains: Address any visible stains on carpets or upholstery promptly. Use appropriate stain removers for the specific fabric and stain type, always spot-testing in an inconspicuous area first.
- Freshen Upholstery: Ensure all throw pillow covers or removable sofa covers are washed according to fabric instructions. You can also sprinkle baking soda on upholstery, leave it for an hour, then vacuum it up to neutralize odors.
- Curtains and Blinds: Curtains need laundering or dry-cleaning depending on their material. Blinds should be thoroughly dusted, wiped, and cleaned slat by slat.
Cost Breakdown: End of Tenancy Cleaning – An Investment, Not Just an Expense
Weighing up whether to hire a professional cleaner or do it yourself often boils down to cost. However, it’s essential to view end of tenancy cleaning as an investment to secure your deposit rather than just an expense.
- Professional Cleaning Costs: Professional cleaning services typically have set packages that vary depending on the property’s size (e.g., 1-bedroom flat, 3-bedroom house), its condition, and the services included (e.g., carpet cleaning, oven cleaning). While seemingly higher upfront, most reputable companies guarantee their standards will meet the requirements for deposit return, often offering a re-clean if issues arise.
- DIY Cleaning Costs: Doing it yourself primarily costs you in terms of your time and effort. You will have minor outlays for cleaning supplies (detergents, sponges, cloths) and possibly equipment rental (like a carpet steam cleaner). Remember, this is only a cheaper alternative if your cleaning is thorough enough to avoid any deductions after inspection. If you miss crucial items or the quality isn’t up to standard, your landlord might hire professionals and deduct the cost from your deposit, effectively making DIY more expensive in the long run.
Keep in mind, a clean property is not only easier to hand back but also easier for landlords to rent or sell. By ensuring a pristine state, you are investing in a hassle-free move-out process and safeguarding your financial interests.
Ensuring Your Deposit Return with End of Tenancy Cleaning
Getting your full security deposit back is often the primary motivation for a comprehensive end of tenancy clean. Your landlord’s decision largely depends on how well you’ve maintained the property throughout your tenancy and its condition at checkout. A thorough deep clean can significantly increase your chances of securing your full refund.
- Prioritize High-Impact Areas: The kitchen and bathroom are often the areas most scrutinized during inspections due to their heavy use and potential for grime build-up. Making an excellent impression in these rooms is crucial.
- Don’t Overlook Hidden Spots: Landlords and inventory clerks are trained to spot less commonly thought-of areas where dirt settles. This includes:
- Window ledges and frames (inside and out)
- The insides and tops of cupboards and wardrobes
- Light fixtures, switches, and plug sockets
- Grouting in bathrooms and kitchens
- Door handles and skirting boards
- Behind radiators and appliances
- Inside and around waste bins (ensuring they are empty and clean)
- Address Outdoor Spaces: If your tenancy includes a garden, patio, or balcony, these areas will also need attention. Overgrown weeds, fallen leaves on pathways, or neglected outdoor furniture can sometimes lead to deductions from deposits. Ensure the garden is tidy, lawns are mowed, and patios are swept.
- Check Utilities and Maintenance: Remember that end of tenancy doesn’t just mean cleaning. Ensure all utilities are accounted for, final meter readings are taken (and photos saved), and proof of final bills is ready. Confirm that all included appliances (if any) are functioning correctly, as these also fall under your responsibilities as a tenant. Report any non-cleaning related maintenance issues you observed or caused during your tenancy.
- Compare Against Inventory Report: Use your initial inventory report as a guide. This document details the property’s condition when you moved in. Your goal is to return it in a similar (or better) state, accounting for fair wear and tear.
Wrap Up: A Clean Exit for a Fresh Start
End of tenancy cleaning is far more than a tedious chore; it’s a critical step that extends beyond simply helping you get your deposit back. It’s about maintaining positive relationships with landlords, contributing responsibly to environmental sustainability, and ensuring a healthy, welcoming living environment for future occupants. By meticulously following a detailed checklist, tackling one room at a time, investing in quality cleaning supplies, and documenting your efforts, you can transform this otherwise daunting task into a manageable and rewarding endeavor. Remember, a clean exit is a fresh start – not just for you, but for your successors and your reputation as a responsible tenant.
A little foresight, a lot of elbow grease, or the smart decision to hire professionals can save you stress, time, and money, ensuring your moving experience concludes on a positive and financially secure note.
