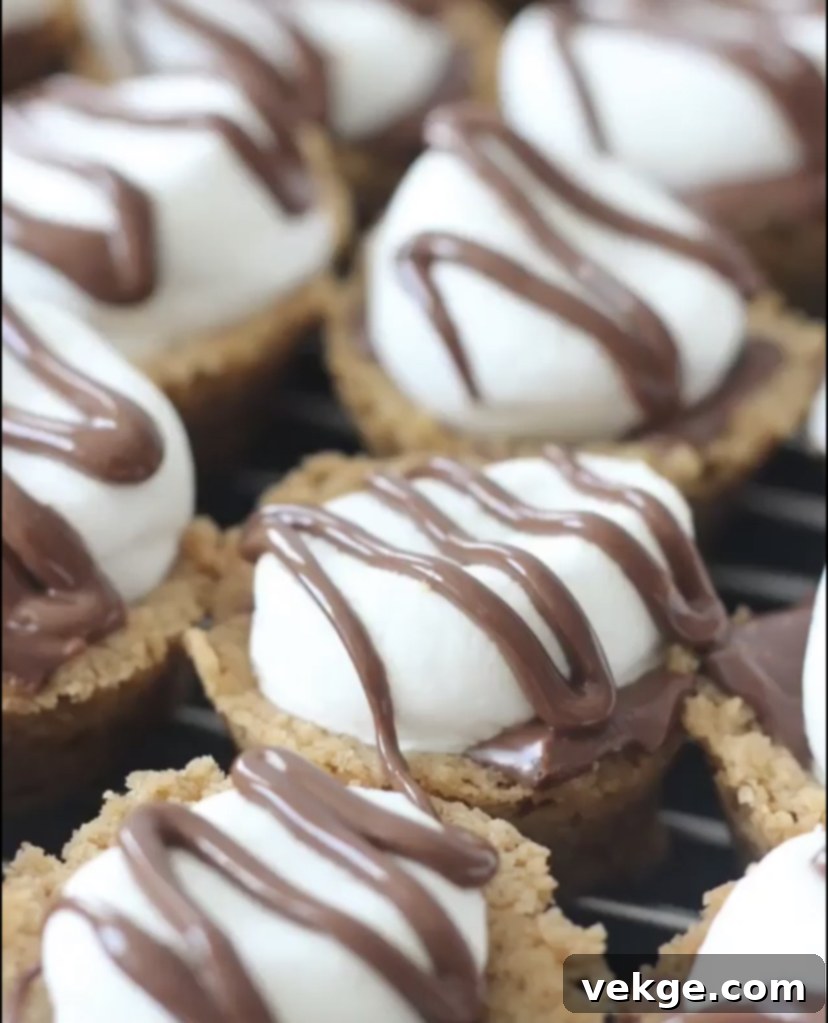
Irresistible S’mores Cups: Your Go-To No-Campfire Dessert!
Craving the classic taste of s’mores but don’t have a campfire handy? Or perhaps you’re looking for a less messy, more sophisticated way to enjoy this beloved treat? Look no further than these utterly irresistible S’mores Cups! Forget the smoky clothes and sticky fingers of traditional campfire s’mores; these delightful, bite-sized cups bring all the gooey, chocolatey, marshmallowy goodness right into your kitchen with minimal fuss.
These S’mores Cups aren’t just a dessert; they’re a sensation. I’ve personally seen them become the star of every gathering, consistently earning rave reviews. In fact, I’ve been specifically asked to bring them to multiple events recently, cementing their reputation as a true crowd-pleaser. They perfectly capture the nostalgic essence of s’mores in a convenient, portable form, making them ideal for parties, potlucks, family nights, or simply satisfying that sweet tooth whenever the mood strikes. Prepare to become everyone’s favorite baker once you introduce these delightful cups!

Why S’mores Cups Are the Ultimate Dessert Solution
The charm of s’mores has always been undeniable: the crisp graham cracker, the melting chocolate, and the perfectly toasted marshmallow. It’s a symphony of textures and flavors that evokes warmth, happiness, and fond memories. However, replicating this magic often requires an outdoor fire, perfect weather, and a willingness to embrace a bit of a sticky situation.
This is precisely where S’mores Cups shine. They offer a hassle-free alternative that delivers all the iconic flavors without any of the traditional constraints. Imagine a dessert that’s effortless to make, easy to transport, and a joy to eat – all while maintaining that irresistible s’mores profile. These mini cups provide individual portions, making serving a breeze and minimizing mess. They’re also incredibly versatile, fitting seamlessly into any event, from a casual barbecue to a more formal gathering. Plus, the preparation process itself is a fun and engaging activity, perfect for getting kids involved in the kitchen.
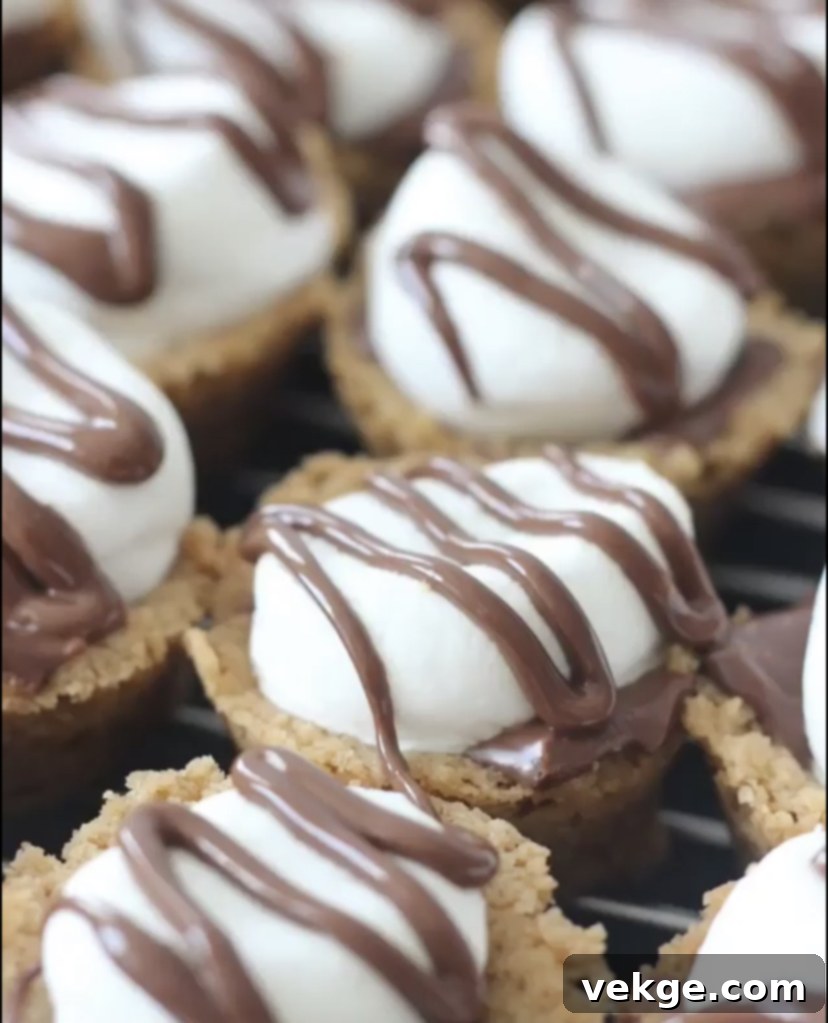
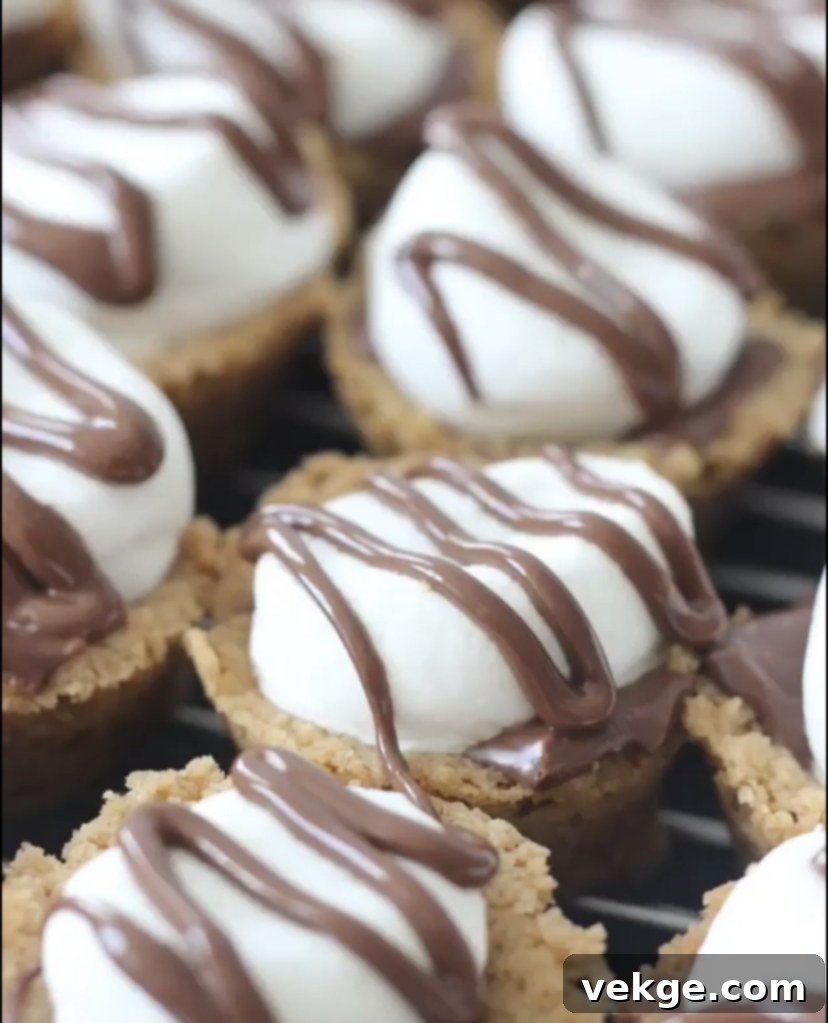
Beyond convenience, S’mores Cups elevate the experience. The baked graham cracker crust provides a sturdy foundation, while the melty chocolate and marshmallow topping are perfectly integrated into a cohesive, delectable bite. The optional chocolate drizzle adds a touch of elegance and extra indulgence, making these cups feel gourmet despite their simple origins. They are a guaranteed hit that will have everyone asking for the recipe!
View this post on Instagram
A post shared by Amber (@amberskitchen)

Recipe: S’mores Cups

S’mores Cups
Print
Pin
Rate
Dessert
15 minutes
7 minutes
22 minutes
35
Ingredients
- 14 graham crackers finely chopped
- 3/4 cup butter melted
- 2/3 cup powdered sugar
- about 20 marshmallows cut in half
- 6 Hershey’s bars broken into individual squares
Instructions
- Preheat oven to 350° F. This ensures your oven is at the optimal temperature for consistent baking.
- Generously spray a pan of mini muffin tins with non-stick spray. This crucial step prevents the s’mores cups from sticking, making them easy to remove after cooling.
- In a medium bowl, combine the finely crushed graham cracker crumbs, melted butter, and powdered sugar. Stir until the mixture is well-combined and resembles wet sand. The powdered sugar adds a delicate sweetness and helps bind the crust together, ensuring a perfect, crumbly base.
- Spoon approximately one tablespoon of the graham cracker mixture into each mini muffin tin. Using the back of a small spoon or even the bottom of your measuring spoon, firmly press the mixture down and up the sides to form a neat, bowl-shaped crust. This creates the perfect pocket for your chocolate and marshmallow.
- Bake the crusts for 5 minutes. This quick bake helps to set the graham cracker base, making it sturdy and slightly crispy, preventing it from crumbling when you remove the cups.
- Remove the muffin tin from the oven. Working quickly while the crusts are still warm, top each cup with one square of Hershey’s chocolate and half a marshmallow. Place the marshmallow cut-side down to allow it to melt and toast evenly. Return the tin to the oven for an additional two minutes, or until the marshmallows are lightly golden and gooey. Keep a close eye on them to prevent burning.
- Allow the s’mores cups to cool in the muffin pan for about 10 minutes. This allows them to firm up slightly before you attempt to remove them. After 10 minutes, carefully transfer them to a wire cooling rack to cool completely. Cooling thoroughly is key to achieving a stable cup.
- For the optional chocolate drizzle, melt the remaining chocolate in a microwave-safe bowl. Microwave for 30 seconds, then stir. Repeat for another 30 seconds, then stir again until smooth. Be very careful, as chocolate can burn easily. If it needs more time, microwave in 10-second intervals, stirring vigorously after each.
- Transfer the melted chocolate to a small Ziploc baggie. Snip a very tiny bit off one corner of the bag. This creates a makeshift piping bag, allowing for a controlled and elegant drizzle.
- Drizzle the melted chocolate artistically over the cooled s’mores cups. Let them sit on the cooling rack for about an hour to allow the chocolate drizzle to set completely before serving. This step adds an extra layer of chocolatey goodness and a beautiful finishing touch.
Tips for S’mores Cup Perfection
Achieving the perfect S’mores Cup is all about attention to a few simple details. Here are some expert tips to ensure your batch is absolutely flawless:
- Crush Those Graham Crackers Finely: For the best crust consistency, make sure your graham crackers are finely crushed. A food processor works wonders for this, or you can place them in a Ziploc bag and crush them with a rolling pin. Uniform crumbs will create a more stable and palatable base.
- Don’t Overbake the Crust: The initial 5-minute bake is just to set the crust. Overbaking can make it hard and dry, losing that delicate texture.
- Work Quickly with Marshmallows: Once the crusts come out of the oven, add the chocolate and marshmallows swiftly. The residual heat helps the chocolate start to melt, and the marshmallows will toast better.
- Watch the Marshmallows Closely: Marshmallows can go from perfectly golden to burnt in a matter of seconds. Keep a close eye on them during the second bake, and adjust timing based on your oven. A light golden brown is ideal for that classic toasted flavor.
- Cool Completely: Patience is a virtue, especially with these cups. Allowing them to cool fully on a wire rack ensures they set properly, making them easy to handle and preventing them from falling apart.
- Handle Melted Chocolate with Care: When melting chocolate for drizzling, use a microwave-safe bowl and heat in short bursts (30 seconds, then 10-15 seconds) stirring between each. Chocolate can seize or burn if overheated. If it seems too thick, a tiny bit of coconut oil can help smooth it out.
Variations & Customizations
While the classic S’mores Cup is undeniably delicious, don’t hesitate to get creative with variations and customizations to suit your taste or occasion:
- Chocolate Choices: Instead of Hershey’s milk chocolate, try dark chocolate for a richer flavor, white chocolate for a sweeter contrast, or even peanut butter cups for a delightful twist.
- Flavored Marshmallows: Experiment with flavored marshmallows like strawberry or chocolate for an extra layer of taste.
- Crust Enhancements: Add a pinch of cinnamon or a tablespoon of cocoa powder to your graham cracker crust mixture for added depth. You could also use crushed oreos for an “Oreo s’mores” cup!
- Toppings Galore: Before the chocolate drizzle sets, sprinkle with mini chocolate chips, sprinkles, chopped nuts (like pecans or walnuts), or even a dash of flaky sea salt to enhance the chocolate. A caramel drizzle would also be fantastic.
- Gluten-Free Option: Easily make these gluten-free by using gluten-free graham crackers. The rest of the recipe remains naturally gluten-free!
Serving and Storage Suggestions
These S’mores Cups are best enjoyed at room temperature or slightly warm, allowing the chocolate and marshmallow to remain gooey. They make a fantastic addition to any dessert table, can be served alongside a scoop of vanilla bean ice cream for an extra treat, or simply enjoyed as a standalone snack.
To store, place leftover S’mores Cups in an airtight container at room temperature for up to 2-3 days. While they are still delicious, the marshmallows may lose some of their initial chewiness. If you prefer a slightly warmed experience, you can gently reheat them in the microwave for 5-10 seconds, or in a preheated oven at 200°F (95°C) for a few minutes until the chocolate and marshmallows are softened. We don’t recommend freezing them, as the texture of the marshmallows can change significantly upon thawing.
Conclusion: Your New Favorite Dessert Awaits!
S’mores Cups are more than just a dessert; they’re an experience. They capture the essence of a beloved classic in a convenient, mess-free, and utterly delicious form. Whether you’re hosting a party, preparing a special family treat, or simply indulging your own sweet tooth, these cups are guaranteed to impress. Their ease of preparation, combined with their irresistible flavor profile, makes them a recipe you’ll return to again and again.
So, gather your ingredients, preheat your oven, and get ready to create a dessert that will earn you a reputation as the S’mores Cup master. Share them, enjoy them, and bask in the delightful smiles they bring. Happy baking!
