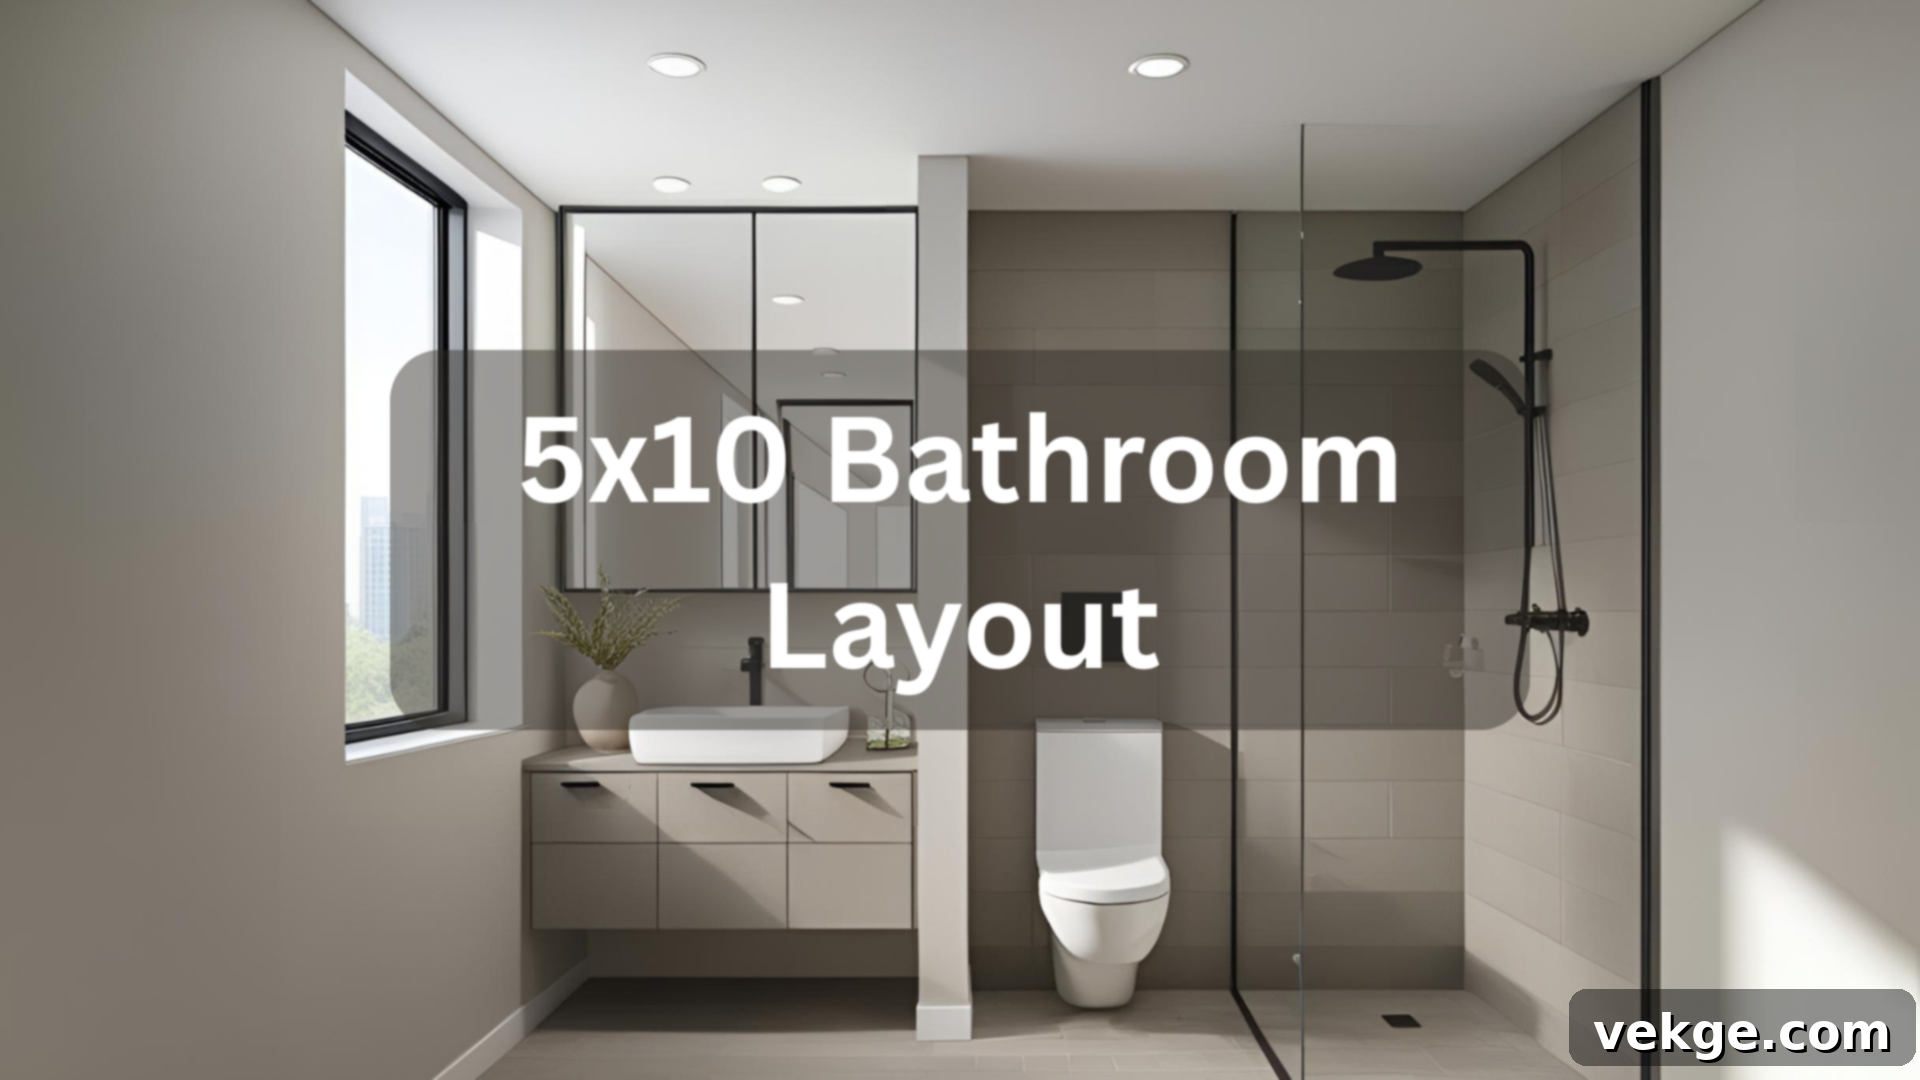
Mastering the 5×10 Bathroom: Ultimate Layouts, Smart Design, and Remodel Guide
A 5×10 bathroom layout might seem compact, but it offers far more design potential than you’d initially expect. Whether you’re planning to update a dated space or embark on new construction, this standard-size bathroom provides ample room for all essential amenities without wasted square footage or exorbitant remodeling costs. It strikes a perfect balance, making it a popular choice for homeowners looking for efficiency and comfort.
If you’ve been searching for the definitive guide on how to make the absolute most of a 5×10 bathroom, your quest ends here. This comprehensive article is designed to answer all your most pressing questions, from planning the optimal layout and selecting the best fixtures to innovative techniques for making the space feel significantly larger and understanding the expected expenses of such a renovation.
Dive in to explore a variety of clever layout ideas tailored for different needs, ingenious design tips that stretch every inch of your 50 square feet, detailed cost breakdowns, smart material selections, and critical mistakes to steer clear of during your project. Prepare to transform your small bathroom into a smarter, more functional, and visually stunning oasis—keep reading to unlock its full potential!
What Exactly is a 5×10 Bathroom Layout?
A 5×10 bathroom layout refers to a rectangular bathroom space that measures 5 feet in width and 10 feet in length, resulting in a total area of 50 square feet. This specific dimension is a common and highly versatile footprint found in countless homes across North America. Its elongated, rectangular shape provides sufficient room to comfortably accommodate all basic bathroom elements while remaining compact enough to integrate seamlessly into most existing or new floor plans.
Often utilized as a master bathroom in smaller homes or as a full guest bathroom, a 5×10 space efficiently provides enough room for essential fixtures such as a toilet, a single-sink vanity, and either a shower or a bathtub, all while ensuring comfortable movement and accessibility. Its popularity stems from its ability to offer full bathroom functionality without demanding excessive space, making it an ideal choice for practical homeowners.
Why the 5×10 Bathroom is a Popular and Practical Choice
The 5×10 bathroom has firmly established itself as a standard size in residential architecture for several compelling reasons. These dimensions create a remarkably practical and efficient space that caters to a wide array of needs without any unnecessary excess.
- Versatile Application: It is commonly found and perfectly suitable for both master bathrooms, offering private convenience, and guest bathrooms, providing full functionality for visitors.
- Full Functionality: Despite its compact nature, it is large enough to comfortably include all essential fixtures required for a full bathroom (toilet, sink, shower/tub).
- Flexible Integration: Its dimensions fit well into diverse architectural plans, making it a preferred choice for both new construction projects and existing home remodels.
- Optimal Balance: It offers an excellent balance between usable space and construction or renovation costs, providing comfort without overspending.
For homeowners, this size represents an ideal middle ground—it’s spacious enough to feel comfortable and functional, yet compact enough to be economical in terms of both space allocation and budget. It prevents the feeling of being cramped while avoiding the costs associated with larger, more expansive bathrooms.
Key Features Commonly Found in a 5×10 Layout
Most 5×10 bathrooms, by virtue of their common dimensions, tend to incorporate similar core elements. The rectangular configuration is particularly forgiving, allowing for versatile and efficient arrangements of these essential components to suit various preferences.
- Bathtub or Walk-in Shower: Depending on homeowner preference and space optimization, you can comfortably fit either a standard bathtub with a shower combo, or a dedicated walk-in shower. In some innovative layouts, both might even be considered with careful planning.
- Single-Sink Vanity: Typically, a single-sink vanity is chosen to maximize counter space and storage without overwhelming the room. Various styles, including floating or cabinet-style, can be used.
- Toilet: A standard toilet finds its place efficiently, usually alongside the vanity or opposite the shower/tub.
- Storage Options: Maximizing storage is key in any compact space. Common solutions include under-vanity cabinets, open shelving, recessed wall niches, and sometimes a slender linen closet.
The 50 square feet provided by a 5×10 layout is surprisingly generous, allowing for the inclusion of all these items while still leaving ample room for comfortable movement. This makes it an excellent choice for a primary full bathroom, or even a shared half- or three-quarter bathroom setup.
Best 5×10 Bathroom Layout Ideas to Inspire Your Remodel
The layout you select for your 5×10 bathroom is paramount, directly influencing both its functionality and overall comfort. Thoughtful planning can transform this standard space into a highly efficient and aesthetically pleasing area. Here are five practical and popular arrangements that excel in a 5×10 bathroom, each catering to distinct needs and design preferences.
1. Standard 5×10 Layout with Bathtub, Vanity, and Toilet
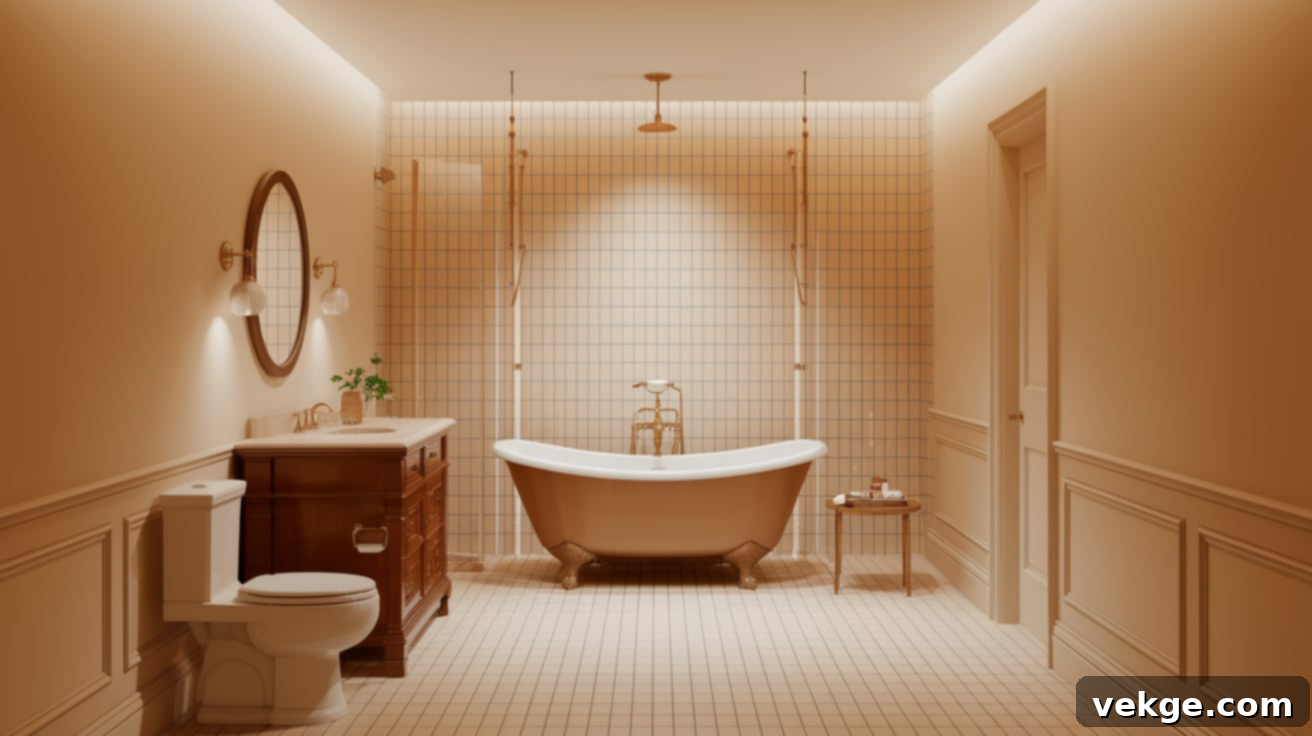
This is the quintessential and most traditional bathroom layout, often seen for good reason. It efficiently places fixtures along both of the long walls of the bathroom. Typically, the toilet and a single-sink vanity are situated along one 10-foot wall, creating a convenient and unified utility zone. Opposite this, the bathtub/shower combination is installed against the other long wall.
This arrangement naturally creates a clear, central walking path down the middle of the room, ensuring easy access to all fixtures and preventing a cramped feeling. It’s an exceptionally efficient use of available space, making it ideal for families with children who may need a bathtub, or anyone who simply prefers the option of a relaxing bath over a quick shower. Its classic appeal and high functionality make it a timeless choice.
2. Shower Stall Layout for Maximized Open Space
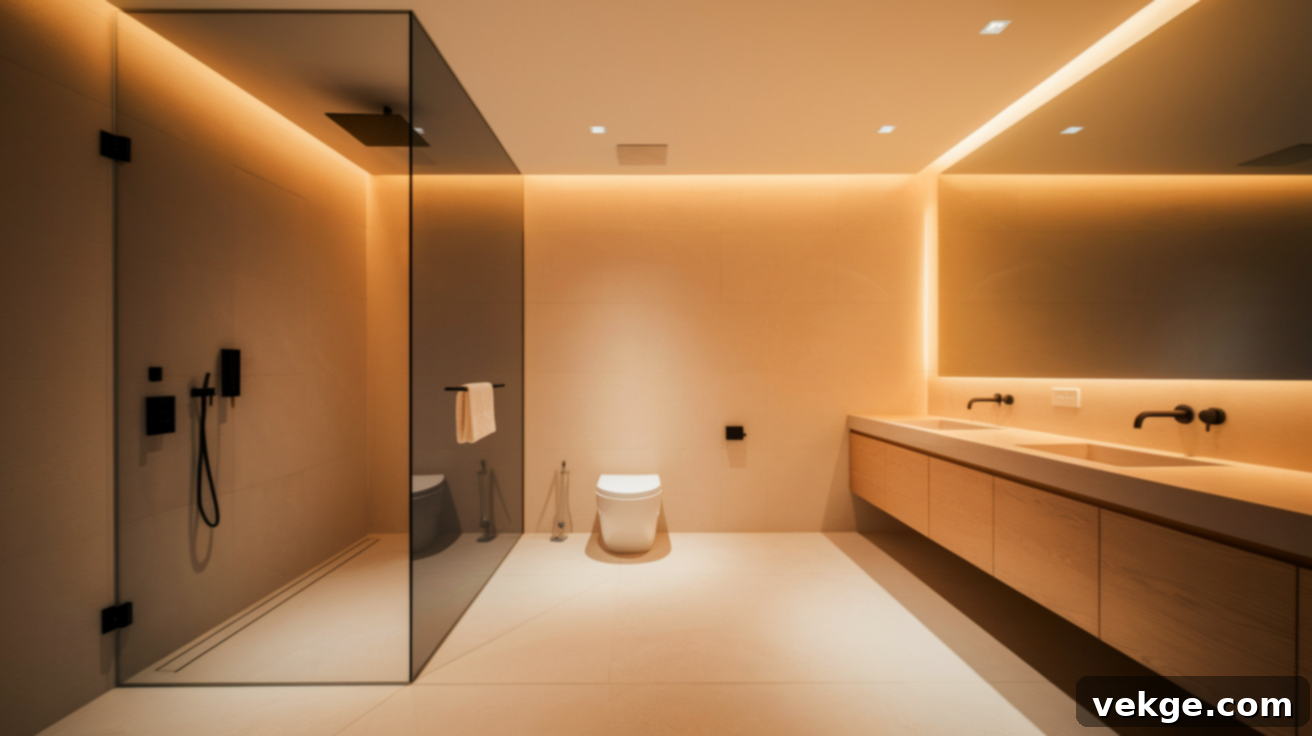
For those who prioritize an expansive feel and rarely use a bathtub, replacing a standard tub with a dedicated walk-in shower stall can dramatically open up the floor space in a 5×10 bathroom. In this layout, the shower typically occupies one end of the 10-foot room, usually measuring about 3×5 feet. The toilet and vanity are then positioned along one of the longer walls, often opposite the shower entrance.
This configuration makes the entire bathroom feel significantly larger, airier, and more contemporary. It’s particularly well-suited for adults or individuals who exclusively prefer showers. The substantial increase in open floor space not only enhances the visual appeal but also simplifies cleaning and greatly improves mobility within the bathroom, making it a highly practical choice for modern living.
3. Wet Room Layout for a Seamless and Modern Look
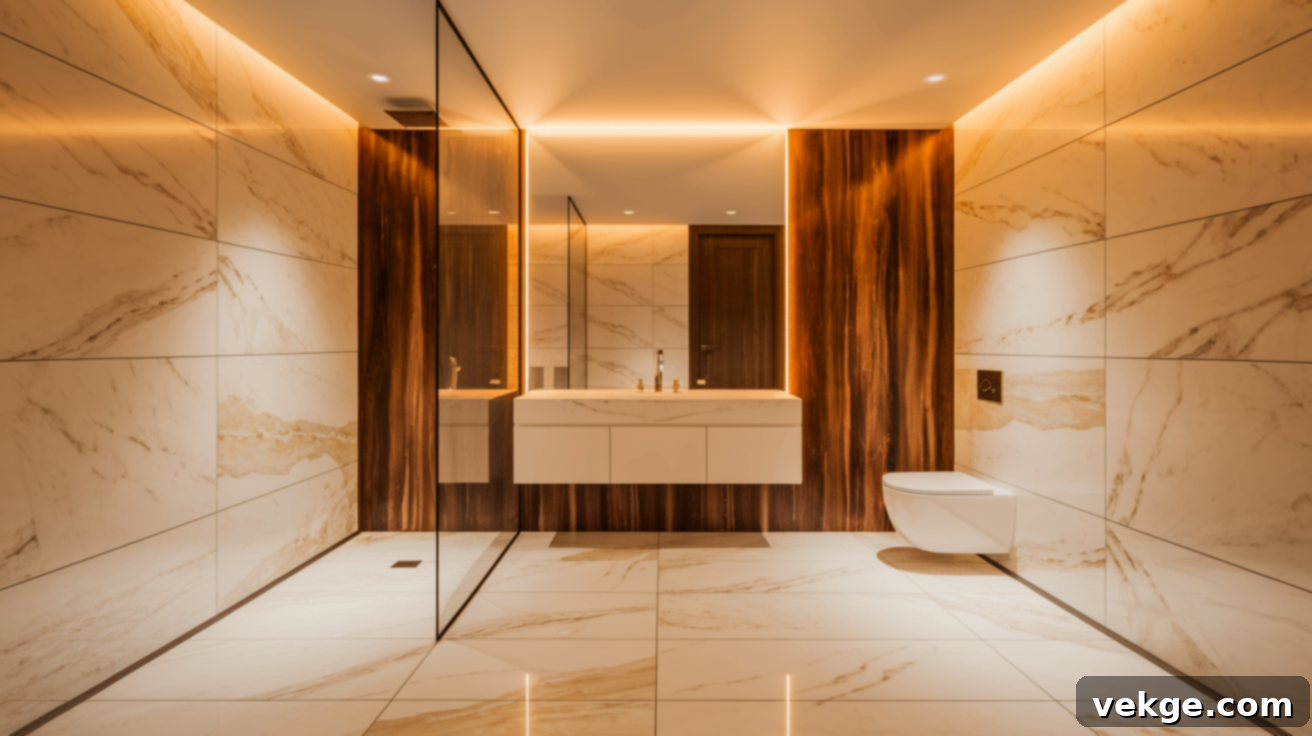
A wet room design is an innovative approach that effectively removes the traditional barriers between the shower and the rest of the bathroom, creating a truly seamless and luxurious aesthetic. In this setup, the entire bathroom floor is meticulously waterproofed and subtly sloped towards a central or linear drain, allowing water to flow away efficiently.
This open-concept design works surprisingly well and can be incredibly impactful in a 5×10 space, making it feel expansive, ultra-modern, and exceptionally sophisticated. The toilet and vanity are strategically positioned at the ‘dry’ end of the room, often protected by a glass screen or simply well outside the direct spray zone, while the shower area occupies the other end without the need for walls, curbs, or even a shower tray. It’s an excellent choice for achieving a minimalist, high-end spa-like atmosphere.
4. Layout with Strategic Extra Storage Niches
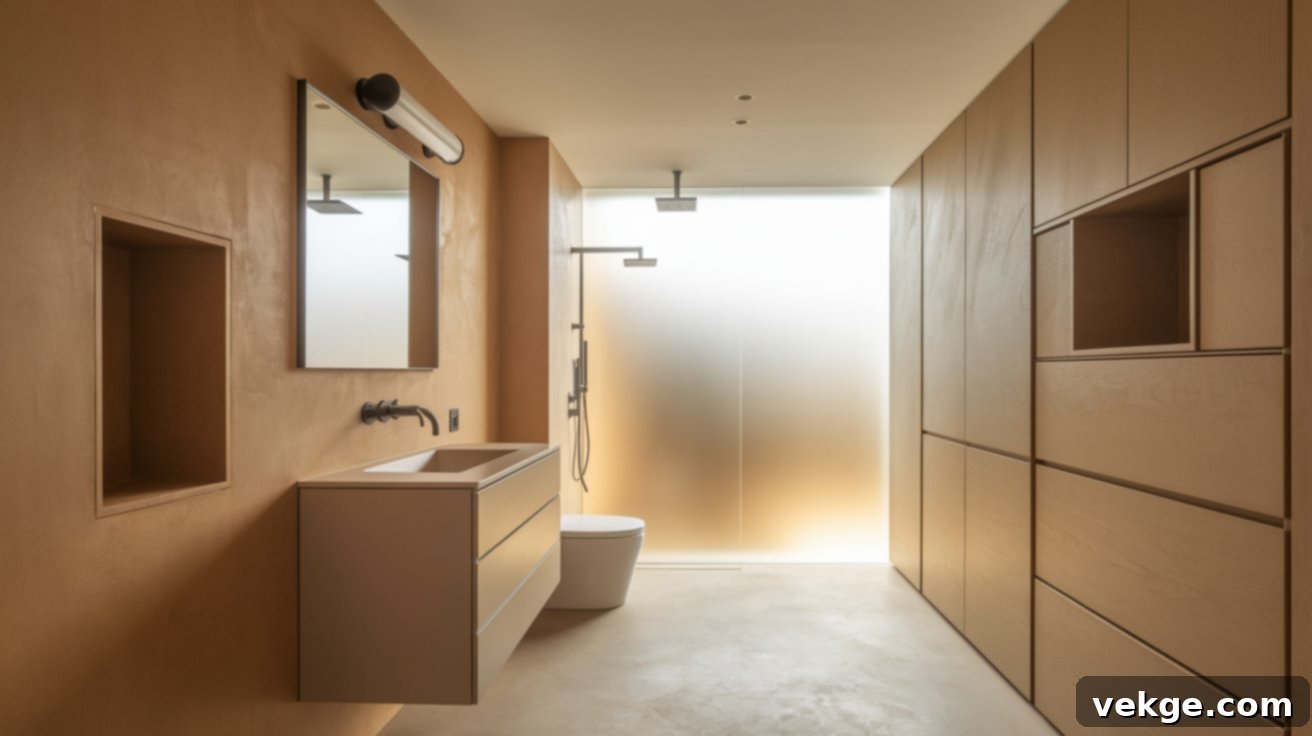
For households that require maximum storage solutions within a compact footprint, this layout thoughtfully integrates various storage elements. It typically emphasizes recessed wall niches, a vanity with ample drawers and cabinet space, and potentially vertical cabinet towers or linen closets.
In this arrangement, the toilet is often placed adjacent to the vanity, which frees up the end of one long wall for built-in shelving, a tall, slender linen cabinet, or even deeper recessed shelving units. The shower or tub then sits against the opposite long wall, keeping the main traffic flow clear. This design is exceptionally functional for bathrooms shared by multiple family members or those needing to store a variety of toiletries and linens, ensuring everything has its designated place without cluttering the valuable counter space.
5. ADA-Friendly Layout for Enhanced Accessibility
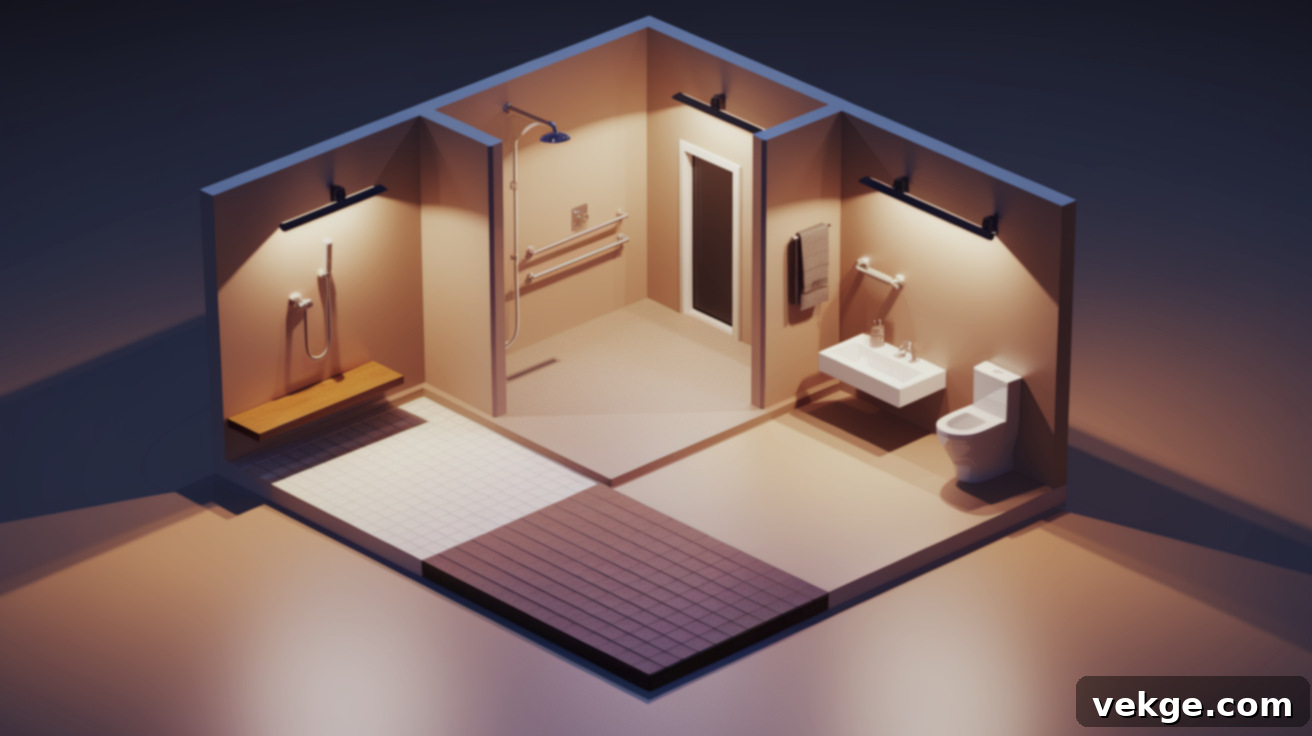
Creating an accessible 5×10 bathroom requires meticulous planning to comfortably accommodate mobility needs, adhering to or exceeding ADA (Americans with Disabilities Act) guidelines for universal design. This specialized layout typically features a spacious, curbless shower area, often equipped with a built-in or fold-down seat, and strategically placed grab bars for safety and support.
The vanity is usually wall-mounted, allowing for clear space underneath to facilitate wheelchair access, and the toilet is positioned with generous clearances on both sides for easy transfer. Doorways are widened to a minimum of 32 inches, and careful attention is paid to preserving a clear turning radius (usually a 60-inch circle) in the center of the room to ensure comfortable maneuverability for wheelchairs or walkers. This layout demonstrates that even a 5×10 space can be highly functional and dignified for all users.
Smart Design Tips to Maximize Your 5×10 Bathroom’s Potential
A 5×10 bathroom, despite its advantages, can quickly feel cramped and confined if not designed with a keen eye for space optimization. Implementing these practical and visually clever design tips will help you make your bathroom appear and feel significantly more spacious, while simultaneously enhancing its overall functionality and aesthetic appeal.
Employ the Same Tile on Floors and Walls for Seamless Flow
One of the most effective visual tricks for expanding a small space is to use matching tile for both the floors and at least some of the walls, especially in the shower area or up to a certain height. This creates a continuous, unbroken visual plane that eliminates the harsh visual break that occurs when different materials or colors meet. The eye travels smoothly across the surfaces, making the entire room feel larger and more cohesive.
This technique is particularly impactful when using light-colored, large-format, or simple tiles that don’t overwhelm the space with busy patterns. As an added bonus, adopting a single tile type across these surfaces also streamlines cleaning and maintenance, as you’re dealing with just one type of material and finish.
Align Grout Lines for an Illusion of Length
The strategic alignment of grout lines during tile installation can dramatically influence the perceived size of your bathroom. When grout lines are carefully aligned and run continuously, they create a strong directional line that draws the eye forward, fostering a sense of extended flow and greater length within the space.
For the most pronounced effect in a 5×10 bathroom, opt for rectangular tiles, such as popular 12×24-inch dimensions. Install these tiles with their longer side running parallel to the longest wall of your bathroom. This simple yet powerful optical illusion can make your 5×10 bathroom appear significantly longer and more expansive than its actual dimensions.
Choose a Floating Vanity or Wall-Mounted Sink for Visual Lightness
In a 5×10 bathroom, every square inch of visible floor space is incredibly valuable. Opting for a floating vanity or a sleek wall-mounted sink rather than a traditional, floor-standing cabinet vanity is a game-changer. These fixtures create an open, unobstructed area beneath them, allowing your eye to travel freely to the wall behind. This visual continuity tricks the brain into perceiving greater depth and makes the entire room feel less cluttered and more expansive.
Beyond the visual benefits, freeing up the floor space makes routine cleaning significantly easier, as there are no cabinet bases or pedestals to navigate around. It’s a clean, modern, and highly practical choice for maximizing the perceived size of your compact bathroom.
Incorporate a Tilt Mirror for Dynamic Depth and Functionality
While often overlooked, a tilt mirror (also known as a pivot mirror) serves both crucial practical and clever visual purposes in a small bathroom. Functionally, its adjustable angle allows individuals of varying heights to easily customize the mirror’s position to suit their needs, providing optimal reflection for everyone.
From a design perspective, a tilted mirror dynamically catches and reflects light from different angles compared to a flat, fixed mirror. This subtle movement of light adds visual interest, breaks up potential monotony, and creates a sense of greater depth and dimension in the room. This small but impactful design choice can make your bathroom feel much more custom-designed, thoughtful, and luxurious.
Keep the Color Palette Simple and Cohesive
An overly busy or fragmented color scheme can quickly make a small bathroom feel chaotic, cluttered, and even smaller than it is. To foster an open and serene atmosphere, stick to a limited color palette, ideally using no more than two or three primary colors, with one serving as the dominant shade and the others as subtle accents.
Generally, light colors (whites, creams, soft grays, pale blues, or greens) are the most effective for making spaces feel larger and brighter, as they reflect light rather than absorbing it. However, don’t shy away from introducing a single darker color strategically—perhaps on the vanity cabinet or a single accent wall—to create helpful contrast and anchor the space without making it feel smaller. The key is cohesion and simplicity.
Include Recessed Lighting or Wall Lights for Optimal Illumination
Effective lighting is absolutely critical in making any small bathroom feel larger, more inviting, and highly functional. Recessed ceiling lights (pot lights or downlights) are an excellent choice as they are flush with the ceiling, saving valuable headroom and providing consistent, even illumination without adding any visual clutter or bulky fixtures that can visually lower the ceiling.
Complementing recessed lighting with wall sconces placed at eye level on either side of the mirror provides crucial task lighting while also drawing the eye outward, subtly making the room feel wider. It’s generally advisable to avoid large, hanging pendant fixtures or chandeliers in a 5×10 bathroom, as these can make the ceiling feel lower and consume valuable visual space, creating a more confined feel.
Material and Finish Recommendations for a Spacious 5×10 Bathroom
Selecting the appropriate materials and finishes is a pivotal step in designing a 5×10 bathroom, influencing both its aesthetic appeal and long-term functionality. These carefully chosen recommendations aim to strike an optimal balance between cost-effectiveness and quality, while actively contributing to a more spacious and inviting bathroom environment.
-
Large-Format Porcelain Tiles (12×24″ or larger): Opt for large-format porcelain tiles on both floors and walls. Their bigger size significantly reduces the number of grout lines, creating a more seamless and expansive visual effect. Porcelain is renowned for its durability, water resistance, and low maintenance, making it perfect for high-moisture areas. Light colors like white, light gray, or beige are highly recommended as they reflect light, helping the small bathroom feel open, clean, and airy.
-
2×2″ Mesh-Backed or Pebble Tiles for Shower Floors: For the shower floor, smaller tiles like 2×2-inch squares or natural pebble tiles are ideal. Their increased grout lines provide superior grip and slip resistance, which is crucial in a wet environment. These small tiles also conform easily to the slight slope required for proper shower drainage. Mesh-backed sheets simplify installation, saving time and labor costs, and contribute to a spa-like texture underfoot.
-
Matte Finishes for Safety and Modernity: When choosing tiles and fixtures, lean towards matte finishes over glossy ones. Matte surfaces offer better traction, significantly reducing the risk of slips, particularly on wet floors. Furthermore, they are excellent at hiding water spots, smudges, and soap scum, maintaining a cleaner appearance with less effort. Aesthetically, matte finishes lend a sophisticated, contemporary, and understated look that aligns well with minimalist small bathroom designs.
-
Cohesive Wall Paint Matching Tile Color: To reinforce the illusion of a larger space, choose a wall paint color that closely matches or perfectly complements your chosen tile color. This creates a harmonious, continuous visual flow, blurring the lines between surfaces and making the room feel more expansive. Always select a high-quality satin or semi-gloss, moisture-resistant paint specifically formulated for bathroom use to prevent mold and mildew growth and ensure long-lasting durability in humid conditions.
Cost Breakdown for a 5×10 Bathroom Remodel (2025 Estimates)
Thorough budget planning is a non-negotiable step for any successful bathroom remodel. This comprehensive breakdown provides realistic expected costs for both materials and labor in 2025, offering a clear financial roadmap. On average, a typical 5×10 bathroom remodel can range anywhere between $5,000 and $10,000, but this figure can fluctuate significantly based on your specific material selections, the extent of structural changes, and regional labor rates.
Fixture Costs
Understanding the individual cost of fixtures is crucial for making informed decisions about where to invest or economize. The items listed below constitute a substantial portion of your overall renovation budget, so careful consideration here can have a significant impact.
| Item | Price Range (Estimated) |
|---|---|
| Toilet | $100–$255 (Standard to mid-range efficient models) |
| Sink (Basin only) | $300–$600 (Under-mount, vessel, or pedestal sinks) |
| Vanity (Cabinet + Countertop) | $400–$3,000 (Basic stock to custom floating units) |
| Shower (Enclosure, base, fixtures) | $800–$1,000 (Standard pre-fab to custom tiled with basic glass door) |
| Lighting Fixtures | $300–$1,000 (Recessed lights, vanity sconces, fan/light combos) |
| Ventilation Fan | ~$160 (Standard bathroom exhaust fan) |
| Window (if needed) | $300–$500 (Standard privacy window, labor extra) |
It’s important to note that these price ranges generally cover basic to mid-range options. Higher-end fixtures, designer brands, or those with advanced features (like smart toilets with heated seats or custom shower systems) can easily push costs significantly higher. For instance, while a basic toilet might start at $100, a high-tech model with integrated bidet functions and smart features could cost up to $3,000 or more, underscoring the importance of careful selection based on your budget and priorities.
Labor Costs
Labor is often the largest component of any remodel, typically accounting for 40-60% of your total project budget. Each professional brings specialized skills and expertise, charging accordingly based on their trade, experience level, and the complexity of the tasks involved. It’s vital to factor these costs in realistically.
| Professional | Hourly Rate (Estimated) |
|---|---|
| Electrician | $25–$40/hr (Wiring, fixture installation, outlet upgrades) |
| Plumber | $25–$150/hr (Fixture installation, pipe relocation, drain work) |
| Carpenter | $30–$90/hr (Framing, trim work, custom cabinetry installation) |
| HVAC Technician | $75–$150/hr (Ventilation system installation/repair) |
| Painter | ~$70/hr (Surface preparation, painting walls and trim) |
Labor costs can fluctuate based on your geographical location, the specific demand for skilled tradespeople, and the individual worker’s level of experience and reputation. More intricate or demanding jobs will naturally command higher rates. While hourly rates are provided for reference, most contractors prefer to offer a comprehensive project estimate rather than billing strictly by the hour for a complete remodel. Always obtain at least three detailed quotes from different licensed professionals before making your hiring decision to ensure competitive pricing and a clear understanding of the scope of work.
Smart Strategies to Maximize Space and Save Money in Your 5×10 Bathroom
Bathroom remodels, even for a compact 5×10 space, can quickly become expensive endeavors if not managed strategically. Implementing these practical and cost-effective tips will help you extract maximum value from your budget while simultaneously creating a bathroom that feels more spacious, functional, and visually appealing without compromising on quality.
Keep Existing Plumbing in Place to Avoid Major Costs
One of the single most significant expenses in any bathroom remodel is the relocation of plumbing lines. Moving a toilet, sink, or shower requires extensive work, including opening up walls and floors to reroute water supply and drainage pipes, which can incur hundreds, if not thousands, of dollars in labor and materials. By making a conscious effort to keep your major plumbing fixtures (toilet, sink, and shower/tub) in their original locations, you can dramatically reduce your overall project costs.
If your current bathroom layout functions reasonably well, prioritize updating the fixtures themselves (e.g., a new toilet, vanity, or shower enclosure) rather than embarking on costly structural changes. This approach allows you to achieve a fresh, modern look without the associated financial burden of extensive plumbing alterations.
Tackle DIY Paint and Simple Installations
Empower yourself by taking on the simpler, less technically demanding aspects of your bathroom remodel. Tasks such as painting walls, installing towel bars, mounting mirrors, and even replacing basic light fixtures are often well within the capabilities of most homeowners, even those with limited DIY experience. These efforts, though seemingly minor, can lead to substantial savings on professional labor costs.
Beyond the financial benefits, undertaking these DIY projects provides you with greater control over the finishing touches and allows you to personalize your bathroom according to your exact vision, instilling a sense of pride in the completed space.
Opt for Mid-Range, Durable Materials
It’s a common misconception that only the most expensive materials offer superior quality and longevity. In reality, many mid-range options provide exceptional durability, performance, and aesthetic appeal at a fraction of the cost of their high-end counterparts. For instance, high-quality porcelain tile can offer many of the aesthetic and practical benefits of natural stone (like marble or granite) but with greater durability, less maintenance, and significantly lower cost.
Allocate your budget wisely by focusing your spending on items that endure heavy daily use and are difficult to replace, such as flooring, shower surrounds, and high-quality plumbing fixtures. For less critical areas, well-chosen mid-range materials can offer fantastic value and a sophisticated look.
Utilize Wall Niches for Built-In Storage
In a 5×10 bathroom where floor space is precious, built-in wall niches are an ingenious storage solution. By creating recessed compartments between existing wall studs during construction or renovation, you can add valuable storage without protruding into the room and occupying valuable floor area. The cost of adding these niches during the framing stage is relatively minimal, yet they offer immense practical benefits.
These discreet niches are perfectly suited for storing toiletries within the shower area, displaying decorative items, or keeping frequently used essentials neatly organized in other parts of the bathroom, contributing to a clean, clutter-free environment.
Choose Clear Glass Shower Walls for Visual Expansion
In a compact 5×10 bathroom, visual space is just as important as physical space. Opting for clear glass shower walls, particularly frameless or semi-frameless designs, can profoundly impact how large the room feels. Unlike opaque shower curtains or solid walled enclosures, glass allows your eye to travel uninterrupted through the shower area to the back wall, creating an illusion of continuous space across the full width of the bathroom.
While the initial investment for a glass shower enclosure is typically higher than a basic shower curtain, the immediate and long-term benefits of an enhanced sense of spaciousness, increased light, and the added value it brings to your home make it a highly worthwhile investment for a small bathroom.
Common Mistakes to Avoid in a 5×10 Bathroom Layout
When undertaking a remodel or design project for a small bathroom, certain common errors can inadvertently make the space feel even more cramped, less functional, or visually chaotic. Being proactively aware of these potential pitfalls will empower you to create a more successful, harmonious, and highly efficient bathroom design that maximizes its 5×10 footprint.
- Overcomplicating the Design: Introducing too many disparate colors, busy patterns, or an excessive number of decorative elements can quickly overwhelm a small space. This results in a cluttered and visually chaotic environment that feels smaller and less serene. Simplicity and cohesion are key in compact bathrooms.
- Using Too Many Different Finishes and Materials: An abundance of varied finishes and material types (e.g., three different types of tile, two types of wood, and multiple metal finishes) creates jarring visual breaks. These interruptions make the bathroom appear “chopped up” and significantly smaller than its actual dimensions, diminishing the desired spacious feel.
- Neglecting Proper Ventilation: This is a frequently overlooked but critical error. Inadequate or non-existent ventilation leads to persistent moisture issues, fostering the growth of mold and mildew, and causing long-term damage to new materials, paint, and fixtures. Always ensure a powerful, properly sized exhaust fan is installed and regularly used.
- Choosing Oversized Fixtures: Selecting fixtures that are out of proportion with the bathroom’s modest size is a common mistake. An overly large vanity, an imposing toilet, or a shower fixture that dominates the space will waste valuable square footage, impede movement, and make the room feel incredibly cramped and uncomfortable. Opt for compact, scaled-appropriate options.
- Failing to Plan for Adequate Storage: Without a well-thought-out storage plan, counter surfaces quickly become cluttered with toiletries, and essential items end up stored in plain view. This creates a messy, disorganized appearance that detracts from the bathroom’s appeal and functionality. Incorporate built-in niches, vanity storage, and wall-mounted shelving.
- Installing a Standard Swing Door: A traditional swing door requires a significant amount of clear floor space (typically 7-9 square feet) for its arc of opening. This “dead space” is a luxury a 5×10 bathroom cannot afford. Instead, consider space-saving alternatives like a pocket door (which slides into the wall) or a barn-style sliding door (which slides along the wall) to reclaim valuable usable space within the bathroom.
Conclusion
The 5×10 bathroom layout stands as compelling proof that you don’t necessarily need an expansive footprint to achieve outstanding results in terms of both style and functionality. With strategic planning, thoughtful design choices, and a discerning selection of materials, you possess the power to transform this standard-sized space into a bathroom that not only feels significantly larger but also performs exceptionally well for your daily needs.
Throughout this comprehensive guide, we’ve explored the most effective layout ideas to suit various preferences, shared practical design tips to maximize every precious inch, provided intelligent material suggestions for durability and aesthetics, outlined a detailed cost breakdown to aid your budgeting, and highlighted critical mistakes to vigilantly avoid. Whether you’re embarking on updating an outdated bath or starting fresh with new construction, you are now equipped with a complete roadmap and actionable insights for your 5×10 bathroom project.
We trust that this guide has provided immense value and clarity for your renovation journey. For further inspiration, more specialized bathroom layout advice, and a wealth of remodeling ideas that consistently keep real-world spaces and practical budgets in mind, we encourage you to explore our other insightful posts. Your dream bathroom is closer than you think!
