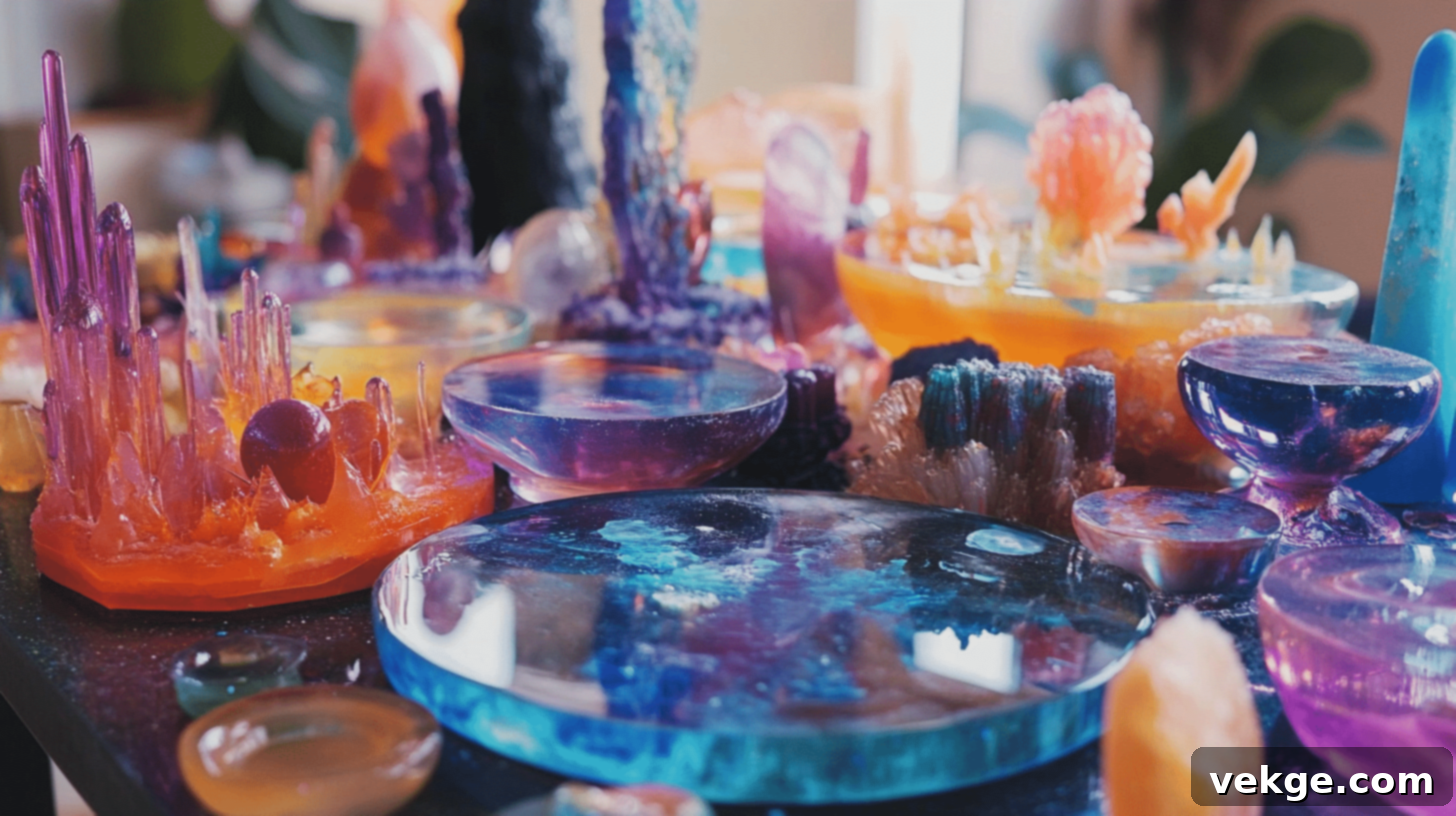
Mastering Epoxy Resin: The Ultimate Beginner’s Guide to Easy & Beautiful Projects
Embarking on your first epoxy resin project can initially seem daunting, a sentiment I deeply understand. When I first ventured into this creative world, I had absolutely no prior experience and made my fair share of beginner mistakes. But here’s the exciting truth: you don’t need years of practice or advanced crafting skills to produce genuinely beautiful and professional-looking epoxy items.
Through years of dedicated experimentation and learning, I’ve developed a deep understanding of epoxy resin. My goal with this comprehensive guide is to empower you to bypass the common trial-and-error phase that often discourages newcomers. I’m excited to share a collection of simple yet impressive epoxy projects that are perfectly suited for beginners. These projects not only look fantastic but also require minimal specialized tools or complex techniques, making them ideal starting points for anyone interested in DIY epoxy crafts.
Are you ready to transform raw resin into something truly special and unique? This guide will meticulously walk you through everything you need to know: from selecting the right epoxy resin materials and understanding the crucial steps for safe and effective epoxy mixing, to following clear, actionable steps that guarantee stunning results. We’ll cover the basics, demystify the process, and provide you with the confidence to tackle your first piece of epoxy art.
By the time you reach the end of this post, you’ll feel completely prepared and confident to start your very own epoxy resin project. Let’s dive in and unlock your creative potential!
How to Create Your First Epoxy Resin Project: A Step-by-Step Walkthrough
This section provides a detailed guide on how to approach your very first epoxy project, offering foundational knowledge and techniques applicable to many beginner-friendly items. We’ll focus on a versatile approach that can be adapted for various surfaces and designs, ensuring you build a strong understanding of the epoxy crafting process.
Essential Tools & Materials for Beginner Epoxy Projects
Before starting any epoxy resin craft, gathering the right supplies is crucial. This list focuses on items that are generally accessible and suitable for a wide range of starter projects.
- Epoxy Resin System (1:1 Ratio Mix): Always choose a high-quality, clear casting or coating resin designed for artistic applications. A 1:1 mixing ratio (by volume) is often the easiest for beginners.
- Drill with a Paddle Mixer: Essential for thoroughly mixing larger quantities of epoxy, ensuring a complete and even cure.
- Mixing Buckets: Multiple, clean plastic buckets are needed for mixing the two parts of epoxy and for color preparation.
- Measuring Cups: Accurate measuring cups (marked in ounces or milliliters) are vital for maintaining the correct resin-to-hardener ratio.
- Masking Tape (or Painter’s Tape): Used to create a temporary dam around your project edges, preventing the resin from flowing off.
- Propane Torch or Heat Gun: Critical for removing pesky air bubbles that rise to the surface of the freshly poured epoxy, leaving a crystal-clear finish.
- Disposable Gloves: Absolutely essential for personal protection. Epoxy resin can be an irritant to the skin.
- Popsicle Sticks or Stirring Sticks: For hand-mixing smaller batches of epoxy or incorporating colors.
- White Epoxy Dye: A versatile base color for many designs, providing opacity and a clean canvas.
- Metallic Powder Colors (e.g., Blue Pearl, Gold Dust): These add stunning shimmer and depth to your epoxy art.
- Epoxy Dispersion Fluid: Helps metallic powders and other pigments blend smoothly and achieve unique effects within the resin.
- Wood Surface (Prepped with White Epoxy Undercoat): A common and forgiving surface for beginners. Pre-coating ensures better adhesion and true color representation.
Step-by-Step Process to Create Your First Epoxy Project
Follow these detailed steps to ensure a smooth and successful epoxy resin crafting experience. This general guide can be applied to various projects, like creating a custom tabletop or a unique art piece.
- Thorough Prep Work: Foundation for Success
- Prepare the Wood Surface: If working with wood, gently round off the corners of your wood surface using sandpaper. This helps prevent the epoxy from dripping excessively or creating sharp edges.
- Apply Undercoat: Apply two even coats of white epoxy undercoat to your wooden surface. This serves as a primer, sealing the wood and creating a uniform base color that makes your subsequent colors pop.
- Allow Full Drying: Ensure the undercoat is completely dry and cured according to the product’s instructions before moving on. Patience here prevents future issues.
- Constructing a Secure Tape Dam: Containing Your Colors
- Layer Masking Tape: Carefully apply multiple layers of high-quality masking tape (or painter’s tape) around all the edges of your project. This creates a temporary barrier, acting as a dam to hold the liquid epoxy and your chosen colors precisely in place during the initial curing phase.
- Ensure a Tight Seal: Press the tape down firmly to prevent any leaks. A good seal is key to preventing epoxy from running off the edges prematurely.
- Accurate Epoxy Mixing: The Heart of Your Project
- Measure Precisely: In your main mixing bucket, carefully measure out Part A (resin) and Part B (hardener) according to the 1:1 ratio specified by your epoxy brand. This precise measurement is non-negotiable for proper curing.
- Blend Thoroughly: Using a drill with a paddle mixer, blend the two parts together for at least 2 minutes. Scrape the sides and bottom of the bucket frequently to ensure all parts are fully incorporated. Incomplete mixing leads to sticky, uncured spots.
- Calculate Volume: For projects like this, aim for approximately 5-6 ounces of mixed epoxy per square foot of surface area. This ensures adequate coverage without excessive thickness.
- Vibrant Color Preparation: Unleash Your Creativity
- Divide Epoxy: Carefully split the freshly mixed, clear epoxy into separate smaller cups. You’ll need one cup for each color you plan to use, plus a larger cup for your primary base color (e.g., white).
- Enhance Metallic Powders: For metallic powder colors, add a few drops of epoxy dispersion fluid to their respective cups before adding the powder. This helps the metallic particles spread and shimmer beautifully.
- Mix Base Color: Add the white epoxy dye to the largest portion of epoxy and stir thoroughly until a consistent, opaque color is achieved.
- Incorporate Accent Colors: Add your chosen metallic powders (e.g., Blue Pearl, Gold Dust) to the smaller portions of epoxy. Stir each color well until the pigment is fully dissolved and evenly distributed, avoiding clumps.
- Skillful Color Combination: Creating Depth and Movement
- Layer into Main Bucket: Gently pour the prepared colored epoxy mixtures back into your main mixing bucket. Add them in layers, being careful not to over-mix at this stage. The goal is to create distinct layers and marbling effects.
- Start with a Base: Begin by pouring in your white base color, allowing it to cover the bottom of the bucket.
- Add Accents: Follow with small amounts of your accent metallic colors, layering them on top of the white. The less you mix here, the more defined your patterns will be.
- Controlled Pouring & Self-Leveling: Achieving a Smooth Surface
- Pour Angled Lines: Gently pour the combined, layered epoxy mixture onto your prepped surface. Start by pouring in angled lines, allowing the resin to flow and spread naturally.
- Allow Self-Leveling: Epoxy resin is designed to self-level, creating a smooth, even surface. Resist the urge to aggressively tilt or manipulate the surface, as this can distort your intended design and introduce bubbles.
- Removing Stubborn Air Bubbles: The Key to Clarity
- Use a Heat Source: Immediately after pouring, use a propane torch or a heat gun to systematically remove any trapped air bubbles.
- Maintain Distance: Hold the heat tool approximately 1 inch above the epoxy surface. Keep it moving continuously to avoid scorching the resin.
- Cover Entire Area: Slowly pass the heat over the entire surface, watching as the bubbles rise and pop, revealing a crystal-clear finish.
- Crucial Final Steps: Curing and Reveal
- Partial Cure Wait: Allow the epoxy to partially cure for approximately 3 hours. At this point, it will be tacky but no longer runny.
- Remove Tape Dam: Carefully remove the tape dam from top-down. This timing is important; if you wait too long, the tape can become embedded.
- Smooth Edges: With gloved fingers, gently smooth any epoxy that may have slightly seeped under the tape or created drips, guiding it to flow naturally over the edges for a clean finish.
- Full Cure: Let the project cure completely for 24-72 hours (check your specific resin’s instructions) in a dust-free environment. Avoid touching or moving the piece during this critical period.
By following these detailed instructions, you’ll be well on your way to creating stunning epoxy resin crafts with confidence and precision. Remember, practice makes perfect!
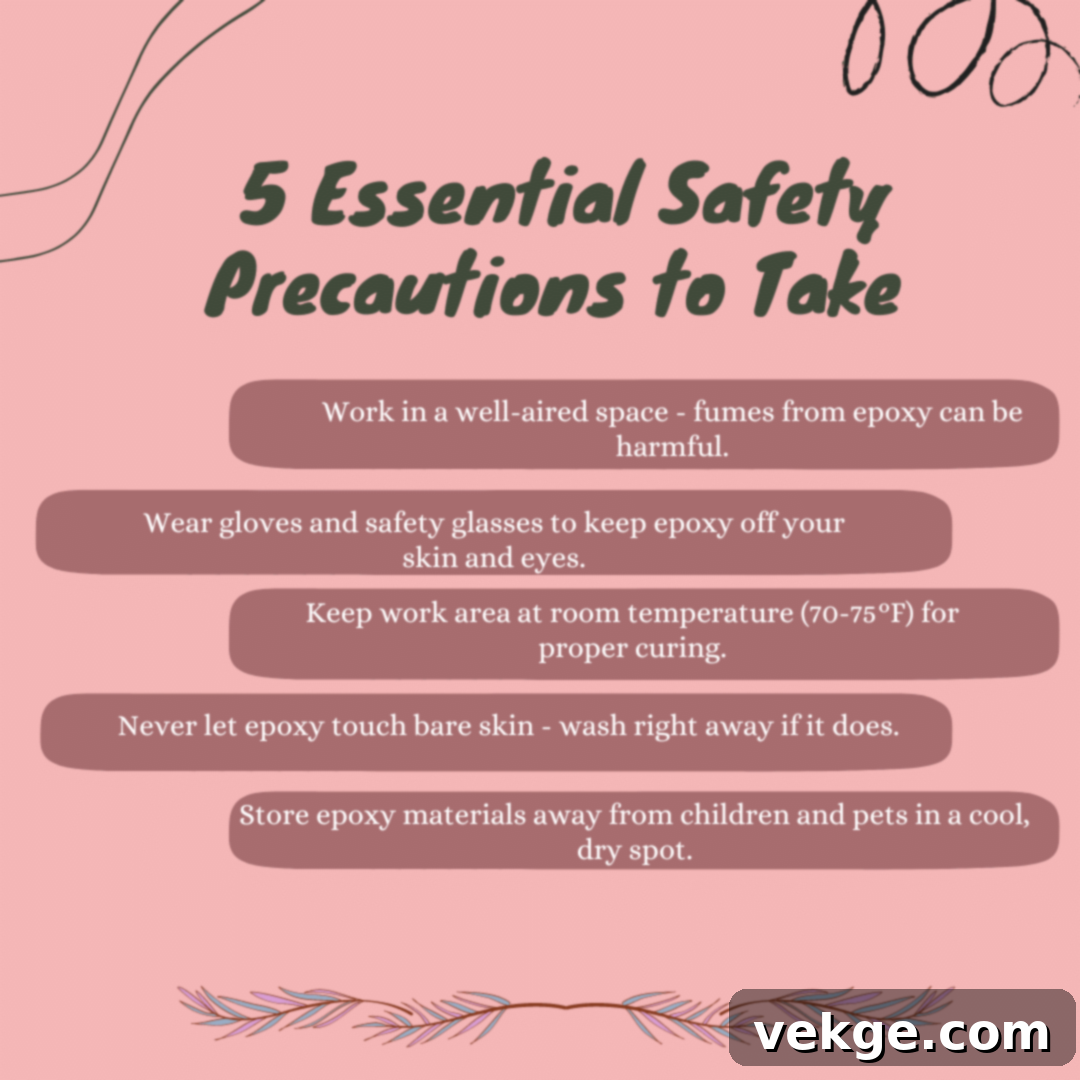
Best Techniques to Avoid Common Epoxy Resin Mistakes
Even seasoned epoxy artists make errors, but many common issues can be prevented with good practices. Here are my top tips to help you achieve flawless results and avoid frustration.
- Measure Your Epoxy Parts Exactly: Precision is paramount. Always use clearly marked measuring cups to ensure a perfect 1:1 mix ratio (or whatever ratio your specific resin requires). An incorrect ratio is the most common cause of sticky or uncured epoxy.
- Mix Slowly to Limit Air Bubbles: Rushing the mixing process introduces excessive air into the resin, which can lead to a cloudy or bubbly finish. Stir gently but thoroughly, scraping the sides and bottom of your mixing container.
- Check Your Room Temperature Before Starting: Epoxy resin is sensitive to temperature. Cold environments can make epoxy thicker, harder to mix, and prone to trapping bubbles, also affecting its flow and cure time. Aim for a room temperature of 70-75°F (21-24°C).
- Test Colors on Scrap Pieces First: Before committing to your main project, mix small batches of your chosen colors and test them on a piece of scrap material. This practice, which I learned the hard way, saves significant time and valuable materials, ensuring your color choices are exactly what you envision.
- Keep Dust Off Your Work Area: Tiny dust particles, pet hair, or lint can settle on your wet epoxy and ruin an otherwise perfect finish. Work in a clean, well-ventilated area, and consider covering your curing project with a box or dome.
- Clean Tools Right After Use: Fresh epoxy is easy to clean with rubbing alcohol or a specialized resin cleaner. Once it dries and cures, epoxy becomes incredibly difficult, if not impossible, to remove from tools and mixing containers.
- Don’t Rush Between Coats: If your project requires multiple layers of epoxy, ensure each layer is sufficiently cured to a “tacky” stage (but not fully hard) before pouring the next. Pouring new epoxy over half-cured layers can lead to cloudiness, poor adhesion, or a chemical reaction.
- Watch Your Epoxy Thickness: While some deep-pour resins are designed for thick layers, standard casting or coating epoxies can generate excessive heat if poured too thickly in a single layer. This can lead to yellowing, cracking, or trapped bubbles due to rapid curing. Always follow your product’s guidelines for maximum pour thickness per layer.
Easy Epoxy Resin Projects for Beginners: Your Creative Starting Point
Ready to get your hands dirty with epoxy resin? These beginner-friendly projects are perfect for building confidence and mastering basic techniques. Each idea comes with a quick overview of materials and steps, making your journey into resin art both fun and rewarding.
1. Coasters (Approximate Cost Range – $4-6 each)
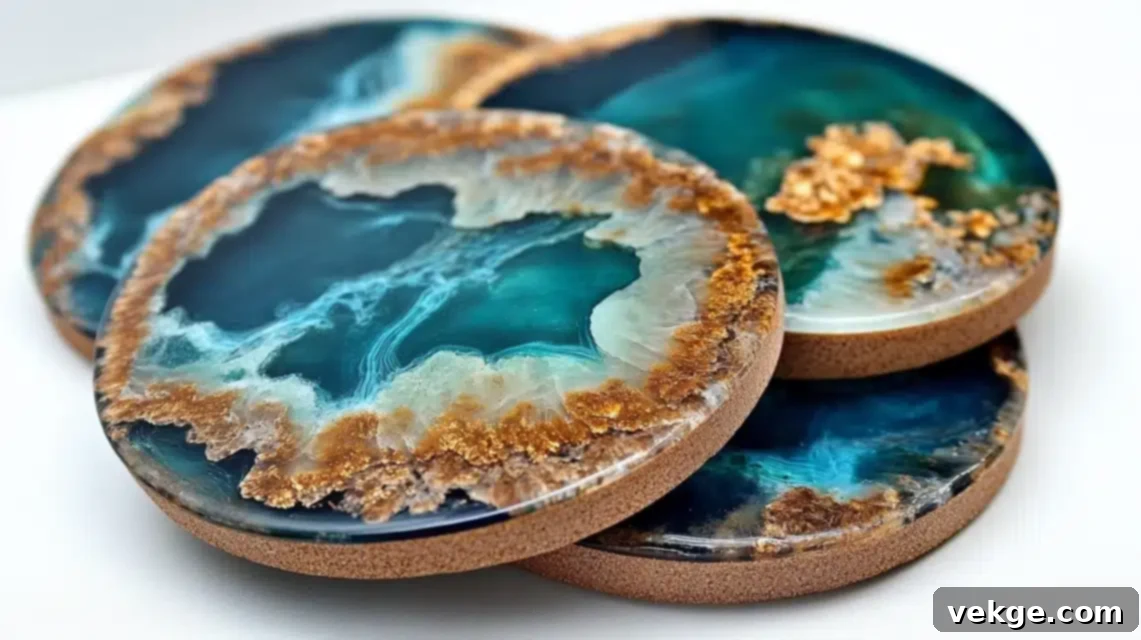
Coasters are the quintessential beginner epoxy project. They require minimal resin, simple molds, and offer endless possibilities for color and design experimentation. They are quick to make and provide instant gratification.
Tools & Materials Required
- Silicone coaster molds (e.g., 4×4 inch square or round)
- Epoxy resin and hardener (small kit)
- 2-3 liquid color pigments or mica powders
- Small disposable mixing cups
- Disposable stirring sticks (popsicle sticks work great)
- Disposable gloves
- Heat gun or small butane torch for bubble removal
- Plastic drop cloth or silicone mat to protect your workspace
- Small level to ensure your molds are flat
Step-by-Step Process
- Prepare your workspace by covering it thoroughly with a plastic drop cloth to protect against spills. Ensure it’s level.
- Carefully mix the epoxy resin according to the manufacturer’s instructions, typically a 1:1 ratio by volume. Mix slowly to minimize bubbles.
- Divide the mixed epoxy into several small cups – one for each color you plan to use, plus one for any clear resin or a base color. Add pigments and stir well.
- Pour your main color (e.g., white or clear) into the coaster mold first, forming a base layer.
- Drip small amounts of your accent colors onto the base layer.
- Use a stirring stick to gently swirl the colors together, creating marble or abstract effects. Be careful not to overmix.
- Carefully use a heat gun or torch to pop any surface air bubbles. Keep the tool moving.
- Allow the coasters to cure completely for at least 24 hours (or as specified by your resin) in a dust-free area.
- Once fully cured, carefully de-mold your beautiful new epoxy coasters.
2. Serving Tray (Approximate Cost Range – $40-50)
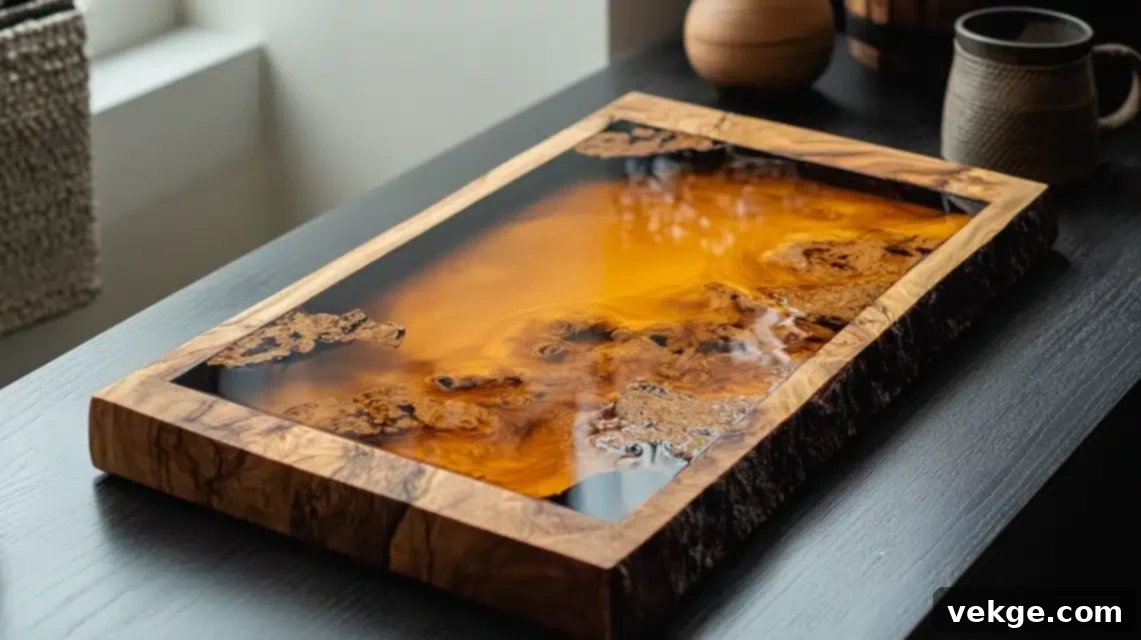
A custom epoxy serving tray adds a touch of elegance to any home. This project is a great step up from coasters, allowing you to practice covering a larger surface while still being manageable for beginners.
Tools & Materials Required
- Plain wooden tray base (with raised edges)
- Epoxy resin and hardener (larger kit than coasters)
- One or two chosen color pigments
- Small paintbrush (for any pre-sealing if needed)
- Larger mixing bucket
- Stirring stick or paddle mixer
- Disposable gloves
- Heat gun or torch
- Painter’s tape (if the tray doesn’t have a natural lip)
Step-by-Step Process
- Thoroughly clean the wooden tray base, ensuring it’s free of dust and debris. If the wood is porous, you might want to apply a thin seal coat of epoxy first and let it cure.
- If your tray doesn’t have a raised edge, use painter’s tape to create a temporary dam around the inside perimeter to contain the epoxy.
- Mix the epoxy resin precisely according to the packaging instructions. A general guideline is around 6 oz per square foot for a coating layer, but adjust based on your tray’s depth.
- Add your chosen color pigment(s) to the mixed epoxy and stir until a uniform color is achieved.
- Pour the colored epoxy mixture into the middle of the tray.
- Allow the epoxy to spread naturally and self-level across the base of the tray. Avoid excessive tilting.
- Use your heat source to remove any air bubbles that rise to the surface.
- Wait approximately 3 hours for the epoxy to partially cure and become tacky.
- Carefully remove the painter’s tape dam.
- Allow the tray to cure for a full 24-72 hours in a dust-free environment until it’s hard and tack-free.
3. Small Wall Art (Approximate Cost Range – $30-40)

Epoxy wall art is a fantastic way to experiment with abstract designs and color blending. A small canvas allows you to explore techniques without committing to a large, complex piece.
- 8×10 inch canvas board (or small wood panel)
- Epoxy resin and hardener
- 2-3 color pigments (liquid or mica powders)
- Small mixing cups
- Stirring sticks
- Small level
- Plastic sheet or drop cloth for protection
- Heat gun or torch
- Disposable gloves
Step-by-Step Process
- Place your canvas on a protected, perfectly level surface. Use a level tool to ensure it’s flat.
- Mix the epoxy resin components thoroughly according to product instructions.
- Divide the mixed epoxy into separate cups, adding one color pigment to each and stirring well.
- Pour the various colors onto the canvas in sections or patterns of your choice.
- Gently tilt the canvas to allow the colors to spread and create basic swirls and blended effects.
- Use your heat gun to eliminate any air bubbles from the surface.
- Let the epoxy art cure for at least 24 hours in a dust-free environment.
4. Jewelry Dish (Approximate Cost Range – $20-25)

Creating a small epoxy jewelry dish is both practical and a great way to use silicone molds. These dishes are perfect for holding small trinkets, rings, or earrings and make wonderful gifts.
Tools & Materials Required
- Round or shaped silicone mold for a jewelry dish
- Epoxy resin and hardener (small amount)
- One chosen color pigment
- Fine glitter (optional, for sparkle)
- Small mixing cup
- Stirring stick
- Heat tool for bubbles
- Disposable gloves
Step-by-Step Process
- Mix a small batch of epoxy resin, ensuring accurate measurements.
- Add your chosen color pigment and, if desired, a pinch of fine glitter. Stir thoroughly until fully incorporated.
- Carefully pour the colored epoxy mixture into the silicone mold.
- Gently tap the mold on your work surface to help release trapped air, then use a heat tool to pop any surface bubbles.
- Ensure the mold is level for an even cure.
- Allow the jewelry dish to cure for at least 24 hours.
- Once fully hardened, gently unmold your beautiful epoxy jewelry dish.
5. Photo Frame (Approximate Cost Range – $25-30)
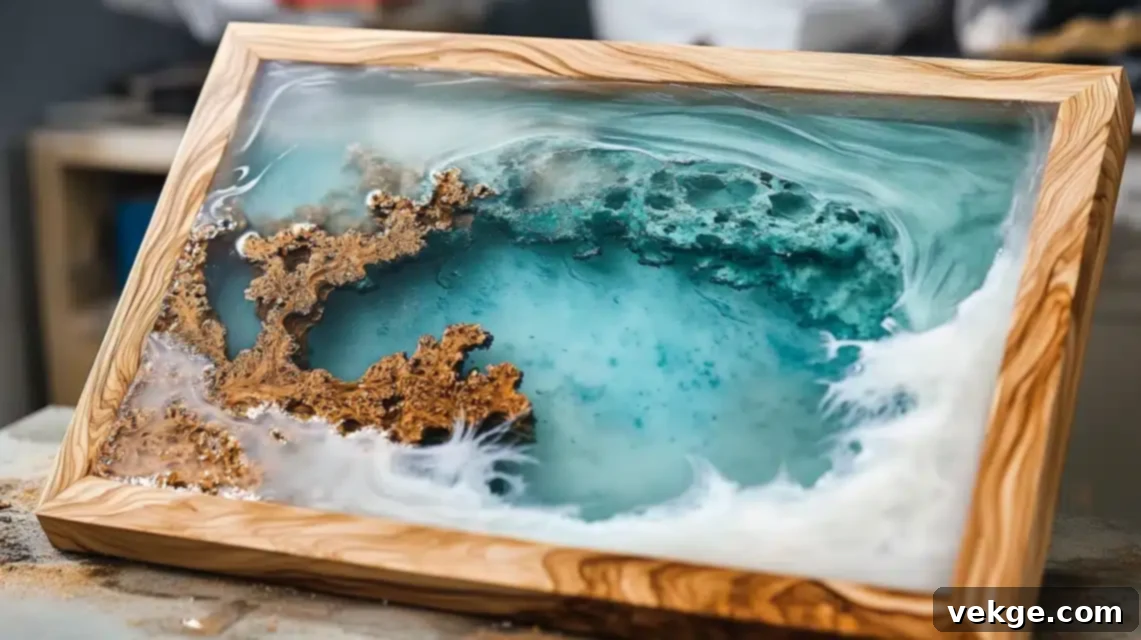
Upcycle a plain wooden photo frame by coating it with clear or colored epoxy for a glossy, durable finish. This project is about enhancing an existing item with epoxy coating.
Tools & Materials Required
- Plain wooden photo frame (without glass)
- Clear epoxy resin and hardener
- Small mixing cups
- Small brush (foam or silicone)
- Painter’s tape
- Drop cloth or protected surface
- Heat gun or torch
- Disposable gloves
Step-by-Step Process
- Carefully tape off the glass area and any parts you don’t want coated with painter’s tape, ensuring crisp lines.
- Mix a small batch of clear epoxy resin according to the package directions.
- Using a brush, apply a thin, even coat of epoxy resin onto the wooden frame.
- Ensure complete coverage, checking for any missed spots or drips.
- Use a heat source to gently remove any bubbles that appear on the epoxy surface.
- Allow the epoxy to cure for several hours until tacky, then carefully remove the painter’s tape.
- Let the frame cure completely for 24-72 hours before reinserting the glass and a photo.
6. Bookmarks (Approximate Cost Range – $4-5 each)
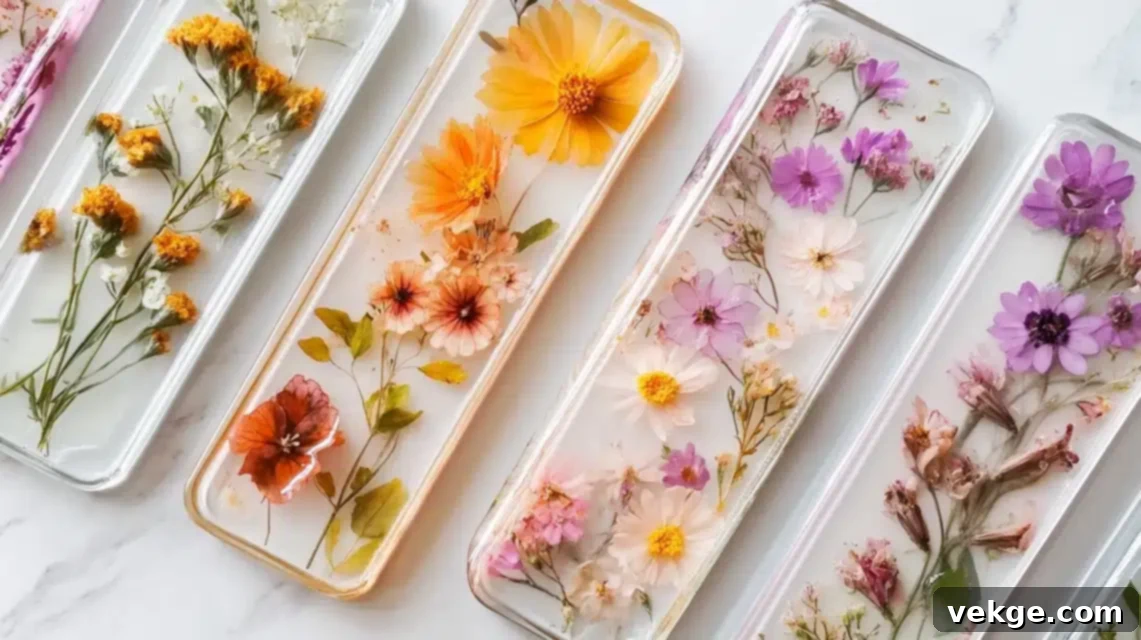
Resin bookmarks are small, quick, and ideal for embedding tiny objects like dried flowers or glitter. This is an excellent project for learning how to work with inclusions.
Tools & Materials Required
- Silicone bookmark molds
- Clear epoxy resin and hardener (small batch)
- Small dried flowers, glitter, or other small inclusions
- Tweezers (for placing inclusions)
- Small mixing cups
- Stirring sticks
- Heat tool (for bubbles)
- Mold release spray (optional, but recommended)
Step-by-Step Process
- Lightly spray your silicone mold with a release agent if desired, then wipe any excess.
- Mix a very small batch of clear epoxy resin accurately.
- Pour a very thin base layer of clear epoxy into the bottom of the bookmark mold.
- Using tweezers, carefully place your dried flowers or other inclusions onto the wet epoxy layer. Arrange them as desired.
- Pour a second, slightly thicker layer of clear epoxy over the inclusions, ensuring they are fully submerged and covered.
- Remove any air bubbles with your heat tool, being careful not to disturb the inclusions.
- Let the bookmark cure completely for at least 24 hours.
7. Key Holders (Approximate Cost Range – $30-35)
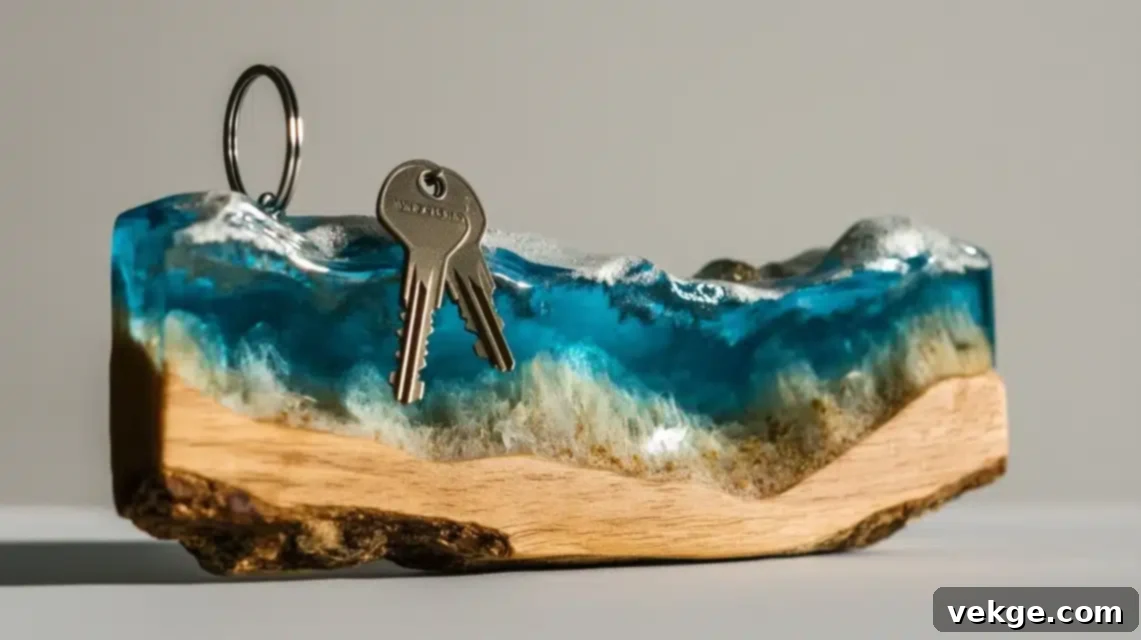
Create a stylish and functional key holder by applying an epoxy coating to a wooden base. This project combines practical DIY with the beauty of resin art.
Tools & Materials Required
- Wooden base for key holder (pre-cut or simple plank)
- Epoxy resin and hardener
- One chosen color pigment
- Small hooks for keys
- Drill (for attaching hooks)
- Mixing cup
- Stirring stick
- Heat gun
- Painter’s tape (to create a dam if needed)
Step-by-Step Process
- Lightly sand the wooden base for a smooth surface, then clean thoroughly.
- Mix the epoxy resin with your chosen color pigment until evenly blended.
- Pour an even layer of the colored epoxy over the top surface of the wooden base, ensuring it self-levels. Use painter’s tape to create a dam around the edges if your base is flat.
- Use a heat gun to remove any surface bubbles.
- Allow the epoxy to fully cure for 24-72 hours.
- Once cured, mark and drill pilot holes for your key hooks.
- Screw the hooks into place.
- Mount your new epoxy key holder on the wall.
8. Phone Stand (Approximate Cost Range – $25-30)
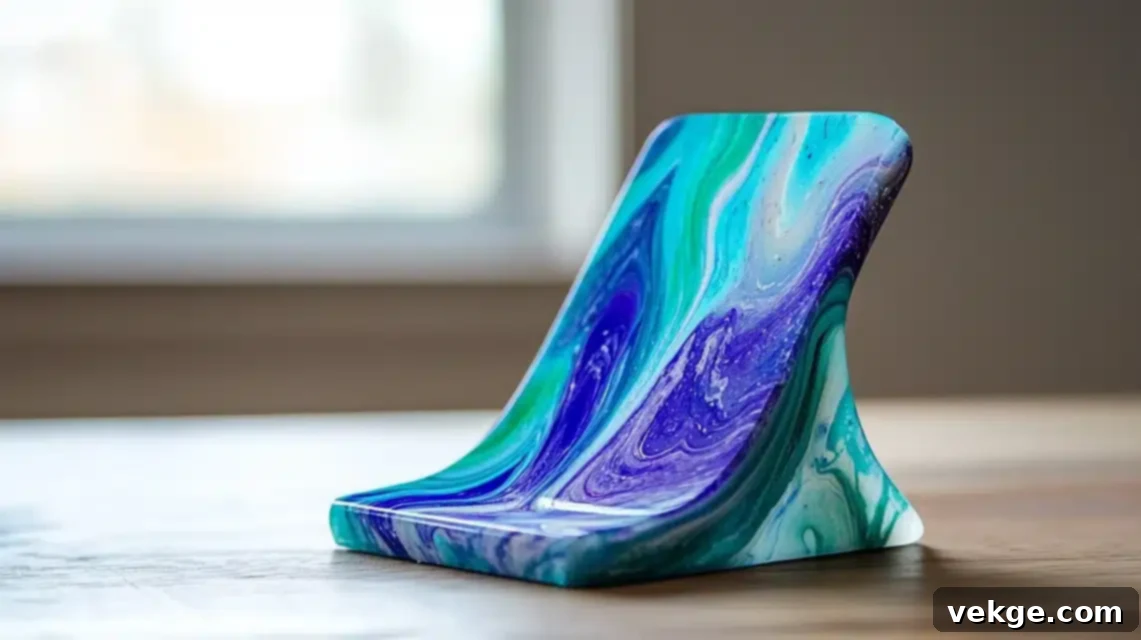
A custom epoxy phone stand is a functional and personalized item you can create. Silicone molds make this project straightforward and ensure a perfect fit for your device.
Tools & Materials Required
- Silicone mold for a phone stand (ensure it fits your phone model)
- Epoxy resin and hardener
- Maximum of two contrasting color pigments
- Small mixing cups
- Stirring sticks
- Heat tool for bubble removal
- Mold release spray
- Small level
Step-by-Step Process
- Prepare your silicone mold by cleaning it thoroughly and applying mold release spray.
- Mix your epoxy resin precisely according to the instructions.
- Divide the mixed epoxy into two cups and add your chosen colors.
- Pour the first, base color into the mold.
- Carefully add the second color in drops or swirls on top of the first.
- Use a heat tool to remove any air bubbles. Ensure the mold is level.
- Allow the phone stand to cure completely (24-72 hours).
- Once cured, gently de-mold and sand any rough edges for a smooth finish.
9. Plant Pot Cover (Approximate Cost Range – $30-35)
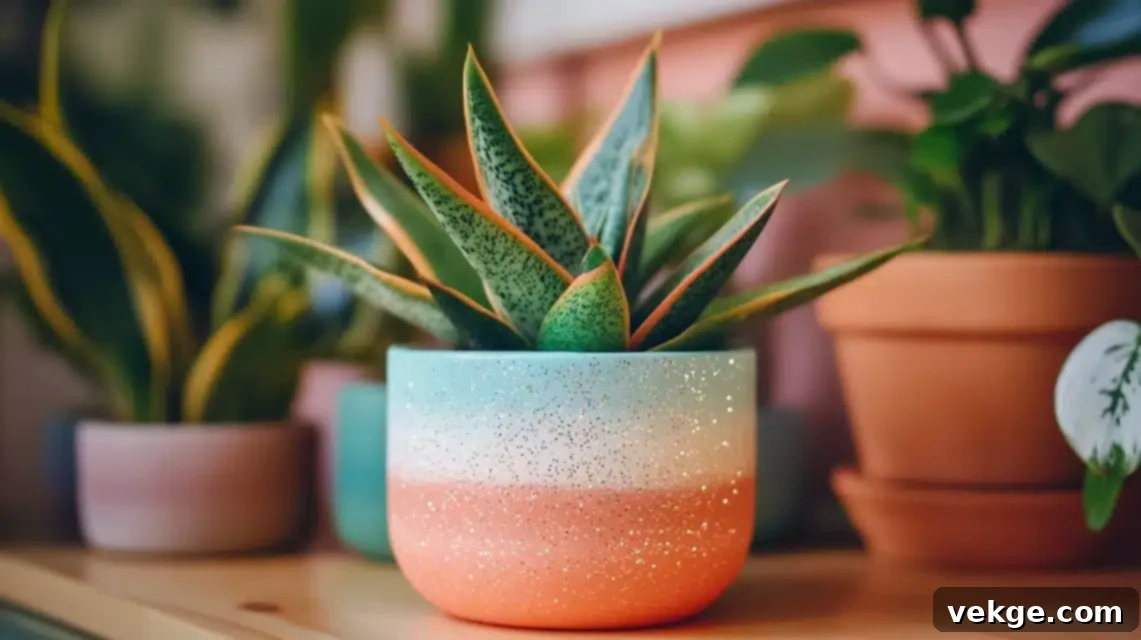
Give an ordinary terra-cotta pot a vibrant, glossy makeover with epoxy resin. This project focuses on coating a porous surface and adding decorative elements like sparkle.
Tools & Materials Required
- Clean terra-cotta pot (ensure it’s completely dry)
- Clear epoxy resin and hardener
- Sparkle powder or fine glitter (optional)
- Small brush (foam or silicone)
- Mixing cups
- Stirring sticks
- Drop cloth or protected surface
- Disposable gloves
Step-by-Step Process
- Ensure your terra-cotta pot is perfectly clean and dry.
- Mix a batch of clear epoxy resin. If desired, add sparkle powder or glitter and stir well.
- Using a brush, apply a thin, even coat of the epoxy mixture to the exterior of the pot. Ensure good coverage.
- Watch for any drips along the bottom edge and wipe them away or smooth them with your brush.
- After the first coat is tacky (usually a few hours), apply a second thin coat for added durability and shine.
- Let the pot cure upside down (on elevated risers if possible) to prevent drips from pooling, for 24-72 hours.
- Once fully cured, you can buff the finish lightly for extra shine.
10. Drawer Pulls (Approximate Cost Range – $8-10 each)
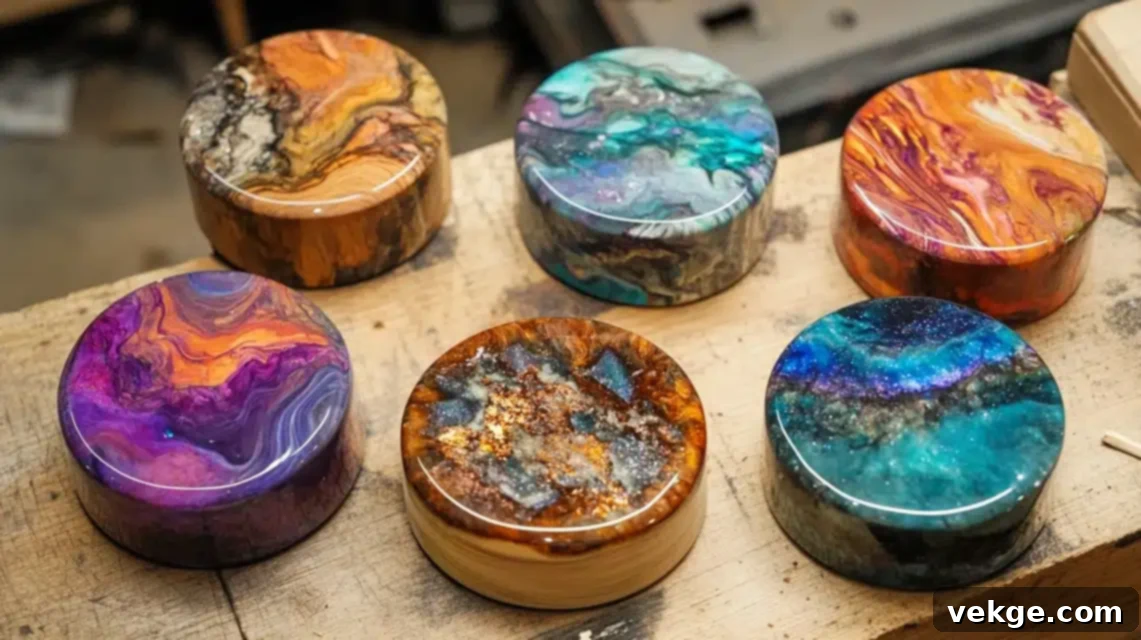
Custom epoxy drawer pulls are a fantastic way to personalize furniture. Using small silicone molds and embedding hardware, this project introduces a slightly more advanced step for beginners.
Tools & Materials Required
- Silicone molds for drawer pulls (e.g., round, square)
- Epoxy resin and hardener (small amount)
- Basic color pigments or mica powders
- Drawer pull hardware (screws and posts)
- Small mixing cups
- Stirring sticks
- Heat tool for bubbles
- Mold release spray
Step-by-Step Process
- Prepare your molds by cleaning and applying mold release.
- Mix small batches of epoxy resin with your chosen colors.
- Carefully pour the colored epoxy into the pull molds.
- Immediately insert the screw portion of your drawer pull hardware into the wet epoxy, ensuring it’s centered and straight.
- Use a heat tool to remove any bubbles around the hardware.
- Allow the drawer pulls to cure completely for 24-72 hours.
- Once cured, gently de-mold your custom epoxy drawer pulls.
11. Coaster Holder (Approximate Cost Range – $25-30)
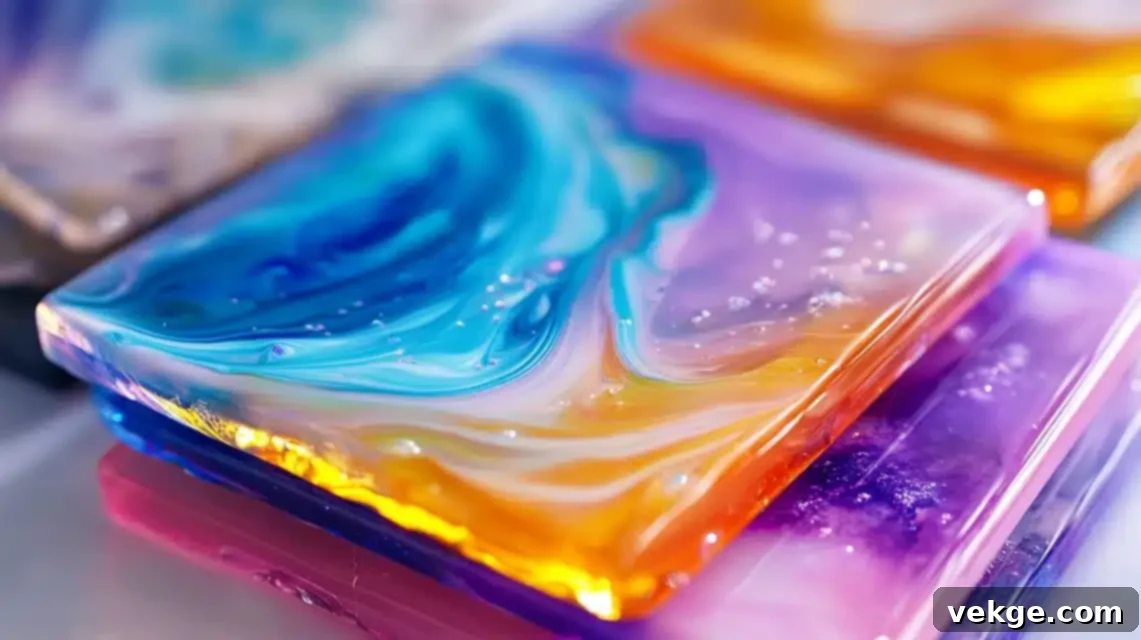
After making a set of epoxy coasters, why not make a matching holder? This project uses a larger mold and allows for layering colors, expanding on basic molding skills.
Tools & Materials Required
- Square or rectangular silicone mold designed for a coaster holder
- Epoxy resin and hardener
- Matching or complementary color pigments to your coasters
- Mixing cups
- Stirring sticks
- Small level
- Heat source for bubbles
- Mold release spray
Step-by-Step Process
- Clean and prepare your silicone mold with mold release spray.
- Mix a batch of epoxy resin according to the manufacturer’s instructions.
- Divide the epoxy and add your chosen colors.
- Pour the colors into the mold in layers or a marbled pattern, allowing each layer to partially set if creating distinct layers.
- Check the mold with a level to ensure the holder cures evenly.
- Use a heat tool to remove any air bubbles.
- Allow the coaster holder to cure fully for 24-72 hours.
- Gently de-mold and sand any rough edges for a smooth finish.
12. Trinket Box (Approximate Cost Range – $15-20)
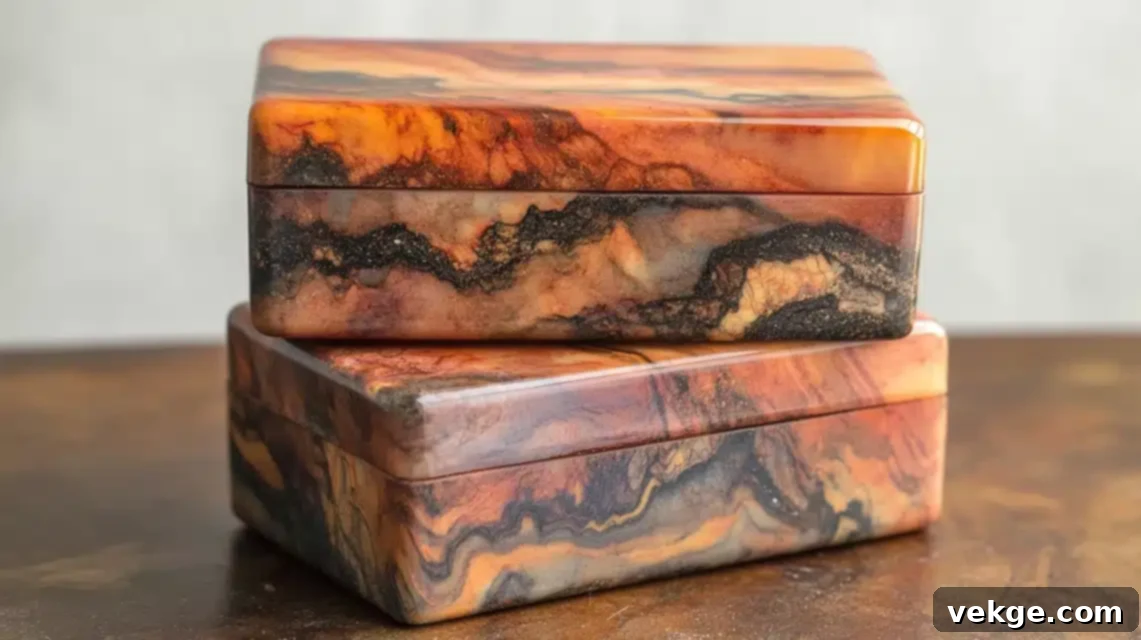
A small epoxy trinket box is a delightful project that allows for creativity in color and design. Working with a two-part mold (base and lid) helps you practice precision pouring.
Tools & Materials Required
- Silicone mold for a trinket box (base and lid)
- Epoxy resin and hardener
- 2 contrasting color pigments
- Small mixing cups
- Stirring sticks
- Heat gun
- Small level
- Disposable gloves
- Mold release spray
Step-by-Step Process
- Lightly spray the silicone mold (both base and lid parts) with mold release, then wipe away any excess.
- Mix your epoxy resin accurately, typically a 1:1 ratio.
- Divide the mixed epoxy into separate cups and add your two chosen color pigments, stirring well.
- Pour the base color into the mold first.
- Carefully add the second color in a pattern or swirl design.
- Before the epoxy starts to set, quickly check if the lid part will fit snugly onto the base once both are cured (no need to cure together, just a visual check for fit).
- Use a heat gun to remove any air bubbles. Ensure the molds are level.
- Allow both parts of the trinket box to cure for a full 24 hours.
- Once cured, gently de-mold and sand any edges if necessary to ensure a smooth closure.
13. Paper Weight (Approximate Cost Range – $15-25)
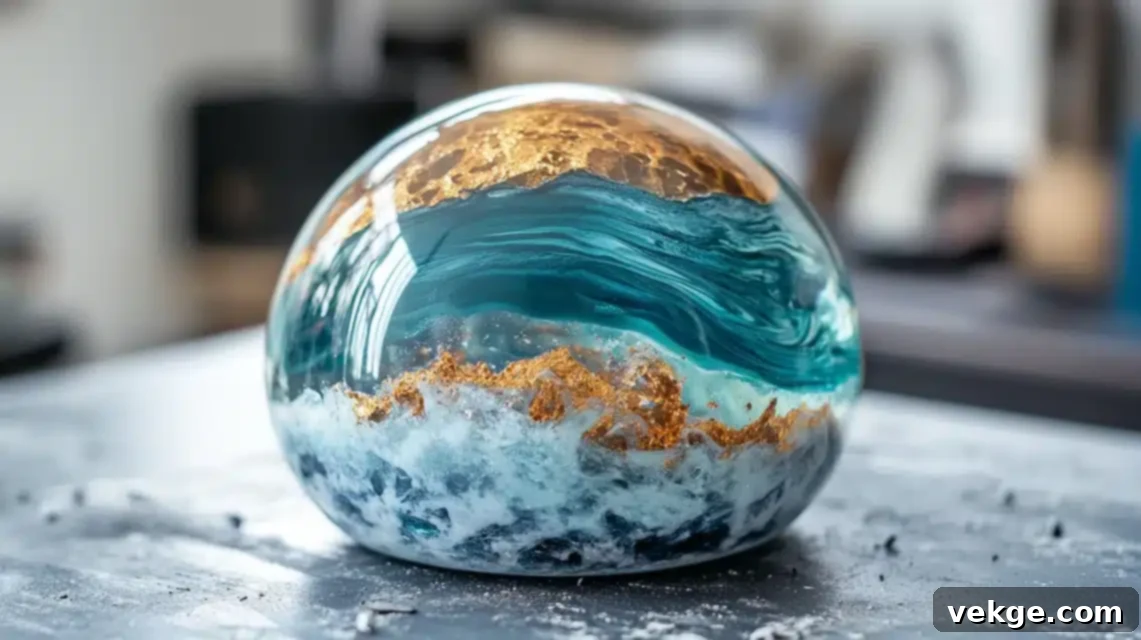
An epoxy paperweight is a simple yet elegant project. Using a dome or geometric mold, you can encapsulate small objects or create stunning translucent effects.
Tools & Materials Required
- Silicone dome or geometric mold for a paperweight
- Clear epoxy resin and hardener
- Optional: single color tint or small inclusions (e.g., glitter, dried flowers)
- Mixing cup
- Stirring stick
- Heat tool for bubbles
- Mold release spray
- Polishing cloth
- Disposable gloves
Step-by-Step Process
- Clean the mold thoroughly and apply mold release spray.
- Mix a small batch of epoxy resin, ensuring accurate measurements.
- If desired, add a single color tint or small inclusions to the epoxy and stir gently.
- Pour the epoxy mixture slowly into the center of the mold, allowing it to spread evenly.
- Check the mold with a level to ensure an even cure.
- Use a heat tool to remove any air bubbles.
- Allow the paperweight to cure completely for at least 24 hours.
- After unmolding, you can polish the surface with a polishing cloth for extra shine.
14. Pencil Holder (Approximate Cost Range – $20-25)
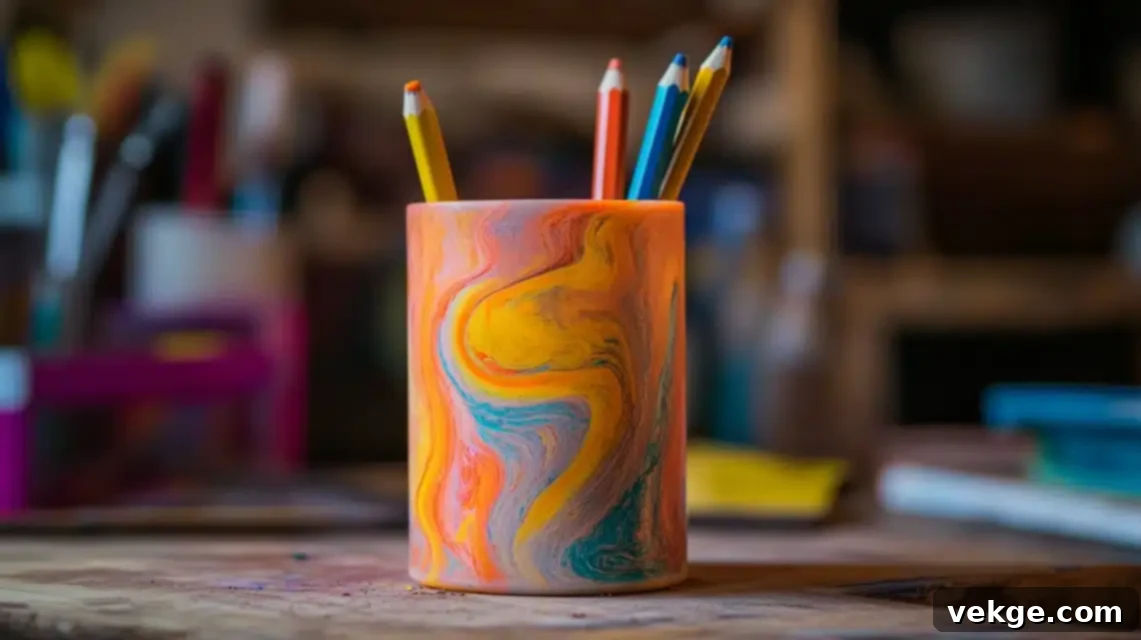
A functional and colorful epoxy pencil holder is a great addition to any desk. Using a cylindrical mold, you can experiment with layered or swirled color designs.
Tools & Materials Required
- Cylinder silicone mold for a pencil holder
- Epoxy resin and hardener
- 2 light or contrasting color pigments
- Mixing cups
- Stirring sticks
- Heat gun for bubbles
- Mold release spray
- Small level
- Disposable gloves
Step-by-Step Process
- Prepare your cylinder mold by cleaning and applying mold release.
- Mix your epoxy resin precisely according to the instructions.
- Divide the mixed epoxy into cups and add your chosen colors.
- Pour the main color into the mold first.
- Add drops or small pours of the second color, then use a stick to create light swirls.
- Use a heat gun to remove any air bubbles.
- Let the pencil holder cure standing upright for 24-72 hours.
- After unmolding, you might need to sand the base flat for stability.
15. Table Numbers (Approximate Cost Range – $12-15 each)
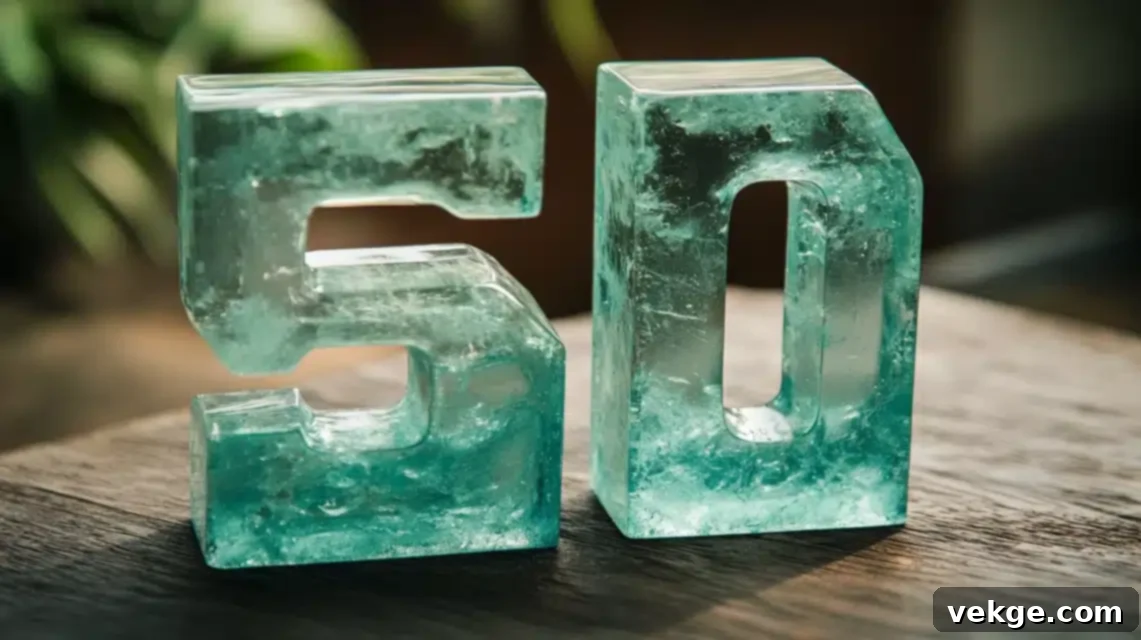
Epoxy table numbers are perfect for events or home decor. Using flat number molds, you can create elegant, personalized pieces that are easy to make in batches.
Tools & Materials Required
- Flat silicone number molds (0-9)
- Clear epoxy resin and hardener
- Gold or silver mica powder (optional, for decorative accents)
- Small mixing cups
- Fine brush (for adding details if desired)
- Heat tool for bubbles
- Mold release spray
- Disposable gloves
- Polishing cloth
Step-by-Step Process
- Clean your number molds thoroughly and apply a thin coat of mold release.
- Mix a small batch of clear epoxy resin with precision.
- If desired, mix a small amount of gold or silver powder into a tiny separate batch of epoxy for accents.
- Pour a thin first layer of clear epoxy into the number molds. If adding gold, use a fine brush to apply it to specific areas (e.g., edges) before the second layer.
- Pour the second layer of clear epoxy to fill the mold.
- Ensure the clarity of the numbers and remove any bubbles with a heat tool.
- Allow the table numbers to cure for at least 24 hours.
- After unmolding, you can polish the edges for a refined finish.
Common Tips for All Beginner Epoxy Projects
- Start with Small Batches: Especially when experimenting with new colors or techniques, using smaller amounts of epoxy minimizes waste if things don’t go as planned.
- Test Mold Release First: If you’re unsure about a new mold or release agent, test it on a tiny section or a similar mold to ensure easy de-molding.
- Check Levels While Curing: Ensure your projects remain perfectly level during the initial curing phase. Even a slight tilt can result in an uneven surface.
- Keep Dust Off Items: Cover your curing projects with a dust cover (like a box or plastic dome) to prevent airborne particles from settling on the wet surface.
- Let Cure Fully Before Use: Always allow your epoxy projects to reach their full cure time before handling them extensively or putting them into use. This ensures maximum hardness and durability.
Smart Polishing & Finishing Techniques to Follow for Epoxy Resin
A perfectly finished epoxy project often involves a final polishing step. This elevates your piece from good to outstanding, enhancing its clarity and shine. This section details how to achieve that professional look.
Basic Sanding Steps (for removing imperfections and preparing for polish)
Sanding is crucial for removing any minor imperfections, drips, or dull spots and for preparing the surface to accept a high-gloss polish.
- Start with 220 Grit Sandpaper: Begin with a coarser grit to effectively remove larger imperfections and level the surface.
- Move to 400 Grit: Progress to a finer grit to smooth out the scratches left by the 220-grit paper.
- Finish with 800-1000 Grit (or higher): Use increasingly finer grits to achieve a very smooth, almost matte finish that is ready for polishing. You can go up to 2000 or 3000 grit for an even better starting point.
- Use Wet Sanding Method Only: Always wet sand epoxy. This means keeping the sandpaper and the epoxy surface wet with water. Wet sanding reduces dust, prevents clogging of the sandpaper, and keeps the epoxy from overheating.
- Sand in One Direction: Try to sand in consistent, straight lines, or small circular motions, ensuring you cover the entire surface evenly with each grit before moving to the next.
Hand Polishing Tips (for small or intricate pieces)
For smaller projects or areas difficult to reach with a machine, hand polishing is an effective method.
- Wait 72 Hours After Cure: For best results, allow the epoxy to fully cure and harden for at least 72 hours (or as per product instructions) before beginning the polishing process. This ensures the epoxy is hard enough to withstand polishing without creating new scratches.
- Use Light Pressure: Apply a small amount of polishing compound to a soft cloth or foam applicator and use light, even pressure.
- Work in Small Sections: Focus on one small area at a time, working the compound into the surface before moving on.
- Keep Surface Wet (if using wet compounds): Some polishing compounds work best with a slightly damp surface. Follow the product instructions.
- Wipe Clean Between Grits: If using multiple polishing compounds (e.g., coarse, medium, fine), thoroughly wipe the surface clean between each stage to remove residue and prevent coarser particles from scratching.
Machine Polishing (for larger surfaces and a high-gloss finish)
For a truly professional, high-gloss finish on larger pieces, machine polishing is highly recommended.
- Use Foam Pads Only: Always use soft foam polishing pads with your rotary tool or orbital sander. Wool pads can be too aggressive for epoxy and create swirl marks.
- Keep Speed Medium: Set your polishing machine to a medium speed. High speeds can generate too much heat, which can damage or dull the epoxy.
- Move Steadily: Maintain a consistent, steady motion across the entire surface.
- Don’t Stay in One Spot: Never let the polishing pad linger in one spot, as this will create excessive heat and potentially burn or distort the epoxy.
- Check Heat Buildup: Periodically touch the epoxy surface to check for heat buildup. If it feels warm, pause and let it cool down.
Final Touches (after sanding and polishing)
The very last steps to reveal your masterpiece.
- Clean with a Soft Cloth: After all polishing, thoroughly clean the surface with a soft, lint-free cloth to remove any remaining compound residue.
- Apply Polish in Circles: For the final buff, apply a very small amount of fine finishing polish or wax in gentle circular motions.
- Buff with Microfiber: Use a clean, dry microfiber cloth to buff the surface until it achieves a brilliant, clear shine.
- Let Rest for 10 Minutes: Allow the piece to rest for a few minutes for the polish to set slightly.
- Final Light Buff: Perform a final light buff with a fresh microfiber cloth to remove any last haze and reveal the ultimate shine.
Surface Care (Ongoing Maintenance)
- Keep Water Handy: During wet sanding or polishing, always have a spray bottle of water nearby to keep the surface and sandpaper lubricated.
- Check Progress Often: Regularly inspect your piece under good light to assess your progress and identify any areas that need more attention.
- Clean Between Steps: A clean surface between each sanding grit and polishing stage is essential for preventing cross-contamination and achieving a smooth finish.
- Let Dry Fully: Ensure the piece is completely dry before applying any polishing compounds.
- Use Proper Cloths: Always use clean, soft, non-abrasive cloths for applying and buffing polishes.
Problem Fixing (Addressing Issues During Finishing)
- Fix Scratches Early: If you notice new scratches after a particular grit, go back to the previous grit and work more thoroughly before progressing.
- Remove Dust Spots: Small dust inclusions can sometimes be carefully sanded down with a high grit and then polished out.
- Level High Spots: If your surface is uneven, focus more sanding pressure on the high spots with a lower grit paper until level, then progress through the grits.
- Fill Small Holes: Tiny pinholes can sometimes be filled with a drop of fresh, clear epoxy applied with a toothpick, then cured and sanded smooth.
- Blend Edges Well: Ensure that any sanded edges are smoothly blended into the main surface to avoid a distinct line.
Common Epoxy Resin Troubleshooting Issues and How to Fix Them
Even with the best intentions, you might encounter issues during your epoxy resin crafting journey. Don’t despair! Most problems have straightforward solutions. Here’s a guide to common troubleshooting issues and how to resolve them, ensuring your projects turn out perfectly.
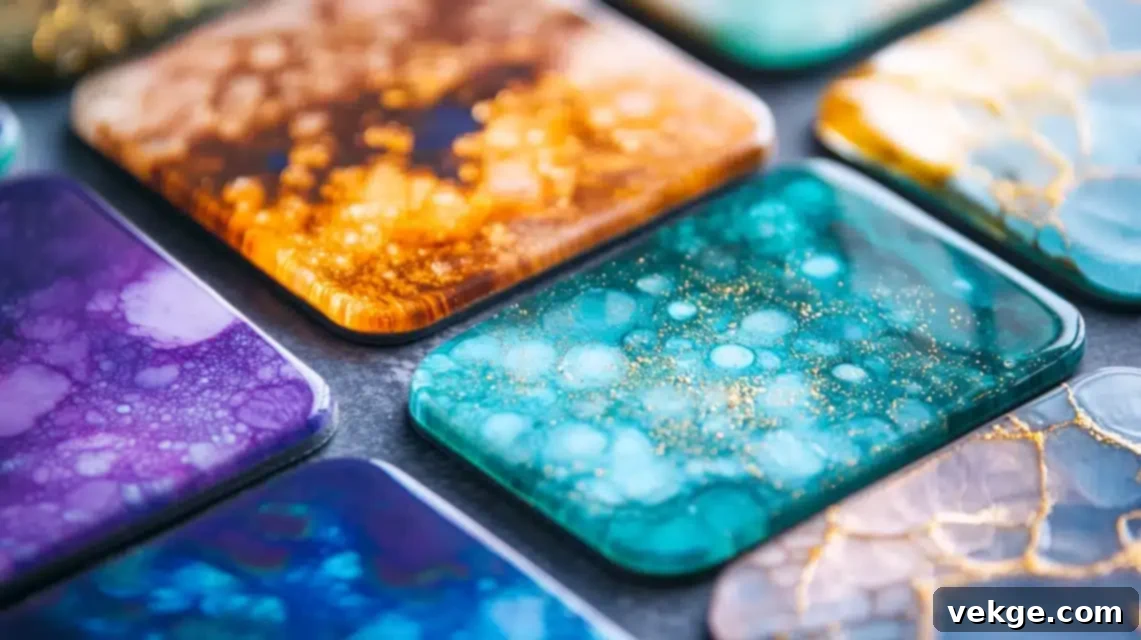
1. Bubbles in Cured Surface Fix:
- Use the Heat Gun Right After Pouring: This is your primary defense. Pass a heat gun or torch evenly and quickly over the surface immediately after pouring.
- Mix Epoxy More Slowly and Deliberately: Fast mixing whips air into the resin. Stir gently but thoroughly.
- Work in a Warmer Room: Cold epoxy is thicker and traps bubbles more easily. Warm up your resin bottles in a warm water bath before mixing if your room is cool.
- Pour Thinner Layers: Thicker pours can trap more air. Consider multiple thin layers if your project allows.
- Keep Mixing Cups Clean and Dry: Contaminants can introduce bubbles or interfere with curing.
2. Sticky or Soft Spots Fix:
- Double-Check Mixing Ratio: This is the most common cause. Always measure parts A and B precisely by volume or weight, as per your resin’s instructions.
- Use Fresh Epoxy Only: Old or expired epoxy can lead to poor curing. Store your resin properly in a cool, dark place.
- Mix Fully and Scrape Sides: Mix for the recommended duration (usually 2-3 minutes), constantly scraping the sides and bottom of your mixing container to ensure all unmixed resin is incorporated.
- Check Room Temperature and Humidity: Extreme cold or high humidity can inhibit proper curing. Work in a controlled environment.
- Wait for Full Cure Time: Sometimes, epoxy just needs more time. Give it the full 24-72 hours before deciding it’s truly failed to cure.
3. Cloudy Finish Fix:
- Store Epoxy Properly: Exposure to extreme temperatures or light can degrade epoxy over time, leading to cloudiness.
- Check Moisture Levels: Humidity or water contamination can cause a cloudy, milky appearance. Ensure all surfaces and tools are completely dry.
- Avoid Cold Temperatures: Cold epoxy can appear cloudy even before mixing. Warm it up gently before use.
- Mix Slowly: As mentioned, rushing can introduce micro-bubbles that create a cloudy effect.
- Use Clean Tools: Any residue in your mixing cups or on your stir sticks can affect clarity.
4. Uneven Surface Fix:
- Level Work Area First: Always ensure your project surface or mold is perfectly level before pouring. Use a spirit level.
- Check Thickness and Self-Leveling Properties: Ensure you’re pouring enough epoxy for it to self-level properly, but not so much that it creates excessive buildup on edges.
- Pour Steadily and Evenly: Distribute the epoxy consistently across the surface.
- Watch for Edge Buildup: Epoxy can sometimes pool at edges. Gently guide it to spread or wipe excess if necessary.
- Use Proper Amounts: Too little epoxy won’t self-level; too much can overflow. Follow guidelines for coverage per square foot.
5. Color Issues Fix:
- Test Colors First on Scrap: Always test your pigment-to-epoxy ratio on a small scrap piece to ensure the desired color saturation and transparency.
- Mix Small Batches of Colored Epoxy: This allows for more controlled color blending and adjustments.
- Add Color Slowly: Pigments can be very concentrated. Add a small amount, mix, then add more if needed, rather than adding too much at once.
- Keep Ratios Noted: If you find a color you love, note down the exact drops or scoops of pigment used per amount of epoxy.
- Store Pigments Well: Ensure your color pigments are properly sealed to prevent drying out or contamination.
6. Curing Problems Fix:
- Check Room Temperature: Cold temperatures slow down or even halt the curing process. Maintain a consistent warm environment.
- Watch Humidity: High humidity can interfere with the cure, especially for some types of hardeners.
- Use Proper Ratio: Inaccurate measuring of parts A and B is the leading cause of curing issues.
- Mix Well: Incomplete mixing means the chemical reaction cannot occur properly.
- Time Your Pours: Ensure you use the epoxy within its pot life (working time) after mixing. Beyond this, it may not cure correctly.
7. Edge Drips Fix:
- Check Tape Seal: If using a tape dam, ensure it’s firmly pressed down and sealed completely to prevent leaks.
- Watch Pour Amount: Avoid over-pouring. A thin coating typically requires less epoxy than you might think to cover the surface.
- Remove Tape on Time: For coating projects, removing the tape when the epoxy is still tacky but not fully cured (usually 3-6 hours) allows the edges to self-level and reduces drips.
- Keep Level: An unlevel surface will cause epoxy to run off one side.
- Clean Edges Fast: If drips occur, wipe them away immediately with a gloved finger or a paper towel before they harden. Once hardened, they’ll need sanding.
Conclusion: Your Journey into Epoxy Resin Crafting Begins Now!
Making your first epoxy resin project should be an exciting and rewarding experience, not a scary one. With this ultimate beginner’s guide, you now have a solid understanding of the fundamentals – from selecting the ideal beginner-friendly projects to implementing essential safety measures and deftly handling common issues that might arise along the way.
I started my epoxy crafting path just like you, by learning and applying these very same steps. The most important takeaways are simple: begin with manageable projects, always prioritize safety by wearing appropriate PPE, and grant yourself the grace and time to learn. Remember, exceptional epoxy work often requires patience and attention to detail; there’s no need to rush the creative process.
Why not take the plunge and start with something small and gratifying, such as custom epoxy coasters or a sleek, simple serving tray? These projects are perfect for honing your skills, understanding the material, and gaining confidence without requiring a significant investment of materials or time. Plus, you’ll end up with beautifully handcrafted items that are both decorative and genuinely useful!
Do you have any further questions or need additional guidance as you embark on your DIY epoxy journey? Feel free to leave them in the comments section below. I am genuinely here to support you in confidently starting and enjoying your new epoxy crafting adventure!
Ready to bring your visions to life? Gather your supplies, clear your workspace, and let’s create something truly special and uniquely yours!
