The Ultimate Guide to Removing Rust from Chrome and Restoring its Brilliant Shine
Are you tired of seeing your once-gleaming chrome surfaces look dull, pitted, or covered in unsightly rust? Chrome plating, while designed for durability and aesthetic appeal, is not entirely immune to the relentless march of corrosion. Once its protective layer is compromised by scratches, chips, or even prolonged exposure to moisture, rust can quickly take hold, diminishing the beauty and integrity of your chrome items.
The good news is that restoring your chrome to its former glory doesn’t always require professional help or expensive specialized products. Many effective rust removal techniques can be performed right at home using common household items you likely already possess. This comprehensive guide will walk you through everything you need to know, from identifying the type of rust to applying the best removal method and, crucially, preventing its return.
In this detailed guide, you will discover:
- How to accurately identify rust on chrome and differentiate it from other stains.
- The primary reasons why chrome rusts and how this process unfolds.
- Step-by-step methods for tackling rust, tailored to its severity.
- User-tested tips and practical advice from experienced DIY enthusiasts.
- Essential long-term strategies to keep your chrome sparkling and rust-free for years to come.
Whether you’re dealing with a few minor spots on a beloved bicycle, rust on car bumpers, or corroded bathroom fixtures, you’re in the right place. We’ll equip you with the knowledge and techniques to bring back that coveted chrome shine. Let’s dive in and transform those rusty pieces into gleaming treasures once more!
Understanding Chrome Plating and Spotting Real Rust Effectively
Before you embark on any rust removal project, it’s crucial to understand what chrome plating is, how it protects metal, and how to accurately distinguish genuine rust from other superficial marks or dirt. This knowledge will help you choose the correct treatment and avoid unnecessary damage.
How Chrome Plating Works: A Protective and Decorative Layer
Chrome plating is a sophisticated process that involves applying a thin, decorative layer of chromium metal over another base metal, typically steel or nickel. This process, known as electroplating, serves two primary purposes: enhancing visual appeal and providing a protective barrier against corrosion.
The standard chrome plating process usually involves several stages: First, the base object is thoroughly cleaned and polished to remove any impurities. Then, it’s coated with a layer of nickel, which provides excellent corrosion resistance and helps create a smooth, reflective surface. Finally, a very thin layer of chromium is deposited over the nickel. This chromium layer is what gives chrome its characteristic hard, brilliant, and mirror-like finish.
While this smooth, hard finish offers impressive protection, it is not impenetrable. The chromium layer is incredibly thin, often only a few micrometers thick. If this thin layer is scratched, chipped, or worn away, it exposes the underlying nickel or, worse, the base metal beneath. Once the base metal is exposed to moisture and oxygen, the oxidation process begins, leading to the rapid formation of rust. Water and air find their way into these tiny breaches, initiating corrosion that can spread under the chrome surface, eventually causing it to bubble, peel, and flake.
What Rust on Chrome Looks Like: Identification vs. Stains
Accurately identifying rust is the first step in effective treatment. Rust on chrome typically presents as:
- Color: Orange, reddish-brown, or sometimes dark brown patches. These colors are distinctive and usually stand out against the shiny chrome.
- Texture: It often feels rough, bumpy, or flaky to the touch. The surface will lose its smooth, reflective quality.
- Adhesion: Real rust will not easily wipe off with a dry cloth. It’s bonded to the metal surface.
- Dullness: The affected areas will appear dull and lack the signature luster of clean chrome. If severe, it might even show pitting, where small depressions have formed in the metal.
It’s important to distinguish rust from other common blemishes:
- Hard Water Stains: These usually appear as white, gray, or cloudy spots and streaks. They are often smooth to the touch and can typically be wiped away or loosened with a mild acidic cleaner like vinegar. They don’t have the characteristic orange-brown color of rust.
- Soap Scum or Mineral Deposits: Similar to hard water stains, these are often white, dull, or slightly greenish. They form from residues of soap and minerals in water and can usually be scrubbed off with a cloth and a general bathroom cleaner.
- Dirt and Grime: These are typically dark or muddy in color and usually come off easily with a damp cloth and mild soap. They don’t typically have a rough texture unless they are caked on.
If the spot feels textured, looks distinctly orange/brown, and resists simple wiping, it’s highly probable you’re dealing with actual rust, and it’s time to choose your removal strategy.
Choose Your Method Based on Rust Severity
The approach you take to remove rust from chrome should be directly proportional to the extent of the corrosion. Attempting aggressive methods on light rust can damage the chrome, while mild solutions won’t be effective enough for heavy pitting. Always inspect the damage carefully before deciding on a course of action.
For Light Rust: Quick, Gentle Household Fixes
If you’re dealing with small, fresh rust spots or a slight haze of surface corrosion, gentler methods using common household items are often all that’s needed. These techniques are designed to be minimally abrasive and chemically mild, protecting your chrome while effectively lifting early-stage rust.
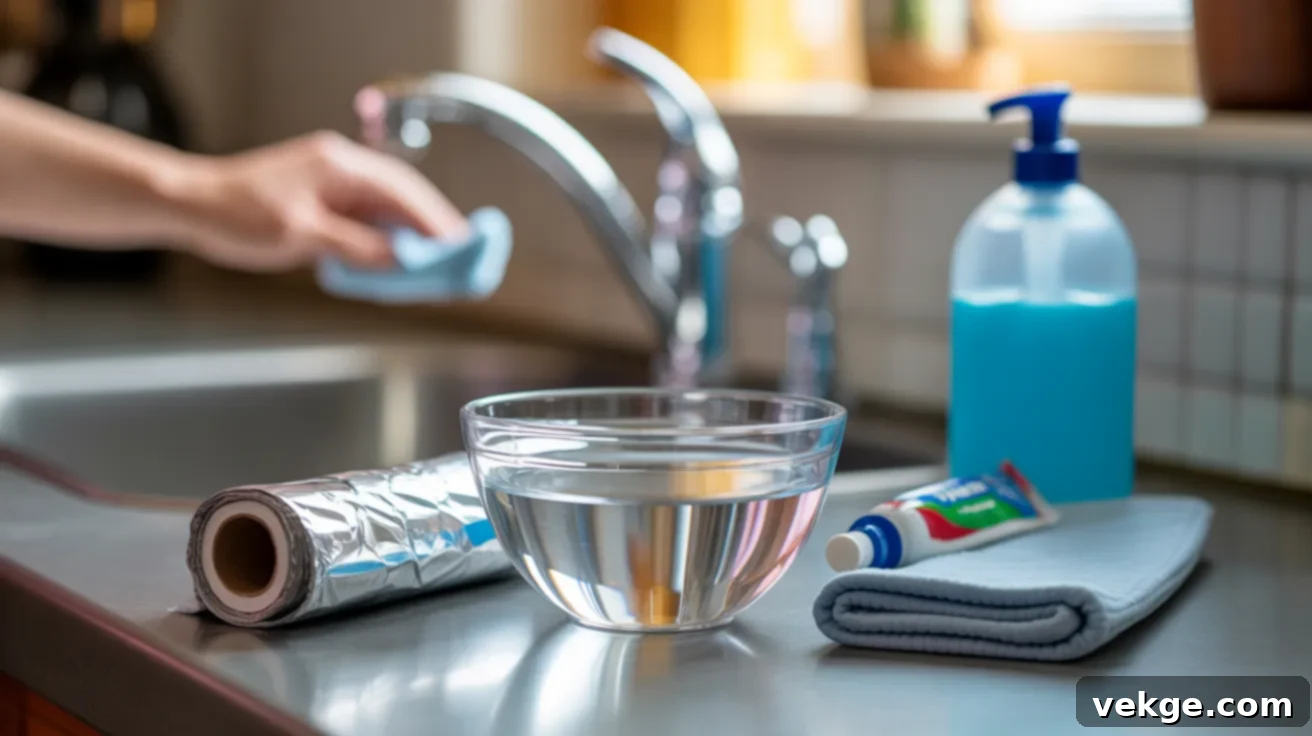
One of the most popular and surprisingly effective methods involves aluminum foil and water. Crumple a piece of aluminum foil into a ball, dip it in water (or even a mild acidic solution like white vinegar or cola), and gently rub the rusty area. The aluminum foil, being softer than chrome but harder than rust, acts as a mild abrasive. More importantly, it creates a mild galvanic reaction with the rust (iron oxide) in the presence of an electrolyte (water/acid), converting the iron oxide back into metallic iron, which then rubs off. This method is incredibly gentle yet powerful enough for surface rust.
Another excellent option for minor spots is toothpaste. The fine abrasives in non-gel toothpaste can effectively buff away small rust specks without scratching the chrome. Apply a small amount to a soft cloth, rub gently in circular motions, then rinse and dry.
Similarly, a paste made from baking soda and water (mix until it forms a thick consistency) can be applied to the rusty area. Let it sit for 15-30 minutes, then gently scrub with a soft brush or cloth. Baking soda is a mild alkali and a gentle abrasive that helps lift the rust without damaging the surrounding chrome.
These methods are ideal for maintaining chrome items that are regularly exposed to elements but haven’t developed significant corrosion, such as bicycle parts, car trim, or bathroom fixtures with occasional spots. They offer a safe and environmentally friendly way to keep your chrome looking its best.
For Moderate Rust: Targeted Soaking & Buffing
When light rust has set in a bit deeper or covers a larger area, a more potent approach involving targeted soaking and gentle buffing is often required. These methods leverage mild acids to chemically break down the rust, making it easier to remove.
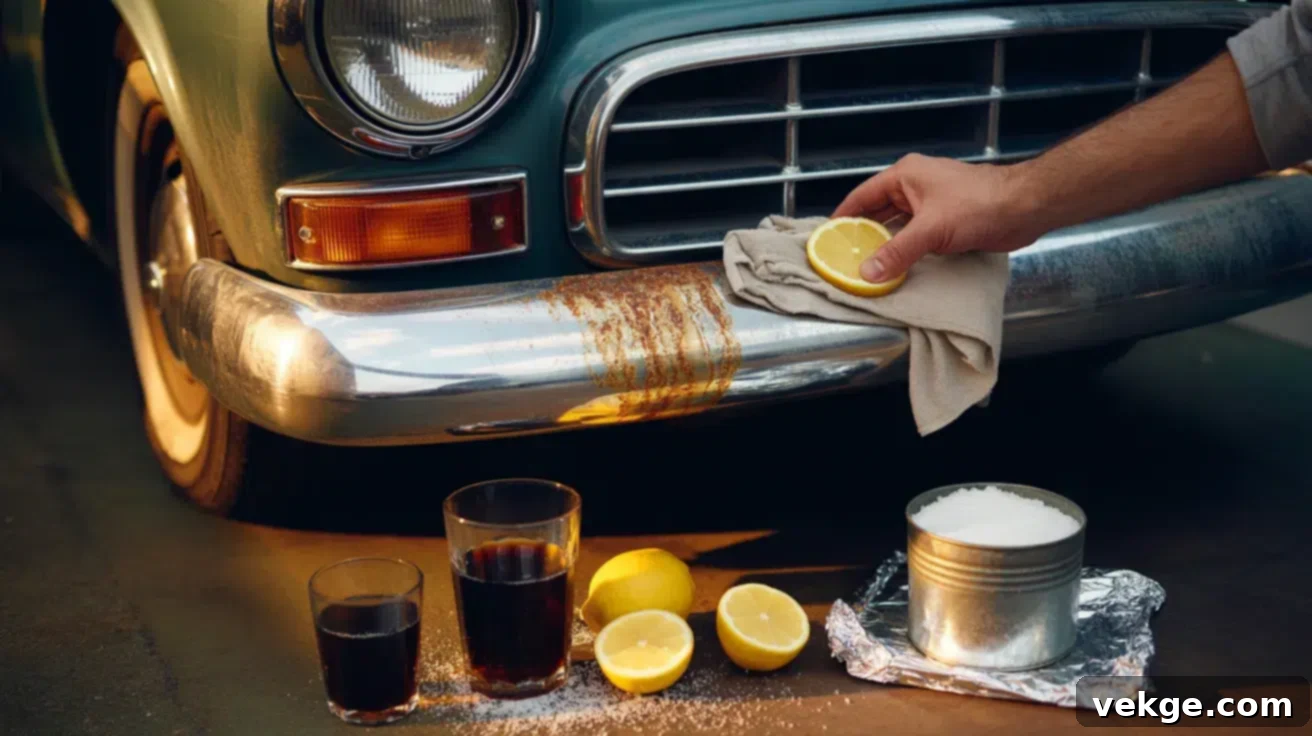
White vinegar is a powerhouse for moderate rust. Its acetic acid content effectively dissolves rust. For best results, soak a cloth or paper towel in white vinegar and place it directly over the rusty spot, ensuring full coverage. Leave it to sit for several hours, or even overnight for stubborn rust. The prolonged contact allows the acid to penetrate and loosen the corrosion. After soaking, remove the cloth and gently scrub the area with crumpled aluminum foil or a soft-bristled brush. Rinse thoroughly and dry immediately.
A highly effective and natural rust remover is a paste made from lemon juice and salt. The citric acid in lemon juice, combined with the abrasive action of salt, creates a potent rust-fighting duo. Mix an equal amount of lemon juice and table salt to form a thick paste. Apply this paste generously over the rusted areas and let it sit for at least an hour, or longer for more severe rust. The salt helps to draw out the moisture and accelerate the acidic reaction. Once the time is up, use a soft cloth, an old toothbrush, or a piece of aluminum foil to gently scrub the paste and rust away. Rinse with clean water and dry thoroughly.
Surprisingly, Coca-Cola (or any cola drink) can also be quite effective due to its phosphoric acid content. Simply pour some Coke onto a cloth and apply it to the rusty area, or for smaller items, submerge them in a bowl of Coke. Let it sit for a few hours, then scrub with aluminum foil. The phosphoric acid reacts with the rust, converting it into iron phosphate, which is easier to remove. Always remember to rinse off the sugary residue completely afterward to avoid stickiness or attracting pests.
These soaking and buffing methods take more time and patience than quick fixes, but they are incredibly effective for handling deeper rust without resorting to harsh chemicals that might damage the chrome. Always ensure the area is rinsed thoroughly and dried completely after treatment to prevent re-rusting.
For Heavy Rust or Pitted Chrome: Advanced Solutions and Precautions
When chrome has developed extensive rust, deep pitting, or visible flaking, you’re dealing with significant damage that requires more aggressive treatment. At this stage, the integrity of the chrome plating itself may be compromised, meaning complete restoration might be challenging or impossible, but improvement is often achievable. These methods require more caution and protective gear.
For deeply embedded rust, consider using cleaners containing stronger acids like oxalic acid or phosphoric acid. These chemicals are designed to aggressively dissolve iron oxide. Products like rust removers for automotive or household use often contain these active ingredients. Always read the product instructions carefully and prioritize safety: wear chemical-resistant gloves, eye protection, and ensure you work in a well-ventilated area. Apply the cleaner according to the manufacturer’s directions, typically allowing it to dwell for a specified period, then gently scrub with a non-abrasive pad or very fine steel wool (grade 0000). Always test on an inconspicuous area first.
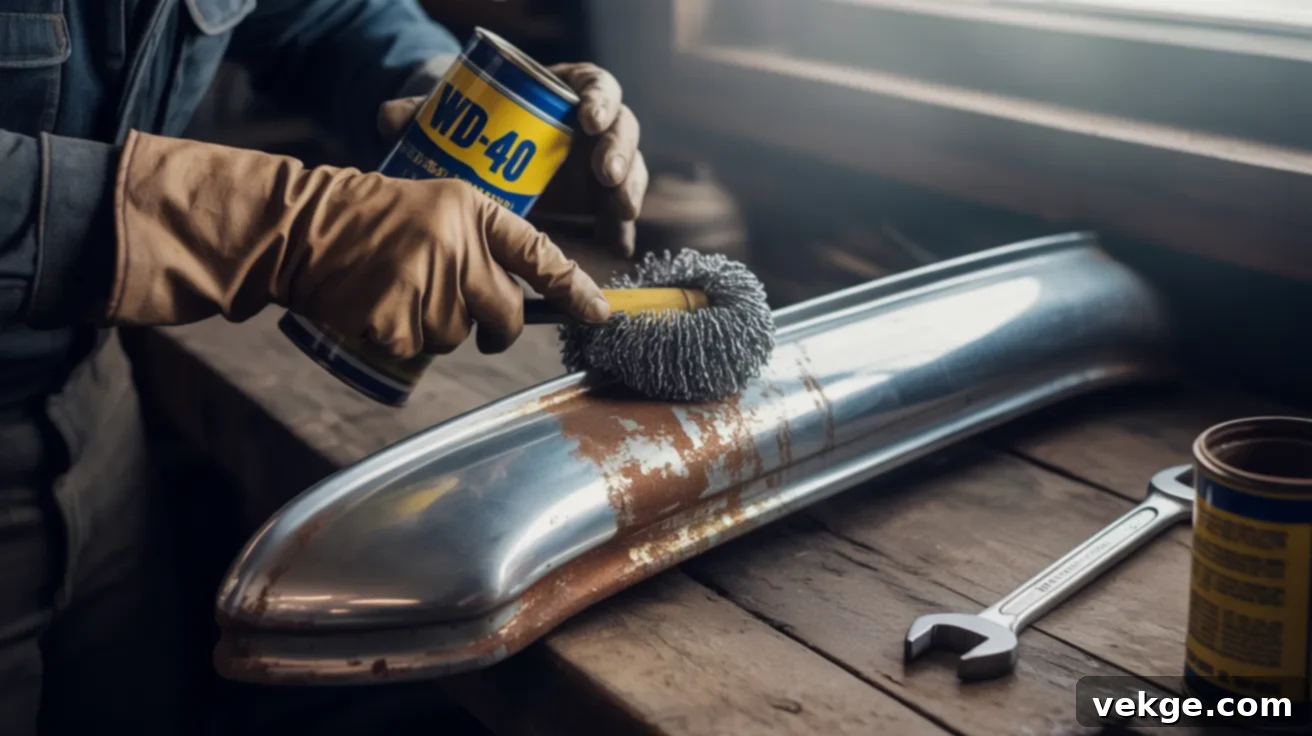
Another powerful option for heavy rust is WD-40 combined with super fine steel wool (grade 0000). WD-40 acts as a lubricant and penetrating oil, helping to loosen the rust. When combined with 0000-grade steel wool – which is incredibly fine and less likely to scratch intact chrome – it can effectively abrade away stubborn rust. Spray a generous amount of WD-40 onto the rusted area, let it sit for a few minutes, then gently rub with the steel wool in small, controlled motions. Be cautious not to apply excessive pressure, as even fine steel wool can scratch if used improperly or if the chrome is already very thin or damaged. This method also works well with other penetrating oils or dedicated chrome polishes.
After using any of these stronger methods, it’s crucial to rinse the chrome thoroughly with clean water to remove all chemical residues and loose rust particles. Follow up with a good chrome polish to restore shine and, ideally, a protective wax coating. However, if the chrome plating is extensively peeling or bubbling, indicating significant substrate corrosion, it may be beyond DIY repair. In such cases, re-chroming by a professional may be the only way to fully restore the item, though this can be a costly process. For items like classic car parts, consulting a specialist might be worthwhile.
Step-by-Step Guide for the Most Popular DIY Method: Coke & Aluminum Foil
Among the myriad DIY rust removal methods, the combination of Coca-Cola and aluminum foil stands out for its simplicity, affordability, and remarkable effectiveness on light to medium rust. It leverages a mild acid (phosphoric acid in Coke) and a gentle abrasive (aluminum) in an electrochemical reaction that safely lifts rust without harsh chemicals. This detailed guide will walk you through the process, ensuring excellent results.
Materials Needed for Chrome Rust Removal
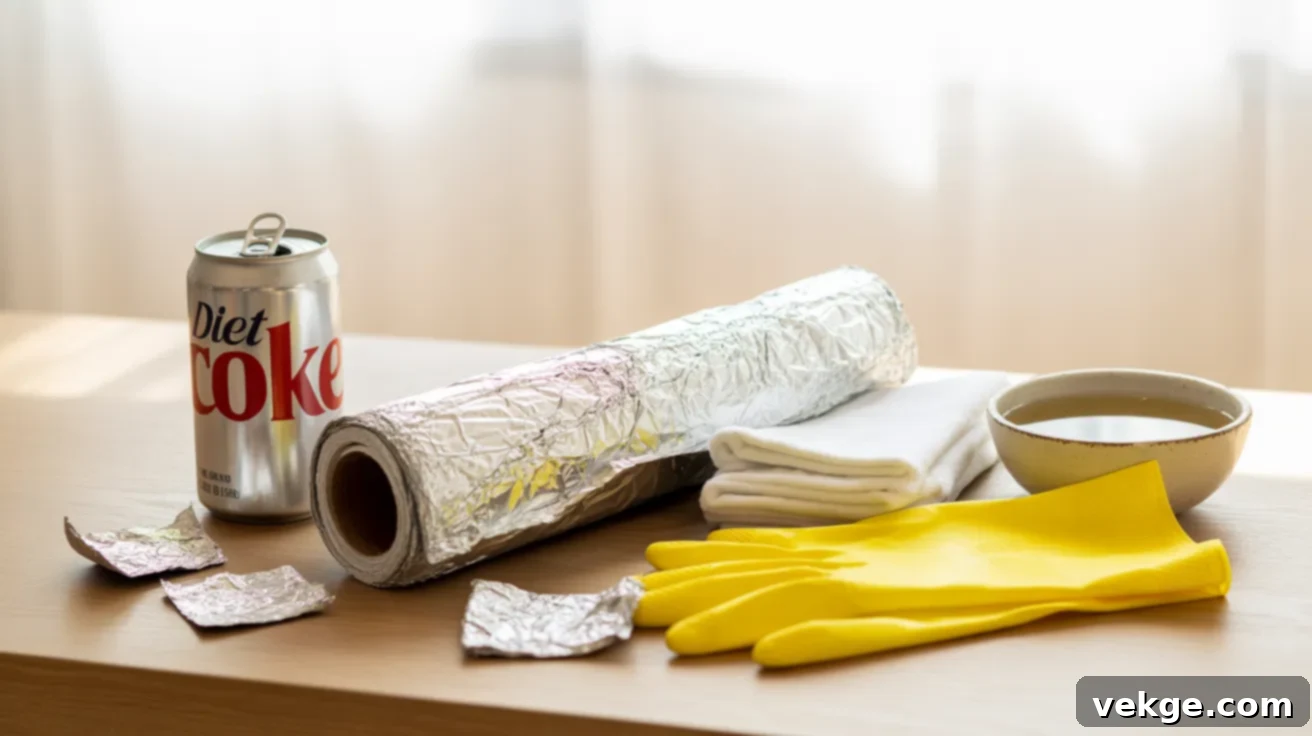
Before you begin the rust removal process, gather all your supplies. Having everything at hand will make the task smoother and more efficient. The beauty of this method lies in its use of readily available household items.
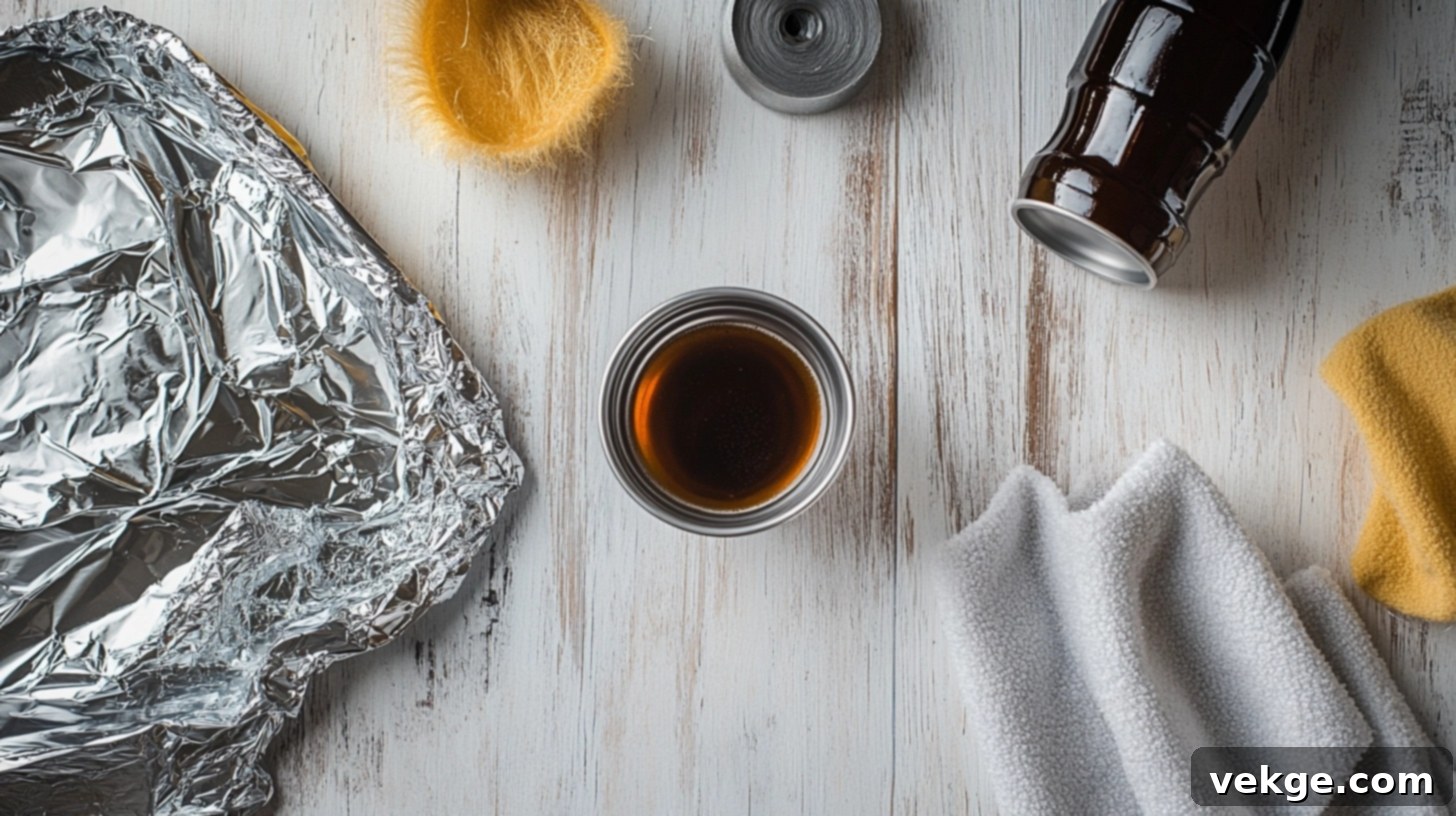
- Diet Coke: While regular Coke works perfectly fine, Diet Coke is often preferred because it’s less sticky due to the absence of sugar. The phosphoric acid is the key active ingredient that reacts with the rust.
- Aluminum Foil: You’ll need a few small sheets, roughly the size of your hand. This will be crumpled to create the scrubbing tool.
- Soft Cloths or Paper Towels: Essential for wiping away loosened rust, rinsing, and drying the chrome surface. Microfiber cloths are ideal for their non-abrasive nature.
- Gloves (Optional but Recommended): To protect your hands from the Coke and rust residue, keeping them clean.
- A Bucket or Bowl of Water: For thorough rinsing after the rust removal process.
- Chrome Polish or Car Wax (Optional): For an extra layer of protection and to enhance the shine after cleaning.
Thorough Prep Work for Optimal Results
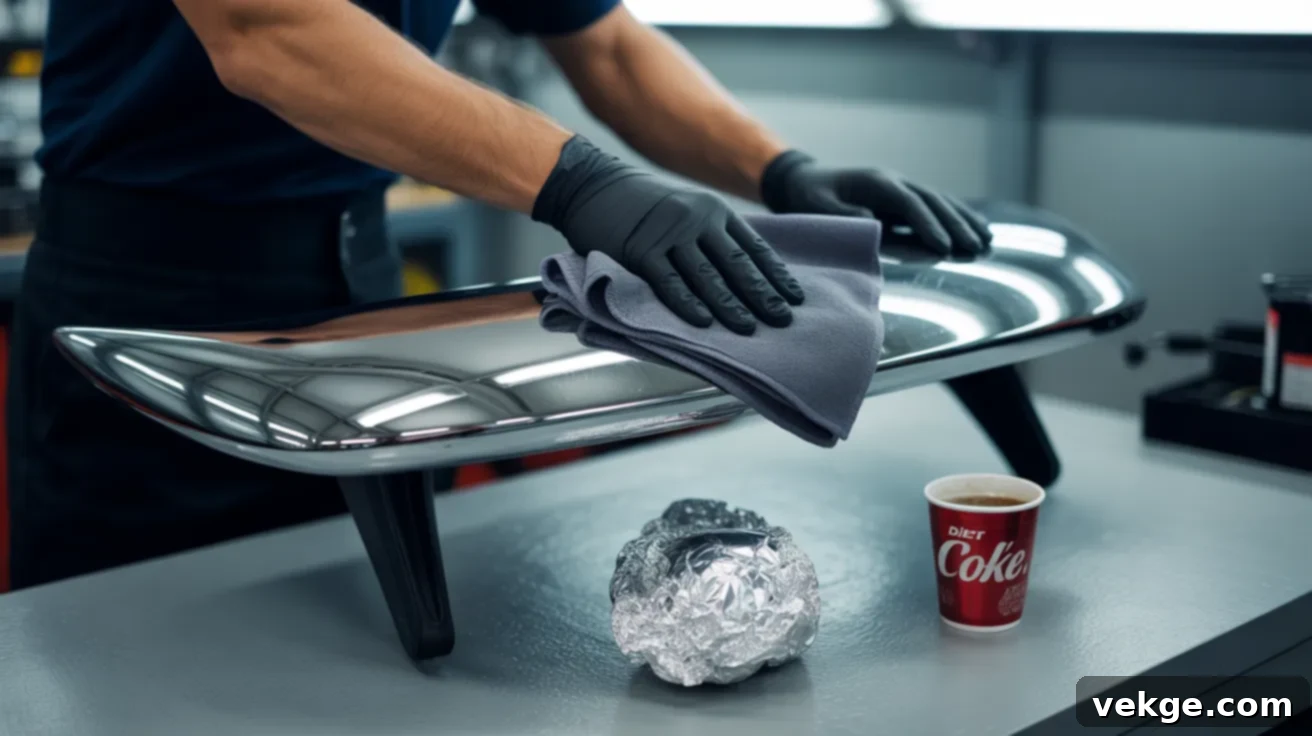
Proper preparation is crucial for maximizing the effectiveness of your rust removal efforts and ensuring the safety of your chrome surface. A little prep can go a long way in achieving a flawless finish.
- Clean the Surface: Begin by wiping down the entire chrome surface with a clean, dry cloth or a damp cloth with mild soap. This step removes any loose dust, dirt, or grime that could interfere with the rust removal process or cause further scratching. Ensure the surface is free of any large debris.
- Prepare the Aluminum Foil: Tear off a piece of aluminum foil about the size of your palm. Crumple it into a loose ball. It doesn’t need to be tightly packed; a slightly crinkled surface provides the necessary gentle abrasion. You’ll likely need several pieces if you have a large area of rust.
- Pour the Coke: Pour a small amount of Diet Coke (or regular Coke) into a shallow bowl or cup. You only need enough to easily dip your crumpled foil ball into.
- Protect Yourself: If you’ve chosen to wear gloves, put them on now. This will prevent your hands from getting sticky from the Coke and from coming into direct contact with the rust.
- Work in a Ventilated Area: Although Coke is not a harsh chemical, it’s always good practice to work in a well-ventilated space, especially if you’re dealing with larger items or more extensive rust.
Step-by-Step Instructions for Rust Removal
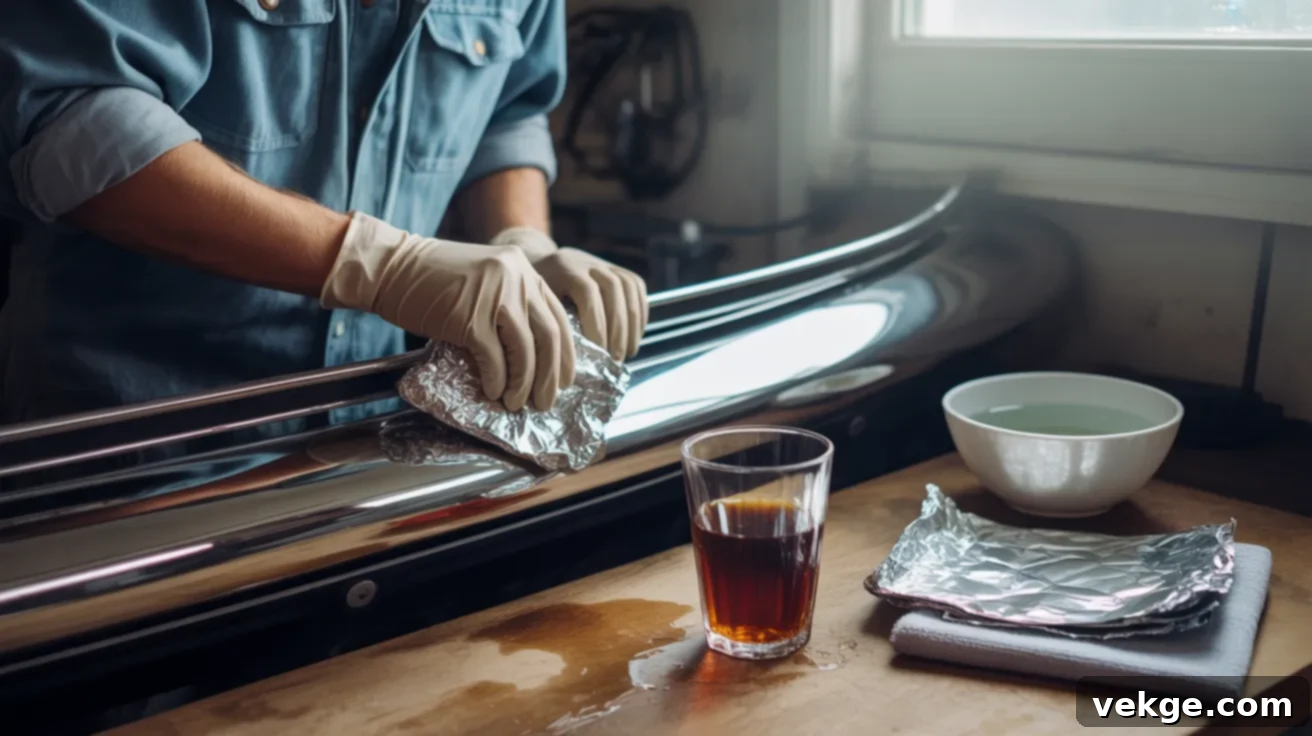
Follow these simple steps carefully to safely and effectively remove rust from your chrome items. Patience and a gentle touch are key to achieving excellent results without damaging the chrome.
- Dip the Aluminum Foil into Diet Coke: Take your crumpled aluminum foil ball and thoroughly dip it into the bowl of Diet Coke. Ensure it is fully saturated but not dripping excessively. The phosphoric acid in the Coke is essential for the chemical reaction that breaks down the rust.
- Gently Rub the Rusted Spot: Apply the wet aluminum foil directly to the rusted area. Using light to moderate pressure, rub the spot in small, circular motions. You might observe a dark, gritty residue forming – this is the rust being lifted and reacting with the aluminum. The aluminum acts as a mild abrasive, while the Coke helps dissolve the rust and facilitates an electrochemical reaction that converts iron oxide (rust) back into a more manageable form. Continue rubbing, redipping the foil in Coke as needed, and replacing the foil ball if it becomes too flattened or dirty.
- Check Your Progress Frequently: Periodically, stop rubbing and use a clean, dry soft cloth or paper towel to wipe away the Coke and rust residue. This allows you to assess your progress. If rust remains, redip a fresh piece of foil and continue rubbing gently. Be patient; stubborn rust may require several passes. The goal is to see the chrome surface begin to shine through.
- Thoroughly Rinse the Area: Once you are satisfied with the rust removal, use clean water (from your bucket or bowl) to thoroughly rinse the entire area where you applied the Coke and rubbed. It’s crucial to remove all traces of the sugary drink and any loosened rust particles. Any leftover Coke residue can become sticky or attract dirt, potentially leading to new problems.
- Dry the Chrome Completely: Immediately after rinsing, use a soft, clean towel or cloth to fully dry the chrome surface. This step is critical! Leaving any moisture on the chrome, even after cleaning, can quickly lead to the formation of new rust or unsightly water spots. Ensure every crevice and edge is completely dry.
- (Optional) Apply a Protective Wax or Polish: To further enhance the shine and provide an extra layer of protection, consider applying a dedicated chrome polish or a high-quality car wax. Apply a thin, even coat with a clean, soft applicator pad or cloth, allow it to haze (if instructed by the product), then buff it off with a separate clean, dry microfiber cloth until a brilliant shine is achieved. This protective layer will help repel moisture and contaminants, significantly extending the life and luster of your chrome.
How to Keep Chrome Rust-Free Long Term: Prevention is Key
Once you’ve put in the effort to remove rust and restore the shine to your chrome, the last thing you want is for corrosion to return. Proactive maintenance and intelligent storage are essential to keeping your chrome looking pristine for years. The good news is that preventing rust is often simpler and less time-consuming than removing it.
The Power of Waxing Chrome: A Shield Against the Elements
Just as waxing protects your car’s paint, it offers a vital shield for chrome. A thin, even layer of car wax or specialized chrome wax acts as a sacrificial barrier, sealing the microscopic pores in the chrome and preventing moisture, air, and contaminants from reaching the metal surface. This protective layer significantly reduces the chances of rust formation, especially in areas prone to dampness or exposure to road salts and chemicals.
To wax your chrome effectively:
- Clean First: Always ensure the chrome is completely clean and dry before waxing. Any dirt or existing rust trapped under the wax will be magnified and protected.
- Apply Thinly: Using a soft applicator pad or microfiber cloth, apply a very thin, even layer of wax. A little goes a long way. Avoid over-applying, as it can be harder to buff off.
- Allow to Haze: Let the wax dry to a slight haze, according to the product’s instructions (usually a few minutes).
- Buff to a Shine: With a separate, clean, and dry microfiber cloth, buff the chrome gently until it gleams. This removes excess wax and brings out the shine.
Applying wax once a month for frequently exposed items, or every few months for less exposed items, can dramatically extend the life and brilliance of your chrome. Look for waxes specifically formulated for chrome or high-quality carnauba or synthetic polymer waxes.
Indoor vs. Outdoor Storage Tips: Protecting Against Environmental Factors
Where and how you store your chrome items makes a significant difference in their longevity. Exposure to environmental elements like rain, snow, high humidity, and temperature fluctuations are primary culprits for rust.
- Indoor Storage is Preferable: Whenever possible, store chrome-plated items indoors. A dry garage, shed, or even a covered area in your home is ideal. This protects them from direct precipitation and extreme temperature swings that can cause condensation.
- Control Humidity: In humid environments, consider using dehumidifiers in storage areas or placing desiccant packets (like silica gel) with smaller chrome items to absorb excess moisture.
- Cover Outdoor Items: If outdoor storage is unavoidable, invest in high-quality, waterproof covers for items like bicycles, motorcycles, or outdoor furniture. Ensure the covers are breathable to prevent moisture from becoming trapped underneath, which can ironically accelerate rust. Elevate items off the ground to prevent contact with standing water or damp surfaces.
- Avoid Direct Ground Contact: Never leave chrome items directly on concrete or soil for extended periods, as these surfaces can retain moisture and promote rust.
Drying After Exposure to Moisture: The Golden Rule of Chrome Care
This is perhaps the simplest yet most crucial tip for rust prevention: **always dry chrome thoroughly after it gets wet.** Water is the primary catalyst for rust. Whether it’s after rain, washing, or even exposure to steam and condensation, lingering moisture provides the perfect environment for corrosion to begin.
- Immediate Action: Make it a habit to wipe down chrome surfaces immediately after they come into contact with water. Do not let water drops sit and air dry, as this also leads to hard water spots.
- Use Soft Towels: Use a soft, absorbent towel, preferably microfiber, to blot and wipe away all moisture. Pay special attention to crevices, seams, and edges, where water tends to collect and linger.
- Air Circulation: If an item is regularly exposed to moisture (like bathroom fixtures), ensure good air circulation in the area to help evaporate any residual dampness quickly.
By consistently applying these preventative measures, you’ll significantly reduce the likelihood of rust returning, keeping your chrome items looking their best with minimal effort.
Safety Tips and What to Avoid During Chrome Restoration
While DIY chrome rust removal is generally safe, it’s crucial to approach the task with awareness of potential hazards to both yourself and the chrome itself. Following these safety guidelines will help you achieve great results without unintended consequences.
- Avoid Abrasive Scrubbers or Sandpaper: This is perhaps the most critical rule. Chrome plating is extremely thin. Using abrasive tools like rough scrub brushes, steel wool coarser than 0000 grade, or any type of sandpaper will almost certainly scratch through the delicate chrome layer, exposing the base metal beneath. Once scratched, the chrome’s protective barrier is compromised, making it much more susceptible to future, more severe rust. Always opt for soft cloths, aluminum foil, or ultra-fine (0000 grade) steel wool, and apply only gentle pressure.
- Always Dry Chrome Thoroughly After Cleaning: After you’ve successfully removed rust and rinsed the chrome, it’s imperative to dry it completely and immediately. Any lingering moisture, even seemingly insignificant droplets, can quickly lead to the formation of new rust or unsightly water spots. Use a clean, dry, soft cloth, like a microfiber towel, to ensure every part of the chrome is completely moisture-free. This simple step is a key preventative measure.
- Wear Gloves When Using Stronger Cleaners: When moving beyond household items to stronger chemical rust removers (e.g., those containing oxalic or phosphoric acid, or commercial chrome polishes), always protect your hands. Chemical-resistant gloves will prevent skin irritation, dryness, or potential chemical burns. For some products, especially sprays, consider wearing eye protection to guard against splashes.
- Ensure Good Ventilation: When working with any chemical cleaner, even mild ones, ensure you are in a well-ventilated area. If working indoors, open windows and doors, or use a fan. If working outdoors, choose a spot where fresh air circulates freely to disperse any fumes.
- Test on an Inconspicuous Area First: Before applying any new cleaning method or product to a prominent chrome surface, always perform a small patch test in an hidden spot. This allows you to check for any adverse reactions, discoloration, or unexpected damage without risking the entire item.
- Never Mix Cleaning Chemicals: Avoid mixing different cleaning products, especially those containing acids and bases. This can create dangerous fumes or ineffective solutions. Stick to one product at a time and rinse thoroughly between different treatments.
By adhering to these safety practices, you can confidently tackle rust removal and keep your chrome looking spectacular while protecting yourself and your valuable items.
Final Thought: Embrace the Shine – Your Chrome Restoration Journey Begins Now!
Witnessing rust on your cherished chrome items can be disheartening, but it’s far from a permanent setback. As this comprehensive guide has shown, rust is merely a challenge with a range of effective and often simple DIY solutions. You now possess the knowledge to confidently identify rust, choose the appropriate removal method based on its severity, and execute proven techniques to restore that brilliant, mirror-like shine.
From leveraging the mild abrasive power of aluminum foil and the phosphoric acid in cola for surface spots, to carefully employing stronger solutions for more stubborn corrosion, you have a toolkit of methods at your disposal. More importantly, you’ve learned that prevention is paramount. Regular cleaning, thorough drying, protective waxing, and smart storage are your best allies in the ongoing battle against rust.
Don’t let rusty chrome diminish the appeal of your vehicle, bathroom, or any other treasured item. The steps are straightforward, the materials are accessible, and the results are incredibly satisfying. So, take the initiative: select the method that best suits your needs, gather your materials, and embark on your chrome restoration journey today. Experience the immense satisfaction of watching that dull, rusty surface transform back into a gleaming testament to enduring beauty. Your chrome is waiting to shine!
