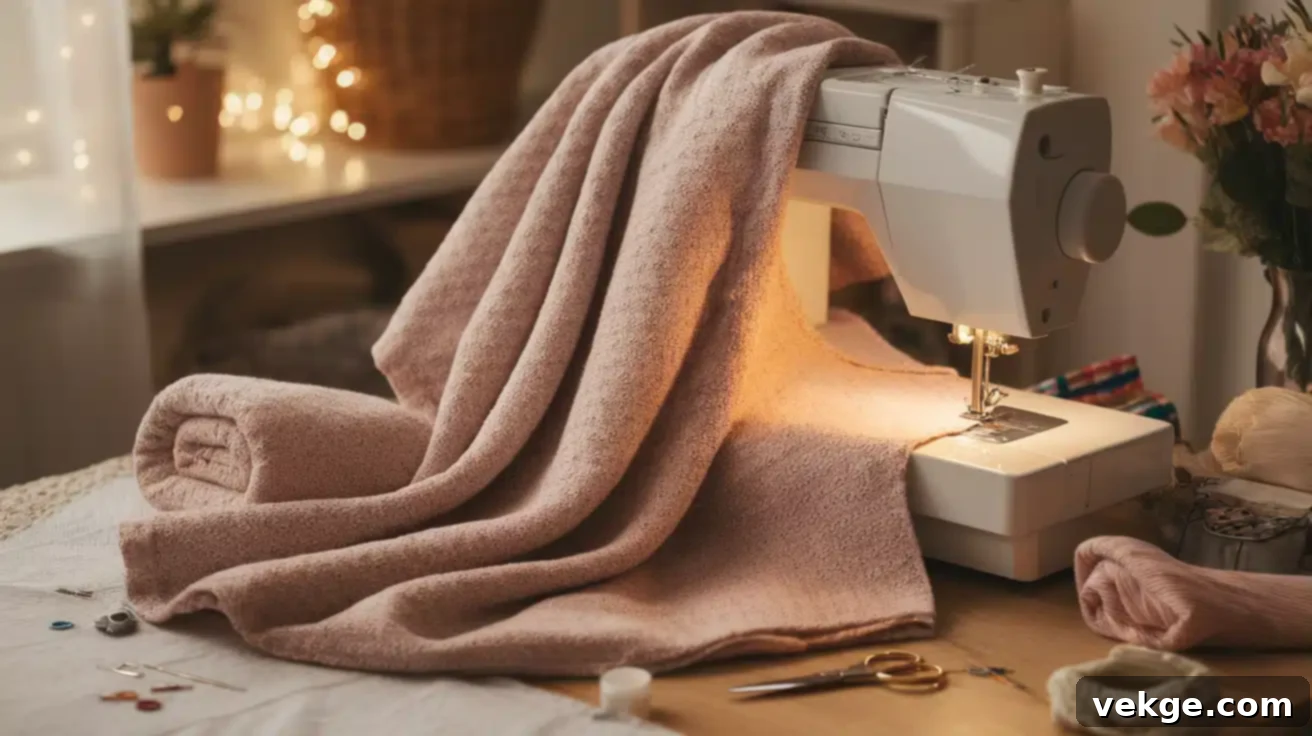
How to Sew a Cozy Blanket: A Beginner’s Step-by-Step Guide for DIY Comfort
There’s nothing quite like the feeling of snuggling up in a warm, soft blanket. But imagine that blanket was made by your own hands! Sewing a blanket is a wonderfully rewarding project, perfect for anyone looking to add a personal touch to their home or create a heartfelt gift. If the thought of “How to sew a blanket?” feels intimidating, don’t worry – this comprehensive guide will walk you through every step, making it simple and enjoyable for even the newest sewer.
Making your own blanket is one of the most accessible and satisfying projects for beginners. You’ll not only learn fundamental sewing skills but also create a functional and cherished item. The beauty of a handmade blanket lies in its customization: you get to choose everything, from the colors and patterns to the texture and warmth. Whether you dream of a lightweight cotton throw for summer evenings, a plush flannel for autumn chills, or a luxurious fleece for deep winter nights, the possibilities are endless.
Beyond the practical warmth, a handmade blanket carries a story and a piece of your creativity. It’s a comforting presence in your home, a thoughtful gift for loved ones, and a tangible reminder of your growing crafting skills. This guide aims to demystify the process, providing clear instructions and helpful tips to ensure your first (or fiftieth!) blanket project is a success. Let’s gather our supplies and begin this journey to creating your perfect cozy companion!
Materials and Tools Needed to Sew a Blanket
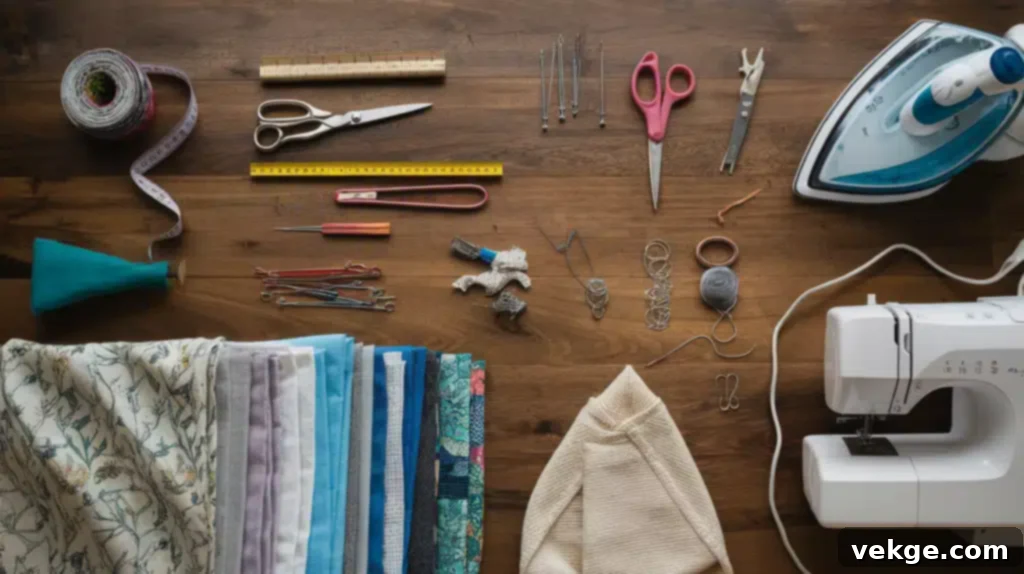
Before diving into the sewing process, a little preparation goes a long way. Gathering all your materials and tools beforehand ensures a smooth and enjoyable crafting experience. You don’t need a professional sewing studio; basic equipment will work perfectly. Here’s what you’ll need:
- Fabric (2 pieces): The size will depend on your desired blanket dimensions. Choose fabrics that complement each other in terms of texture and design. Consider soft cotton, cozy flannel, plush fleece, or luxurious minky. For a two-sided blanket, you’ll need two distinct pieces.
- Measuring Tape or Ruler: Essential for accurate measurements when cutting your fabric and marking sewing lines. A long, flexible tape measure is ideal for larger blanket sizes.
- Sharp Fabric Scissors or Rotary Cutter with Mat: Precision is key for straight edges. Sharp fabric scissors prevent frayed edges, while a rotary cutter used with a self-healing mat and a clear ruler offers unparalleled accuracy and speed, especially for long cuts.
- Straight Pins or Fabric Clips: These hold your fabric layers together securely, preventing shifting while you sew. Choose pins appropriate for your fabric thickness – longer, sharper pins for thicker materials, or fabric clips for no-hole alternatives, especially with delicate fabrics like minky.
- Matching Thread: Select a high-quality polyester thread that closely matches the dominant color of your fabric. This ensures your stitches blend in beautifully. If you have two different colored fabrics, pick a thread that matches the side that will show more prominently or a neutral color.
- Sewing Machine (or Hand Sewing Needle): While a sewing machine speeds up the process significantly, a beautiful blanket can absolutely be hand-sewn with patience and a strong needle. A basic sewing machine with a straight stitch function is all you need.
- Iron and Ironing Board: Crucial for pressing seams flat and ensuring crisp, professional-looking edges. Don’t underestimate the power of a good iron in achieving a polished finish.
- Disappearing Fabric Marker or Chalk: Useful for marking cutting lines, turning gaps, or any other guides directly on your fabric without leaving permanent marks.
- Safety Pins (Optional, but Helpful): Especially useful for larger or thicker blankets (like those with batting) to baste layers together across the entire surface, preventing bunching during quilting or topstitching.
Before you begin, set up your workspace. Find a well-lit area where you can comfortably spread out your fabric and operate your sewing machine. Having everything within reach will make your sewing journey much more enjoyable and efficient, allowing you to focus on the creative process rather than hunting for tools.
Step 1: Preparing Your Fabric for Sewing
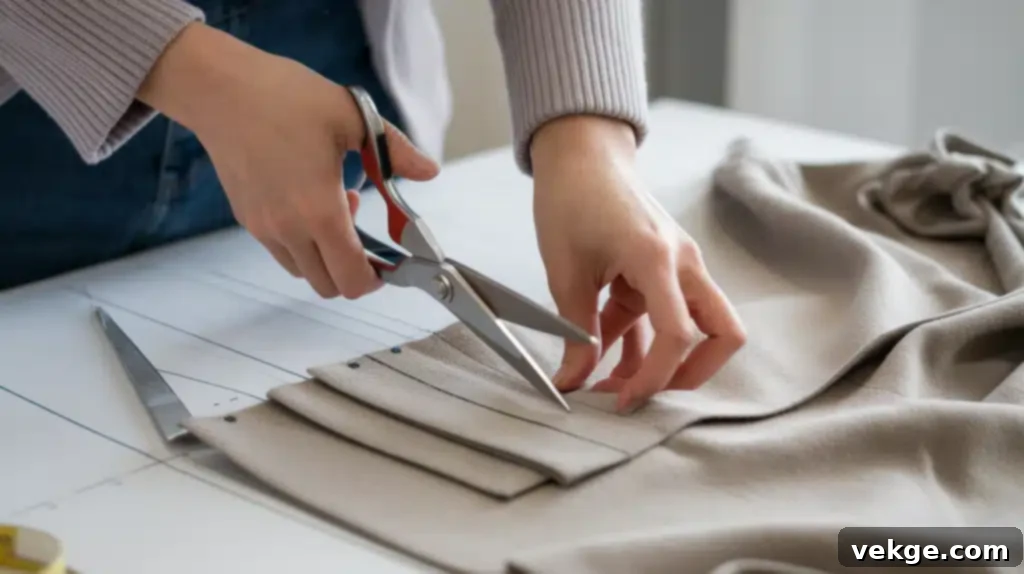
Proper fabric preparation is the foundation of a successful sewing project. Rushing this stage can lead to frustrating issues later on, so take your time to ensure your fabric is perfectly ready.
Pre-Washing Your Fabric: The Essential First Step
- Why Pre-Wash? Fabrics, especially natural fibers like cotton and flannel, tend to shrink when first washed. If you don’t pre-wash, your finished blanket might shrink unevenly after its first wash, distorting its shape or causing seams to pucker. Pre-washing “preshrinks” the fabric, setting it to its final size before you cut and sew.
- How to Pre-Wash: Wash your fabric exactly as you intend to wash the finished blanket (e.g., cold water, gentle cycle). Use a mild, unscented detergent. For very soft or delicate fabrics like flannel or minky, consider washing them separately to prevent excessive lint transfer. Always dry them according to their care instructions, avoiding high heat if possible, as this can cause additional shrinkage.
- Ironing After Washing: Once dry, iron your fabric thoroughly. This removes wrinkles and ensures a smooth, flat surface, which is crucial for accurate cutting.
Cutting the Fabric: Precision is Key
- Set Up: Find a large, flat, clean surface. A big table or even a clean floor works well. Spread your pre-washed and ironed fabric smooth, ensuring there are no wrinkles or distortions.
- Measure and Mark: Using your measuring tape or ruler and fabric marker/chalk, accurately measure the dimensions of your desired blanket. Remember to account for seam allowances. For a typical reversible blanket, you’ll cut two identical rectangles.
- Achieving Straight Lines:
- With Scissors: If using scissors, use a straight edge (like a yardstick or the edge of your table) as a guide. Cut slowly and deliberately, keeping the fabric flat.
- With a Rotary Cutter: For superior accuracy, especially on long cuts, use a rotary cutter with a large self-healing mat and a quilting ruler. Align the ruler perfectly with your marked line or the fabric’s selvedge (the finished edge), and cut smoothly along the edge of the ruler.
- Check for Squareness: After cutting, lay both pieces of fabric on top of each other and trim any uneven edges. Ensure all corners are perfectly square and both pieces are the exact same size. This step is vital for a blanket that hangs and drapes beautifully without puckering.
Step 2: Sewing Your Blanket Together

This is where your blanket truly begins to take shape! With your fabric prepared, we’ll now move to the sewing machine (or hand-sewing). Remember, patience is your best friend here.
Lining Up and Pinning the Fabric Layers
- Right Sides Together: For a simple two-layer reversible blanket, lay one piece of fabric on your work surface with its “right side” (the pretty side) facing up. Then, place the second piece of fabric on top, with its “right side” facing down. This means the two pretty sides of your fabric are facing each other.
- Adding Batting (Optional): If you’re adding batting for extra warmth and loft, place the batting layer directly underneath the two fabric layers. So, the stack would be: bottom fabric (right side up), top fabric (right side down), and batting underneath the bottom fabric. *Note: For a traditional quilt sandwich, you’d usually have backing fabric (right side down), batting, then top fabric (right side up), and then turn. For this simple method, we’re aiming for a “pillowcase” style turn.* A simpler way for batting is to lay out the batting first, then your backing fabric (right side up), then your top fabric (right side down). This keeps the batting enclosed.
- Secure with Pins: Align all edges carefully. Begin pinning around the perimeter, placing pins perpendicular to the raw edge every 3-5 inches. For thicker fabrics or larger blankets, consider using more pins or safety pins to prevent any shifting during sewing. Ensure all layers are perfectly flat and aligned.
Sewing the Edges: Creating the Seam
- Standard Seam Allowance: Using your sewing machine (or needle), start sewing about ½-inch from the edge of the fabric. This ½-inch measurement is your “seam allowance.” A consistent seam allowance is crucial for a neat finish.
- Leaving an Opening: As you sew around the perimeter, remember to leave a 6-10 inch gap unstitched on one of the sides. This opening is essential for turning your blanket right side out. Use your fabric marker to clearly mark the start and end points of this gap.
- Starting and Ending Stitches: Begin and end your stitching with a backstitch (sew forward a few stitches, then backward a few stitches, then forward again). This “locks” your stitches in place, preventing them from unraveling. Do this at the start and end of your main seam, and also at both ends of your turning gap.
- Pacing and Pressure: Sew slowly and steadily, guiding the fabric gently without pulling or pushing. Use an even foot pressure. If working with very thick or slippery fabrics, a walking foot attachment on your sewing machine can be incredibly helpful for feeding all layers evenly.
- Hand Sewing Option: If hand sewing, use a strong running stitch or backstitch about ½-inch from the edge. Ensure your stitches are even and relatively tight for durability.
Trimming and Turning: Defining the Shape
- Clipping Corners: Once you’ve sewn all sides (except for the turning gap), carefully trim the corners. Cut diagonally across each corner, about ⅛-inch from your stitch line. Be careful not to cut through your stitches! Clipping reduces bulk in the corners, ensuring they look crisp and sharp when turned right side out.
- Reducing Seam Bulk: For thicker fabrics, you can also trim your seam allowance down to ¼-inch (again, without cutting stitches) around the entire blanket. This further reduces bulk.
- Turning Right Side Out: Reach through the unstitched opening and gently pull your entire blanket through, turning it right side out. Take your time with this step, especially with larger blankets.
- Perfecting Corners: Once turned, use a blunt object (like a chopstick, knitting needle, or corner-turning tool) to carefully push out the corners from the inside. Be gentle to avoid poking through the fabric.
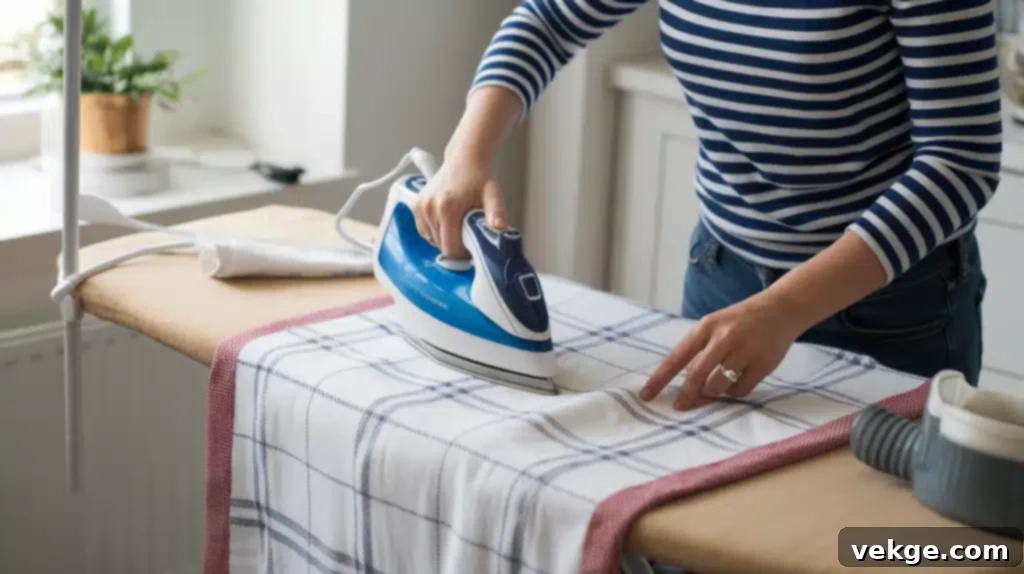
- Pressing the Edges: Take your blanket to the ironing board. Carefully press all the seams flat around the entire perimeter, ensuring the edges are crisp. At the opening, fold the raw edges inward by ½-inch (matching your seam allowance) and press them flat. This creates a clean, unstitched edge that will be easy to close later.
Step 3: Adding the Finishing Touches to Your Handmade Blanket
You’re in the home stretch! These final steps are crucial for giving your blanket a professional appearance and ensuring its durability for years of cozy enjoyment.
Closing the Opening: A Seamless Finish
- Preparing the Gap: You should have already pressed the raw edges of your turning opening inward. Pin these folded edges flat and neatly aligned.
- Invisible Hand Stitch (Ladder Stitch): For the most professional and nearly invisible finish, use a ladder stitch (also known as a blind stitch). Thread a hand-sewing needle with matching thread. Anchor your thread inside the folded edge, then take small stitches alternately from one folded edge to the other. Pull gently to draw the edges together, effectively hiding the stitches within the fold. This method makes the opening disappear beautifully.
- Machine Topstitch (for Simplicity): If hand sewing isn’t your preference, you can close the opening with your sewing machine. Simply sew very close to the edge of the opening, catching both folded layers. While visible, if done neatly with matching thread, it can still look clean and is quicker.
Topstitching for Durability and Style
- Purpose of Topstitching: Topstitching serves two main purposes: it securely closes the turning opening (if machine stitched) and, more importantly, it holds the two layers of fabric (and any batting) together, preventing them from shifting or bunching during use and washing. It also adds a nice, finished edge.
- How to Topstitch: Starting from a discreet spot (e.g., the middle of a side), sew all the way around the entire perimeter of your blanket. A common distance is about ¼-inch from the finished edge. Use a slightly longer stitch length than your construction stitches for a more decorative look. Ensure your stitches are straight and even.
- Adding More Detail: For extra durability or a decorative touch, you can add a second row of topstitching, perhaps ⅛-inch or ½-inch in from the first row. Some sewers also choose to “quilt” their blankets by adding rows of stitching across the main body of the blanket (e.g., straight lines, wavy lines, or a cross-hatch pattern) to further secure the layers, especially if using batting.
Choosing the Right Blanket Type & Fabrics
The beauty of sewing your own blanket lies in personalization. Before you even touch a pair of scissors, consider the blanket’s intended use, size, and desired feel. These choices will guide your fabric and batting selections.
Different Blanket Options & Sizes
- Baby Blankets (approximately 30″ x 30″ to 40″ x 40″): These are small, adorable, and perfect for swaddling, tummy time, or car seats. They make wonderful, personalized gifts for newborns and young children.
- Throw Blankets (approximately 50″ x 60″): Ideal for draping over a couch, providing extra warmth during movie nights, or as a decorative accent. Throws are versatile and a popular choice for first-time blanket makers.
- Lap Blankets (approximately 36″ x 48″): A smaller version of a throw, perfect for individuals in wheelchairs, at a desk, or just needing a little warmth on their lap without the bulk of a full throw.
- Twin/Full/Queen/King Bed Blankets: These are much larger and require significant amounts of fabric. While more ambitious, they offer full-bed coverage and are perfect for a personalized bedroom touch.
Don’t have a sewing machine or prefer a simpler approach? No problem! As we’ll discuss later, no-sew blankets are a fantastic alternative, relying on cutting and tying instead of stitching.
Choosing the Right Fabric: Texture, Warmth, and Drape
The fabric you choose dictates the blanket’s look, feel, and warmth. Consider these popular options:
- Cotton: Breathable, soft, and durable. Perfect for lightweight summer blankets, baby blankets, or as a backing for quilts. It washes well and gets softer with age. Think basic quilting cotton for a sturdy, versatile option.
- Flannel: Known for its brushed surface, flannel is wonderfully soft and provides excellent warmth. It’s a classic choice for cozy fall and winter blankets, often used for baby blankets due to its gentle feel. Be sure to pre-wash flannel thoroughly to account for shrinkage.
- Fleece: This synthetic fabric is incredibly soft, warm, and doesn’t fray, making it a favorite for no-sew projects. Fleece comes in various weights and textures, from anti-pill fleece to blizzard fleece. It’s easy to care for and retains warmth even when wet.
- Minky: A luxurious, ultra-soft polyester fabric with a short pile, often featuring small embossed dots. Minky is exceptionally soft to the touch, making it ideal for baby blankets, plush throws, or as a cozy backing. It can be a bit slippery to sew, so extra pinning is recommended.
- Sherpa: Resembles sheep’s wool, offering a soft, fluffy texture with excellent insulation. Great for a rustic, extra-warm feel.
- Faux Fur: For the ultimate in luxury and warmth, faux fur adds a dramatic touch. It can be challenging to work with due to its bulk and shedding, but the results are stunning.
Batting Options: The Core of Warmth and Loft
Batting is the middle layer that provides warmth, structure, and that desirable “fluffy” feel to your blanket. If you’re making a simple reversible blanket without quilting, you might skip batting, but for added warmth and body, it’s essential.
- Cotton Batting: Natural, breathable, and drapes beautifully. It becomes softer and more crinkled after washing, giving a classic quilted look. Good for all-season blankets.
- Polyester Batting: Lightweight, lofty, and holds its shape well. It’s less prone to shrinkage and often more affordable. Excellent for thick, puffy blankets. Available in various lofts (thicknesses).
- Blend Batting (e.g., 80% Cotton/20% Polyester): Combines the best qualities of both: breathability and drape from cotton, with added loft and resilience from polyester. A popular choice for many quilters.
- Wool Batting: Very warm, lightweight, and breathable. It’s resilient and resistant to creasing but can be more expensive and requires gentle care.
- Low-Loft Batting: Thinner batting, perfect for blankets that need to fold easily, have a sleek profile, or are intended for warmer climates.
- High-Loft Batting: Thicker, fluffier batting that creates a cloud-like, extremely warm blanket – ideal for cold weather or a plush aesthetic.
Consider the blanket’s use, desired warmth, and your chosen outer fabrics when selecting batting. Always check the batting’s “stitch distance” recommendation – this tells you how far apart your quilting stitches can be to keep the batting from shifting.
Troubleshooting Common Issues When Sewing a Blanket
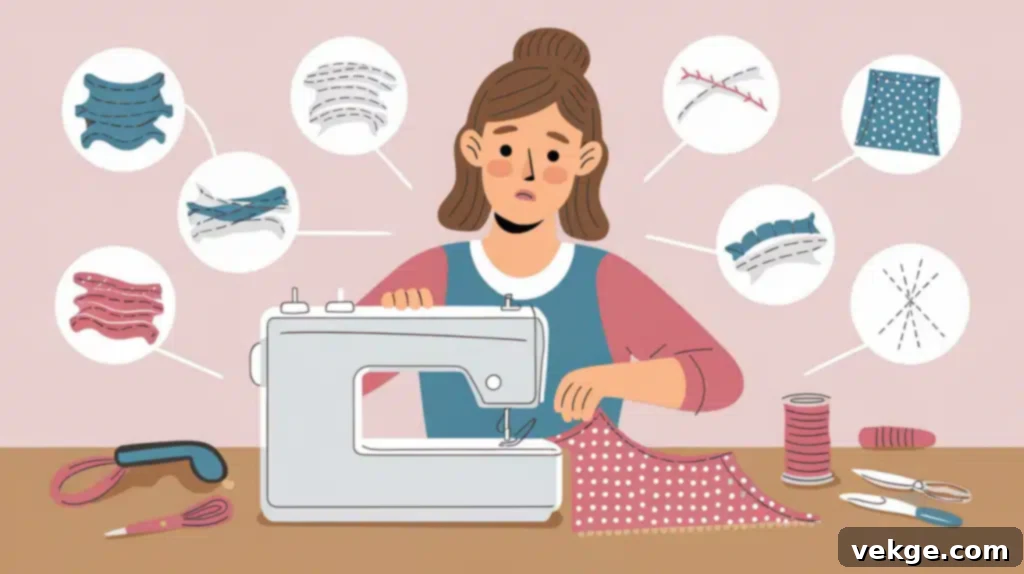
Even seasoned sewers encounter challenges from time to time. Don’t get discouraged if something doesn’t go perfectly on your first try! Here are common issues and practical solutions to keep your blanket project on track.
Fabric Bunching or Shifting While Sewing
This is a very common frustration, especially with slippery or thick fabrics like minky or fleece. The layers can shift unevenly, leading to puckers or misaligned edges.
- Use More Pins (or Clips): The most straightforward solution! Increase the density of your pins, placing them every 1-2 inches around the edges, especially on longer seams. Fabric clips (Wonder Clips) are fantastic for thick fabrics that pins struggle to penetrate or delicate fabrics that might show pinholes.
- Consider a Walking Foot: If your sewing machine has one, attach a walking foot. This specialized presser foot has its own set of feed dogs that grip and move the top fabric layer at the same rate as the bottom layer, preventing shifting. It’s a game-changer for bulky projects.
- Basting: For very large blankets, consider hand-basting (using long, temporary stitches) or using large safety pins to secure the layers together every 6-8 inches across the entire surface of the blanket, not just the edges.
- Reduce Speed: Slow down your sewing machine. Going too fast makes it harder to control the fabric layers.
Uneven or Wobbly Stitches
If your stitches look more like a zigzag than a straight line, or if they appear loose or tight in places, several factors could be at play.
- Check Threading: The most frequent culprit! Re-thread your sewing machine completely, ensuring the thread is seated correctly in all guides and tension discs. Check both the top thread and the bobbin.
- Adjust Tension: Incorrect thread tension can cause loops or puckering. Consult your machine’s manual for guidance on adjusting tension. Generally, if the bobbin thread shows on top, the top tension is too tight. If the top thread shows on the bottom, the top tension is too loose.
- Use the Right Needle: A dull or incorrect needle can cause skipped stitches or fabric damage. Use a new, sharp universal needle for most fabrics, or a ballpoint/jersey needle for knits like fleece.
- Guide Your Fabric (Don’t Push/Pull): Allow the machine’s feed dogs to pull the fabric through. Gently guide it with your hands, but avoid forcing it. Use the edge of your presser foot or a seam guide on your machine to maintain a consistent seam allowance.
- Practice: Like any skill, practice makes perfect. Sew some scrap fabric to get a feel for your machine and stitch consistency.
Fixing Gaps or Holes in Seams
Accidentally missed a spot or had stitches come undone? Don’t despair, it’s an easy fix!
- Unpick and Resew: For a clean repair, use a seam ripper to carefully unpick a few stitches on either side of the gap. Realign the fabric edges, pin them securely, and then resew that section, overlapping your previous stitches slightly at the beginning and end with a backstitch for reinforcement.
- Hand Stitch Small Gaps: For very small holes or where machine access is difficult (e.g., a tiny spot on a corner), a few neat hand stitches (like a whipstitch or ladder stitch) with matching thread can effectively close the gap invisibly.
- Check for Reinforcement: Always backstitch at the beginning and end of seams, especially where stress might occur, like the start and end of your turning gap.
Alternative Blanket Methods: Beyond Traditional Sewing
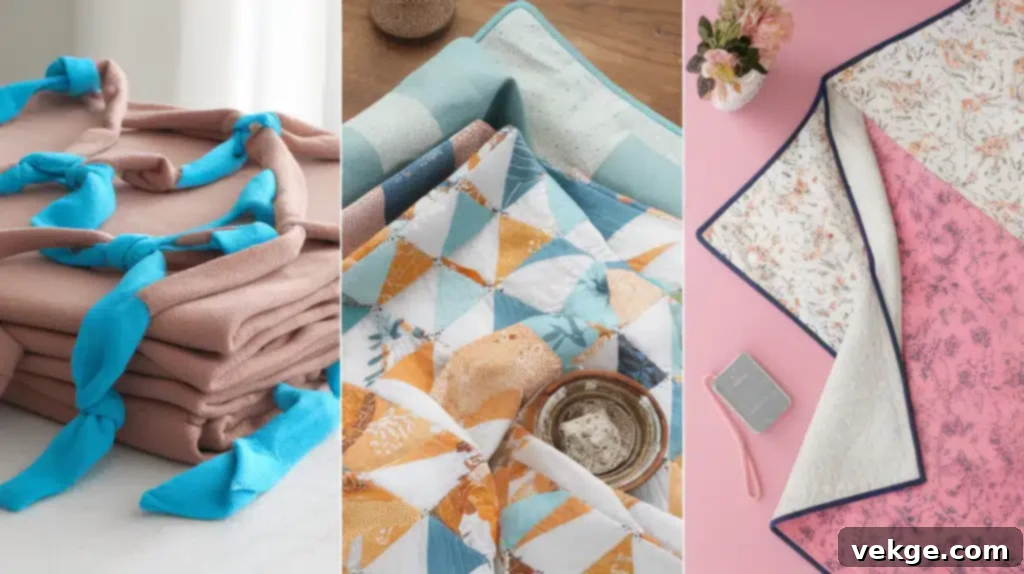
Not everyone has a sewing machine, or perhaps you’re looking for an even quicker, simpler project. Good news! There are fantastic ways to create warm, inviting blankets without traditional sewing. These methods are excellent for beginners, kids’ projects, or for making quick gifts.
1. No-Sew Fleece Tie Blanket: The Ultimate Easy Project
This is arguably the most popular no-sew blanket method, requiring only two pieces of fleece fabric and a pair of sharp scissors. It’s a project that’s easy enough for children to help with and perfect for a cozy afternoon craft session.
- Materials: Two pieces of fleece fabric (e.g., anti-pill fleece, blizzard fleece), fabric scissors or rotary cutter.
- How It Works:
- Lay one piece of fleece flat, right side down. Place the second piece on top, right side up, aligning all edges perfectly.
- Trim off the selvedge edges (finished edges) of the fleece. Trim any unevenness so both pieces are exactly the same size.
- Cut a 4-6 inch square out of each of the four corners of both layers. This creates a neat corner for tying.
- Cut fringe strips around the entire perimeter of the blanket. Each strip should be about 1 inch wide and 4-6 inches long (from the edge to the start of your corner cut-out). Make sure you cut through both layers of fabric simultaneously.
- Starting from a corner, take the top and bottom fringe strips and tie them together using a simple square knot (right over left, then left over right). Work your way around the entire blanket until all fringe strips are tied.
- Benefits: No sewing skills required, fast to make, durable, and very warm. Great for all ages!
2. Self-Binding Quilts: Clever and Efficient
A self-binding quilt uses a smart trick: the backing fabric extends beyond the top layer and folds over to create its own binding. This eliminates the separate step of attaching binding, saving time and creating a clean, professional finish.
- Materials: Quilt top (either a single piece of fabric or pieced blocks), backing fabric, batting.
- How It Works:
- Cut your backing fabric larger than your quilt top and batting (e.g., 2 inches larger on all sides).
- Create your “quilt sandwich” by layering the backing fabric (right side down), batting, and quilt top (right side up), centering the quilt top and batting on the backing.
- Baste all three layers together (using safety pins or basting spray).
- Quilt your layers as desired (straight lines, wavy, etc.).
- Once quilted, trim the batting and quilt top even with each other, leaving the backing fabric extending beyond.
- Fold the raw edge of the backing fabric inward once, then fold it over again onto the quilt top to create the binding. Pin securely and topstitch the binding down.
- Benefits: Saves time by combining binding creation with the finishing step, results in a neat edge, and is suitable for those comfortable with basic quilting.
3. Reversible Blankets: Two Looks in One
The simple sewn blanket method we described in the main guide is inherently reversible! By choosing two complementary or contrasting fabrics for the front and back, you get two distinct looks or textures in a single blanket.
- Materials: Two different pieces of fabric (e.g., flannel on one side, cotton on the other; fleece on one, minky on the other).
- How It Works: Follow all the steps for sewing a basic blanket, ensuring both “right sides” of your chosen fabrics are facing each other when you sew.
- Benefits: Versatility in decor or warmth, provides options for different seasons or moods, and can highlight beautiful fabric combinations. It’s like getting two blankets for the effort of one!
These alternative methods offer flexibility and cater to different skill levels and preferences. Each provides a wonderful way to create a cherished, cozy blanket.
Tips for Beginner Sewers
Starting any new craft can feel daunting, but sewing is incredibly rewarding. Here are some extra tips to help you on your blanket-making journey and beyond:
- Start Simple: Don’t try to make a king-sized, intricately quilted blanket for your first project. A baby blanket or a small throw is perfect for building confidence.
- Read Your Machine Manual: It’s your best friend! Understand how to thread your machine, wind a bobbin, change needles, and adjust tension.
- Practice on Scraps: Before sewing your actual blanket, use scrap pieces of the same fabric to practice straight lines, turning corners, and backstitching.
- A Seam Ripper is Your Friend: Mistakes happen, even to pros. Don’t be afraid to use a seam ripper to undo stitches. It’s part of the learning process!
- Press, Press, Press: Ironing seams flat at each stage makes a huge difference in the final appearance of your project.
- Take Breaks: If you’re feeling frustrated, step away for a bit. A fresh perspective can often solve a tricky problem.
- Watch Videos: YouTube is a treasure trove of sewing tutorials. Seeing a technique demonstrated can clarify written instructions.
Caring for Your Handmade Blanket
To ensure your beautiful handmade blanket stays cozy and lasts for years, proper care is essential. The best way to care for your blanket will depend on the fabric types you used.
- Always Check Fabric Care Tags: If you purchased new fabric, check its care instructions before pre-washing and use those as a guide for your finished blanket.
- General Washing Guidelines:
- Cold Water: Most fabrics, especially cottons, flannels, and polyesters (fleece, minky), do well with cold water washes. This helps prevent shrinking and fading.
- Gentle Cycle: A delicate or gentle cycle will be kindest to your stitches and fabric.
- Mild Detergent: Use a gentle, dye-free, and perfume-free detergent, especially for baby blankets.
- Wash Separately: For the first few washes, especially with new flannel or fleece, wash your blanket by itself to prevent lint transfer onto other items.
- Drying Tips:
- Low Heat or Air Dry: Tumble dry on low heat or air dry. High heat can cause further shrinkage (even pre-washed fabric can shrink a tiny bit more) and can damage synthetic fibers like fleece and minky, causing them to lose their softness.
- Remove Promptly: Take the blanket out of the dryer as soon as it’s dry to minimize wrinkles.
- Avoid Fabric Softeners (for some fabrics): While tempting for softness, fabric softeners can reduce the absorbency of cotton and can build up on fleece, making it feel less soft over time.
Conclusion: Embrace the Joy of Your Handmade Blanket
Congratulations! You’ve learned how to sew a blanket, and soon you’ll be wrapping yourself or a loved one in a creation born from your own hands. This journey is more than just learning stitches and seams; it’s about the joy of crafting, the satisfaction of making something useful, and the pride of turning raw materials into a cherished item.
Remember, sewing is a skill that improves with practice. Your first blanket might have a few quirks, but each subsequent project will refine your technique and boost your confidence. Don’t hesitate to experiment with different fabrics, explore new colors, or even try adding appliqués or embroidery to personalize future blankets even further.
Think of all the possibilities: a custom-made birthday gift that will be treasured, a special baby blanket for a new arrival, or even a family heirloom that carries memories through generations. A handmade blanket isn’t just fabric and thread; it’s a hug made tangible, a symbol of care and creativity.
I hope this detailed guide has thoroughly answered your question of ‘How to Sew a Blanket’ and equipped you with the knowledge and encouragement to begin. So, thread your needle, fire up your machine, and start sewing your next masterpiece – the world needs more handmade coziness!
