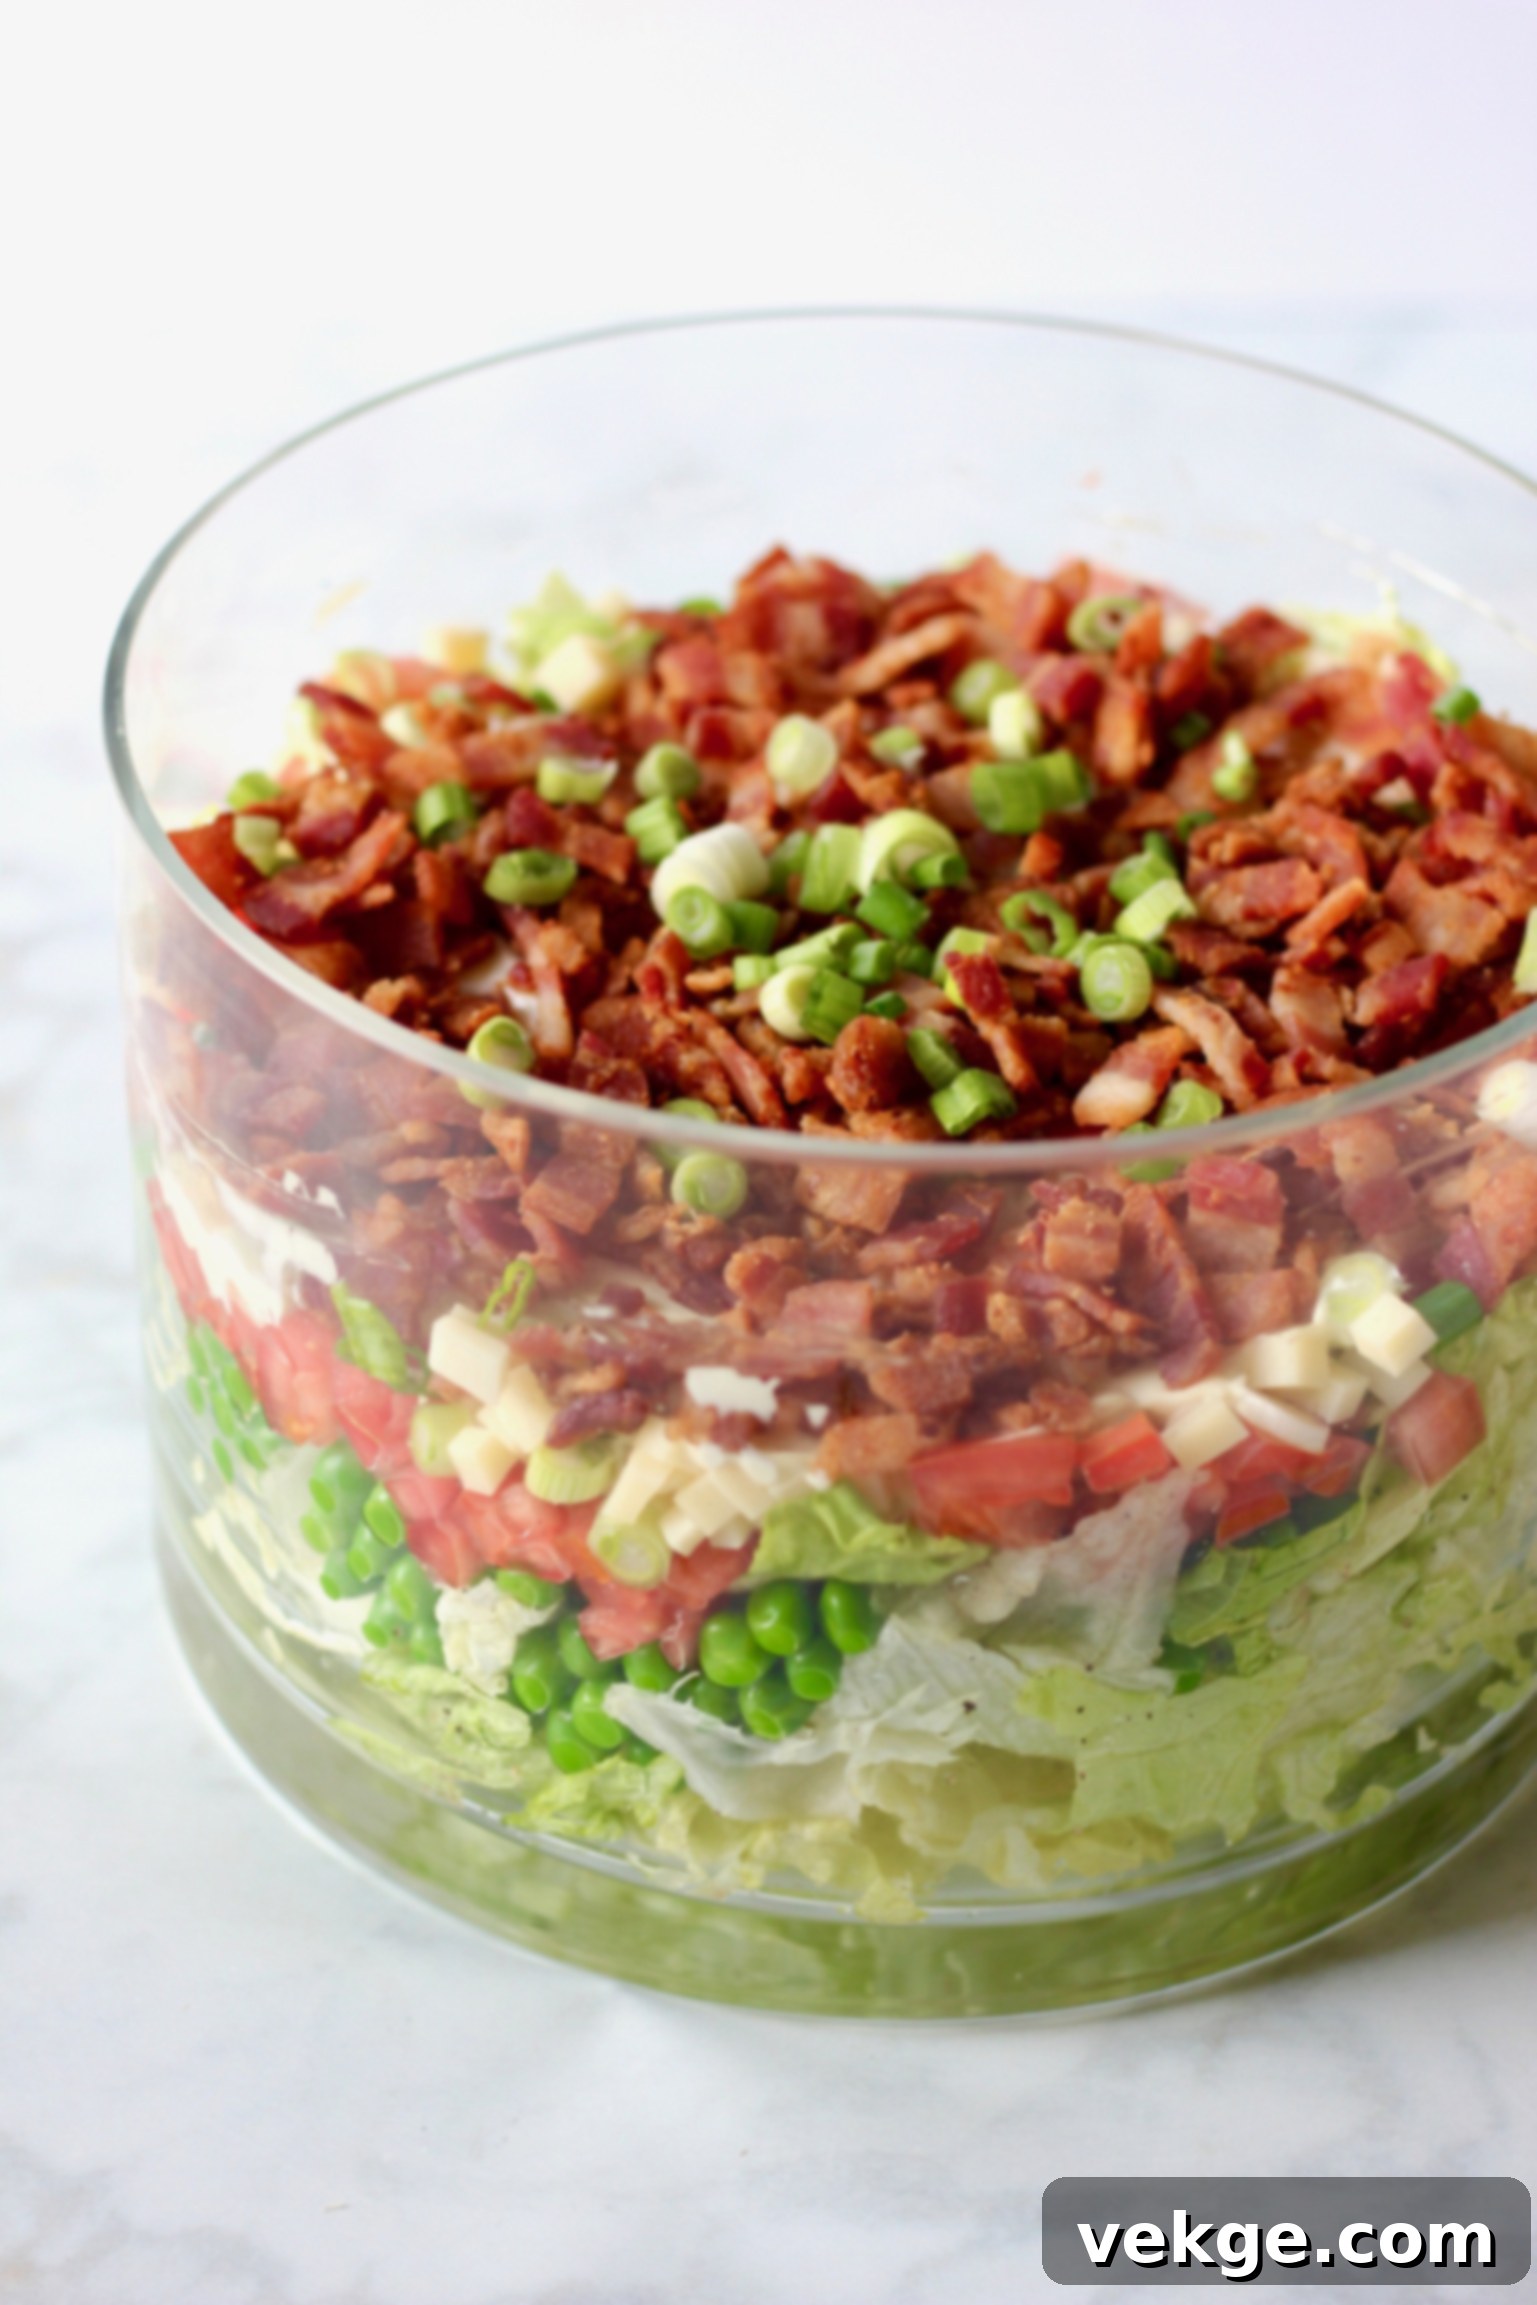
The Ultimate Classic Layered Salad (Sarah Salad): A Timeless Potluck Favorite
There are some recipes that transcend generations, becoming instant classics cherished for their nostalgic appeal and undeniable deliciousness. The Layered Salad, affectionately known in many families as “Sarah Salad,” is undoubtedly one of them. This iconic dish has graced countless potlucks, family reunions, and holiday tables since its heyday in the 1980s, offering a vibrant, flavorful, and incredibly satisfying experience. It’s a culinary journey back in time, delivering a delightful crunch, creamy texture, and a medley of fresh ingredients that somehow just *works*.
While I admit that many vintage dishes don’t quite hit the mark for modern palates, this layered salad is a delightful exception. It’s that rare gem that surprises you with how good it truly is. The combination of crisp iceberg lettuce and a rich, creamy dressing, often featuring mayonnaise and a touch of something akin to “salad dressing” (hello, Miracle Whip!), might sound unexpected. Yet, in this particular composition, these elements come together in perfect harmony, creating a uniquely addictive flavor profile that will have you coming back for more.
Why This Vintage Salad Endures as a Family Favorite
What makes a seemingly simple salad become a cherished family tradition? For the layered salad, it’s a combination of visual appeal, textural contrast, and a surprisingly complex flavor profile. When assembled in a beautiful glass bowl, each layer of vibrant ingredients creates an edible work of art. The crispness of the iceberg lettuce, the savory crunch of bacon, the sweetness of peas, the tang of cheese, and the fresh bite of tomatoes and green onions all contribute to a symphony of textures that keeps every mouthful exciting. It’s a dish that’s both comforting and exciting, familiar yet always a crowd-pleaser. Plus, its ability to be prepared ahead of time makes it a godsend for busy hosts, allowing the flavors to meld beautifully while reducing last-minute stress.
Essential Ingredients for Your Perfect Layered Salad
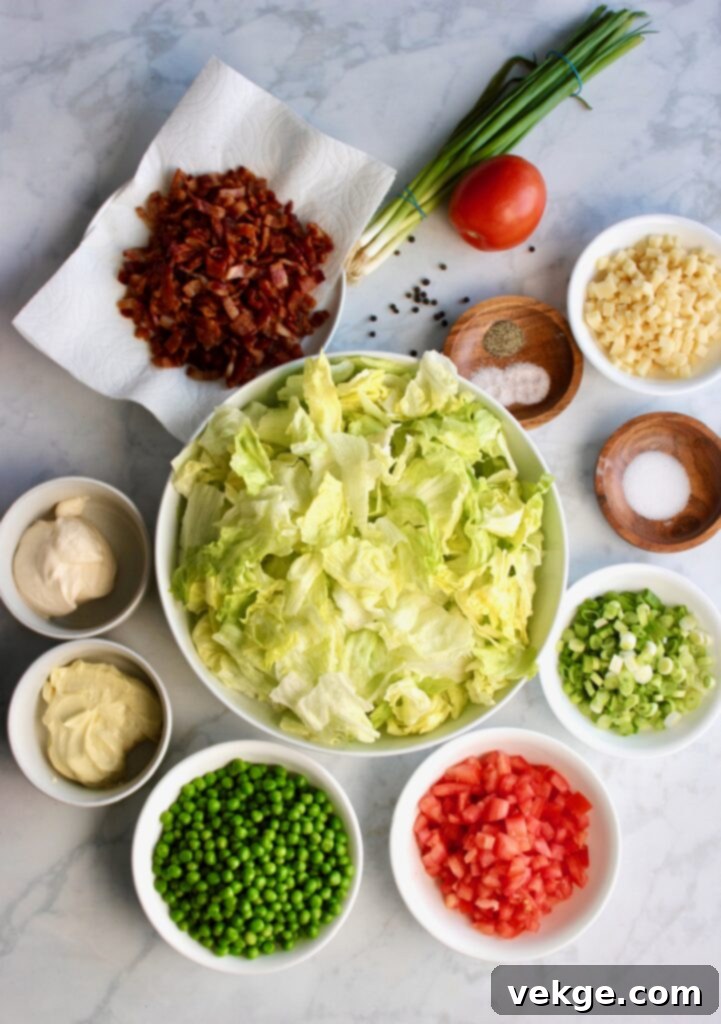
Crafting the perfect layered salad begins with selecting the right ingredients. While the recipe is straightforward, the quality and preparation of each component play a crucial role in the final outcome. Here’s a closer look at what you’ll need to create this classic dish:
Iceberg Lettuce: The Unsung Hero of Crunch
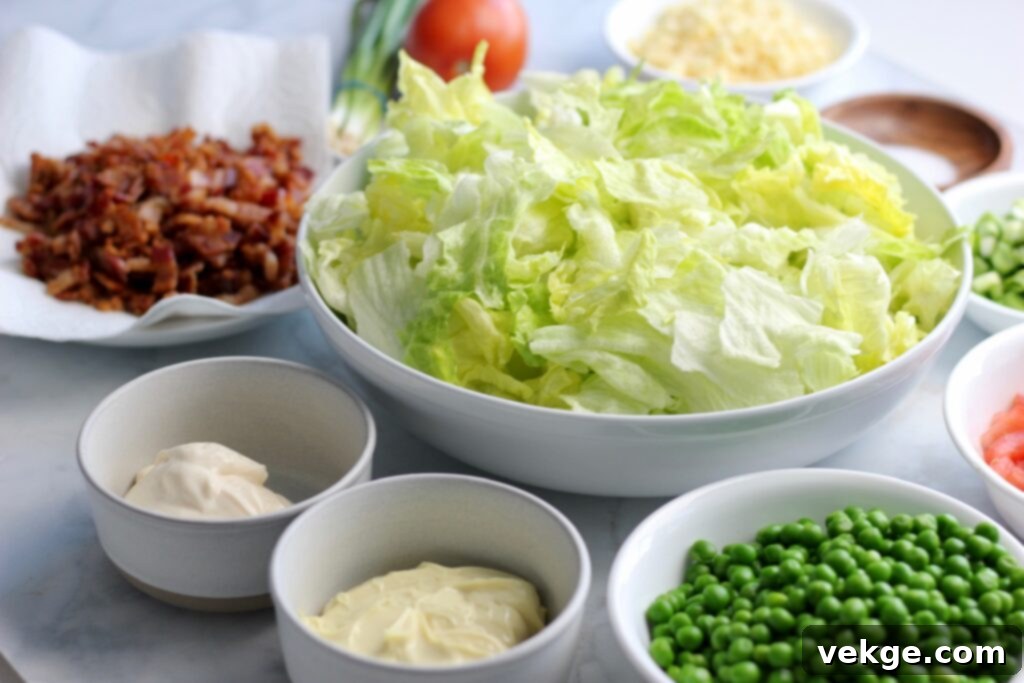
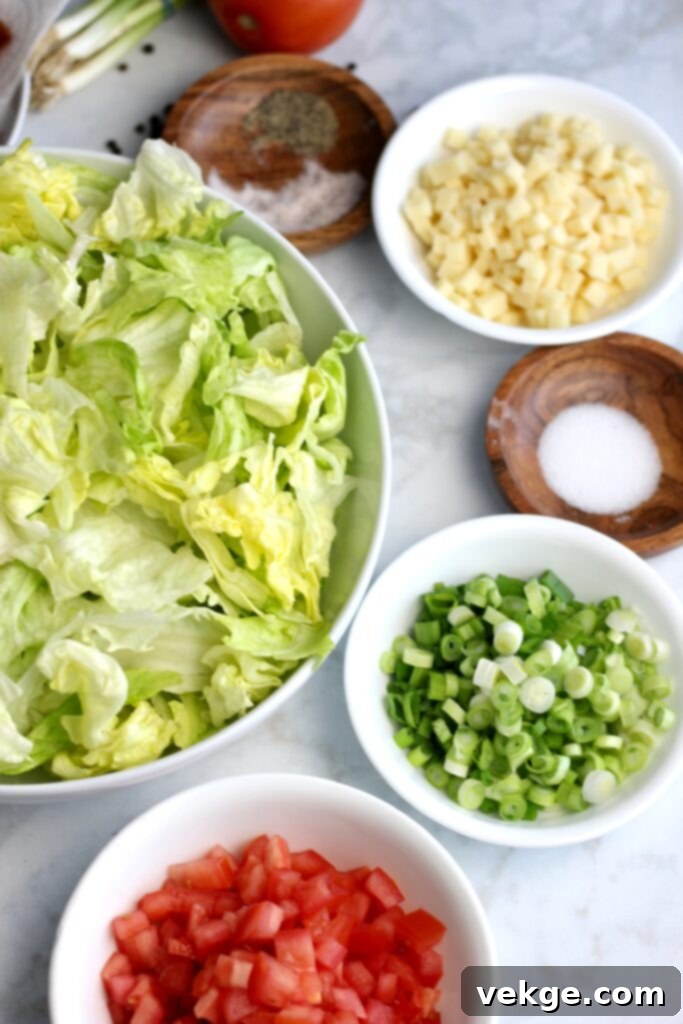
Yes, you read that right – iceberg lettuce! While it may not be my go-to green for everyday salads, in a layered salad, it’s absolutely non-negotiable. Its high water content and crisp texture provide the ideal foundation, offering a satisfying crunch that holds up well under the creamy dressing and other toppings. The key here is proper preparation: ensure your iceberg lettuce is thoroughly washed, chopped, and most importantly, *completely dry* before assembling. This prevents any dreaded sogginess and ensures that crisp bite in every forkful.
Crispy Bacon: A Flavor Powerhouse
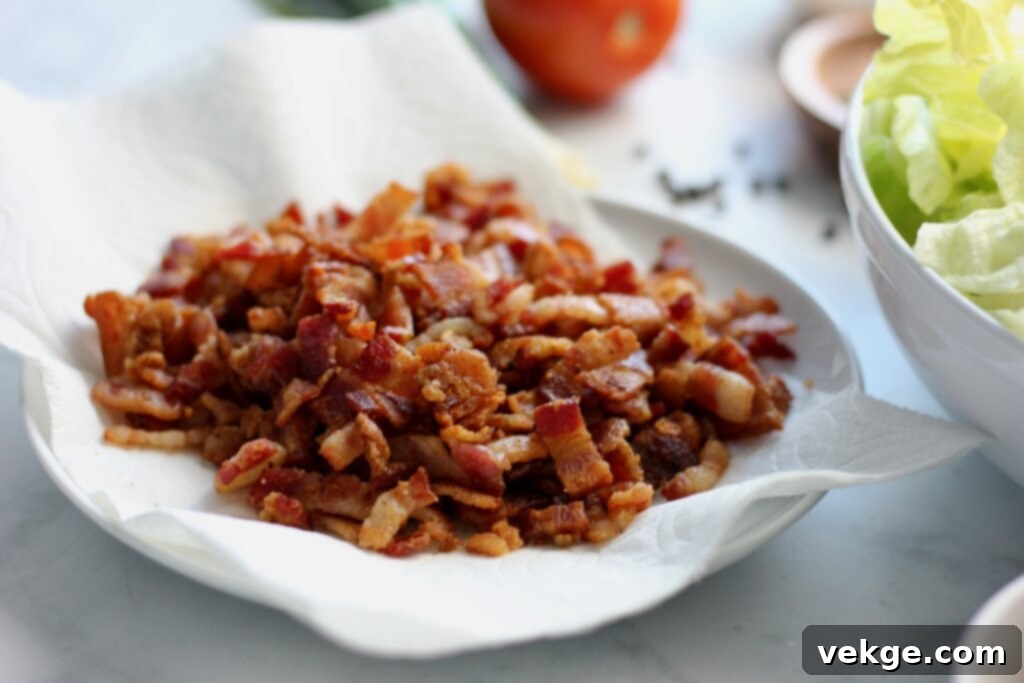
No layered salad is complete without the irresistible crunch and smoky flavor of bacon. For the best results, take the time to fry up your favorite kind of bacon until it’s perfectly crisp. Avoid the pre-cooked, pre-crumbled varieties often found in stores, as they simply don’t deliver the same fresh flavor or satisfying texture. Once cooked, drain off any excess grease and crumble it into small, delicious pieces. This savory element provides a fantastic contrast to the fresh vegetables and creamy dressing.
Sweet Frozen Peas: A Surprising and Essential Addition
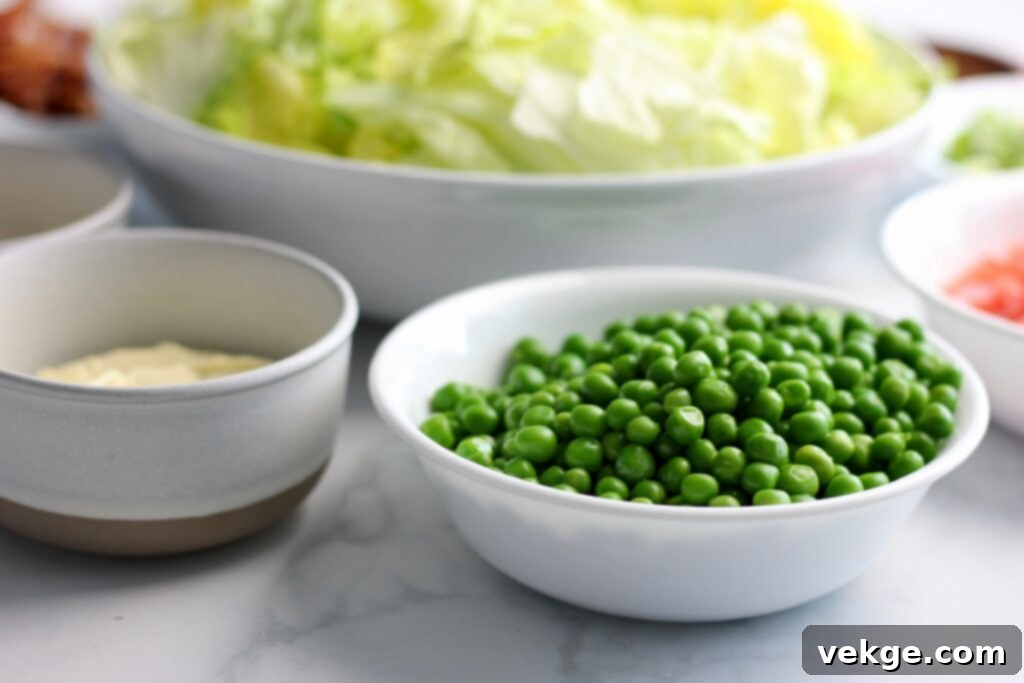
Frozen peas might seem like an unusual choice for a green salad, but trust me, they are a fundamental component of the classic layered salad. Their delicate sweetness and tender-crisp texture add an unexpected burst of flavor and a pleasing contrast to the other ingredients. To prepare them, simply rinse them under hot water to defrost and then drain them thoroughly. Their subtle sweetness complements the savory bacon and creamy dressing beautifully.
Swiss Cheese: Cubed or Shredded?
Swiss cheese adds a wonderful nutty, slightly sweet flavor to the salad. You have the flexibility to either cube it for larger, more distinct pieces or shred it for a more integrated texture. Whichever you choose, always opt for a block of cheese and shred or cube it yourself. Pre-shredded cheeses often contain anti-caking agents that can alter the texture and flavor, making them less ideal for this recipe. Freshly prepared cheese will melt beautifully in your mouth with every bite.
Ripe Tomatoes: Moisture Control is Key
Fresh, ripe tomatoes add a juicy, acidic counterpoint to the richness of the other ingredients. However, their moisture content can be a nemesis to a crispy salad. To prevent sogginess, it’s crucial to remove as much liquid from your chopped tomatoes as possible. After dicing, you can gently pat them dry with paper towels or even place them in a colander to drain for a few minutes. This small step makes a big difference in maintaining the integrity of your layered salad.
Fresh Green Onions: Adding Pungent Freshness
This recipe calls for a generous amount of green onions, and for good reason! Their mild, pungent flavor adds a delightful zing and freshness that cuts through the richness of the dressing and bacon. Finely diced, they provide a lovely color contrast and an essential layer of aromatic complexity. Don’t skimp on these; they are integral to the salad’s overall balance.
The Seasoning Trio: Salt, Sugar, and Pepper
A simple yet effective mixture of salt, sugar, and pepper is lightly sprinkled over the iceberg lettuce before layering. This seasoning step is crucial for enhancing the flavor of the lettuce itself and acts as a subtle bridge for the subsequent layers. For the best taste and added minerals, I enthusiastically recommend using Redmond fine sea salt in this and all your culinary creations. It’s packed with naturally occurring trace minerals that elevate the flavor of any dish. Remember to use my code AMBERSKITCHEN to get 15% off your Redmond order!
The Creamy Dressing: Mayo & “Salad Dressing” (Miracle Whip)
The dressing is the creamy, tangy glue that binds all the layers together. If you’ve explored vintage recipes, you might have encountered the enigmatic ingredient “salad dressing.” In the 1980s, this term was commonly used to refer to Miracle Whip! Its distinctive tangy-sweet flavor is a hallmark of the classic layered salad. If you’re not a fan of Miracle Whip’s unique taste, don’t worry. You can easily substitute it with an equal amount of additional mayonnaise for a richer, less sweet dressing, or even use sour cream for a tangy twist. The goal is a thick, spreadable dressing that can form a distinct top layer.
Step-by-Step Guide: Crafting Your Layered Salad Masterpiece
Assembling a layered salad is less about complex techniques and more about careful preparation and thoughtful layering. The key to a successful, non-soggy salad lies in ensuring all your ingredients are properly prepared and, most importantly, thoroughly dry.
Preparation is Paramount: Dry Ingredients First!
Before you begin layering, dedicate sufficient time to preparing each ingredient. This crucial step prevents the salad from becoming watery and ensures optimal texture.
- **Lettuce:** Wash your head of iceberg lettuce thoroughly, then chop it into bite-sized pieces. Use a salad spinner or paper towels to ensure it is absolutely dry.
- **Bacon:** Cook your bacon until it’s perfectly crisp. Drain it on paper towels to remove excess grease, then crumble it into small, appealing pieces.
- **Tomatoes:** Dice your tomatoes and place them in a colander or on a few layers of paper towels to drain any excess liquid. Pat them dry gently.
- **Peas:** Rinse the frozen peas under hot water to defrost them, then drain them well. You can even pat them dry if they feel particularly wet.
- **Cheese:** Cube or shred your Swiss cheese from a block.
- **Green Onions:** Finely dice your green onions.
- **Dressing:** In a separate small bowl, combine the mayonnaise and “salad dressing” (Miracle Whip), stirring until smooth and well-blended.
Remember, the dryer your ingredients are, the crisper and more enjoyable your salad will be!
The Art of Layering: Building Your Salad
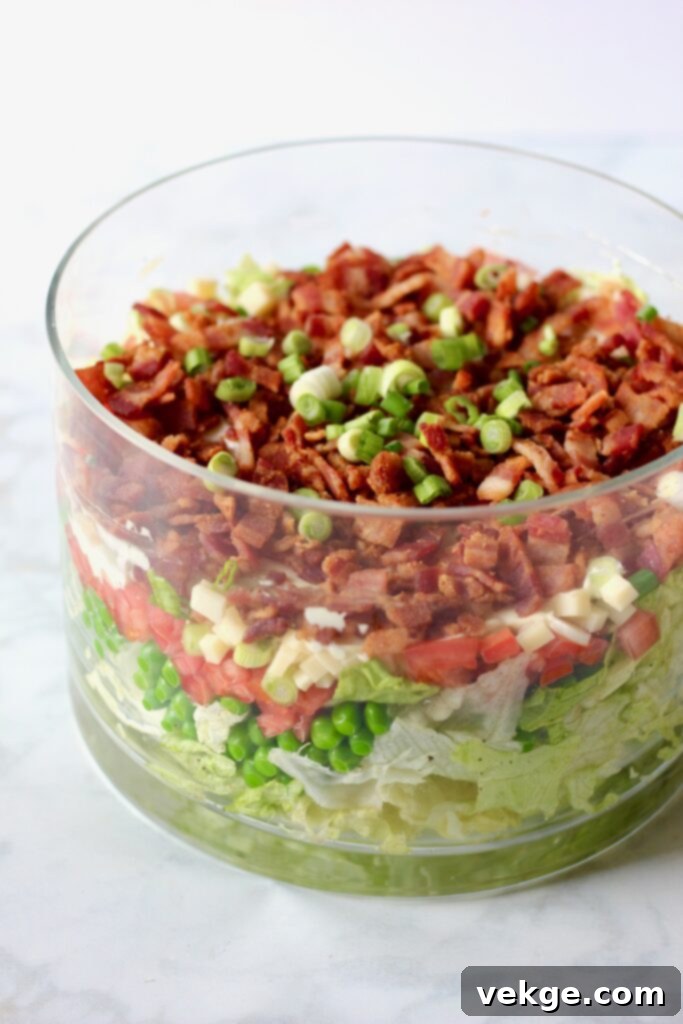
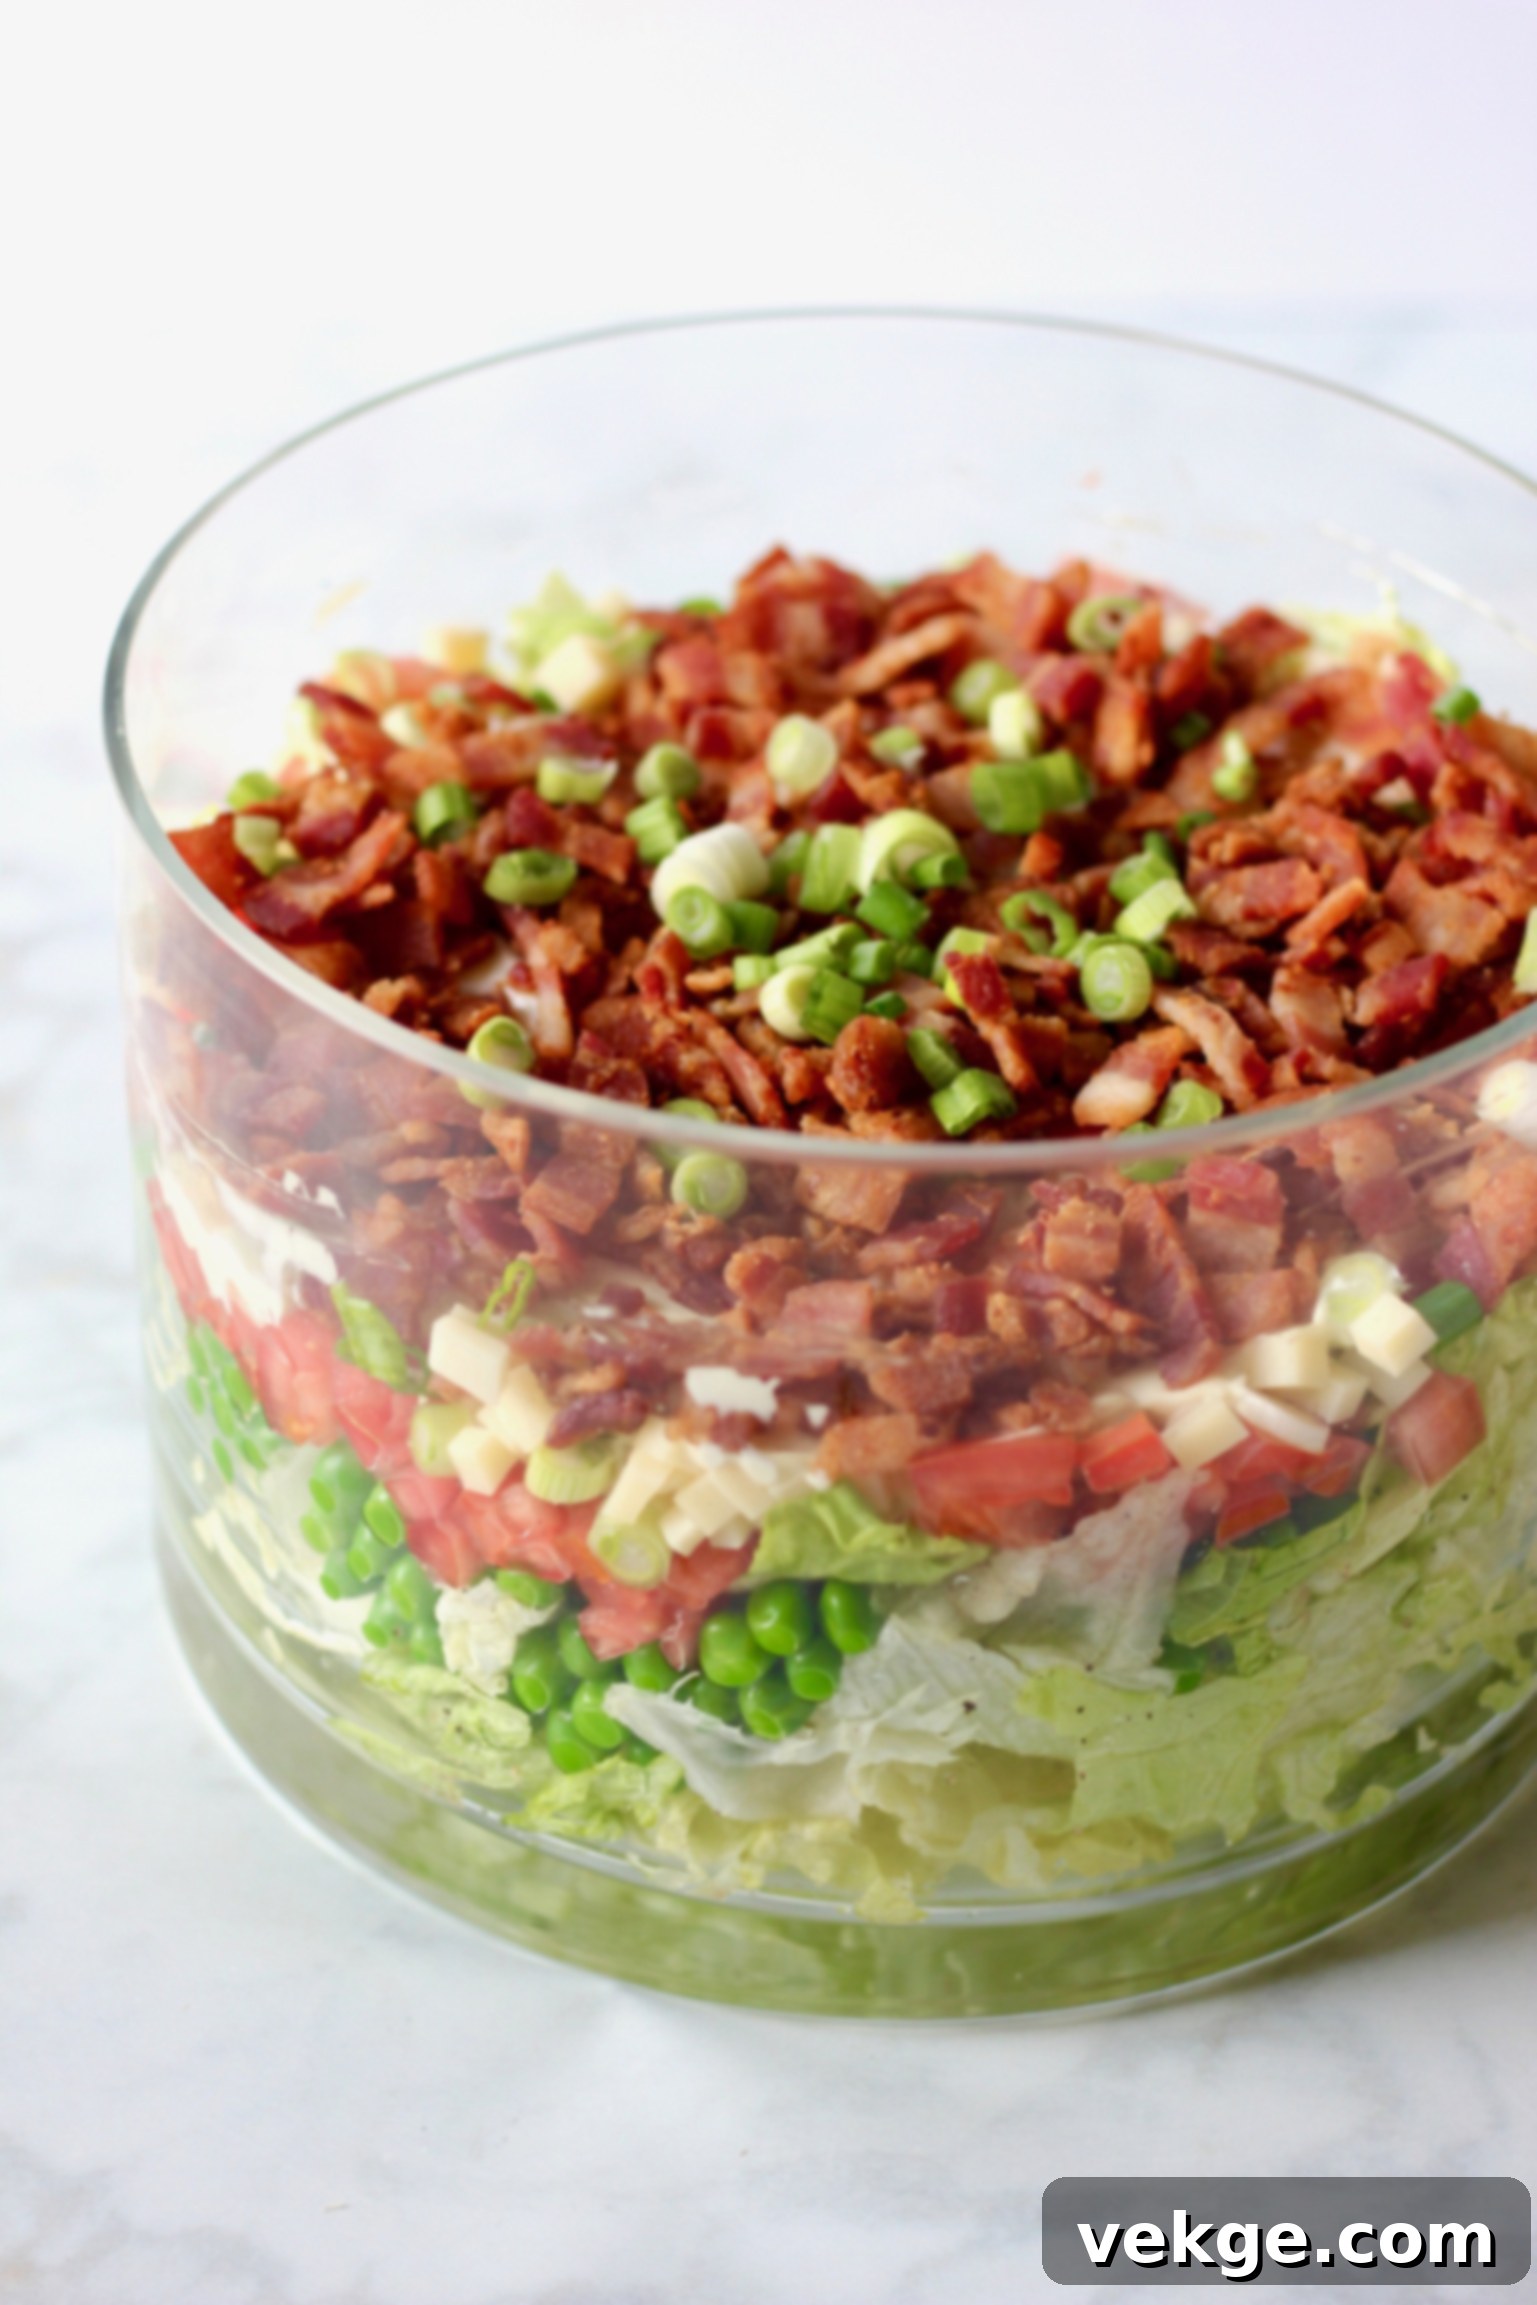
The visual appeal of this salad is part of its charm. For the best presentation, assemble it in a large, clear glass bowl. This allows the beautiful layers to shine through, making it a stunning centerpiece for any meal.
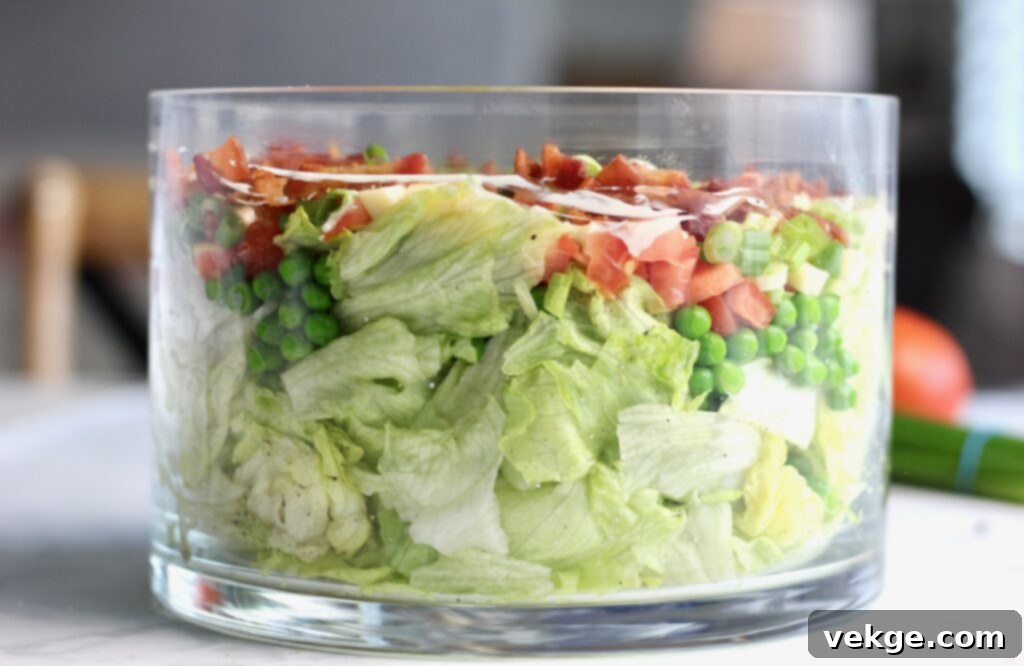
- **Lettuce Base:** Place the thoroughly dried, chopped iceberg lettuce at the bottom of your glass bowl. Sprinkle the prepared mixture of salt, sugar, and pepper evenly over the lettuce. Gently toss the lettuce to coat it lightly with the seasonings.
- **Vegetable & Cheese Layers:** Now, begin adding your other toppings over the seasoned lettuce. The exact order of these layers (peas, Swiss cheese, tomatoes, green onions) doesn’t significantly impact the flavor, but consider arranging them to create an appealing visual contrast. Save a small portion of the diced green onions for a final garnish.
- **Creamy Topping:** Once all the vegetable and cheese layers are in place, spoon the combined mayonnaise and “salad dressing” mixture evenly over the top of the salad. Use a spatula or the back of a spoon to gently spread it out, creating a smooth, white blanket over the vibrant layers.
The Grand Finale: Dressing and Garnish
The final touches bring the salad together, adding both flavor and visual appeal.
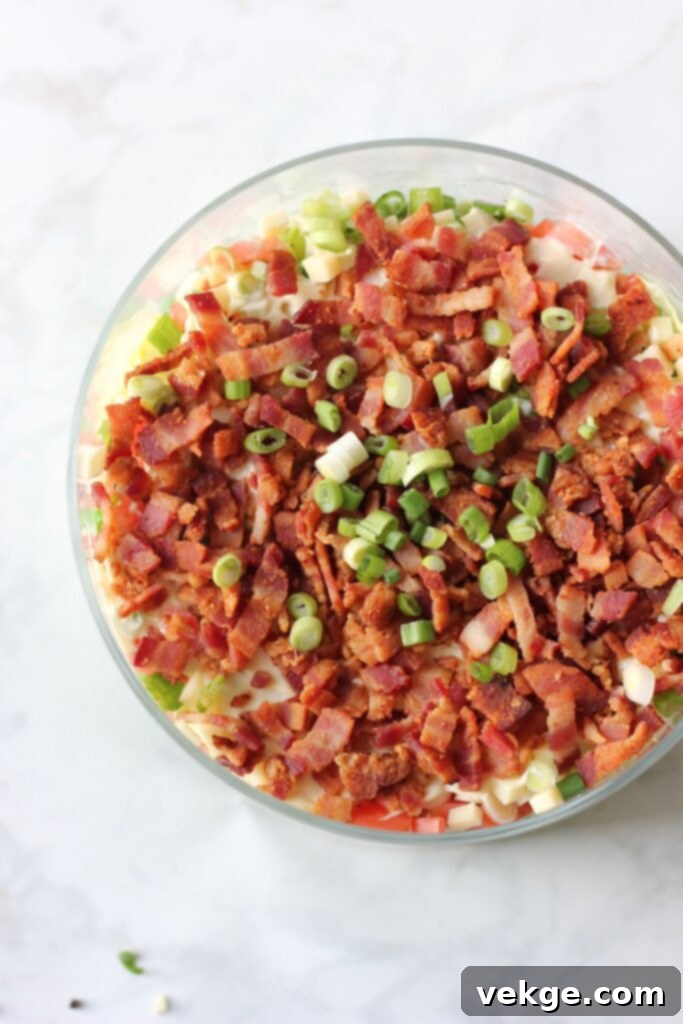
- **Bacon Topping:** Generously sprinkle the crispy crumbled bacon over the creamy dressing layer.
- **Garnish:** Finish by scattering the reserved diced green onions (and perhaps a few more fresh tomato pieces) over the bacon for a pop of color and freshness.
- **Chill & Serve:** Your layered salad is now ready! You can serve it immediately, or for best results and to allow the flavors to meld, cover the bowl tightly with plastic wrap and refrigerate for a few hours before serving. This chilling time also firms up the dressing slightly.
Serving Your Layered Salad: To Toss or Not to Toss?
The question of how to serve a layered salad sparks lively debate among enthusiasts, and honestly, there’s no single “right” answer – only deliciousness!
- **The Tossers:** Some prefer to gently toss the entire salad just before serving. This method fully incorporates all the ingredients and dressing, making it easier to portion out and ensuring every bite has a mix of everything. It results in a more homogenous salad, but you lose the visual appeal of the distinct layers.
- **The Layer Lovers:** Others advocate for maintaining the beautiful layers. They use deep salad tongs to carefully take a vertical “slice” from the salad, ensuring each serving includes a bit of every layer, from the crisp lettuce base to the creamy topping and bacon crown. This method preserves the visual integrity and offers a varied textural experience as you eat through the different strata.
Whichever method you choose, the goal is to enjoy the delightful flavors and textures of this classic dish. Experiment and discover your favorite way to savor each spoonful!
Tips & Tricks for the Best Layered Salad
To ensure your layered salad is consistently perfect and truly stands out, keep these helpful tips in mind:
Make-Ahead Magic
This salad is an excellent make-ahead dish, perfect for parties or busy weeknights. You can assemble it up to 24 hours in advance. The chilling time allows the flavors to deepen and meld beautifully. Just make sure it’s tightly covered with plastic wrap to prevent the lettuce from wilting and the dressing from drying out. If you’re particularly worried about the bacon losing its crunch, you can add it as a final sprinkle just before serving.
Customizing Your Layers and Adding Variations
While the classic recipe is wonderful, feel free to put your own spin on it.
- **Protein Boost:** Add sliced hard-boiled eggs for extra protein and a creamy texture.
- **Extra Veggies:** Diced celery can add another layer of crunch and freshness. Bell peppers, red onion, or even a layer of cooked corn could also be interesting additions.
- **Cheese Swaps:** While Swiss cheese is traditional, cheddar, colby, or Monterey Jack can also be used for a different flavor profile.
- **Dressing Variations:** Experiment with a touch of garlic powder or onion powder in the dressing for extra savory depth. A dash of apple cider vinegar can also brighten it up.
Storage Solutions
Leftover layered salad, if properly stored, can still be enjoyable for a day or two. Keep it tightly covered in the refrigerator. While the lettuce may soften slightly, the flavors will still be delicious. It’s generally best consumed within 2-3 days.
Frequently Asked Questions (FAQs) About Layered Salad
- Can I use other types of lettuce?
- While iceberg is highly recommended for its crispness and ability to hold up, you could try a mix of romaine and iceberg for a slightly different texture, but avoid very delicate greens that will wilt easily.
- What if I don’t have Miracle Whip?
- No problem! Simply use an equal amount of mayonnaise for a richer, classic mayo flavor. Sour cream is also a great alternative if you prefer a tangier, lighter dressing.
- How far in advance can I make this salad?
- This salad is perfect for making ahead! It can be assembled and refrigerated for up to 24 hours before serving. This allows the flavors to truly meld.
- Is this salad good for meal prep?
- Due to the creamy dressing and lettuce, it’s best enjoyed within a day or two of preparation. While it holds up well as a make-ahead dish for an event, daily meal prep might see the lettuce get a bit soft.
Other Delicious Salad Recipes to Explore
If you’ve enjoyed this classic, be sure to check out some of my other fantastic salad recipes:
- Delightful Salmon Salad
- Vibrant Fresh Italian Salad
- Sweet & Tangy Spinach Berry Salad
Happy Cooking!
I genuinely hope this classic layered salad becomes a beloved recipe in your home, just as it has been in mine for decades. Its simplicity, vibrant flavors, and beautiful presentation make it a truly special dish. If you’d like to follow along with my latest culinary adventures and discover more delicious recipes, please connect with me on Instagram @AMBERSKITCHEN. Happy cooking!
Sarah Salad (Layered Salad)
Course: Salad, Side Dish
Cuisine: American
Ingredients
- 1 head iceberg lettuce
- 1/2 pound bacon, cooked and crumbled
- 5 oz. frozen peas
- 1/2 cup Swiss cheese, shredded or cubed
- 1/2 cup green onion, diced
- 1/2 cup chopped tomatoes, with all liquid drained
- 1/2 cup Mayonnaise
- 1/2 cup “salad dressing” (that’s 1980s for Miracle Whip, which can be subbed for more Mayo or sour cream)
- 1/4 teaspoon pepper
- 1/4 teaspoon sugar
- 1/2 teaspoon salt
- Optional: Hard boiled eggs
- Optional: Diced celery
Instructions
- Wash, chop, and thoroughly dry the iceberg lettuce. Cook and crumble the bacon. Dice and drain the tomatoes. Rinse frozen peas with hot water and set aside to drain completely. Chop the green onions and cube or shred the Swiss cheese. In a small bowl, combine the mayonnaise and “salad dressing” until smooth. Ensure all lettuce and all toppings are as dry as possible to prevent the salad from becoming soggy.
- In a large glass bowl, add the prepared lettuce. Sprinkle evenly with the salt, sugar, and pepper, then gently toss to season the lettuce.
- Layer all the remaining toppings (peas, Swiss cheese, tomatoes, green onions), reserving a small amount of green onions for garnish. The order of these layers does not significantly affect the taste.
- Spread the combined mayonnaise and “salad dressing” mixture evenly over the top layer of the salad, creating a smooth, creamy topping.
- Top the creamy layer with the crumbled bacon and garnish with your reserved green onions. Hard-boiled eggs or diced celery can also be added as optional garnishes.
- Either serve the layered salad immediately or cover it tightly with plastic wrap and refrigerate for a few hours before serving. Chilling allows the flavors to meld beautifully.
- Important Note: As mentioned throughout, it’s crucial that all ingredients and toppings are as dry as possible before assembly. Any excess moisture will lead to a soggy salad, which is definitely no fun!
