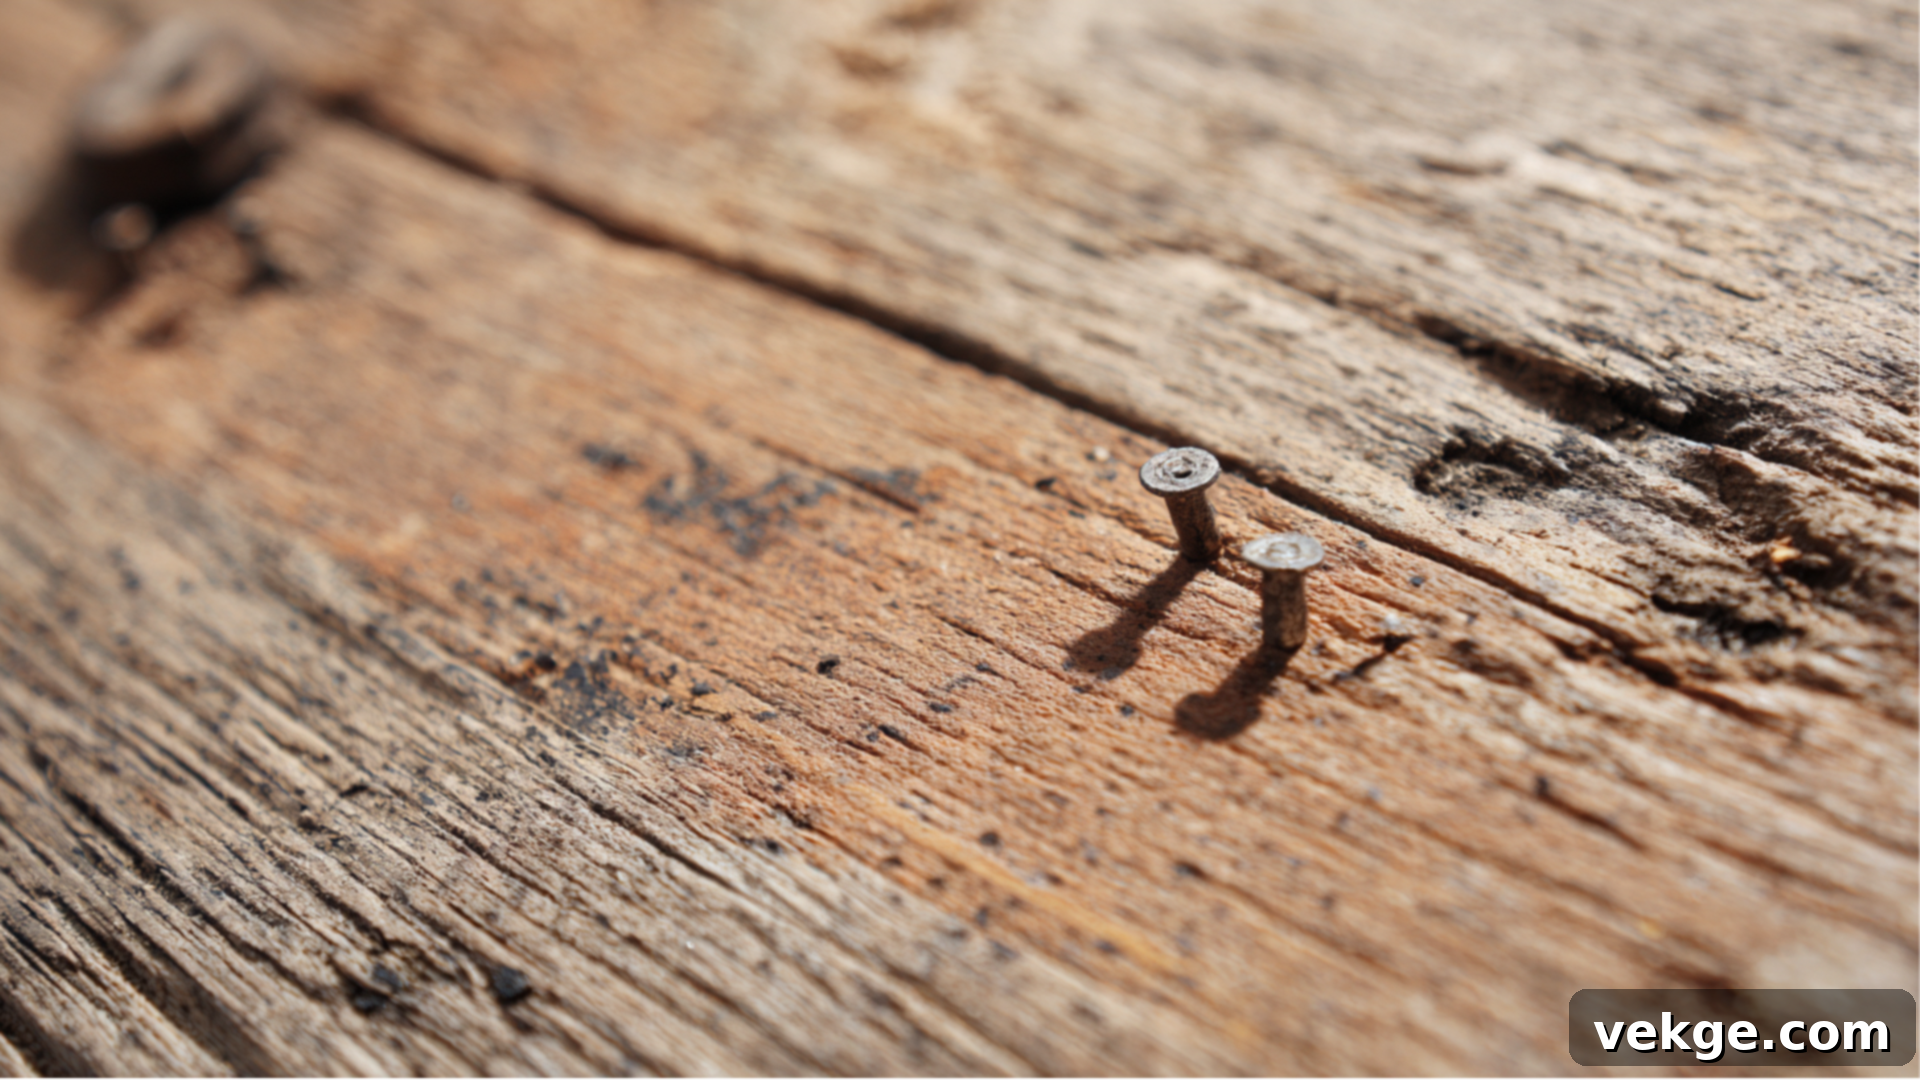
Mastering Staple Removal from Wood: Your Ultimate Guide to Damage-Free Techniques
Removing staples from wood might seem like a simple task, but it can quickly turn into a frustrating ordeal if you lack the right tools or techniques. Whether you’re working on a DIY project, restoring antique furniture, or simply preparing a wooden surface for a new finish, stubborn staples can be a significant hurdle. Improper removal often leads to unsightly scratches, dents, or even splintered wood – the last thing any woodworker or DIY enthusiast wants!
This comprehensive guide is designed to empower you with the knowledge and confidence to tackle staple removal safely and effectively, ensuring your wood remains pristine. We’ll explore the essential tools, provide clear, step-by-step instructions, share vital safety precautions, and offer expert tips to protect your wood from unnecessary damage. By the end of this article, you’ll be able to remove staples like a seasoned professional, leaving your wooden surfaces smooth and ready for their next purpose.
Why Proper Staple Removal is Crucial for Wood Projects
Staples are incredibly versatile fasteners, often used in woodworking and upholstery to secure materials temporarily or for long-term construction. However, their convenience during application can be overshadowed by the challenge of removing them cleanly. The importance of proper staple removal extends beyond just aesthetics; it impacts the integrity and longevity of your wooden pieces.
Incorrect techniques, such as prying too aggressively or using unsuitable tools, can lead to a myriad of problems. You might encounter scratched or gouged surfaces, especially when staples are deeply embedded or rusted. Softwoods like pine are particularly susceptible to splintering and denting, while even hardwoods can show marks from a careless hand. These imperfections can ruin a smooth finish, complicate refinishing or reupholstering projects, and diminish the overall value and appearance of the wood.
Moreover, leftover staple fragments can pose safety hazards, catching on fabrics or causing splinters. They can also interfere with subsequent tasks like sanding, painting, or staining, making it difficult to achieve a flawless result. By understanding and employing the best tools and techniques, you can maintain the smooth surface of your wood, prevent costly damage, and save yourself considerable time and frustration in the long run. This precision ensures your woodworking projects are not just functional but also beautifully finished.
Your Step-by-Step Guide: How to Remove Staples from Wood Safely and Effectively
Removing staples from wood can indeed be a delicate task, but with the correct approach and a bit of patience, it becomes surprisingly simple. Follow this detailed, step-by-step guide to ensure you complete the job safely and effectively, preserving the beauty of your wood.
Essential Tools for Damage-Free Staple Removal
Before you begin, gathering the right tools is paramount. Having these items on hand will make the process much smoother and significantly reduce the risk of damaging your wood. Here’s what you’ll need:
- Adjustable Pliers (or Channel-Lock Pliers): These pliers feature wide, adjustable jaws that can grip staples of various sizes. Their design often allows for a rolling action, which is ideal for lifting staples out with minimal stress on the wood. Look for a pair with good leverage for easier pulling.
- 90-degree Bent Needle-Nose Pliers: Exceptionally useful for reaching into tight spaces or gripping the very ends of staples that are flush or slightly embedded in the wood. The bent tip provides superior control and allows for precise pulling, minimizing the impact on the surrounding surface.
- Flathead Screwdriver (various sizes): An indispensable tool for prying up stubborn staples. A thin blade can often slip underneath a staple’s crown, providing the necessary leverage. Having a couple of sizes on hand can be beneficial for different staple depths and widths.
- Staple Puller/Remover: While optional, a dedicated staple puller is specifically designed for this task. These tools often have a V-shaped or levered tip that slides under staples, making removal quick and efficient, especially for upholstery staples.
- Utility Knife or Craft Knife (optional): For very deeply embedded staples, a sharp utility knife can be used to lightly score the wood around the staple, preventing larger splinters when the staple is finally lifted.
- Safety Gloves: Essential for protecting your hands from sharp staple points and potential slips of the tools.
- Protective Shim (e.g., thin metal ruler, putty knife, or cardboard): Crucial for preventing direct contact between your prying tool and the wood surface.
Step 0: Preparation and Assessment
Before you even touch a tool to the wood, take a moment to prepare. Clear the work area of any clutter. Use a brush or a cloth to wipe away dust and debris from around the staples; this improves visibility and prevents grit from being pressed into the wood. Carefully assess the staples: note their size, how deeply they are embedded, and the type of wood you’re working with. This assessment will help you choose the most appropriate tool and technique for each staple.
Step 1: Securely Grip the Staple
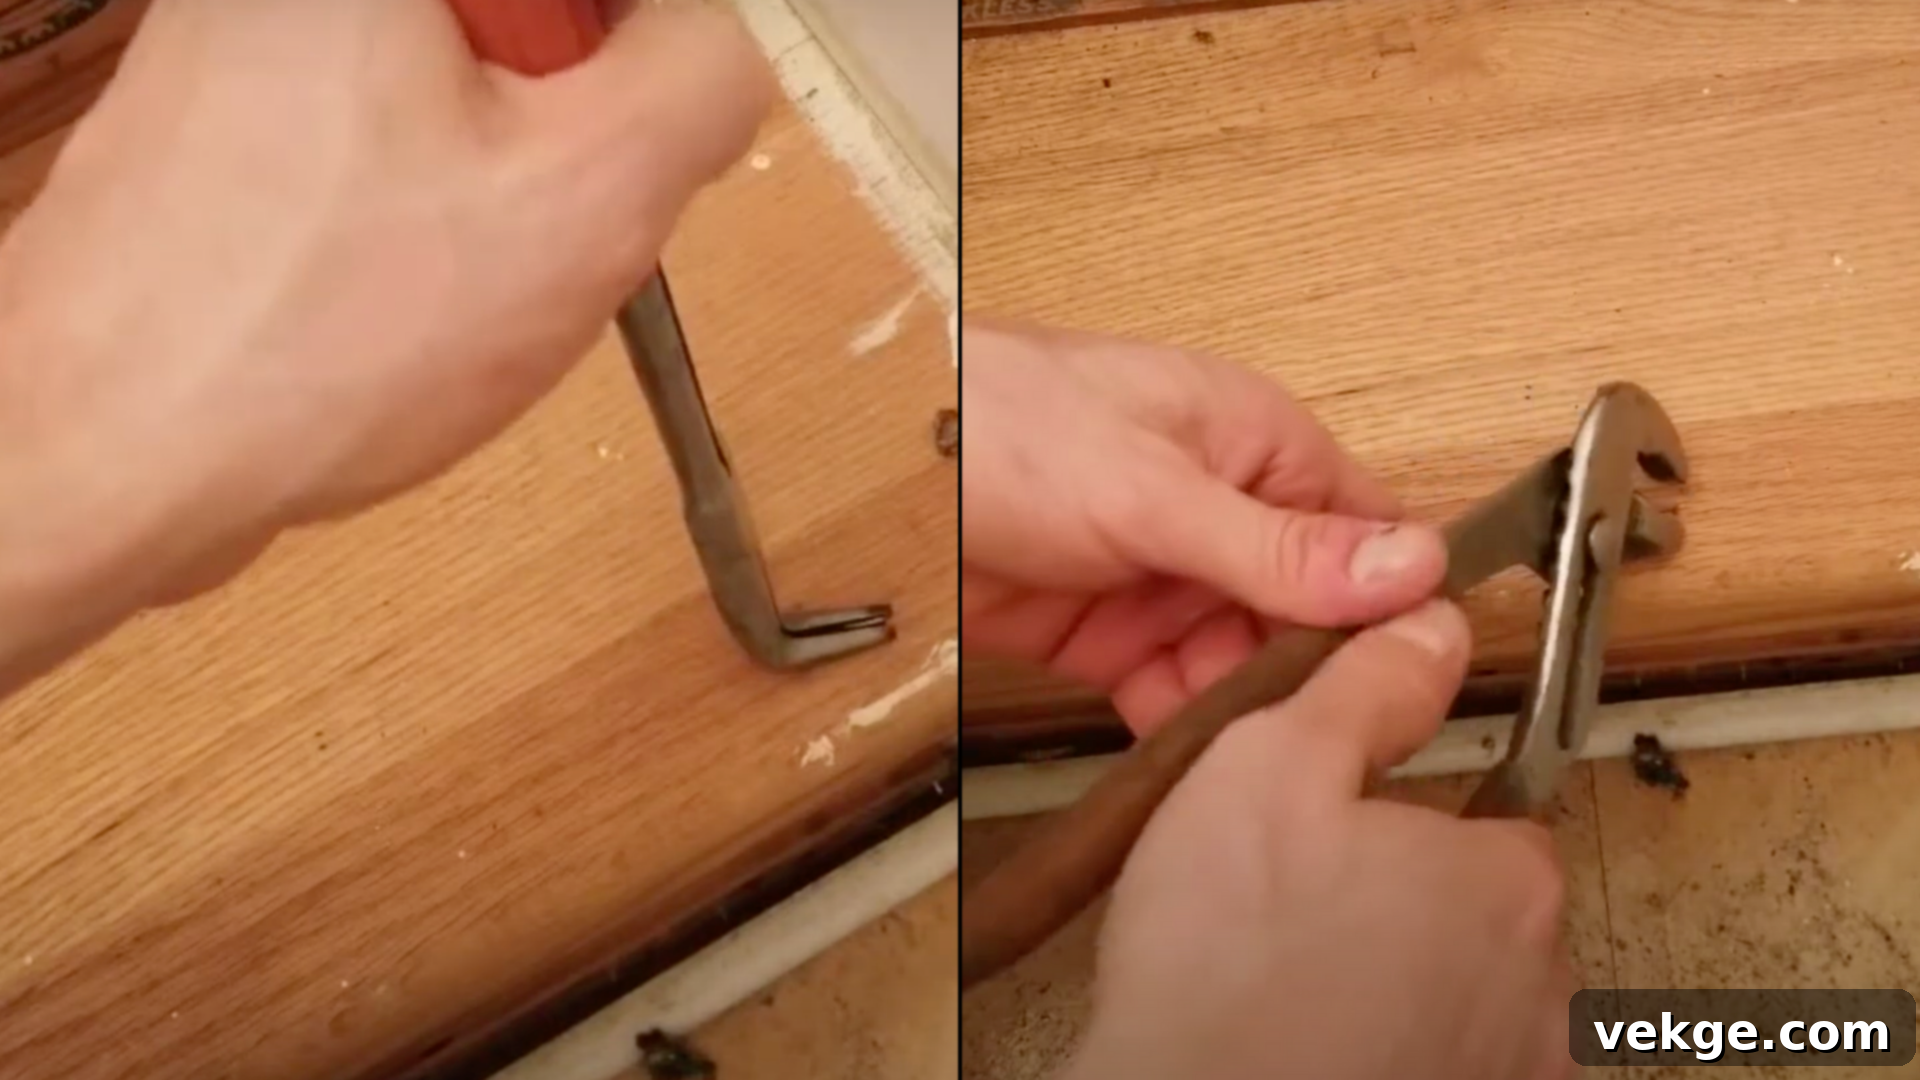
Once you’ve selected the right tool, it’s time to get a firm grip on the staple. For adjustable pliers, open the jaws wide enough to comfortably encompass the staple’s crown. Position the jaws so they hold the staple firmly in the middle. This centralized grip allows you to apply even pressure across the staple, minimizing bending and preventing damage to the surrounding wood. When using 90-degree bent needle-nose pliers, aim to grip the ends of the staple using the bent tips. These pliers offer excellent control in confined spaces or when dealing with staples that are only slightly protruding. Ensure your grip is secure to prevent the pliers from slipping, which could scratch the wood or bend the staple.
Step 2: Position Your Tool and Apply Controlled Pressure
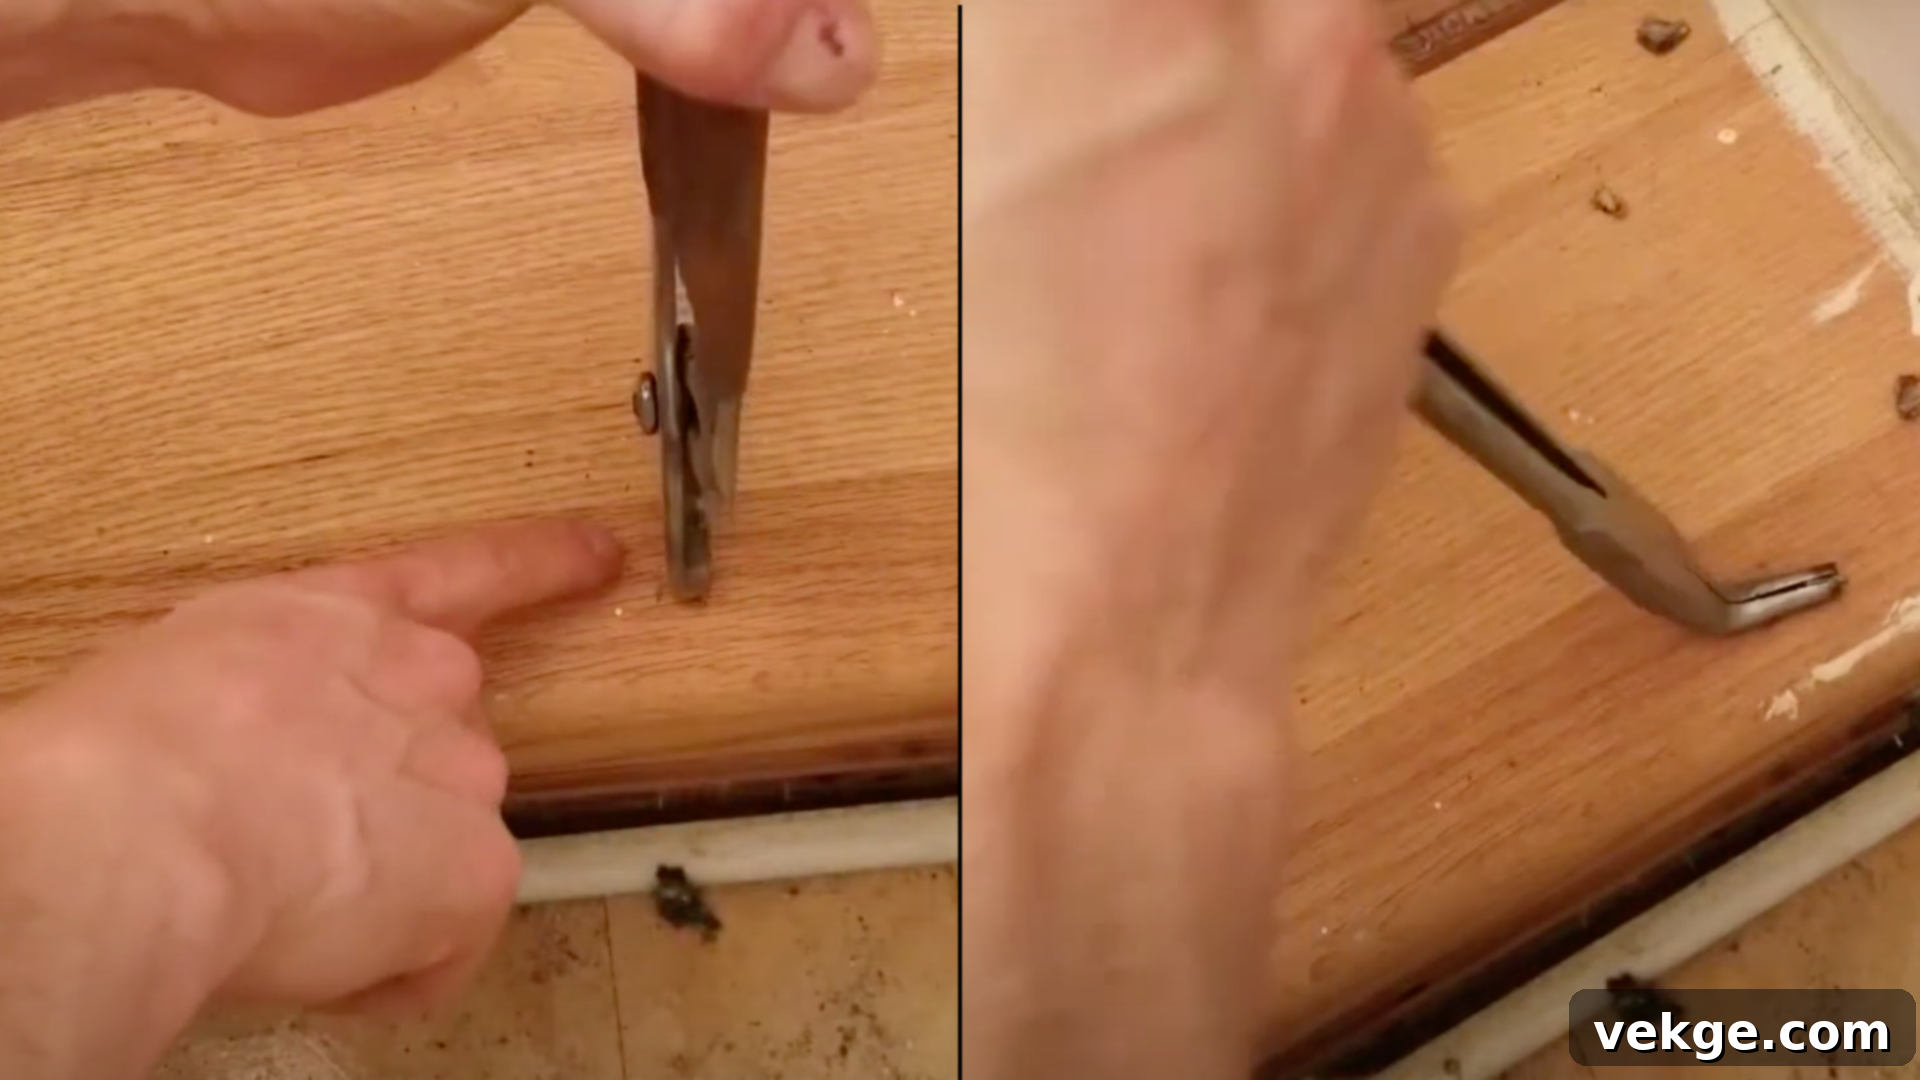
With your tool securely positioned, it’s time to apply pressure strategically. For adjustable pliers, ensure the jaws fully surround the staple. Place your protective shim (a thin piece of cardboard, metal ruler, or putty knife) directly on the wood surface, adjacent to the staple. This acts as a fulcrum and a shield, preventing the pliers from digging into the wood. Apply gentle, upward pressure to the pliers, slowly rotating them with a rolling motion. The curved shape of the pliers, leveraged against the shim, will help roll the staple up and out from the wood surface. For needle-nose pliers, use a firm pinch at the ends of the staple, then apply a steady, controlled upward force. The 90-degree angle of these pliers allows for a precise lift. The key here is to avoid excessive force or sudden jerking movements; the goal is to gently loosen the staple without causing stress or damage to the surrounding wood fibers.
Step 3: Carefully Pull the Staple Out
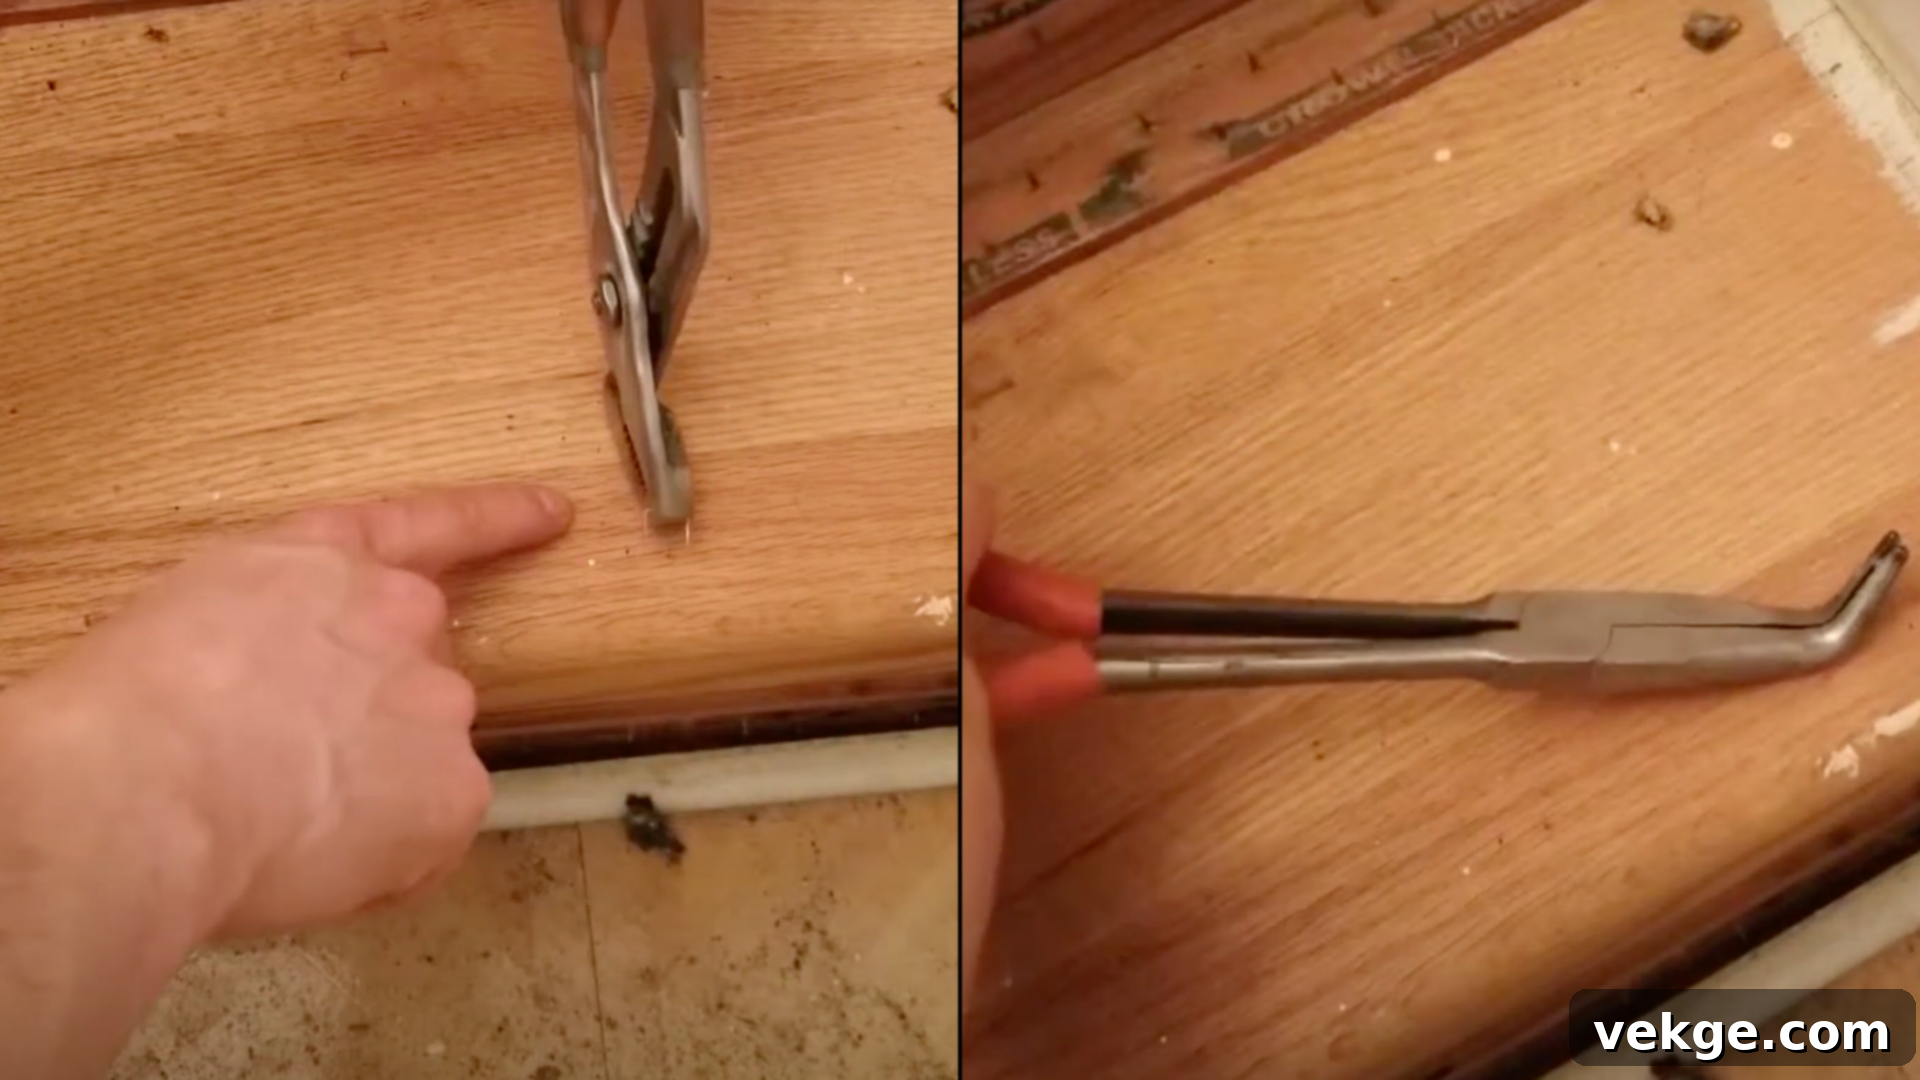
As you apply pressure, the staple should begin to lift. Once it’s loose, for both adjustable pliers and needle-nose pliers, carefully pull it straight out of the wood. Resist the urge to yank or pull at an angle, as this can bend the staple, making it harder to remove, or cause the wood to splinter. If the staple doesn’t come out immediately, gently wiggle the tool side-to-side to further loosen its grip, maintaining consistent, controlled pressure. For very stubborn staples or those in confined areas, a flathead screwdriver can provide crucial leverage. Slide the blade under one side of the staple’s crown, using your protective shim to guard the wood, and gently pry upwards. This added leverage can often free the most embedded fasteners with minimal effort.
Step 4: Inspect the Wood for Residual Staples and Repair
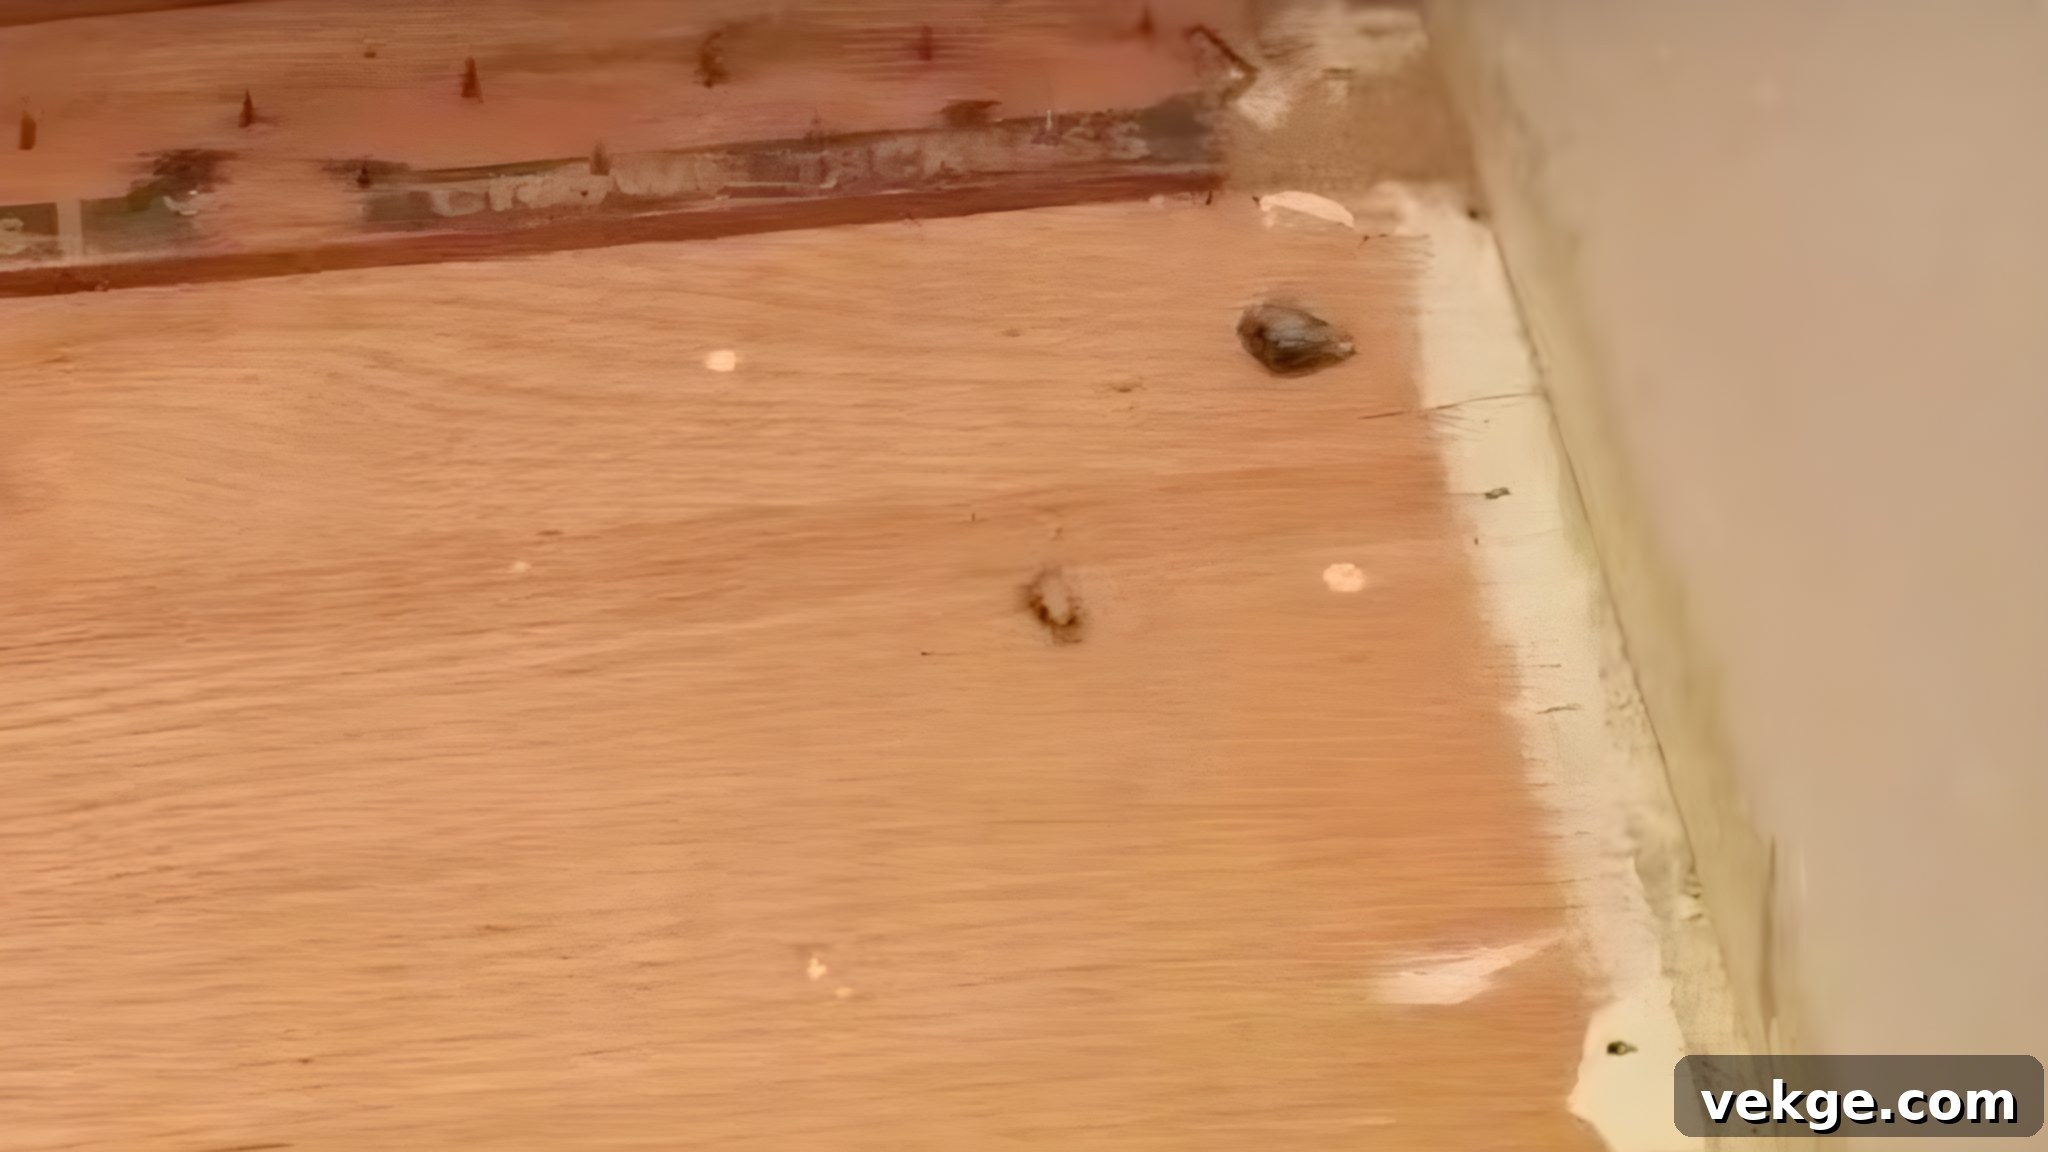
Once the staple is removed, it’s crucial to carefully inspect the area for any remaining fragments. Staples can sometimes break, leaving small, sharp pieces embedded in the wood, or they might leave behind small indentations or raised wood fibers. Use good lighting and, if necessary, a magnifying glass to scrutinize the area where the staple was. If you find any remnants, use your needle-nose pliers or a very fine flathead screwdriver to gently pull them out. For any rough spots or small holes left behind, a light sanding with fine-grit sandpaper can smooth the surface. For larger holes or dents, wood filler can be applied, allowed to dry, and then sanded flush. Ensuring all staple fragments are removed and the surface is smooth will prevent future problems and leave your wood clean, safe, and ready for its next stage.
For a visual demonstration of the process, you can watch the full tutorial here:
Essential Safety Precautions for Staple Removal
Safety should always be your top priority when undertaking any DIY task, and staple removal is no exception. Taking a few simple precautions can protect you from injuries and ensure a smoother, more efficient process.
- 1. Wear Protective Eyewear: This is non-negotiable. When staples are pulled, especially stubborn ones, they can snap or send small metal fragments flying at high speed. Eye protection, such as safety glasses or goggles, is vital to prevent serious eye injuries.
- 2. Keep Hands Clear of the Pulling Path: Always position your non-dominant hand and fingers away from the direct path where the staple will be pulled or where your tool might slip. This reduces the risk of cuts, punctures, or getting pinched if the tool gives way or the staple comes out unexpectedly quickly.
- 3. Work in a Well-Lit Environment: Good lighting is crucial for visibility. It allows you to clearly see the staples, the wood grain, and your tools, preventing accidental slips or missing partially removed fragments. Poor lighting can easily lead to mistakes and injuries with sharp objects.
- 4. Promptly Dispose of Removed Staples: Never leave pulled staples lying around your workspace. Their sharp points are a hazard. Have a dedicated metal container, a magnetic tray, or a sturdy plastic jar with a lid nearby to collect them immediately. Loose staples on the floor can puncture shoes, injure feet, or even damage vacuum cleaners.
- 5. Use Slow, Steady, and Controlled Pressure: Avoid yanking, jerking, or applying excessive force. Sudden movements can cause your tool to slip, potentially scratching the wood or injuring your hand. Instead, apply smooth, firm, and controlled pressure. This technique not only protects you from injury but also helps to prevent damage to the wood and ensures the staple comes out cleanly.
- 6. Wear Work Gloves: Beyond protecting your hands from sharp staples, sturdy work gloves can improve your grip on tools and provide an extra layer of defense against accidental scrapes and cuts.
By diligently following these safety precautions, you’ll significantly reduce the risk of injury and ensure a more secure and efficient staple removal process.
Expert Tips to Protect Your Wood During Staple Removal
Even with the right tools and techniques, it’s easy to accidentally scratch, dent, or splinter your wood if you’re not careful. Here are some invaluable tips to ensure your wooden surfaces remain pristine throughout the staple removal process:
- Utilize a Protective Shim or Cardboard: This is perhaps the most critical tip. When using pliers, a flathead screwdriver, or a staple puller to pry up a staple, always place a thin, rigid material between your tool and the wood surface. A thin metal ruler, a putty knife, a scrap piece of hard plastic, or even thick cardboard can serve as a protective shim. This creates a fulcrum point, allowing you to leverage your tool without directly pressing or digging into the wood, thereby preventing dents and scratches.
- Work Slowly and Exercise Patience: Rushing is the enemy of damage-free staple removal. Take your time with each staple. Gently pry or roll the staple up rather than forcing it out with sudden, aggressive movements. Patience will reward you with a clean removal and an intact wood surface.
- Be Mindful of the Wood Type and Grain Direction: Different types of wood have varying densities and grain patterns, which affect how they react to pressure. Softwoods, such as pine, cedar, or spruce, are much more prone to denting, splintering, and gouging than hardwoods like oak, maple, or walnut. Exercise extra caution and use lighter pressure when working with softwoods. Additionally, whenever possible, try to pry or pull staples in the direction of the wood grain, rather than against it. Pulling against the grain can significantly increase the risk of splintering.
- Practice on Scrap Wood (If Available): If you’re working on a valuable piece or are new to staple removal, consider practicing on a similar type of scrap wood with some staples driven into it. This allows you to get a feel for the tools and techniques without risking damage to your main project.
- Consider a Specialized Staple Puller: For large numbers of upholstery staples, a dedicated staple puller can be a worthwhile investment. These tools are designed to slide under the staple and provide excellent leverage with minimal effort, significantly reducing the chance of wood damage and speeding up the process.
By diligently following these simple yet effective tips, you can protect your valuable wood and remove staples efficiently and without causing any damage, ensuring your project looks its best.
Common Mistakes to Avoid When Removing Staples
Even with the right tools, certain habits can lead to frustration and damage. Being aware of these common pitfalls can help you steer clear of them:
- Using Excessive Force or Rushing: Trying to rip out staples quickly is the most common cause of wood damage. This often results in splintering, gouges, and bent staples that are even harder to remove.
- Prying Directly Against the Wood: Forgetting to use a protective shim or piece of cardboard between your tool and the wood surface almost guarantees dents and scratches.
- Pulling Staples at an Angle: Always try to pull staples straight up. Pulling at an angle can bend the staple, making it break or causing larger holes and damage to the wood fibers.
- Ignoring Safety Gear: Skipping safety glasses and gloves puts you at unnecessary risk of eye injuries and hand wounds from sharp staple points or slipping tools.
- Leaving Fragments Behind: Overlooking small pieces of broken staples can lead to snags in fabric, splinters, or issues with subsequent finishing steps like sanding.
Frequently Asked Questions About Staple Removal
- Q: Can I use just a flathead screwdriver for all staples?
- A: While a flathead screwdriver can be effective for prying up slightly raised staples, it’s generally less efficient and carries a higher risk of damaging the wood compared to specialized pliers or a staple puller. Its sharp edges can easily dig into the wood if not used carefully with a protective shim.
- Q: What should I do if a staple breaks off flush with the wood surface?
- A: If a staple breaks, try to use bent needle-nose pliers to grip any remaining part. If it’s completely flush, you can try gently tapping a thin, sharp utility knife around the edges of the staple to free the wood fibers, then attempt to pry it up with the tip of a small flathead screwdriver. For very stubborn pieces, you might need to carefully dig it out, accepting that a small repair with wood filler might be necessary.
- Q: Is there a difference when removing staples from upholstery vs. raw wood?
- A: Yes, with upholstery, you’re often dealing with fabric that needs to be preserved. You’ll generally use a specialized upholstery staple remover that slides easily under the fabric and staple without tearing the material. For raw wood, the primary concern is preventing damage to the wood surface itself, so protective shims and precise prying techniques are emphasized.
- Q: How do I deal with the small holes left by staples?
- A: For tiny holes, a light sanding with fine-grit sandpaper (180-220 grit) often blends them in, especially if you plan to paint. For larger or more visible holes, wood filler matching the wood’s color can be applied, allowed to dry, and then sanded smooth. This is particularly important if you plan to stain or varnish the wood.
Conclusion
You’ve now covered everything you need to know about safely and effectively removing staples from wood without causing damage. By embracing the right tools, understanding precise techniques, and always prioritizing safety, you can confidently tackle any staple removal task while keeping your wooden pieces in immaculate condition.
Remember to always take your time, employ the proper tools for the job, and shield your wood with simple precautions like a protective shim. These strategies will not only prevent unsightly damage but also make the entire process more efficient and less frustrating. With these expert tips and a little practice, you’re now fully equipped to approach staple removal like a true professional!
If you’re eager to discover more handy tips and expand your knowledge for future woodworking and home improvement projects, don’t hesitate to explore our other blog posts. Happy woodworking!
