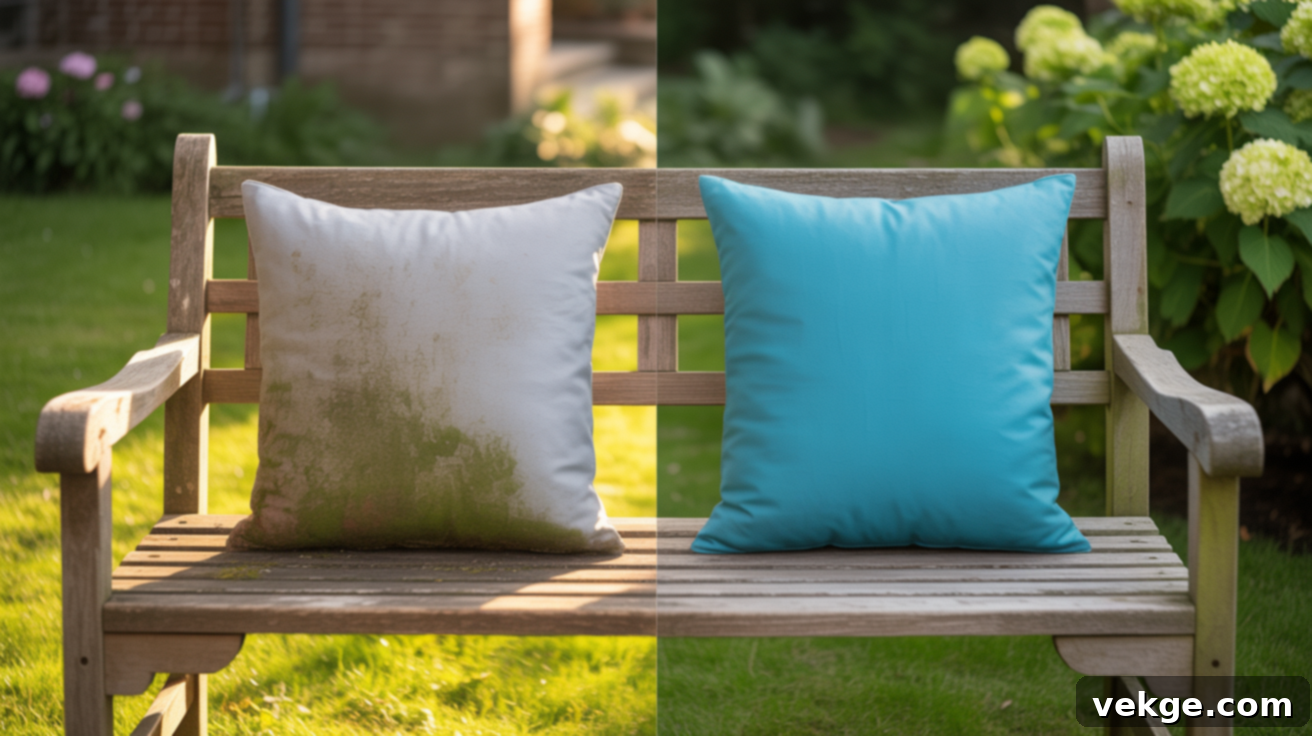
Revitalize Your Patio: A Complete Guide to Painting Outdoor Cushions for a Fresh Look
Is your outdoor living area looking a little tired? Before you consider replacing those faded, worn-out cushions, there’s a surprisingly simple and cost-effective solution: painting them! Outdoor cushions take a beating from the sun, rain, and everyday use, often leading to dull colors and an overall uninviting appearance. Learning how to paint outdoor cushions is a game-changer, offering a fantastic way to breathe new life into your patio furniture without breaking the bank.
The great news is that you don’t need to be a seasoned DIY expert to achieve stunning results. With just a bit of preparation, the right type of paint, and a clear step-by-step approach, you can transform your existing cushions from drab to fab. This straightforward project not only saves you money but also allows for complete customization, giving your outdoor space a quick, personalized refresh that truly reflects your style.
This comprehensive guide will walk you through every essential step. We’ll cover what supplies you’ll need, how to properly prepare your fabric, the best techniques for applying paint, and crucial tips to ensure your newly painted cushions stand up to the elements. Get ready to give those beloved outdoor cushions a second chance and make your patio an inviting oasis once more!
Why Painting Outdoor Cushions is a Smart Investment
Beyond the immediate visual upgrade, painting your outdoor cushions offers a range of practical benefits. When done correctly with the right preparation and materials, your refreshed cushions will be just as capable—if not more so—of handling outdoor weather, moisture, and daily use. Here’s a closer look at why this DIY project is an excellent idea for any homeowner:
- Cost-Effective Refresh: Buying new outdoor cushions can be surprisingly expensive, often costing hundreds or even thousands of dollars depending on the size and quality. Painting your existing cushions is a fraction of the cost, making it an incredibly budget-friendly way to update your patio, balcony, or garden area without investing in entirely new furniture. It’s the ultimate hack for getting a high-end look on a shoestring budget.
- Fixes Faded or Stained Cushions: Sun exposure is the primary culprit behind faded outdoor fabrics, leaving your once vibrant cushions looking washed out and unappealing. Similarly, spills and stains can be impossible to remove. Painting provides a perfect solution, allowing you to completely cover up sun-bleached areas and stubborn marks, bringing life back to cushions that otherwise look worn out and ready for the landfill.
- Weather-Resistant Results: Modern fabric paints are specifically formulated to withstand the rigors of outdoor environments. With proper application and curing, these paints create a durable, flexible coating that can resist moisture, UV rays, and general wear and tear. This means your painted cushions won’t crack, peel, or fade prematurely, ensuring they can stand up to rain, sun, and daily lounging.
- Easy for Beginners: You don’t need professional painting skills or extensive DIY experience to tackle this project. The steps involved—cleaning, painting, and drying—are straightforward and easy to follow. As long as you take your time and adhere to the guidelines, even a novice can achieve impressive, long-lasting results that look professionally done.
- Long-Lasting Durability: A well-executed paint job, using high-quality outdoor fabric paint, can last through an entire outdoor season or even longer. With minimal maintenance and proper storage during extreme weather, your freshly painted cushions can maintain their vibrancy and integrity for years, extending their usable lifespan significantly.
- Customizable Style: One of the biggest advantages is the freedom to customize. You’re not limited to the colors available in stores. You can choose a shade that perfectly matches your current outdoor decor, select a bold, trendy color for a dramatic makeover, or even experiment with stencils for unique patterns. This allows you to create a truly personalized outdoor space that reflects your individual taste.
- Eco-Friendly Option: Repainting and reusing your existing cushions is a sustainable choice. By giving old items a new lease on life, you reduce waste and decrease your environmental footprint. It’s a rewarding way to practice upcycling and contribute to a more eco-conscious lifestyle.
Ultimately, painting your outdoor cushions is a simple, rewarding, and highly effective DIY project that empowers you to transform your outdoor living area without a major investment. Just remember to follow the right steps for optimal results!
Step-by-Step Guide to Painting Outdoor Cushions
Achieving a smooth, durable, and long-lasting finish on your painted outdoor cushions requires attention to detail at each stage. This budget-friendly option works on most fabric types, from polyester to canvas. By taking your time with each step, you can prevent common issues like peeling, cracking, or uneven color, ensuring your cushions look fantastic and perform well.
1. Clean and Dry the Cushions Thoroughly
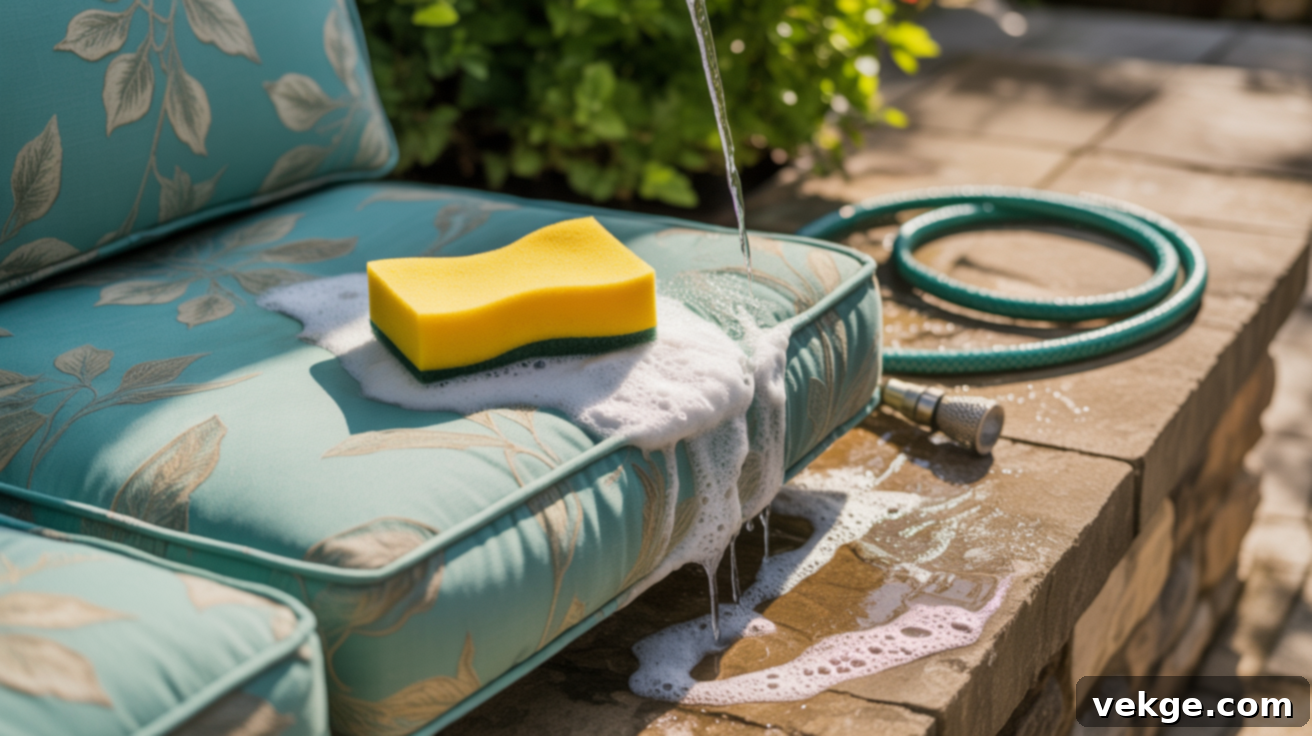
The foundation of any successful paint job is a clean surface. Begin by washing your cushions thoroughly. Use warm, soapy water mixed with a mild detergent (like dish soap or a dedicated fabric cleaner) and a sponge or soft-bristled brush. Pay extra attention to heavily stained areas. For stubborn grime or mildew, consider a specialized cleaner like Krud Kutter or a diluted bleach solution (ensure it’s safe for your fabric type and rinse extensively afterward).
Rinse the cushions meticulously with clean water, ensuring all soap residue is completely removed. Any leftover soap can interfere with paint adhesion. Once rinsed, set the cushions in a sunny, well-ventilated spot to dry fully. Depending on the thickness of the cushions, humidity levels, and outdoor temperature, this process can take several hours, or even a full day. Do not rush this step; painting over damp fabric can trap moisture, leading to mold growth, uneven paint coverage, or poor adhesion that will cause the paint to peel prematurely. Confirm they are bone-dry before moving on to any repairs or painting.
2. Repair or Restuff If Needed
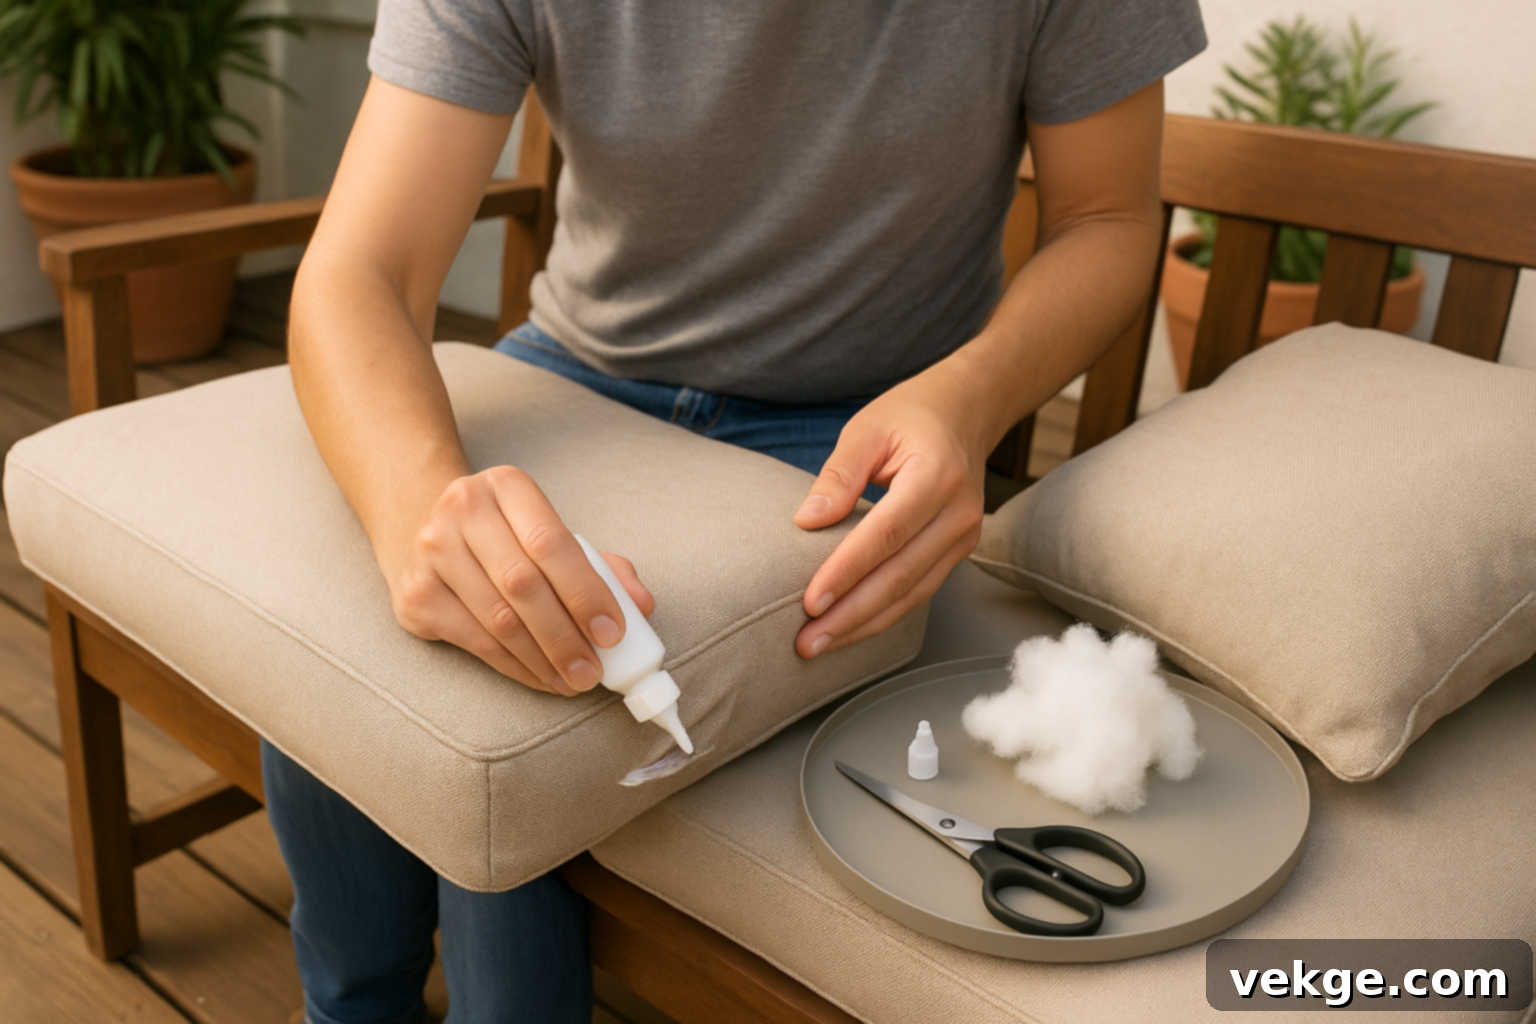
Before applying any paint, conduct a thorough inspection of each cushion for any existing damage or wear. Small holes, tears, or frayed seams should be patched using a strong fabric glue or a needle and thread. Allow any fabric glue to dry completely according to the manufacturer’s instructions before proceeding. Addressing these minor repairs now prevents them from worsening or becoming more noticeable once painted.
Additionally, assess the internal stuffing. If the cushion inserts feel flat, lumpy, or uneven, consider replacing them or giving them a good fluff and redistribution of existing stuffing. You might even add extra foam or batting for improved comfort and a fuller appearance. A smooth, well-supported surface is crucial for achieving an even paint application and ensuring the cushions are comfortable to use after their makeover. This step ensures your refreshed cushions not only look great but also feel nice to sit on, maximizing their functionality and lifespan.
3. Prep the Workspace for Painting
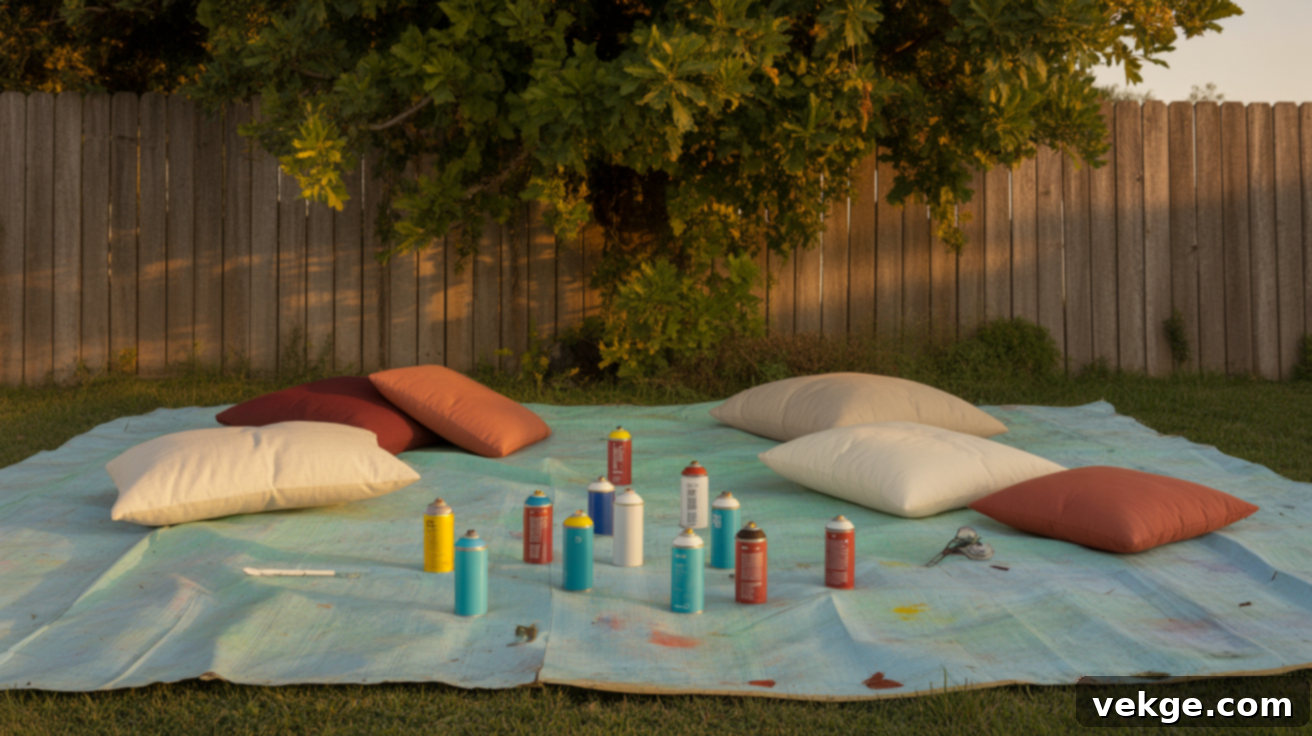
Preparation of your workspace is key to a smooth painting process and minimizing cleanup. Choose a safe, well-ventilated area, ideally outdoors on a calm, dry day. Lay down protective coverings like a large tarp, old drop cloths, or even several large trash bags cut open, to shield the ground from paint overspray or drips. Ensure the area is clear of any items you don’t want painted.
Keep pets, children, and any valuable outdoor furniture or plants far from your designated painting zone to prevent accidents, unwanted paint marks, or inhalation of fumes. You’ll need ample space to move freely around each cushion, allowing you to spray or brush from all angles without obstructions. Having all your tools and materials organized and within easy reach before you begin will streamline the process, prevent delays, and contribute to a cleaner, more controlled environment, ultimately improving the quality of your paint results.
4. Choose the Right Paint for Outdoor Fabric
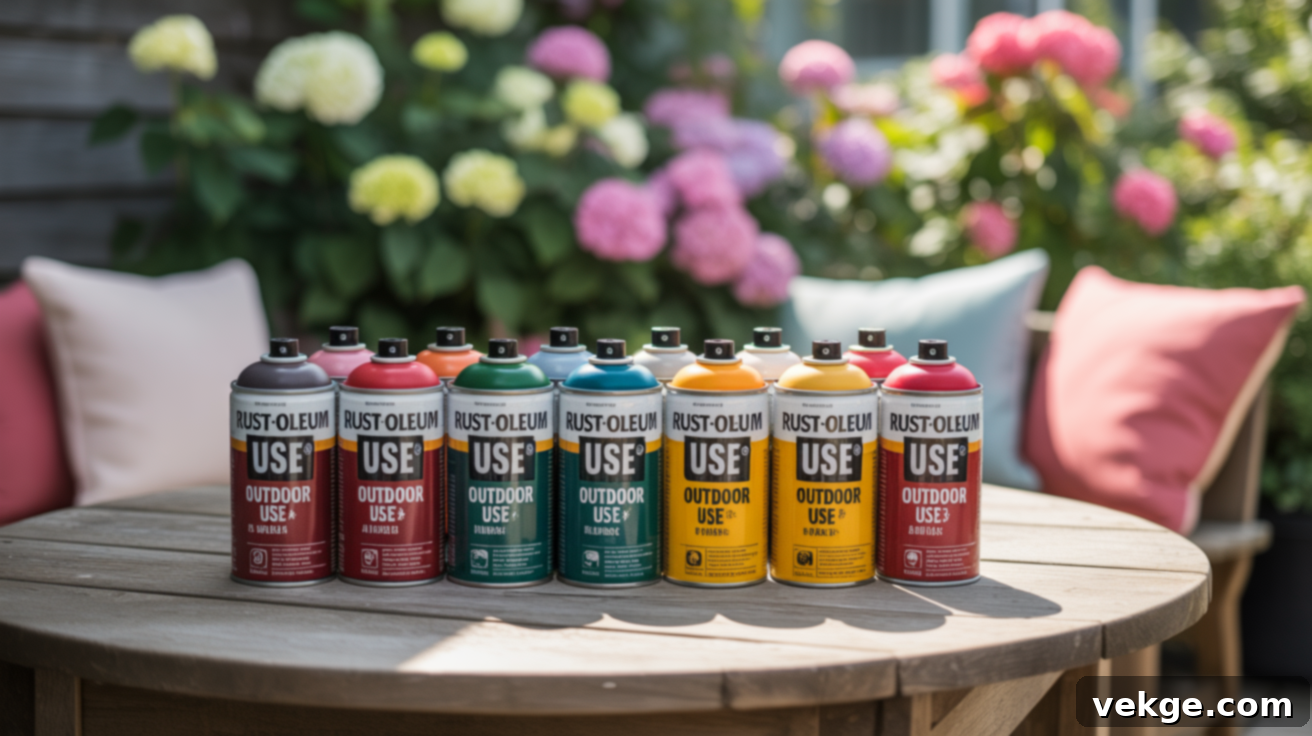
Selecting the correct type of paint is paramount for the success and longevity of your project. For outdoor cushions, you need a paint specifically designed for fabric that can withstand external conditions. Fabric spray paints are often the easiest and most effective choice. Look for brands like Rust-Oleum Fabric & Vinyl, Simply Spray Fabric Paint, or Krylon Fusion All-In-One which adheres well to various outdoor fabrics and dries flexible.
Alternatively, for a brush-on application, you can use high-quality exterior latex paint mixed with a fabric medium or fabric softener. A common ratio is two parts paint to one part fabric medium, which helps the paint remain flexible after drying, preventing stiffness and cracking. Avoid using chalk paint unless your cushions will be kept strictly indoors or in a completely dry, covered area, as it is not designed for outdoor exposure and can chalk off or wash away.
Always read the product label carefully to confirm it’s suitable for fabric, explicitly states outdoor durability, and outlines any specific application or curing instructions. The right paint ensures better adhesion, longer wear, superior color retention, and a comfortable, soft feel to the fabric.
5. Shake the Can Vigorously Before Use
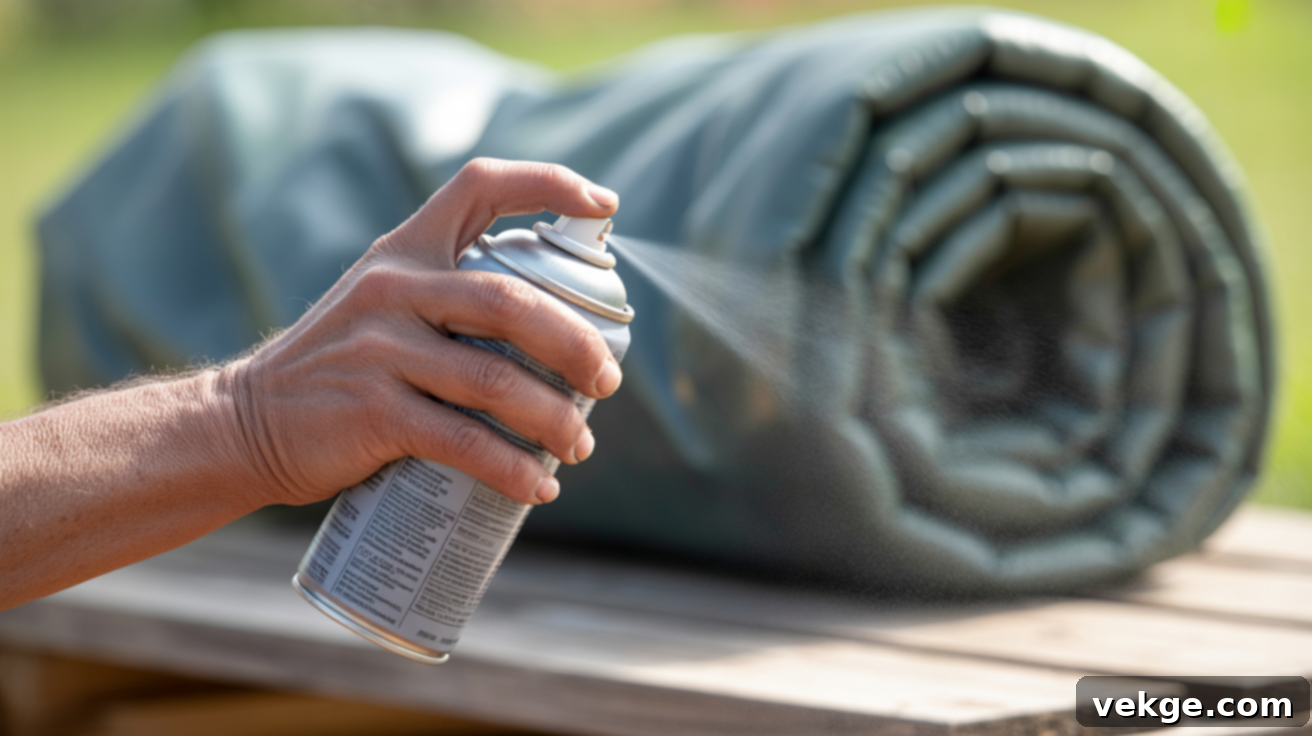
This seemingly simple step is critical, especially when using spray paint. Before you begin applying paint, shake the can well for at least one to two minutes, often until you hear the mixing ball rattling freely and consistently. This ensures that all the pigments and binders within the paint are thoroughly mixed, preventing color separation and ensuring a uniform consistency.
A properly shaken can helps prevent clogs in the nozzle and ensures that the color comes out smooth, even, and true to its intended shade during application. If you pause between coats or if the can sits unused for an extended period, give it another good shake for a few seconds before resuming. Neglecting this step can lead to inconsistent color, splotchy coverage, or dull patches, compromising the overall finish of your painted cushions. Proper shaking guarantees better coverage and a consistent look from the very first spray.
6. Apply the Paint in Light, Even Coats
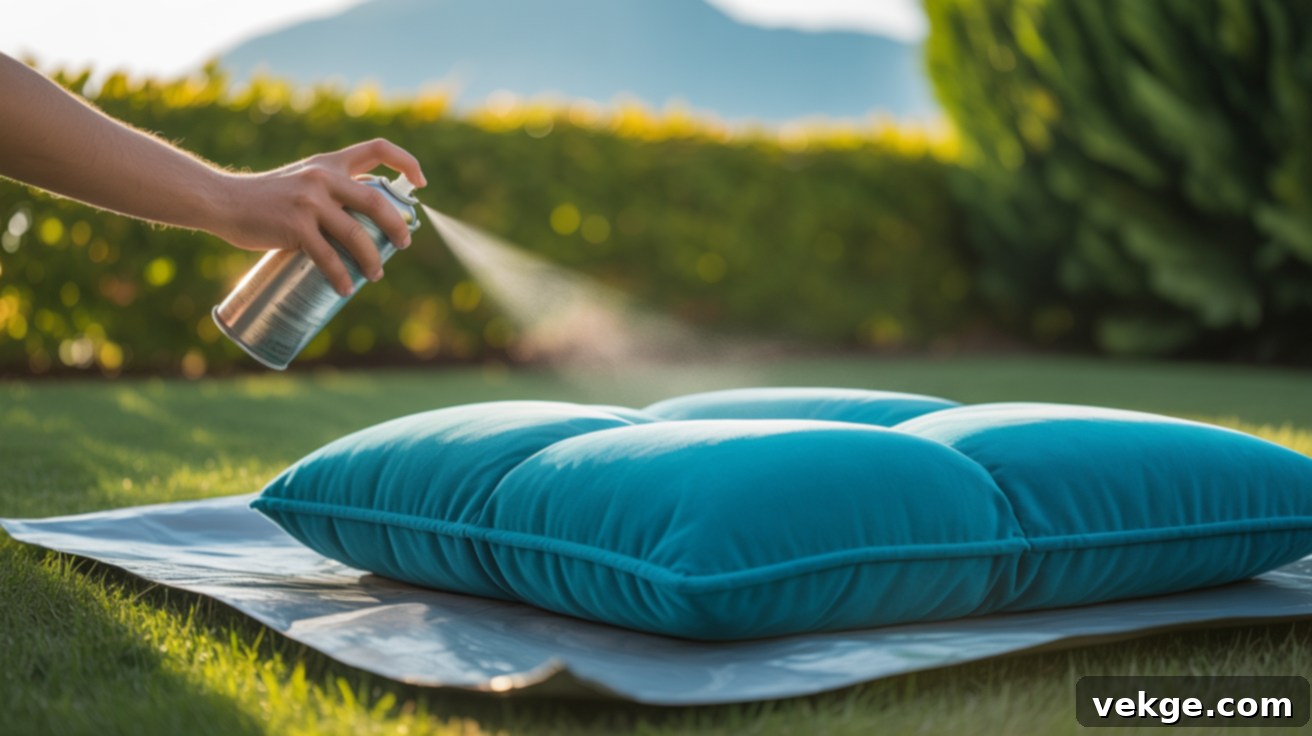
Patience is key during the application phase. Hold the spray can approximately six to eight inches away from the cushion surface. Apply the paint in a slow, steady, and even motion, sweeping from side to side. Overlap your strokes slightly to avoid creating thin spots or harsh lines. The goal is to apply multiple light coats rather than one heavy, thick layer.
Resist the urge to achieve full coverage in a single pass. Thick coats dry unevenly, make the fabric stiff, and are prone to cracking or peeling later. Instead, apply a thin layer, allow it to dry to the touch (typically 15-30 minutes, check product instructions), and then apply subsequent thin coats. This method allows the paint to properly adhere to the fabric fibers, maintaining flexibility and preventing buildup or drips. Continue applying light coats until you achieve the desired color saturation and evenness. This technique ensures a professional-looking, durable finish.
7. Let the Paint Dry and Cure Completely
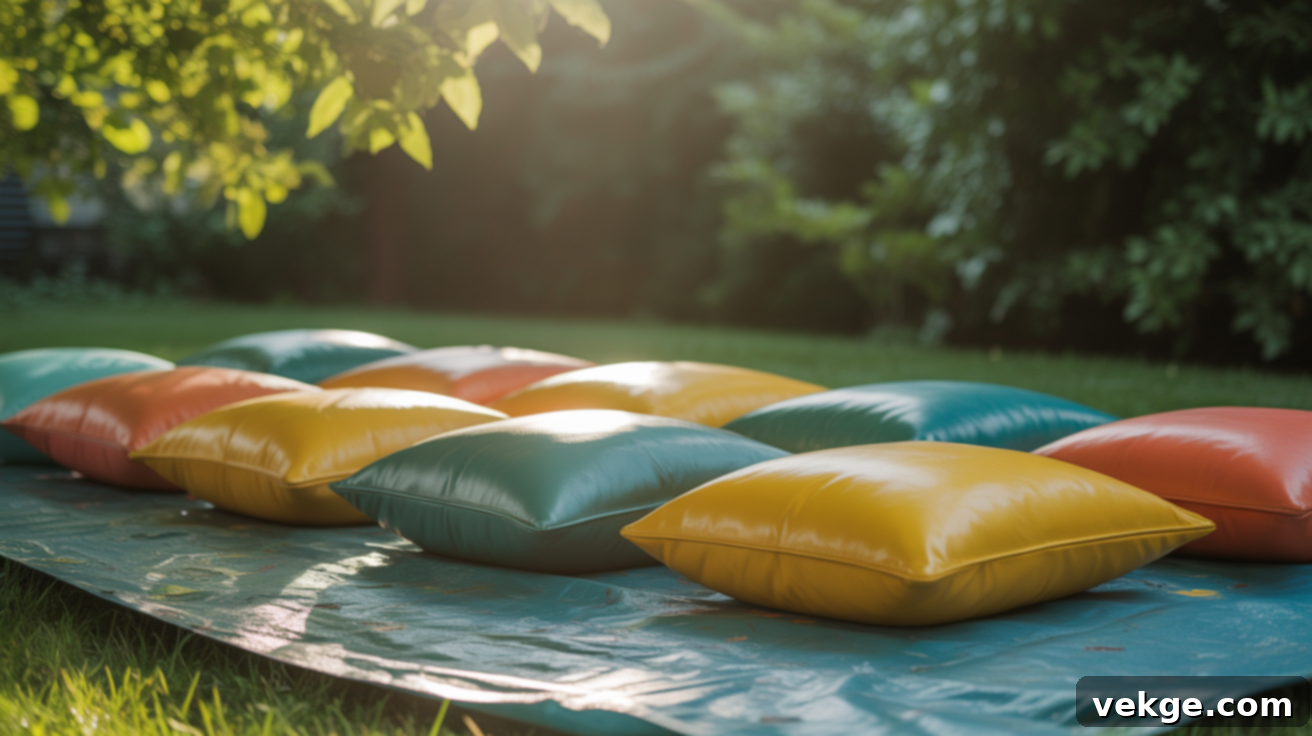
After you’ve applied your final coat and are satisfied with the coverage, the most crucial step for durability is allowing the paint to fully dry and cure. Place the cushions in a protected, well-ventilated area, ideally covered and away from direct rain, heavy dew, dust, or foot traffic. Avoid placing them in direct sunlight during this curing phase if the paint instructions advise against it, as extreme heat can sometimes affect the curing process.
Most fabric paints require 24 to 48 hours to dry completely to the touch, but full curing can take anywhere from 3 to 7 days, depending on the paint type, humidity, and temperature. Do not sit on them, stack them, or expose them to moisture too soon, as this can cause the paint to smear, stick together, or peel off. A fully cured paint job will feel flexible and durable, ensuring the color stays in place and withstands outdoor elements effectively. Patience during this step directly impacts the project’s longevity and quality.
Extra Option: The Brush-On Paint Method
For those working with very thick cushions, cushions with intricate shapes, or if you simply prefer more control, the brush-on method can be an excellent alternative to spray paint. As mentioned, prepare your paint by mixing two parts exterior latex paint with one part fabric medium or fabric softener. This mixture maintains the fabric’s flexibility once dry.
Use a soft-bristled brush (like a synthetic paint brush) to apply the paint in even strokes. Work the paint into the fabric fibers, rather than just coating the surface, but avoid oversaturating the material. Much like spray painting, apply in thin, even coats, allowing each coat to dry completely before applying the next. This prevents streaks, uneven coverage, and cracking. The brush-on method offers superior precision, making it ideal for detailed areas or achieving a specific texture that spray paint might not provide.
How Long Will Your Painted Cushions Last?
The lifespan of your newly painted outdoor cushions largely depends on a few key factors: the quality of the paint used, the thoroughness of the preparation, the frequency of use, and the severity of the weather conditions they face. Generally, with proper application and maintenance, you can expect your painted cushions to hold up beautifully for at least one full outdoor season (typically 6-9 months) with normal use.
However, if your cushions are constantly exposed to harsh direct sunlight, heavy rainfall, or extreme temperature fluctuations, their color retention and durability may diminish faster. To significantly extend their lifespan, implement protective measures. Store them indoors or in a shed during severe storms, heavy rain, or during the off-season. Covering them with furniture covers when not in use also provides excellent protection against UV damage and dirt accumulation.
You can further prolong their fresh look by performing minor touch-ups. If you notice small spots fading or wearing thin, a quick reapplication of a light spray or brush coat can easily rejuvenate them. Additionally, applying a fabric-safe sealant or a UV-protective clear coat after the paint has fully cured can add an extra layer of defense against the elements and significantly extend the durability of your DIY outdoor cushion makeover.
Essential Tips for Ongoing Maintenance
Once your outdoor cushions are beautifully painted and fully cured, a little ongoing care will go a long way in preserving their vibrant look and extending their life. These simple habits require minimal effort but offer maximum protection for your hard work:
- Proper Storage: Whenever possible, especially during inclement weather (heavy rain, snow, strong winds) or during the off-season, store your painted cushions in a dry, protected location like a deck box, shed, or garage. This shields them from harsh elements that can accelerate fading and wear.
- Gentle Cleaning: For routine cleaning, use a soft-bristled brush or a damp cloth with mild soap and water to wipe away dirt, dust, or light stains. Avoid harsh scrubbing, abrasive cleaners, or pressure washers, as these can wear down the paint layer and compromise its integrity over time.
- Check for Water Resistance: Periodically test the water repellency. If water still beads up and rolls off the fabric surface, your waterproof layer (if applied, or the inherent properties of the paint) is still performing effectively. If water soaks into the fabric, it might be time to reapply a fabric protector spray or a light coat of a suitable sealant.
- Rotate Cushions Regularly: To ensure even exposure to the sun and reduce concentrated wear, rotate your cushions periodically. This prevents one side from constantly facing direct sunlight, which can lead to uneven fading.
- Timely Touch-Ups: Don’t wait for extensive fading. If you spot small areas of wear or minor fading, address them promptly with a light spray or brush coat of your original paint color. This keeps the cushions looking fresh and prevents minor issues from escalating.
What to Avoid When Painting Outdoor Cushions
While painting outdoor cushions is a relatively simple DIY project, certain common mistakes can jeopardize your results and shorten the lifespan of your refreshed cushions. Steering clear of these pitfalls will ensure your cushions look better and last significantly longer:
- Painting Over Damp Fabric: This is a critical error. Painting over wet or even slightly damp fabric traps moisture underneath the paint, creating an ideal environment for mold and mildew growth. It also severely compromises paint adhesion, leading to premature peeling, cracking, and a poor finish. Always ensure cushions are bone-dry before painting.
- Applying Thick Coats of Paint: While it might seem like a shortcut to full coverage, thick paint coats are detrimental. They dry unevenly, making the fabric stiff and uncomfortable, and are highly prone to cracking, flaking, or peeling, especially with movement and exposure to temperature changes. Always opt for multiple thin, even coats.
- Using Unsuitable Paint Types: As mentioned, chalk paint or interior-grade paints are not designed for outdoor fabric. They lack the flexibility, weather resistance, and UV protection needed for cushions exposed to the elements. Always choose paints specifically formulated for outdoor fabric or exterior use with a fabric medium.
- Rushing Drying and Curing Time: Impatience can ruin an otherwise perfect project. Sitting on or stacking cushions before the paint has fully dried and cured can cause smearing, paint transfer, and permanent indentations. Allow ample time for the paint to completely set and harden according to the manufacturer’s instructions.
- Machine Washing Painted Cushions: Once painted, your cushions should no longer be machine washed. The agitation and harsh detergents can damage the paint finish. Stick strictly to spot cleaning with a damp cloth and mild soap for any spills or dirt.
By taking your time, paying attention to detail, and avoiding these common shortcuts, your painted outdoor cushions will remain in excellent shape for much longer. You’ll spare yourself the frustration of dealing with premature peeling, cracking, or fading, enjoying your vibrant, refreshed outdoor space with confidence.
Conclusion: Transform Your Outdoor Space with Painted Cushions
You now possess all the knowledge and steps required to confidently tackle the project of painting outdoor cushions. Say goodbye to the expense of buying new ones and embrace the satisfying process of transforming what you already own. A little preparation, the right choice of paint, and a commitment to following these detailed steps will go a remarkably long way in rejuvenating your outdoor living area.
With just a few straightforward actions, your faded or tired cushions can be reborn, ready to handle daily use, prolonged sun exposure, and even light rain with renewed vigor. Remember, the key to lasting results lies in patience and attention to each stage, from thorough cleaning to meticulous paint application and complete curing. Every step contributes to the overall durability and aesthetic appeal of your cushion makeover.
You don’t need expensive tools or advanced DIY skills to achieve a professional-looking finish. What’s truly required is patience, a touch of care, and the willingness to follow a proven guide. Give it a try and witness firsthand the incredible transformation a fresh coat of paint can bring to your outdoor cushions, elevating your entire patio’s ambiance.
Looking for more innovative ideas to update your outdoor space, or curious about other clever DIY tricks like this one? Be sure to explore our other blogs for simple, impactful ways to keep your home and garden looking their absolute best!
