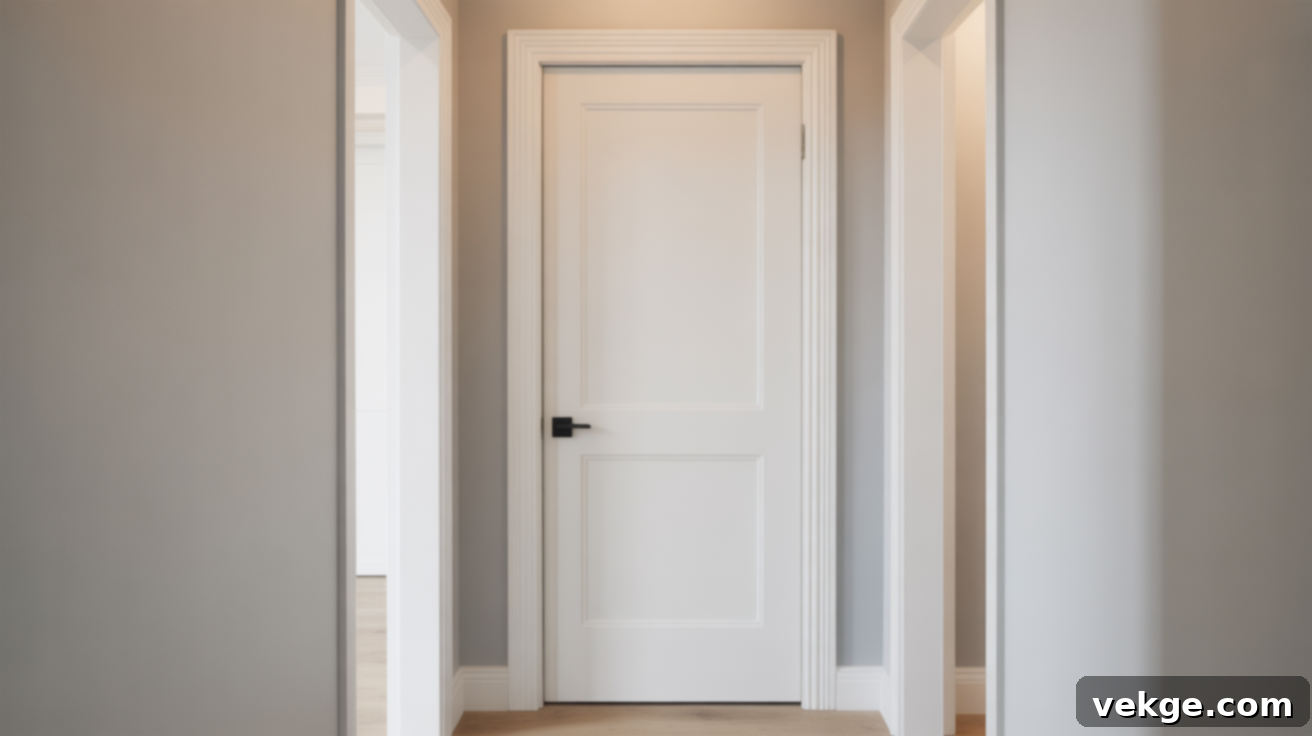
DIY Flat Panel Door Makeover: Transform Your Basic Doors with Stylish Trim
Flat-panel doors are a common feature, especially in older homes or new constructions aiming for simplicity. While they fulfill their basic function, they often lack character and can leave your interior spaces feeling somewhat unfinished or dated. Imagine walking down a hallway where every door is a blank canvas, not truly contributing to your home’s aesthetic. These plain doors can subtly detract from an otherwise updated and stylish living environment.
The good news is, you don’t need to embark on a costly and disruptive door replacement project or hire expensive professionals to elevate your home’s look. You can transform these unassuming flat doors into stylish architectural features yourself. This DIY project is surprisingly straightforward, and the visual impact it creates is truly remarkable, instantly adding depth, elegance, and a custom feel to any room.
This comprehensive guide will walk you through every step of giving your flat-panel doors a stunning makeover. We’ll cover a range of door style ideas to inspire you, provide a complete list of materials and tools, and offer a detailed, easy-to-follow step-by-step tutorial. Additionally, you’ll find specialized tips for updating closet doors, practical solutions for common DIY issues, and advice on sourcing budget-friendly supplies. Get ready to turn those uninspired doors into beautiful focal points!
Why Upgrade Your Flat Panel Doors Instead of Replacing Them?
At first glance, flat panel doors might seem like a minor detail, but their appearance significantly influences the overall ambiance of a room. Opting for a full door replacement, while effective, comes with several drawbacks: it’s a considerable investment of time and money, generates significant waste, and means discarding perfectly functional door frames. More importantly, it means missing out on the unique opportunity to personalize and enhance what you already possess.
Choosing to update your existing doors, rather than replacing them, offers numerous advantages. You retain the integrity of your existing door frame, which saves on labor and potential structural adjustments. You avoid the hassle of hauling heavy new doors and disposing of old ones. Crucially, you maintain complete creative control over the style, finish, and color. This level of customization ensures that your newly updated doors will seamlessly integrate with and elevate your home’s specific decor, often achieving a more bespoke look than any off-the-shelf option could offer.
This decision isn’t merely about financial savings; it’s about infusing your home with your personal style, creating spaces that feel authentically “you,” and making sustainable choices by repurposing and enhancing existing elements.
Choose Your Door Makeover Style: Ideas for Every Aesthetic
The beauty of this DIY project lies in its versatility. You’re not confined to a single look; there are numerous easy and impactful styles you can create by strategically adding moulding. Here are a few popular options to get your creativity flowing:
- Classic Shaker Style Panels: This timeless design involves adding simple, clean-lined rectangular panels to your door. Typically, four panels are used (two larger ones for the top and bottom, and two smaller ones for the middle), creating a balanced and elegant look that complements traditional, transitional, and even modern farmhouses aesthetics. It’s renowned for its understated sophistication.
- Contemporary 3-Panel Vertical Layout: To achieve a more modern and streamlined appearance, consider breaking the door into three long, vertical panels. This style often aligns well with contemporary trim work found in newer homes and can make a door feel taller and more expansive. It offers a sleek, minimalist vibe.
- Modern Grid Design: For a bold, graphic statement, a modern grid design utilizes square or small rectangular pieces of trim to create a series of interconnected boxes across the door’s surface. This can range from a full grid covering the door to a more abstract, asymmetrical layout, adding an architectural edge and a focal point to your room.
- Textured Beadboard Inserts: If you’re looking to add both dimension and texture, consider incorporating beadboard panels. After creating your desired panel outlines with trim pieces, cut beadboard to fit neatly within these recessed areas. This style evokes a charming cottage or coastal feel and can be particularly effective in bathrooms, laundry rooms, or children’s bedrooms.
Feeling unsure which style best suits your home? A smart trick is to sketch a few different styles directly onto your door using painter’s tape. This allows you to visualize the design in place, helping you make a confident decision before you commit to cutting and gluing.
Materials and Tools Checklist for Your Flat Panel Door Makeover
Before diving into your project, proper preparation is key. Having all your materials and tools at hand will ensure a smooth and efficient process. Most of these items are readily available at your local hardware store, home improvement center, or through online retailers.
Essential Materials:
- Decorative Trim or Moulding: Choose a profile that matches your desired style. Options include wood (pine, poplar), MDF (medium-density fiberboard), or PVC. MDF is cost-effective and easy to paint, while PVC is moisture-resistant, ideal for bathrooms. Consider the thickness and width carefully; thinner profiles generally work best for doors.
- Strong Adhesive or Construction Glue: A high-quality construction adhesive (e.g., Liquid Nails, Gorilla Glue Construction Adhesive) will provide a secure bond. Wood glue can also be used, especially if you plan to reinforce with nails.
- Paintable Caulk: Essential for filling small gaps between the trim and the door, creating a seamless, professional finish.
- Primer and Paint (or a Paint-and-Primer Mix): A good quality primer ensures proper adhesion, especially on glossy surfaces. Choose a durable paint finish (like semi-gloss or satin) that can withstand daily wear and tear.
- Spackling or Wood Filler: Used to fill nail holes (if using nails) and minor imperfections in the trim or door surface.
- Sandpaper: Various grits (e.g., 120-grit for smoothing, 220-grit for fine finishing) for preparing surfaces and smoothing filled areas.
- Clean Rags or Tack Cloths: For wiping dust and cleaning surfaces.
Necessary Tools:
- Measuring Tape and Pencil: For precise measurements and marking your layout.
- Level (Spirit Level or Laser Level): Absolutely crucial for ensuring your trim pieces are perfectly straight and plumb.
- Straight Edge: A long ruler or carpenter’s square for drawing straight lines.
- Miter Saw, Miter Box with Hand Saw, or Miter Shears: To cut precise 45-degree angles for your trim corners. A miter saw offers the most precision and speed, while a miter box is a budget-friendly manual option. Miter shears are excellent for PVC or softer wood trims.
- Caulk Gun: For applying caulk smoothly and efficiently.
- Paintbrush and Small Paint Roller: A brush is ideal for cutting in around the trim, while a roller ensures smooth, even coverage on flat surfaces.
- Optional: Brad Nailer (with Brad Nails): Provides extra security for your trim pieces, especially during the drying time of the adhesive.
- Optional: Safety Glasses and Gloves: Always recommended when cutting or handling chemicals.
Beginner-Friendly Alternatives for Cutting Wood:
If you’re hesitant about cutting wood or don’t have access to power tools, there are simpler alternatives:
- Pre-Cut Moulding Kits: Many online retailers or specialized shops offer moulding kits that are pre-cut to common door dimensions, often with perfectly mitered corners, saving you significant time and effort.
- Adhesive Moulding Strips: Some lightweight moulding products come with adhesive backing, making them incredibly easy to install. While less substantial, they can still create a visual effect.
- Peel-and-Stick Designs: For a purely decorative, non-structural approach, consider peel-and-stick trim-like decals that can mimic the appearance of applied moulding.
Step-by-Step Tutorial: Giving Your Flat Panel Door a Makeover
With all your materials gathered and your chosen style in mind, it’s time to begin the transformation. Follow these steps meticulously, and remember that taking your time at each stage will yield the best results.
Step 1: Measure and Plan Your Layout
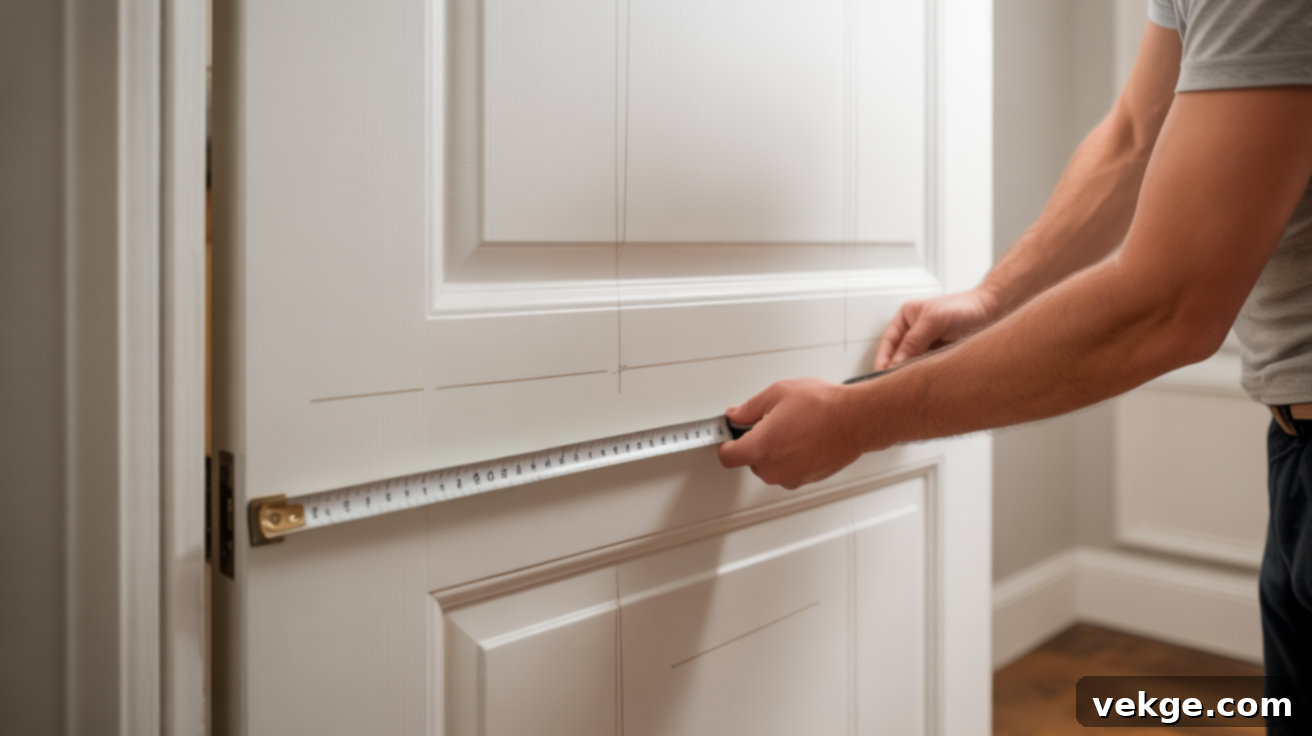
This initial step is critical for the success of your project. Begin by thoroughly cleaning your door surface. Then, stand back and visualize your desired design. Common layouts include two equally sized rectangular panels (one top, one bottom), or a three-panel design where the top panel is taller than the middle and bottom ones. The specific dimensions will depend on your door’s height and width, and your personal aesthetic.
Using your measuring tape, carefully determine the dimensions for each panel you plan to create. Then, lightly mark your layout directly onto the door using a pencil. A good rule of thumb is to maintain consistent spacing: typically, 4 to 6 inches from the door’s edges and between the panels (if you have multiple). For a polished look, aim for symmetry and balance. Use a level and a straight edge to ensure all your lines are perfectly straight. Consider taping painter’s tape along your pencil lines to get a clearer visual of the finished look before you cut any trim. This allows for adjustments before committing.
Step 2: Cut Your Moulding Pieces
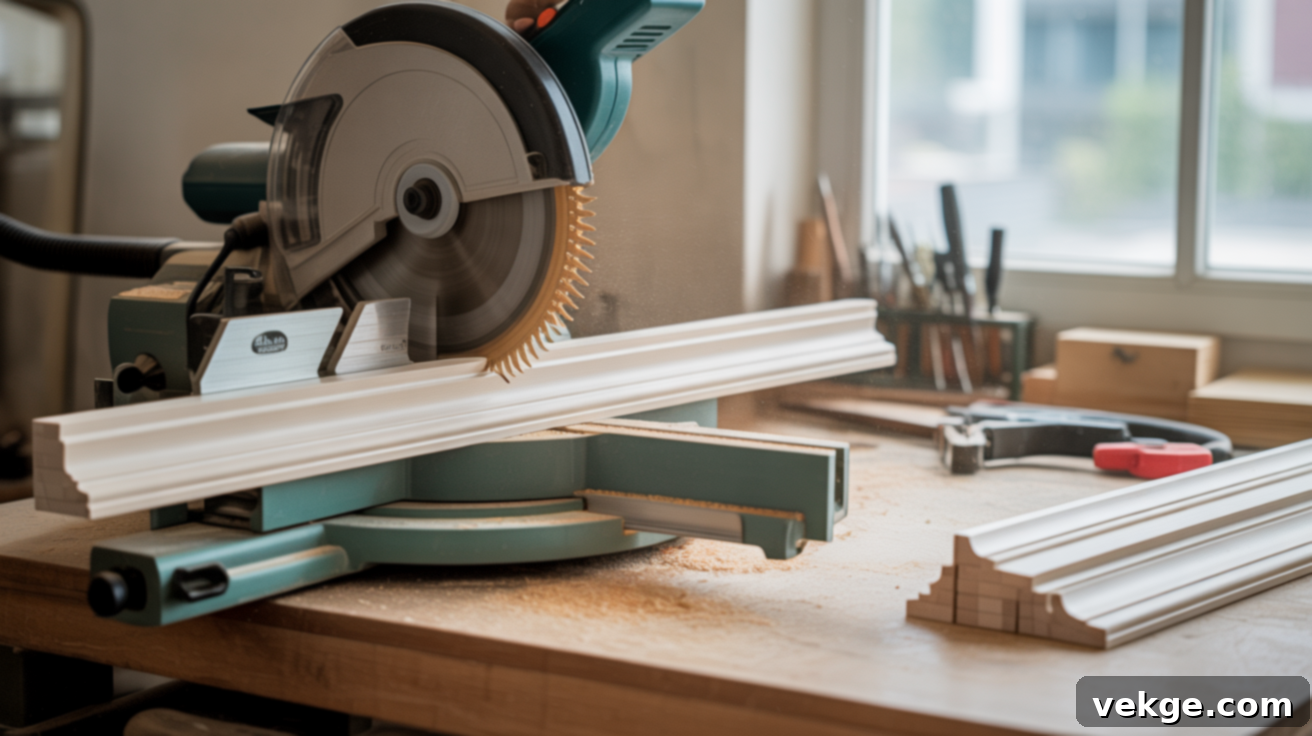
Now that your layout is marked, it’s time to cut your moulding. For the neatest corners, you’ll need to cut your trim pieces with 45-degree mitered angles. This means that two pieces meeting at a corner will each have a 45-degree cut, forming a perfect 90-degree angle when joined.
A miter saw is ideal for precise, repeatable cuts. If you don’t have one, a miter box and a hand saw work well, albeit more slowly. For PVC or very thin wood trim, miter shears can offer a simpler, safer, and electricity-free cutting solution. Always measure twice and cut once. It’s often helpful to cut one piece, test its fit against your marked line, and then use it as a template for identical pieces. Cut slowly and deliberately to avoid splintering, especially with softer wood or MDF. If the thought of cutting angles is daunting, remember that pre-cut moulding kits are an excellent alternative.
Step 3: Attach the Trim to Your Door
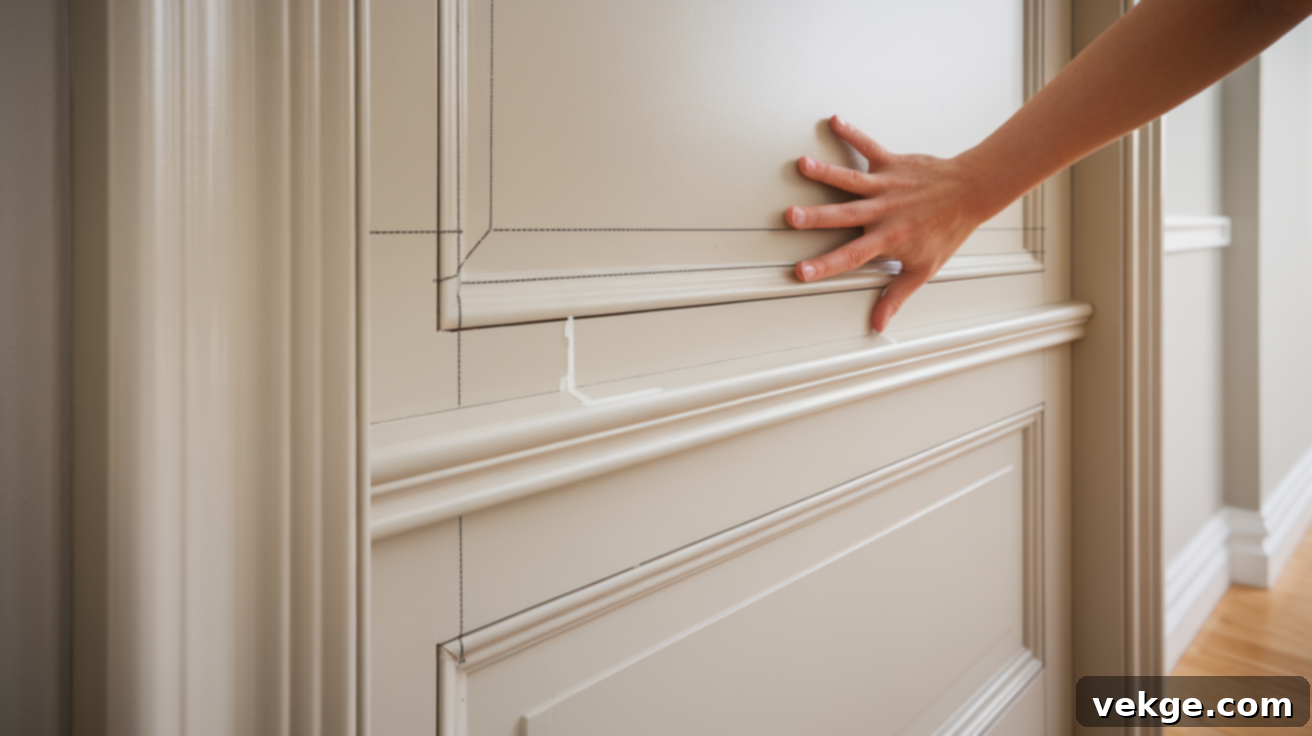
Before applying any adhesive, dry-fit all your cut trim pieces onto your door, aligning them with your pencil marks. This is your last chance to check the fit of your mitered corners and ensure everything lines up perfectly. Once satisfied, apply a continuous bead of strong adhesive or construction glue to the back of each trim piece. Avoid applying too much, as excess glue will squeeze out and create extra cleanup.
Carefully press each piece onto the door, aligning it precisely with your layout lines. Hold it firmly in place for a few seconds to allow the adhesive to grip. For an even more secure hold and to prevent shifting while the glue dries, you can use a brad nailer to add small finish nails. If using nails, place them strategically and gently, ensuring they are flush with the trim surface or slightly recessed. Start by attaching the longer horizontal or vertical pieces first, then fit the shorter connecting pieces. Wipe away any immediate glue squeeze-out with a damp cloth before it dries.
Step 4: Sand and Fill Gaps and Nail Holes
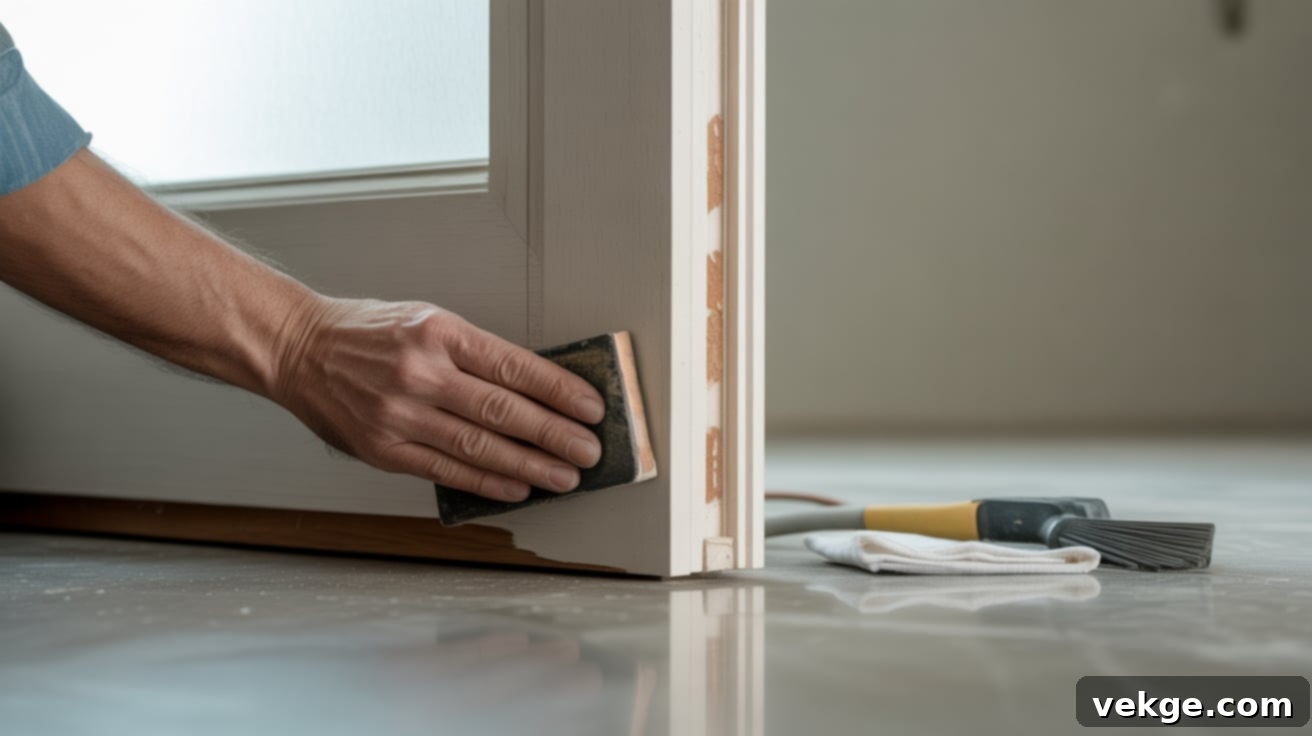
Once the trim adhesive has fully cured (refer to the product’s drying instructions, usually 24 hours), it’s time to refine the surface. Lightly sand around the edges of the newly attached trim and any areas on the door that feel rough. This step is crucial for achieving a professional, smooth finish that will accept paint beautifully. Use a medium-grit sandpaper (around 120-150 grit) initially, followed by a finer grit (220 grit) for a silky-smooth feel.
Next, use spackling or wood filler to address any small gaps, imperfections, or visible nail holes. Apply a thin layer with a putty knife, ensuring it’s flush with the surface. Allow the filler to dry completely; it typically changes color or becomes firm when ready. Once dry, sand the filled areas gently until they are perfectly smooth and level with the surrounding surface. Finally, use a dry cloth or a tack cloth to thoroughly wipe away all sanding dust. This ensures a clean surface for painting and prevents paint adhesion issues.
Step 5: Caulk All Edges for a Seamless Finish
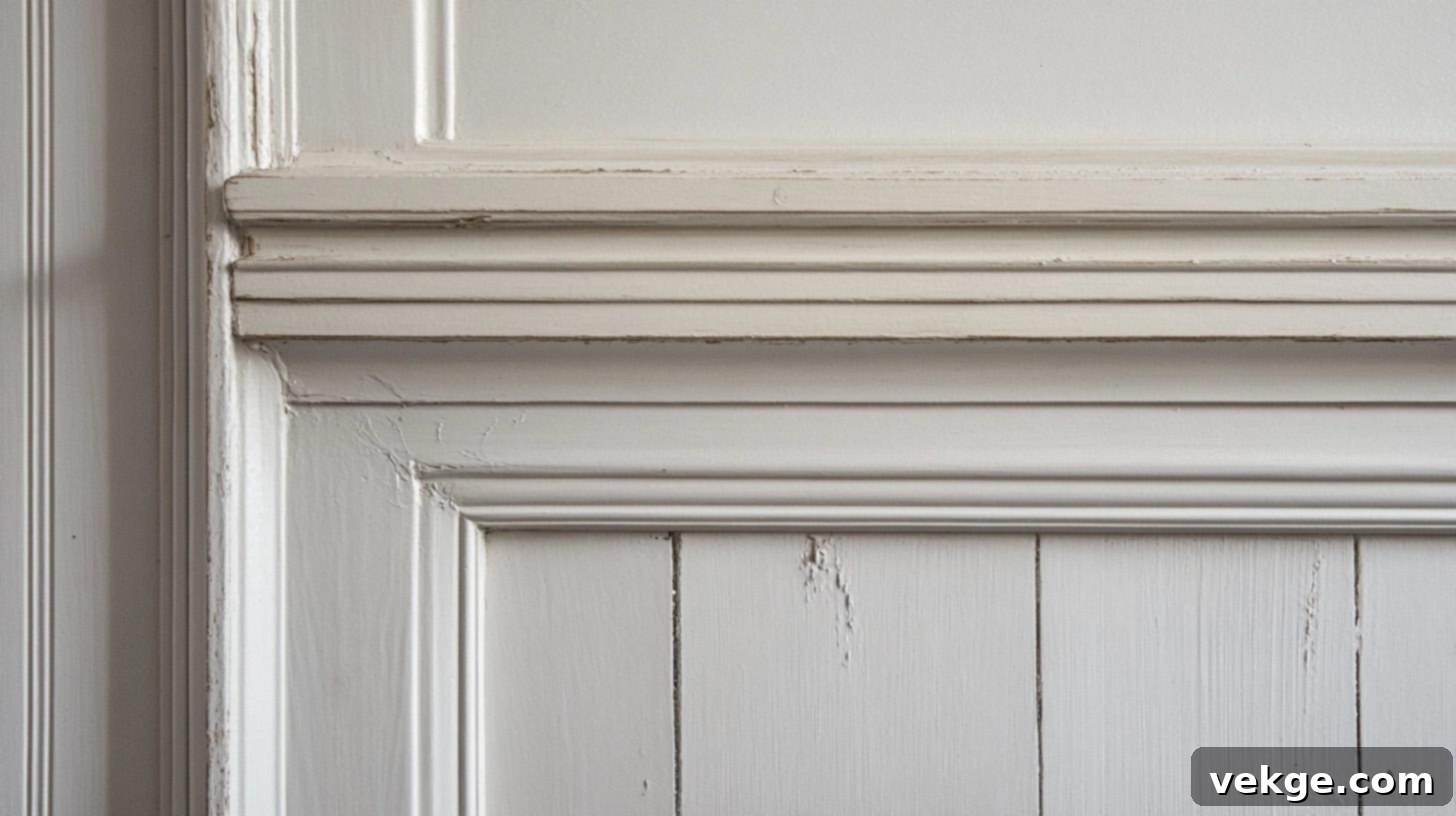
This step is often overlooked but is absolutely essential for achieving a truly professional, built-in look. Apply a thin, consistent bead of paintable caulk where the edges of the trim meet the flat surface of the door. Caulk fills any tiny cracks, imperfections, and provides a smooth transition, making the trim appear as if it’s always been part of the door.
After applying a section of caulk, immediately smooth it out. You can do this by dipping your finger in water and running it gently along the caulk line, or by using a specialized caulk tool. The goal is to create a seamless, uniform line. Keep a damp rag nearby to clean up any excess caulk or mistakes. Allow the caulk to dry fully according to the manufacturer’s instructions before proceeding to paint. Proper caulking will hide minor imperfections and dramatically enhance the finished appearance.
Step 6: Prime and Paint Your Transformed Doors
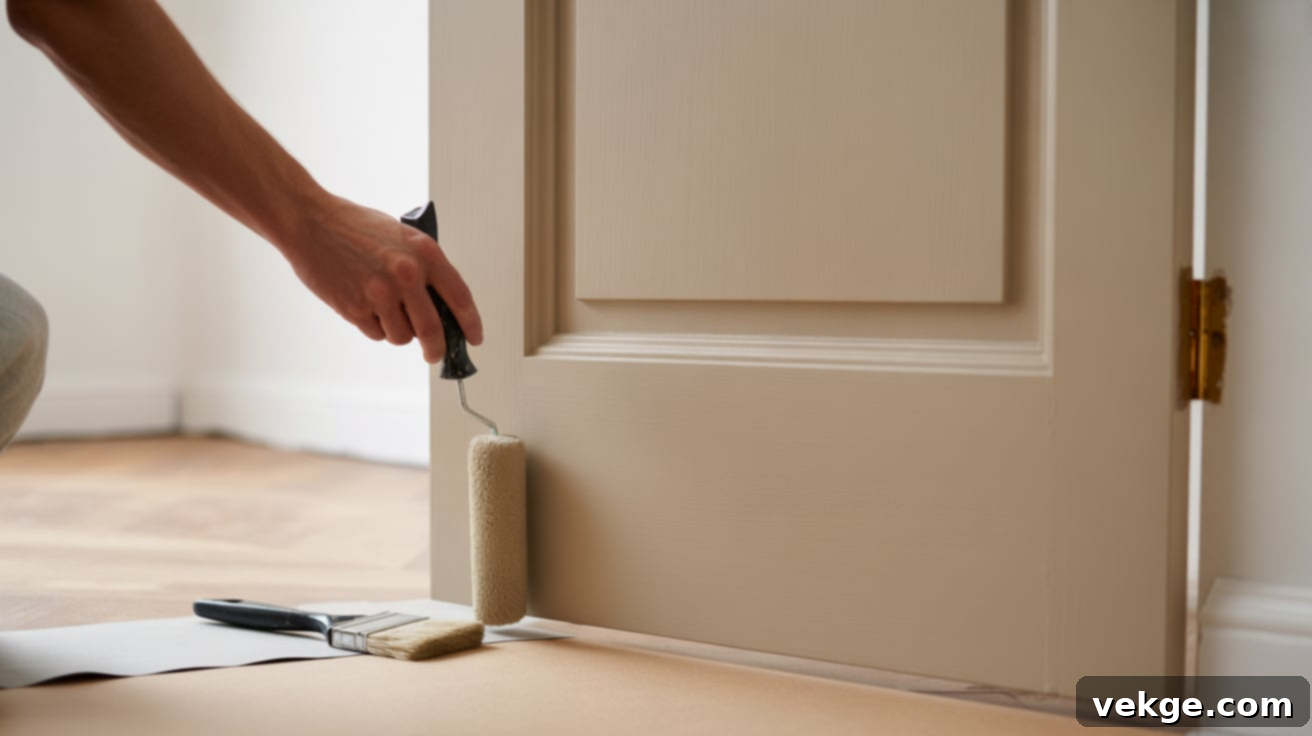
With all the prep work done, it’s time for the exciting part: painting! First, ensure your door is completely clean and free of dust. If your doors have a glossy existing finish or are made of a material like MDF, a coat of quality primer is highly recommended to ensure excellent paint adhesion and a durable finish. Alternatively, you can use a high-quality paint-and-primer-in-one product.
For color selection, soft neutrals like classic white, warm beige, or various shades of gray are versatile choices that complement most home decors and create a cohesive look. If you’re feeling adventurous and want to create a focal point, consider a bold accent color such as a deep forest green, a rich navy blue, or even a sophisticated charcoal. These can add a dramatic touch in the right setting. When painting, use a high-quality paintbrush to carefully paint around the edges of the trim. Then, use a small, smooth-finish foam roller for the flat panels and the rest of the door, ensuring even coverage and minimizing brush strokes. Apply two thin coats for optimal coverage and durability, allowing each coat to dry completely before applying the next.
Step 7: Add New Hardware for the Finishing Touch
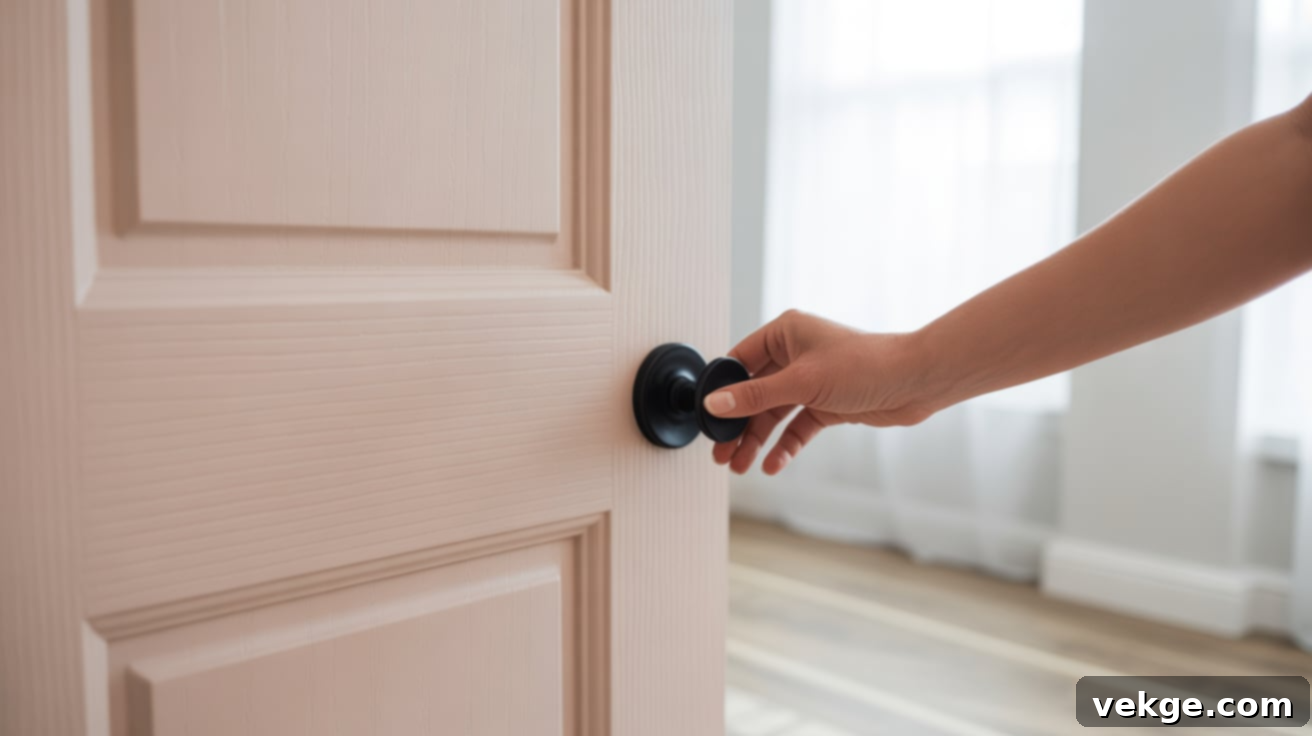
The final detail that pulls your entire door makeover together is new hardware. Swapping out old, dated knobs and hinges for fresh, stylish ones can have a surprisingly big impact. Choose a finish that harmonizes with the existing hardware and fixtures throughout your home – popular options include timeless matte black, sleek brushed nickel, warm brass, or classic oil-rubbed bronze.
Carefully remove the old door knob and hinges with a screwdriver. Most new hardware sets are designed to fit standard door preparations, allowing you to use the same holes. If you decide to change the position of your hardware or if new hardware requires different holes, fill the old holes with wood filler, sand them smooth, and paint over them before installing the new pieces. Ensure the new hardware is installed correctly and functions smoothly. This last step not only enhances functionality but also provides a polished, high-end look to your newly transformed door.
Special Considerations for Sliding or Bi-Fold Closet Doors
The same decorative trim technique can be applied to closet doors, including sliding or bi-fold styles. However, it’s crucial to keep a few specific points in mind to ensure functionality:
- Choose Thin Moulding: Avoid using thick or bulky moulding profiles. Excessively thick trim can prevent sliding doors from moving smoothly past each other or bi-fold doors from folding correctly, causing them to snag or get stuck in their tracks.
- Lightweight Trim Pieces: Opt for lightweight materials like thin MDF or PVC trim. Heavy moulding can add significant weight, potentially stressing the door’s hardware and making sliding or folding more difficult over time.
- Mind the Edges when Painting: Be cautious with heavy paint layers, especially along the edges of sliding or bi-fold doors. Thick paint can cause the doors to stick or scrape against each other or their frames. Apply thin, even coats, and sand lightly if any sticking occurs after drying.
If you notice any sticking or friction after your project is complete, a light sanding along the edges of the doors can usually resolve the issue, ensuring smooth operation.
Where to Buy: Budget-Friendly Supplies for Your Door Makeover
You don’t need to break the bank to achieve a high-end look. Here are some reliable places to find quality materials and tools without overspending:
- Home Depot and Lowe’s: These major home improvement retailers are excellent for everything from trim and moulding (available in various materials like MDF, pine, and PVC) to adhesives, caulk, paint, and all the necessary tools. They often have sales and a wide selection to choose from both in-store and online.
- Amazon: A fantastic resource for door knob sets, trim kits (especially pre-cut options), hot glue guns, and specialty tools that might be harder to find locally. Always check reviews for quality and fit.
- Etsy and Specialized Online Moulding Stores: For unique or custom-made moulding profiles, or if you prefer the convenience of pre-cut kits tailored to specific styles, Etsy sellers or dedicated online moulding suppliers can be great options. They might offer bespoke designs not found in big box stores.
- Local Lumber Yards or Millwork Shops: For higher quality wood trim or unique profiles, local lumber yards or millwork shops can be surprisingly competitive. They can often provide expert advice and cut materials to your specifications.
- Habitat for Humanity ReStores: For the ultimate budget find, check out your local ReStore. You might discover gently used or surplus door hardware, or even bundles of moulding at significantly reduced prices.
Stick to basic materials like MDF or common pine for your trim unless you’re specifically aiming for a specialty look or a specific performance requirement (like PVC for high-moisture areas). These options are generally the most cost-effective and easiest to work with for this type of DIY project.
Troubleshooting Common Flat Panel Door Makeover Issues
Even with careful planning, small challenges can arise during any DIY project. These quick troubleshooting tips will help you easily fix common issues, ensuring your newly upgraded doors look clean, polished, and professional.
1. Fixing Crooked or Uneven Trim
It’s easy for trim pieces to shift slightly while you’re applying glue or nails. That’s why consistent use of a level is paramount. After attaching each piece, immediately check it both vertically and horizontally to confirm it aligns perfectly straight. If you notice a piece is off-kilter shortly after attaching it, don’t panic. If the glue hasn’t fully set, you can often gently pry it off, wipe away any excess adhesive, and re-position it correctly. If the adhesive has already dried, carefully score around the edges with a utility knife to prevent paint damage, then gently remove the piece. Sand any dried glue residue before reapplying the trim in the correct spot. Working slowly and double-checking each section before moving on is the best preventative measure.
2. Filling Wide Gaps at Corners or Seams
Not every mitered corner or seam will fit together flawlessly, especially if you’re new to cutting angles. If you discover wide gaps where your trim pieces meet, particularly at the 45-degree corners, rest assured this is a common and fixable issue. Use a high-quality wood filler or spackling compound to meticulously fill these gaps. Apply the filler with a small putty knife, pressing it firmly into the gap. Allow it to dry completely, which might take several hours depending on the product and gap size. Once dry, sand the area lightly until it feels perfectly smooth to the touch and blends seamlessly with the trim. After painting, these filled spots should become virtually invisible. For gaps where the trim meets the door, caulk is your best friend – apply a neat bead and smooth it for a professional finish.
3. Addressing Paint Adhesion Issues
Sometimes, paint may not adhere properly to your door’s surface, particularly if the original finish was slick, glossy, or if the door was previously coated with an oil-based paint. If your door feels shiny or slippery, simply painting over it often leads to chipping or peeling. To ensure optimal paint adhesion, lightly sand the entire door surface (including the new trim) with 180-220 grit sandpaper. This creates a “tooth” for the paint to grip onto. Alternatively, you can use a liquid deglosser. After sanding, thoroughly wipe down the surface with a tack cloth or a damp rag to remove all dust and residue. Then, apply a high-quality bonding primer or use a paint-and-primer-in-one product. Allow each coat of primer and paint to dry fully according to manufacturer instructions. Rushing the drying process can compromise adhesion and lead to a less durable finish.
Final Thoughts on Your DIY Flat Panel Door Makeover
Transforming your flat panel doors into stylish, custom architectural features is a deeply satisfying DIY project. By carefully following these steps, you’ll discover that a flat panel door makeover isn’t a difficult task but a rewarding one that significantly enhances your home’s aesthetic.
Making these simple yet impactful changes to your interior doors instantly cleans up your space, adds character, and makes your home feel more polished and thoughtfully designed. Whether it’s upgrading the hardware or opting for a new trim style, these updates give you greater control over your home’s visual identity, moving it from generic to genuinely custom.
You’re not just fixing up a door; you’re injecting your own personality and style into your living environment, making your home feel more authentically yours. These kinds of accessible updates are a testament to the power of DIY – they’re easy to undertake, budget-friendly, and still deliver a dramatic and noticeable difference.
If this guide has sparked your inspiration, remember there’s a wealth of other easy, low-cost ways to enhance your home. Be sure to explore our other posts for more creative and practical home improvement ideas!
