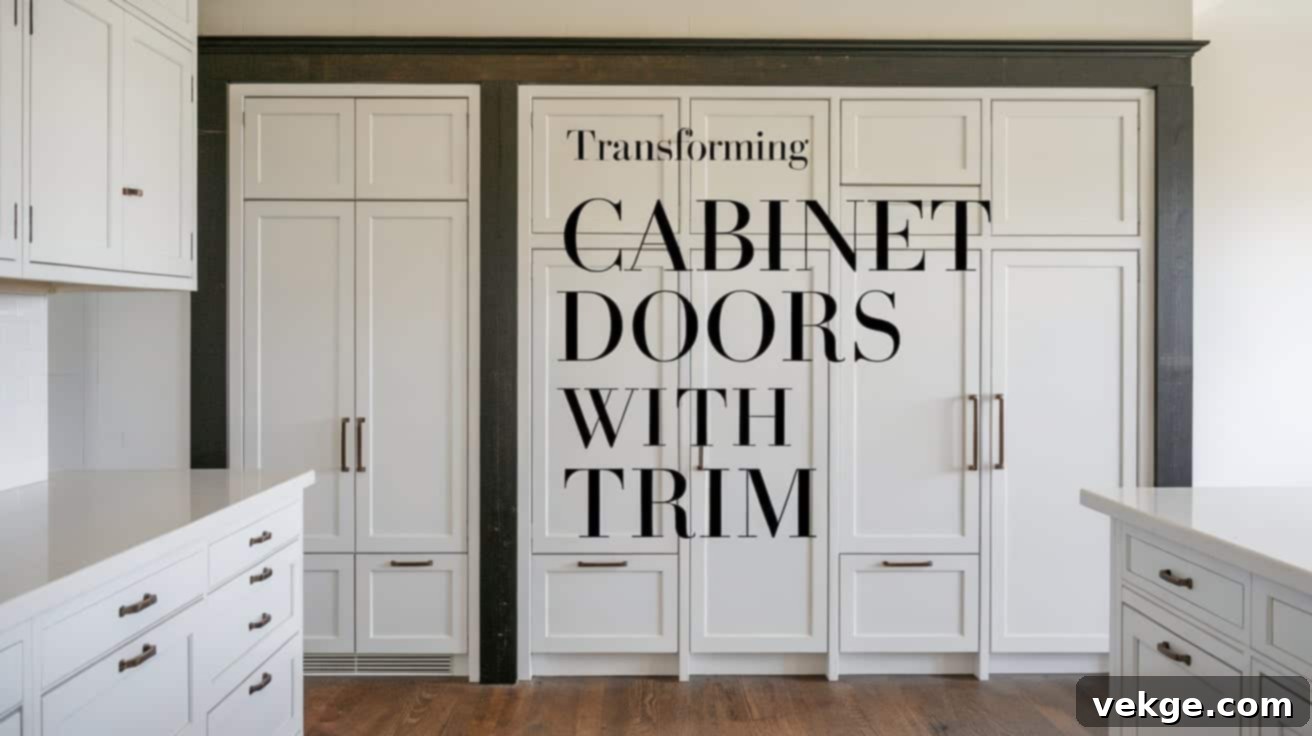
Budget-Friendly Cabinet Makeover: DIY Trim for Flat Doors to Achieve a Custom Kitchen Look
Are you tired of staring at plain, uninspiring cabinet doors in your kitchen? Many homeowners experience this daily, and I was one of them. For years, my flat-front cabinets made my kitchen feel dull and outdated, lacking the character and style I craved.
You might believe that achieving a kitchen refresh requires a costly full renovation, potentially running into thousands of dollars. I certainly did! However, I discovered a remarkably effective and affordable solution: adding simple wood trim to flat cabinet doors. This straightforward DIY project can elevate your kitchen’s aesthetic, giving it a high-end, custom appearance for an astonishingly low cost—often less than $200.
Having guided numerous homeowners through this clever technique, I’ve seen firsthand the dramatic transformations it can bring. This comprehensive guide shares my tried-and-tested method for adding trim, turning basic cabinet doors into stunning, bespoke features that will impress anyone who walks into your kitchen.
Follow along to learn the exact steps, essential tools, and insider tips you need to make your kitchen truly stand out, all without breaking the bank.
Why Does Adding Trim Dramatically Change the Look of Flat Cabinet Doors?
The beauty of adding trim to flat cabinet doors lies in its ability to create instant depth, texture, and visual interest. What were once two-dimensional, unremarkable surfaces become captivating elements that draw the eye. Imagine transforming a blank canvas into a framed masterpiece – that’s the power of trim for your cabinets. It’s like a cosmetic facelift for your kitchen, offering significant impact without the complexity or expense of a full remodel.
Here’s how this simple addition fundamentally changes your doors:
- Creates Layered Depth: Trim pieces, even thin ones, introduce shadow lines and variations in surface level. This layering effect breaks up monotony and adds a sophisticated dimension that flat surfaces inherently lack.
- Enhances Custom Appeal: A trimmed cabinet door immediately conveys a sense of craftsmanship and custom design. It moves away from the ‘builder-grade’ look, mimicking the expensive millwork often found in high-end kitchens.
- Introduces Visual Interest: With various trim profiles and layout options, you can create unique patterns—from classic Shaker style to elegant picture frame designs—that complement your home’s aesthetic. This adds character and personality to your kitchen space.
I often explain to my clients that trim work acts as architectural detailing. It defines the edges, frames the central panel, and ultimately elevates the entire piece. The best part? You have complete creative freedom to choose from simple, minimalist borders to intricate, decorative designs, ensuring the final look perfectly aligns with your personal style and the overall décor of your home.
The Undeniable Benefits of Adding Trim to Your Cabinet Doors
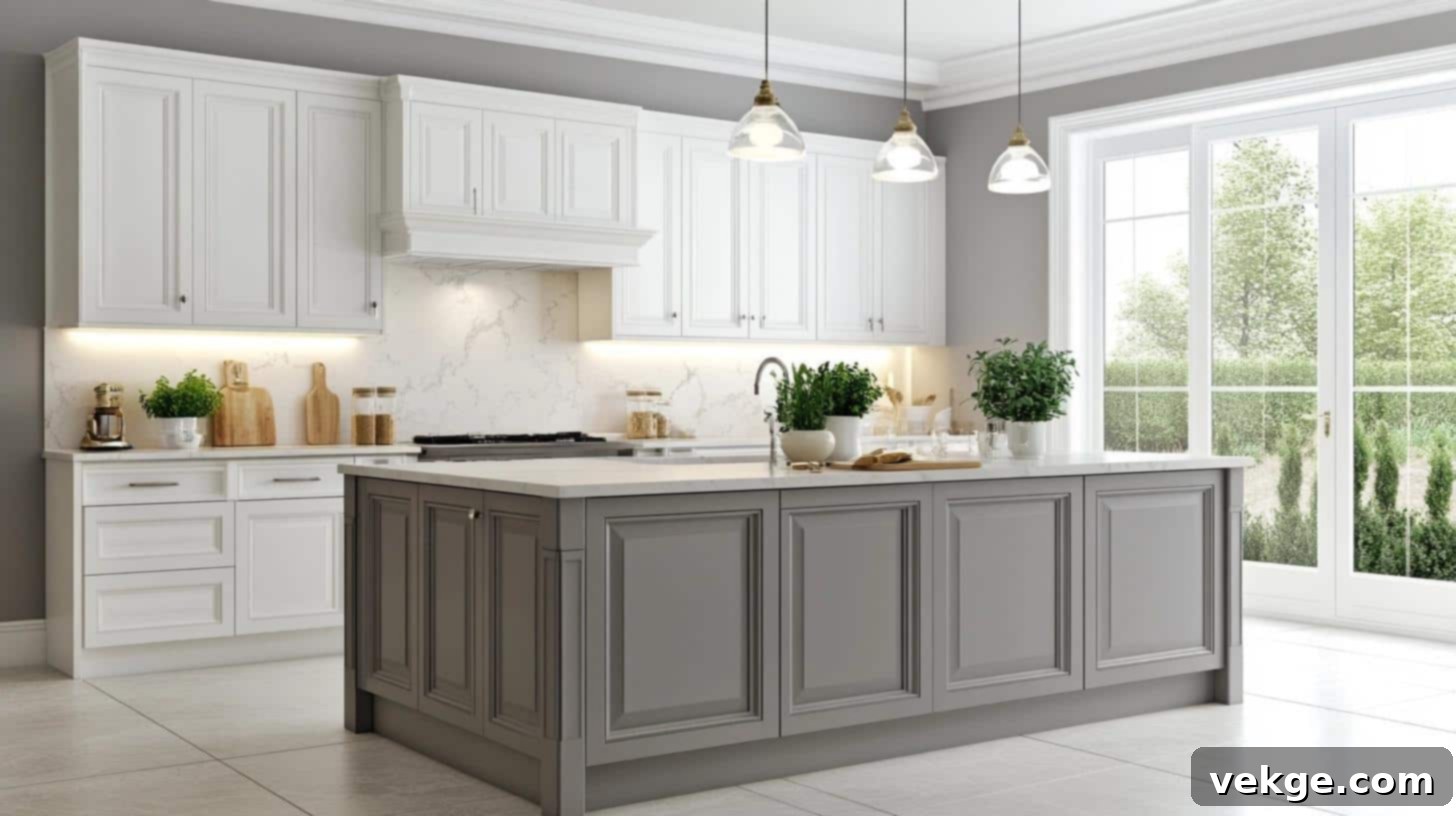
1. Significantly Enhances Appearance and Style
A few strategically placed pieces of trim can utterly rejuvenate outdated or bland cabinets, making them look brand new. My own kitchen serves as a testament to this transformation; for just around $200, I gave my entire kitchen a modern, custom update. My previously basic, flat doors now exude the same sophisticated appeal as custom-made cabinets that would typically cost thousands to purchase and install. The layered trim creates beautiful shadows and depth, effectively breaking up the flat surfaces and giving the cabinets a professionally crafted, bespoke appearance that truly elevates the entire room.
2. Boosts Your Home’s Overall Value
Kitchen upgrades are consistently cited as one of the most effective ways to increase property value. By dedicating just one weekend to adding trim to my cabinets, I made a tangible improvement to my home’s worth and appeal. Updated kitchens are a major selling point for potential buyers, often helping homes sell faster and for a better price. The added dimension and custom feel from trim work transform basic builder-grade cabinets into what looks like expensive, designer millwork—a highly sought-after feature that instantly adds perceived value to your property.
3. Allows for Personalized Style and Customization
One of the greatest advantages of DIY cabinet trim is the freedom to choose from a vast array of trim patterns and profiles, allowing you to create your ideal aesthetic. For my modern home, I opted for clean, minimalist lines to achieve a sleek look. However, you could easily select curved details or more ornate profiles to evoke a classic, traditional, or even farmhouse feel. The versatility of trim ensures that your cabinet doors can perfectly complement any design choice, integrating seamlessly with your home’s unique character. Different trim profiles—from simple squared edges to more elaborate ogee or cove designs—provide endless possibilities to match your home’s distinct personality.
Essential Tips and Tricks for a Flawless Cabinet Makeover
Before you dive into your exciting cabinet makeover project, allow me to share some invaluable tips and tricks I’ve accumulated through years of experience. These simple yet effective strategies will save you time, help you avoid common mistakes, and ensure you achieve those perfectly professional results you’re aiming for.
- Test Your Layout: Always test your trim layout on a single cabinet door first. This allows you to visualize the design, check proportions, and make any necessary adjustments before committing to the entire kitchen.
- Keep Blades Sharp: A sharp saw blade is non-negotiable for clean, precise cuts. Dull blades can tear wood, leading to rough edges and imperfect miter joints, which will be visible in your final product.
- Ensure Good Lighting: Work in a brightly lit area. Good lighting makes it easier to spot imperfections, ensure precise alignment, and achieve a smooth finish with paint or caulk.
- Pre-Drill Nail Holes: For softer woods or thin MDF trim, pre-drilling small pilot holes before nailing can prevent the wood from splitting, ensuring a stronger and cleaner attachment.
- Clean Surfaces Thoroughly: Before applying any glue or paint, ensure all cabinet surfaces are perfectly clean, dry, and free of dust or grease. This promotes optimal adhesion and a smooth finish.
- Allow Glue to Dry: Be patient! Allow wood glue to dry completely according to manufacturer instructions before moving to the next step (e.g., sanding or painting). Rushing this can compromise the bond.
- Check Angles with a Square: Use a speed square or combination square tool to verify that all your corners are perfectly 90 degrees. This is crucial for professional-looking mitered corners.
- Let Wood Filler Cure: For the best results, allow wood filler to dry overnight. This ensures it hardens completely, preventing shrinkage or cracking after sanding and painting.
- Store Trim Flat: Store trim pieces flat and supported evenly to prevent them from warping or bowing before installation, which can complicate straight cuts and perfect alignment.
- Apply Thin Paint Layers: When painting, apply multiple thin coats rather than one thick coat. Thin layers dry more evenly, prevent drips, and result in a smoother, more professional-looking finish.
My Kitchen Cabinets: Before the Trim Transformation
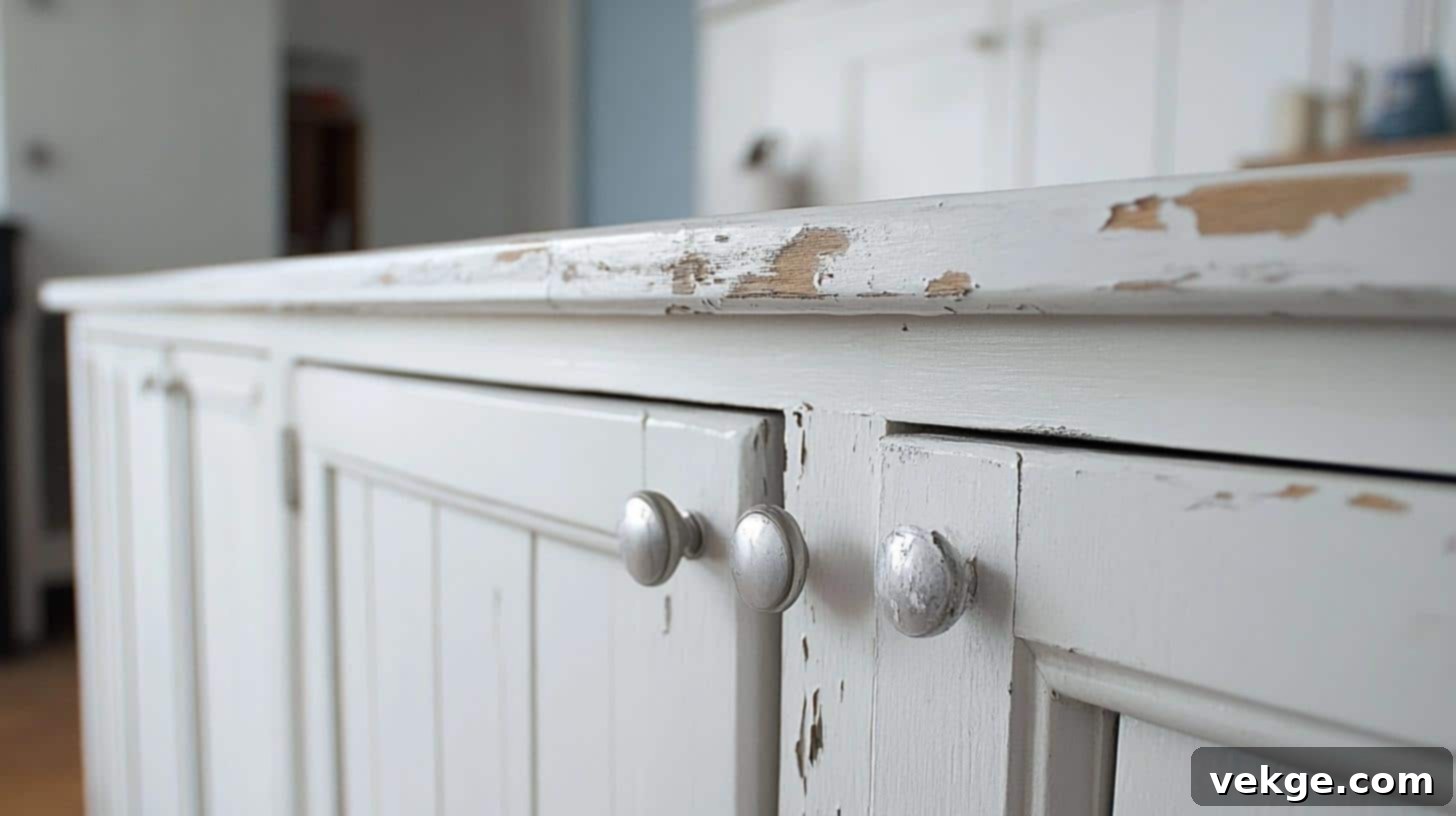
My kitchen cabinets were, to put it mildly, uninspired. They were basic, flat slabs of wood, uniformly painted white, offering absolutely no visual texture or character. Every single morning, as I prepared breakfast, my gaze would inevitably fall upon those bland doors, and I’d feel that a vital element was missing from my kitchen. They were functional, certainly, but they utterly lacked personality and charm.
These doors served merely as blank canvases, contributing nothing exciting to my kitchen’s aesthetic. I had purchased these cabinets eight years ago when I first moved into my home, and they represented the standard, flat-front style commonly found in most builder-grade residences. While practical, they offered no design flair.
Here’s a snapshot of what my cabinets looked like before their much-needed makeover:
- Basic white flat panels, devoid of any decorative elements or design features.
- Small, generic silver knobs centered squarely on each door.
- Slightly worn edges, showing the signs of years of daily use and inevitable wear and tear.
- The paint, once vibrant, had started to appear dull and tired, particularly in high-traffic areas around the handles.
- Visible fingerprints and smudges were a constant battle around the areas most frequently touched.
Browsing through countless inspiring kitchens online made me acutely aware of my own space’s untapped potential. I was convinced that my cabinets could look significantly better, but the thought of spending thousands of dollars on a complete replacement was simply not an option. That’s when I began diligently researching creative and cost-effective trim options – a decision I am incredibly grateful for now. It truly opened my eyes to the possibilities of DIY transformation.
DIY Guide: Adding Trim to Your Cabinet Doors (Made Simple)
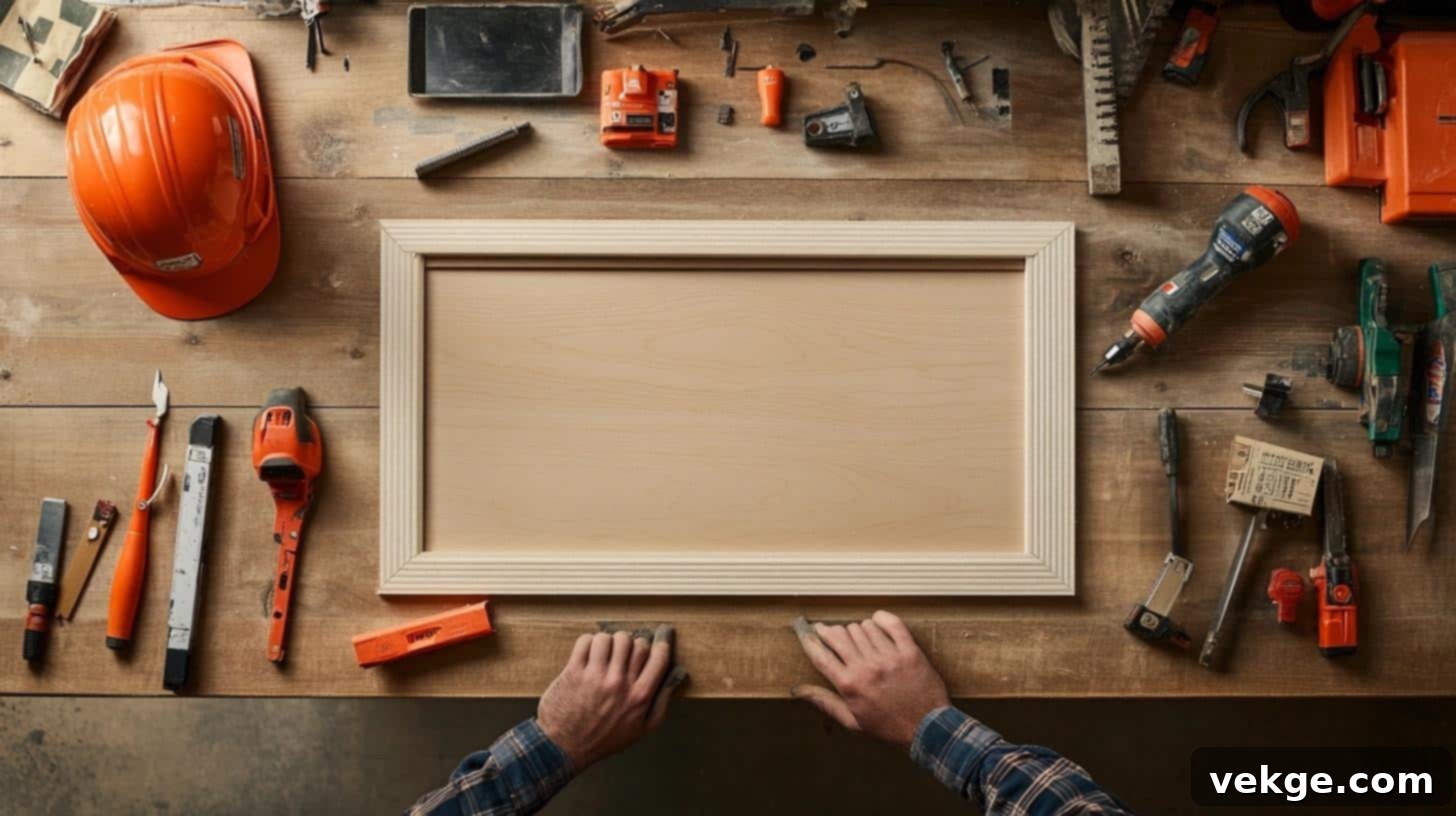
Step 1: Gather Your Tools and Materials
Preparation is key for any successful DIY project. Before you even think about cutting, create a comprehensive checklist and gather all the necessary items. This prevents interruptions and ensures a smooth workflow.
| Essential Tools | Required Materials |
|---|---|
| Measuring tape (accurate!) | Your existing flat panel doors |
| Saw (miter saw for precision, or table saw) | 1/4-inch MDF strips (or preferred wood trim) |
| Sandpaper (medium to fine grit) | Strong wood glue or liquid nails adhesive |
| Nail gun (or hammer and small finishing nails) | 5/8-inch brad nails (or appropriate size for trim) |
| Pin punch (for setting nails below surface) | Quality wood filler |
| Rag/cloth (for cleaning and wiping) | Paintable caulk (silicone or acrylic latex) |
| Safety gear (gloves, eye goggles, hearing protection) | Paint/Primer (optional, but highly recommended) |
Pro Tip: Investing in good quality tools will make the process easier and the results more professional. For trim, MDF is budget-friendly and takes paint well, but you can also use solid wood for a more durable finish.
Step 2: Getting Started with Measurement and Preparation
This is your foundation for success – accurate measurements are paramount. I always begin by carefully measuring each cabinet door individually, as sizes can vary slightly. When determining trim width, consider the scale of your doors for optimal proportion:
- For smaller cabinet doors (e.g., upper cabinets above a stove), 2-inch wide MDF strips typically work best, maintaining a delicate balance.
- Larger doors (like pantry doors or lower base cabinets) benefit from 3-inch wide strips to create a more substantial and well-proportioned frame.
- Always cut your trim pieces slightly longer than required. This allows for precise adjustments and ensures perfect mitered corners without being short on material.
Before cutting, briefly clean the cabinet doors to ensure no debris interferes with later adhesion.
Step 3: Setting Up Your Workspace for Precision
Find a clean, flat, and well-lit surface, such as a workbench or a sturdy table, and lay your cabinet door face-down. This provides a stable base for working. I then like to arrange my pre-cut MDF strips loosely around the perimeter of the door. It’s critical to maintain a small, consistent gap (e.g., 1/8 to 1/4 inch) between the outer edge of your trim piece and the actual edge of the cabinet door. This gap isn’t just for aesthetics; it provides crucial space for final sanding, caulking, and ensures your newly trimmed door doesn’t interfere with its frame when re-hung.
Step 4: Attaching the Trim Pieces
I always start with the vertical trim pieces first. This is my tested, step-by-step process for secure and clean attachment:
- Clean All Surfaces: Before applying anything, wipe down both the cabinet door and the back of your trim pieces with a clean, damp cloth to remove any dust or debris. Let them dry completely.
- Apply Wood Glue: Apply a thin, even layer of high-quality wood glue or liquid nails to the back of the trim piece. Avoid applying too much, as excessive squeeze-out can create a mess and be difficult to clean.
- Position and Press: Carefully position the trim firmly against the cabinet door, aligning it perfectly according to your desired layout (maintaining that consistent outer gap). Apply steady pressure for a few seconds to allow the glue to begin bonding.
- Secure with Nails: Using a nail gun (or hammer and finishing nails), secure the trim with evenly-spaced brad nails. I typically place nails every 6-8 inches, ensuring they are driven straight and flush with the surface.
- Complete Sides: Work on one side at a time, securing the vertical pieces first, then measuring and cutting your horizontal pieces to fit precisely between them. Remember to cut horizontal pieces slightly larger and gradually trim down for the perfect, snug fit.
Step 5: Fill and Sand for a Seamless Finish
- Set Nails: Use a pin punch to gently indent any visible nail heads slightly below the wood surface. This creates a small divot that can be filled, making the nails disappear.
- Fill Gaps and Holes: Apply wood filler to all nail holes and any tiny gaps between your trim pieces where they meet. Use a putty knife to apply and smooth it, ensuring a seamless transition.
- Dry and Sand: Once the wood filler is completely dry (refer to product instructions, often overnight), sand the entire surface of the trim and the filled areas. Start with a medium-grit sandpaper (120-150 grit) to smooth rough spots, then finish with a fine-grit (220 grit) for a silky-smooth touch.
Step 6: Apply Caulk and Final Finish
- Clean Dust: After sanding, thoroughly wipe down the entire cabinet door with a clean, slightly damp cloth to remove all sanding dust. Dust can compromise paint adhesion.
- Caulk Grooves: Apply a thin, even bead of paintable caulk along the inside grooves where the trim meets the cabinet door. This fills any tiny gaps, creating a truly seamless and professional finish that mimics custom millwork. Smooth the caulk with a wet finger or a caulking tool.
- Paint or Stain: Once the caulk is dry (check product recommendations), you can prime and then paint or stain the cabinet door to your desired color and style. For best results, apply two to three thin coats of paint, allowing ample drying time between each.
For a visual step-by-step guide and more detailed insights, check out the video below on adding trim to your flat cabinet doors:
My Cabinets After: The Stunning Transformation I Can’t Stop Obsessing Over!
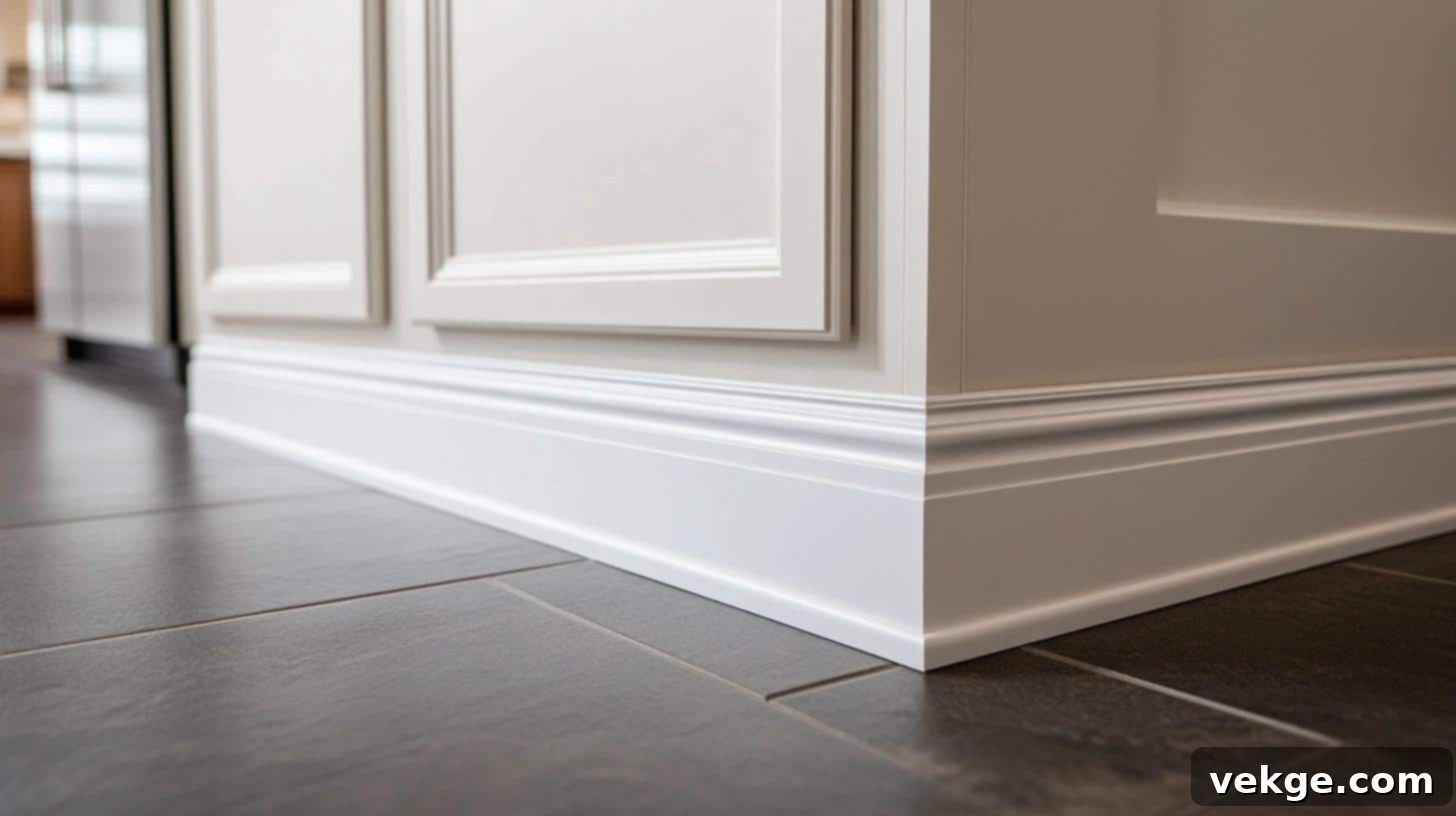
The difference a little trim makes is absolutely incredible! Every morning, I still pause in my kitchen, but now it’s to admire just how far these cabinets have come. The flat, uninteresting panels that once dominated my space are gone, replaced by doors that now boast the elegance and character of custom-made pieces. The crisp white MDF trim sits perfectly on each door, creating clean, defined frames that beautifully catch the light, adding a layer of sophistication that was previously absent.
The small details are what truly bring a smile to my face every single time I see them:
- Smooth, even frames with perfectly mitered corners, showcasing meticulous attention to detail.
- Not a single gap or rough spot, thanks to careful application of caulk and thorough sanding.
- A fresh, bright white paint finish that looks as smooth and flawless as glass, reflecting light beautifully.
- Clean, architectural lines that perfectly complement and enhance my kitchen’s overall modern style.
- New, stylish handles that genuinely pop against the framed panels, completing the high-end look.
My friends and family are consistently amazed that these are the very same cabinets. The trim adds just the right amount of depth and visual interest to make the doors stand out, yet it’s designed in a way that feels refined and understated, never overly fancy or ostentatious. My absolute favorite time to view them is in the soft morning light, where the gentle shadows cast by the trim frames create such a lovely and inviting pattern. It truly feels like a brand new kitchen, achieved with such minimal effort and expense.
Beyond Trim: Alternative Decor Ideas for Cabinets to Elevate Your Kitchen
Once you’ve mastered adding trim to your cabinet doors, why not take your kitchen makeover to the next level? After transforming my own doors, I discovered that these additional touches made a significant difference in achieving a truly custom and polished look. Let me share some of my favorite ways to infuse even more style into your newly updated cabinets.
Adding Decorative Hardware for a Finishing Touch
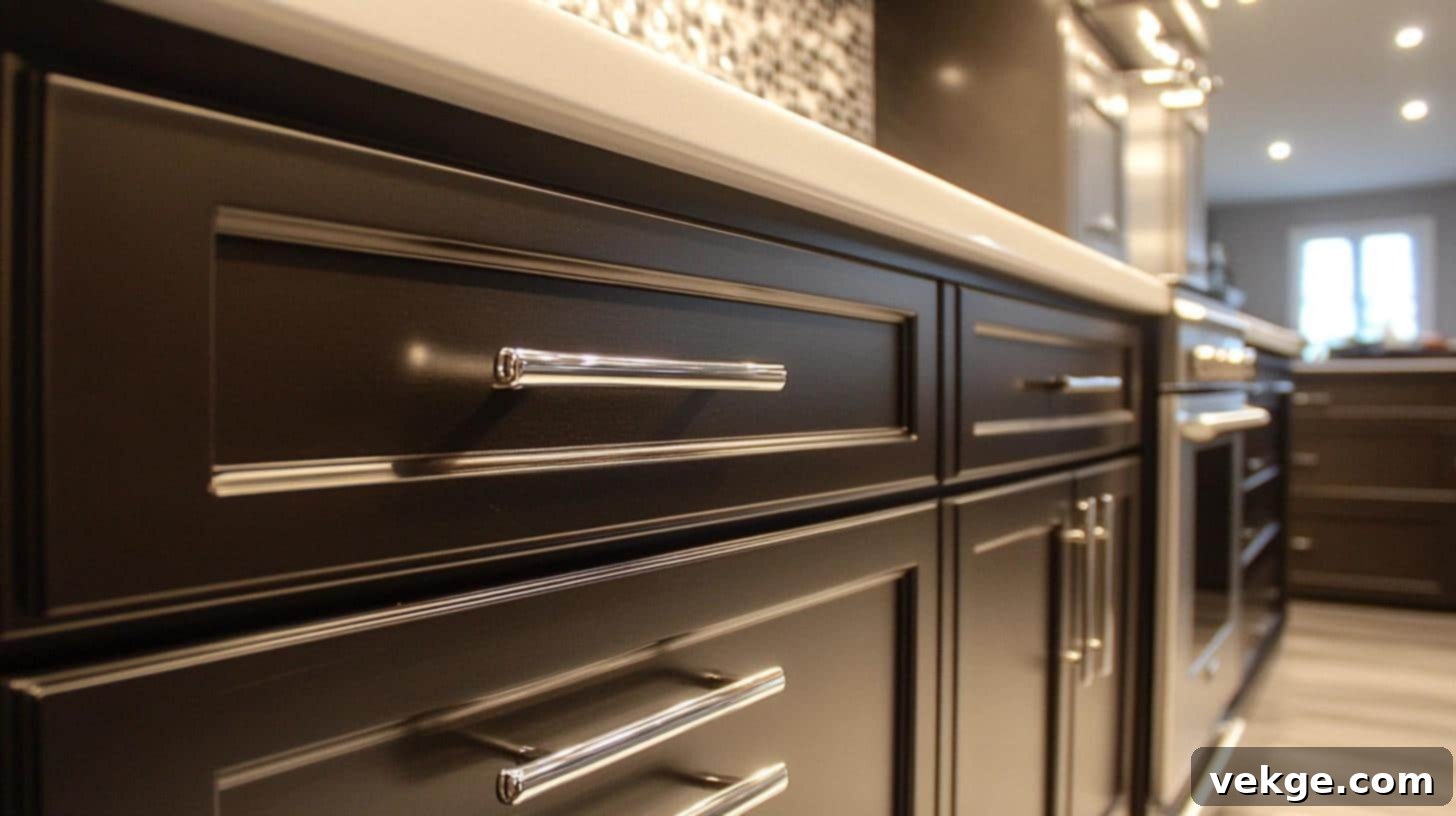
I quickly realized that new handles and knobs are the perfect complement to the newly added trim work. Choosing hardware that harmonizes with your home’s existing style can dramatically enhance the overall aesthetic. For my kitchen, I selected simple, yet elegant, brushed nickel pulls. These cost only about $3 each, but their impact was profound, making the cabinets appear far more expensive and custom-designed than they actually were.
Consider Elegant Glass Insert Options
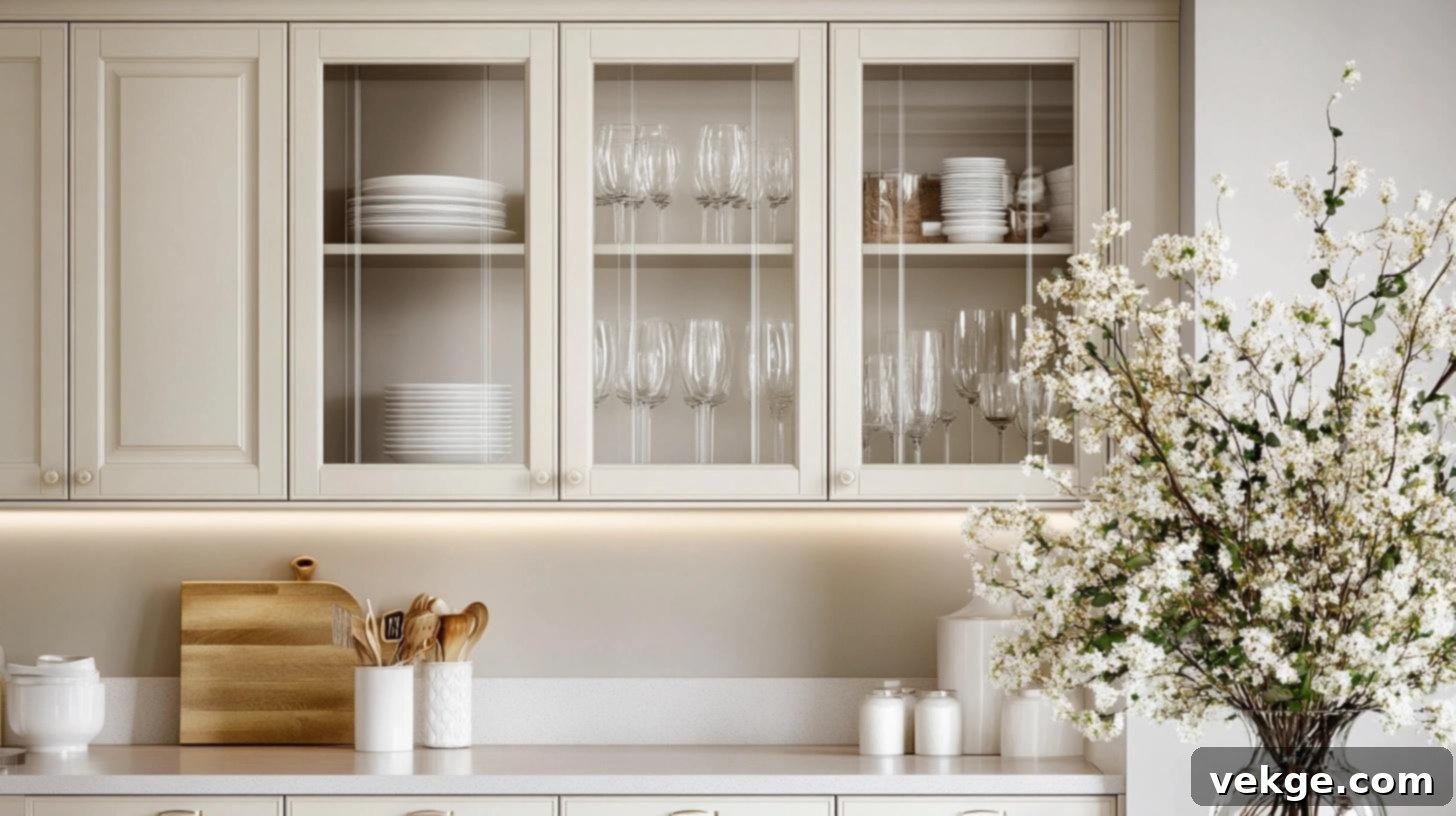
For a few of my upper cabinets, I decided to add an extra special touch: glass panels. This allowed me to beautifully display some of my favorite dishes and glassware, adding a touch of sophistication and openness to the kitchen. Just remember, with glass inserts, keeping the inside of these cabinets neat and organized becomes a priority! I recommend starting with one or two doors, perhaps near your sink or stove, to gauge the effect before committing to more.
Explore Striking Two-Tone Paint Ideas
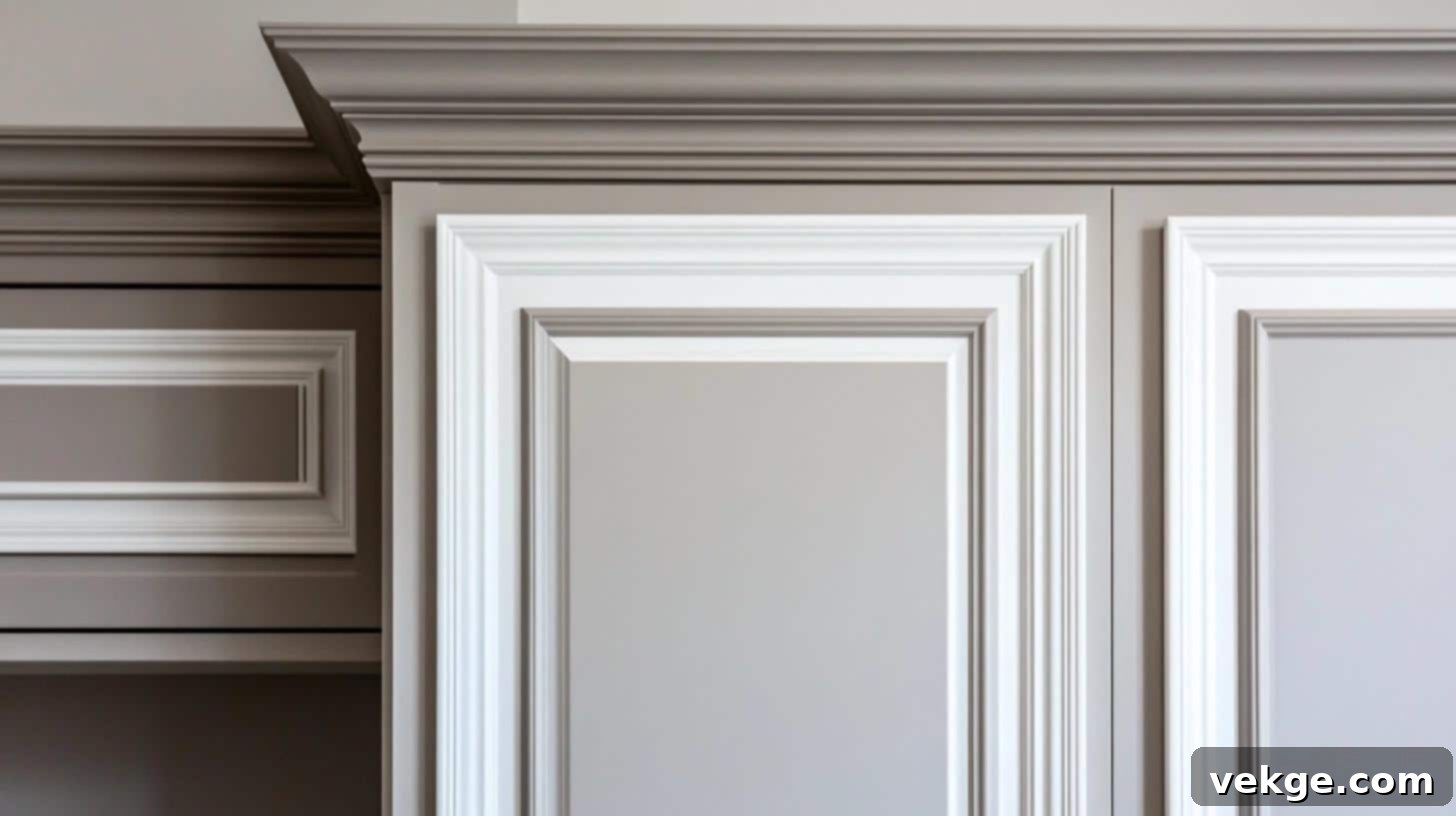
Here’s a creative trick I experimented with: painting the trim a different color than the central panel of the door. In my own kitchen, I opted for crisp white trim contrasted with light gray centers. This subtle yet effective contrast makes the details of the trim stand out even more, adding depth and visual intrigue. You could also achieve a similarly stunning effect by using dark and light shades of the same color for a more monochromatic, yet dynamic, look.
Maintenance and Care Tips for Your Newly Trimmed Cabinets
Ensuring your beautifully updated cabinet doors retain their fresh, custom look isn’t difficult, but it does require a bit of consistent attention. Based on two years of daily use in my busy kitchen, here’s what I’ve learned about keeping them looking pristine.
1. Daily and Weekly Care for Lasting Beauty: Regular cleaning is your best friend. I make it a point to clean my cabinet doors weekly with a soft cloth and a mild dish soap solution. Here’s what works most effectively:
- Always use gentle, circular motions when cleaning to avoid streaks or damage to the finish.
- Steer clear of harsh chemical cleaners or abrasive scrubbers, as these can dull the paint finish, degrade the caulk, or even damage the wood.
- Keep a clean, dry cloth readily available to immediately wipe up any spills, especially those involving water or oily substances.
- Pay extra attention to cabinet doors located near cooking areas, as they tend to accumulate grease and grime more quickly.
2. Quick Fixes and Touch-Ups for Minor Imperfections: Small marks, dings, and scratches are inevitable in any active kitchen. Here’s my simple routine for keeping them looking their best:
- Keep a small jar of your exact cabinet paint (or a matching paint pen) on hand for quick and easy touch-ups of minor scuffs.
- For deeper scratches or small dents in the trim, use a tiny amount of wood filler. Apply carefully, allow to dry, and then lightly sand.
- Always sand very lightly with fine-grit sandpaper before applying any touch-up paint to ensure a smooth, blended repair.
- Inspect corners and edges monthly for any signs of wear and tear, especially where trim pieces meet.
3. Preventing Damage for Long-Term Durability: Water is often the biggest enemy of kitchen cabinets. Here’s how I safeguard my investment and prevent potential issues:
- Consider installing small, clear adhesive bumpers on the inside of cabinet doors, especially those near water sources, to prevent direct contact with moisture.
- Avoid hanging wet dish towels or cleaning cloths over cabinet handles, as prolonged moisture can cause swelling or damage to the door and trim.
- If you notice any trim pieces becoming loose, re-attach them immediately with a small amount of wood glue and a few brad nails. Prompt action prevents bigger issues.
- Maintain consistent humidity levels in your kitchen. Extreme fluctuations can cause wood to expand and contract, potentially leading to cracks or warping.
Wrapping It Up: Your Journey to a Custom Kitchen Awaits!
Adding trim to flat cabinet doors is truly one of the most impactful yet simple weekend projects you can undertake to dramatically upgrade your kitchen. As you’ve seen from my own kitchen makeover, you don’t need expensive tools, advanced carpentry skills, or a massive budget to create stunning, custom-looking cabinet doors. The true secret to success lies in taking your time with precise measurements, paying attention to the details, and most importantly, enjoying the rewarding process of transforming your space with your own hands.
This DIY approach not only saves you a significant amount of money but also infuses your kitchen with a unique character and a sense of personal accomplishment that a store-bought solution simply cannot match. Get ready to fall in love with your kitchen all over again!
Ready to embark on your very own cabinet transformation journey? I’ve curated more guides to help you along the way:
- For the perfect finishing touches, explore my detailed guide on “How to Choose Cabinet Hardware.”
- If you’re feeling ambitious, learn the fundamentals in “How to Make Cabinet Doors from Scratch.”
- Discover step-by-step details for another popular style in “DIY Shaker Cabinet Doors Made Simple.”
If you’ve successfully updated your cabinets with trim, I would absolutely love to see your results! Please share your incredible before-and-after photos in the comments section below, or feel free to ask me any questions you might have about your upcoming project. Happy DIYing!
