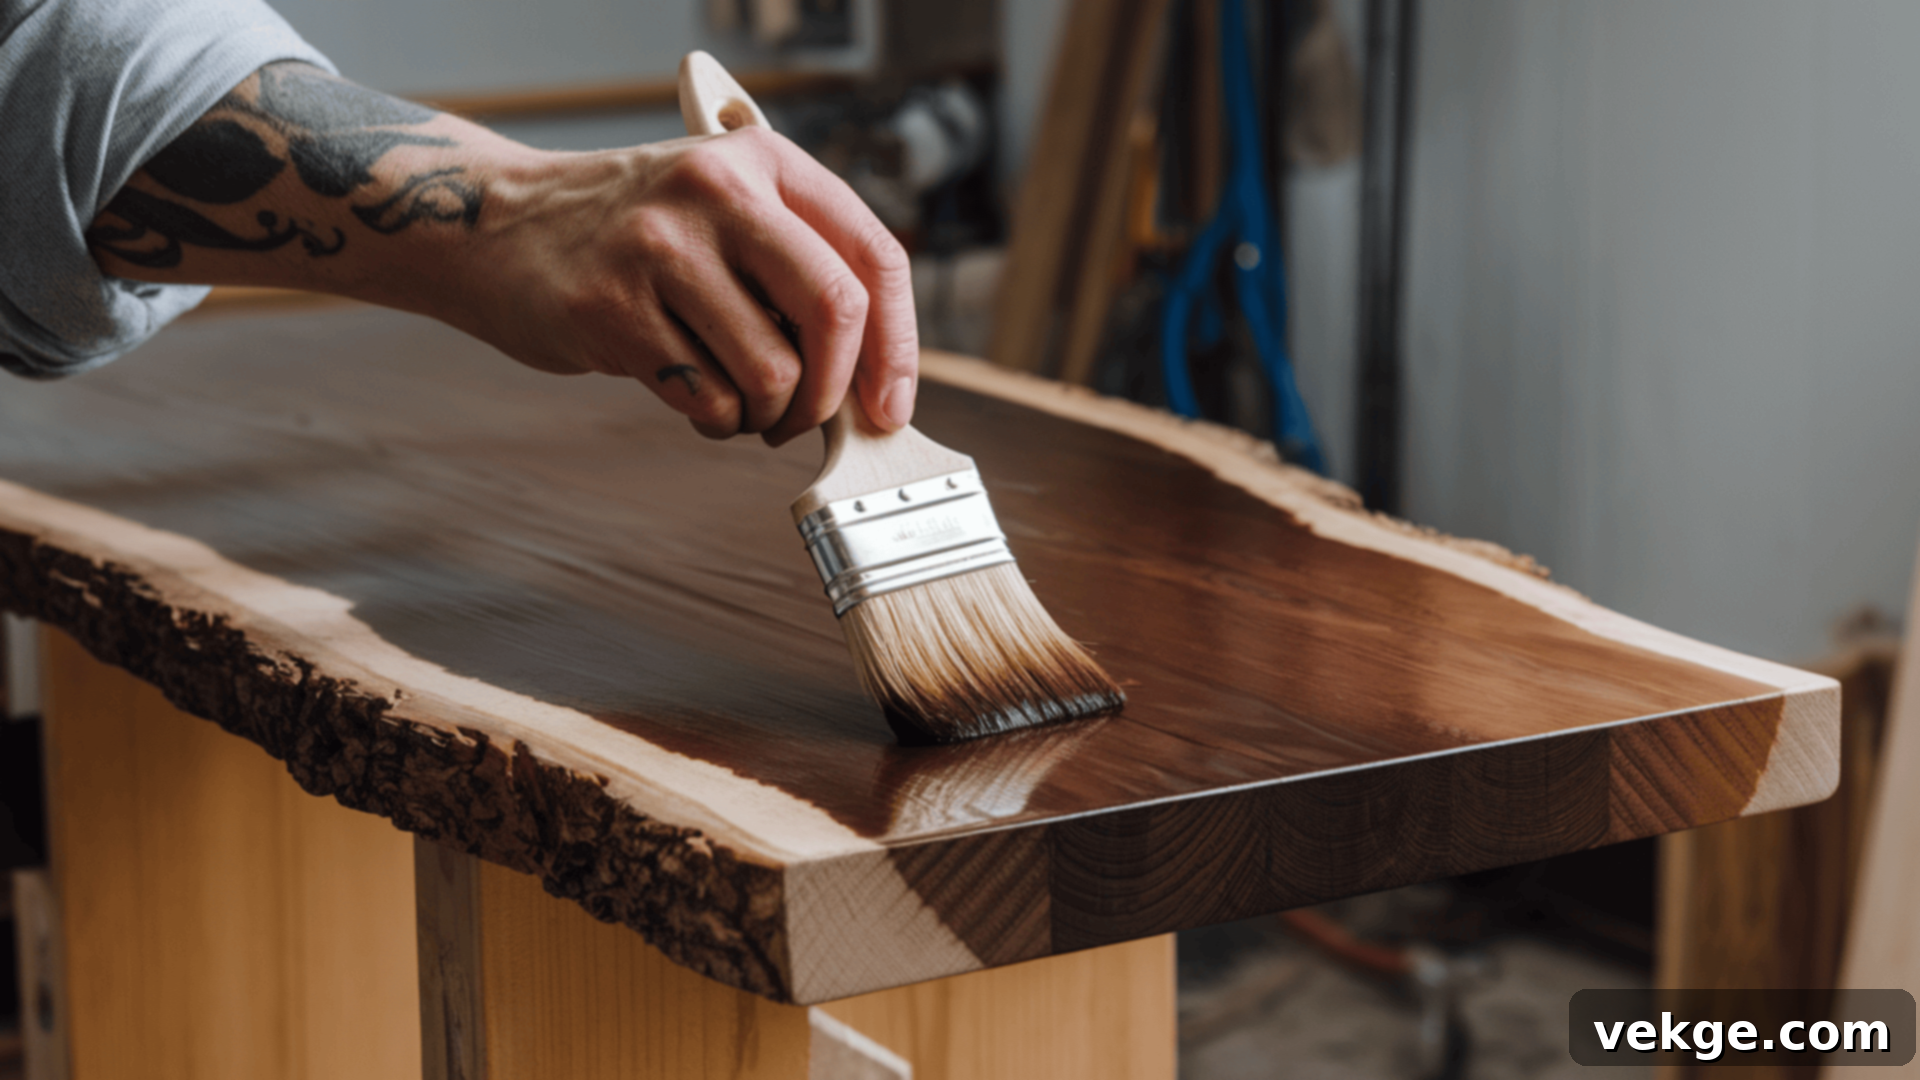
Revitalize Your Furniture: The Ultimate DIY Guide to Refinishing a Table
Refinishing a table is an incredibly rewarding and cost-effective way to breathe new life into tired, old furniture. If your beloved table has seen better days—marked by scratches, faded finishes, or an outdated appearance—a fresh refinish can restore its original beauty, or even give it an entirely new aesthetic, making it look brand new.
This process is a fantastic DIY project that doesn’t demand expert craftsmanship, yet it yields stunning results. By tackling this project yourself, you can save significant money that would otherwise be spent on buying new furniture. This comprehensive guide will walk you through every essential step, from the initial preparation of your table to applying the perfect final coat of finish, ensuring a professional and durable outcome. Get ready to transform your table and enhance your home!
Preparing Your Table for Refinishing
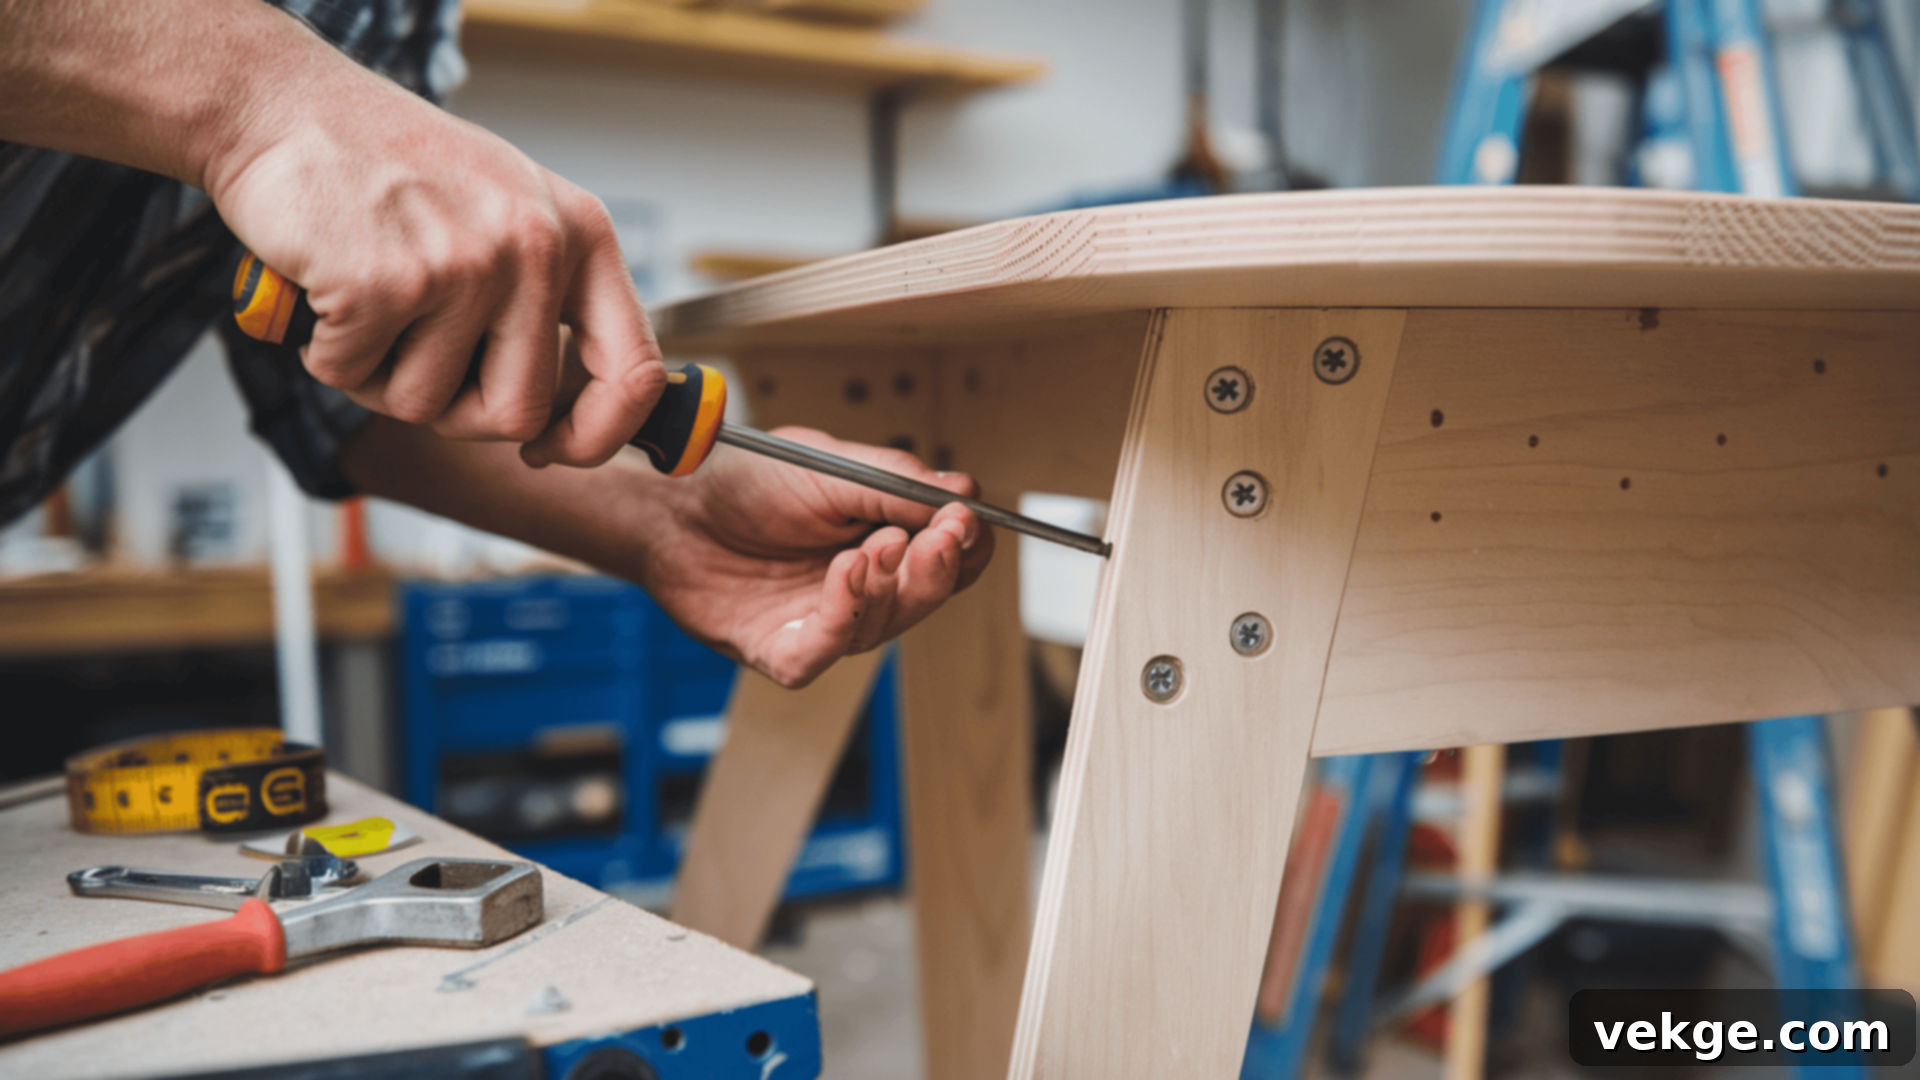
Before any refinishing work begins, thorough preparation of the table is absolutely crucial. This foundational step ensures that the new finish adheres properly, looks smooth, and lasts for years to come.
Assessing the Table’s Condition
Begin by meticulously examining your table for any existing damage or signs of wear. Look closely for cracks, chips, dents, water rings, or any loose components like wobbly legs or joints that might require repair. Addressing these structural and cosmetic issues upfront is vital. If your table has significant damage, such as deep gouges or structural instability, it’s best to repair these areas first before proceeding with the finish removal. For minor cracks or chips, wood filler can be used, ensuring it dries completely and is sanded smooth before the next steps. For loose joints, wood glue and clamps can often provide a strong, lasting fix.
Removing Hardware
Next, carefully remove any hardware attached to the table, including knobs, pulls, screws, hinges, or decorative accents. This step is essential to prevent the hardware from being damaged or getting coated with stripper or finish. It also allows for an even application across the entire surface. Make sure to keep all hardware in a secure, labeled container or bag. This will prevent loss and make reattachment much easier once the refinishing process is complete. Properly removing and storing hardware not only protects it but also contributes to a cleaner, more professional final look.
Initial Cleaning and Degreasing
Once all hardware is removed and any major repairs are done, give your table a thorough cleaning. Use a mild all-purpose cleaner or a degreaser solution mixed with water to wipe down the entire surface. This will remove dirt, grease, grime, and any buildup that might hinder the stripping or sanding process. For stubborn spots, a scrub brush can be helpful. Ensure the table is completely dry before moving on. A clean surface is paramount for optimal adhesion of subsequent layers.
Stripping the Old Finish
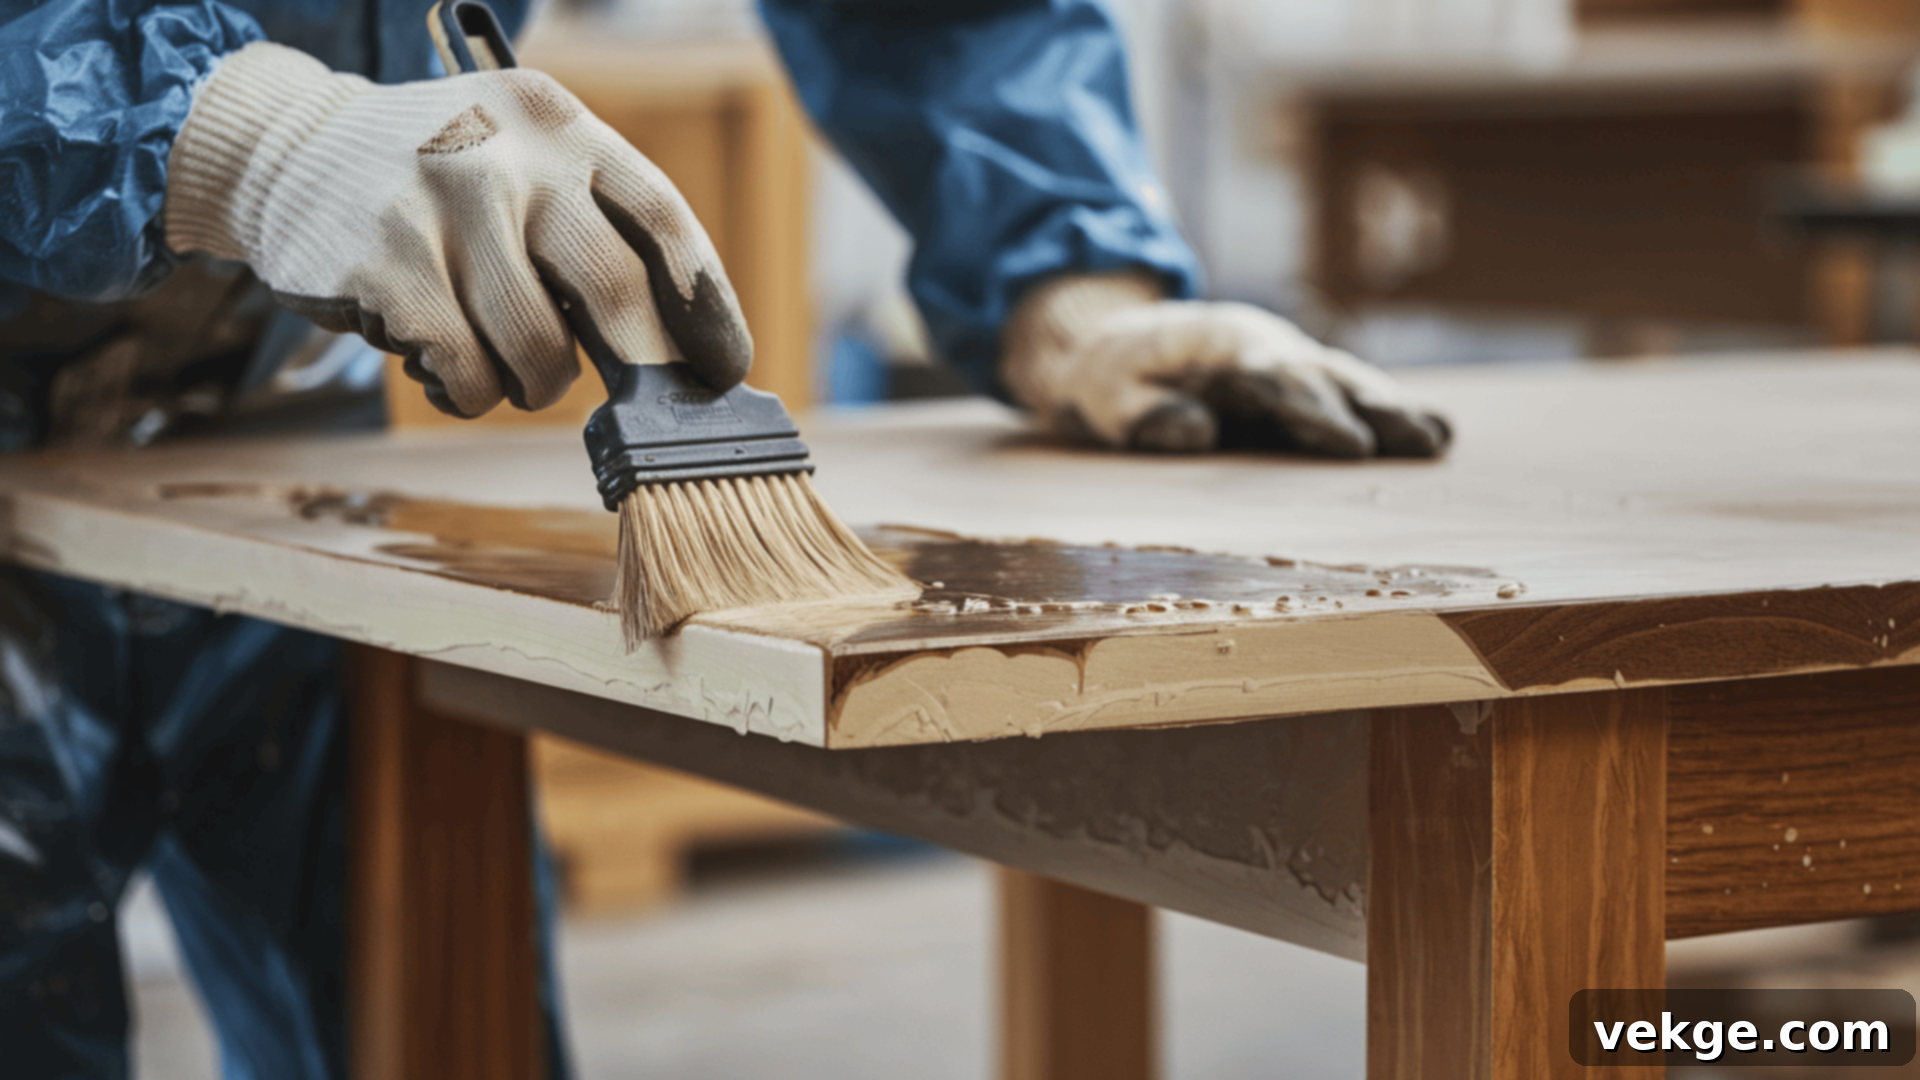
With your table properly prepared and clean, the next critical step is to remove the existing finish. This ensures that any new stain or topcoat can penetrate and adhere uniformly to the bare wood, achieving a beautiful and long-lasting result.
Using a Chemical Stripper
- Application: Always work in a well-ventilated area and wear appropriate personal protective equipment, including chemical-resistant gloves and safety goggles. Apply the chemical stripper generously to a small section of the table using a natural-bristle brush.
- Waiting Time: Allow the stripper to sit for the time recommended by the manufacturer, typically 15-30 minutes. You’ll observe the old finish beginning to bubble, wrinkle, or soften, indicating it’s ready to be removed.
- Removal: Use a plastic scraper or a putty knife with rounded corners to gently scrape off the softened finish. Work with the grain of the wood to avoid damaging the surface. For intricate carvings or tight corners, an old toothbrush, stiff bristle brush, or even a dental pick can be effective.
- Repeat if Necessary: For multiple layers of old finish or stubborn areas, you may need to apply a second or third coat of stripper. Always follow the product’s instructions for best and safest results.
- Neutralization: After stripping, some chemical strippers require a neutralizing wash. Consult your product’s label to see if this step is necessary, ensuring all chemical residue is removed.
Alternatives to Chemical Stripping
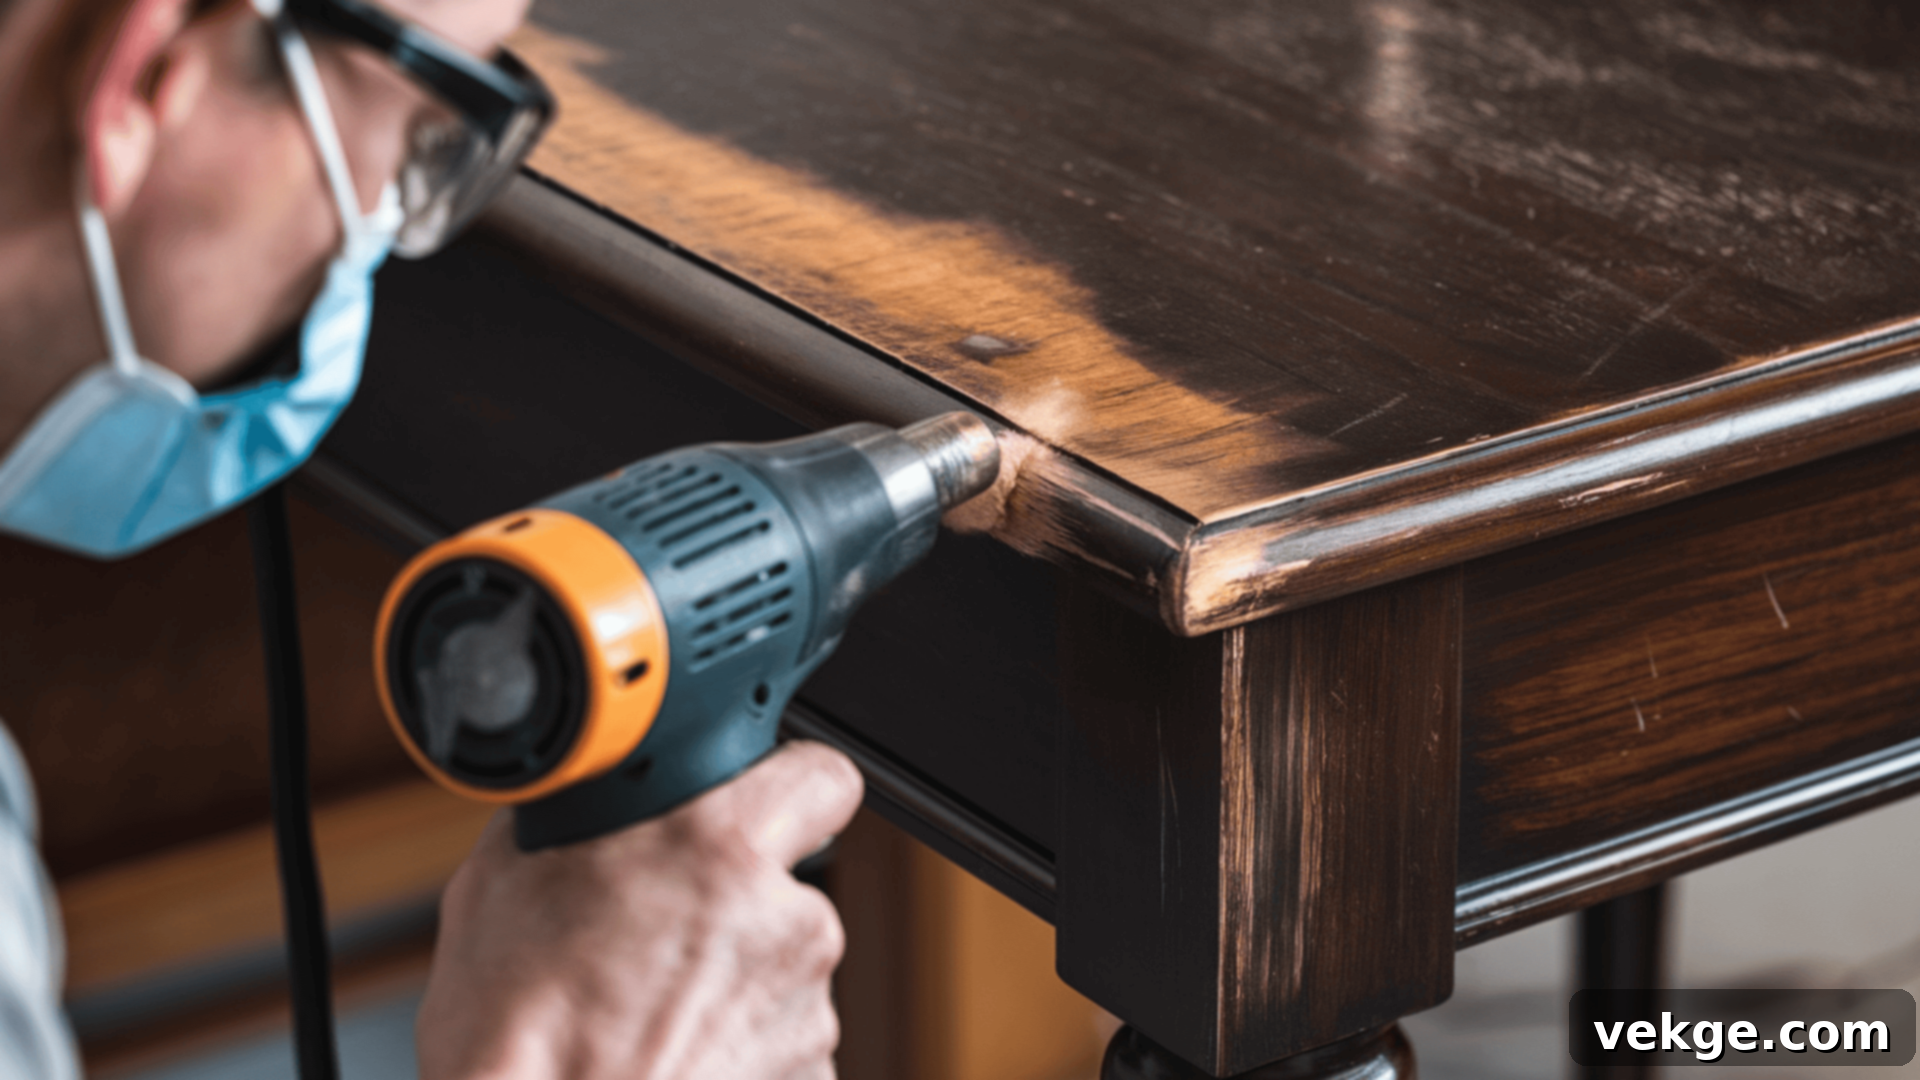
- Heat Gun: A heat gun can be used to soften the old finish, making it easier to scrape off. Apply heat gently and consistently over a small area until the finish softens. Then, immediately scrape it off. Be cautious not to scorch the wood, as this can be difficult to repair. This method is particularly effective for thick, stubborn finishes like old paint or varnish.
- Power Sanding: While often combined with stripping, power sanding can be used as a primary method for removing finish, especially on large, flat surfaces. Start with a coarse grit sandpaper (e.g., 60-80 grit) on an orbital sander. Exercise caution not to over-sand or create divots in the wood.
When to Use Sandpaper
- Post-Stripping Cleanup: After chemical stripping, sandpaper is often essential to remove any remaining flecks of finish, stripper residue, or to smooth out any rough spots left behind by the scraper.
- Gradual Refinement: Start with a medium-coarse grit (e.g., 100-120) to ensure all old finish is gone and the surface is even. Gradually move to finer grits (e.g., 150, 180, 220) to achieve a perfectly smooth surface for staining.
- Targeted Areas: Sanding is particularly helpful for areas where the stripper may not have worked effectively, or for feathering in areas where the finish was thinner.
Sanding and Cleaning

Once the old finish has been completely stripped, the meticulous process of sanding and cleaning the surface is absolutely crucial. This stage creates the ideal smooth and pristine base necessary for the new finish to look flawless and adhere perfectly.
Sanding the Table
Begin the sanding process with a coarse grit sandpaper, typically 80 or 100 grit. This initial pass helps to remove any stubborn remnants of the old finish, flatten any raised grain, and smooth out significant rough spots or minor imperfections on the table’s surface. Ensure you sand with the grain of the wood to prevent visible scratches.
Once the surface feels consistently even and free of major flaws, gradually move to finer grit sandpaper. A typical progression would be 120, 150, 180, and finally 220 grit. Each successive grit refines the wood fibers, leading to an increasingly smooth and refined surface. The 220-grit sandpaper will leave the wood silky smooth, ready to absorb stain evenly.
For large, flat areas, an orbital sander can significantly speed up the process. However, for areas with curves, edges, intricate details, or corners, hand-sanding with a sanding block provides better control and helps avoid uneven sanding or accidental damage to the wood’s profile. This careful and progressive sanding process is vital for creating a flawless foundation for the subsequent staining and finishing steps.
Repairing Minor Imperfections
During sanding, you might uncover minor dents or small holes. Use a high-quality wood filler that matches the wood’s color as closely as possible, or one that can be stained. Apply the filler, allow it to dry completely according to manufacturer instructions, and then sand it flush with the surrounding wood, progressing through the grits as before. For water stains or minor discoloration, light buffing with fine steel wool or a wood cleaner can sometimes lift them, but be careful not to over-sand or apply too much pressure.
Cleaning the Surface
- Dusting: After each sanding grit, and especially after the final sanding, it is imperative to thoroughly remove all dust and debris. Use a shop vacuum with a brush attachment to vacuum the entire table surface.
- Wiping: Follow vacuuming with a tack cloth, which is a slightly sticky cloth designed to pick up fine dust particles. Wipe the surface repeatedly until no dust residue is visible on the cloth. For extremely fine dust, you can also use compressed air, followed by another tack cloth wipe.
- Drying: Ensure the surface is absolutely pristine and completely dry before applying any stain or finish. Even the smallest dust particle can become trapped under the new finish, creating imperfections.
Staining Your Table
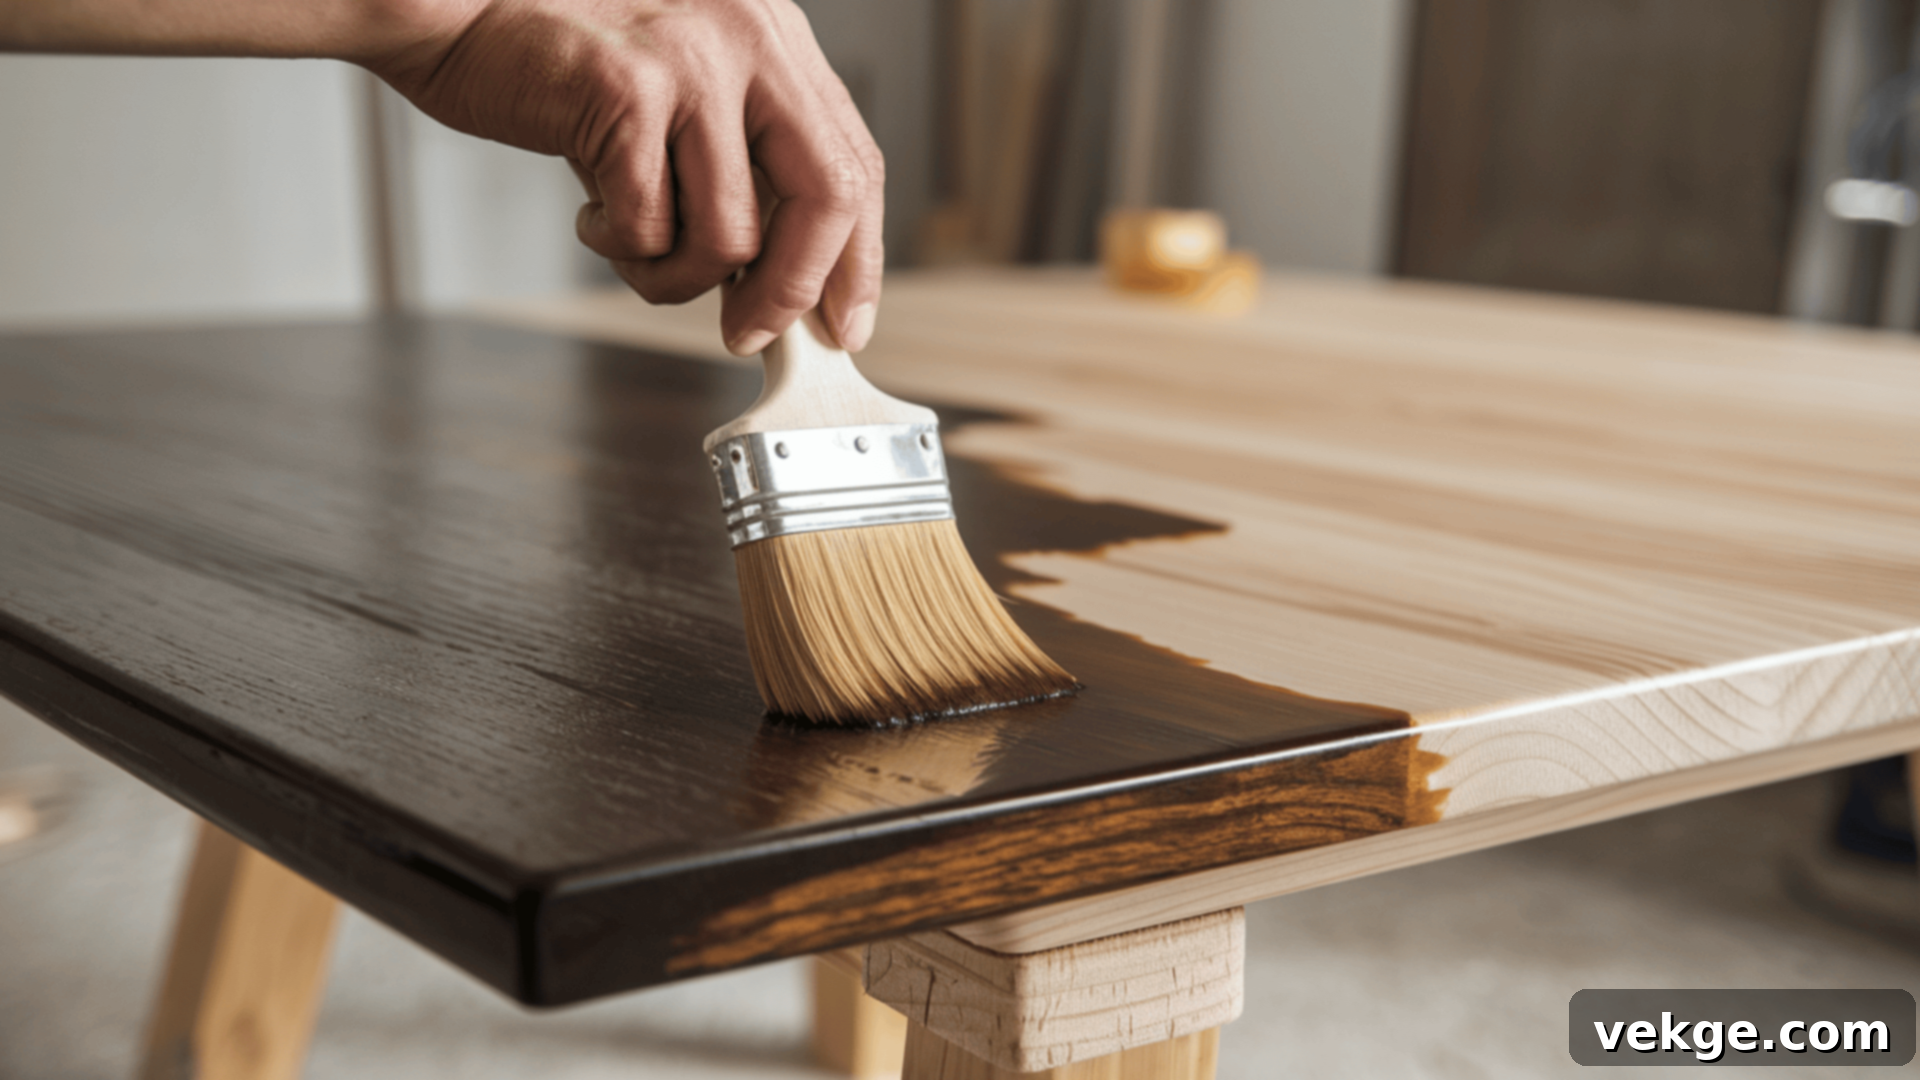
Now that your table is perfectly prepped and sanded smooth, it’s time for the exciting step of adding color and enhancing its natural beauty with wood stain. This step not only gives the table a fresh, updated look but also deepens the wood’s grain and character, bringing out its inherent charm.
Choosing the Right Stain
- Type: The type of stain you choose should complement the wood species of your table and the aesthetic you desire. Oil-based stains are renowned for their deep, rich colors, excellent penetration, and long working time, making them ideal for achieving classic looks. Water-based stains, on the other hand, are faster drying, emit fewer fumes, and are easier to clean up with water. They often provide a more transparent, contemporary finish. Gel stains are another option, excellent for woods that tend to blotch (like pine or maple) as they sit on the surface rather than penetrating deeply.
- Color: Consider the color and shade that will best complement your existing decor and the overall ambiance of your space. Darker stains, such as walnut, mahogany, or espresso, can lend a sense of elegance, formality, and warmth. Lighter stains, like natural oak, pecan, or pine, offer a brighter, more natural, and casual look. Always test your chosen stain on an inconspicuous area of the table (like the underside) or a scrap piece of the same wood type to ensure the color is what you envision.
- Wood Species Interaction: Different wood species react to stain differently. Open-grained woods like oak absorb stain readily and can achieve deep colors. Dense woods like maple might absorb less, resulting in lighter shades. For blotch-prone woods (like pine, birch, or cherry), consider using a pre-stain wood conditioner before applying the stain. This helps to even out absorption and prevent a splotchy appearance.
Applying the Stain
- Pre-Stain Conditioner (if needed): If your wood is prone to blotching, apply a pre-stain conditioner according to product instructions. Let it penetrate for the recommended time, then wipe off any excess before staining. This provides a more uniform surface for stain absorption.
- Brush or Rag Application: Stir the stain thoroughly before and during application. Using a high-quality brush or a lint-free rag (like an old t-shirt), apply the stain generously in the direction of the wood grain. Work in small, manageable sections to ensure even coverage and allow yourself enough time to wipe off excess before it dries.
- Wiping Excess: After applying the stain to a section, allow it to penetrate for a few minutes (refer to the manufacturer’s instructions for exact timing). Then, using a clean, dry, lint-free rag, wipe off any excess stain. Wiping promptly and thoroughly is critical to prevent blotches, uneven coloring, and a tacky surface. Change your rag frequently to avoid reapplying excess stain.
- Drying and Second Coat: Allow the first coat of stain to dry completely according to the manufacturer’s instructions. Drying times can vary significantly based on stain type, humidity, and temperature. If you desire a deeper or richer color, you can apply a second coat, following the same application and wiping process. Always let each coat dry fully before adding another.
Common Staining Challenges and Solutions
- Streaks: Streaks often occur if excess stain isn’t wiped off evenly or promptly. If streaks appear after drying, gently rub the affected area with very fine steel wool (#0000) or lightly sand with 220-grit sandpaper, always with the grain. Then, reapply a very thin, even coat of stain to blend.
- Blotches: Blotches typically result from uneven absorption of stain, especially on soft or tricky woods. To prevent this, use a pre-stain conditioner. If blotches occur, lightly sand the area (again, with the grain) to remove some of the stain, then reapply. For persistent issues, a gel stain can be a more forgiving option as it’s less prone to blotching.
- Uneven Absorption/Touch-ups: If certain areas didn’t absorb color evenly, you can try applying a slightly darker stain in those specific spots using a small artist’s brush, feathering the edges to blend. For larger uneven areas, light sanding and reapplication might be necessary. Patience and careful attention to detail are your best allies here.
Taking your time during the staining process is paramount, as this step dramatically changes the table’s appearance. With careful application, proper wiping, and patience, you can achieve a beautiful, professional-looking stained finish that highlights the wood’s natural character.
Applying the Finish
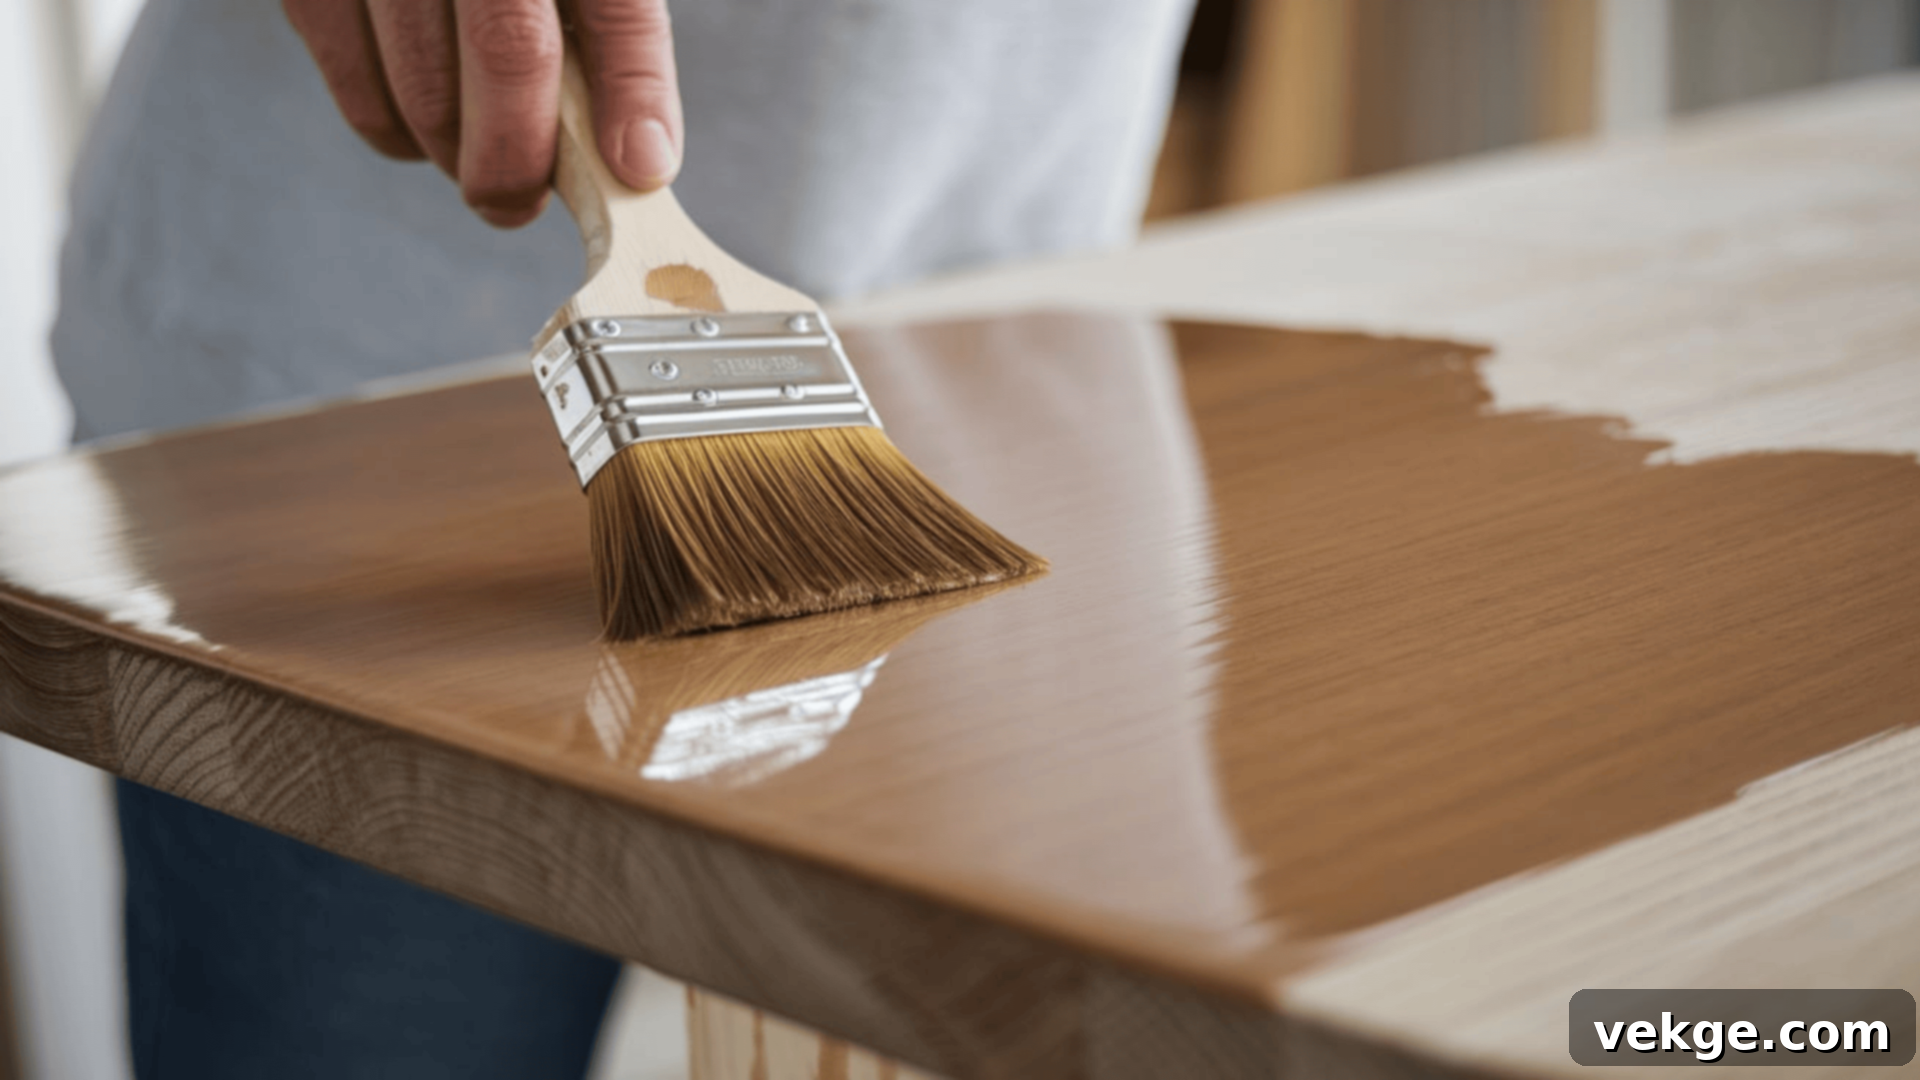
Once the stain has thoroughly dried and cured, it’s time for the final, crucial step: protecting your newly stained table with a durable topcoat. Applying the right finish not only enhances the color and depth of the wood but also provides essential protection against daily wear, moisture, and scratches, giving your table a truly polished and lasting look.
Types of Finishes
- Polyurethane: This is one of the most popular and durable clear finishes, offering excellent protection against water, heat, and abrasion. It’s available in both oil-based and water-based versions. Oil-based polyurethane is known for its superior durability and ambering effect over time, which can deepen wood tones. Water-based polyurethane dries much quicker, has less odor, and typically remains clearer, making it ideal for lighter woods where yellowing is undesirable.
- Varnish: Varnish is a highly durable finish, often made with oil and resin. It’s known for its weather resistance, making it suitable for outdoor furniture, but also provides excellent protection for indoor tables. It offers a slightly amber tint and requires good ventilation during application.
- Lacquer: Lacquer provides a hard, incredibly durable, and very fast-drying finish, often used in professional furniture manufacturing. It offers excellent clarity and is resistant to water and some chemicals. However, it requires specific application techniques, often with spray equipment, and produces strong fumes.
- Oil Finishes (Tung Oil, Danish Oil, Linseed Oil): These finishes penetrate the wood rather than forming a film on top. They provide a beautiful, natural, hand-rubbed look that highlights the wood grain. While they offer good protection from within, they are generally less durable against heavy wear and water rings than film-forming finishes like polyurethane and require more frequent reapplication and maintenance.
- Shellac: Shellac is a natural, non-toxic finish that dries quickly and provides a beautiful, warm glow. It’s often used as a sealer or for antique restoration. However, it’s not as durable as polyurethane or varnish, being susceptible to water and alcohol rings.
How to Apply Finish Evenly
- Work Environment: Ensure your workspace is as dust-free as possible. Dust is the enemy of a smooth finish. Close windows and doors, and allow dust to settle before applying.
- High-Quality Applicator: Apply the finish using a high-quality natural-bristle brush (for oil-based finishes) or synthetic-bristle brush (for water-based finishes), a foam applicator, or a paint pad. Load your applicator evenly but not excessively.
- Thin Coats: Always apply thin, even coats, working in the direction of the wood grain. It’s far better to apply multiple thin layers than one thick layer, which can lead to drips, runs, clumping, and a longer drying time. Thin coats also cure harder and more evenly.
- Overlap: Slightly overlap each stroke to ensure complete coverage without leaving visible lines. Work systematically across the entire surface.
Multiple Coats and Intercoat Sanding
- Durability and Depth: Applying multiple coats of finish is crucial for achieving optimal durability, protection, and a beautiful depth of luster. For most tables that will see daily use, two to three coats of finish are typically recommended. More coats offer enhanced protection and a richer appearance.
- Sanding Between Coats: After each coat has thoroughly dried (but not yet fully cured), lightly sand the entire surface with very fine-grit sandpaper, typically 220, 320, or even 400 grit. This light sanding, known as “de-nibbing,” smooths out any dust nibs or minor imperfections and creates a slightly roughened surface, which promotes excellent adhesion for the next coat.
- Clean Between Coats: After sanding, thoroughly clean the surface again with a tack cloth to remove all sanding dust before applying the next coat. Dust left behind will be trapped under the new finish.
- Final Coat and Curing: After applying the final coat, allow the finish to cure completely before putting the table into regular use. Drying time refers to when the surface feels dry to the touch, while curing time refers to when the finish has reached its maximum hardness and durability. Depending on the type of finish, humidity, and temperature, this can take anywhere from a few days to several weeks. Refer to the manufacturer’s instructions for specific curing times.
Exercising patience and careful attention during this finishing step will ensure your table gains a smooth, durable, and beautiful protective layer that will stand the test of time and daily use.
Refinishing Without Sanding
While sanding is a traditional and highly effective method for preparing a table for refinishing, it’s not always strictly necessary. If you’re looking to minimize dust, save time, or work on a delicate piece, there are alternative methods to refinish your table without extensive sanding. These techniques can still provide a fresh, updated look with less effort.
Using Chemical Strippers for Finish Removal
As discussed previously, chemical strippers are a powerful alternative to sanding for removing old finishes. Instead of abrading the surface, they chemically break down the existing finish, allowing it to be scraped away. Apply the stripper strictly according to the product’s instructions, ensuring adequate ventilation and wearing all recommended personal protective equipment (gloves, goggles, long sleeves).
Once the finish begins to lift and bubble, use a plastic scraper to gently remove it. For intricate areas, a brush or fine steel wool (used carefully with the stripper) can help. Always follow up with any required neutralizer or cleaner to ensure all chemical residue is removed before applying a new finish. This method is effective for heavy finishes and can save significant time compared to sanding multiple layers.
Other Methods to Avoid Sanding
Another technique for refinishing without traditional sanding is utilizing a heat gun. A heat gun softens old paint or varnish, making it pliable enough to scrape off with minimal effort. Carefully apply heat to a small section, then immediately scrape away the softened finish. Always keep the heat gun moving to avoid scorching the wood, and protect surrounding areas from excessive heat. This method works well for thick, stubborn coatings.
Additionally, “liquid sanders” or “deglossers” are available. These chemical solutions are designed to etch or dull the existing finish, creating a microscopically rough surface that promotes adhesion for a new coat of paint or finish without the need for physical sanding. Simply apply the solution, wipe it off, and allow it to dry before applying your new topcoat. This is a great option for light refreshes where the old finish is still sound and mostly intact, but just needs to be “roughed up” for better bonding.
Finally, some modern “all-in-one” paints, such as chalk paint or mineral paints, are specifically formulated to adhere to a variety of surfaces (even glossy ones) with very minimal preparation, often requiring just a thorough cleaning and no sanding or stripping. These alternatives are best suited for light touch-ups, color changes, or when the existing finish is in relatively good condition, offering a faster and less labor-intensive way to refresh your table.
Common Refinishing Mistakes and How to Avoid Them
Refinishing a table is a highly rewarding DIY project that can yield incredible results. However, like any detailed undertaking, there are common pitfalls that can affect the final outcome. Being aware of these mistakes and knowing how to avoid them will ensure your project is a success, resulting in a beautiful and durable piece of furniture.
1. Choosing the Wrong Finish or Stain
- Problem: Selecting a finish or stain that is incompatible with your table’s wood type or desired aesthetic can lead to unsatisfactory results. For instance, a high-gloss polyurethane might look out of place on a rustic, farmhouse-style table, or a very dark stain could completely obscure the beautiful natural grain of an exotic wood. Using an oil-based stain under a water-based topcoat without proper drying can also lead to adhesion issues.
- Solution: Always research and choose a finish and stain that are appropriate for your table’s wood species and the specific look you aim to achieve. Consider the durability needed for the table’s use. Crucially, always test your chosen stain and finish on a small, inconspicuous area of the table (like the underside or a hidden corner) or on a scrap piece of the same wood. This allows you to see how the products react with the wood and whether the color and sheen meet your expectations before committing to the entire surface.
2. Improper Sanding Techniques
- Problem: Sanding too aggressively, unevenly, or against the wood grain can leave noticeable scratches, create divots, or result in an inconsistent surface that will be highlighted by stain and finish. Skipping grits or not sanding enough will also leave previous scratch marks visible.
- Solution: Always start with a coarse sandpaper (e.g., 80 or 100 grit) to remove the old finish, then progressively switch to finer grits (e.g., 120, 150, 180, 220) to smooth the surface. This gradual refinement is key. Always sand in the direction of the wood grain to prevent cross-grain scratches. Be gentle and consistent, especially around edges and intricate areas, to avoid damaging the wood’s profile. Use a sanding block for flat surfaces to ensure even pressure.
3. Not Cleaning Properly Between Steps
- Problem: Failing to thoroughly clean dust and debris between sanding grits, after stripping, or before applying stain and finish is a common mistake. Any residual dust will become trapped under the new finish, creating bumps, an uneven texture, or adhesion problems.
- Solution: After each sanding stage, and certainly before applying any new product, meticulously clean the table. Use a shop vacuum with a brush attachment, followed by several wipes with a tack cloth. A slightly damp cloth (dampened with mineral spirits for oil-based products, or water for water-based products) can also be used, ensuring the surface is completely dry before proceeding. Compressed air can help remove dust from crevices. Take your time; a truly clean surface is paramount for a professional finish.
4. Over-Applying Finish
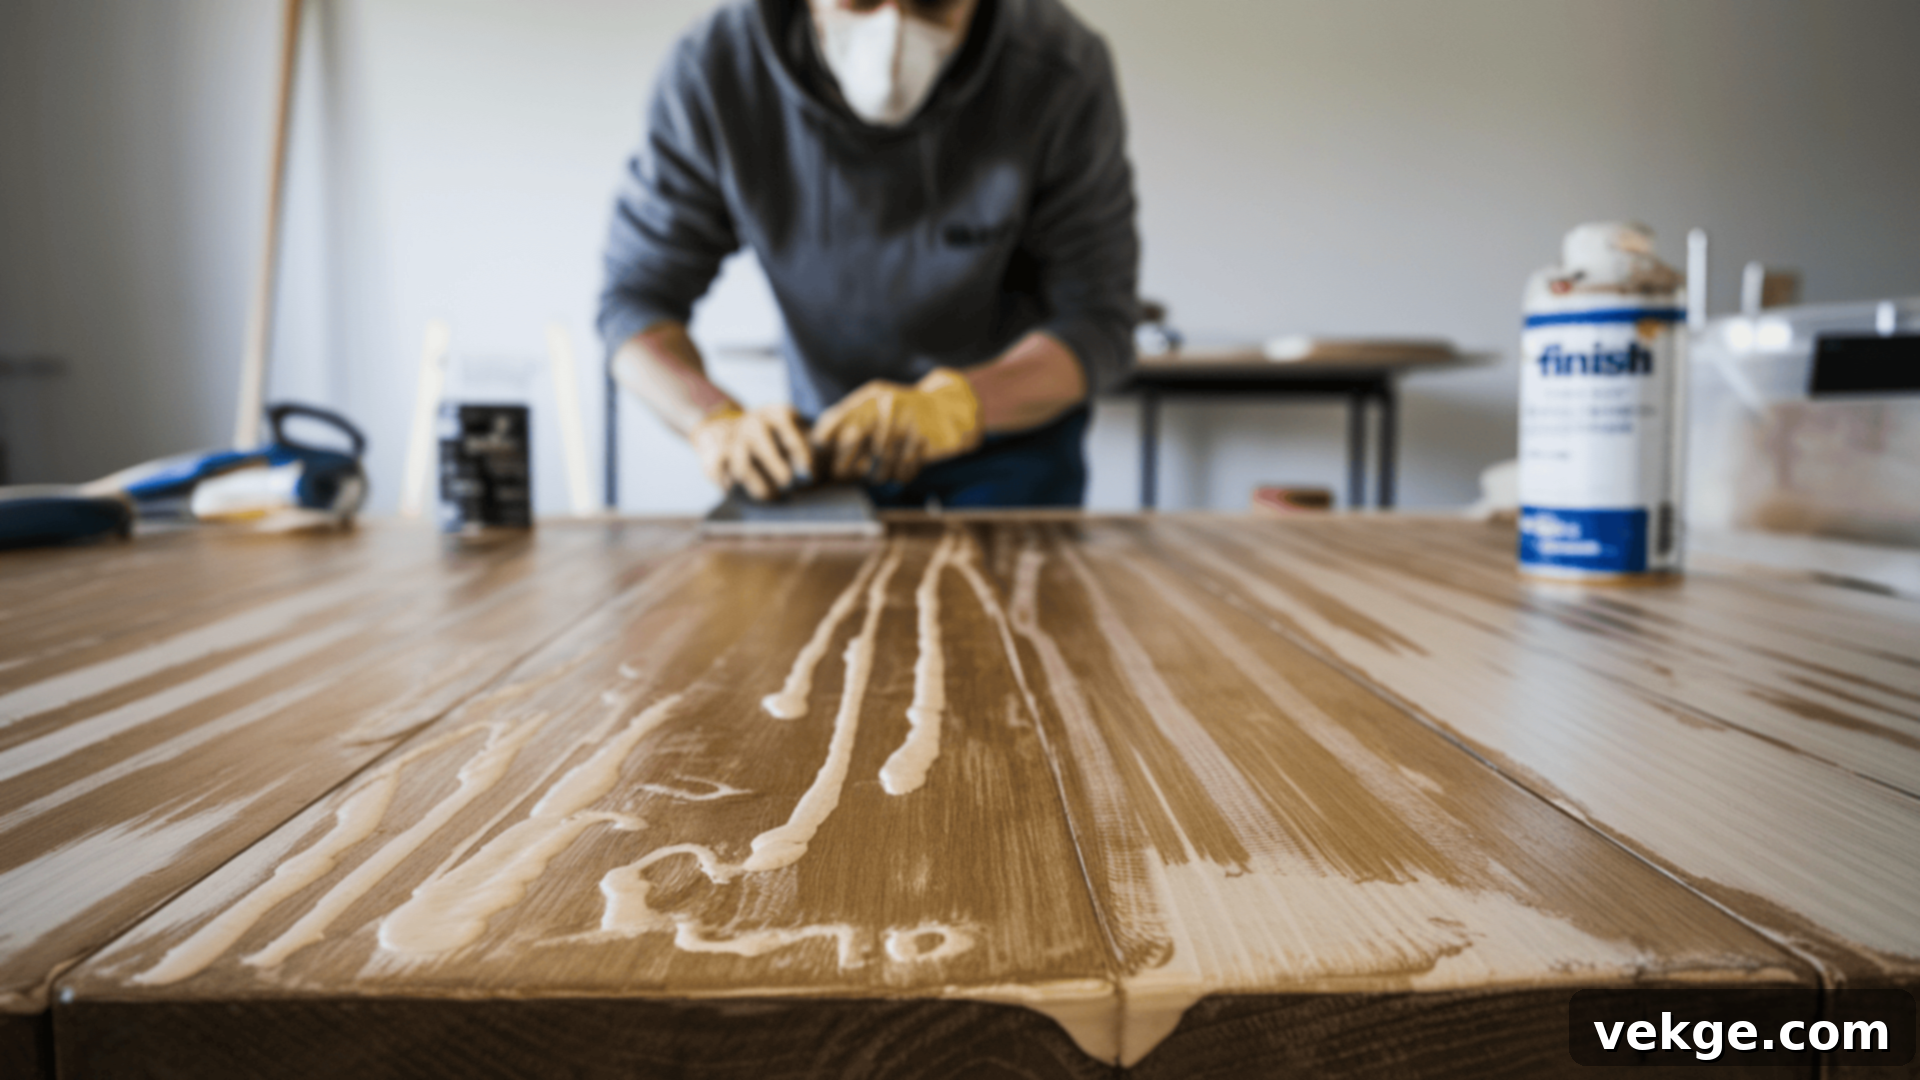
- Problem: Applying finish too thickly in one go, or applying too many total coats, can lead to a thick, gummy, uneven, or tacky surface that takes an excessively long time to dry and cure. It can also cause drips, runs, and an unnatural plastic-like appearance.
- Solution: Always apply thin, even coats of finish. It is far better to apply multiple thin layers, allowing each coat to dry fully (and often lightly sanding between coats as instructed by the manufacturer), than to apply one or two thick, heavy coats. Thin coats cure harder, adhere better, and provide a much smoother, more professional-looking result. Follow the manufacturer’s recommendations for the number of coats.
By paying careful attention to these common mistakes and implementing the suggested solutions, you can navigate the refinishing process smoothly and achieve a beautiful, durable, and long-lasting result that you’ll be proud of for years to come.
Conclusion
Refinishing a table is a profoundly rewarding and economical endeavor, allowing you to salvage and transform old furniture into cherished pieces. By diligently following the step-by-step process outlined in this guide and taking proactive measures to avoid common mistakes, you can achieve a professional-looking finish that not only enhances your home’s aesthetic but also stands the test of time.
Remember, success lies in meticulous preparation. This includes thoroughly assessing the table’s condition, carefully removing hardware, and ensuring the surface is impeccably clean before you even think about stripping. Take your time with each stage: from the careful removal of the old finish, to the progressive sanding that creates a silky-smooth base, and then the thoughtful application of stain and protective topcoats. Should you prefer to skip traditional sanding, remember that chemical strippers and liquid deglossers offer viable alternatives.
With the right tools, a clear understanding of the techniques, and a healthy dose of patience and attention to detail, you possess everything you need to transform your table. This DIY project is more than just a home improvement task; it’s an opportunity to create something truly beautiful and enduring with your own hands. You’ll undoubtedly enjoy your newly refinished table for many years, appreciating its renewed beauty and the satisfaction of having brought it back to life.
Looking for more helpful tips to elevate your home? Be sure to check out our other blogs on furniture care, advanced DIY projects, and creative home improvement ideas to continue your journey of transforming your living space.
