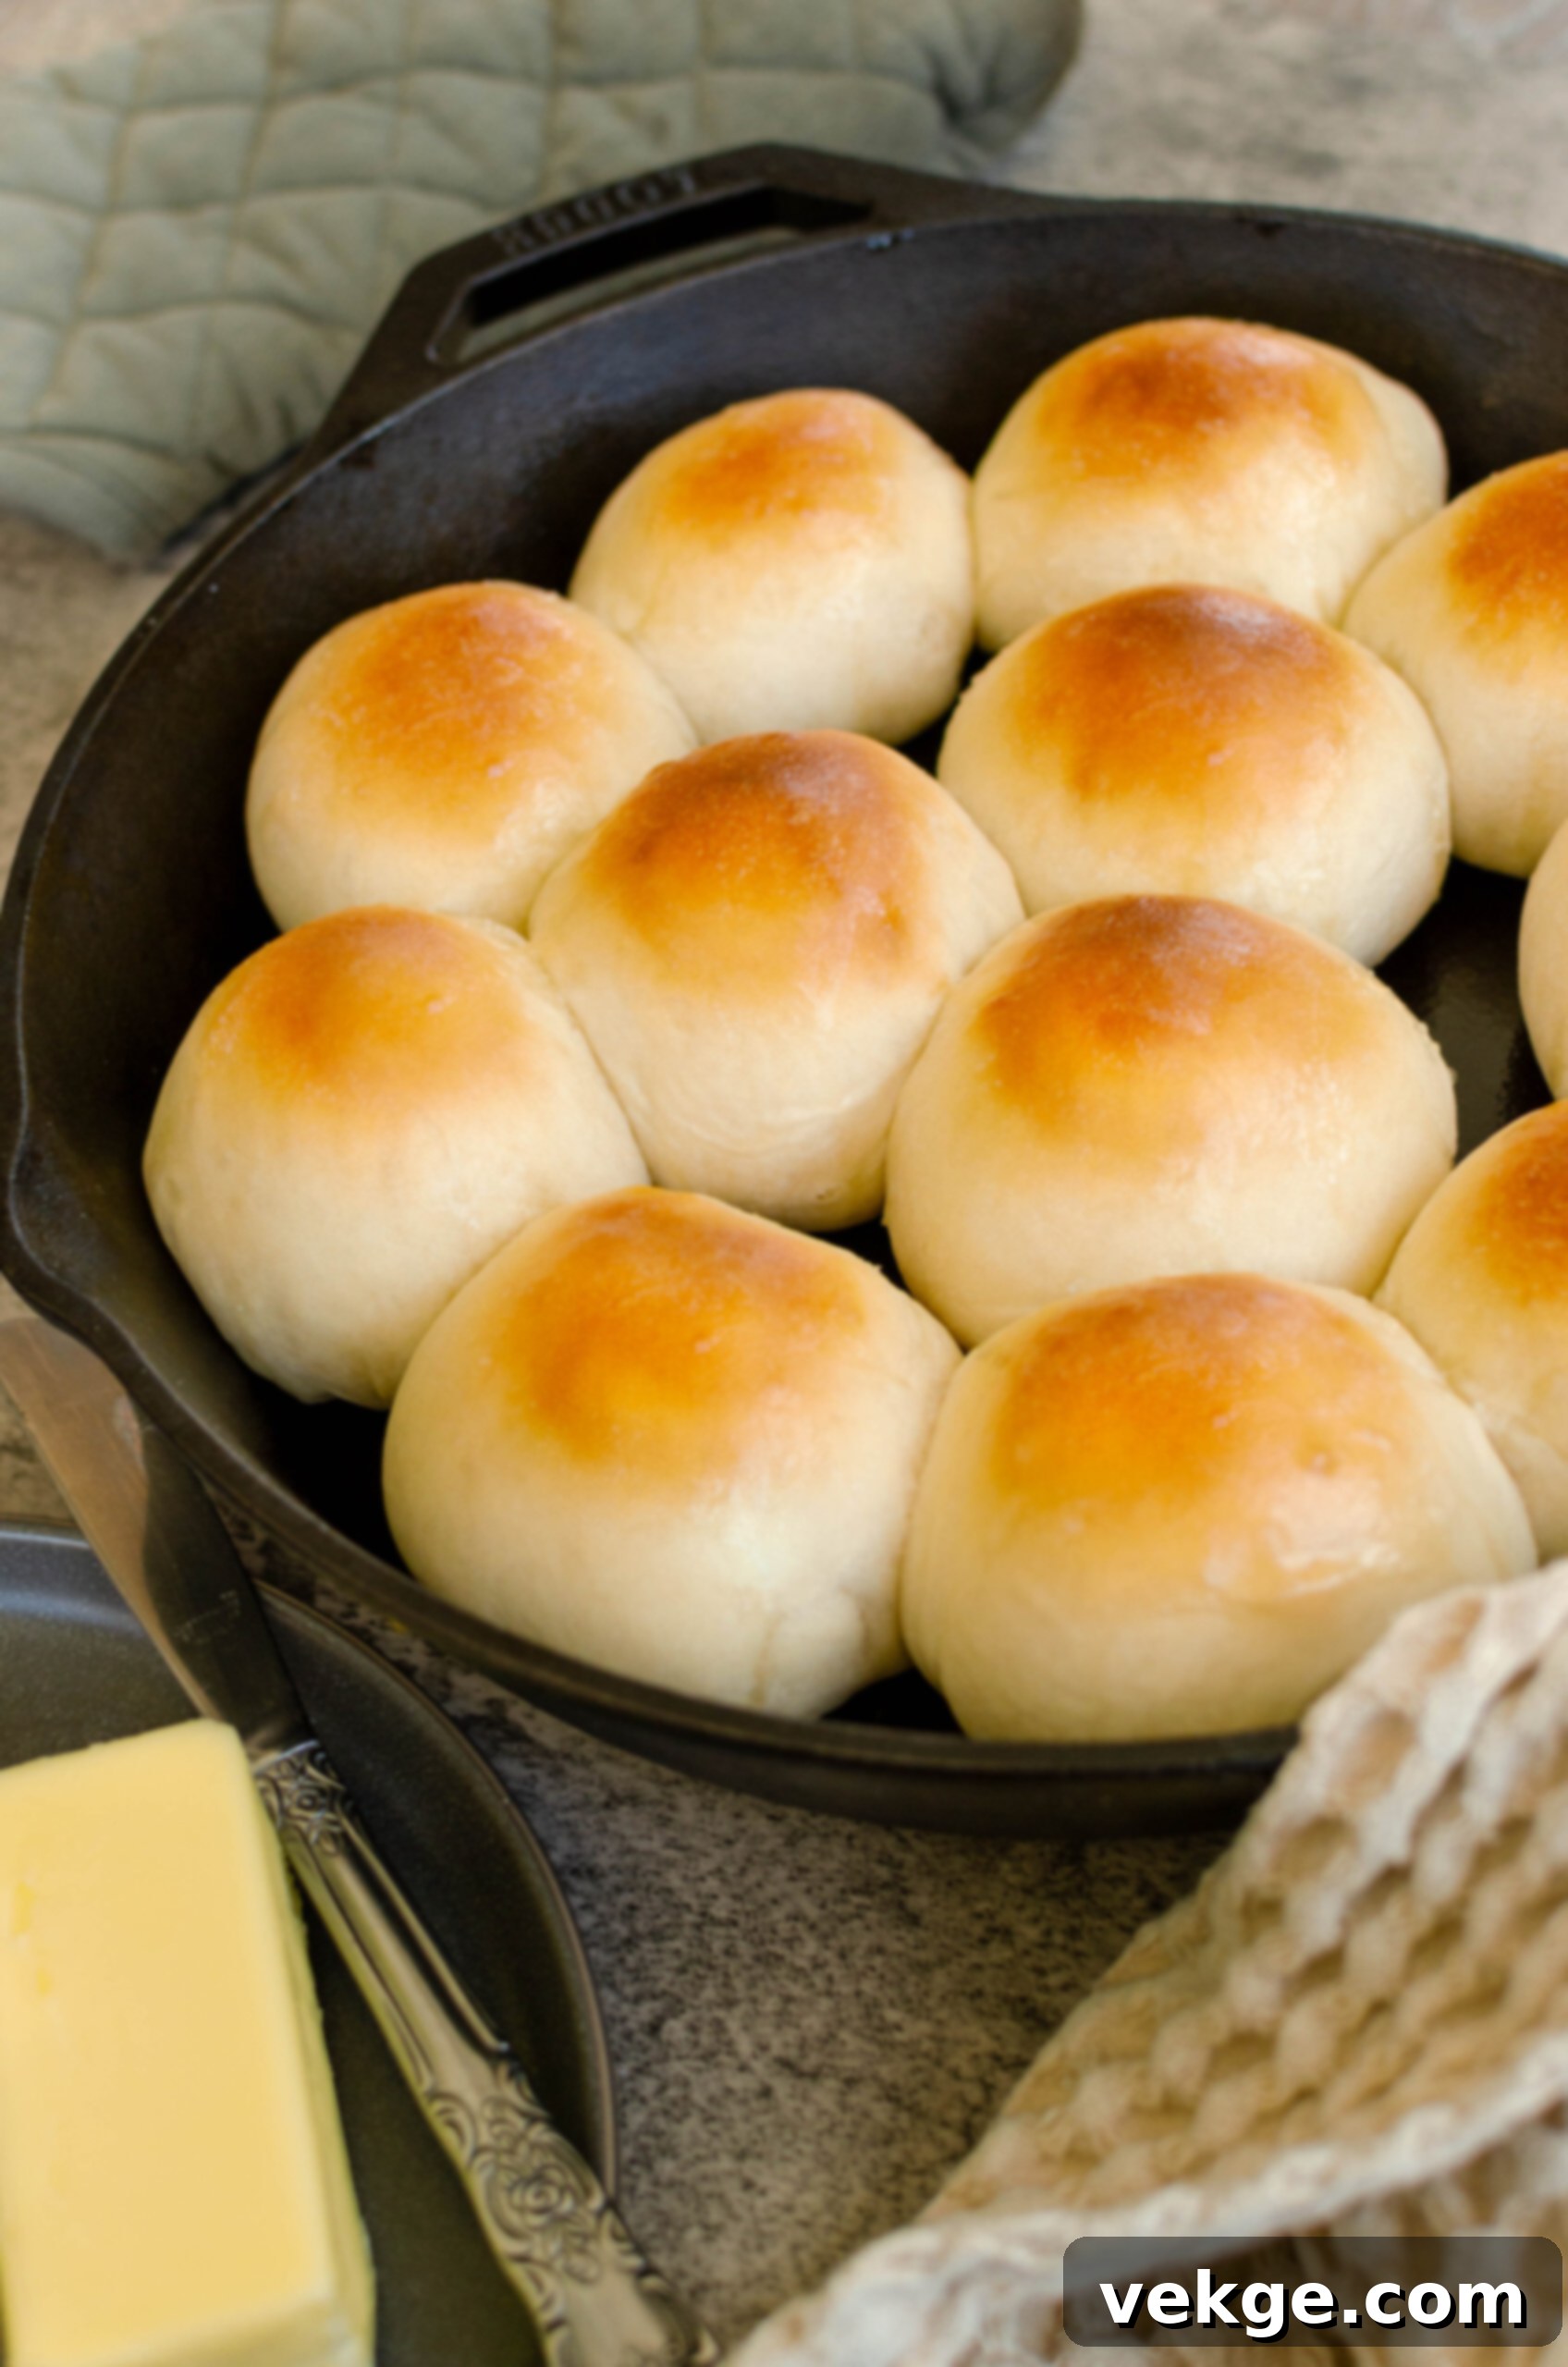
Imagine being the hero of every family gathering, the one everyone looks forward to seeing, not just for your charming personality, but for your legendary dinner rolls. That dream can become a delicious reality with this recipe for Fast Classic White Dinner Rolls. These aren’t just any rolls; they are incredibly soft, wonderfully fluffy, and packed with a subtle sweetness that makes them utterly irresistible. In a world where homemade bread often feels like an all-day commitment, these rolls defy expectations, allowing you to achieve bakery-quality results in just 90 minutes. Get ready to elevate your culinary reputation and have loved ones begging for your secret. This recipe is destined to become your new favorite, transforming any meal into a special occasion.
There’s a unique comfort that comes with warm, freshly baked bread on the dinner table. It’s more than just food; it’s a symbol of hospitality, love, and togetherness. While many shy away from baking yeast breads, fearing the time and complexity involved, this recipe strips away the intimidation. Whether you’re a seasoned baker or just starting your journey into the world of homemade bread, these classic white dinner rolls are designed for success. They offer that perfect balance of a golden-brown exterior with an impossibly tender crumb, making them ideal for sopping up gravy, accompanying a hearty stew, or simply enjoying with a pat of butter. Prepare to bake, share, and savor the moments these rolls help create.
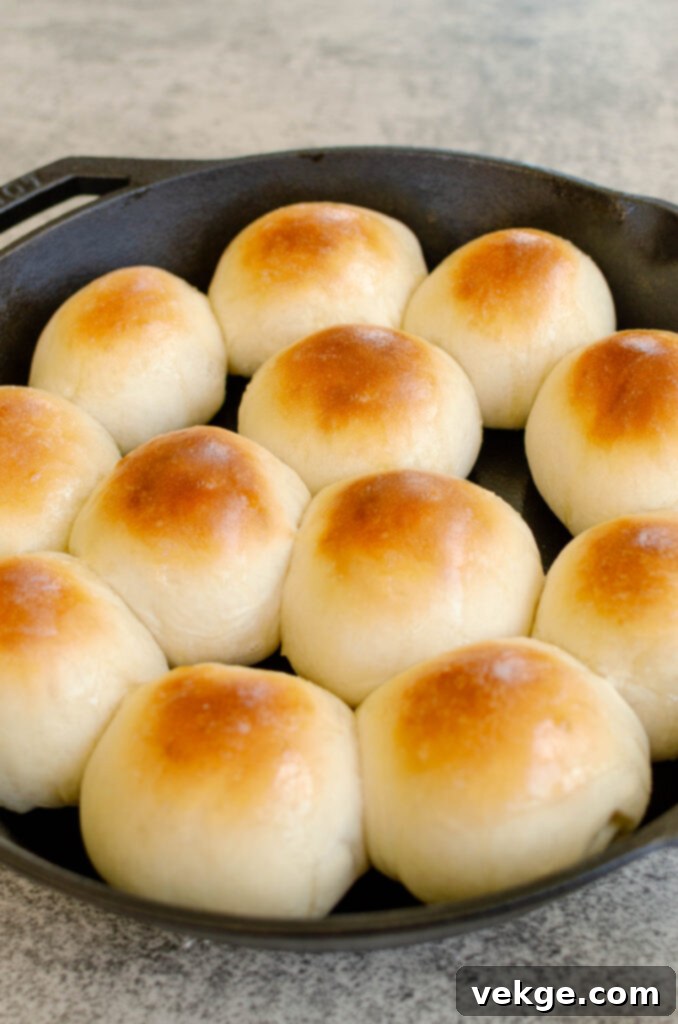
Why These Fast Classic White Dinner Rolls Are an Absolute Game-Changer
In our busy lives, finding recipes that deliver exceptional results without demanding hours in the kitchen is a true treasure. That’s precisely what makes these Fast Classic White Dinner Rolls a game-changer. The most remarkable aspect of this recipe is its incredible speed. You can go from ingredients to warm, fluffy rolls on your dinner table in an astonishing 90 minutes. This efficiency is largely thanks to a slightly increased quantity of active dry yeast, which accelerates the rising process without compromising on flavor or texture. It means you can decide to make homemade rolls on a whim, even on a busy weeknight, and still enjoy them fresh from the oven.
For those who, like me, appreciate the depth and character of sourdough but sometimes lack the extensive hours its fermentation demands, this recipe is a perfect alternative. While my heart will always have a special place for the slow, nuanced rise of sourdough, there are countless occasions when a quick, satisfying bread is needed. These rolls fill that niche beautifully. They offer a comforting, familiar taste and a pillowy softness that appeals to everyone. It’s the kind of recipe you’ll reach for when you need a reliable, delicious, and fast bread option for family dinners, holiday meals, or simply a cozy evening at home. Once you experience the convenience and delectable outcome of these rolls, you’ll understand why they’ve quickly become a staple in my kitchen.
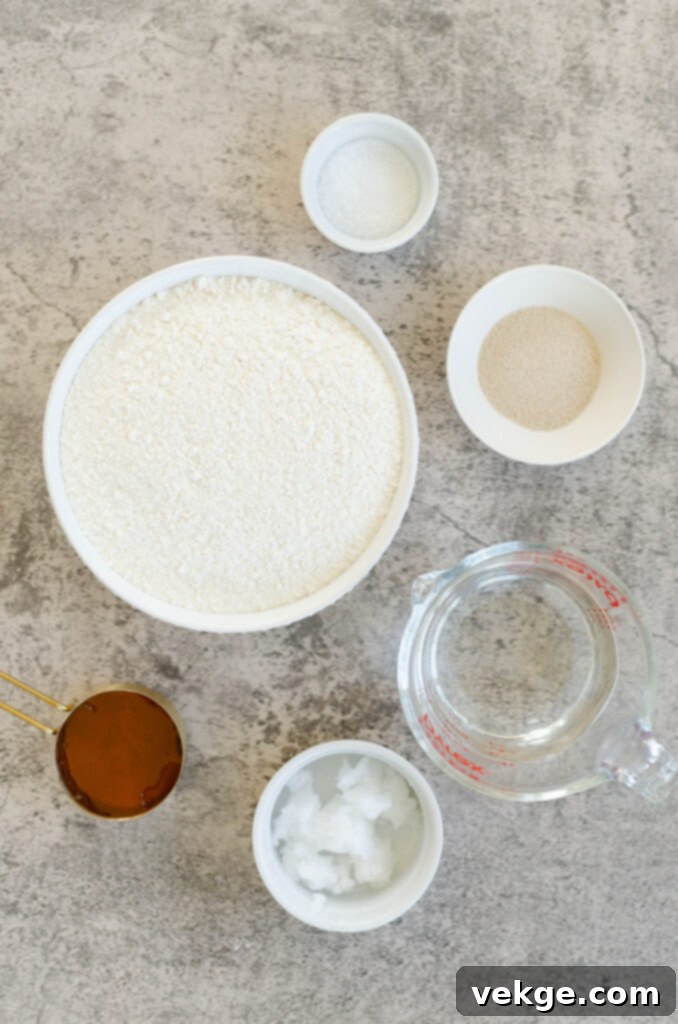
Essential Ingredients for Your Perfect Dinner Rolls
Creating truly exceptional dinner rolls begins with understanding the role each ingredient plays. Here’s a detailed look at what you’ll need and why each component is crucial for achieving that signature soft, fluffy texture and delicious flavor in your Fast Classic White Dinner Rolls:
Flour: The Foundation of Structure and Softness
For any bread recipe, especially one aiming for superior softness and chew, the choice of flour is paramount. I wholeheartedly recommend bread flour for these rolls. What sets bread flour apart is its higher protein content, which translates to more gluten. Gluten is the magic behind bread’s elasticity and structure. When hydrated and kneaded, it forms a network that traps gases produced by the yeast, allowing the dough to rise beautifully and giving the final product a delightful stretch and an ideal, satisfying chew. The result is a roll that is incredibly soft, yet substantial enough to hold its shape.
You can readily find quality bread flour in most grocery stores, typically located right alongside all-purpose flour. Personally, I often use the bread flour from a local mill, Lehi Mills, which consistently delivers excellent results. (For a special discount, use affiliate coupon code AMBERSKITCHEN for 10% off your purchase).
While bread flour is my top recommendation, you can certainly experiment with other types of flour. All-purpose flour will work, though your rolls might be slightly less chewy. For those looking for a different flavor profile or nutritional boost, kamut or whole wheat flour are viable alternatives. However, it’s crucial to remember that kamut and whole wheat flours are “thirstier,” meaning they absorb more liquid. When substituting, start by using about 3/4 of the amount of kamut or whole wheat flour called for in the recipe. Then, gradually add more flour, a tablespoon at a time, only until the dough passes the “touch test” – feeling tacky but not excessively sticky.
Salt: Enhancing Flavor and Controlling Yeast Activity
Salt is far more than just a seasoning in bread; it’s a critical component that enhances the overall flavor of the dough and plays a vital role in regulating yeast activity. For this recipe, I use two distinct types of salt to maximize both internal flavor and external texture. Inside the dough, I prefer Redmond Real Salt for its unrefined, mineral-rich profile, which contributes a deeper, more complex taste to the rolls. It also helps to strengthen the gluten structure. For the finishing touch, a sprinkle of flaked sea salt on top of the dough just before baking, or immediately after, adds a delightful textural contrast and a burst of savory flavor. The crisp, delicate flakes provide an extra crunch that perfectly complements the soft interior.
Water: The Catalyst for Yeast and Dough Consistency
The temperature of your water is absolutely fundamental when working with yeast. You need warm water to activate the yeast properly. Think of it as “baby bottle temperature”—lukewarm, typically between 105°F and 115°F (40°C-46°C). If the water is too cold, the yeast will be sluggish, and your dough will take much longer to rise, defeating the “fast” aspect of this recipe. Conversely, if the water is too hot, it can shock and even kill the delicate yeast organisms, rendering them inactive and resulting in a dense, unrisen dough. Using water within this ideal temperature range ensures the yeast wakes up, feeds, and produces the necessary carbon dioxide to make your rolls light and airy.
Sugar: Fueling Yeast and Enhancing Tenderness
Granulated sugar in this dough serves multiple purposes beyond just sweetness. It acts as immediate food for the active dry yeast, helping it to get a strong start in its fermentation process. This not only contributes to a faster rise but also aids in achieving that beautiful golden-brown crust during baking. Furthermore, sugar contributes significantly to the tenderness and softness of the final rolls. While I love the hint of sweetness it imparts, you can certainly reduce the amount or even omit it entirely if you prefer a less sweet roll. The rolls will still turn out deliciously, but they might be slightly less tender and take a touch longer to brown.
Coconut Oil: For Unmatched Softness and Richness
Coconut oil is my secret weapon for achieving truly soft and luxurious breads and rolls. It incorporates into the dough, contributing a rich, subtle flavor and an incredibly tender crumb. Even if coconut oil isn’t a staple in your pantry, it’s worth having on hand specifically for bread making due to the superior texture it imparts. If you don’t have coconut oil, you can substitute with unsalted butter or a neutral-flavored vegetable oil, but be aware that the final texture might vary slightly.
Yeast: The Engine for Rapid Rise
As the name suggests, this recipe relies on active dry yeast for its quick rise. I’ve intentionally added a bit more yeast than typically found in some bread recipes to ensure these rolls are super speedy, allowing for those impressive 90-minute results. Active dry yeast needs to be proofed (activated in warm water with a little sugar) before being added to the rest of the ingredients. Instant yeast could also work and can often be mixed directly with the dry ingredients, but for consistency and to ensure maximum activity for this fast recipe, active dry yeast with its initial proofing step is recommended.
Melted Butter: The Irresistible Finishing Touch
The final, non-negotiable step in creating these sensational dinner rolls is brushing them generously with melted butter the moment they emerge from the oven. There’s simply nothing quite like the aroma and taste of hot, soft rolls glistening with melty butter. This step adds a layer of rich flavor, a beautiful sheen, and helps to keep the crust soft. It’s the ultimate indulgence that takes these already delicious rolls to an extraordinary level.
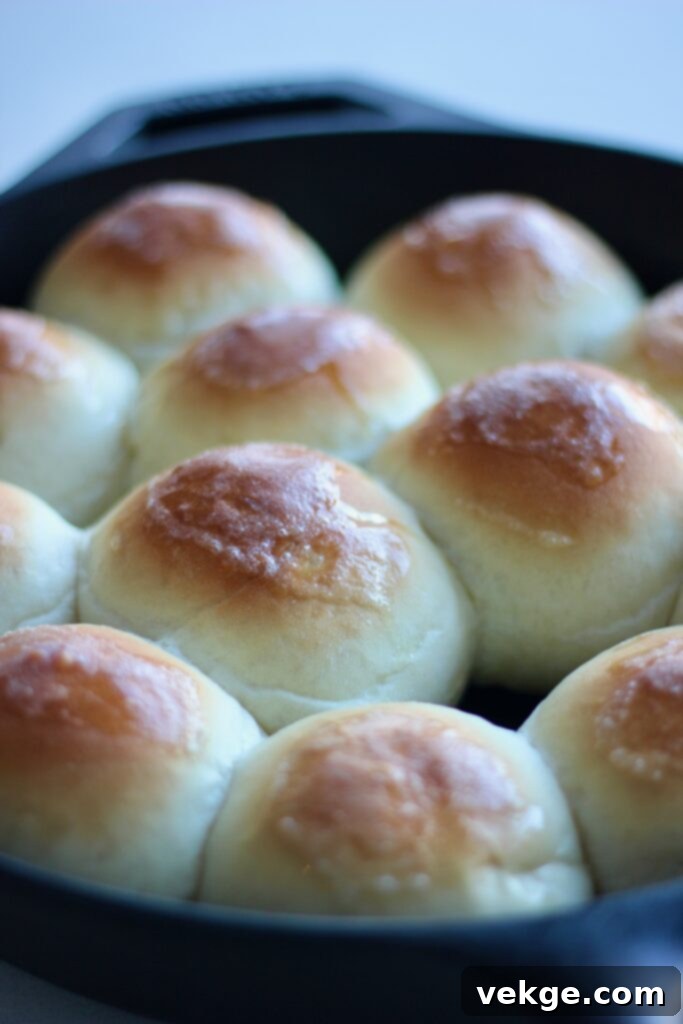
Crafting Perfection: How to Make Fast Classic White Dinner Rolls Step-by-Step
Baking these rolls is a straightforward process, designed for efficiency without sacrificing quality. From start to finish, you’re looking at about 90 minutes. Follow these steps for consistently perfect, soft, and fluffy dinner rolls:
Step 1: Activating the Yeast (Proofing)
Begin by combining your warm water (remember, baby bottle temperature, 105-115°F), granulated sugar, and active dry yeast in a large mixing bowl. Give it a gentle stir to combine, then cover the bowl and let it sit for about 10 minutes. This period is crucial for “proofing” the yeast. You’re looking for a foamy, bubbly mixture that emits a distinct, pleasant bread-like aroma. This indicates that your yeast is alive and active, ready to work its magic. If your yeast doesn’t foam, it’s likely inactive (either too old or killed by water that was too hot/cold), and you’ll need to start again with fresh yeast.
Step 2: Mixing the Dough
Once your yeast is active, add the salt and melted coconut oil directly into the bowl with the yeast mixture. Stir until well combined. Now, it’s time to incorporate the flour. Add the bread flour (or your chosen alternative) gradually, one cup at a time, mixing thoroughly after each addition. This allows the flour to hydrate evenly and prevents you from adding too much. Continue adding flour until the dough begins to pull away from the sides of the bowl and forms a shaggy ball. The key is not to over-flour. My favorite method for determining the perfect consistency is the “touch test.”
The Touch Test: After you’ve mixed in most of the flour, gently touch the dough with three clean fingers. If a significant amount of dough sticks to your fingers, you likely need a little more flour, so add another tablespoon and mix. If the dough feels soft, slightly tacky, but doesn’t stick excessively to your fingers, you’ve hit the sweet spot – it has the perfect amount of flour. If, however, the dough feels dry, stiff, or crumbly, you’ve added too much flour. Don’t worry, you can often rescue it by adding a teaspoon of extra coconut oil and kneading it in to rehydrate the dough. Knead the dough for about 10-15 minutes, either by hand or with a stand mixer fitted with a dough hook. This develops the gluten, which is essential for the rolls’ soft and chewy texture.
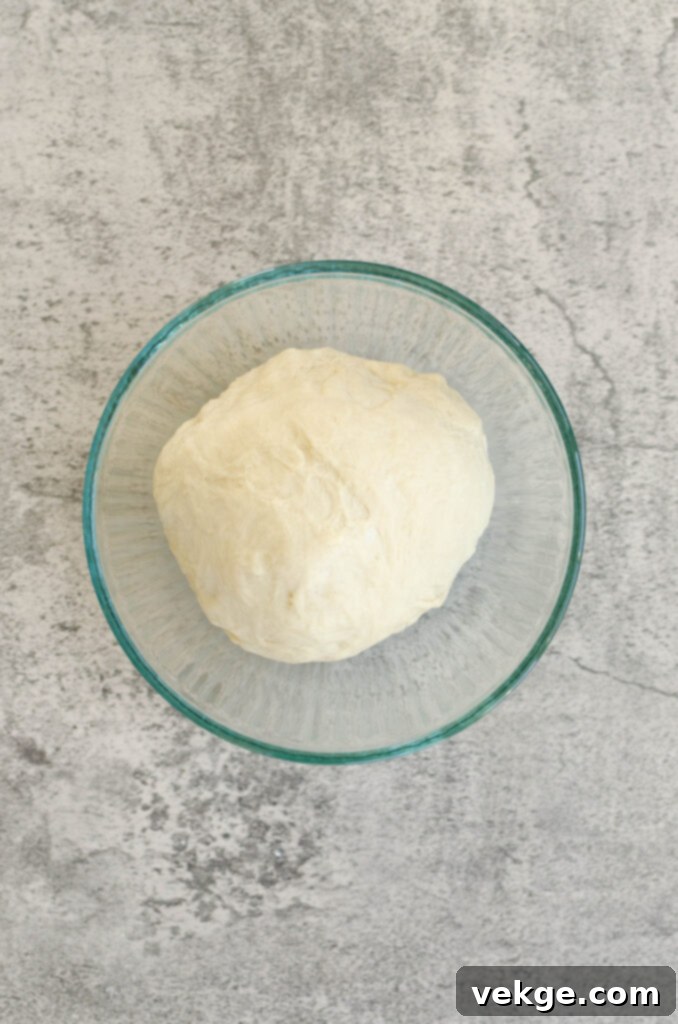
Step 3: The First Quick Rise
Thanks to the increased yeast in this recipe, your dough only needs a very short first rise. Cover the bowl with a clean kitchen towel, a bowl lid, or plastic wrap, and let it rise in a warm, draft-free spot for just 20 minutes. Set a timer so you don’t forget it! The dough should look visibly puffier and feel light. This quick rise is a testament to the efficiency of this recipe.
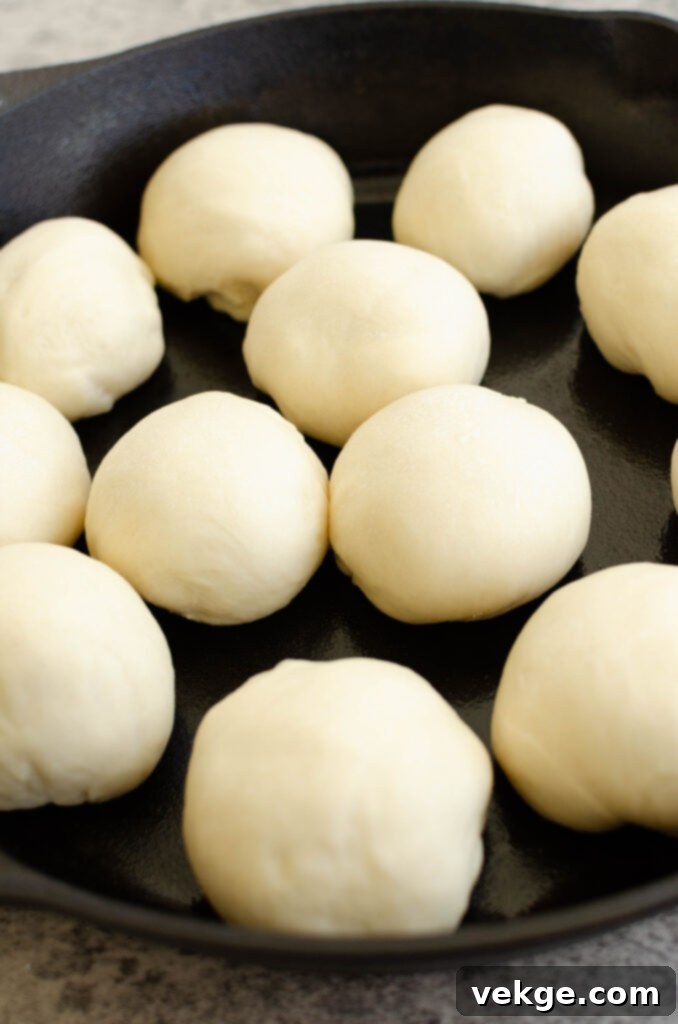
Step 4: Shaping the Rolls
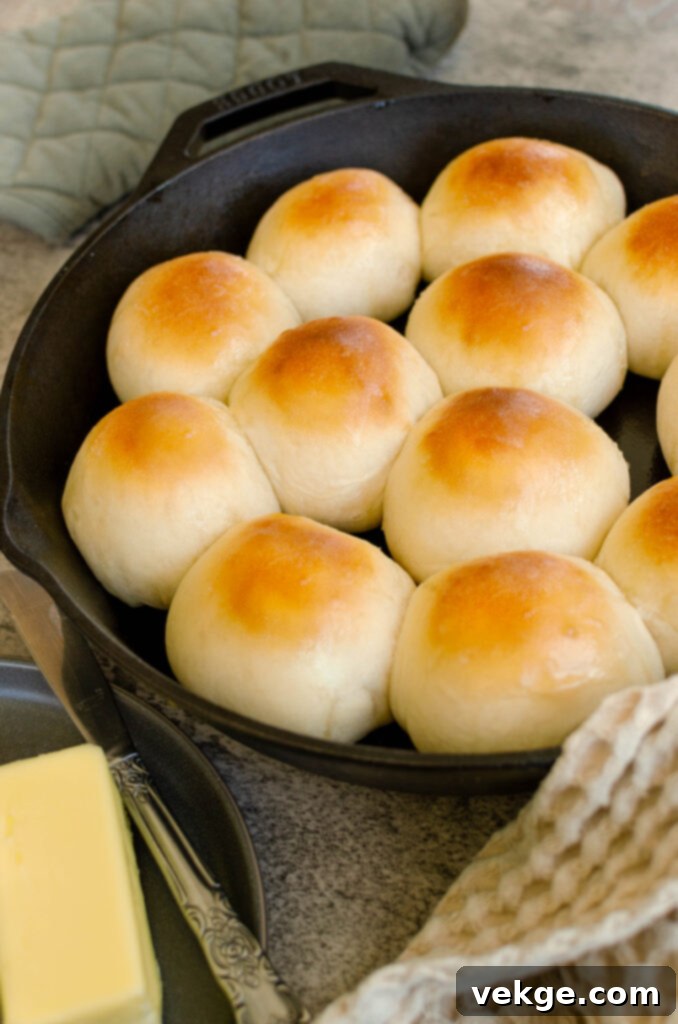
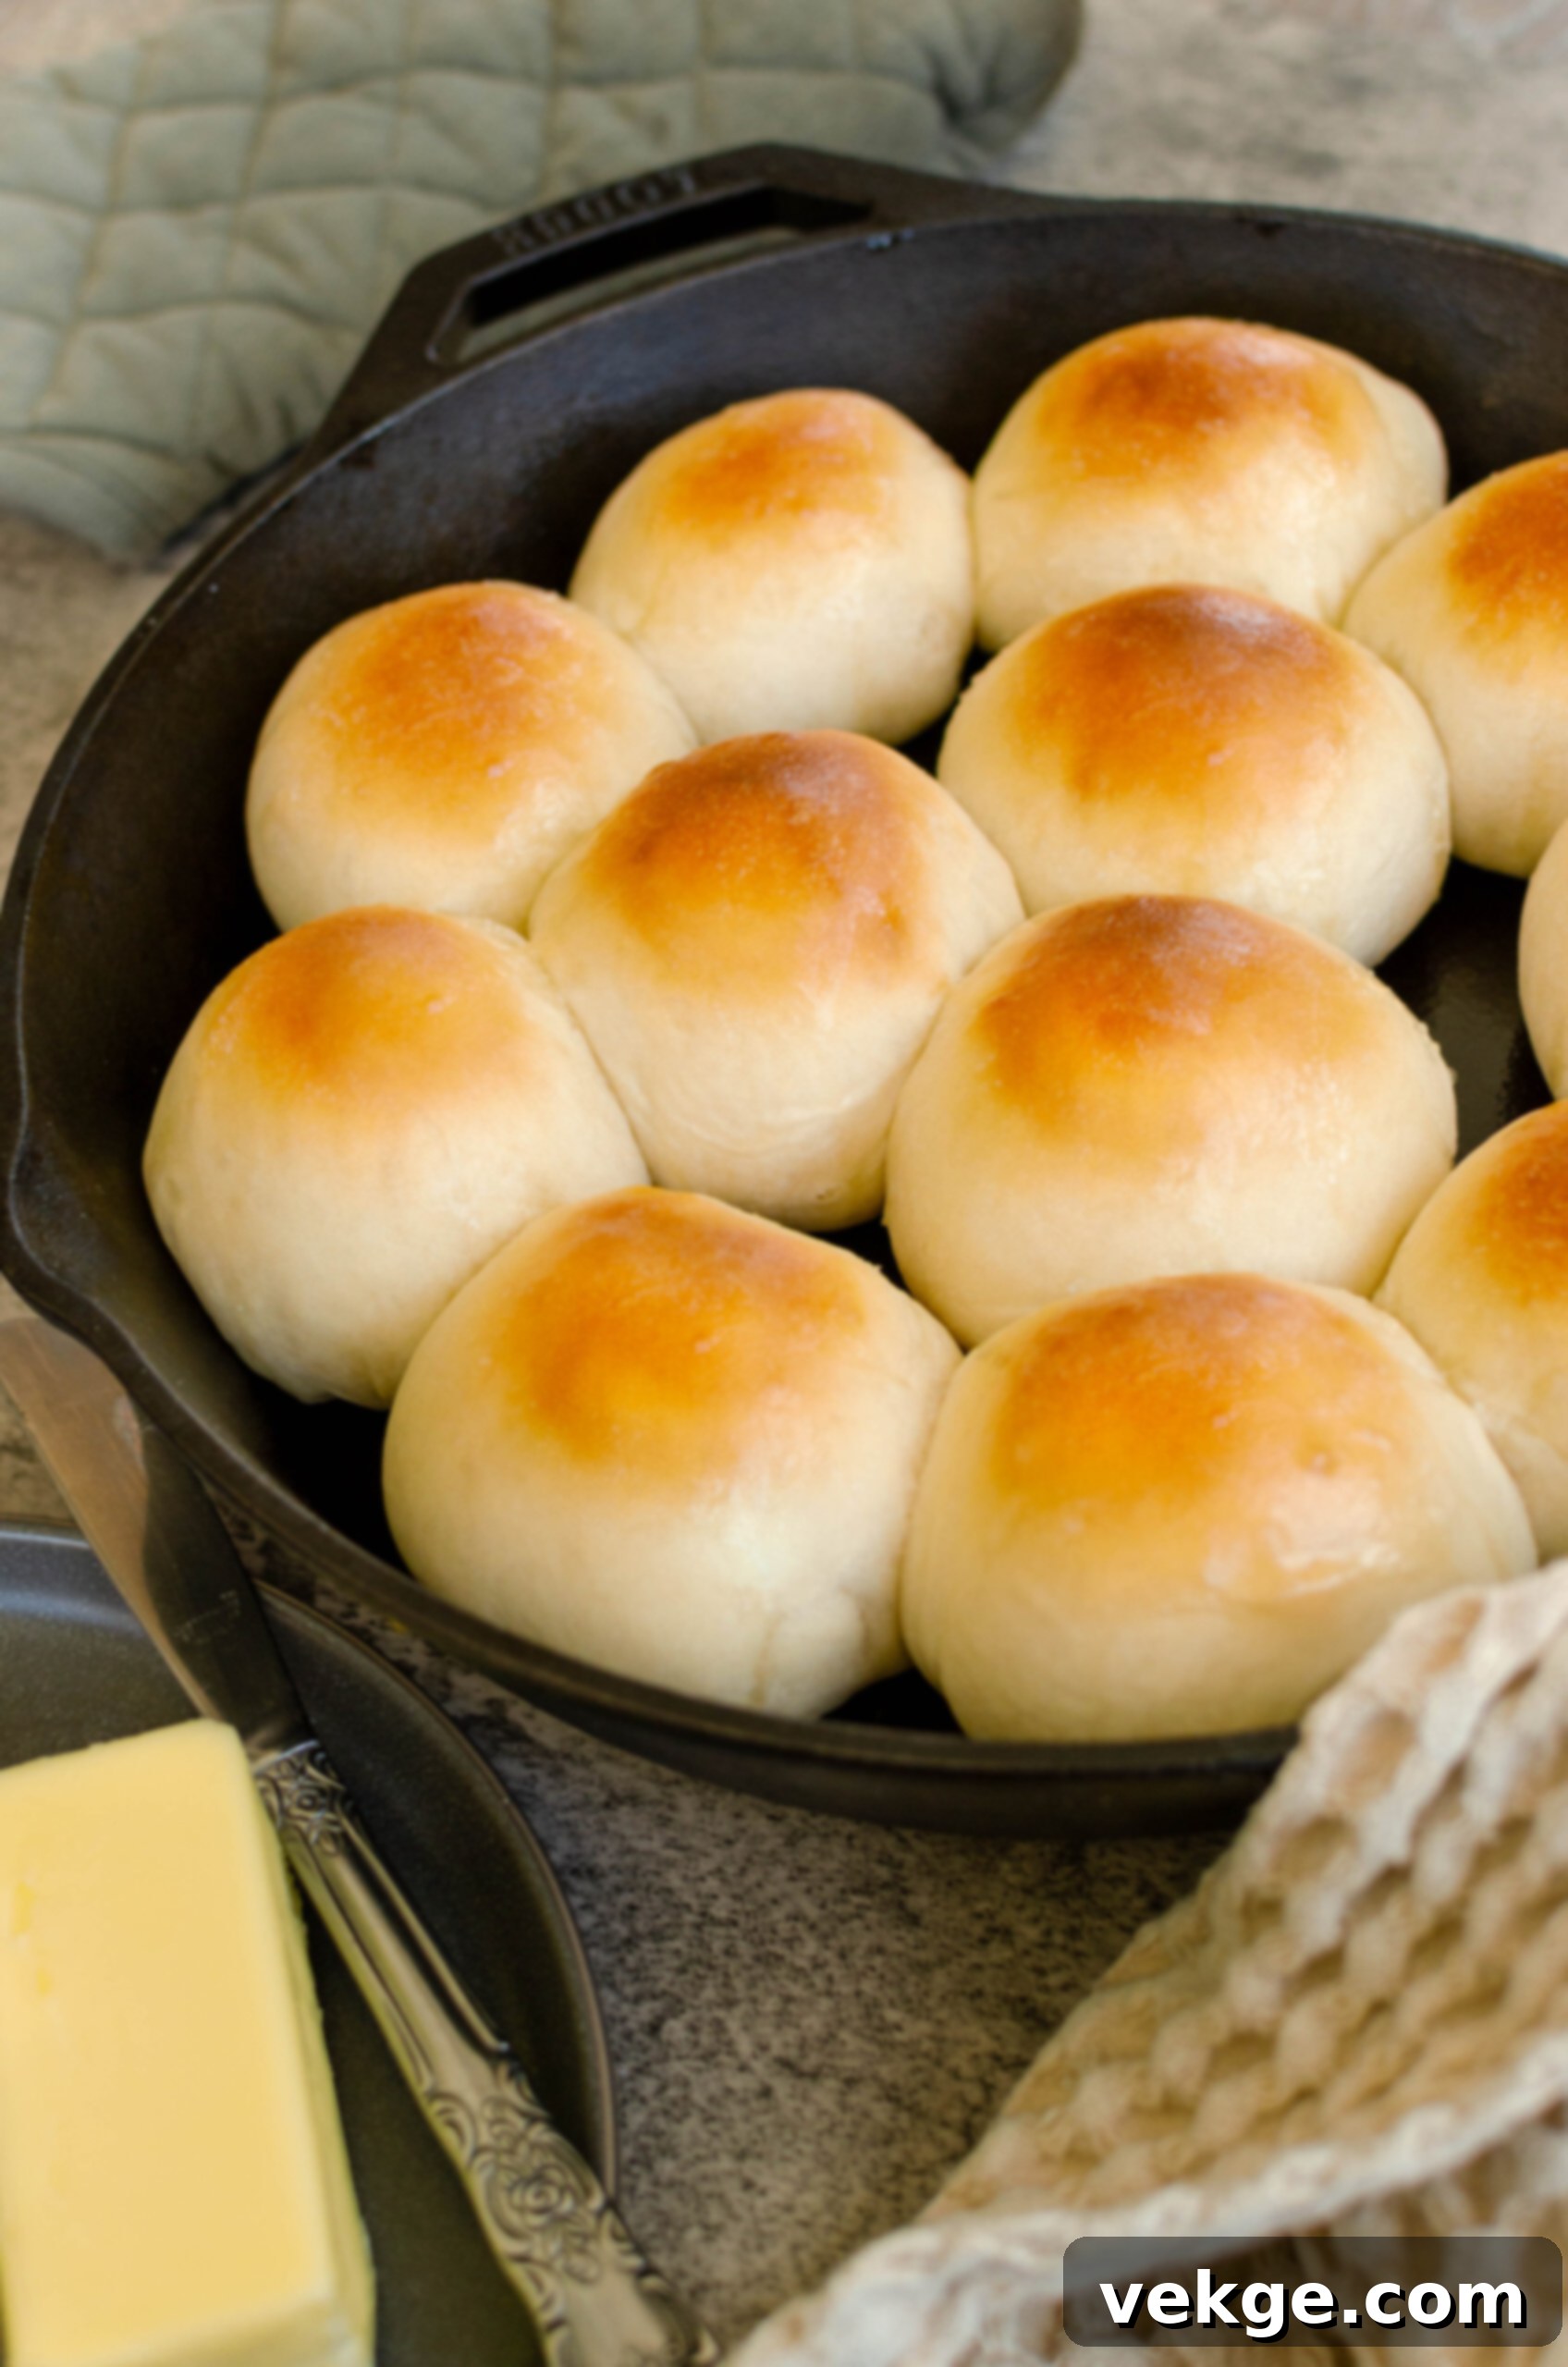
Once the first rise is complete, gently “punch down” the dough to release the accumulated gases. Turn the dough out onto a lightly floured surface. Now, divide the dough into 12 equal portions. For perfectly uniform rolls, you can use a kitchen scale to weigh each portion. Roll each piece into a smooth, round ball. This step helps create a tight surface tension, which results in a beautifully shaped roll. Arrange the shaped rolls on a greased baking sheet or in your preferred baking vessel. A greased 9×13-inch pan is ideal for a batch of 12, creating soft-sided rolls perfect for pulling apart. Alternatively, a seasoned 12-inch cast iron skillet works wonderfully for a rustic presentation, or for a double batch, a standard half sheet pan lined with parchment paper sheets is excellent. Using parchment paper ensures easy cleanup and prevents sticking.
Step 5: The Second Rise and Oven Preheat
Once your rolls are shaped and placed in their pan, cover them again with plastic wrap or a clean dish towel. While the rolls undergo their second, equally quick rise, preheat your oven to 350°F (175°C). The second rise typically takes about 20-30 minutes, or until the rolls appear noticeably puffy and slightly increased in size. They won’t necessarily double, but they should look light and airy. This crucial step ensures a light, tender crumb in the finished product.
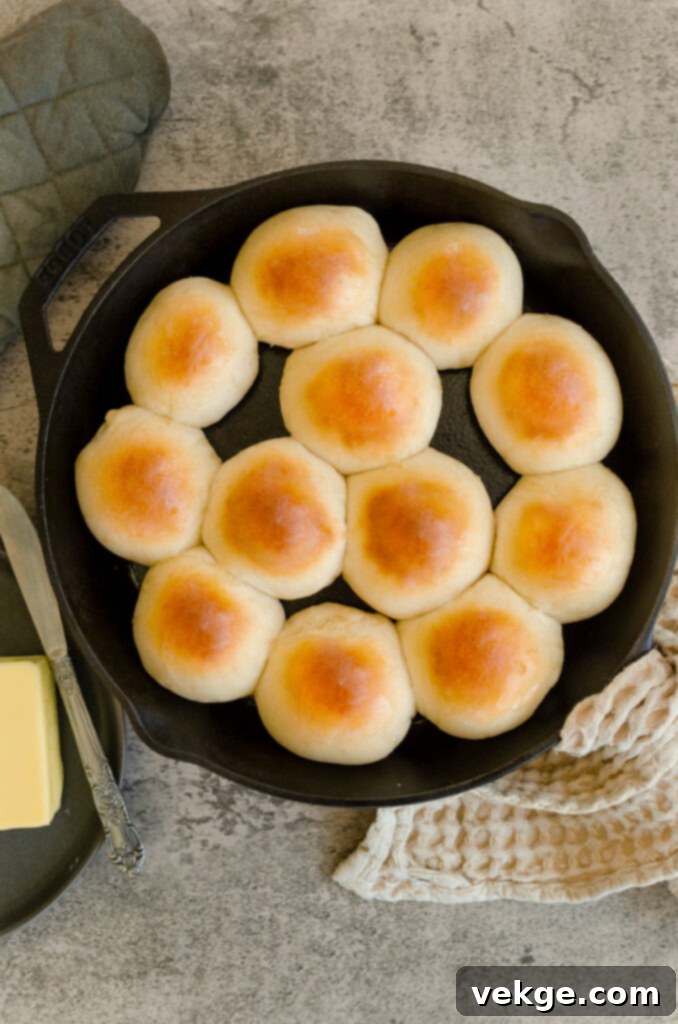
Step 6: Baking and Finishing Touches
Once your oven is preheated and the rolls are puffy, it’s time to bake! Place the pan in the preheated oven and bake for approximately 15 minutes. Keep an eye on them; the exact baking time can vary slightly depending on your oven. You’re looking for the tops of the rolls to turn a beautiful golden brown. This indicates they are fully cooked through and have developed that desirable crust.
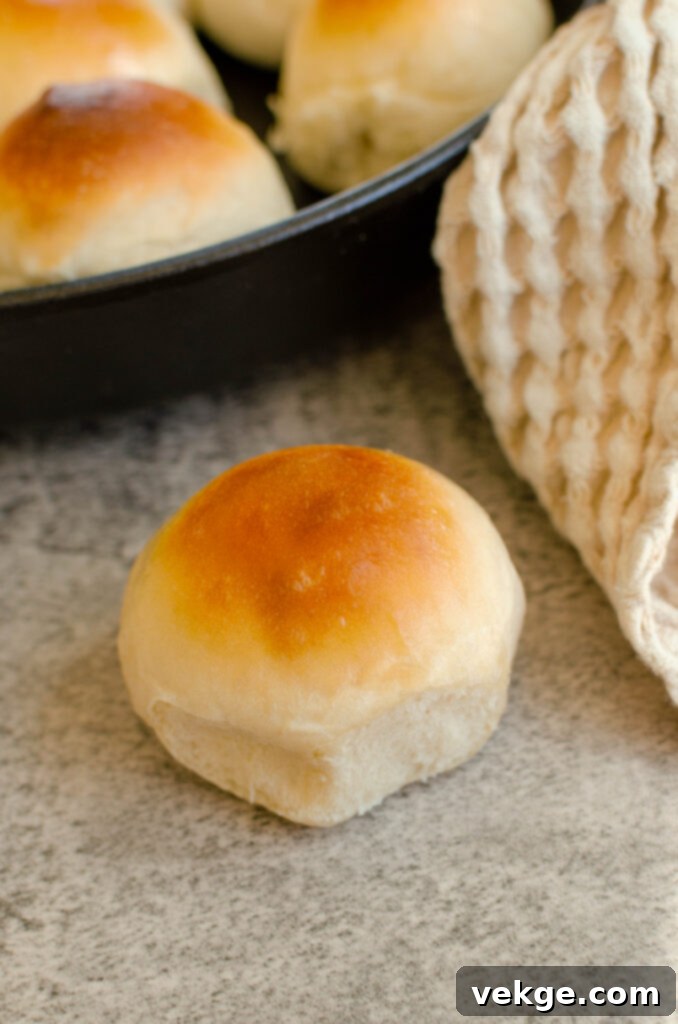
The moment these golden beauties emerge from the oven, brush their tops generously with melted butter. This not only imparts a rich flavor and a beautiful sheen but also helps to keep the crust soft. For an extra touch of gourmet deliciousness, sprinkle a little flaky sea salt over the buttered tops. The combination of warm, soft bread, rich butter, and a hint of crunchy salt is truly divine and takes these rolls from excellent to absolutely unforgettable. Serve them warm and enjoy the immediate adoration of your family and friends!
Tips for Success and Delicious Variations
To ensure your Fast Classic White Dinner Rolls turn out perfectly every time, and to explore exciting new flavors, consider these additional tips:
- Yeast Freshness: Always check the expiration date on your yeast. Old yeast is often inactive and will result in flat, dense rolls. Proper proofing (step 1) is your best indicator.
- Consistent Water Temperature: Invest in a kitchen thermometer to accurately gauge your water temperature (105-115°F or 40-46°C). This removes guesswork and ensures optimal yeast activation.
- Don’t Over-Flour: This is a common mistake. A slightly sticky dough is preferable to a dry, stiff one. Excess flour leads to dry, dense rolls. Rely on the “touch test” and adjust incrementally.
- Kneading is Key: Don’t skimp on the kneading time. This develops the gluten, which is essential for the soft, chewy texture.
- Warm Rising Environment: If your kitchen is cool, find a warm spot for rising. Options include a sunny window, a turned-off oven with the light on, or near a warm appliance.
- Storage: Store leftover rolls in an airtight container at room temperature for up to 2-3 days.
- Reheating: To restore their fresh-baked glory, gently warm rolls in a preheated oven at 300°F (150°C) for 5-10 minutes, or microwave briefly until warm and soft.
- Make-Ahead Option: You can prepare the dough up to the first rise, then punch it down, cover tightly, and refrigerate overnight. Let it come to room temperature for about 30-60 minutes before proceeding with shaping and the second rise.
Delicious Variations:
- Garlic Herb Rolls: Mix 1 teaspoon of garlic powder and 1 tablespoon of dried Italian herbs into the flour. For an extra punch, brush with garlic butter after baking.
- Cheesy Rolls: Incorporate ½ cup of shredded cheddar or Parmesan cheese into the dough during the last few minutes of kneading.
- Sweet Cinnamon Rolls: Reduce the salt to ½ teaspoon. After the first rise, roll the dough into a rectangle, spread with softened butter, sprinkle with cinnamon sugar, roll up, slice, and bake as usual. Brush with a simple glaze (powdered sugar and milk) after baking.
- Honey Wheat Rolls: Replace half of the bread flour with whole wheat flour and substitute granulated sugar with honey. Adjust water as needed for the touch test.
Perfect Pairings for Your Homemade Rolls
These versatile dinner rolls are the ultimate companion for a wide variety of meals. Their soft texture and subtle sweetness make them a perfect complement without overpowering other flavors. Imagine them:
- Alongside a Hearty Soup or Stew: Ideal for soaking up every last drop of a rich beef stew, creamy tomato soup, or savory chicken noodle soup.
- As a Thanksgiving or Holiday Side: An absolute staple for holiday feasts, perfect with turkey, ham, mashed potatoes, and gravy.
- With Barbecue and Grilled Meats: Their slight sweetness and soft crumb pair beautifully with smoky ribs, pulled pork, or grilled chicken.
- For Sandwiches or Sliders: Slice them horizontally to make mini sandwiches with leftover meats, cheeses, or egg salad.
- Breakfast Bliss: Enjoy them for breakfast, split and toasted, with jam, honey, or a savory fried egg.
- Just with Butter: Sometimes, the simplest pleasure is the best – a warm roll with a generous pat of good quality butter.
Expand Your Baking Horizons: More Delicious Bread Recipes
If you’ve fallen in love with the joy of baking and are eager to explore more homemade bread delights, you’re in for a treat! The world of bread offers endless possibilities for flavor and texture. Once you master these quick dinner rolls, you might be ready to tackle other exciting recipes that will further impress your family and friends. Check out these other delicious bread recipes to continue your baking adventure:
Sage’s Perfect Potato Rolls: Experience an even richer, moister crumb with the addition of mashed potatoes in these delightful rolls.
Cheesy Bread Twists: A fun and flavorful twist, perfect as an appetizer or a savory side, bursting with cheesy goodness.
Sourdough Pull-Apart Bread with Garlic and Parmesan: For those days when you have more time and want to delve into the tangy complexity of sourdough, this recipe offers a savory, shareable loaf.
Happy Cooking and Enjoy Your Rolls!
I genuinely hope you cherish making and devouring these Fast Classic White Dinner Rolls as much as I do. They are designed to bring joy and deliciousness to your table with minimal effort, proving that homemade bread can be both quick and incredibly rewarding. They are a true testament to the simple pleasure of baking and sharing. May they become a beloved staple in your kitchen and bring warmth to all your gatherings.
If you embark on this delicious baking journey and make these rolls, I would be absolutely thrilled to see your creations! Please take a photo and tag me on Instagram @amberskitchen. There’s nothing more satisfying than seeing my recipes come to life in your homes. Your shares and tags mean the world to me, and I deeply appreciate your support in advance!
This post contains affiliate links, which means I may receive a small commission on purchases made through these links at no extra cost to you. Your support helps me continue creating and sharing delicious recipes. Thank you for shopping through my links and for being a part of my culinary community.
Fast Classic White Dinner Rolls
Print
Pin
Rate
Ingredients
- 1 cup warm water baby bottle temperature
- 1 Tablespoon active dry yeast
- ¼ cup sugar or honey
- 1 teaspoon salt
- 2 Tablespoons coconut oil, melted
- 2½-3 cups all-purpose flour or bread flour, give or take 1/2 cup
Instructions
- Combine water, yeast, and sugar. Mix gently. Cover and let the yeast proof for ten minutes. If yeast does not foam up then do not move forward, start again with new yeast.
- Add salt and oil. Mix to combine.
- Add flour, cup by cup mixing in between each addition. You have enough flour when 1- the dough starts to pull away from the sides of the bowl, 2- the dough becomes tacky but not overly sticky in texture. Use the touch test (below) to determine if the dough has the right amount of flour. If it doesn’t have enough, add a little flour and knead. If it has too much flour, add a teaspoon of oil and knead. Do not add too much flour!
- Touch test: after kneading the dough, touch it with 3 fingers. If a lot of dough sticks to your fingers, it needs more flour. If hardly any sticks to your fingers it’s just right. If it is dry and crumbly with pockets of visible flour, it has too much flour. Kneading the dough for a few extra minutes can help hydrate any excess flour.
- Knead the dough for 10-15 minutes. Cover with a clean kitchen towel or with a bowl lid or with plastic wrap. Let rise for 20 minutes.
- Punch down dough and dump onto a clean, floured surface. Divide into 12 rolls. Shape into balls and set on a greased 9×13 pan or seasoned 12-inch cast iron skillet. Cover with plastic wrap, a lid, or a clean dish towel. Allow to rise again for 20 minutes. Preheat oven to 350° F.
- Bake at 350° F for 15 minutes.
- Brush the tops of the rolls with butter and sprinkle with flaky sea salt, if desired. Enjoy!
