Ultimate DIY HVAC Troubleshooting: Simple Fixes for Common Problems & Essential Maintenance Tips
When the seasons shift, the last thing anyone wants is an HVAC (Heating, Ventilation, and Air Conditioning) system that falters. Whether you’re bracing for a chilling winter or enduring a sweltering summer, your indoor comfort critically depends on this vital system. While some HVAC issues undeniably require expert hands, many common problems have surprisingly straightforward solutions you can tackle yourself. Understanding these simple fixes not only saves you time and money but also empowers you to maintain a more comfortable and energy-efficient home.
This comprehensive guide will walk you through prevalent HVAC problems and practical DIY solutions, offering a blend of professional insights with an approachable tone for easy understanding. We’ll delve into everything from regular maintenance routines that prevent issues to diagnosing strange noises and addressing uneven heating or cooling. Get ready to become your home’s climate control hero!
Regular Maintenance: The Unsung Hero of Home Comfort

Before diving into troubleshooting specific glitches, let’s emphasize the cornerstone of HVAC health: regular preventative maintenance. Adopting a consistent maintenance schedule ensures your system remains clean, efficient, and less prone to breakdowns. It’s akin to giving your HVAC system a regular check-up, preventing minor issues from escalating into costly repairs.
- Filter Finesse: The air filter is your HVAC system’s first line of defense against dust and debris. A dirty filter restricts airflow, forcing your system to work harder, which wastes energy and shortens its lifespan. Aim to check or replace your air filter monthly, especially during peak heating or cooling seasons. For pet owners or those with allergies, more frequent changes might be necessary. It’s a simple swap that makes a huge difference in air quality and system efficiency.
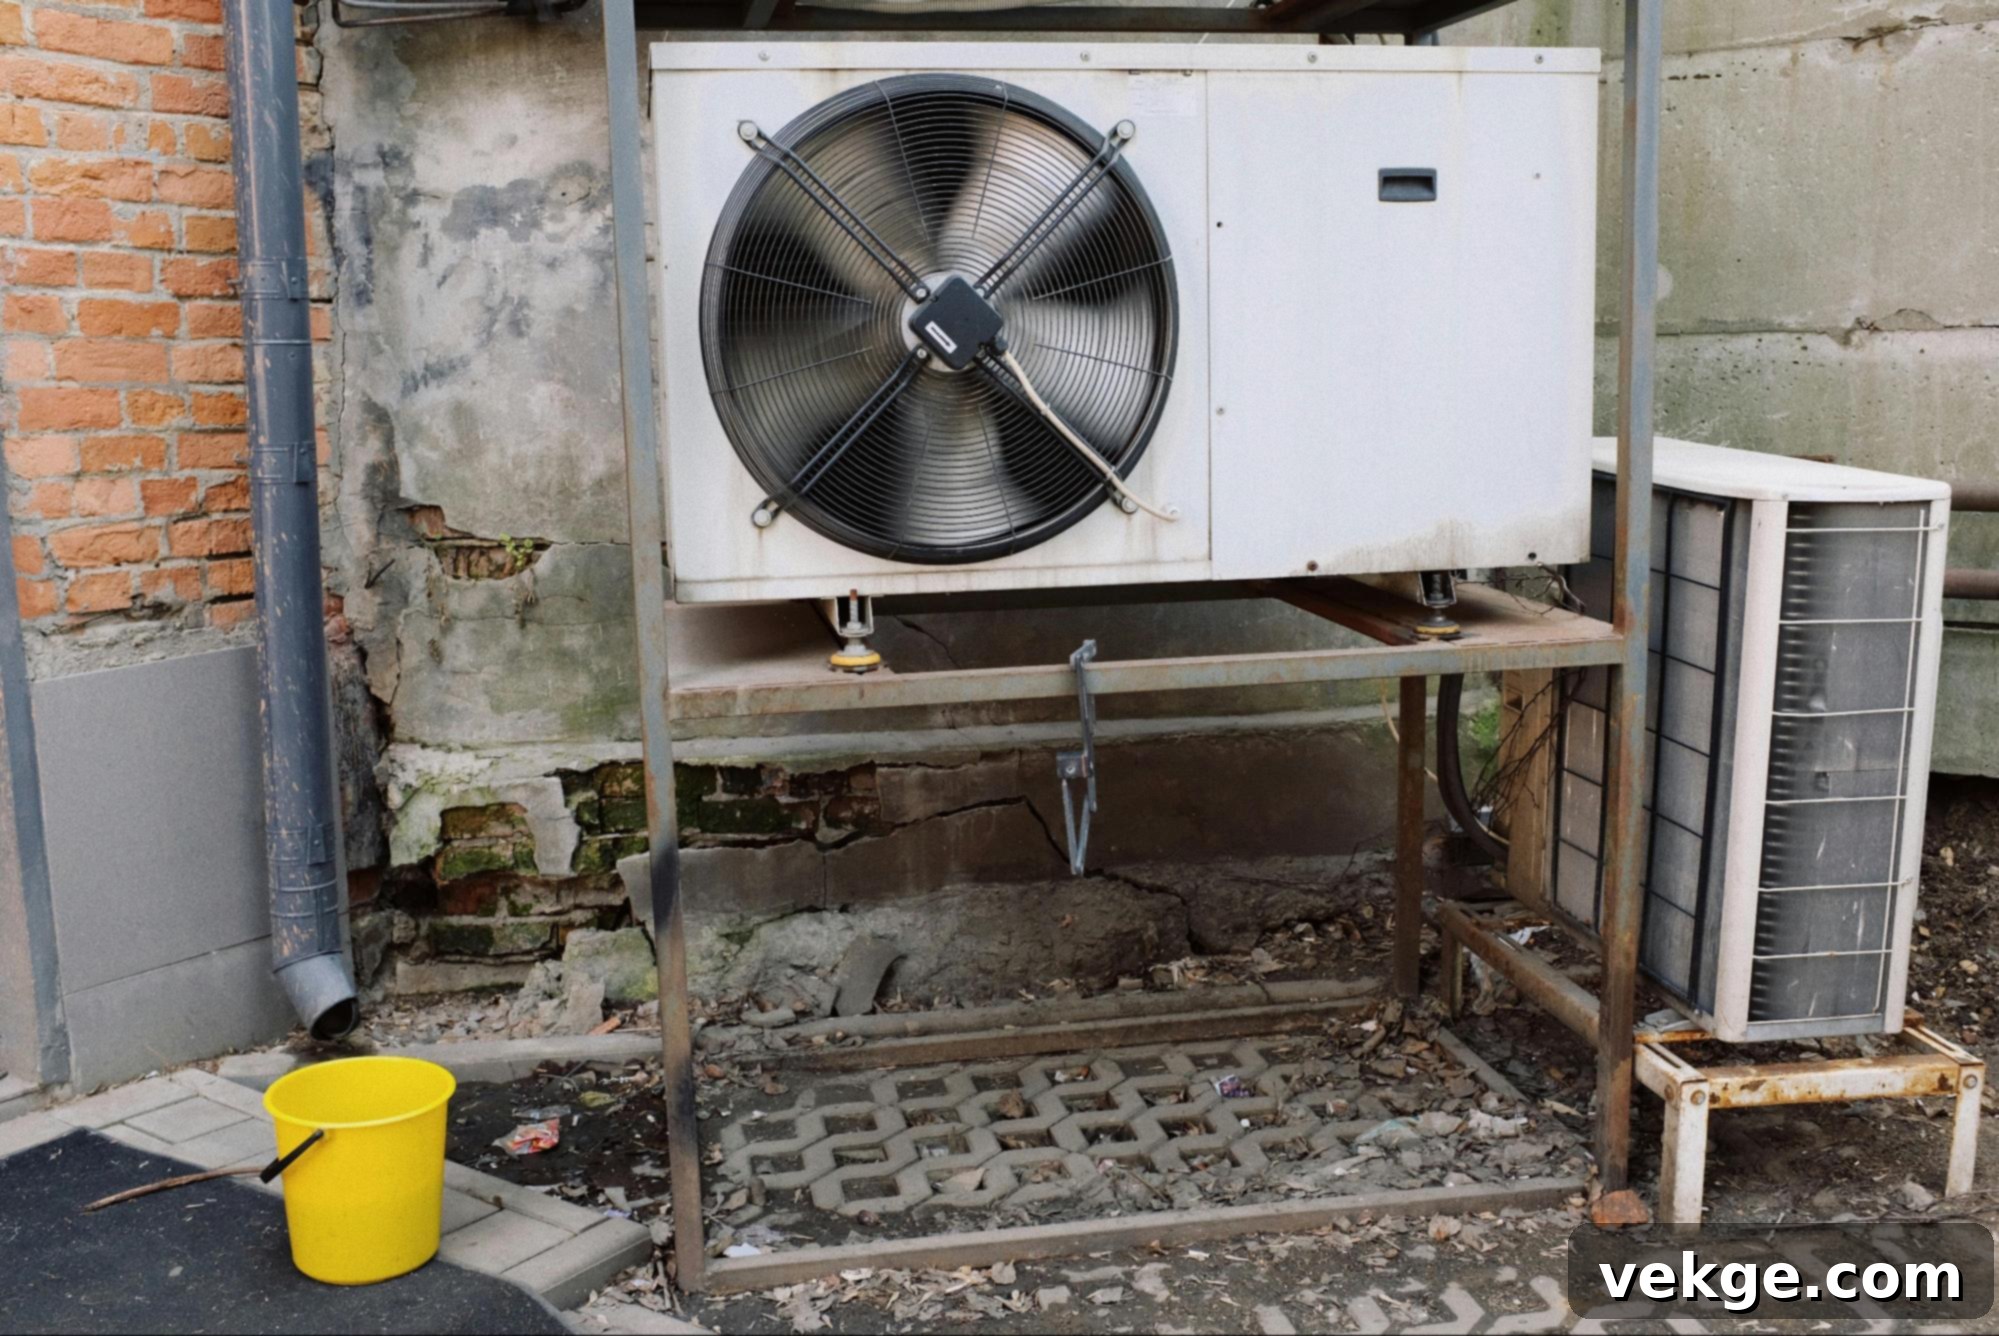
- Outdoor Unit TLC: Your outdoor unit (condenser for AC, heat pump) needs room to breathe. Clear away leaves, grass clippings, dirt, and other debris that can accumulate around it. Ensure there’s at least two feet of clear space in all directions. A clogged outdoor unit can hinder heat exchange, reducing cooling efficiency and increasing energy consumption.
- Unobstructed Airflow: Inside your home, make sure all supply and return vents are open and free from obstructions like furniture, rugs, or curtains. Blocked vents can lead to uneven heating or cooling and force your system to overcompensate, leading to higher energy bills and increased wear and tear.
- Ductwork Inspection: While not a monthly task, periodically inspect visible ductwork for any obvious leaks or disconnections. Leaky ducts can lose a significant amount of conditioned air, impacting efficiency. Sealing minor leaks with mastic sealant or foil tape can be a great DIY project.
Think of these steps as a well-deserved spa day for your HVAC system – they keep it running smoothly and efficiently, saving you headaches and money in the long run.
Unexplained Noises and What They Mean
Heard a strange noise emanating from your HVAC system? Don’t panic just yet. Often, the fix is as simple as tightening a loose screw or clearing a minor obstruction. However, understanding what different sounds signify can help you diagnose the problem accurately:
- Rattling: This usually indicates something is loose. Check the access panel for the air handler or furnace. Look for loose screws, panels, or even debris (like leaves or small twigs if it’s the outdoor unit) caught in the fan. Tighten any loose parts. If it’s from ductwork, it could be loose joints or even vibration against another surface.
- Hissing or Whistling: A persistent hissing sound, especially when the system is running, often suggests a refrigerant leak. This is a serious issue that requires professional attention, as refrigerants are harmful to the environment and human health. Never attempt to “top off” refrigerant yourself; it’s a regulated substance. Whistling might also be caused by air escaping through a small hole in the ductwork or a severely clogged filter.
- Banging or Clanking: A loud banging noise, particularly during startup or shutdown, can be alarming. It might point to a loose fan blade in the outdoor unit or the blower motor, or an issue with the compressor. In furnaces, it could be delayed ignition of gas or a faulty burner. This often means a part needs replacement or professional adjustment.
- Squealing or Screeching: This high-pitched noise typically indicates a problem with a motor’s belt or bearings. If it’s the blower motor, the belt might be worn, loose, or out of alignment, or the bearings might be dry. This issue usually requires lubrication or replacement of the belt/motor.
- Clicking: A continuous clicking sound before the system starts could indicate a faulty relay or a problem with the thermostat. If the system starts but keeps clicking, it could be a capacitor issue. A single click is usually normal as relays engage.
- Gurgling or Bubbling: This sound, often heard near the indoor unit, could signal a blockage in the condensate drain line, causing water to back up. It can also be a sign of low refrigerant levels, leading to moisture mixing with refrigerant.
While some noises are simple DIY fixes, others are clear indicators that it’s time to call in a professional to prevent further damage and ensure safety.
Calling the Professionals: When to Seek Expert Help

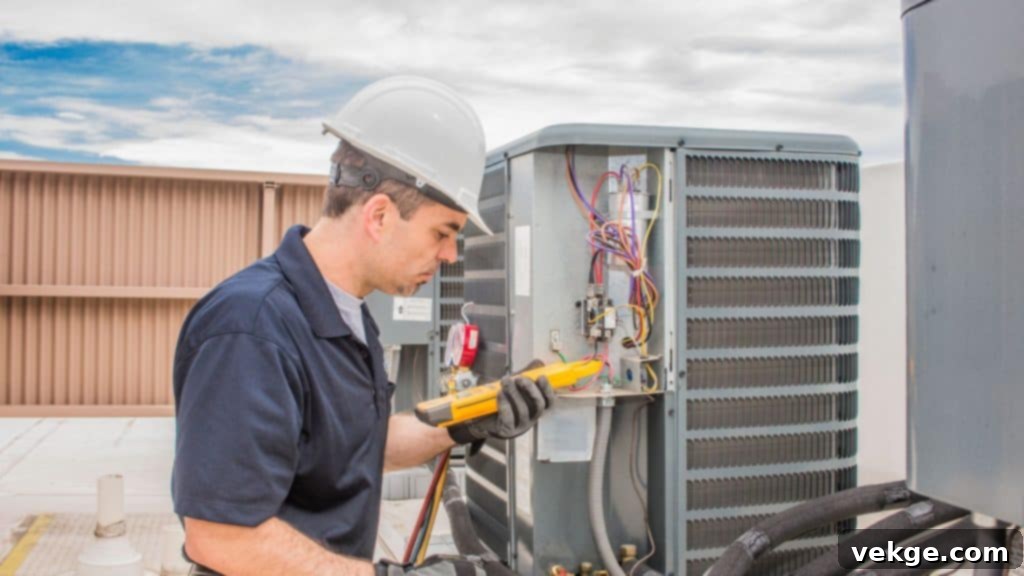
While DIY solutions can handle many minor HVAC issues, there are critical times when professional intervention isn’t just helpful, but essential. Attempting complex repairs without the proper training, tools, or safety knowledge can lead to further damage, void warranties, or even pose significant safety risks, particularly with electrical components or refrigerant.
You should absolutely call a professional if:
- You suspect a refrigerant leak.
- There’s a persistent electrical issue or burning smell.
- Your furnace’s pilot light is frequently going out, or you smell natural gas.
- The system is completely unresponsive after checking basic DIY fixes.
- You’re dealing with a major component failure (e.g., compressor, heat exchanger).
- You’re considering a system overhaul, upgrade for greater efficiency, or new installation.
Choosing a reputable service provider is crucial for maintenance, repairs, or upgrades. Look for companies with strong local reputations, certified technicians, transparent pricing, and excellent customer service. For residents or businesses in need of HVAC service in Long Beach, for example, finding a provider with a strong commitment to quality and customer satisfaction is crucial for ensuring your system operates smoothly and reliably year-round. A good professional will not only fix the immediate problem but also offer preventative advice and ensure your system is optimized for your local climate.
The Mystery of Uneven Heating or Cooling
Are you experiencing hot or cold spots in different areas of your home? This common frustration can stem from several issues, many of which you can address:
- Blocked Air Vents: As mentioned in maintenance, ensure all supply and return vents are fully open and clear of furniture, drapes, or anything that might impede airflow. Check for registers that might have been accidentally closed.
- Poor Insulation: Inadequate insulation, particularly in attics, basements, crawl spaces, or older walls, can lead to significant heat loss in winter and heat gain in summer. Cold spots often indicate areas where insulation is lacking. Adding insulation to these critical zones can dramatically improve temperature consistency and energy efficiency.
- Dirty Air Filter: A clogged air filter restricts overall airflow, which can make it harder for conditioned air to reach all areas of your home evenly. A simple filter change can often resolve this.
- Ductwork Issues: Leaks or disconnections in your ductwork can lead to conditioned air escaping into unconditioned spaces (like your attic or walls) before it reaches your living areas. This results in reduced airflow and uneven temperatures. Sealing leaky ducts with mastic sealant or foil tape is a highly effective DIY improvement.
- Imbalanced Airflow: Sometimes, the problem isn’t a lack of airflow but an imbalance. Your system might be pushing too much air to one part of the house and not enough to another. You can try to balance this by strategically adjusting the dampers on your registers, slightly closing those in consistently warm areas and opening those in consistently cool areas. This might require some trial and error.
- Thermostat Placement: If your thermostat is located in an area that doesn’t accurately reflect your home’s average temperature (e.g., near a drafty window, in direct sunlight, or near a heat source), it can cause the system to cycle incorrectly, leading to uneven comfort.
Addressing these points systematically can significantly improve your home’s overall comfort and reduce the frustration of battling hot and cold zones.
When the System Won’t Turn On: Your First Steps

Nothing is more frustrating than a completely unresponsive HVAC system. Before calling for professional help, go through this checklist; you might be surprised at how simple the solution can be:
- Check the Power Source: Ensure your HVAC system is receiving power. This seems obvious, but sometimes a switch near the furnace or air handler (often resembling a light switch) can be accidentally turned off.
- Inspect the Circuit Breaker: Head to your electrical panel. Look for a tripped breaker labeled “furnace,” “AC,” or “HVAC.” If it’s in the middle or “off” position, flip it completely off, then firmly back to the “on” position. If it immediately trips again, there’s a more serious electrical issue that warrants professional attention.
- Examine the Furnace Door: Many furnaces have a safety switch that prevents them from operating if the access panel door isn’t securely closed. Make sure the door is firmly in place.
- Thermostat Settings: Double-check that your thermostat is set to the correct mode (heat/cool) and desired temperature. Sometimes a simple adjustment is all it takes.
- Reset the System: Just like with a computer, turning the system off (at the thermostat and circuit breaker) for a few minutes and then turning it back on can sometimes “reset” a minor glitch. This classic IT solution often works wonders for HVAC too!
- Pilot Light (for older furnaces): If you have an older gas furnace, check if the pilot light is lit. If not, follow your furnace’s instructions for safely re-lighting it. If it won’t stay lit, there could be a thermocouple issue, requiring professional repair.
By systematically checking these points, you can often get your system back up and running without a service call.
Thermostat Troubles: The Brain of Your HVAC
It’s easy to overlook the unassuming little box on your wall, but the thermostat is the command center for your entire HVAC system. If your heating or cooling isn’t behaving as expected, the thermostat is often the culprit. Here’s what to check:
- Correct Mode and Settings: Is it set to “Heat,” “Cool,” or “Auto”? Is the fan set to “Auto” or “On”? Ensure the desired temperature is appropriately above or below the current room temperature to trigger the system.
- Battery Check: For non-hardwired thermostats, dead batteries are an incredibly common and easily overlooked problem. A simple battery change can sometimes be all it takes to get things back on track. Who knew such a small thing could cause such a big headache?
- Cleanliness: Dust can accumulate inside the thermostat, especially around the sensors. Carefully open the cover (if applicable and safe to do so) and gently clean any visible dust with a soft brush or compressed air.
- Placement: As mentioned before, the thermostat’s location significantly impacts its accuracy. If it’s exposed to direct sunlight, drafts, or heat sources, it won’t accurately read your home’s ambient temperature, leading to erratic system behavior.
- Calibration: Older, non-digital thermostats might need recalibration. This is generally a task for professionals, but knowing it’s a possibility can guide your diagnosis.
Understanding your thermostat and ensuring its proper function is key to consistent home comfort and efficient HVAC operation.
Optimizing Airflow for Enhanced Comfort and Efficiency
Maximizing the efficiency of your HVAC system doesn’t stop with routine maintenance and problem-solving. Optimizing airflow within your home can significantly improve comfort levels, reduce energy waste, and extend the lifespan of your equipment.
- Ductwork Integrity: Beyond just sealing leaks, ensure your ductwork is properly sized and configured for your home. Undersized or poorly routed ducts can restrict airflow and create pressure imbalances. Periodically inspect accessible ducts for crushing, disconnections, or significant damage.
- Duct Cleaning: While often debated, professional duct cleaning can be beneficial if your ducts are visibly clogged with dust, mold, or pest infestations, especially after renovations or if new occupants have severe allergies. Otherwise, regular filter changes are generally sufficient.
- Balancing Registers: Fine-tune the airflow from individual registers. In rooms that get too warm, slightly close the register to redirect more air to cooler areas. Conversely, open registers fully in rooms that struggle to reach the desired temperature. This iterative process can help equalize temperatures across your home.
- Return Air Vents: Ensure your return air vents are always unobstructed. These are just as important as supply vents for proper air circulation. A blocked return vent can starve your system of air, leading to poor performance.
- Insulated Ductwork: If your ductwork runs through unconditioned spaces like attics, crawl spaces, or garages, it should be properly insulated. This prevents conditioned air from losing heat or gaining heat as it travels, ensuring more of it reaches your living space at the desired temperature.
By focusing on optimal airflow, you’re not just moving air; you’re moving conditioned air efficiently, directly impacting your comfort and energy bills.
Leakages and How to Handle Them

Finding water around your HVAC unit or noticing signs of refrigerant leakage are clear calls to action. Addressing leaks promptly can prevent serious damage and maintain system efficiency.
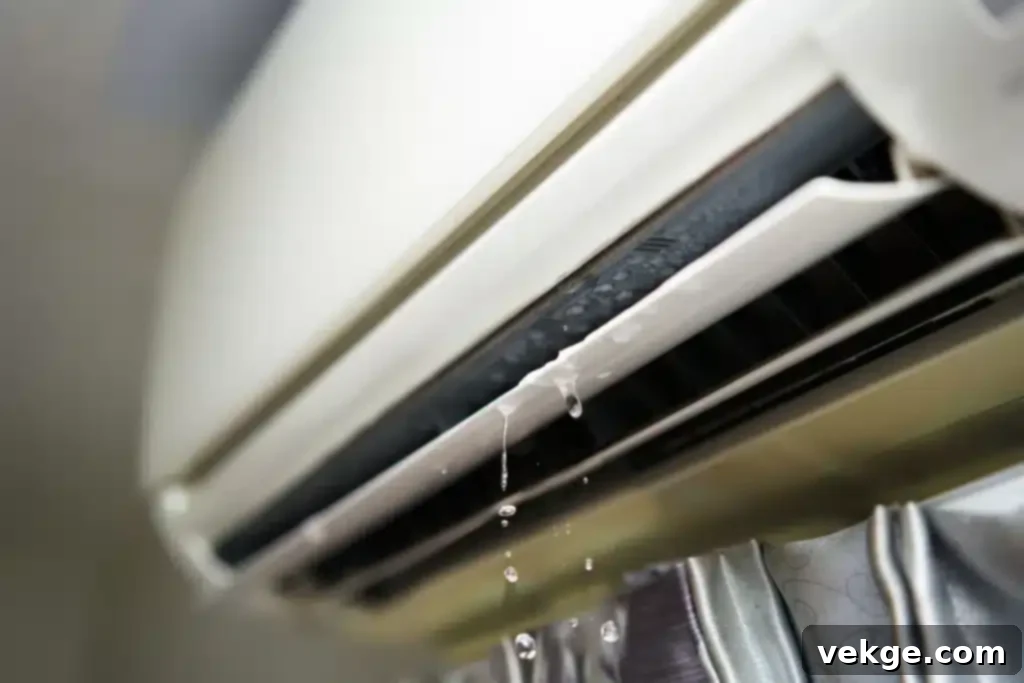
- Clogged Condensate Drain Line (Water Leaks): During cooling operation, your AC system removes humidity from the air, and this moisture collects in a drain pan and flows out through a condensate drain line. If this line gets clogged by algae, mold, or debris, water can back up, overflow the pan, and spill onto your floor or into the furnace. Clearing this line is often a straightforward DIY process.
- Locate the condensate drain line (usually a PVC pipe exiting the indoor unit).
- Find the access point (often a T-shaped vent or cap).
- Carefully remove the cap and use a wet/dry vacuum to suction out the clog from the end of the pipe.
- Alternatively, pour a cup of distilled vinegar (not bleach, as it can damage certain components) into the access point to kill mold and algae. Flush with water after about 30 minutes.
Remember, water where it shouldn’t be is a call to action, not to panic.
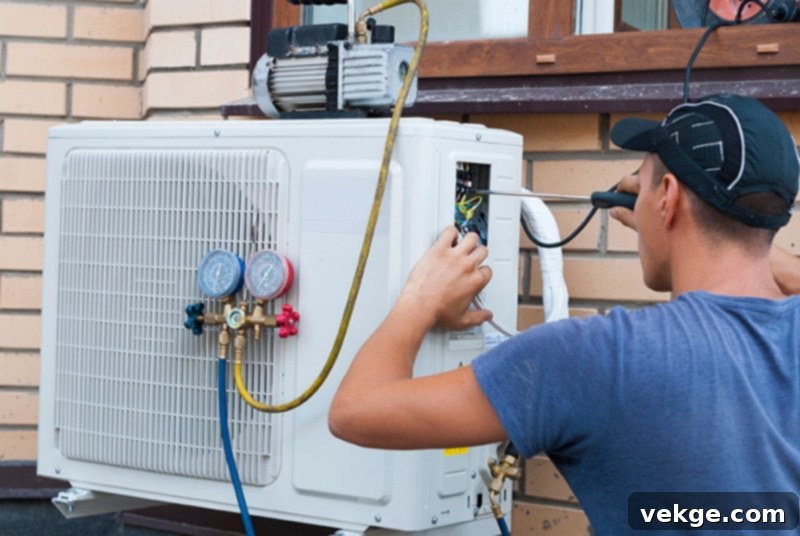
- Refrigerant Leaks: As mentioned under “hissing noises,” refrigerant leaks are serious. Signs include a hissing sound, reduced cooling capacity, ice build-up on the evaporator coil, and surprisingly, higher energy bills (because the system works harder). Refrigerant is a hazardous substance and its handling is strictly regulated. If you suspect a refrigerant leak, turn off your system and immediately call a certified HVAC professional. Do not attempt to add refrigerant yourself.
- Water from Outdoor Unit: During cooling, it’s normal to see some condensation dripping from the outdoor unit. However, excessive puddling or continuous water flow might indicate a drainage issue within the unit or even a problem with the refrigerant coil.
Timely attention to any leakage can save you from bigger problems, including water damage and costly system repairs.
The Delicate Balance of Refrigerant Levels
Adequate and correctly balanced refrigerant levels are absolutely crucial for optimal HVAC performance, particularly for air conditioning systems. Refrigerant is the substance that absorbs heat from your home’s air and releases it outside, facilitating the cooling process. It’s the lifeblood of your AC.
- Too Little Refrigerant: If your system is low on refrigerant (due to a leak, as refrigerant is not “consumed”), it will struggle to absorb enough heat. This leads to reduced cooling capacity, longer run times, and increased energy consumption. You might also notice ice forming on the evaporator coil, a common symptom of low refrigerant.
- Too Much Refrigerant: While less common, an overcharged system can also cause problems. It forces the compressor to work harder, increasing pressure within the system and potentially leading to premature wear and tear or even compressor failure.
This is a critical area that requires a professional’s touch. Unlike motor oil in a car, refrigerant should never need to be “topped off” unless there’s a leak in the sealed system. If levels are low, a professional technician will not only recharge the system but also find and repair the leak. Understanding the importance of refrigerant balance and the dangers of DIY interference (due to specialized equipment, safety risks, and environmental regulations) is a significant step in the right direction for responsible HVAC ownership.
Getting to Know Your HVAC System
A little knowledge goes a long way in the world of HVAC maintenance and repair. Familiarizing yourself with the basic components of your system and their functions can empower you to better diagnose issues, perform simple fixes, and communicate more effectively with professionals when necessary. You don’t need to be an expert, but understanding the basics is invaluable:
- Locate Your Manual: Your system’s owner’s manual is a treasure trove of information. It contains specific details about your model, maintenance schedules, troubleshooting charts, and sometimes even error codes. Keep it handy!
- Key Components:
- Furnace/Air Handler: The indoor unit that heats (furnace) or circulates air (air handler for AC/heat pump).
- Outdoor Unit (Condenser/Heat Pump): For AC, it releases heat outside. For heat pumps, it can both release and absorb heat.
- Thermostat: Your control panel for temperature settings.
- Ductwork: The network of channels that distributes conditioned air throughout your home.
- Evaporator Coil (Indoor): Absorbs heat from your home’s air during cooling.
- Condenser Coil (Outdoor): Releases heat to the outside air during cooling.
- Understand Error Codes: Many modern HVAC systems have diagnostic lights or digital displays that show error codes when something is wrong. Your manual will explain what these codes mean, providing a critical clue for troubleshooting.
- Safety Switches: Learn where emergency shut-off switches are for your system (e.g., electrical disconnect near the outdoor unit, furnace kill switch). Knowing these locations is crucial for safety during any DIY work or in case of an emergency.
Investing a small amount of time to understand these basics will make you a more informed homeowner and a more effective problem-solver when HVAC issues arise.
Smart Thermostats: A Game Changer for Modern Homes
Upgrading to a smart thermostat can bring a new level of efficiency, convenience, and control to your HVAC system, transforming how you manage your home’s climate. These advanced devices do far more than just set a temperature; they learn, adapt, and help you save energy.
- Enhanced Control and Convenience: Smart thermostats allow for precise control over your home’s temperature, often via user-friendly smartphone apps. This means you can adjust settings from anywhere – whether you’re at work, on vacation, or just lounging on the couch. Forget to turn off the AC before leaving? No problem, just open the app!
- Learning Capabilities: Many smart thermostats have “learning” algorithms that observe your habits and preferences. Over time, they can automatically adjust temperature settings to match your schedule, optimizing comfort while you’re home and saving energy when you’re away. They can even learn how long it takes to heat or cool your home and adjust accordingly.
- Energy Savings: This is one of the biggest benefits. By intelligently managing your heating and cooling cycles, smart thermostats can significantly reduce your energy consumption. Some even provide detailed energy reports, showing you exactly how much energy you’re using and offering tips for further savings. Many are compatible with utility rebate programs, further offsetting their initial cost.
- Zoning Potential: When integrated with a zoned HVAC system, smart thermostats can provide individual temperature control for different areas of your home, maximizing comfort and efficiency by only heating or cooling the spaces you’re using.
- Integration with Smart Home Systems: Most smart thermostats seamlessly integrate with popular smart home platforms (like Amazon Alexa, Google Home, Apple HomeKit), allowing for voice control and unified management of your home’s ecosystem.
- Weather Awareness: Some models can connect to local weather forecasts, allowing them to pre-heat or pre-cool your home more efficiently in anticipation of extreme temperatures.
While installation might require some basic electrical knowledge, many smart thermostats are designed for relatively straightforward DIY setup, offering clear instructions and online support. They represent a worthwhile investment for anyone looking to modernize their home’s climate control and enhance energy efficiency.
In conclusion, many HVAC issues can be managed with a little know-how and elbow grease. From regularly changing air filters and clearing outdoor units to diagnosing strange noises and tackling minor leaks, empowering yourself with basic DIY troubleshooting skills can save you money and keep your home comfortable. However, it’s equally important to recognize when a problem is beyond your depth and requires the specialized knowledge and tools of a certified professional.
Regular preventative maintenance, a good understanding of common problems, and knowing when to call in the professionals will collectively keep your HVAC system in tip-top shape, ensuring reliable comfort and optimal energy efficiency year-round. Remember, a well-maintained HVAC system isn’t just a luxury; it’s the backbone of a truly comfortable and healthy home.
