The Ultimate Guide to Cleaning Marble Tiles: Achieve Lasting Shine and Protection
Marble tiles instantly elevate the elegance and sophistication of any space, from luxurious entryways to serene bathrooms. Their unique veining and smooth, polished surface create an undeniable aesthetic appeal. However, to preserve this pristine beauty and prevent damage, understanding the correct methods for cleaning marble is crucial. Unlike many other surfaces, marble requires specific care to maintain its luster and structural integrity over time.
Many common household cleaners, unfortunately, contain harsh chemicals or acidic compounds that can irreversibly damage marble without you even realizing it. If you’ve invested in exquisite marble tiles, your goal is undoubtedly to keep them brilliantly shining, not to see them dull, etched, or scratched after just a few cleanings. This comprehensive guide will equip you with the knowledge and techniques to clean marble safely and effectively, ensuring your surfaces remain a highlight of your home for years to come.
In this detailed guide, you will learn everything you need to know about proper marble care, from the daily upkeep of your marble floors to the specialized cleaning of bathroom walls and countertops. We will cover:
- Daily and Weekly Care Routines: Simple steps to keep your marble sparkling.
- Effective Stain and Mold Treatment: Safe methods for tackling common blemishes.
- Long-Term Protection Strategies: The importance of sealing and how to apply it.
- Common Mistakes to Avoid: What absolutely not to use on your precious marble.
- Bonus Tips: Expert advice for preserving your marble’s natural beauty.
By following these guidelines, you can ensure your marble continues to look magnificent, reflecting the enduring charm and luxury it brings to your living environment.
Understanding the Unique Nature of Marble Surfaces
Before diving into the specifics of cleaning, it’s essential to grasp the fundamental characteristics of marble. A deep understanding of this natural stone will empower you to clean it correctly, avoiding prevalent mistakes that could otherwise lead to permanent damage to its exquisite surface.
Why Marble Demands Specialized Care
Marble is a breathtaking natural stone renowned for its unique patterns and elegant finish. However, its beauty comes with a need for specialized care. Geologically, marble is a metamorphic rock formed from recrystallized carbonate minerals, most commonly calcite or dolomite. This composition makes it inherently porous and susceptible to certain types of damage.
Its porous surface means that if not properly sealed, marble can easily absorb liquids. This characteristic makes it highly prone to staining when spills — from colored beverages like wine or coffee to oils and sauces — are not promptly cleaned. The liquid penetrates the stone’s microscopic pores, leaving behind a stubborn mark that can be difficult to remove.
Furthermore, marble’s primary component, calcium carbonate, is highly reactive with acids. This means the stone can be easily scratched or, more accurately, etched by acidic substances found in many everyday items. Common culprits include fruit juices (lemon, orange), wine, vinegar, soda, tomato products, and even some cosmetic products. When acid comes into contact with marble, it reacts with the calcium carbonate, dissolving the surface and leaving behind dull, rough patches known as etches. These aren’t stains but rather physical damage to the stone’s finish.
Lastly, its delicate makeup renders marble exceedingly sensitive to harsh chemical cleaners. Products containing bleach, ammonia, or abrasive particles can strip away the marble’s natural shine, cause discoloration, or inflict lasting damage that may require professional restoration to repair. Understanding these vulnerabilities is the first step toward effective and safe marble care.
Common Cleaning Mistakes That Damage Marble
Many homeowners, often unknowingly, make critical mistakes that can severely compromise the beauty and integrity of their marble surfaces. Avoiding these pitfalls is as important as knowing the correct cleaning techniques.
- Using Acidic Cleaners: One of the most common and damaging errors is the mistake of using vinegar, lemon juice, or bleach on marble. While effective on other surfaces, these acidic or highly corrosive substances react with the calcium carbonate in marble, literally eating away at the stone’s polished surface. This reaction results in dull, etched spots that appear lighter or rougher than the surrounding marble, significantly diminishing its shine.
- Abrasive Scrubbing: Scrubbing with hard brushes, scouring pads, or rough sponges is another frequent mistake. Marble, especially when polished, has a relatively soft surface compared to granite or quartz. Abrasive tools can leave tiny scratches and micro-abrasions that accumulate over time, dulling the finish and making the surface appear worn and lifeless. Always opt for soft cloths or sponges.
- Leaving Water to Dry: While water itself isn’t acidic, allowing it to evaporate and leaving water to dry on the surface can lead to problems. Hard water, rich in minerals like calcium and magnesium, leaves behind mineral deposits. As the water evaporates, these minerals remain, creating unsightly water spots and rings that are difficult to remove and can sometimes even etch the surface subtly over time. Always dry marble immediately after wet cleaning.
- Using All-Purpose Cleaners: Many general-purpose household cleaners are not formulated for natural stone and can contain harsh chemicals, dyes, or waxes that can strip sealants, leave behind residue, or stain the marble. Always check product labels for “pH-neutral” and “safe for natural stone” indications.
Daily and Weekly Maintenance for Marble
Maintaining the exquisite appearance of your marble tiles doesn’t have to be a daunting task. In fact, keeping them looking their best requires a simple, consistent cleaning routine. With just a few minutes of care each day and a slightly more detailed clean each week, you can effortlessly preserve the natural beauty and luxurious appeal of your marble for many years to come.
1. Sweep or Vacuum First
The crucial first step in any marble cleaning regimen, especially for floors, is to remove loose dirt and abrasive particles. Before introducing any moisture, it’s important to use a soft-bristled broom or a vacuum cleaner equipped with a brush attachment specifically designed for hard floors. This initial dry cleaning effectively clears away grit, dust, and tiny debris that could otherwise act as abrasives, potentially scratching the delicate marble surface when you proceed with wet cleaning methods.
Pay special attention to high-traffic areas, such as entryways and hallways, where more dirt tends to gather. Don’t forget to meticulously sweep or vacuum corners, edges, and under furniture, as dust and debris often accumulate unnoticed in these spots. This simple but vital step safeguards your marble from preventable surface damage and ensures a more effective subsequent wet clean.
2. Damp Mop with a Safe Solution
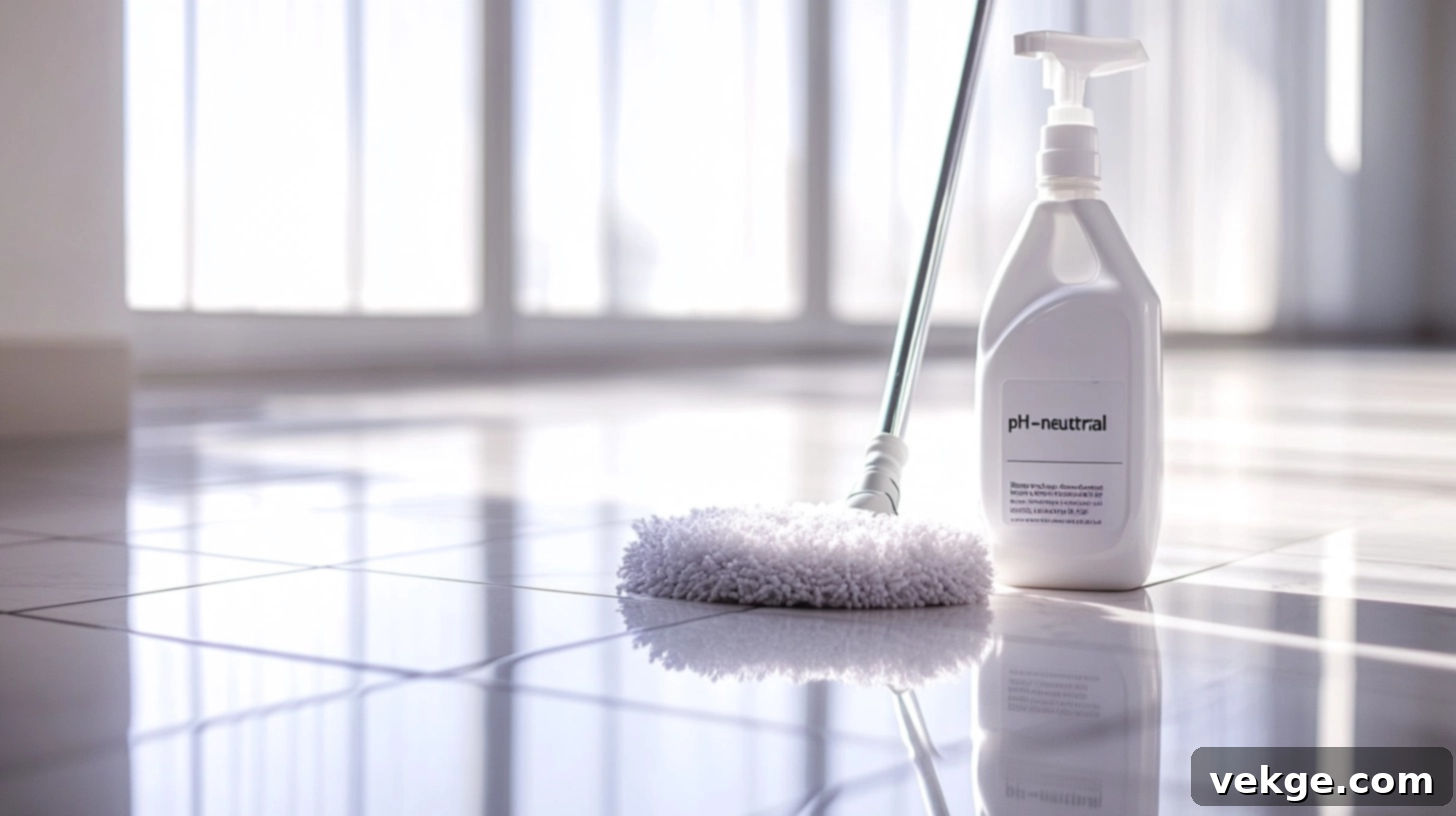
For your regular cleaning routine, a gentle approach is always best. Prepare your cleaning solution by mixing warm, clean water with a small amount of a pH-neutral cleaner specifically formulated for natural stone surfaces. You can typically find these at hardware stores or specialty stone care retailers. Alternatively, a very mild, pH-neutral dish soap (ensure it contains no harsh degreasers or acids) can work in a pinch, but use only a tiny amount – a tablespoon per gallon of water is usually sufficient – to avoid soap residue buildup which can dull the marble’s shine over time.
When applying the solution, the key is moderation. Lightly dampen your soft mop or microfiber cloth; avoid saturating it. Excessive water can seep into the stone’s pores and grout lines, potentially leading to water spots, mineral buildup, or even compromising the sealant over time. Wipe the marble surface in smooth, gentle motions, allowing the cleaner to lift dirt without requiring excessive pressure. Work in manageable sections to prevent the cleaning solution from drying on the surface before you can rinse and dry.
3. Dry Immediately After Cleaning
This step is often overlooked but is absolutely critical for maintaining the pristine appearance of your marble. Immediately after mopping each section, use a separate, clean, soft, dry towel or a microfiber cloth to thoroughly dry the marble surface. This diligent drying prevents the formation of unsightly streaks, water spots, and mineral deposits that can occur as water naturally evaporates, especially if you have hard water.
By drying immediately, you eliminate the risk of water standing on the surface and potentially seeping into the stone or grout, which can lead to dullness or even mold growth in damp environments. For optimal results, work systematically: clean a small area, then immediately dry it completely before moving on to the next section. While polishing is an optional step that can enhance the marble’s inherent shine, it’s typically done less frequently. If you choose to polish, always use a product explicitly designed and tested for marble to ensure compatibility and avoid damage.
Deep Cleaning Techniques for Marble Tiles

Even with diligent daily and weekly care, marble tiles will periodically require a more thorough deep cleaning to address accumulated grime, light hazing, and to revitalize their natural brilliance. A deep clean helps to remove built-up dirt and residue that regular maintenance might miss, effectively restoring the natural shine of your marble surfaces without causing any harm when done correctly.
Craft a Gentle DIY Cleaning Solution
When your marble surfaces need a bit of extra attention but you prefer a homemade approach, you can easily create an effective yet gentle cleaner. The ideal solution for deep cleaning marble involves warm water and either pure Castile soap or a very mild, pH-neutral dish soap. The key is using a minimal amount of soap to prevent residue buildup. A good ratio is typically just one tablespoon of liquid soap per quart (about a liter) of warm water. Stir gently to mix, avoiding excessive suds.
Apply this DIY solution with a soft mop or a clean, soft cloth. It’s crucial to avoid oversaturating the marble floor or surface, as excess water can penetrate the stone and grout, potentially leading to issues like efflorescence (white powdery residue) or moisture damage over time. Work in small, manageable sections. Clean each area thoroughly but gently, then immediately rinse the area with clean water using a separate, damp cloth or mop to remove all soap residue. Promptly dry the surface completely with a soft towel to prevent water spots and streaking before moving to the next section. This method ensures a deep clean without leaving behind dulling films or causing moisture-related problems.
Utilize a Commercial Marble Cleaner
For more stubborn dirt, accumulated grime, or when you desire professional-level results, specially formulated store-bought commercial marble cleaners can be an excellent option. When selecting a product, always prioritize those explicitly labeled as “pH-balanced” and “safe for natural stone” or “marble-safe.” These formulations are designed to effectively clean without compromising the delicate chemical balance of the marble, preventing etching or dulling.
Many reputable brands offer dedicated stone cleaners that not only clean but also often contain enhancers that help maintain or even improve the stone’s protective sealant. Before making a purchase, meticulously read the product label to confirm its compatibility with your specific type of marble and its intended use. It is an absolute best practice to always test any new commercial cleaner in a small, inconspicuous area first – perhaps in a corner or under a piece of furniture. Observe the results for at least 24 hours to ensure it works well with your specific marble tiles and does not cause any adverse reactions before applying it to larger, more visible areas.
Expert Strategies for Handling Marble Stains and Mold

Despite careful use and regular maintenance, marble tiles may occasionally develop unsightly stains or, particularly in damp environments like bathrooms, become susceptible to mold or mildew growth. Knowing how to address these common issues effectively and safely, without causing further damage to the delicate stone, is paramount to keeping your marble looking pristine, clean, and fresh.
Effective Stain Removal with a Baking Soda Poultice
When you encounter a stain on your marble, a simple yet highly effective home remedy often provides the solution: a baking soda poultice. This method works by drawing the stain out of the porous stone. To create the poultice, mix baking soda with a small amount of water until it forms a thick, creamy paste, similar in consistency to peanut butter or thick yogurt. The exact amount will depend on the size of the stain.
Carefully apply this paste directly over the entire stained area, ensuring it’s about 1/4 to 1/2 inch thick and extends slightly beyond the stain’s edges. Once applied, cover the paste with plastic wrap, securely taping down the edges to prevent it from drying out prematurely. Allow the poultice to sit undisturbed overnight, or for at least 12-24 hours. During this time, the baking soda will absorb the staining agents from the marble’s pores.
The following day, gently peel off the plastic wrap and carefully scrape away the dried paste with a soft plastic scraper (avoid metal, which can scratch). Wipe the area clean with a damp cloth, thoroughly rinse with clean water, and then immediately dry the marble completely with a soft towel. For particularly stubborn or deep-set stains, you may need to repeat this poultice application process a few times until the stain is fully lifted.
Targeting Mold or Mildew in Bathroom Marble
Bathroom marble tiles are especially prone to developing mold or mildew due to the consistently moist and humid conditions. Addressing these growths promptly and correctly is crucial to prevent them from spreading and causing discoloration or etching. To safely tackle mold and mildew on marble, you must use a specialized, marble-safe mildew remover that is specifically designed for natural stone surfaces.
Carefully read and follow the application directions provided on the product’s packaging. Typically, this involves applying the cleaner to the affected area, allowing it to sit for a specified short period (usually a few minutes), and then wiping it away with a soft cloth. It cannot be stressed enough: never use standard bleach, abrasive cleaners, or harsh, acidic chemicals that are not explicitly labeled as safe for marble. These common household products contain corrosive agents that can permanently etch, discolor, or otherwise damage the marble’s surface, requiring costly professional restoration.
After successfully treating the mold or mildew, it is vital to keep the area as dry and well-ventilated as possible. Use exhaust fans during and after showers, wipe down surfaces regularly, and consider using a dehumidifier in highly humid climates to prevent future mold and mildew recurrence.
Sealing and Long-Term Protection for Marble Tiles

While daily cleaning and careful stain removal are important, the most effective long-term strategy for preserving the pristine beauty and longevity of your marble tiles is to invest in proper protective sealing. Sealing your marble creates an invisible, breathable barrier that significantly helps shield the natural stone from daily wear, liquid penetration, and potential damage, safeguarding your investment for years to come.
Is Sealing Your Marble Truly Necessary?
The consensus among stone care professionals and experts is a resounding yes: sealing is an absolutely vital step in comprehensive marble care. Given marble’s inherent porosity, a quality sealer acts as a crucial preventative measure. It works by penetrating the stone’s microscopic pores, reducing its absorbency without altering its natural appearance or breathability. This invisible barrier significantly helps prevent staining and etching by providing a critical window of time, allowing you to clean up spills before they have a chance to deeply penetrate and become permanent marks.
This protection is particularly invaluable for marble tiles in high-risk areas such as kitchen countertops and floors, where exposure to water, oils, acidic foods, and various soap substances is common. While it’s important to understand that sealing does not render marble completely stain-proof or impervious to etching (especially from strong acids left for extended periods), it dramatically improves its resistance to everyday threats. Think of a stone sealer as a vital shield that gives you precious extra time to react to spills and clean up messes before they can inflict lasting damage, thereby extending the life and beauty of your marble surfaces.
When and How to Apply a Marble Sealer
The frequency of sealer application depends on several factors, including the type of marble, its location (e.g., kitchen, bathroom, low-traffic area), and the amount of daily use it receives. For most residential settings, applying a high-quality impregnating sealer every 6 to 12 months is generally recommended. High-traffic areas like kitchen floors and frequently used bathroom vanities might benefit from sealing twice a year, while less-used surfaces or those with lower risk of spills might go longer between applications, perhaps every 12-24 months.
For the best results, always select a breathable, impregnating stone-safe sealer specifically designed for natural stone. Thoroughly read and meticulously follow the product directions from the manufacturer, as application methods can vary slightly between brands. The general process typically involves these steps:
- Thorough Cleaning: Ensure the marble surface is impeccably clean and completely free of any dirt, dust, or cleaning product residues.
- Complete Drying: Allow the marble to dry thoroughly, typically for 12-24 hours, before applying the sealer. Any trapped moisture can prevent the sealer from properly penetrating and bonding.
- Even Application: Apply the sealer evenly to the marble surface using a clean, soft cloth, a lamb’s wool applicator, or a paint pad. Work in small sections to ensure consistent coverage.
- Wipe Off Excess: After the manufacturer-recommended dwell time (usually 5-15 minutes), promptly wipe off any excess sealer from the surface with a clean, dry cloth. Do not allow excess sealer to dry on the surface, as it can leave a hazy residue that is difficult to remove.
- Multiple Coats (if needed): Some products or very porous marbles may benefit from a second coat; consult product instructions. Allow proper drying time between coats and before using the surface again.
A simple yet effective way to determine if it’s time to reseal your marble is the water drop test. Place a few drops of water on the marble surface in various spots. If the water beads up and sits on top, your sealer is still doing its job. However, if the water quickly soaks into the stone, darkening the marble, it’s a clear indication that it’s time for a fresh application of sealer to restore its protection.
Bonus Tips to Keep Your Marble Looking Great for Years
Beyond the essential routines of regular cleaning and periodic sealing, incorporating a few simple daily habits can make a significant difference in preserving your marble’s inherent beauty and extending its lifespan. These straightforward tips are designed to proactively prevent damage before it occurs, ensuring your marble surfaces remain a source of pride in your home.
Utilize Rugs and Mats in High-Traffic Areas
One of the easiest yet most effective ways to protect your marble floors is by strategically placing rugs and mats in areas that experience heavy foot traffic. This simple preventative measure helps to significantly reduce the wear and tear caused by the continuous movement of people, which often tracks in tiny particles of dirt, grit, and sand on shoes. These abrasive elements can act like sandpaper, causing micro-scratches and dulling the marble’s polished finish over time.
When selecting rugs and mats, always choose those with a soft, non-abrasive backing that won’t scratch or chemically react with the marble itself. Place them at entry points to capture dirt before it spreads, and in front of sinks, cooking areas, or any spots where prolonged standing or spills are common. If using rubber-backed mats, ensure they are colorfast to prevent any potential staining of the marble. Remember to lift and clean underneath these mats regularly to remove trapped dirt and prevent moisture accumulation.
Blot Spills – Do Not Wipe
When accidental spills occur on your marble surfaces, your immediate instinct might be to quickly wipe up the liquid. However, this action can often spread the substance further across the surface, potentially pushing it deeper into the stone’s pores or across a larger area, exacerbating the problem. Instead, the golden rule for marble is to blot spills immediately.
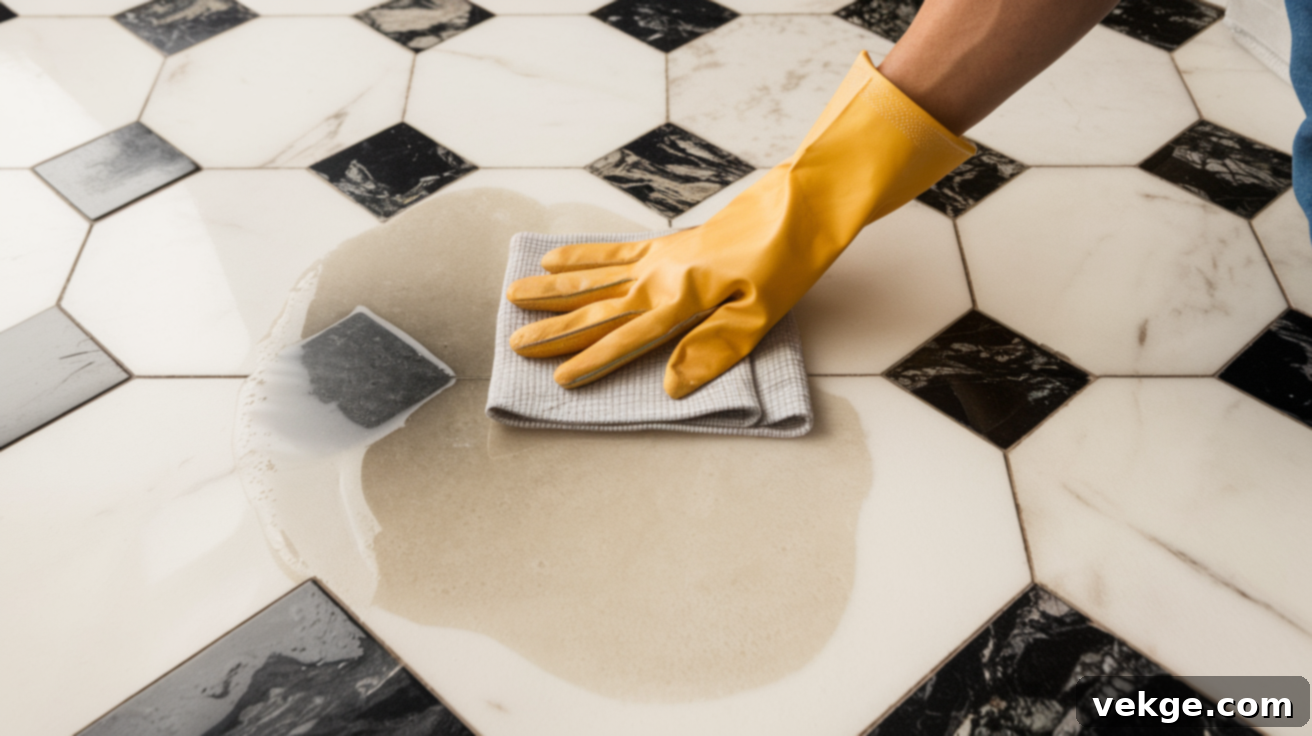
Use a clean, soft paper towel or a highly absorbent microfiber cloth to gently blot the spill. Apply light pressure directly onto the liquid to absorb as much as possible without rubbing. This technique minimizes the spread of the liquid and prevents it from being driven deeper into the porous stone. This is especially crucial for highly pigmented or acidic liquids like red wine, coffee, juice, or oil, which can quickly stain or etch the surface. After thoroughly blotting up the bulk of the spill, clean the affected area with your trusted pH-neutral, marble-safe cleaner to remove any remaining residue that could lead to staining or stickiness, and then dry completely.
Avoid Steam Mops on Marble Surfaces
While steam cleaning has gained popularity as a modern, chemical-free solution for various surfaces, it is generally not recommended for marble tiles. Applying too much moisture combined with high heat can be detrimental to natural stone surfaces, including marble. The intense heat from a steam mop can potentially weaken the adhesive bond of the marble tiles or grout, and the steam itself can work its way into tiny, microscopic cracks within the marble or beneath its protective sealer.
Over time, this repeated exposure to high heat and moisture can lead to long-term problems that aren’t immediately visible, such as internal damage, dulling of the finish, or even discoloration. It can also strip away sealers, leaving your marble vulnerable to future stains and etching. Instead, it’s best to stick to traditional and proven cleaning methods: a damp mop with a pH-neutral cleaner, followed by immediate drying. If you require extra cleaning power for a deep clean, a commercial marble cleaner specifically formulated for natural stone will be a far more effective and significantly safer option than a steam mop for preserving your valuable marble tiles.
Conclusion: Preserving the Enduring Beauty of Your Marble Tiles
Caring for marble tiles might seem intricate at first, but with the right knowledge and consistent application of proper techniques, it’s an entirely manageable and rewarding endeavor. By adhering to the expert advice provided in this comprehensive guide, you are now well-equipped to keep your marble surfaces looking impeccably clean, strong, and radiant for many years to come.
To summarize the most critical takeaways for effective marble care, always remember these fundamental principles:
- Use Gentle, pH-Neutral Cleaners: Steer clear of acidic, abrasive, or harsh chemical cleaners that can etch or damage the delicate stone. Opt for products specifically designed for natural marble.
- Dry Surfaces Promptly: After any wet cleaning or spills, always dry your marble completely and immediately to prevent water spots, mineral buildup, and potential moisture-related issues.
- Address Spills Immediately: Blot (don’t wipe!) spills as soon as they happen to prevent liquids from penetrating the stone and causing stubborn stains or etching.
Incorporating these simple daily habits and dedicating a few minutes to preventative cleaning can effectively avert more significant and costly issues down the road. Furthermore, integrating a periodic sealing routine into your marble maintenance schedule is indispensable. Re-sealing your marble every 6-24 months, depending on usage, ensures that your stone remains optimally protected against stains and general wear, preserving its luxurious appearance and inherent value.
By following these guidelines, your marble tiles will not only maintain their stunning aesthetic but also continue to serve as a testament to timeless elegance in your home. For more helpful tips and in-depth guides on caring for natural stone surfaces and keeping your home in pristine condition, be sure to explore our other insightful posts.
