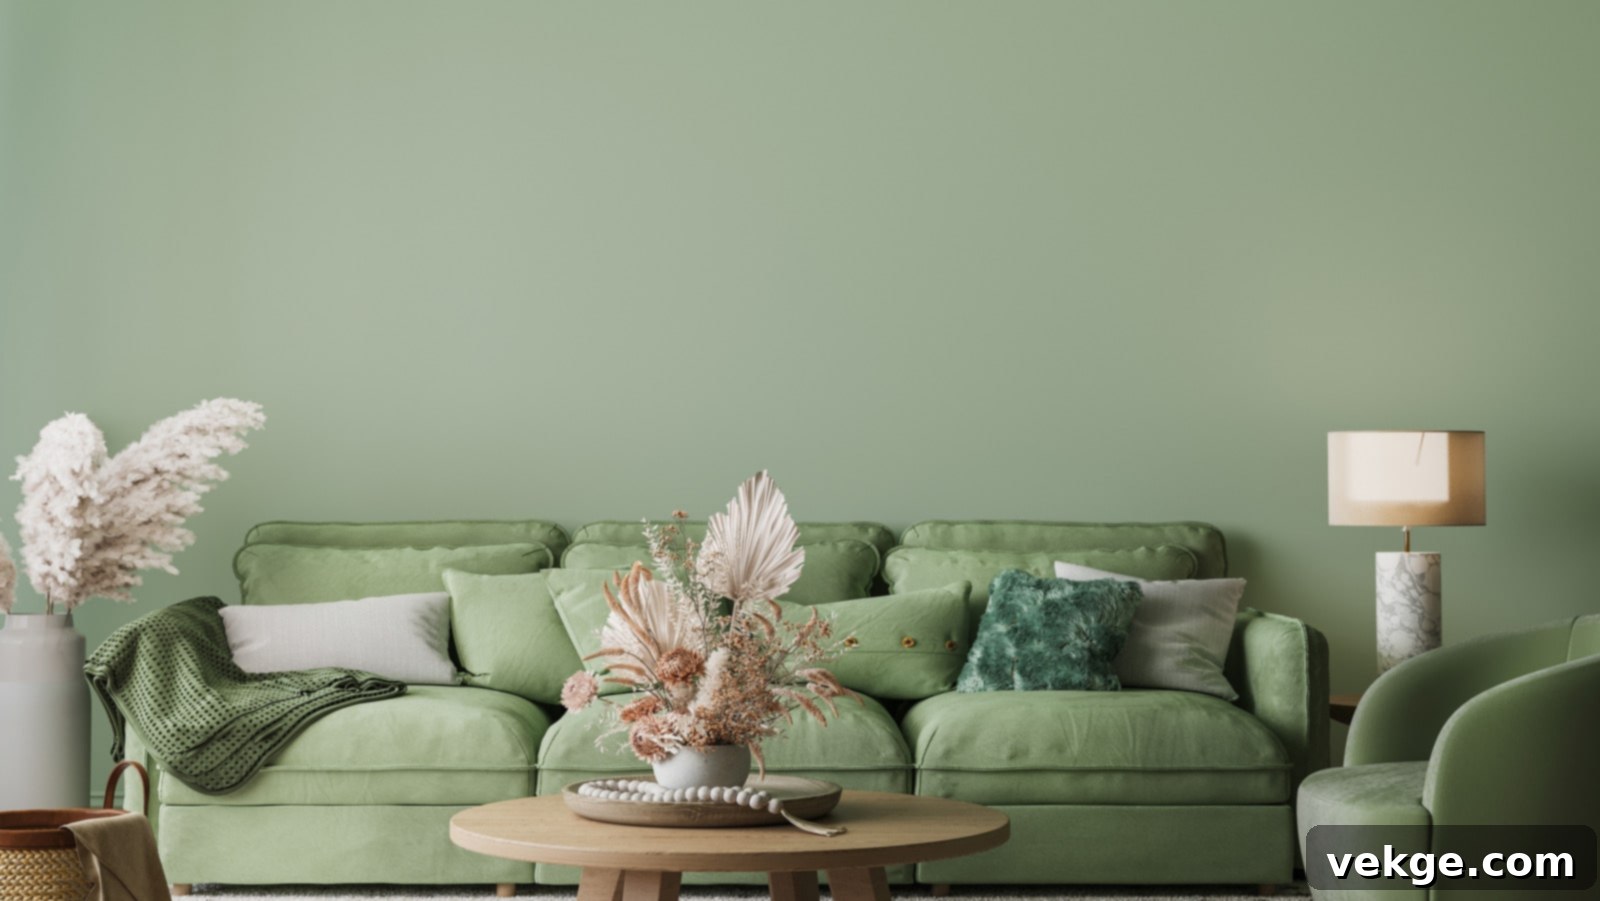
The Ultimate Guide to Keeping Your Sage Green Walls Pristine and Vibrant
There’s a universal truth when it comes to home maintenance: “I like dirty walls,” – said no one ever. The ongoing battle against dust, grime, and unsightly marks on our walls, floors, and ceilings is a perennial challenge for homeowners. Whether it’s the grandeur of your exterior façade or the intimate coziness of your interior spaces, even a tiny speck of dirt or a minor flaw can disrupt the harmony and aesthetic appeal of your home.
While pristine white walls or delicate neutral tones often highlight every smudge, choosing a shade like sage green offers a degree of forgiveness. Its earthy, muted quality naturally camouflages minor imperfections, making it a popular choice, especially for households bustling with small children or playful pets. Interior design experts frequently recommend deeper, more forgiving colors to minimize the visibility of everyday scuffs and marks. However, even the most resilient paint colors are not immune to the relentless march of time, which inevitably leads to the accumulation of dust, dirt, and those unwelcome blotches, particularly noticeable along baseboards and trims.
This comprehensive guide is dedicated to helping you maintain the beauty and freshness of your walls, with a special focus on those painted in elegant shades of sage green. We’ll delve into practical, effective strategies to ensure your walls remain bright, clean, and a source of calm for years to come.
Essential Strategies for Maintaining Walls Painted with Sage Green
Before embarking on any cleaning endeavor, remember this golden rule: always perform a spot test with your chosen cleaning agent on an inconspicuous area of the wall. This crucial step allows you to assess the cleaner’s reaction with your specific paint type and finish, preventing potential damage or discoloration across the entire surface. A small area behind a piece of furniture or near a door frame is ideal for this test.
1. Prioritize Clean Baseboards and Trims
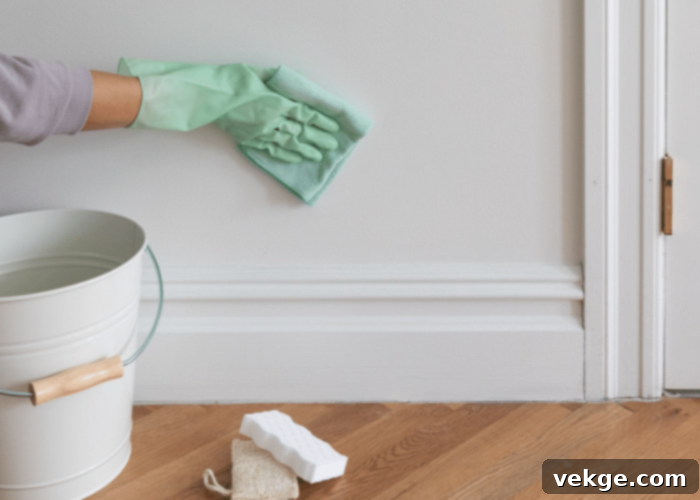
The appearance of your baseboards and trims significantly influences how clean your entire wall, especially one painted in sage green, looks. These low-lying areas are magnets for dirt, scuffs, and smudges, often bearing the brunt of daily foot traffic, playful pets, and inquisitive little hands. Even if your sage green walls are spotless, grimy baseboards can create an illusion of overall uncleanliness. To combat this, regular cleaning of these accessible areas is paramount.
Start by dusting baseboards and trims with a soft cloth or a vacuum brush attachment to remove loose dirt. For deeper cleaning, prepare a solution of warm water and a small amount of mild dish soap. Dip a soft sponge or cloth into the solution, wring it out thoroughly to avoid excess moisture, and gently wipe down the surfaces. For more stubborn scuffs, a melamine foam eraser (often called a “magic eraser”) can be effective, but use it sparingly and with light pressure, as it can be abrasive. Rinse the area with a damp, clean cloth and dry immediately to prevent water damage or streaking. While some interior designers suggest painting baseboards and trims in darker shades to conceal marks, this approach can sometimes clash with the serene aesthetic of sage green walls, making regular cleaning a more suitable solution.
2. Invest in High-Quality Paints for Lasting Cleanliness
The foundation of long-term wall cleanliness begins with the paint itself. Opting for cheaper, lower-quality paints can be a false economy, as they often provide poor coverage, lack durability, and are significantly harder to clean. These paints tend to absorb stains rather than repel them, making your walls appear dingy and worn long before their time. High-quality paints, on the other hand, are formulated with superior pigments and binders that offer excellent coverage, a richer color depth, and a much more resilient finish.
When selecting paint for your sage green walls, consider finishes like satin, eggshell, or semi-gloss. These finishes are not only aesthetically pleasing, offering a subtle sheen that enhances the color, but they are also far more washable and scrubbable than matte or flat paints. A high-quality satin or eggshell finish provides a protective barrier, making it easier to wipe away dirt, smudges, and even minor stains without damaging the paint film. While the initial cost may be higher, the long-term benefits of reduced maintenance, superior color retention, and overall durability make it a worthwhile investment. If budget is a concern, consider waiting for sales or utilizing promotional codes to make premium paints more accessible, ensuring your sage green walls remain vibrant and easy to clean for years to come.
3. Harmonize with the Right Color Combinations

The perceived cleanliness and overall appeal of your sage green walls can be significantly influenced by the surrounding color palette. An ill-chosen color combination can inadvertently make your walls appear dull, outdated, or even dirtier than they are. To achieve a cohesive and fresh aesthetic, careful consideration of accent colors and complementary hues is essential. Sage green, with its subdued, natural elegance, pairs beautifully with a variety of tones, allowing for both subtle and striking combinations.
For a foundational layer, consider light to medium-toned sage green shades. To create depth and visual interest, you can introduce darker shades of green as accent colors, perhaps on trim, furniture, or decorative elements. Alternatively, embrace colors with a gray-green undertone to enhance the sophisticated feel of sage. Classic and timeless pairings include creams and various shades of white, which provide a crisp contrast that highlights the natural beauty of sage green. These lighter accents can make the room feel brighter and more open, thereby contributing to an overall sense of cleanliness. Furthermore, natural wood tones, muted blues, and soft grays can also complement sage green beautifully, preventing the space from feeling overwhelmed and ensuring that your walls maintain their fresh and inviting appearance.
4. Regular Dusting and Gentle Washing with Mild Detergent
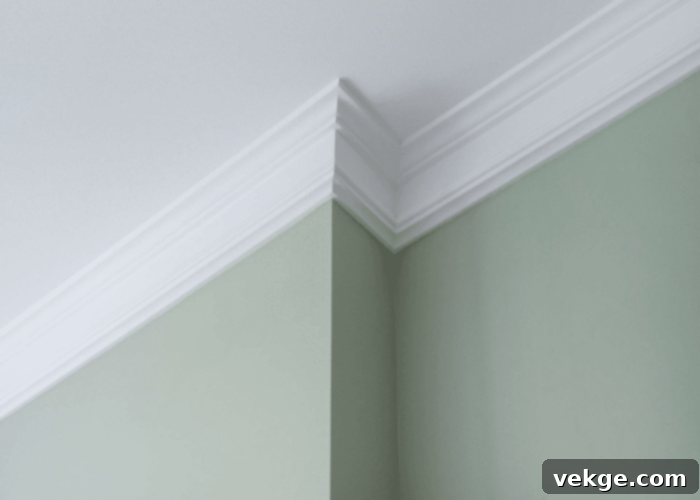
Even in the cleanest homes, dust, cobwebs, and airborne particles inevitably settle on walls. Regular dusting is a simple yet crucial step to prevent this buildup from dulling your sage green paint and making your walls look neglected. For dry dust and cobwebs, use a microfiber dust cloth wrapped around a flat-head sweeper or a soft brush attachment on your vacuum cleaner. Work from top to bottom, ensuring you reach ceiling corners and high spots with a step ladder or sturdy stool. This routine should be performed every few weeks to keep your walls looking fresh.
For a deeper clean, especially for walls that have accumulated grime or light smudges, a gentle wash is in order. Prepare a solution of warm water and a few drops of mild, pH-neutral dish soap. Avoid harsh detergents, as they can strip paint or leave residue. Dip a soft sponge or clean microfiber cloth into the solution, wring it out thoroughly until it’s just damp, and begin cleaning from the top of the wall downwards. This prevents dirty drips from staining areas you’ve already cleaned. Work in small sections, wiping gently in a circular or up-and-down motion. After washing a section, follow up with a separate clean cloth dampened with plain water to rinse off any soap residue. Finally, dry the wall quickly with a clean, dry cloth to prevent streaks and watermarks. This comprehensive approach ensures your sage green walls retain their beautiful, clean appearance.
5. Harness the Power of Vinegar for Stubborn Stains

When mild detergents prove insufficient against particularly stubborn stains on your sage green walls, it’s time to bring in slightly stronger, yet still safe, household remedies. White vinegar is a fantastic natural cleaner, revered for its mild acidity which effectively breaks down grease and grime without harming most painted surfaces. To tackle tough spots, dilute one cup of white vinegar in a gallon of warm water. Apply this solution with a soft sponge or cloth directly to the stain, allowing it to sit for a minute or two before gently scrubbing. Rinse the area thoroughly with a clean, damp cloth and dry immediately.
Other effective alternatives include a baking soda paste: mix half a cup of baking soda with just enough warm water to form a thick paste. Apply this paste directly to the stain, let it sit for about 10-15 minutes, then gently scrub with a soft brush or sponge before rinsing and drying. For an even more potent, all-purpose cleaner that is still safe for most paints, consider a mixture of one cup of borax, two tablespoons of liquid dishwashing soap, and a gallon of warm water in a bucket. This powerful combination works wonders on a variety of stubborn marks and overall grimy areas. Always remember the crucial caveat: steer clear of alcohol-based cleaning agents or harsh abrasive scrubbers. These can dissolve paint, dull the finish, or create irreversible damage to your beautifully painted sage green walls.
6. Promptly Touch Up Any Damage
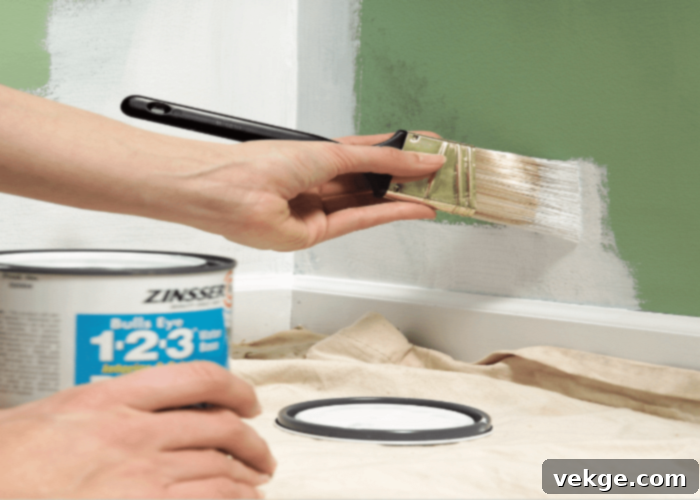
Despite your best efforts, everyday life inevitably brings wear and tear to your painted walls. Scuffs from moving furniture, minor chips from playful pets or children, or accidental bumps are common occurrences. The key to maintaining pristine sage green walls is addressing these imperfections promptly. Always keep a small amount of your leftover paint on hand for quick touch-ups. For minor scuffs or shallow chips, clean the area gently, then apply a thin coat of paint with a small artist’s brush or a foam roller. Blend the edges carefully to avoid harsh lines.
For more significant damage, such as small holes from nails or anchors, start by cleaning the surrounding area. Lightly sand any chipped edges to create a smooth surface. Fill the hole with spackle or wall putty, using a putty knife to ensure an even, flush finish. Once the filler is completely dry, sand it smooth again. For deep stains or repairs where old paint might bleed through, apply a coat of stain-blocking primer before painting. Finally, apply one or two thin coats of your sage green paint, feathering the edges to seamlessly blend with the existing wall color. If you encounter damage due to water leakage, such as bubbling paint, it’s crucial to first identify and fix the source of the leak. Only after the moisture problem is resolved should you proceed with the wall repair, which will involve scraping away damaged paint, sanding, applying a primer, and then repainting the affected area.
Concluding Thoughts on Sage Green Wall Care
Sage green is more than just a color; it’s a statement of subtle sophistication and natural tranquility, gracing both interior and exterior spaces with an enduring charm. Its versatility allows for endless decorating possibilities, creating serene retreats and inviting environments throughout your home. The techniques we’ve outlined are designed to empower you in preserving the inherent beauty and cleanliness of your sage green walls.
A home with clean, well-maintained walls doesn’t just look good; it feels good. It fosters a positive ambiance, contributing to a sense of calm and order that enhances your living experience. Regular dusting, coupled with diligent spot treatments, is your first line of defense against the accumulation of dirt and grime, preventing your home from looking dull or neglected. By proactively addressing issues like dirty baseboards, choosing quality paints, and making timely touch-ups, you ensure that your sage green paint job retains its vibrancy and elegance for years to come.
Ultimately, the longevity and appeal of your painted walls depend on a commitment to consistent care. Investing a little time in maintenance after a painting session will pay dividends, protecting your investment and ensuring that your sage green sanctuary remains a source of pride and comfort.
