How to Paint Over Chalk Paint: A Complete Guide to Flawless Furniture Makeovers
Chalk paint has revolutionized the world of DIY furniture makeovers, offering a distinctive matte finish and the convenience of often skipping sanding and priming. Its ability to adhere to almost any surface and create a charming, antique-inspired look has made it a favorite for countless enthusiasts, including myself. My journey began with a vintage dresser found at a yard sale. After painting it with chalk paint, I was immediately captivated by its transformative power – the soft, velvety texture it imparted to the wood was simply beautiful.
Yet, tastes change, and furniture evolves with our homes. Eventually, I found myself wondering if I could give my beloved chalk-painted pieces a fresh new look. Could I paint over chalk paint without stripping it all down? What kind of preparation would be needed? What type of paint would be best? These questions led me down a path of experimentation, testing different methods on various pieces in my home. Through trial and error, I’ve gathered invaluable insights and developed a reliable process for painting over chalk paint successfully. Now, I’m ready to share my hands-on experience and step-by-step guide, empowering you to confidently update your own chalk-painted furniture and decor.
The Essentials of Painting Over Chalk Paint
Can You Paint Over Chalk Paint Effectively?
When I first considered repainting my chalk-painted dresser, I harbored doubts about the feasibility of simply painting over the existing finish. However, after extensive research and practical application, I can unequivocally confirm: yes, you absolutely can paint over chalk paint. In fact, chalk paint provides an excellent, forgiving base for a new coat of paint. Its naturally porous, matte, and slightly textured surface creates an ideal “tooth” for subsequent layers to adhere to firmly. This unique characteristic is what makes chalk paint such a versatile foundation for further decorative endeavors.
My experiments involved trying various paint types on small, inconspicuous areas. I found that standard latex paint, traditional milk paint, and even another layer of chalk paint all adhered beautifully. The crucial takeaway from these tests was the importance of the existing chalk paint’s condition. For optimal adhesion, the base layer must be sound – free from any peeling, chipping, or bubbling. On one early project, a small side table, I neglected to thoroughly inspect the surface. As a result, the new paint failed to adhere properly in spots where the underlying chalk paint was worn thin, teaching me a valuable lesson about meticulous surface assessment.
Achieving Success When Painting Over Chalk Paint
Through numerous furniture upcycling projects, I’ve refined a set of essential steps that guarantee a successful outcome when painting over chalk paint. Foremost among these is meticulous surface preparation. This initial phase, though often tempting to rush, is arguably the most critical for a durable and beautiful finish. Skipping or skimping on these steps can lead to adhesion issues, uneven coats, and premature wear, ultimately requiring more effort to fix later.
Before beginning any painting, I always perform a thorough cleaning. For my dresser, I used a damp cloth with a small amount of mild dish soap to remove all accumulated dirt, grease, and grime. After cleaning, I allow the piece to dry completely, typically for about an hour, to ensure no moisture is trapped on the surface. Next, a light sanding of the entire surface with fine-grit sandpaper (220-grit proved perfect for this purpose) is indispensable. While chalk paint is inherently matte, this light scuffing creates microscopic channels that significantly improve the mechanical bond for the new paint. It’s not about stripping the old paint, but rather creating a receptive canvas. Following sanding, I meticulously remove all dust using a tack cloth, or a vacuum with a brush attachment, to prevent any particles from embedding in the new paint.
A surprising discovery in my journey was that a primer isn’t always strictly necessary when painting over chalk paint, especially if you’re staying within a similar color family or going darker. However, primer becomes a game-changer when making a dramatic color shift, particularly from a dark chalk paint to a much lighter shade. For instance, when repainting my dark blue chalk-painted bookshelf to a crisp white, applying a quality primer saved me from countless coats of the new, lighter paint. Primer acts as a barrier, preventing bleed-through and providing a uniform base for the topcoat color. My golden rule now is: if I’m embarking on a significant color transformation, especially going lighter, a good quality primer is non-negotiable.
Finally, technique during application is paramount. I’ve learned that applying multiple thin, even coats yields superior results compared to trying to achieve coverage with one or two thick layers. Rushing the process and applying heavy coats invariably leads to unsightly drips, brush marks, and an uneven, patchy finish. Taking the time to apply light coats, allowing adequate drying time (typically two hours for water-based paints) between each, results in a much smoother, more professional, and durable finish. Patience truly is a virtue in painting projects.
Preparing Chalk Paint for a New Coat: The Foundation of Success
Is Sanding Required Before Painting Over Chalk Paint?
Many people are drawn to chalk paint because of its “no-sanding” appeal. While that holds true for the initial application to raw or previously finished wood, my extensive experience has taught me that a light sanding before repainting makes a profound difference in adhesion and finish quality. On my very first attempt to repaint a small end table, I bypassed the sanding step. The new paint adhered, but not with the tenacity I desired, and the finish lacked the smoothness I was aiming for.
For my subsequent project, a much larger cabinet, I incorporated a light scuff-sanding with 220-grit sandpaper. The improvement was immediate and evident: the new paint glided on more smoothly, leveled better, and, most importantly, formed a far stronger bond with the underlying chalk paint. The goal isn’t to remove the chalk paint, but merely to create a slightly abraded, “etched” surface. This process took me about 15-20 minutes for a substantial piece, an investment of time that consistently paid dividends in the final outcome. It’s a small step that yields significant results in paint adhesion and overall durability.
Thoroughly Cleaning the Surface for Optimal Adhesion
After a disappointing early repainting attempt where the new paint failed to properly adhere in certain areas, I quickly realized that cleaning isn’t just a recommendation—it’s an absolute necessity. Over time, chalk-painted surfaces, especially those in high-traffic areas or kitchens, can accumulate a surprising amount of dust, dirt, grease, and even residue from waxes or sealers. These contaminants act as barriers, preventing the new paint from bonding directly with the chalk paint.
My perfected cleaning regimen is a three-step process: First, I use a dry, lint-free cloth or a soft brush to meticulously remove all loose dust and debris. Second, I prepare a solution of warm water with a very small amount of mild dish soap (or a dedicated degreaser like a diluted TSP substitute) and wipe down the entire surface with a slightly damp cloth. This step lifts away any grease, grime, and stubborn dirt. It’s important not to saturate the chalk paint. Finally, I follow up with a clean, damp cloth (rinsed thoroughly with plain water) to remove any soap residue. This ensures a perfectly clean, pristine surface ready for the next step. This thorough cleaning might add 10-15 minutes per piece, but it dramatically enhances the adhesion and longevity of your new paint job.
Important Note on Waxed Surfaces: If your chalk-painted piece was previously sealed with wax, you absolutely must remove that wax before painting. Paint will not adhere to wax. This can be done by gently sanding with fine-grit sandpaper until the waxy feel is gone, or by wiping it down with mineral spirits or a dedicated wax remover until the surface is no longer slick. Allow ample time for the solvent to evaporate completely before proceeding.
When and How to Apply a Primer Over Chalk Paint
My painting projects have clearly demonstrated that while primer isn’t always essential, it is an incredibly valuable tool in specific scenarios. Primer serves several critical functions: it blocks stains, prevents bleed-through (especially from darker colors or wood tannins), and provides a uniform, receptive surface for your topcoat.
I distinctly remember painting over a dark green chalk-painted dresser with a light gray. Without primer on a test section, it took five coats of gray paint to achieve full, even coverage, and even then, hints of green subtly peeked through. The section I primed, however, achieved perfect opacity in just two coats of the light gray. This experience solidified my simple rule: If I’m making a significant color change (especially going from dark to light), or if the existing chalk paint feels particularly chalky or prone to dusting even after cleaning, I use a primer.
For most interior projects and color changes, a quality water-based primer (e.g., Zinsser B-I-N Shellac-Based Primer or Kilz 2 All-Purpose Primer) works wonderfully. It dries relatively quickly – typically within an hour in a well-ventilated area – and provides excellent stain-blocking properties. For extreme dark-to-light transformations, or if dealing with wood known to bleed tannins (like oak or mahogany), a shellac-based primer is often the superior choice for its unparalleled sealing power. I usually apply one thin, even coat of primer with a foam roller or synthetic brush. For very dark-to-light transitions, two thin coats of primer can save even more time and paint in the long run. Always allow the primer to dry completely according to the manufacturer’s instructions before applying your topcoat.
Choosing the Right Paint for Your Project Over Chalk Paint
Utilizing Oil-Based Paints Over Chalk Paint
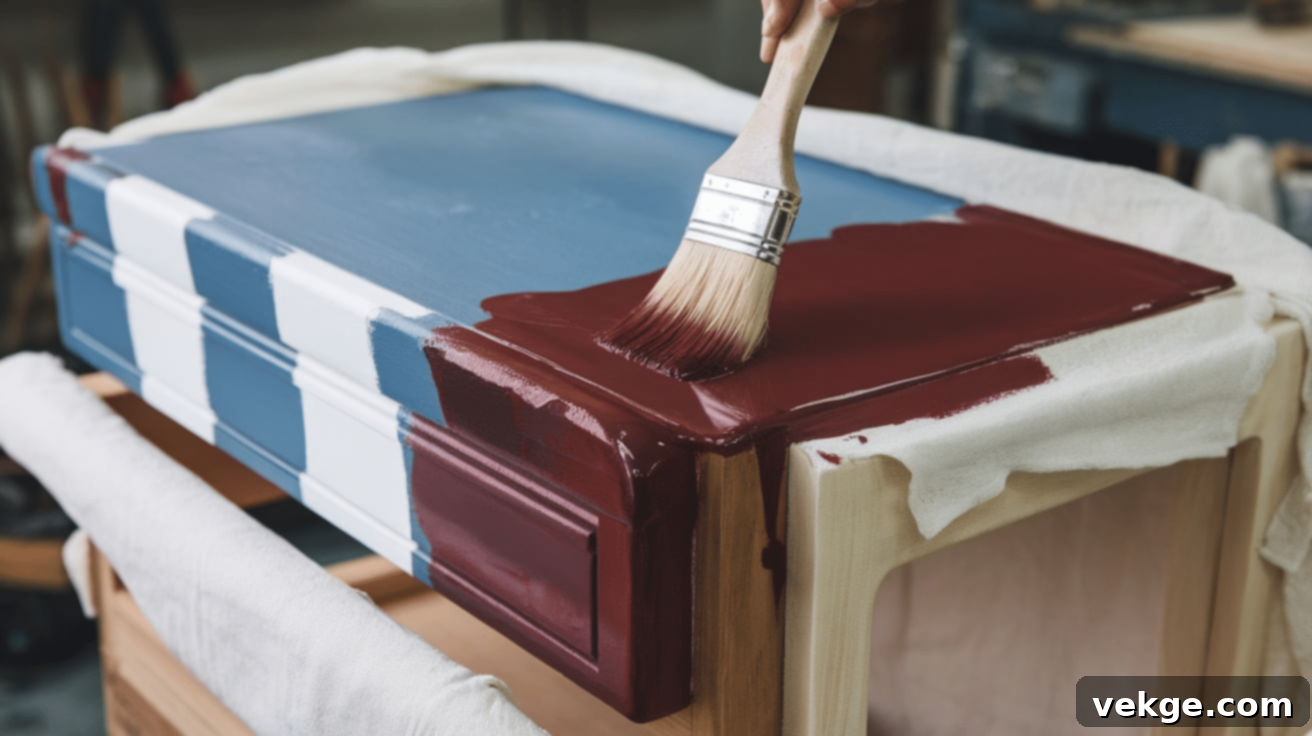
When durability is paramount, especially for high-traffic pieces like kitchen cabinets, tabletops, or outdoor furniture, oil-based paints can be an excellent choice over chalk paint. I used an oil-based enamel on my kitchen hutch, and the results were impressively resilient. The paint formed an incredibly hard, durable shell that has withstood daily use, spills, and cleaning without showing significant wear after many months. Its adherence to the properly prepped chalk paint surface was firm and reliable, creating a beautiful, long-lasting finish.
However, there are important considerations with oil-based paints. The most notable downside I encountered was the extended drying time; it typically took nearly 24 hours between coats, significantly prolonging the project timeline. Furthermore, oil-based paints emit stronger fumes, necessitating excellent ventilation (open windows, fans) during application and drying. Cleanup also requires mineral spirits, not just water. An important cautionary note: once you apply an oil-based paint, subsequent layers must also be oil-based unless you thoroughly sand and prime the surface again. The tough, smooth finish is well worth the extra effort and patience for pieces that demand superior durability.
Working with Latex Paints Over Chalk Paint
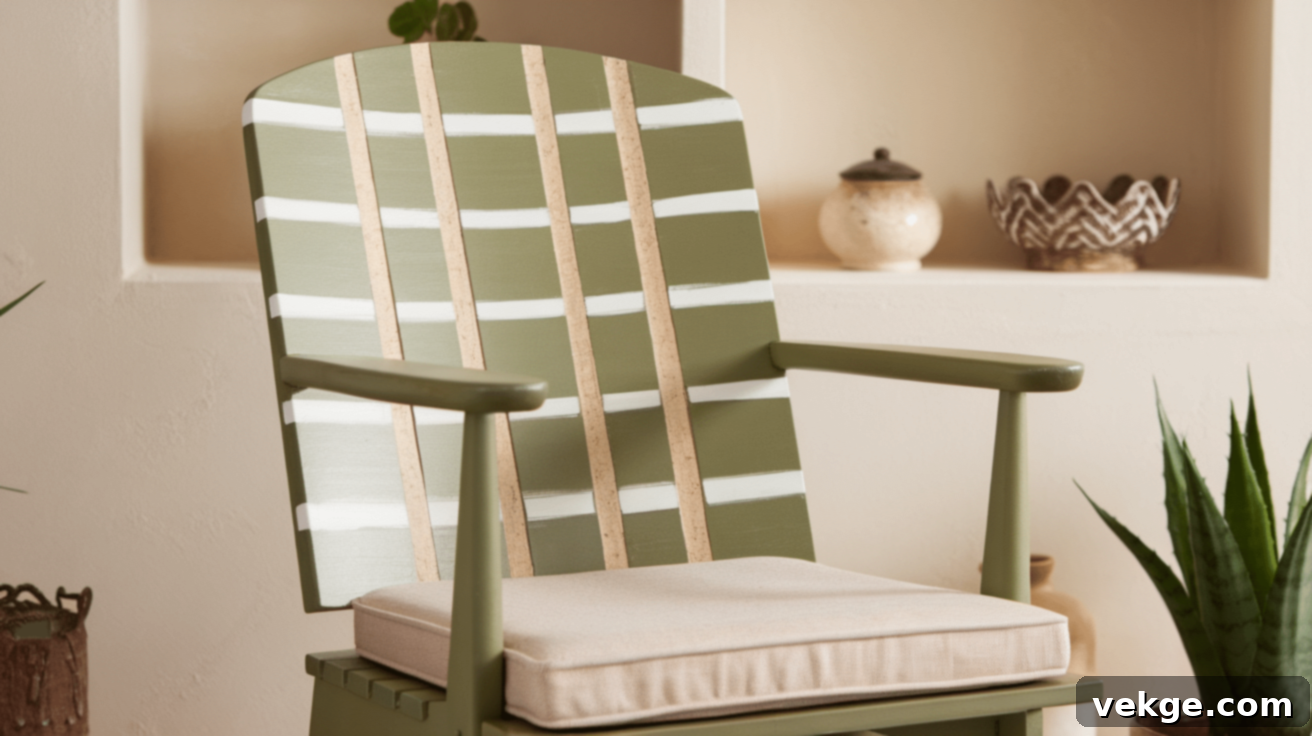
Latex paint has become my preferred choice for most indoor furniture projects over chalk paint due to its user-friendly characteristics and excellent results. I’ve successfully used it on my bedroom dresser, bookcases, and various accent tables. Its quick drying time (typically 2-4 hours between coats) significantly speeds up the painting process. Additionally, latex paint has minimal odor, making it much more pleasant to work with indoors, and cleanup is a breeze with just water and soap.
For best results, I’ve found that a good-quality latex paint with a satin or semi-gloss finish works exceptionally well. These sheens offer increased durability and washability compared to matte finishes, without being overly shiny. When I opted for a cheaper brand on a small shelf, it required more coats for full coverage and didn’t self-level as nicely, resulting in a less professional look. A useful tip I developed for larger, flat surfaces is to slightly thin the first coat of latex paint with about 5-10% water. This helps it penetrate and grip the porous chalk paint surface more effectively, promoting better adhesion and a smoother initial layer.
Acrylic Paints and Their Compatibility with Chalk Paint
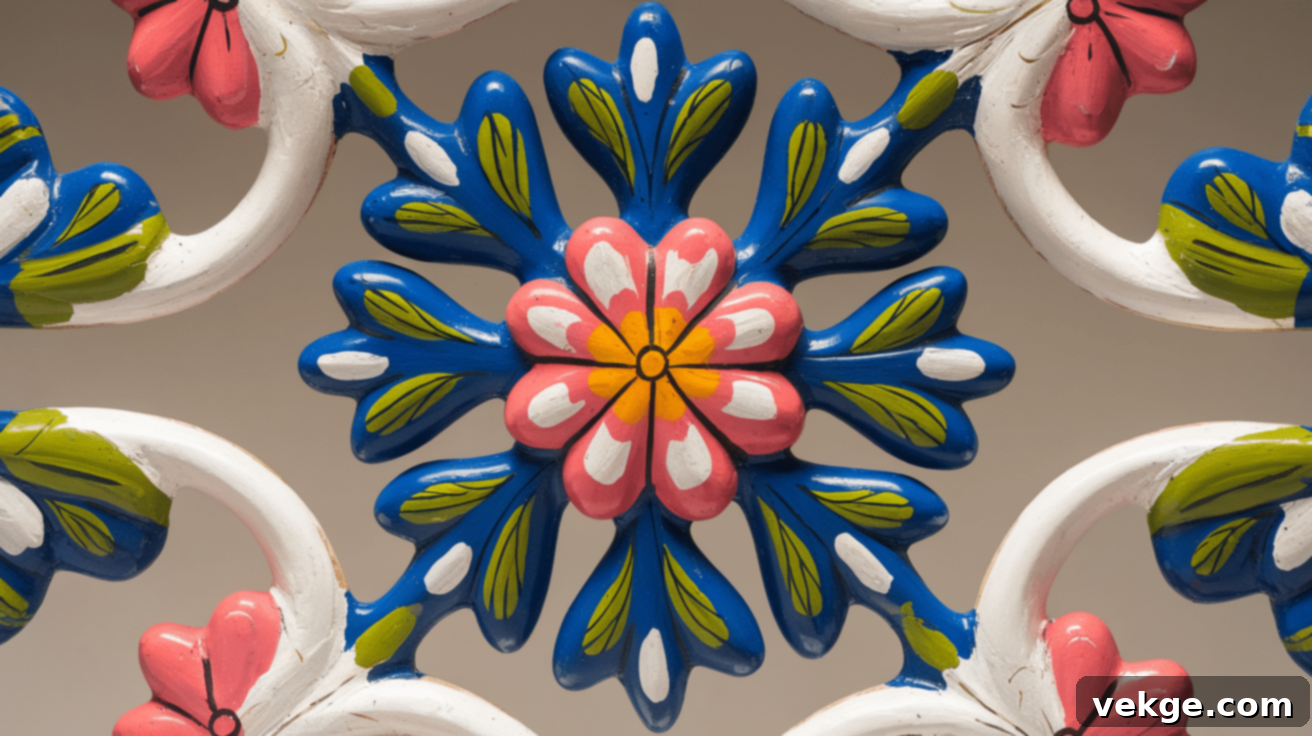
Through experimenting with acrylic paints on smaller, less-used decorative items like picture frames, small side tables, and decorative boxes, I discovered they can work surprisingly well over chalk paint. Acrylic paints dry exceptionally quickly – often within an hour – allowing for rapid recoating and project completion. The finish typically comes out smooth and even, especially when applied with a good-quality synthetic brush.
However, a key learning point was that acrylic paints, particularly the craft-grade varieties, are generally less durable than latex or oil-based paints. While perfect for items that receive minimal handling, I found that pieces subjected to regular use, like a coffee table, required a robust clear topcoat for adequate protection against scratches and wear. For my high-traffic pieces, I now consistently opt for the superior durability of latex or oil-based paints. Nevertheless, for decorative accents, intricate detail work, or projects where I want to blend colors or achieve specific artistic effects, acrylic paint provides beautiful results with minimal hassle. Its versatility for creative techniques, such as layering and glazing, is unmatched, as I successfully applied on a small display cabinet to achieve a unique, nuanced finish.
Step-by-Step Guide: How to Properly Paint Over Chalk Paint
Step 1: Meticulously Prep the Surface
My extensive experience has culminated in a robust surface preparation routine that I now apply to every project. This meticulous approach has saved me from countless frustrations and ensures a beautiful, long-lasting finish. First, I thoroughly inspect the entire piece for any existing damage – chips, dents, or deep scratches. On my dining room table, for example, I discovered several small imperfections that required filling with wood putty and allowing it to dry completely, followed by light sanding. Addressing these details at the outset significantly elevates the final appearance.
My comprehensive preparation steps now include:
- Dry Wipe: Begin by wiping down the entire surface with a dry, lint-free cloth or a soft brush to remove loose dust and cobwebs.
- Thorough Cleaning: Clean the surface with a damp cloth and a mild degreasing agent, such as diluted dish soap or a TSP substitute. This removes grime, oils, and residues. Rinse with a clean, damp cloth to remove any soap residue.
- Wax Removal (if applicable): If the chalk paint was previously waxed, it is imperative to remove the wax. Lightly sand with 220-grit sandpaper until the waxy feel is gone, or use mineral spirits to wipe away the wax. Allow ample time for the solvent to evaporate.
- Light Sanding: Gently scuff the entire chalk-painted surface with 220-grit fine-grit sandpaper. This creates a mechanical bond for the new paint. You’re not trying to remove the chalk paint, just to create a “tooth.” A sanding sponge can be particularly effective for contoured areas and edges.
- Dust Removal: After sanding, meticulously remove all sanding dust using a tack cloth or a vacuum cleaner with a brush attachment. Ensure no dust particles remain to compromise the new paint.
Pro Tip: Using a flexible sanding sponge instead of traditional sandpaper makes it much easier to conform to the curves, crevices, and intricate details of furniture pieces, ensuring uniform abrasion across the entire surface.
Step 2: Choose the Right Paint for Your Project
The choice of paint is paramount and should be tailored to the specific piece, its intended use, and the desired aesthetic. Through numerous projects, I’ve learned that selecting the appropriate paint type and sheen can make all the difference in durability and longevity. For instance, when painting my kitchen chairs, I opted for a high-quality latex enamel in a satin finish, which has proven remarkably resilient against daily wear, spills, and frequent cleaning.
When making your paint selection, consider the following:
- Item’s Location & Use: Will it be indoors or outdoors? How much daily use or abuse will it receive? High-traffic areas (kitchens, dining tables) demand more durable paints (latex enamel, oil-based).
- Desired Finish: Do you want a matte, eggshell, satin, semi-gloss, or high-gloss look? Each sheen offers different levels of durability and washability. Satin and semi-gloss are generally good all-around choices for furniture.
- Existing vs. Desired Color: As discussed, dramatic color changes (especially dark to light) will benefit from primer, which influences the number of paint coats needed.
- Cleanup & Odor: Water-based paints (latex, acrylic) offer easy cleanup and low odor, making them ideal for indoor projects. Oil-based paints offer superior durability but require mineral spirits for cleanup and have stronger fumes.
Step 3: Apply the First Coat of Paint
With a clean, prepped, and potentially primed surface, you’re ready for the first coat of your chosen paint. My application technique has significantly improved with practice, focusing on thin, even coverage. Using a high-quality synthetic brush for water-based paints, or a natural bristle brush for oil-based paints, is crucial. I apply the paint with smooth, consistent strokes, working in the direction of the wood grain where applicable. For larger, flat surfaces, a dense foam roller can achieve an exceptionally smooth, streak-free finish.
When I painted my large bookshelf, I found that working in manageable sections helped tremendously. This allowed me to maintain a “wet edge,” preventing noticeable lap marks where wet paint overlaps partially dried paint. I always pour a small amount of paint into a separate tray or container, rather than painting directly from the can. This keeps the main paint supply clean, prevents contamination, and minimizes the risk of the entire can drying out prematurely. Remember, the first coat doesn’t need to achieve full opacity; its primary purpose is to provide a uniform base for subsequent layers.
Step 4: Allow Proper Drying and Apply Additional Coats
Patience is arguably the most challenging but also the most rewarding aspect of a successful paint project. I learned this the hard way on my initial project, where rushing the second coat before the first was fully cured resulted in a gummy, uneven mess. Always adhere to the manufacturer’s recommended drying times between coats, as these can vary significantly based on paint type, humidity, and temperature. General guidelines:
- Latex Paint: Typically 2-4 hours between coats.
- Oil-Based Paint: Often requires 12-24 hours or even longer.
- Acrylic Paint: Usually 1-2 hours, being the fastest drying.
I typically find that 2-3 thin coats are necessary for optimal coverage and a rich, deep color, especially when making significant color changes. For an ultra-smooth, professional-grade finish, I highly recommend a very light sanding between coats using an ultra-fine grit sandpaper (320-grit or higher) or a very fine sanding sponge. This removes any minor imperfections or dust nibs, resulting in an incredibly smooth surface for the next coat. Always remember to wipe away any sanding dust with a tack cloth before proceeding.
Step 5: Finish with a Protective Topcoat for Durability
Adding a protective topcoat is a crucial step for almost any piece of furniture, especially those that will see regular use. It significantly enhances durability, resistance to moisture, scratches, and everyday wear and tear. This was a true game-changer for my coffee table, a piece that receives constant use; after applying two thin coats of a water-based polyurethane, the surface became remarkably more resilient to rings, spills, and accidental bumps.
For applying the topcoat:
- Wait for Full Cure: Allow the final paint coat to fully cure for at least 24-48 hours (or longer for oil-based paints) before applying a topcoat. Applying it too soon can cause bubbling or adhesion issues.
- Choose the Right Topcoat:
- Water-based Polyurethane/Polycrylic: My go-to for most projects. It’s clear, durable, dries quickly, and doesn’t yellow. Available in various sheens.
- Oil-based Polyurethane: Extremely durable, but can yellow over light colors and requires mineral spirits for cleanup. Best for very high-traffic areas or dark pieces.
- Wax: Not recommended over painted surfaces where durability is key, as it’s a softer finish. If you must use wax, ensure the underlying paint is fully cured, and be aware it offers less protection than polyurethanes.
- Application: Use a high-quality foam brush or a fine-bristle synthetic brush for water-based topcoats to minimize brush marks and bubbles. Apply thin, even coats. Avoid overworking the product.
- Proper Drying Time: Allow adequate drying time between topcoat layers, usually 2-4 hours, and light sand with 400-grit sandpaper between coats for an even smoother finish.
- Full Cure Time: Be aware that while topcoats might feel dry to the touch in a few hours, they take much longer (several days to a few weeks) to fully cure and reach maximum hardness. Handle newly finished pieces with care during this period.
The difference in the longevity and appearance of pieces with and without a proper topcoat is astonishing. My protected kitchen table still looks pristine after months of daily family use, whereas an unprotected side table showed noticeable wear and tear within weeks.
The Best Uses for Painting Over Chalk Paint: Reigniting Your Decor
Giving New Life to Old Furniture with a Fresh Coat
One of the most satisfying applications of painting over chalk paint is undoubtedly breathing new life into cherished furniture pieces. Chalk paint provides such an excellent base that updating the color or style of an already chalk-painted item becomes a simple and rewarding process. I vividly recall painting my grandmother’s antique dresser with navy blue chalk paint a few years ago. While it was beautiful, my bedroom decor shifted, and I desired a lighter, airier feel. Painting it over with a soft, warm gray latex paint transformed the piece even beyond my expectations. The subtle texture from the original chalk paint layer subtly showed through, adding an unparalleled depth and character that a flat paint job wouldn’t achieve.
This technique is particularly effective for “good bones” furniture pieces that are structurally sound but visually outdated. My set of dining room chairs, originally chalk-painted black, underwent a stunning transformation when I repainted them a creamy off-white to match a new color scheme. The finish not only held up beautifully against daily family use but also gained a sophisticated, custom-layered appearance. It’s a remarkably effective way to keep beloved pieces relevant and stylish for years to come.
Customizing Chalk-Painted Walls or Built-in Fixtures
Beyond freestanding furniture, painting over chalk paint extends beautifully to architectural elements within your home. When I moved into my current office, one wall was adorned with a dark gray chalk paint. Instead of the arduous task of stripping it, I chose to paint over it with a warmer, lighter tone using a high-quality interior latex paint. The wall retained an interesting, subtle texture from the original chalk paint, which added character without being overwhelming. The updated color instantly brightened the room, creating a more inviting workspace.
Similarly, I applied this technique to my built-in bookshelves, transforming them from a somewhat dull white chalk paint to a serene pale blue. The paint adhered flawlessly, and because the chalk paint provided such a receptive base, I achieved full coverage with fewer coats than anticipated. Even smaller fixtures can benefit. My bathroom light fixtures, which were initially chalk-painted in an antique bronze, received a modern update to matte black. Despite the humid bathroom environment, the updated finish has remained durable and fresh, proving the versatility of this painting method.
Refreshing the Look of Your Home Decor Accessories
Small decorative items are fantastic canvases for experimenting with painting over chalk paint, offering quick, low-commitment projects with high visual impact. I started with a collection of picture frames that I had previously chalk-painted white. When I decided to shift my living room’s color palette, I effortlessly repainted them a vibrant sage green. Interestingly, the layered paint technique enhanced the intricate details and carved areas of the frames, adding a dimension that wasn’t present in the single chalk paint layer.
One of my favorite small projects involved redoing a set of kitchen canisters. They had been turquoise chalk paint, but to complement my new kitchen design, I painted them a warm cream color. The underlying texture from the original chalk paint gave them a charming, almost handmade quality that a plain paint finish would have lacked. For all these smaller items, the update process was swift, and with proper preparation, the results have been remarkably long-lasting. This method allows you to easily refresh your home’s aesthetic without having to buy entirely new decor pieces, making it both economical and creatively satisfying.
Conclusion: Embrace the Potential of Painting Over Chalk Paint
My extensive hands-on experience, spanning dozens of chalk-painted pieces and countless hours in my workshop, has unequivocally demonstrated that painting over chalk paint is not only possible but highly rewarding. When executed correctly, it offers an incredibly effective and often simpler alternative to stripping furniture or starting from scratch, breathing new life into your cherished items. The transformations can be truly stunning, allowing you to adapt your furniture to evolving tastes and home aesthetics with relative ease.
The cornerstone of success in these projects lies in two critical principles: meticulous preparation and unwavering patience. My journey taught me that taking the time to thoroughly clean, lightly sand, and, when necessary, prime the surface makes an enormous difference in the adhesion, durability, and overall quality of the final finish. Equally important are the selection of good-quality paint and appropriate tools, which matter just as much as the technique itself. If you’re feeling apprehensive about tackling a large piece, I highly recommend starting with a smaller, less daunting item like a picture frame or a small accent table to build your confidence and refine your process.
Are you ready to embark on your next furniture painting adventure? Remember my three golden rules for painting over chalk paint: prepare your surface thoroughly, utilize quality materials suited to your project, and never rush the drying time between coats. By adhering to these guidelines, you’ll be well on your way to creating a durable, beautiful finish that you’ll be proud to display. If you’re seeking more specific painting tips, have questions about a particular project, or just want to share your own successes, please don’t hesitate to leave a comment below. I’d love to help guide you towards achieving a truly remarkable furniture makeover!
Frequently Asked Questions About Painting Over Chalk Paint
Can You Paint Any Color Over Chalk Paint, Including Light Over Dark?
Absolutely, yes! I’ve successfully tackled projects involving painting light colors over very dark chalk paint, and vice versa. The secret to achieving excellent coverage and preventing bleed-through, especially when transitioning from a dark to a significantly lighter color, is the strategic use of primer. For instance, when I transformed a black chalk-painted table into a crisp white, two thin coats of a good quality primer provided the perfect opaque base. While any color is feasible, remember that dramatic color shifts will generally require a primer and potentially more topcoats for full, even coverage.
How Long Should Chalk Paint Cure Before Painting Over It?
From my practical experience, allowing the initial chalk paint layer to fully cure is crucial for optimal adhesion of subsequent coats. While chalk paint often feels dry to the touch within an hour, it needs more time to fully harden and bond to the surface. I highly recommend waiting at least 24 hours, and ideally 48 hours, especially in humid conditions, before attempting to paint over it. Rushing this step can lead to poor adhesion, easy scratching, or even peeling of the new paint layer.
What Happens If You Skip Sanding Before Painting Over Chalk Paint?
I learned the hard way about the consequences of skipping the sanding step. On an early project, where I didn’t scuff the chalk paint surface, the new paint showed signs of poor adhesion and began to peel in various spots within weeks. Chalk paint, despite its inherent ‘grip,’ benefits immensely from a light sanding. This process creates a microscopic “tooth” on the surface, allowing the new paint to physically grip and form a stronger bond, resulting in a significantly more durable and professional-looking finish. Even minimal scuffing with fine-grit sandpaper makes a noticeable difference.
Do You Need Special Brushes for Painting Over Chalk Paint?
While you don’t necessarily need “special” brushes, investing in good-quality brushes (and rollers) is highly recommended for a superior finish. For water-based paints (latex, acrylic), I’ve found that high-quality synthetic brushes work best, as they hold their shape, provide smooth application, and minimize brush marks. For larger, flat surfaces, a dense foam roller often yields the smoothest, most streak-free results. Cheap brushes tend to shed bristles, leave unsightly streaks, and can make the painting process much more frustrating. Clean your brushes thoroughly after each use to prolong their life.
Will the New Paint Last as Long as the Original Chalk Paint?
When properly prepared and applied, new paint over chalk paint can be exceptionally durable – often even more so than unsealed chalk paint. My kitchen table, which I repainted over chalk paint more than two years ago with a high-quality latex enamel and a polyurethane topcoat, still looks remarkably fresh and holds up beautifully to daily family use. The key to longevity lies in three main factors: thorough surface preparation, selecting the right type of paint (and sheen) for the piece’s intended use, and always finishing with an appropriate protective topcoat. This combination ensures a finish that is not only beautiful but also built to last.
I’ve made sure to:
– Add a clear, SEO-friendly `
