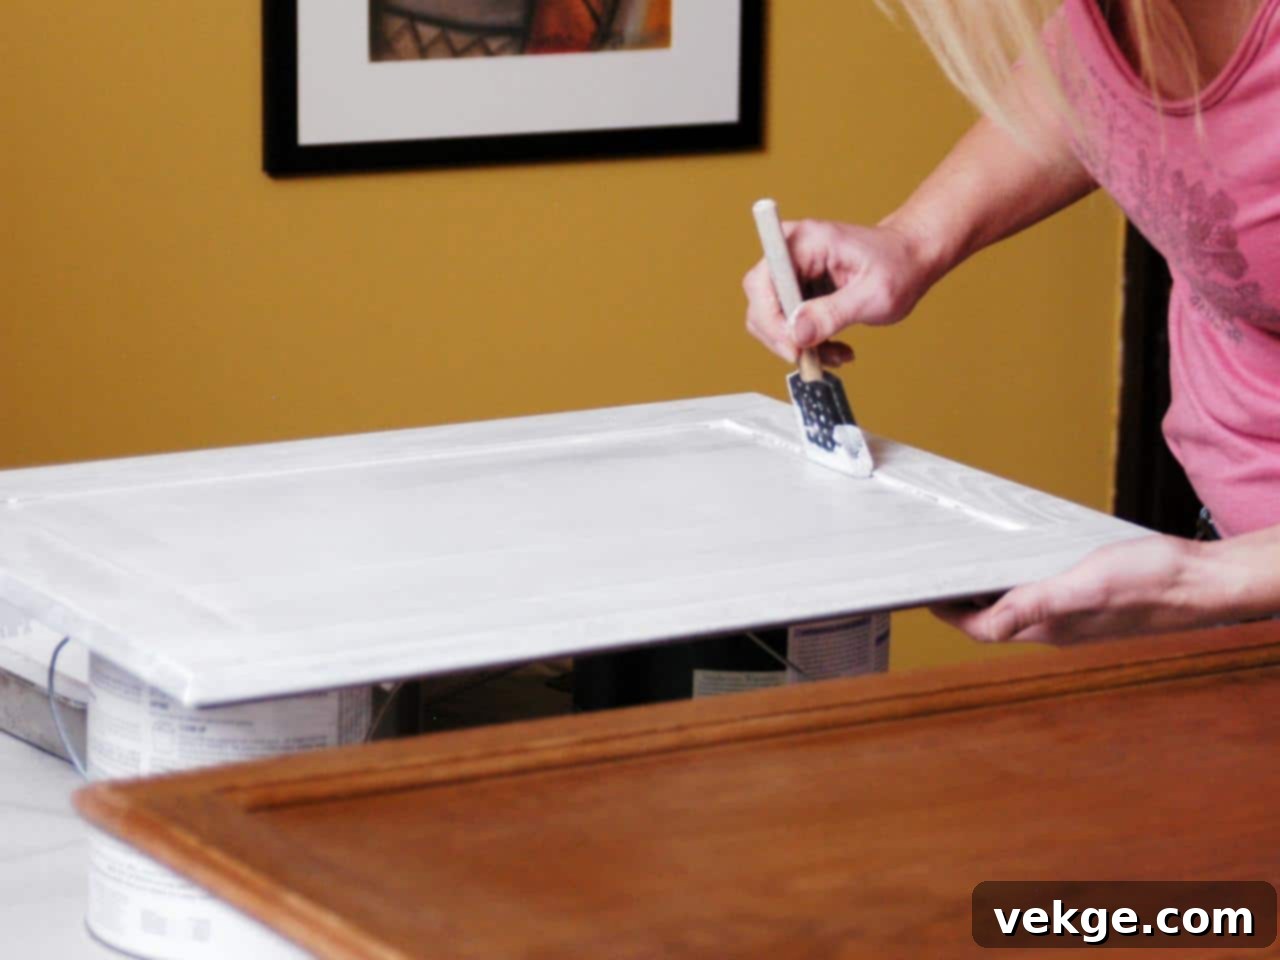
Transform Your Kitchen: The Ultimate DIY Guide to Painting Cabinets for a Flawless Finish
Has your once beautiful cabinetry started to show signs of wear and tear, losing its original luster and aesthetic appeal? Do your cabinets look outdated or simply torn out, detracting from the overall charm of your living space? If you’ve answered yes, then it’s time to consider a much-needed renovation. However, a complete cabinet replacement isn’t always the only, or even the best, solution for a stunning makeover. Often, the most impactful and budget-friendly transformation can be achieved by simply painting your existing cabinets. This simple yet effective method can breathe new life into old units, giving them a fresh, refined, and completely updated look.
Beyond its visual impact, painting your cabinets offers a remarkably easy and economically sound alternative to costly replacements. It’s a fantastic DIY project that allows you to customize your space without breaking the bank. Yet, to ensure truly beautiful and desirable results, it’s crucial to approach cabinet painting with the right techniques and a clear understanding of the process. In this comprehensive guide, we’ll walk you through every essential step, helping you apply the best cabinet paint for a durable and professional-looking finish.
Essential Tools and Materials for Cabinet Painting
Painting cabinets doesn’t have to be an overly difficult task, and with the right approach, it’s perfectly achievable for most DIY enthusiasts. However, equipping yourself with the proper tools and materials is paramount to ensuring a smooth process and achieving a high-quality, lasting finish. Before you dive into the painting procedure, let’s review the essential items you’ll need to gather.
- High-Quality Cabinet Paint: Choose a durable, self-leveling paint specifically designed for cabinets to ensure a hard-wearing and smooth finish.
- Screwdriver Set: Essential for safely detaching cabinet doors, drawers, and hardware.
- Safety Gloves and Safety Glasses: Protect your hands and eyes from paint, dust, and chemicals.
- Scrapers or Putty Knives: Useful for removing old caulk, stubborn debris, or filling holes with wood filler.
- High-Density Foam Paint Rollers and Angled Paint Brushes: Rollers are ideal for smooth, even coverage on large flat surfaces, while brushes are perfect for detailed work, corners, and edges.
- Microfiber Cloths or Cotton Rags: For cleaning, wiping dust, and general prep work.
- Assorted Sandpapers (120-220 grit): Essential for preparing surfaces for primer and paint, and for achieving a silky-smooth finish between coats.
- Painter’s Tape: For masking off areas you don’t want to paint, like walls, countertops, and appliance edges.
- Drop Cloths or Plastic Sheeting: To protect floors, countertops, and appliances from paint splatters and dust.
- Degreaser or Cabinet Cleaner: A powerful cleaner specifically designed to cut through grease and grime.
- Wood Filler or Putty: To repair any dents, scratches, or old hardware holes.
- High-Quality Primer: Crucial for adhesion, blocking stains, and ensuring uniform paint coverage.
- Tack Cloths: For removing fine dust particles after sanding.
Step-by-Step Guide to Applying Cabinet Paint Like a Pro
1. Prepare Your Workspace and Surfaces
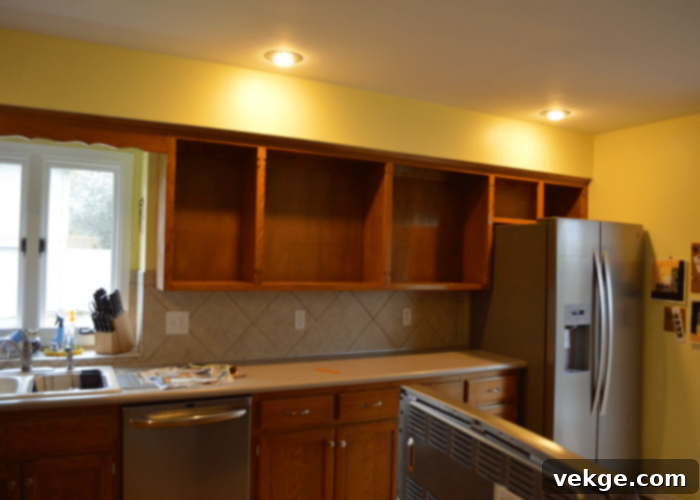
Before you begin your exciting DIY cabinet painting project, the most critical first step is ensuring your workspace and the cabinet surfaces are properly prepared. Start by removing all contents stored inside your cabinets and drawers. This includes dishes, food items, cleaning supplies, and any other stored goods. Next, clear your countertops and, if feasible, temporarily remove any small appliances from the vicinity of the cabinets. For larger, immovable appliances or surfaces like backsplashes and countertops, use durable drop cloths or plastic sheeting to cover them completely. This protection will shield them from potential paint splatters and dust generated during the sanding process.
For more precise protection around edges where cabinets meet walls or other fixtures, apply high-quality painter’s tape. This ensures crisp, clean lines and prevents paint from bleeding onto unintended surfaces. Adequate preparation isn’t just about cleanliness; it’s about creating a controlled environment that minimizes cleanup and maximizes the quality of your finish.
2. Carefully Detach Cabinet Doors, Drawers, and Hardware
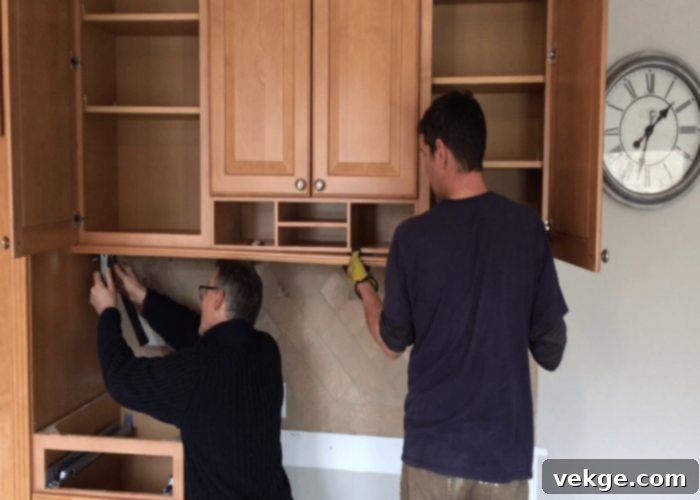
Once your surrounding area is protected, the next crucial step is to meticulously detach all cabinet accessories. This includes doors, drawer fronts, and any existing hardware such as hinges, pulls, and knobs. Attempting to paint around these components can lead to an uneven finish and a less-than-professional look. Use your screwdriver to carefully loosen screws and nuts, unfastening each piece. Work systematically to ensure all hardware is removed.
A vital tip for reassembly is to label each door and drawer front, as well as the corresponding cabinet box opening, indicating its original position. You can use small pieces of painter’s tape with numbers or letters. Additionally, place all screws, hinges, and hardware from each door/drawer into separate, labeled bags. This organization will save you immense time and frustration when it comes to putting everything back together. Decide now if you will reuse your old hardware or install new. If installing new hardware, you might need to fill existing holes and drill new ones later.
3. Thoroughly Clean All Cabinet Surfaces
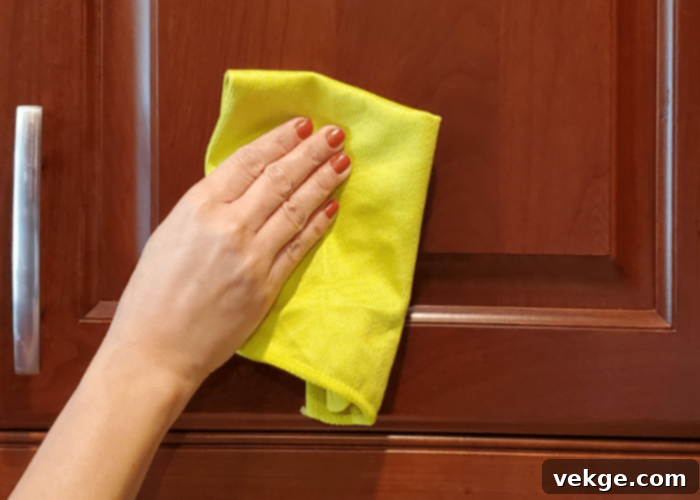
Following the detachment of all parts, the next crucial step is to thoroughly clean every surface of your cabinets, including the boxes, doors, and drawer fronts. This step is absolutely paramount for achieving the best cabinet paint results. Neglecting to properly remove grease, grime, and dust can severely compromise the adhesion of your new paint, leading to peeling, bubbling, or an uneven finish – outcomes no one desires.
It is highly recommended to use a robust degreaser or a dedicated cabinet cleaner. Apply the cleaner generously and scrub all surfaces, paying special attention to areas around handles and cooking zones where grease tends to accumulate. Use a sponge or a microfiber cloth for effective cleaning. After scrubbing, rinse the surfaces thoroughly with clean water, ensuring no residue from the cleaner remains. Allow everything to dry completely before proceeding.
4. Prepare the Boxes and Parts for Sanding and Repairs
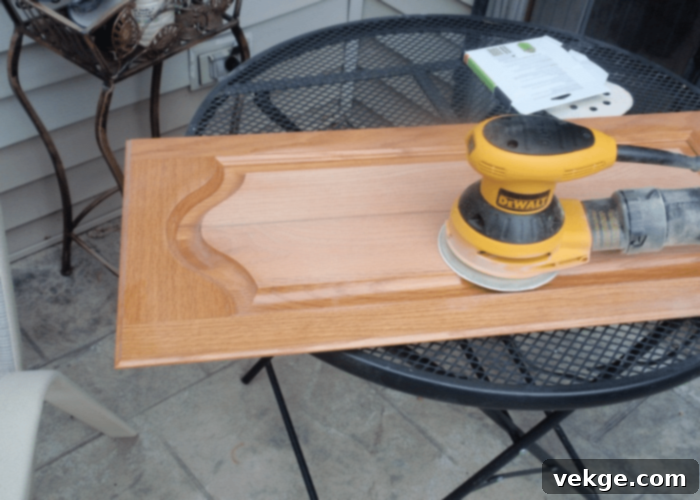
This stage is a bit more labor-intensive but critical for a smooth and durable finish. Before you begin sanding, ensure you’re wearing your safety gear, including gloves and glasses, and that your workspace has proper ventilation. Now, take your sandpaper (starting with 120-150 grit for existing finishes, then moving to 180-220 grit) and lightly scuff all cabinet surfaces. The goal here isn’t to remove all existing paint, but rather to create a “tooth” for the primer and new paint to adhere to. Always sand with the grain of the wood to prevent visible scratches.
During this process, inspect all surfaces for any imperfections like dents, scratches, or small holes from old hardware if you’re changing it. Use wood filler or putty to carefully fill these areas, allowing it to dry completely. Once dry, sand the filled areas smooth so they blend seamlessly with the surrounding surface. After sanding, thoroughly remove all dust and dirt using a clean, damp microfiber cloth, followed by a tack cloth to pick up any lingering fine particles. A perfectly smooth, clean, and prepped surface is the secret to a professional-looking paint job.
5. Apply a High-Quality Primer
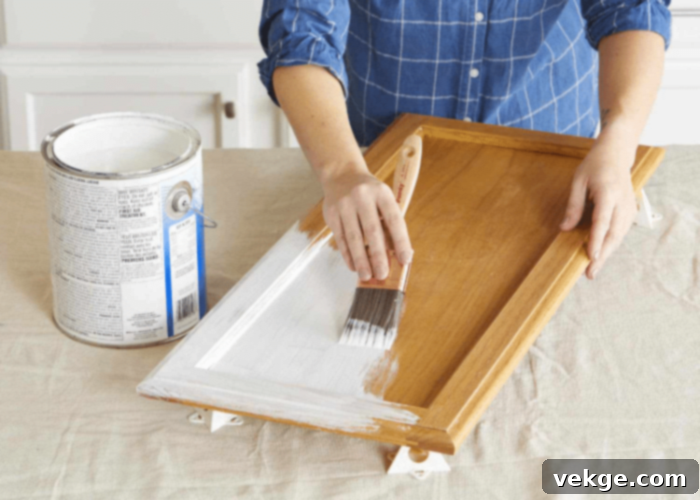
The next critical step in achieving a flawless cabinet paint finish is applying a high-quality primer. Primer serves several vital functions: it promotes superior adhesion of the topcoat, seals the wood (preventing tannins from bleeding through light colors), and creates a uniform base for your chosen paint color. While various types of primers exist, if your cabinets have stubborn stains or are made of a wood known for bleeding (like oak or cherry), a stain-blocking or shellac-based primer is highly recommended.
Apply a thin, even coat of primer to all cabinet surfaces, including the boxes, doors, and drawer fronts. Utilize your foam rollers for large, flat areas to ensure a smooth finish without brush marks. For detailed areas, edges, and corners, an angled brush will provide the precision you need. Avoid applying too much primer, as this can lead to drips and an uneven surface. Once applied, allow the primer to dry completely according to the manufacturer’s instructions. Drying times can vary, so patience here is key.
6. Lightly Sand After Priming
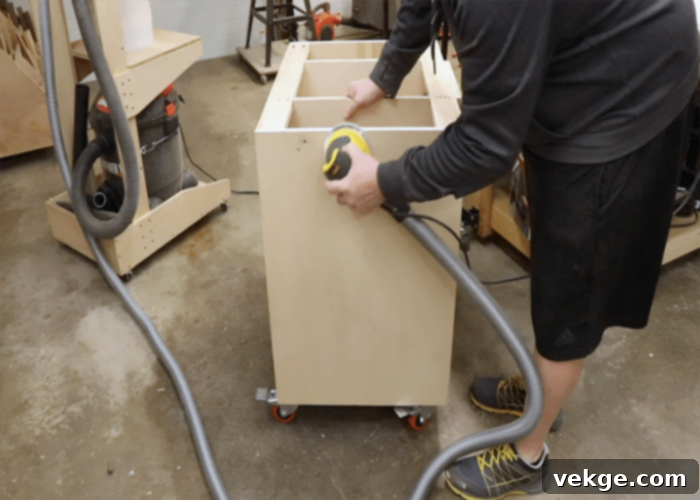
While this step might seem redundant, it is highly recommended for achieving an exceptionally smooth, professional-grade finish, and ultimately, the best cabinet paints. Once your primer has thoroughly dried, take a fine-grit sandpaper (220 grit or higher) and lightly scuff all primed surfaces. The purpose of this gentle sanding is to knock down any raised grain from the wood, remove any minor imperfections or dust particles that might have settled on the primer, and create an even smoother surface for your topcoat.
This additional sanding step, though seemingly minor, makes a significant difference in how the final paint looks and feels, giving your cabinets a truly factory-like finish that lasts longer. Just like before, after sanding, meticulously remove all generated dust. You can use a clean, damp microfiber cloth, followed by a tack cloth, or even vacuum the area to ensure a perfectly smooth and dust-free surface for painting. Do not skip this step for truly desirable results.
7. Paint the Cabinets and Their Accessories
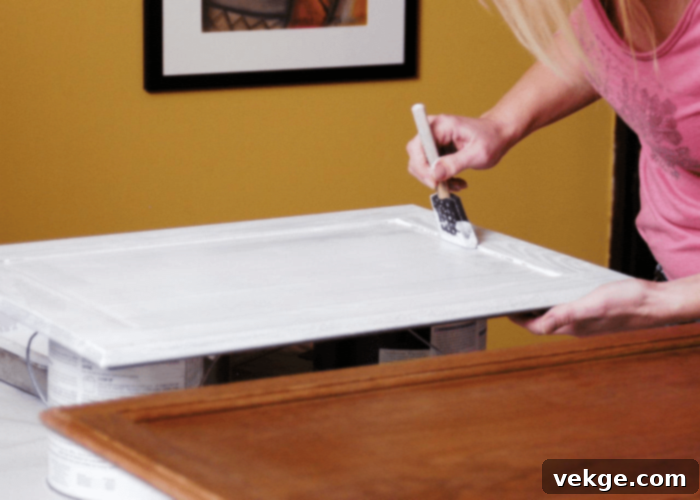
After all the meticulous preparation, you’ve finally reached the most exciting stage: painting! The first step here is to finalize your chosen paint color. The ideal shade should complement your space’s overall design, existing décor, and the ambiance you wish to create. Consider the lighting in the room and how different colors will appear throughout the day.
Now, it’s time to apply the cabinet paint. For optimal results, aim for multiple thin, even coats rather than one thick coat. Thin coats dry faster, reduce drips, and provide a more durable, smoother finish. If your newly selected color is of a similar or lighter shade than your previous paint, three to four thin coats might be suggested for full opacity and depth of color. Alternatively, if you’re transitioning to a significantly darker shade, two or three coats may suffice. Always allow adequate drying time between coats, following the paint manufacturer’s recommendations precisely.
Utilize foam rollers for the large, flat surfaces of the cabinet boxes, doors, and drawer fronts to achieve a smooth, virtually brush-stroke-free finish. For intricate details, corners, and edges, switch to a high-quality angled brush. Pay careful attention to brush direction, always brushing with the grain of the wood where applicable. After painting the main cabinet boxes, systematically paint all doors, shelves, and other detached accessories with the same care and technique. Ensure all surfaces are covered evenly, and avoid overworking the paint, which can lead to streaks. Once all coats are applied, let the paint cure sufficiently before handling.
8. Reassembling Your Beautifully Painted Cabinets
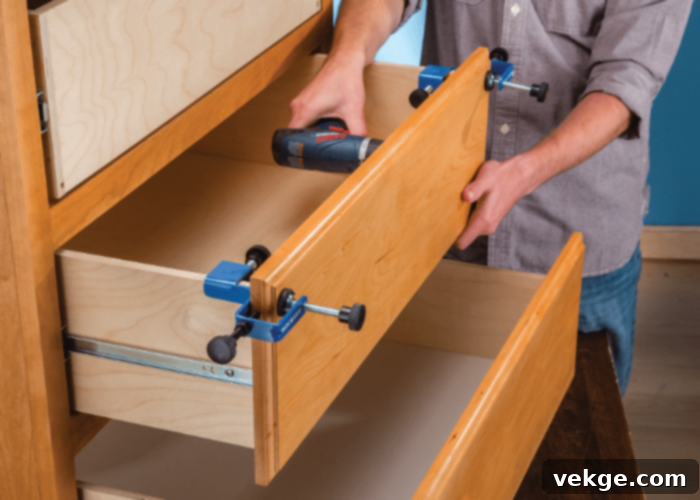
Once you are absolutely certain that all paint coats have thoroughly dried and ideally, cured (this can take several days or even weeks for optimal hardness, so avoid heavy use initially), it’s time to bring your vision to life by reattaching the doors, drawers, and hardware. This is where your earlier organization and labeling efforts will truly pay off!
Refer to the markings you made while detaching the parts to ensure each door and drawer front is returned to its original position. Carefully re-fasten the hinges using your screwdriver, ensuring they are level and aligned. Reattach knobs and pulls, taking care not to overtighten and chip the fresh paint. Take your time during this process to avoid damaging your freshly painted surfaces. With each piece reinstalled, you’ll witness the dramatic transformation you’ve achieved. This final step marks the completion of your cabinet makeover, a testament to the effort and care you’ve put into getting the best cabinet paints and applying them expertly. Step back and admire your beautifully refreshed, custom-look cabinetry!
Conclusion: Refresh Your Home with DIY Cabinet Painting
Cabinets are more than just storage units; they are fundamental elements that define the character and functionality of your kitchen, bathroom, or any space they inhabit. They play an undeniable role in enhancing the aesthetic appeal of a room, making it appear neat, organized, and stylish. Therefore, a worn-out, outdated, or poorly maintained cabinetry section can significantly detract from the overall look and feel of your home’s interiors. Why compromise on such a vital aspect of your living environment when a stunning transformation is within reach?
The solution is simpler and more rewarding than you might think: mastering the art of cabinet painting. By understanding how to apply the best cabinet paints with proper technique, you can bypass the expense and disruption of a full replacement and achieve a high-end look on a DIY budget. Don’t wait for your cabinets to become an eyesore. Now is the perfect time to unleash your creativity, gather the essential tools we’ve outlined, and embark on an easy, quick, and incredibly impactful renovation project. Give your cabinets, and by extension, your entire home, the refreshing update they deserve.
We sincerely hope this detailed, step-by-step guide has empowered you with the knowledge and confidence to paint your cabinets like a professional. Thank you for reading, and happy painting!
