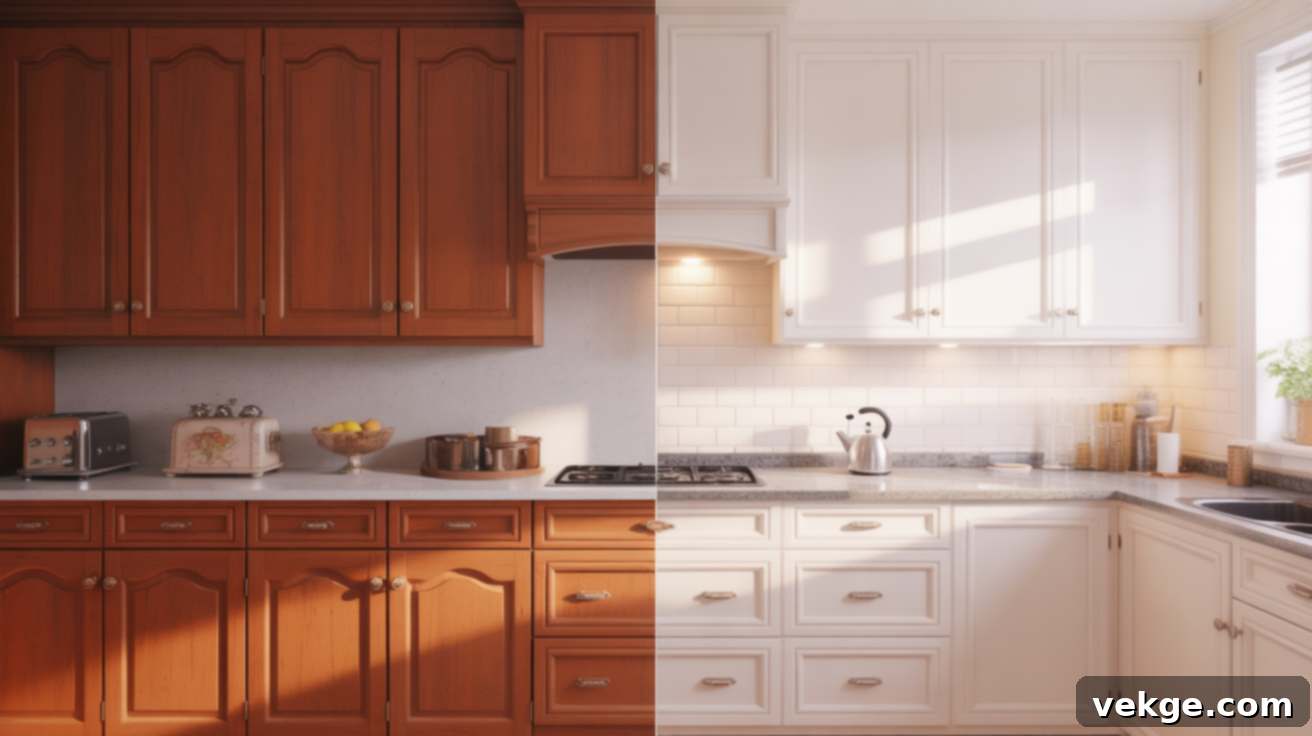
Transform Your Kitchen: A Complete Guide to Painting Oak Cabinets for a Fresh Look
Are you looking at your kitchen and wishing for a brighter, more contemporary space, but dreading the thought of a costly, full-scale remodel? You’re not alone. Many homes still feature traditional oak cabinets, which, while durable, often make kitchens feel dark, heavy, and undeniably dated. The distinctive orange or yellow undertones and prominent wood grain can anchor a room firmly in the past, leaving you craving a fresh, clean aesthetic.
This comprehensive guide is designed to empower you to transform your kitchen by painting your existing oak cabinets. We’ll show you dramatic before-and-after examples, illustrating how a simple coat of paint can breathe new life into your space. You’ll learn everything from the critical benefits and potential drawbacks of painting, to a detailed list of tools and materials, and a step-by-step process for achieving a smooth, professional, and long-lasting finish. We’ll also cover essential maintenance tips to keep your newly painted cabinets looking fantastic for years and highlight common mistakes to avoid. By the end, you’ll have all the knowledge needed to decide if painting your oak cabinets is the perfect project for your home and how to execute it flawlessly.
Should You Paint Your Oak Cabinets? Unveiling the Benefits and Considerations
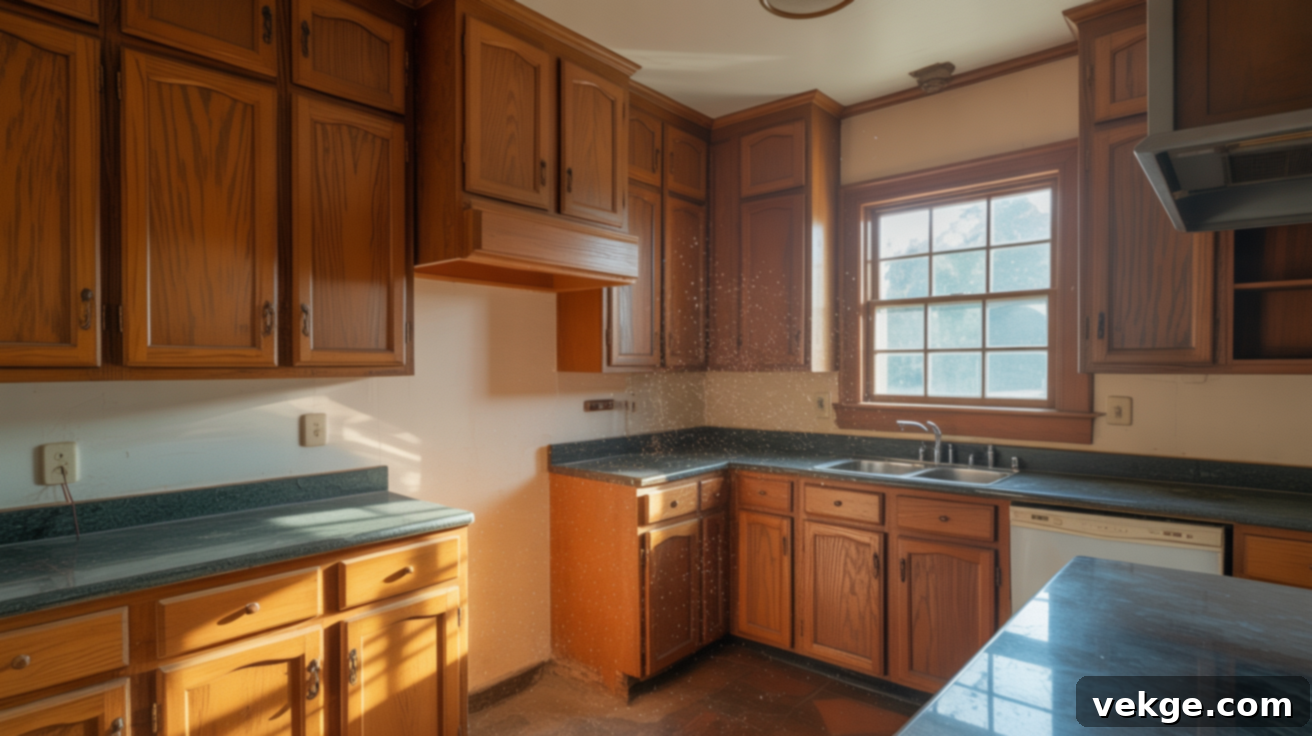
Deciding whether to paint your oak cabinets is a significant decision that can profoundly impact your kitchen’s aesthetics and your budget. It’s a strategic way to achieve a fresh, updated look without the expense and disruption of a complete overhaul. Before diving into the project, it’s wise to weigh the advantages against the effort required and consider how the finish will perform over time.
Key Benefits of Painting Oak Kitchen Cabinets
Painting your existing cabinets stands out as one of the most cost-effective and impactful ways to revitalize your kitchen. It’s a powerful tool for aesthetic transformation that offers numerous advantages:
- Significant Cost Savings: Painting is considerably more budget-friendly than replacing your entire set of kitchen cabinets. New custom or semi-custom cabinets can cost tens of thousands, while paint supplies are a fraction of that, making a stylish update accessible to more homeowners.
- Personalized Color Selection: You gain complete freedom to choose a specific color that perfectly complements your kitchen’s decor, flooring, and countertops. Whether you envision crisp whites, subtle grays, vibrant blues, or sophisticated greens, paint allows for endless customization.
- Enhanced Brightness and Openness: Opting for lighter paint colors, such as whites, off-whites, or pale grays, can dramatically open up your kitchen space. These hues reflect light, making smaller kitchens feel larger and darker rooms appear significantly brighter and more inviting.
- Concealing Minor Imperfections: Small dings, nicks, scratches, or minor surface flaws that detract from the appearance of old oak can often be filled, sanded, and completely covered by paint, restoring a pristine look to your cabinets.
- Long-Lasting Finish: When executed with proper surface preparation, high-quality primers, and durable paints, a well-done paint job on oak cabinets can maintain its beautiful appearance for many years, offering a resilient and attractive surface.
Is It Better to Replace or Paint Your Kitchen Cabinets?
The choice between painting and replacing ultimately hinges on two primary factors: your budget and the structural integrity of your existing cabinets. If your current cabinet boxes are solid, well-built, and you are satisfied with your kitchen’s layout, then painting represents an intelligent, cost-effective solution to update their appearance.
However, if your cabinets are visibly falling apart, showing signs of water damage, have broken frames, or if your current kitchen layout is fundamentally dysfunctional and no longer meets your needs, then investing in replacement might be the more sensible long-term decision. While painting can drastically improve aesthetics, it cannot fix underlying structural problems or an inefficient layout. Consider the long-term value; a professional paint job can hold up exceptionally well, but only if the foundation (the cabinets themselves) is in good, stable condition.
Painted Oak Kitchen Cabinets: A Dramatic Before and After Transformation
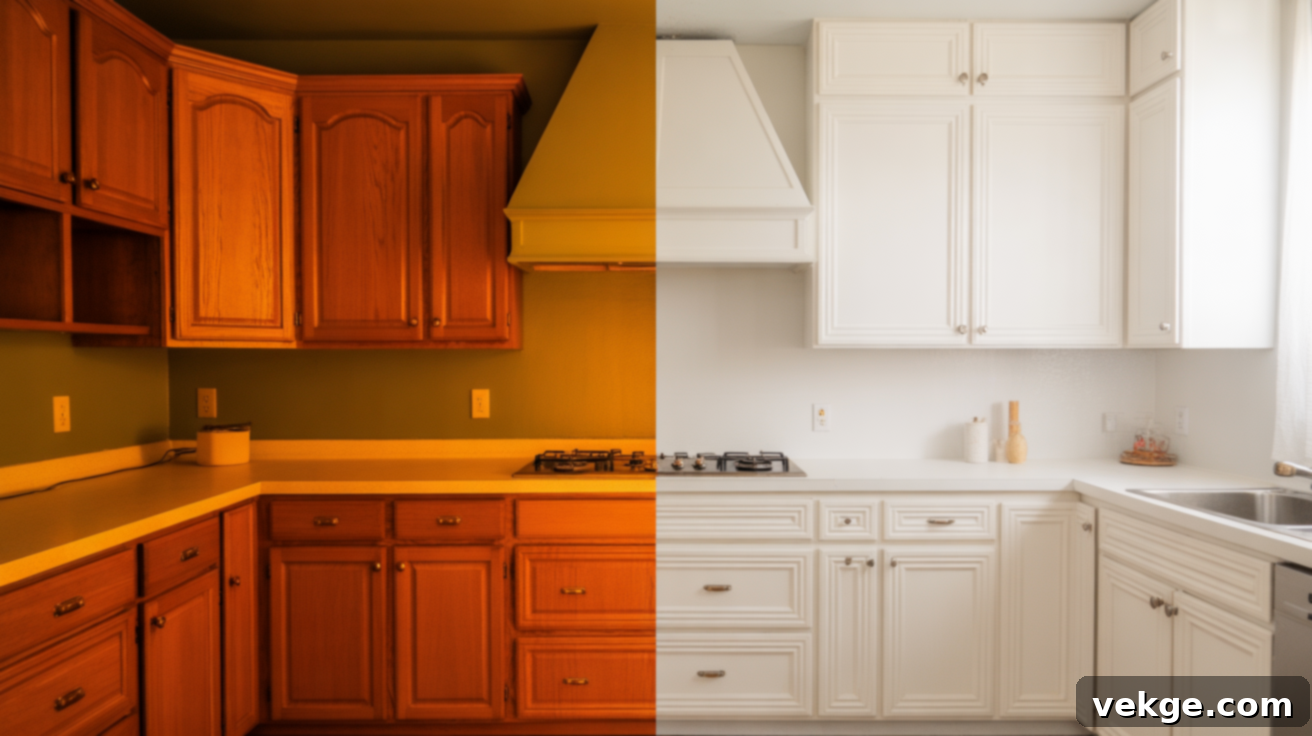
The visual impact of painting oak cabinets is often astonishing. Old oak cabinets frequently contribute to a kitchen feeling inherently dark, heavy, or trapped in a past decade due to their strong wood grain and often warm, sometimes orangey or yellowing tones. However, with meticulous preparation and the right painting techniques, you can completely transform them into a clean, bright, and modern feature.
Whether you opt for the timeless elegance of white, the sophisticated neutrality of gray, or a bold, adventurous splash of color, painted cabinets have the power to utterly refresh your space without the significant expense and upheaval of a full kitchen renovation. Here’s a clear comparison illustrating the remarkable shift you can expect:
| Before Painting | After Painting |
|---|---|
| Prominent orange or yellow oak tones that often feel dated and overwhelming. | Fresh, contemporary white, subtle gray, or vibrant, personalized paint colors that uplift the space. |
| Heavy, often busy wood grain that stands out and contributes to a rustic or country look. | Wood grain is softened, minimized, or even fully concealed with appropriate grain filler for a sleek, smooth finish. |
| Absorbs light, making the kitchen feel darker, smaller, and less inviting. | Reflects light, instantly brightening up the entire room and creating a more open, airy atmosphere. |
| Dated appearance, often coupled with older, tarnished, or mismatched hardware. | Achieves a brand-new, stylish look, often complemented by updated, modern handles and knobs. |
| Can be challenging to integrate with contemporary decor trends or brighter color palettes. | Blends seamlessly with a wide array of modern styles, color schemes, and design elements, offering greater versatility. |
These transformative changes collectively make your kitchen feel dramatically cleaner, more expansive, and significantly more current. With the correct tools, dedicated effort, and a methodical approach, you can achieve a durable and beautiful finish that will enhance your kitchen’s appeal for many years to come.
Detailed Steps to Flawlessly Paint Oak Cabinets
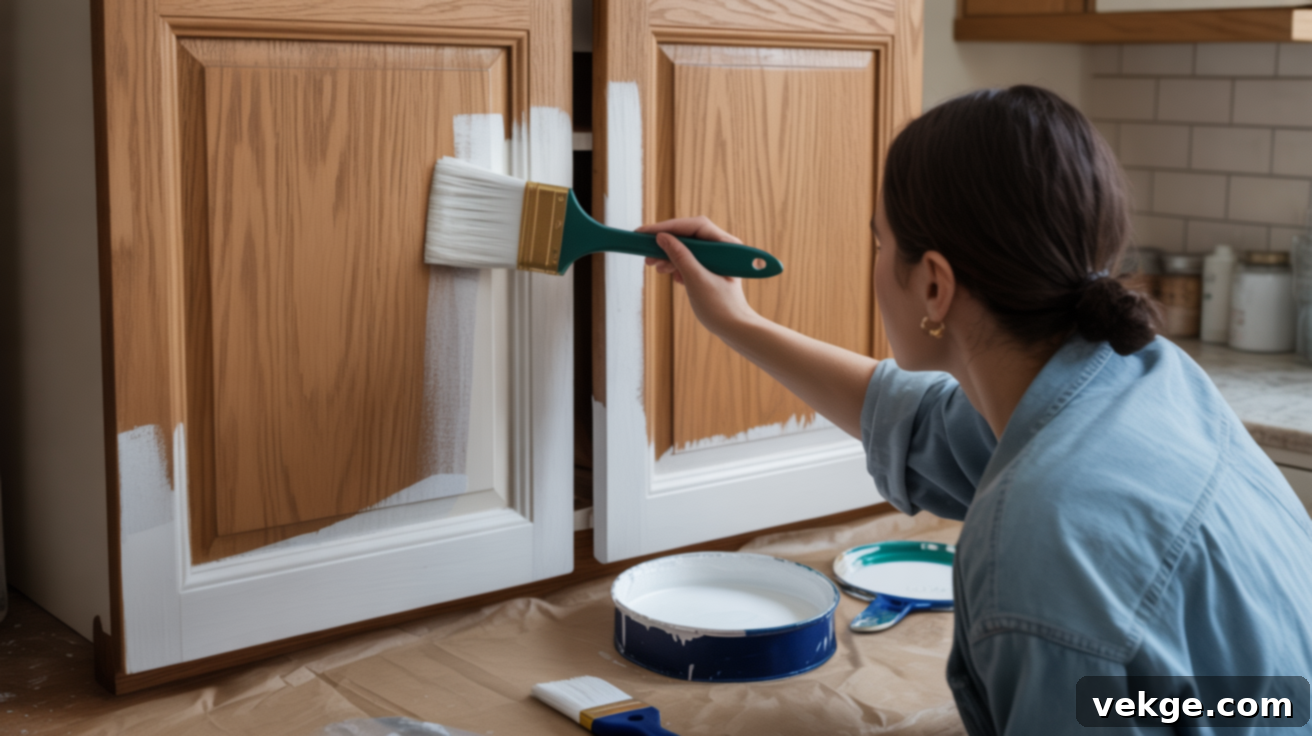
Achieving a professional-looking paint job on oak cabinets requires patience, attention to detail, and the right preparation. Don’t rush the process; each step builds upon the last to ensure a durable and beautiful finish. Here’s everything you’ll need and the precise steps to follow.
Essential Tools and Materials You’ll Need
Proper preparation is key to a successful cabinet painting project. Having all your tools and materials ready before you begin will streamline the process, help you achieve smooth, even results, and prevent common, frustrating mistakes.
- Screwdriver or Drill: Essential for efficiently removing cabinet doors, drawer fronts, and all existing hardware (hinges, pulls, knobs). A drill can speed up this process considerably.
- Painter’s Tape: High-quality painter’s tape is crucial for protecting adjacent surfaces, ensuring crisp, clean paint lines, and preventing unwanted paint splatters.
- Drop Cloths or Plastic Sheeting: To protect your floors, countertops, and any other surfaces from paint drips, dust, and spills.
- Sandpaper or Sanding Block: You’ll need various grits: medium-grit (120-150) for initial sanding and adhesion, and fine-grit (220-320) for smoothing primer and between paint coats.
- Degreaser or Cabinet Cleaner: A heavy-duty cleaner (e.g., TSP substitute or a specialized cabinet degreaser) is vital for removing years of accumulated kitchen grease, grime, and residue.
- Wood Filler (and Putty Knife): Specifically designed for filling deep wood grain, minor dents, scratches, or imperfections in the oak. Choose a stainable/paintable variety.
- High-Quality Primer: A bonding, stain-blocking primer formulated for wood surfaces is non-negotiable for oak. It helps the paint adhere, blocks wood tannins (which can bleed through light paint), and creates a uniform base.
- Premium Cabinet Paint: Choose a durable, high-quality paint specifically designed for cabinets, trim, or doors. Enamel or high-quality latex paints (like acrylic-alkyd hybrids) offer excellent durability and a smooth finish. Consider satin or semi-gloss for easy cleaning.
- Paintbrushes and Foam Rollers: Angled sash brushes (2-2.5 inches) are great for cutting in corners and details. High-density foam rollers (4-6 inches) are ideal for achieving a smooth, lint-free finish on flat surfaces.
- Stir Sticks and Paint Tray: For proper paint mixing and easy application.
- Clean Rags or Tack Cloths: For wiping away dust after sanding and ensuring a clean surface before priming and painting.
- New Hardware (Optional): Fresh pulls and knobs can significantly enhance the updated look of your painted cabinets.
- Safety Gear: Gloves, eye protection, and a mask (especially when sanding or using strong cleaners/primers).
Step-by-Step Guide to Painting Oak Cabinets
Painting oak cabinets is a meticulous process, but following these clear, sequential steps will lead to a beautiful, long-lasting result. Don’t skip any steps!
Step 1. Remove Doors, Drawers, and Hardware: This is crucial for painting all surfaces evenly and avoiding visible brush strokes or drips. Carefully remove all cabinet doors, drawer fronts, hinges, pulls, and knobs. It’s highly recommended to label each piece with a number (e.g., “Door 1 Left,” “Drawer 3”) and tape the corresponding number inside the cabinet opening to ensure they are reinstalled in their original positions. Store hardware safely in labeled bags.
Step 2. Thoroughly Clean All Surfaces: This is one of the most critical steps. Kitchen cabinets accumulate years of grease, food residue, and dirt, which paint will not adhere to properly. Use a strong degreaser or cabinet cleaner (like TSP substitute) to meticulously wipe down every single surface – doors, drawer fronts, and cabinet frames. Rinse with clean water and allow to dry completely. Any remaining residue will compromise paint adhesion.
Step 3. Fill the Wood Grain (Optional but Recommended): Oak’s prominent grain is beautiful but will show through paint unless treated. If you desire a perfectly smooth, modern finish, now is the time to apply wood grain filler. Use a putty knife to press the filler firmly into the grain lines. Work in small sections, allowing the filler to dry completely according to manufacturer instructions. You might need multiple thin coats for very deep grain. This step is essential for achieving a contemporary look that hides the traditional oak pattern.
Step 4. Sand the Cabinets: Once any filler is dry, sand all surfaces with medium-grit sandpaper (120-150 grit). This step roughs up the surface, providing “tooth” for the primer to adhere properly, and smooths out any minor imperfections or dried wood filler. Sand with the grain of the wood. After sanding, meticulously wipe off all dust using a tack cloth or a damp rag, ensuring a perfectly clean surface.
Step 5. Tape Off Surrounding Areas: Use high-quality painter’s tape to carefully protect any adjacent surfaces that you don’t want painted – walls, ceilings, appliances, and countertops. Press the tape firmly to create a tight seal and prevent paint seepage.
Step 6. Apply Primer: Apply a high-quality bonding and stain-blocking primer specifically designed for wood surfaces. This is vital for preventing the oak’s tannins from bleeding through your topcoat, especially with lighter paint colors, and for ensuring excellent paint adhesion. Apply thin, even coats using a brush for corners and details, and a foam roller for flat surfaces. Allow the primer to dry completely according to the manufacturer’s recommendations. For oak, two thin coats of primer are often beneficial.
Step 7. Sand Lightly Again: Once the primer is fully dry, lightly sand all primed surfaces with fine-grit sandpaper (220-320 grit). This step smooths out any minor texture from the primer and creates an ultra-smooth base for your topcoat. Wipe away all sanding dust thoroughly with a tack cloth before proceeding.
Step 8. Paint the Cabinets: Now for the exciting part! Use a high-quality paintbrush for edges and detailed areas, and a foam roller for smooth, even coverage on flat surfaces. Apply your chosen cabinet paint in thin, even coats. Avoid applying thick layers, as this leads to drips, longer drying times, and an uneven finish. Allow each coat to dry completely before applying the next. Most cabinet projects require two to three thin coats for optimal coverage and durability. Lightly sand with 320-grit sandpaper between paint coats for an even smoother finish, remembering to wipe away dust.
Step 9. Reattach Hardware and Doors: Once the final coat of paint is completely dry to the touch (usually 24-48 hours), carefully reattach all hardware and then reinstall the cabinet doors and drawer fronts in their original, labeled positions. Take care not to scratch the freshly painted surfaces during this process.
Step 10. Allow Paint to Fully Cure: This is a crucial, often overlooked step. While the paint may feel dry to the touch within a day or two, it takes several days, or even weeks, for paint to fully cure and reach its maximum hardness and durability. During this curing period, avoid heavy use of the cabinets, be gentle when opening and closing, and refrain from harsh cleaning. The longer you let the paint cure, the more resilient your new finish will be.
Maintenance and Longevity of Your Painted Oak Cabinets
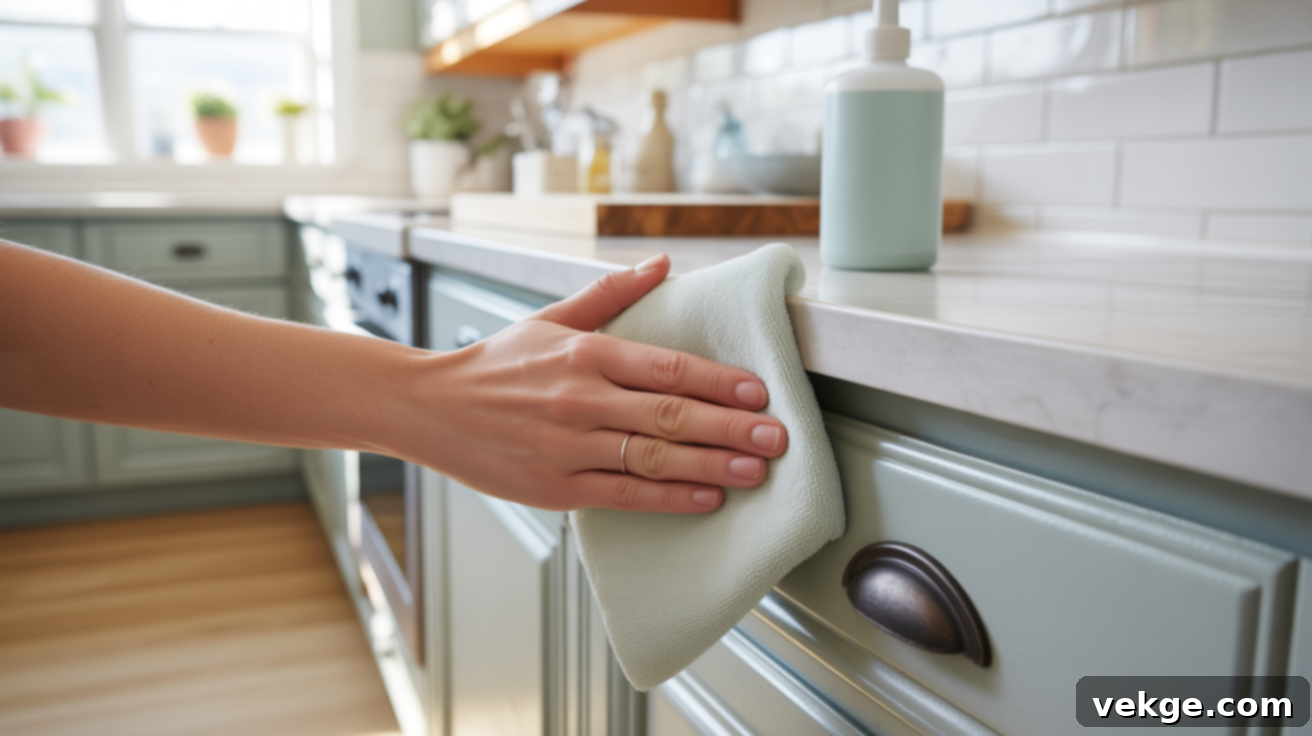
The stunning fresh look you achieve by painting your oak cabinets can genuinely last for many years, provided you adhere to proper maintenance practices. Small, consistent habits like gentle cleaning and addressing minor wear quickly can significantly extend the life and beauty of your painted surfaces. Below are essential tips to help your cabinets stay in pristine condition long after the paint has fully cured.
How Long Can Painted Cabinets Last?
When executed with diligent surface preparation, high-quality products (primer, paint, and sometimes a topcoat sealer), and appropriate application techniques, professionally painted oak cabinets can easily last 8 to 10 years or even longer before showing significant signs of wear or needing a complete repaint. The lifespan largely depends on a few key factors:
- Quality of Surface Prep: Thorough cleaning, degreasing, and proper sanding are paramount.
- Product Quality: Investing in good bonding primer and durable cabinet-grade paint pays off in longevity.
- Kitchen Traffic and Usage: High-traffic kitchens, especially around frequently used handles, sink areas, and near the stove, will naturally show wear sooner than less-used areas.
- Maintenance Routine: Regular, gentle cleaning and prompt touch-ups can prevent minor issues from becoming major ones.
A high-quality primer and, in some cases, a clear topcoat sealer, act as crucial protective layers, helping the paint hold up better against daily wear and tear over the years.
How to Clean and Touch Up Painted Oak Cabinets
Maintaining the fresh appearance of your painted cabinets is straightforward. Regular, gentle cleaning is your best defense against grime buildup and premature wear:
- Daily Cleaning: For general cleaning, simply use a soft, damp cloth to wipe down surfaces.
- Weekly/Bi-weekly Cleaning: For slightly more stubborn spots, use a soft cloth dampened with a mild soap solution (e.g., a few drops of dish soap in warm water). Always wipe cabinets dry immediately after cleaning to prevent water spots or moisture damage.
- What to Avoid: Steer clear of harsh abrasive scrubbers, scouring pads, and strong chemical cleaners (like ammonia-based or abrasive cleaners). These can dull, scratch, or even strip the paint finish over time.
- Addressing Chips and Scratches: For small chips or scratches, the process is simple: lightly sand the affected area with very fine-grit sandpaper (320-400 grit) to smooth the edges. Then, carefully apply a small amount of your leftover matching paint with a fine artist’s brush. If you used a clear topcoat, reapply that as well. Always test your touch-up paint in an inconspicuous spot first to ensure color and texture match perfectly. Regular upkeep keeps the surface looking smooth and neat, preventing minor damage from worsening.
What Can Go Wrong When Painting Oak Cabinets?
Even with the best intentions, overlooking crucial steps or making common misjudgments can lead to undesirable outcomes like peeling paint, unsightly streaks, or a final color that doesn’t meet expectations. Being aware of these potential pitfalls beforehand can help you proactively avoid mistakes that waste both your time and effort.
- Skipping the Sanding Step Entirely: Many DIYers try to save time by painting without proper sanding. This is a critical error, as paint struggles to adhere to smooth, glossy, or varnished surfaces, almost certainly leading to peeling, chipping, or poor adhesion down the line.
- Using the Wrong Type of Paint or Primer: Opting for standard wall paint or a low-quality, non-bonding primer can result in streaks, an uneven finish, inadequate coverage, or premature chipping because it lacks the durability and adhesion properties required for high-touch cabinet surfaces.
- Not Filling the Oak Grain (If a Smooth Finish is Desired): The prominent, deep grain of oak is its defining characteristic. If you don’t use a wood grain filler, this texture will almost certainly show through your paint, making the cabinets look like painted oak rather than sleek, modern cabinetry.
- Applying Thick Coats of Paint: Rushing the process by applying overly thick layers of paint leads to unsightly drips, brush marks, prolonged drying times, and an overall uneven, amateurish result. Thicker coats are also more prone to cracking and peeling.
- Insufficient Drying or Curing Time: Handling cabinet doors or reattaching hardware too soon after painting, before the paint has fully dried (and, more importantly, cured), can lead to fingerprints, dents, scratches, or even ruin the finish entirely before it has had a chance to harden.
- Choosing a Bold Color Without Testing: Jumping straight into painting with a vibrant or very dark color without first testing it on a sample board or an inconspicuous area can lead to disappointment. The color might appear too overwhelming, too dark, or difficult to integrate with the rest of your decor once applied to all cabinets.
How to Prevent These Common Issues and Ensure Success
Taking your time, understanding the purpose of each step, and selecting the right products can make all the difference between a frustrating DIY project and a stunning kitchen transformation. With proper preparation and informed product choices, you can achieve a clean, smooth, and highly durable finish.
- Always Sand Before Priming: Light but thorough sanding is non-negotiable. It creates a proper surface profile for both primer and paint to grip onto, especially crucial on varnished or glossy oak surfaces. Follow with meticulous dust removal.
- Use Paint and Primer Specifically Made for Cabinets: Invest in a high-quality bonding primer (such as a shellac-based or high-adhesion water-based primer) and a durable, cabinet-grade enamel or acrylic-alkyd hybrid paint. These products are formulated for the demands of kitchen cabinets, offering superior adhesion, hardness, and washability.
- Fill the Grain if You Desire a Smooth Finish: If a sleek, contemporary look is your goal, take the time to apply wood grain filler and sand it down meticulously before priming. This step is essential for minimizing the prominent oak texture.
- Apply Thin, Even Coats: Patience is key. Two or three thin, even layers of paint will always yield a superior, more durable, and professional-looking finish than one thick, heavy coat. Use a quality brush and foam roller for smooth application.
- Allow Ample Time for Drying and Curing: Respect the manufacturer’s drying times between coats. More importantly, allow several days to weeks for the paint to fully cure and harden before subjecting the cabinets to heavy use. This prevents damage and ensures longevity.
- Test Your Color on a Small Area First: Before committing to your entire kitchen, paint the back of a cabinet door or a large sample board. Observe how the color looks in different lighting conditions (natural daylight, evening light) throughout the day to ensure it’s truly the shade you desire.
Conclusion: Your Path to a Beautifully Transformed Kitchen
You’ve now explored the dramatic potential of painting oak kitchen cabinets, witnessed inspiring before-and-after scenarios, and gained a comprehensive understanding of what it truly takes to achieve such a remarkable transformation. Painting your existing cabinets is an incredibly impactful and budget-friendly way to make your kitchen feel dramatically brighter, cleaner, and undeniably more current, all without the need for a costly and disruptive full-scale remodel.
Throughout this guide, you’ve learned about the essential tools and materials required, the detailed steps for proper surface preparation and paint application, and invaluable tips for avoiding common pitfalls. By following the right sequence of steps and exercising a little patience, you can achieve professional-looking results that will stand the test of time and elevate the entire aesthetic of your home for years to come.
If you’ve been contemplating giving your kitchen a much-needed update, now is an excellent time to start planning your cabinet painting project. Embrace the opportunity to create a space that truly reflects your style and brings you joy every day. Don’t forget to explore our other home improvement guides for more tips, creative ideas, and expert advice to keep every corner of your home looking its absolute best!
Frequently Asked Questions About Painting Oak Cabinets
Does painted cabinet finish peel over time?
Yes, unfortunately, paint can peel over time, especially if the surfaces were not adequately cleaned, thoroughly sanded, or properly primed before painting. Good preparation is the most critical factor in ensuring strong paint adhesion and preventing premature peeling, allowing your finish to last much longer.
What kind of primer should I use for oak cabinets?
For oak cabinets, it is highly recommended to use a high-quality bonding primer or a stain-blocking primer. These types of primers are specifically formulated to adhere well to slick or varnished surfaces and, crucially, to block the natural tannins present in oak wood from bleeding through and discoloring your topcoat, particularly when using lighter paint colors.
Can I paint directly over varnished oak cabinets?
While you technically “can,” it is strongly advised against painting directly over varnished oak without proper preparation. For paint to adhere properly and last, you will absolutely need to thoroughly sand the varnished surface first to remove its glossy sheen and create a rough profile. After sanding, applying a high-quality bonding primer is essential before applying your topcoat paint to ensure durability and a professional finish.
How long does the entire process typically take?
The entire process of painting kitchen cabinets, from disassembling to the final coat and allowing for initial drying/curing, usually takes 5-7 days for an average-sized kitchen, assuming you are working diligently. This includes ample drying time between coats for primer and paint, which is crucial for a durable finish. Larger kitchens or more complex designs might take longer.
What are the best paint colors for oak cabinets?
The “best” colors depend on your personal style and existing kitchen elements, but popular choices for painting oak cabinets include classic whites (e.g., bright white, off-white, cream), versatile grays (from light greige to charcoal), and soft blues or greens for a subtle pop of color. These colors tend to brighten spaces and complement various decor styles. Always test swatches in your kitchen lighting!
