Jump to Recipe
This post may contain affiliate links, meaning I may receive a commission on purchases made through my links, at no extra cost to you. Thank you for supporting my work!
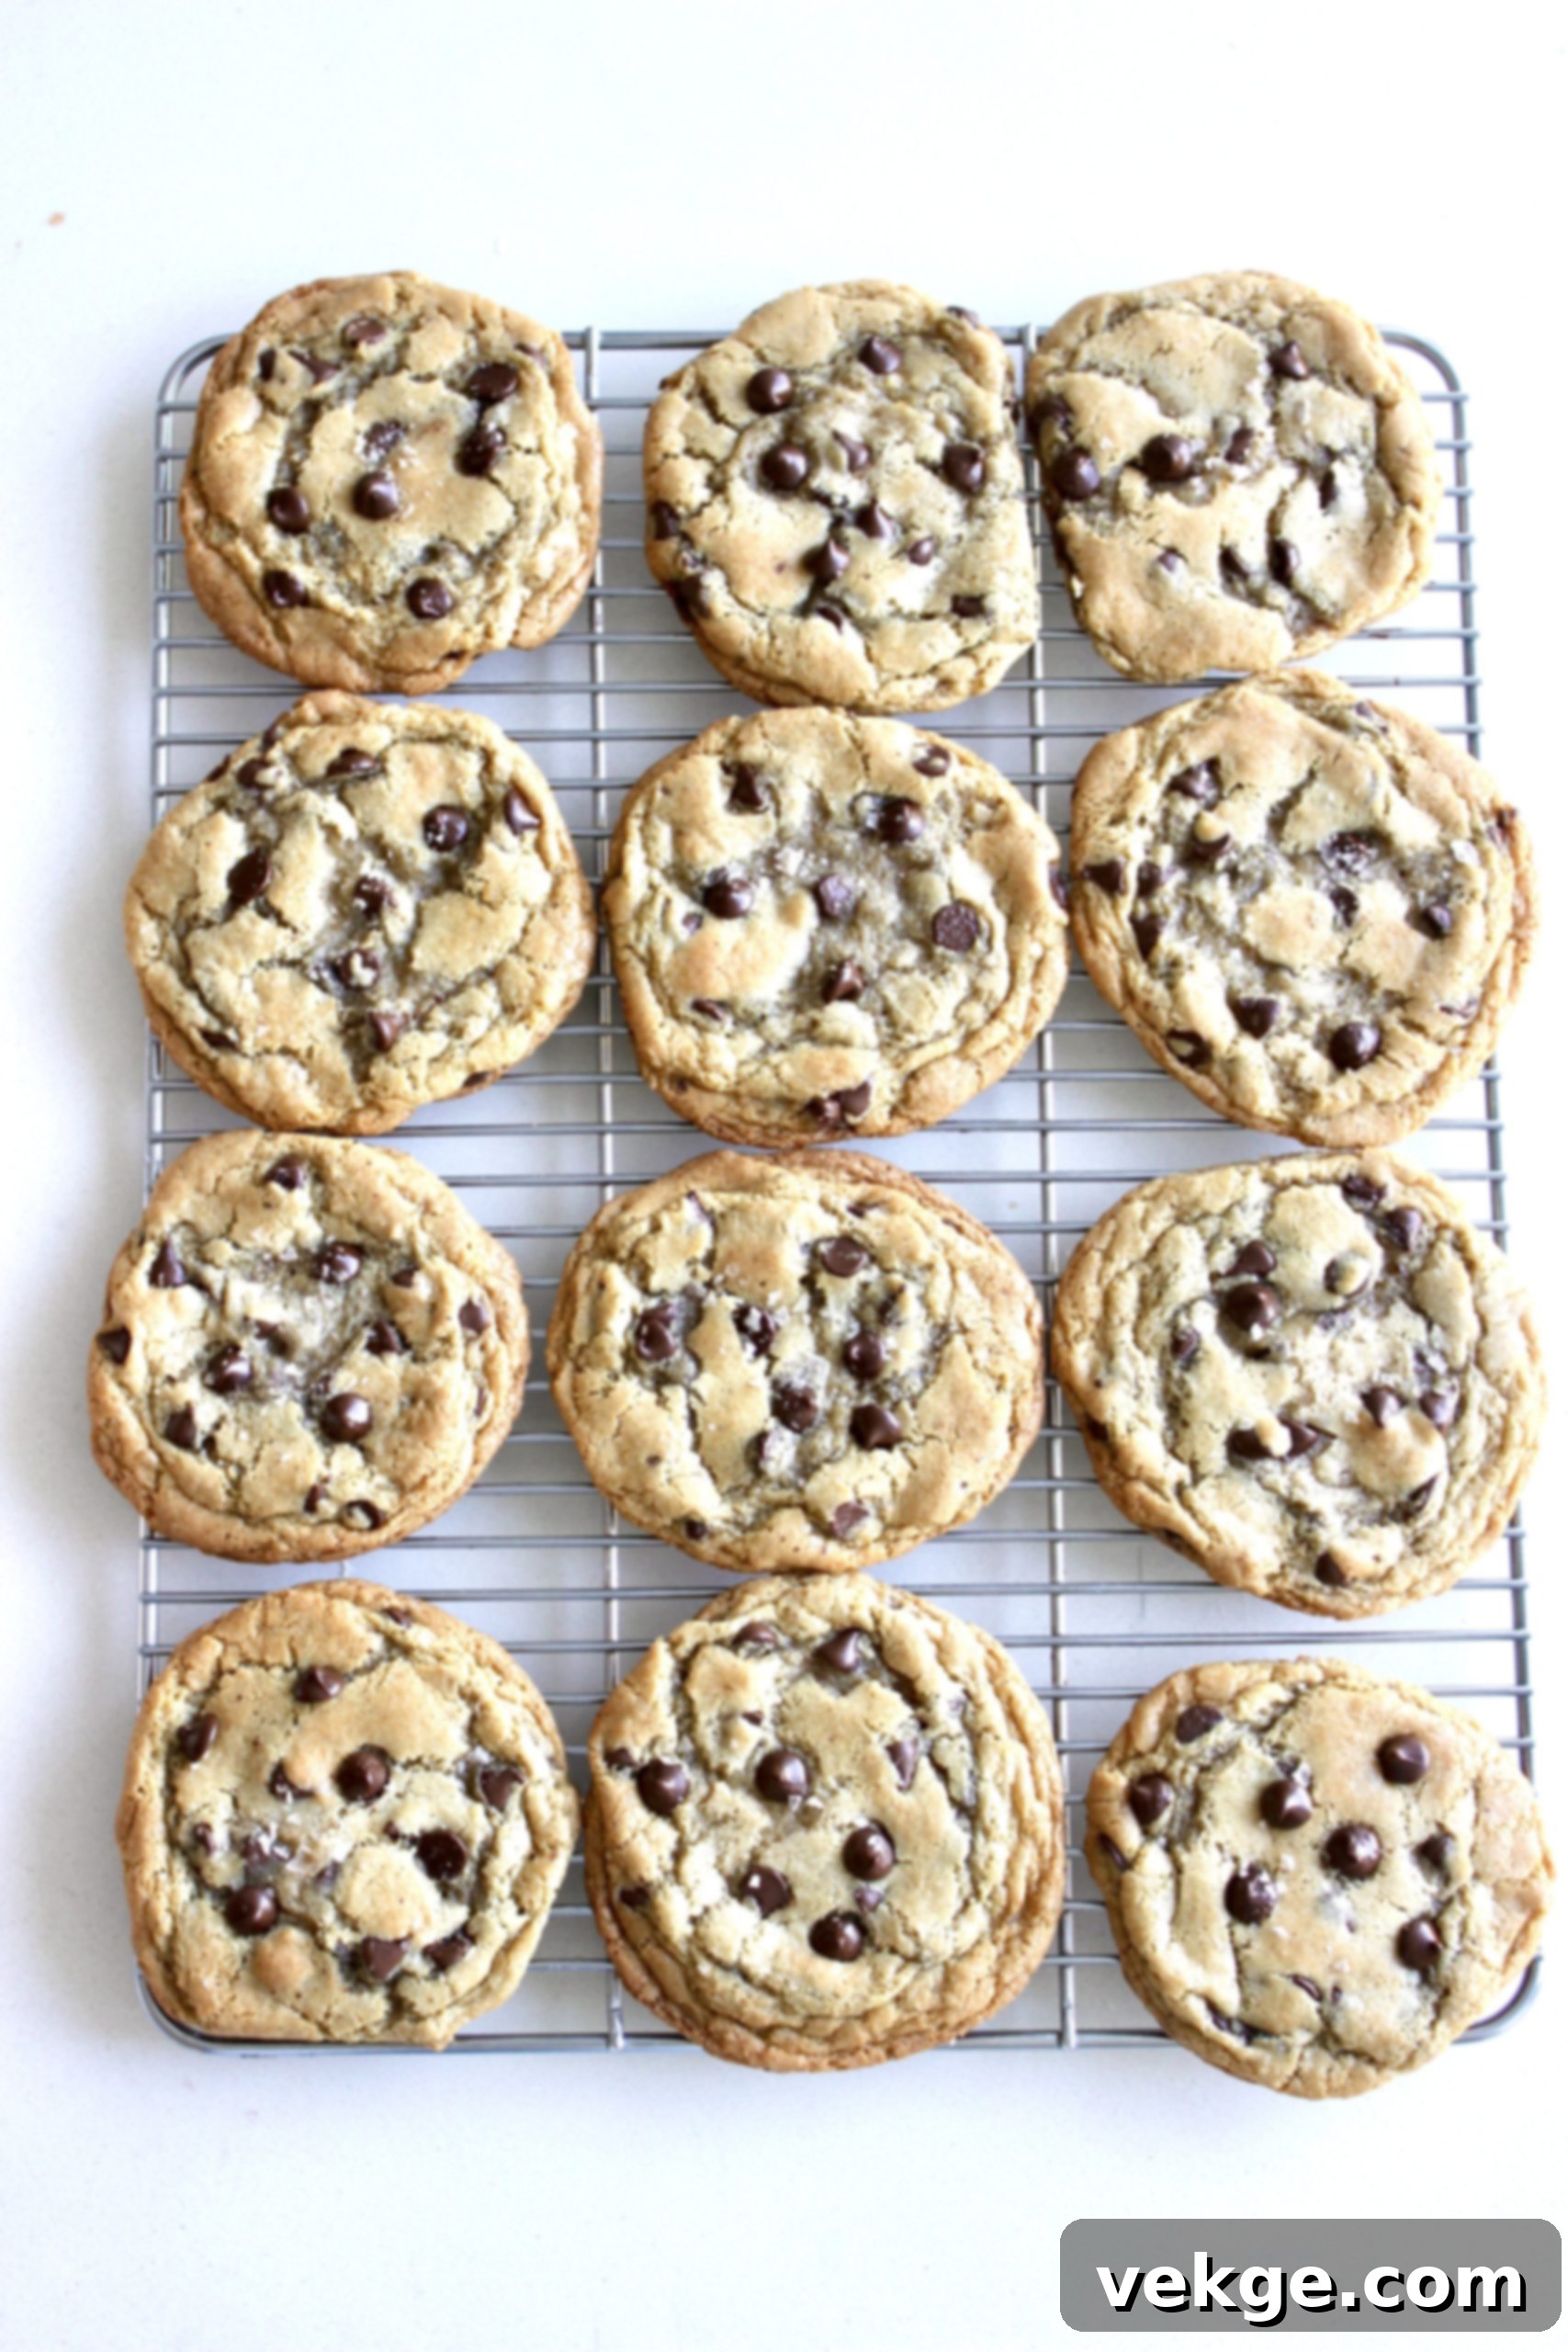
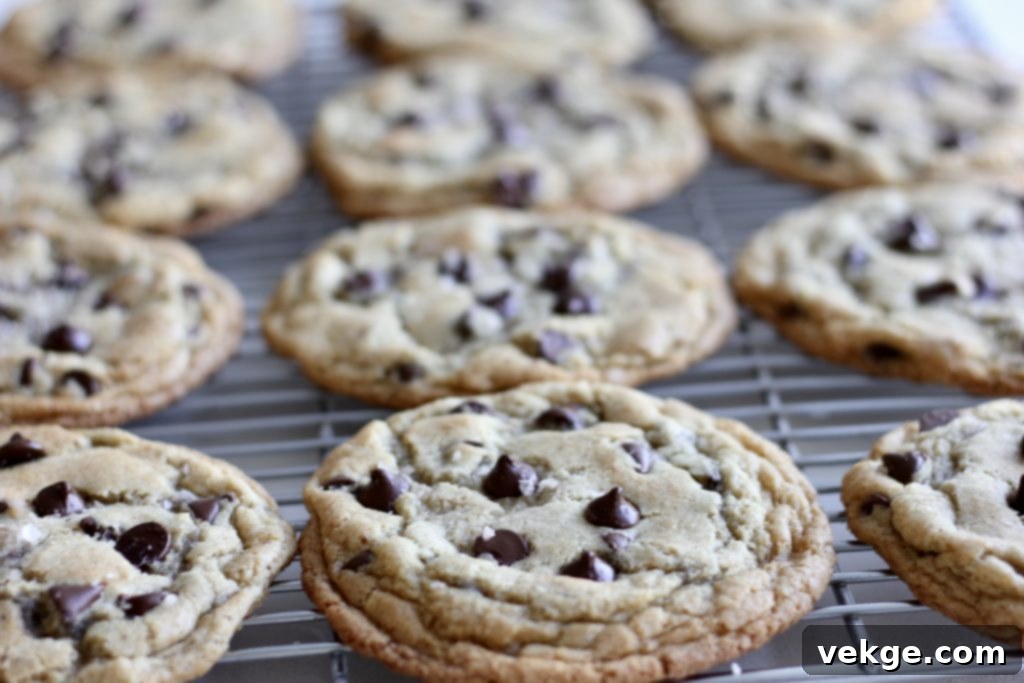
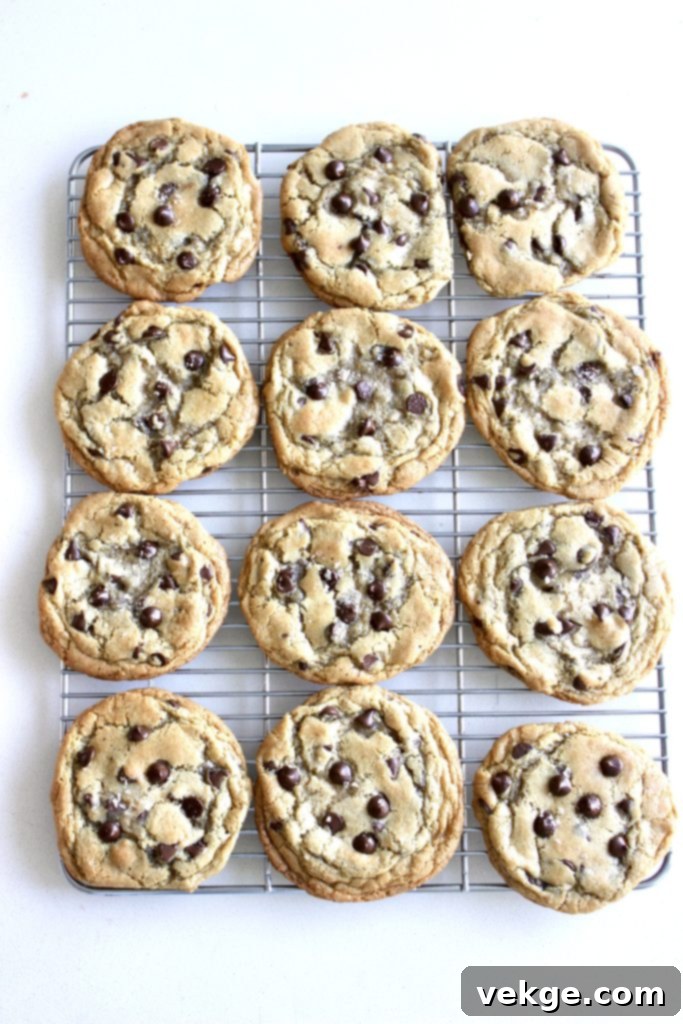
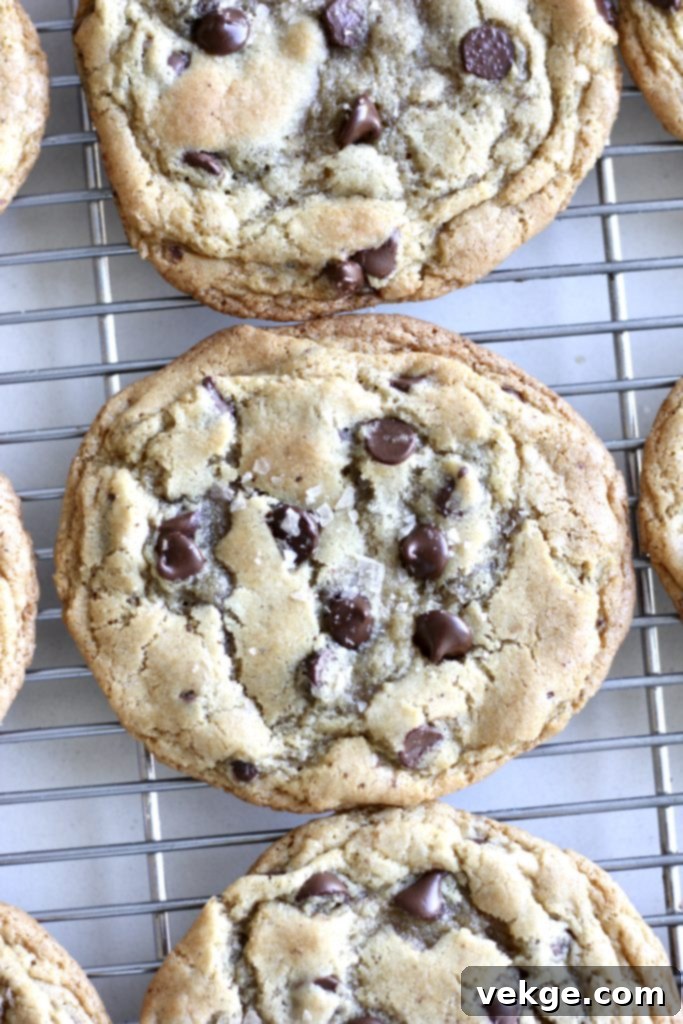
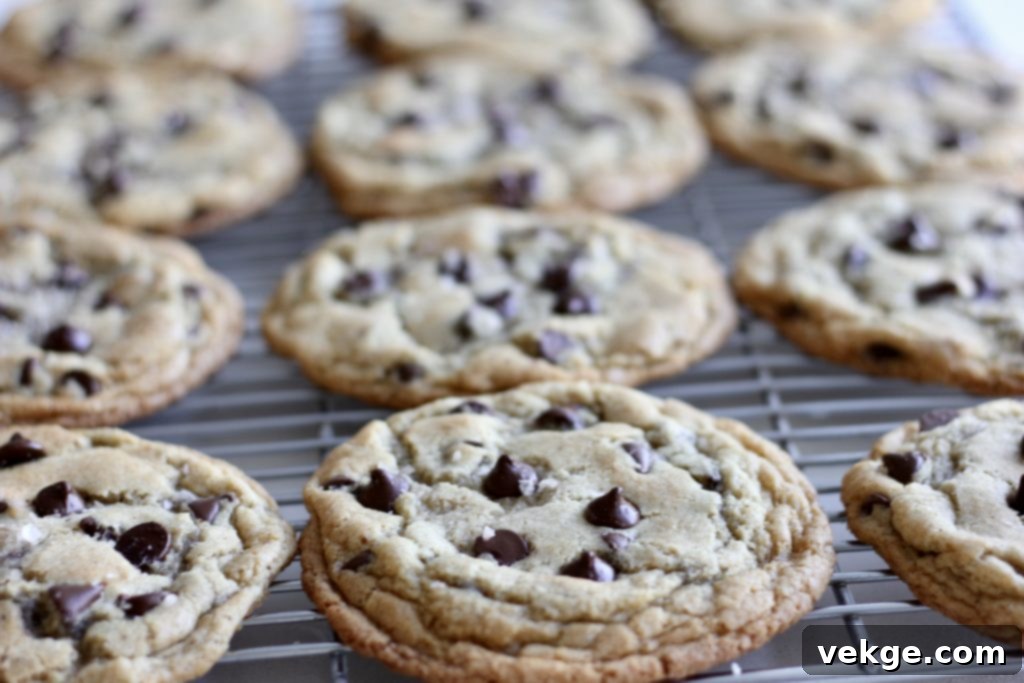
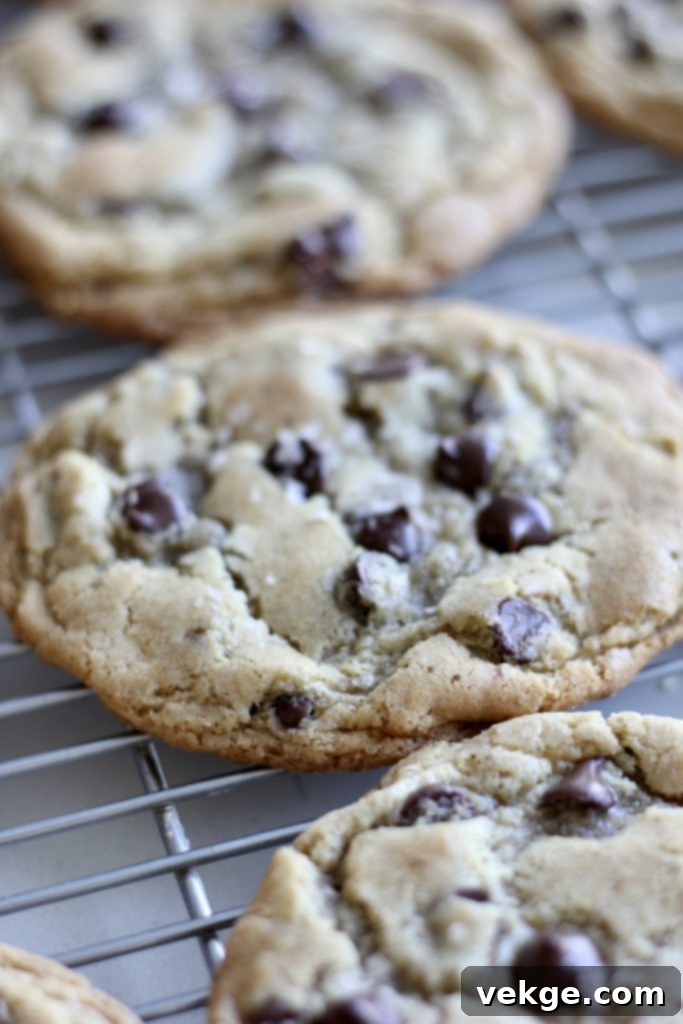
Prepare yourself for the ultimate cookie experience. These aren’t just any chocolate chip cookies; they are a culinary masterpiece elevated by the rich, nutty notes of browned butter and the delightful tang of sourdough discard. Each bite delivers a perfect harmony of flavors and textures – a crisp exterior giving way to a wonderfully soft and super chewy interior. And the finishing touch? A sprinkle of flaky coarse sea salt that truly makes these cookies unforgettable. Trust me, these big, chewy, and utterly delightful cookies are destined to become your new favorite. You absolutely must try them!
The Inspiration Behind This Unique Recipe
My journey to perfecting these browned butter sourdough chocolate chip cookies was filled with delicious experiments and a few culinary detours. Initially, I started incorporating sourdough discard into existing cookie recipes, but the results were often underwhelming. Many batches turned out too cake-like in texture or had an overly sour note that wasn’t quite right for a sweet treat. I was determined to unlock the magic sourdough could bring to a cookie.
After much trial and error, I discovered the secret ingredient that transformed my sourdough cookies: browned butter. Browning the butter is a game-changer; it not only infuses the dough with an incredible depth of nutty, caramel-like flavor, but it also helps to reduce the water content. This is particularly crucial when working with sourdough discard, which naturally adds moisture to the dough. The evaporation of water during the browning process ensures the cookies achieve that ideal chewy texture without becoming dense or overly wet. Combining this technique with a carefully balanced ratio of brown sugar for chewiness, white sugar for crisp edges, a generous amount of egg yolks for richness, and a touch of sea salt, I finally achieved a recipe that truly shines. It was a rigorous (and delicious!) testing process, but the outcome was a winning recipe that delighted everyone who tried it.
What My Friends and Neighbors Had to Say
After perfecting this recipe, I couldn’t wait to share the joy. I baked a fresh batch of these browned butter sourdough chocolate chip cookies and took them around to a few neighbors. The response was overwhelmingly positive, confirming that these cookies are indeed something special!

Mandy, My Friend and Neighbor, was ecstatic:
Mandy texted me shortly after trying them, saying, “OMG! These are INCREDIBLE! Seriously the best cookies I’ve ever had. That browned butter and sourdough combo is pure genius!” Her enthusiasm was infectious, and it made all the recipe testing worthwhile.
Kate, Another Neighbor, Couldn’t Get Enough:
Kate’s message was equally glowing. “You’ve outdone yourself! These cookies are ridiculously good. The chewiness and that hint of salt on top? Perfection! I need this recipe ASAP!” It’s clear the unique texture and flavor profile resonated with her.

Natalie, My Friend and Neighbor, Declared Them Legendary:
Natalie’s texts were a testament to the cookies’ addictive quality. She wrote, “I’m not sure if I can ever eat a ‘regular’ chocolate chip cookie again. These are next-level. My kids are begging for more!” Hearing that even the kids loved them, despite the sourdough, was a huge win.

Kara, a Dear Friend and Neighbor, was thoroughly impressed:
“Seriously Amber, these cookies are phenomenal. So rich and perfectly chewy. The coarse salt just brings everything together. You’ve created a masterpiece!” Kara’s high praise further cemented my confidence in this recipe.

Kadee, My Friend and Neighbor, Gave a Resounding Approval:
“Wow, just wow! These sourdough chocolate chip cookies are hands down the best I’ve ever tasted. I might need to move next door to you!” Kadee’s playful remark truly highlighted how much she enjoyed them.

It’s safe to say these cookies were a monumental hit! Even my own children, who can sometimes be picky about anything “sourdough,” devoured them and declared them the best cookies they’d ever had. For me, they truly are my absolute favorite. The texture is precisely what you dream of in a cookie: beautifully crisp on the outside, wonderfully soft on the inside, and incredibly chewy throughout. And that coarse flake salt on top? It’s not just a garnish; it’s an essential flavor enhancer that elevates these cookies to an entirely new level of deliciousness.
Why Sourdough? Unlocking a Deeper Flavor and Texture
Ah, sourdough – a question that often sparks debate in the baking world! While it’s true that not every baked good benefits from the addition of sourdough (I’ve had my share of crumbly sourdough chocolate cakes and regrettable brownies), in the right recipe and with specific adjustments, sourdough can perform culinary miracles. And these browned butter chocolate chip cookies are the perfect example of sourdough making something truly extraordinary.
Here’s what sourdough discard brings to these cookies, transforming them from good to absolutely phenomenal:
- Enhanced Texture: The acidity and enzymatic activity of sourdough work wonders on the gluten in the flour, resulting in an incredibly chewy cookie that maintains its softness.
- Richer Flavor Profile: Sourdough doesn’t necessarily make these cookies taste “sour.” Instead, it subtly enhances the existing flavors, deepening the notes of browned butter and chocolate, making them taste even more buttery and complex.
- A Smart Way to Use Discard: For any sourdough baker, finding delicious ways to use discard is a constant quest. This recipe provides a fantastic solution, turning what would otherwise be waste into a stellar treat.
- Improved Digestibility: The fermentation process initiated by the sourdough starter helps break down some of the complex carbohydrates and gluten in the flour, potentially making the cookies easier for some people to digest.
- Natural Prebiotics: Sourdough contains prebiotics, which are beneficial for gut health. So, you could almost say these cookies offer a tiny health benefit!
Understanding Sourdough Discard for Baking
For this exceptional cookie recipe, you’ll specifically need **sourdough discard**. It’s crucial to distinguish between active starter and discard for optimal results in this recipe.
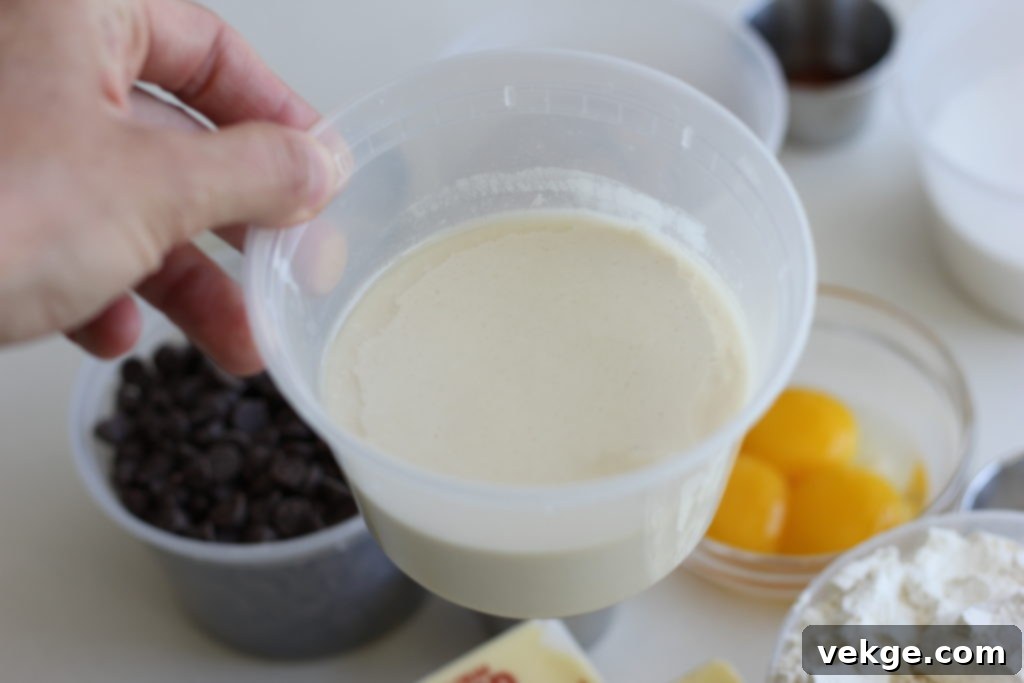
Discard Defined: Sourdough discard refers to your unfed starter. It’s typically flat, somewhat runny, and lacks the bubbles and vigorous activity of a recently fed, active starter. Its texture will be akin to heavy whipping cream or a thin pancake batter, and it won’t have the strong, yeasty smell of an active starter. This unfed state is ideal for these cookies because its consistency and acidity contribute perfectly to the dough’s hydration and flavor without over-leavening or creating an overly cakey texture.
Using an active, bubbly starter for this recipe is not recommended, as its thicker consistency and leavening power would likely alter the cookie dough too much, leading to a different, possibly less desirable, outcome.
If you’re new to sourdough or need more details on how to maintain a starter, I have a comprehensive blog post dedicated to sourdough starter care and its fascinating qualities.
How to Obtain and Prepare Sourdough Discard
If you’re ready to bake these incredible cookies, here’s how to get your hands on the right kind of sourdough discard:
Do you already have a sourdough starter? Great! If your starter is in its unfed, flat, and runny discard state, you’re all set. Simply measure out the required amount. If your starter is currently fed and active (bubbly and risen), you’ll need to let it sit at room temperature for several hours until it naturally deflates, becomes flat, and takes on that characteristic runny texture of discard. This usually takes between 12-24 hours depending on the ambient temperature.
Need more discard? If you have some discard but not quite enough for the recipe (which calls for 1 cup), you can feed your existing starter to increase its volume. Aim to have at least 1 + 1/4 cups total after feeding. After this feeding, allow the starter to activate, rise, and then fall back down, becoming flat and runny again. This process typically takes about 20-24 hours at room temperature. You’ll use 1 cup for the cookies and have a 1/4 cup reserve to continue feeding for future sourdough adventures.
Reviving a neglected starter: If your starter has been lurking in the back of your fridge for a while, smells intensely sour, or has an acetone-like aroma, it needs a little TLC before being used. Nobody wants cookies that taste like nail polish remover! To “freshen” it, take about 2 tablespoons of your unfed starter, combine it with 1 heaping cup of all-purpose flour and 1 cup of water. Mix thoroughly, cover loosely, and let it sit at room temperature for 24 hours. During this time, it may or may not become active and bubbly; the goal is simply to refresh its microbial balance, reduce excessive sourness, and prepare it for a discard recipe.
What if You Don’t Have a Sourdough Starter?
No sourdough starter yet? No problem! There are several simple ways to acquire one and embark on your sourdough baking journey:
- Ask a Friend: This is often the easiest and fastest method! Reach out on social media or to friends and family. You’d be surprised how many people have a starter and are happy to share a couple of tablespoons. Once you have a small amount, you can easily feed and grow it into a thriving starter.
- Purchase Online or from a Local Bakery: Sourdough starters are widely available for purchase online, often in dehydrated form that you can easily rehydrate and activate. Many local artisan bakeries might also be willing to sell or give you a small portion of their mature starter.
- Create Your Own from Scratch: If you’re up for a rewarding project, you can make your own starter using just flour and water. This process typically takes 2 to 5 weeks of daily feedings, but it’s an incredibly satisfying way to connect with your food.
A Closer Look at the Key Ingredients
The Magic of Browned Butter
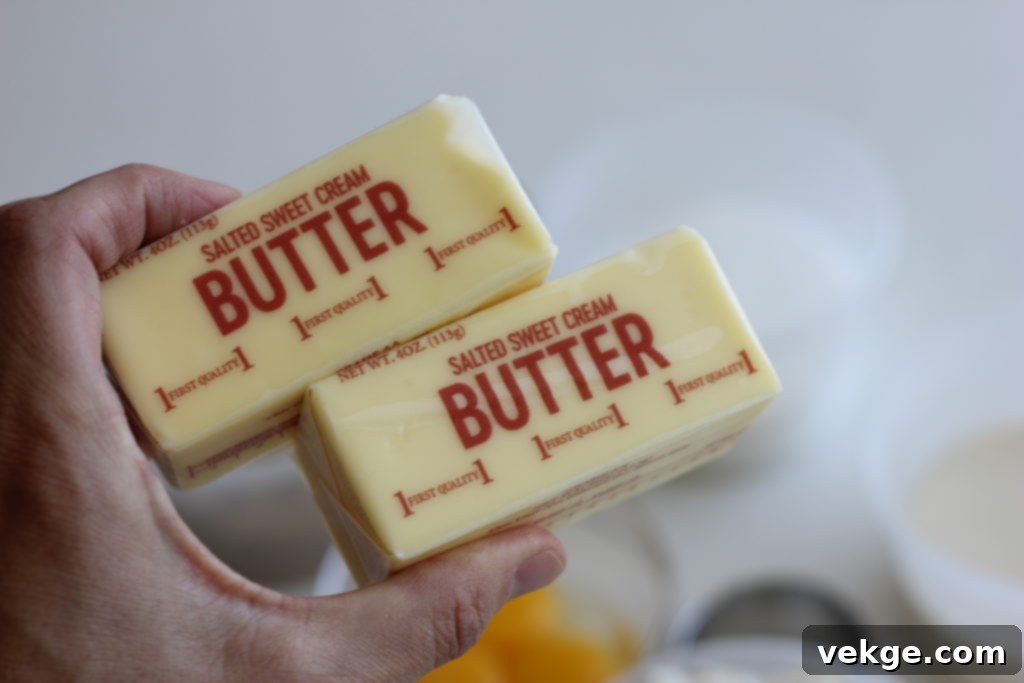
If butter is considered a baking essential, then browned butter is its gourmet, next-level cousin. It’s truly transformative! Think of it this way: if regular butter is a pleasant photograph of the Eiffel Tower, browned butter is an immersive, week-long vacation in Paris, complete with all its sensory delights. It takes everything you love about butter—its richness, its aroma—and amplifies it tenfold.
The process of browning butter develops a deep, nutty, and subtly caramelized flavor that is simply irresistible. This is due to the Maillard reaction, a chemical process that occurs when the milk solids in the butter are gently cooked until they turn golden brown. The resulting aroma is intoxicating, and the flavor adds an unparalleled depth to these cookies.
Beyond flavor, there’s a practical advantage: a typical stick of butter is about 80% fat and 20% water. Browning the butter actively evaporates much of this water content. This is incredibly beneficial when incorporating sourdough discard, which itself adds extra moisture to the dough. By reducing the butter’s water content, we achieve a more balanced dough consistency, leading to those perfectly chewy cookies we’re aiming for.
How to Perfectly Brown Butter
Browning butter might sound intimidating, but it’s a simple process that yields incredible flavor. It involves cooking butter until its milk solids caramelize, infusing the melted butter with beautiful brown flecks and a rich, nutty aroma. Here’s how to do it:
- Start with the Butter: Add your desired amount of butter (usually cubed for even melting) to a light-colored saucepan. A light pan helps you monitor the color changes more effectively.
- Melt Over Medium Heat: Place the saucepan over medium-high heat. Allow the butter to melt completely. Stir occasionally to ensure even heating.
- Watch for Foaming: Once melted, the butter will begin to foam quite vigorously. Don’t be alarmed; this is normal as the water content starts to evaporate. Continue to stir.
- Observe Color and Scent Changes: As you keep stirring, the foam will gradually subside, and you’ll start to see small brown flecks forming at the bottom of the pan. The liquid underneath the foam will transition from yellow to a golden amber, then to a rich nutty brown. You’ll also notice a distinct, fragrant, nutty aroma filling your kitchen.
- Remove from Heat Promptly: The moment the butter reaches a rich brown color and smells wonderfully nutty, remove it from the heat immediately. The residual heat in the pan can quickly burn it, so swift action is key.
- Cool the Browned Butter: Pour the browned butter (including all the delicious browned bits at the bottom of the pan) into a heat-proof bowl. Let it cool to room temperature, which typically takes at least 30 minutes. It needs to be cool enough that it won’t cook your eggs when added to the mixture. You can use it within 24 hours if stored at room temperature, or refrigerate it in an airtight container for up to three days. If refrigerated, bring it back to room temperature before using it in the recipe for best results.
Salted vs. Unsalted Butter: A Key Consideration
As a personal preference, I often use salted butter in nearly all my baking, much to the chagrin of some baking purists! However, for consistent results, it’s important to adjust the added salt in the recipe based on the type of butter you choose.
Unsalted Butter Adaptation: If you opt for unsalted butter, you’ll need to increase the fine sea salt in the dough. Instead of 1/2 teaspoon, use a full 1 teaspoon of salt to ensure the flavor balance is just right.
The Crucial Role of Salt
Salt is more than just a seasoning; it’s a flavor enhancer that balances sweetness and brings out the best in other ingredients. In this recipe, managing salt is particularly important due to three key factors:
- Butter Type: Your choice between salted or unsalted butter directly impacts the overall saltiness of the dough.
- Recipe Adjustment: We’ve already covered adjusting the amount of fine salt in the dough to complement your butter choice.
- Coarse Flaky Sea Salt Finish: This is a non-negotiable step! Adding a sprinkle of coarse flaky sea salt to the tops of the finished cookies adds a delightful textural contrast and a burst of savory flavor that perfectly cuts through the sweetness of the chocolate and brown sugar. It elevates the entire cookie experience.
For my baking, I exclusively use REDMOND REAL SALT. I’m a firm believer in its superior quality because it’s unprocessed, completely pure, and rich in naturally occurring trace minerals. You won’t find any fillers, anti-caking agents, or unhealthy pollutants here. Mined from an ancient sea bed in central Utah, Redmond Real Salt is true, mineral-rich sea salt that makes a noticeable difference in flavor. I purchase my salt HERE.
Exclusive Discount: You can enjoy 15% off your Redmond Real Salt order with my affiliate discount code, “AMBERSKITCHEN”.
To make it even more economical, I buy in bulk, ordering a 25-pound bag every few years. Storing it in an airtight bucket or mason jars keeps it fresh and ensures I always have a supply of this essential ingredient.
Egg Yolks: The Secret to Supreme Chewiness and Richness
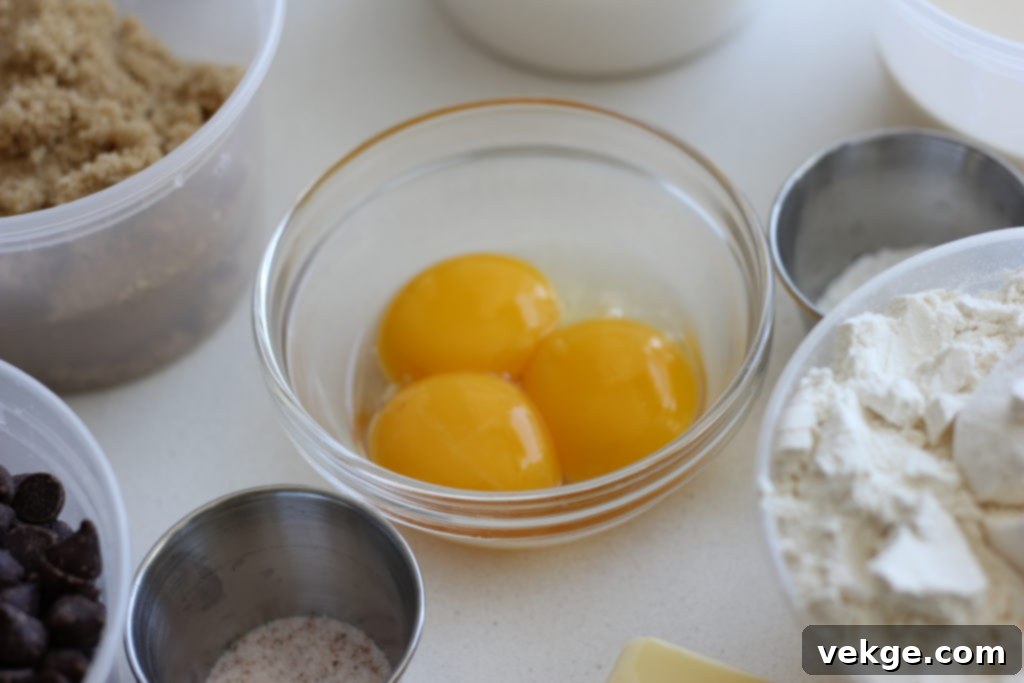
For this recipe, we specifically call for 3 large egg yolks, and for good reason! While many cookie recipes use whole eggs, separating the yolks allows us to harness their power for an unparalleled texture and richness. Egg yolks are packed with fat and emulsifiers, which contribute significantly to the chewy, tender crumb of these cookies, preventing them from becoming dry or cakey. They also impart a beautiful golden hue and a deeper, more luxurious flavor. Don’t be tempted to use whole eggs here; those precious yolks are key to achieving the desired characteristics of these incredible treats.
The Perfect Blend of Brown and White Sugar
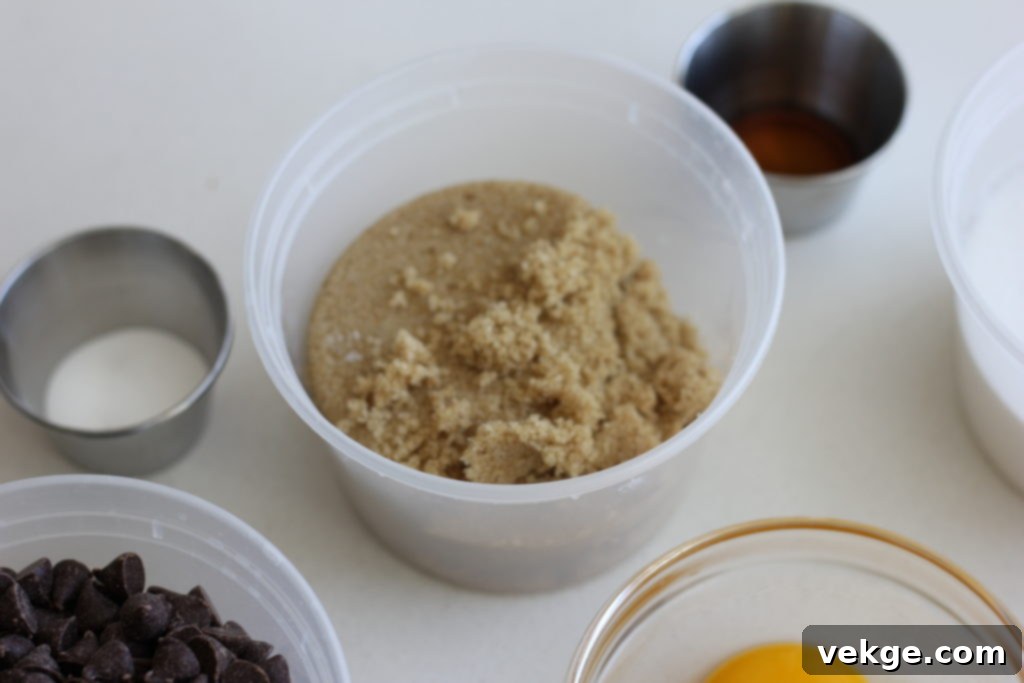
Our recipe expertly combines both white granulated sugar and brown sugar, each playing a vital role in the cookie’s texture and flavor. You’ll need one cup of each. White cane sugar contributes to the crisp edges and helps the cookies spread slightly, creating that desirable crinkly top. Brown sugar, on the other hand, is essential for chewiness and depth of flavor. Its molasses content adds a subtle caramel note and helps keep the cookies soft and moist. When measuring brown sugar, be sure to pack it firmly into your measuring cup to ensure you get the correct amount. If available, dark brown sugar will provide an even richer, more pronounced molasses flavor, further enhancing the complexity of these delightful cookies.
Flour: The Foundation of Structure
For these cookies, **all-purpose flour** is your go-to. Its moderate protein content provides the perfect balance of structure and tenderness, allowing the cookies to hold their shape while maintaining that coveted chewy texture. There’s no need for specialty flours here; good old all-purpose flour does the job beautifully, creating the ideal foundation for our browned butter sourdough magic.
Choosing Your Perfect Chocolate
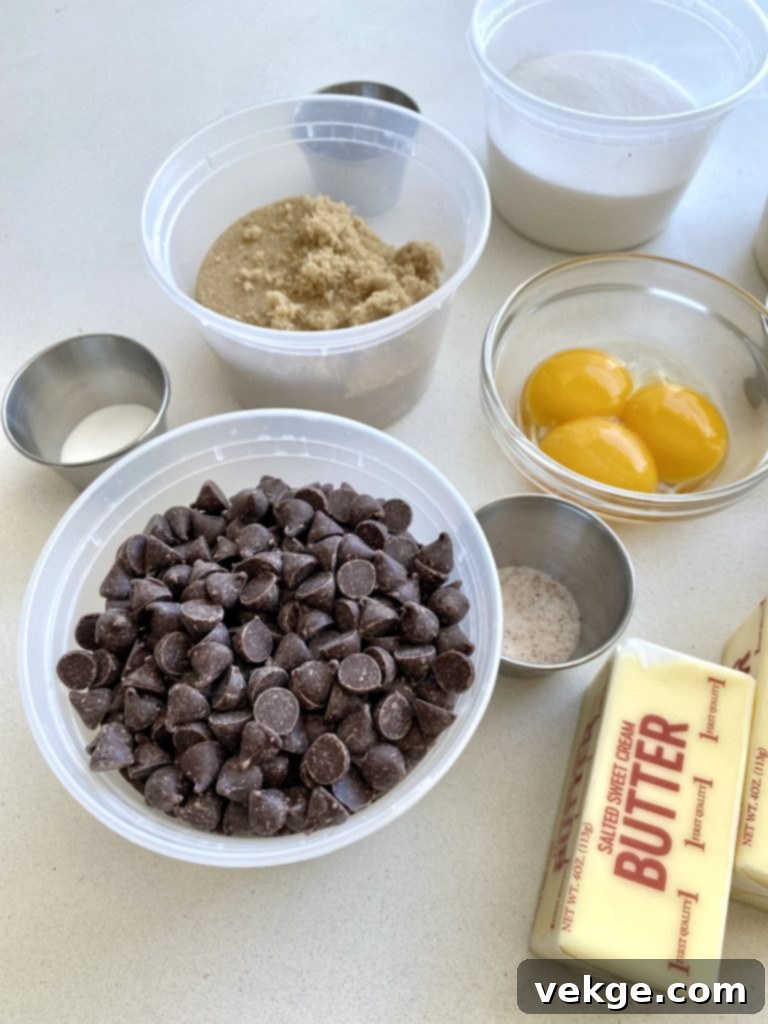
The type of chocolate you choose can significantly impact your cookie experience. Are you a devoted milk chocolate enthusiast, craving that creamy sweetness? Or perhaps you lean towards the bold intensity of dark chocolate? My personal preference lies with semi-sweet chocolate, as I find milk chocolate can sometimes be a touch too sweet for my liking, while semi-sweet offers a perfect balance that complements the richness of the browned butter and sourdough.
Whether you prefer classic chocolate chips or irregular, melty chopped chocolate chunks, the most important factor is to **use good quality chocolate**. This will make a discernible difference in the final taste and texture of your cookies. You’ll need one 12 oz. bag of chocolate chips (approximately 1 1/2 cups) for mixing into the dough, plus an additional 1/2 cup for pressing into the tops of the cookies just after baking. Don’t skimp on the chocolate; plan for about 16 oz. total to ensure every bite is packed with gooey goodness!
Pro Tip: Since developing this recipe, I’ve discovered a new favorite: Guittard semi-sweet super cookie chips. They are fantastic because they melt into luscious puddles of chocolate within the cookies, creating an even more indulgent experience. I highly recommend trying them if you can find them!
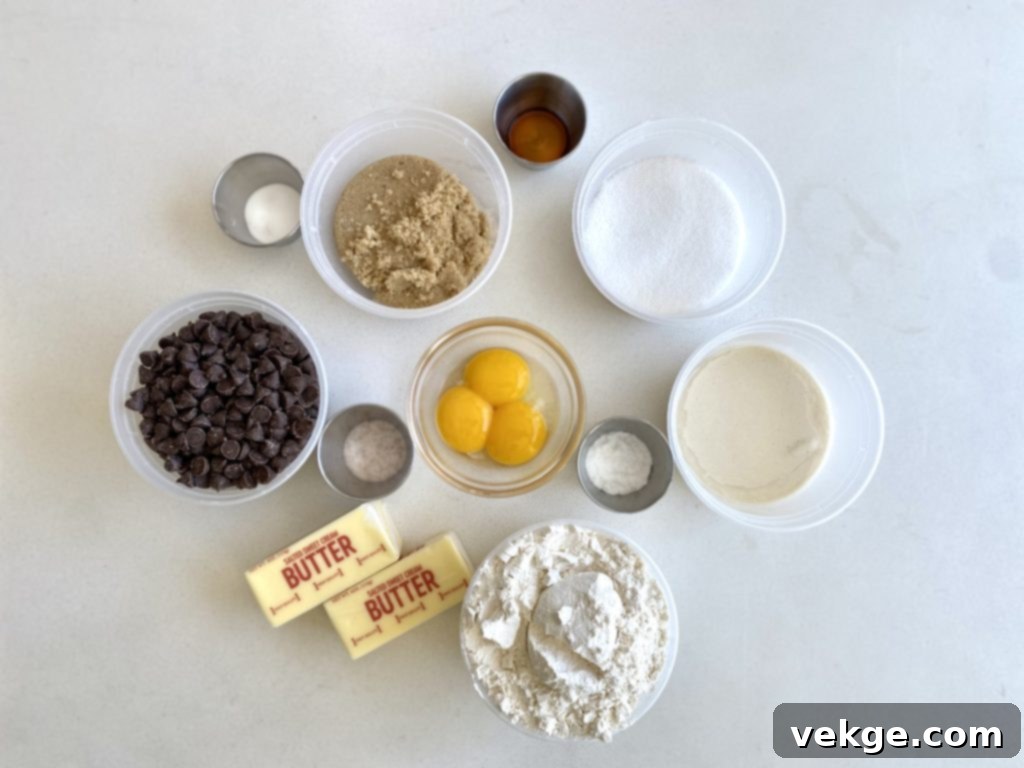
Ingredient Measurements by Weight for Precision Baking
For those who prefer the accuracy of baking by weight, here are the precise measurements for each ingredient. Using a kitchen scale can lead to more consistent and reliable results, especially in baking where exact ratios are key:
- Browned butter: 1 cup (188 g)
- White granulated sugar: 1 cup (216 g)
- Packed brown sugar: 1 cup (190 g)
- Large egg yolks: 3 (approximately 55 g)
- Flat and runny sourdough discard: 1 cup (248 g)
- Vanilla extract: 1 teaspoon (6 g)
- Baking powder: 1 teaspoon (4 g)
- Baking soda: 1 teaspoon (6 g)
- Fine sea salt: 1/2 teaspoon (5 g)
- All-purpose flour: 2.5 cups (404 g)
- Semi-sweet chocolate chips (for dough): 12 oz (340 g)
- Extra chocolate chips (for topping): approximately 1/2 cup (around 80g)
Troubleshooting: Why Your Cookies Might Be Flat or Puffy
Achieving the perfect cookie texture can sometimes feel like a delicate dance, especially with sourdough. The hydration level of your sourdough starter is a significant factor that can dramatically influence whether your cookies turn out perfectly chewy, disappointingly flat, or overly puffy. Sourdough starters can vary widely in their thickness and moisture content, even from the same batch on different days, based on environmental factors like humidity.
Here’s what to consider:
- Thick, Dry Starter: If your sourdough discard is on the thicker or drier side, the recipe as written might result in slightly denser cookies. Consider starting with a couple of tablespoons less flour than the recipe calls for.
- Very Wet, Runny Starter: Conversely, if your starter is exceptionally wet and runny, the dough might be too loose, leading to flatter cookies that spread too much. In this case, you may need to add an extra tablespoon or two (or even three) of flour to achieve the desired consistency.
The key to success lies in understanding the balance: less flour leads to a flatter cookie, the perfect amount of flour yields that sought-after chewy texture, and too much flour results in a cakey, puffy cookie. This is why testing your dough is such a crucial step!
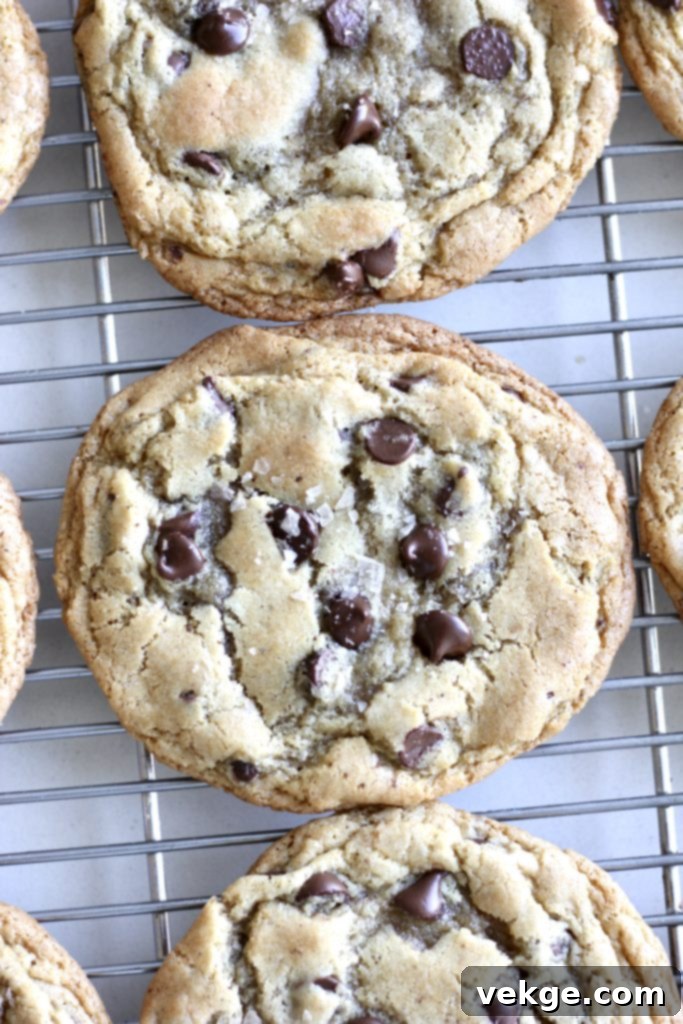
The Indispensable Step: Test Baking a Single Cookie
This might seem like an extra step, but testing a single cookie right after preparing the dough (before chilling and fermentation) is your secret weapon against baking disappointments. The exact amount of flour needed in any cookie recipe can subtly change each time you bake due to variables like atmospheric humidity, local weather conditions, and even your elevation. Even when measuring by weight, slight variations in ingredient properties or environmental factors can necessitate a minor adjustment to the flour content.
Here’s how to perform this crucial test:
Immediately after mixing your dough, preheat your oven to 350°F (175°C). Scoop out about a 1/4 cup of dough and roll it into a smooth ball. Bake this single test cookie for 12-13 minutes. Once baked, let it cool for a few minutes on the baking sheet, then transfer it to a wire rack to cool completely. Now, examine it carefully and ask yourself:
- How is the texture? Is it satisfyingly chewy, or does it lean towards cakey?
- Is it too flat? Did it spread excessively?
- Does it look just right? Is it beautifully golden with a slight puff and crinkly edges?
If your test cookie appears too flat, indicating too much moisture in the dough, gently mix in an additional 2 to 4 tablespoons of all-purpose flour into the remaining dough. If the cookie is perfectly chewy – congratulations, you’ve hit the sweet spot! No adjustments needed. However, if you prefer a cakey cookie over a chewy one (though I highly recommend the chew!), you could add about 1/4 cup more flour to achieve that puffier texture. This simple test ensures your entire batch comes out exactly how you want it, making all your efforts worthwhile.
Team Cakey vs. Team Chewy: Finding Your Cookie Sweet Spot
When it comes to cookies, people often fall into two camps: team cakey or team chewy. For me, the chewy factor is paramount – it’s what defines a truly exceptional chocolate chip cookie! Understanding the delicate balance of flour is key to achieving your desired texture.
- Too much flour: Results in a cakey, often puffy cookie with a drier crumb.
- Just enough flour: Delivers that ideal chewy cookie with crisp edges and a soft center. This is the sweet spot we’re aiming for!
- Not enough flour: Leads to an extraordinarily flat, thin, and often greasy cookie that spreads too much.
As discussed, the humidity, temperature, and even your sourdough starter’s hydration can affect the flour requirement. That’s why the single cookie test is so vital. It’s a small investment of time that guarantees a perfect batch every time, ensuring your cookies are precisely the right amount of chewy (or cakey, if that’s your preference!).
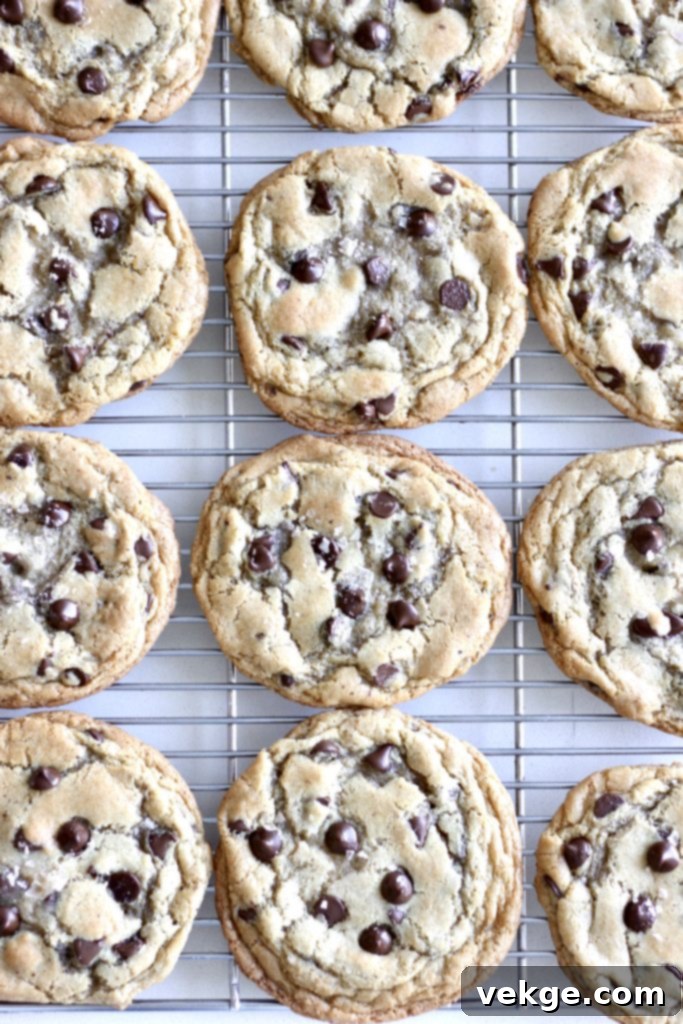
Chilling and Freezing the Dough: Enhancing Flavor and Convenience
For these sourdough cookies, chilling the dough is not just an optional step; it’s essential for developing deeper flavors and achieving that perfect chewy texture. The longer the dough chills, the more time the sourdough has to ferment, imparting a more complex flavor profile and allowing the flour to fully hydrate. This prevents excessive spreading during baking and ensures a richer, more nuanced cookie.
Chilling the Dough: You can refrigerate the dough for as little as 1 hour, or for up to 72 hours. The fermentation process continues during this time, intensifying the unique sourdough tang and improving the texture. While the dough is still at room temperature (right after mixing), you might find it easier to form into 1/4 cup round, smooth balls. Once shaped, place them in an airtight bag or container and transfer them to the refrigerator. This pre-shaping step makes baking later a breeze.
Freezing Dough Balls for Future Enjoyment: Want freshly baked cookies on demand? Freezing the dough is a fantastic option! Follow these steps:
- Form the dough into 1/4 cup balls immediately after mixing.
- Place the dough balls on a parchment-lined baking sheet, ensuring they don’t touch each other.
- Flash freeze them for about an hour, or until they are firm.
- Once firm, transfer the frozen dough balls to an airtight freezer-safe bag or container. They can be stored in the freezer for up to 3 months.
- When you’re ready to bake, place the frozen dough balls directly onto a parchment-lined baking sheet.
- Reduce your oven temperature to 325°F (160°C) and increase the baking time by two to five minutes compared to the recipe’s instructions for chilled dough. Keep a close eye on them, as oven temperatures can vary.
This method ensures you can enjoy warm, fresh-baked sourdough chocolate chip cookies whenever the craving strikes!
Step-by-Step Directions for Browned Butter Sourdough Chocolate Chip Cookies
- Brown the Butter: Begin by adding your butter to a light-colored saucepan over medium heat. Allow it to melt completely, then foam. Continue cooking, stirring frequently, until the liquid beneath the foam turns a rich amber-brown and small brown flecks appear at the bottom of the pan. The butter will also emit a lovely nutty aroma. Immediately remove from heat to prevent burning.
- Cool the Browned Butter: Pour the browned butter, including all the flavorful milk solids, into a heat-proof bowl. Let it cool to room temperature, which will take at least 30 minutes. It’s crucial that the butter is cool before proceeding to avoid scrambling the eggs.
- Prepare Sourdough Discard: Ensure you have one cup of flat, runny sourdough discard ready. Refer to the notes above for guidance on how to obtain or prepare your discard.
- Cream Butter and Sugars: In a large mixing bowl, combine the cooled browned butter with both the white cane sugar and packed brown sugar. Beat these together using an electric hand mixer or a stand mixer until the mixture is well combined. It will have a dry, crumbly texture resembling damp sand.
- Incorporate Egg Yolks: Add the three large egg yolks to the butter-sugar mixture. Beat with your electric mixer for a couple of minutes until the mixture becomes visibly lighter in color and fluffier in consistency. This step is key for texture.
- Add Sourdough Discard: Gently fold in the sourdough discard. Beat until it’s just barely combined into the mixture. At this stage, the dough may appear more like a thick cake batter than traditional cookie dough, but don’t worry, this is normal.
- Add Leavening and Flavor: Mix in the fine sea salt, baking soda, baking powder, and vanilla extract until everything is uniformly combined.
- Fold in Flour: Gradually add the all-purpose flour to the wet ingredients. Mix by hand using a spatula or wooden spoon until the flour is just barely incorporated. Be very careful not to overmix, as this can lead to tough cookies.
- Stir in Chocolate Chips: Finally, add the 12 oz. of semi-sweet chocolate chips (or your preferred chocolate). Mix them into the dough by hand until they are evenly distributed.
- Test the Dough (Optional but Recommended): For best results, perform a single cookie test. Preheat your oven to 350°F (175°C). Scoop out a 1/4 cup of dough, roll it into a ball, and bake for 12-13 minutes. Allow it to cool, then assess its texture. If it’s too flat, mix an additional 2-4 tablespoons of flour into the remaining dough. If it’s too cakey, you might have too much flour (though this recipe aims for chewy, so follow the ideal chewy texture). If it’s perfectly chewy, proceed as is!
- Chill the Dough: Cover the bowl of dough tightly with plastic wrap or a lid, and refrigerate for a minimum of one hour, and up to 72 hours. Alternatively, roll the dough into 1/4 cup balls and store them in an airtight container in the fridge. Longer chilling times (I often aim for 4 hours) enhance fermentation, deepening flavor and improving texture.
- Preheat Oven: When ready to bake, preheat your oven to 350°F (175°C).
- Prepare Baking Sheets: Line your baking sheets with parchment paper to prevent sticking and ensure even baking.
- Portion and Top Cookies: Remove the chilled dough from the refrigerator. If you haven’t already, scoop it into smooth 1/4 cup balls. Place six dough balls on each prepared baking sheet, leaving ample space between them. Press a few extra chocolate chips onto the tops of each dough ball for that appealing bakery-style finish.
- Bake: Bake the cookies for 13-14 minutes, or until the edges are lightly golden brown, but the centers still look slightly soft. This indicates a perfectly chewy interior.
- Finish with Chocolate and Salt: As soon as the cookies come out of the oven, press a few more chocolate chips onto the tops of each cookie (this creates those beautiful melted chocolate puddles). Immediately sprinkle them generously with coarse sea salt flakes. Seriously, do not skip the salt – it’s a flavor game-changer!
- Cool and Serve: Allow the cookies to cool on the baking sheet for a few minutes before transferring them to a wire rack to cool completely. Serve them warm for the ultimate experience, and freeze any leftovers in an airtight container for later indulgence.
- ENJOY!
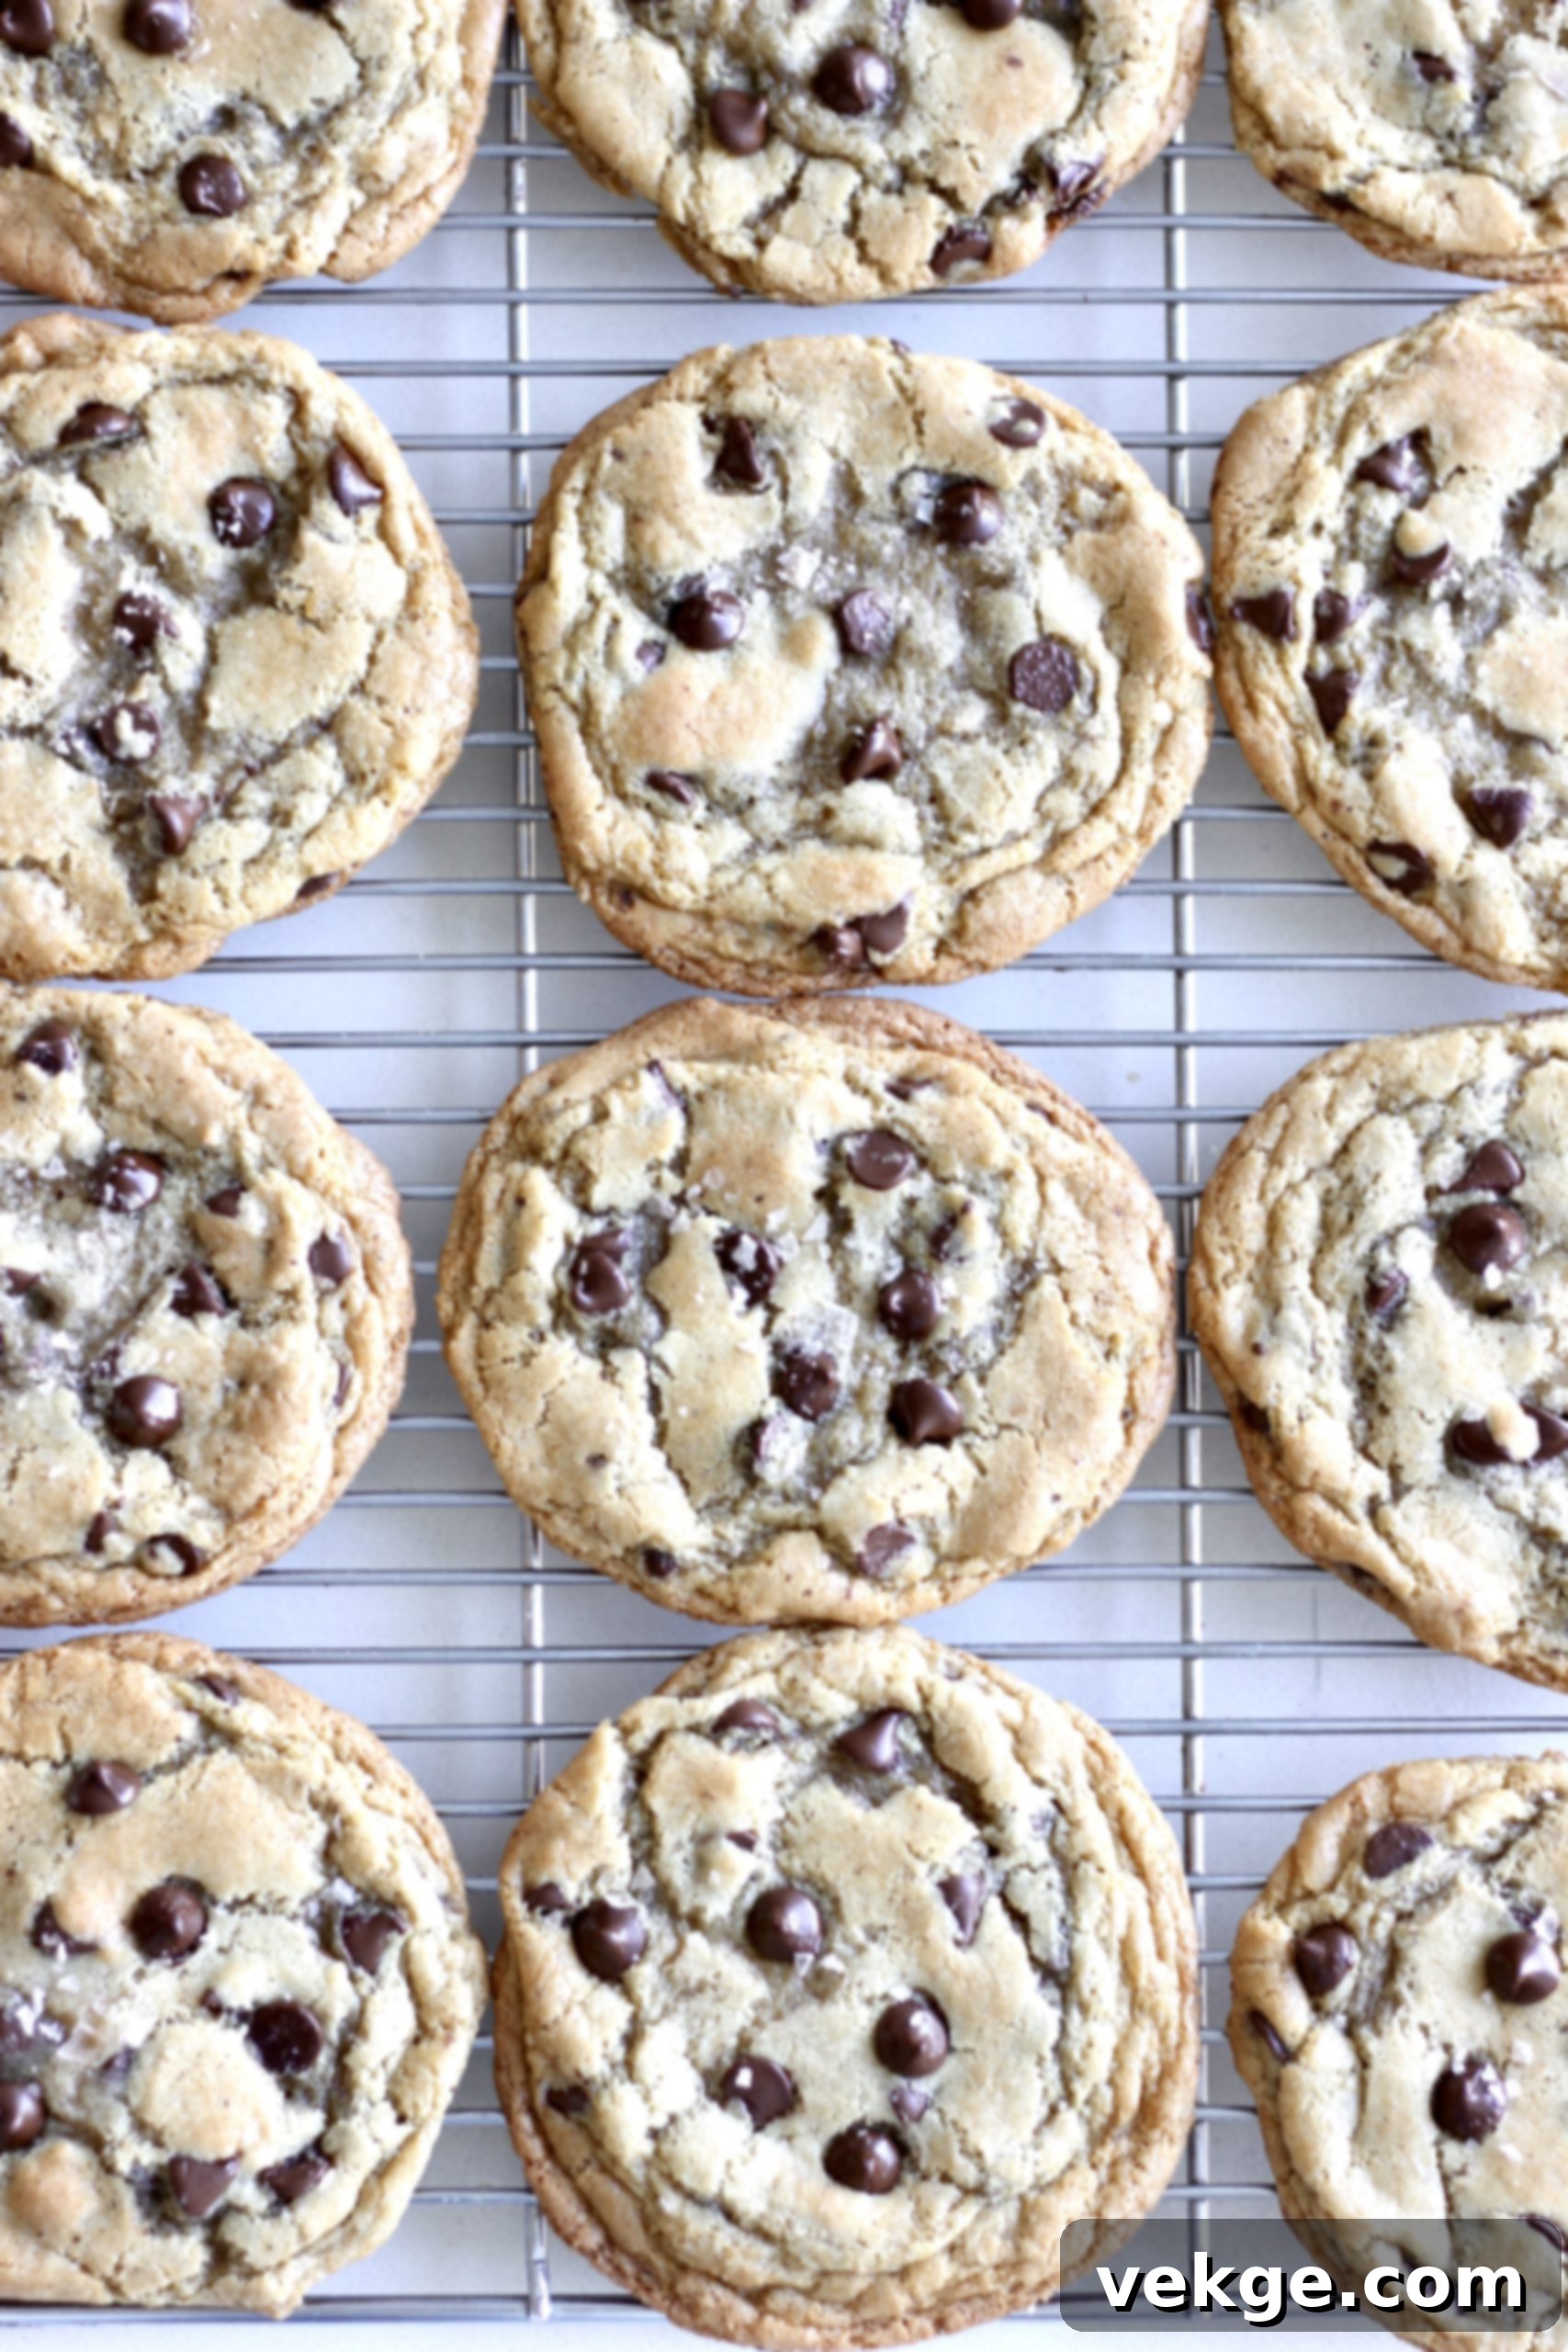
Watch Me Make These Delicious Cookies
For a visual guide and to see these steps in action, check out my video on how I make these incredible cookies HERE!
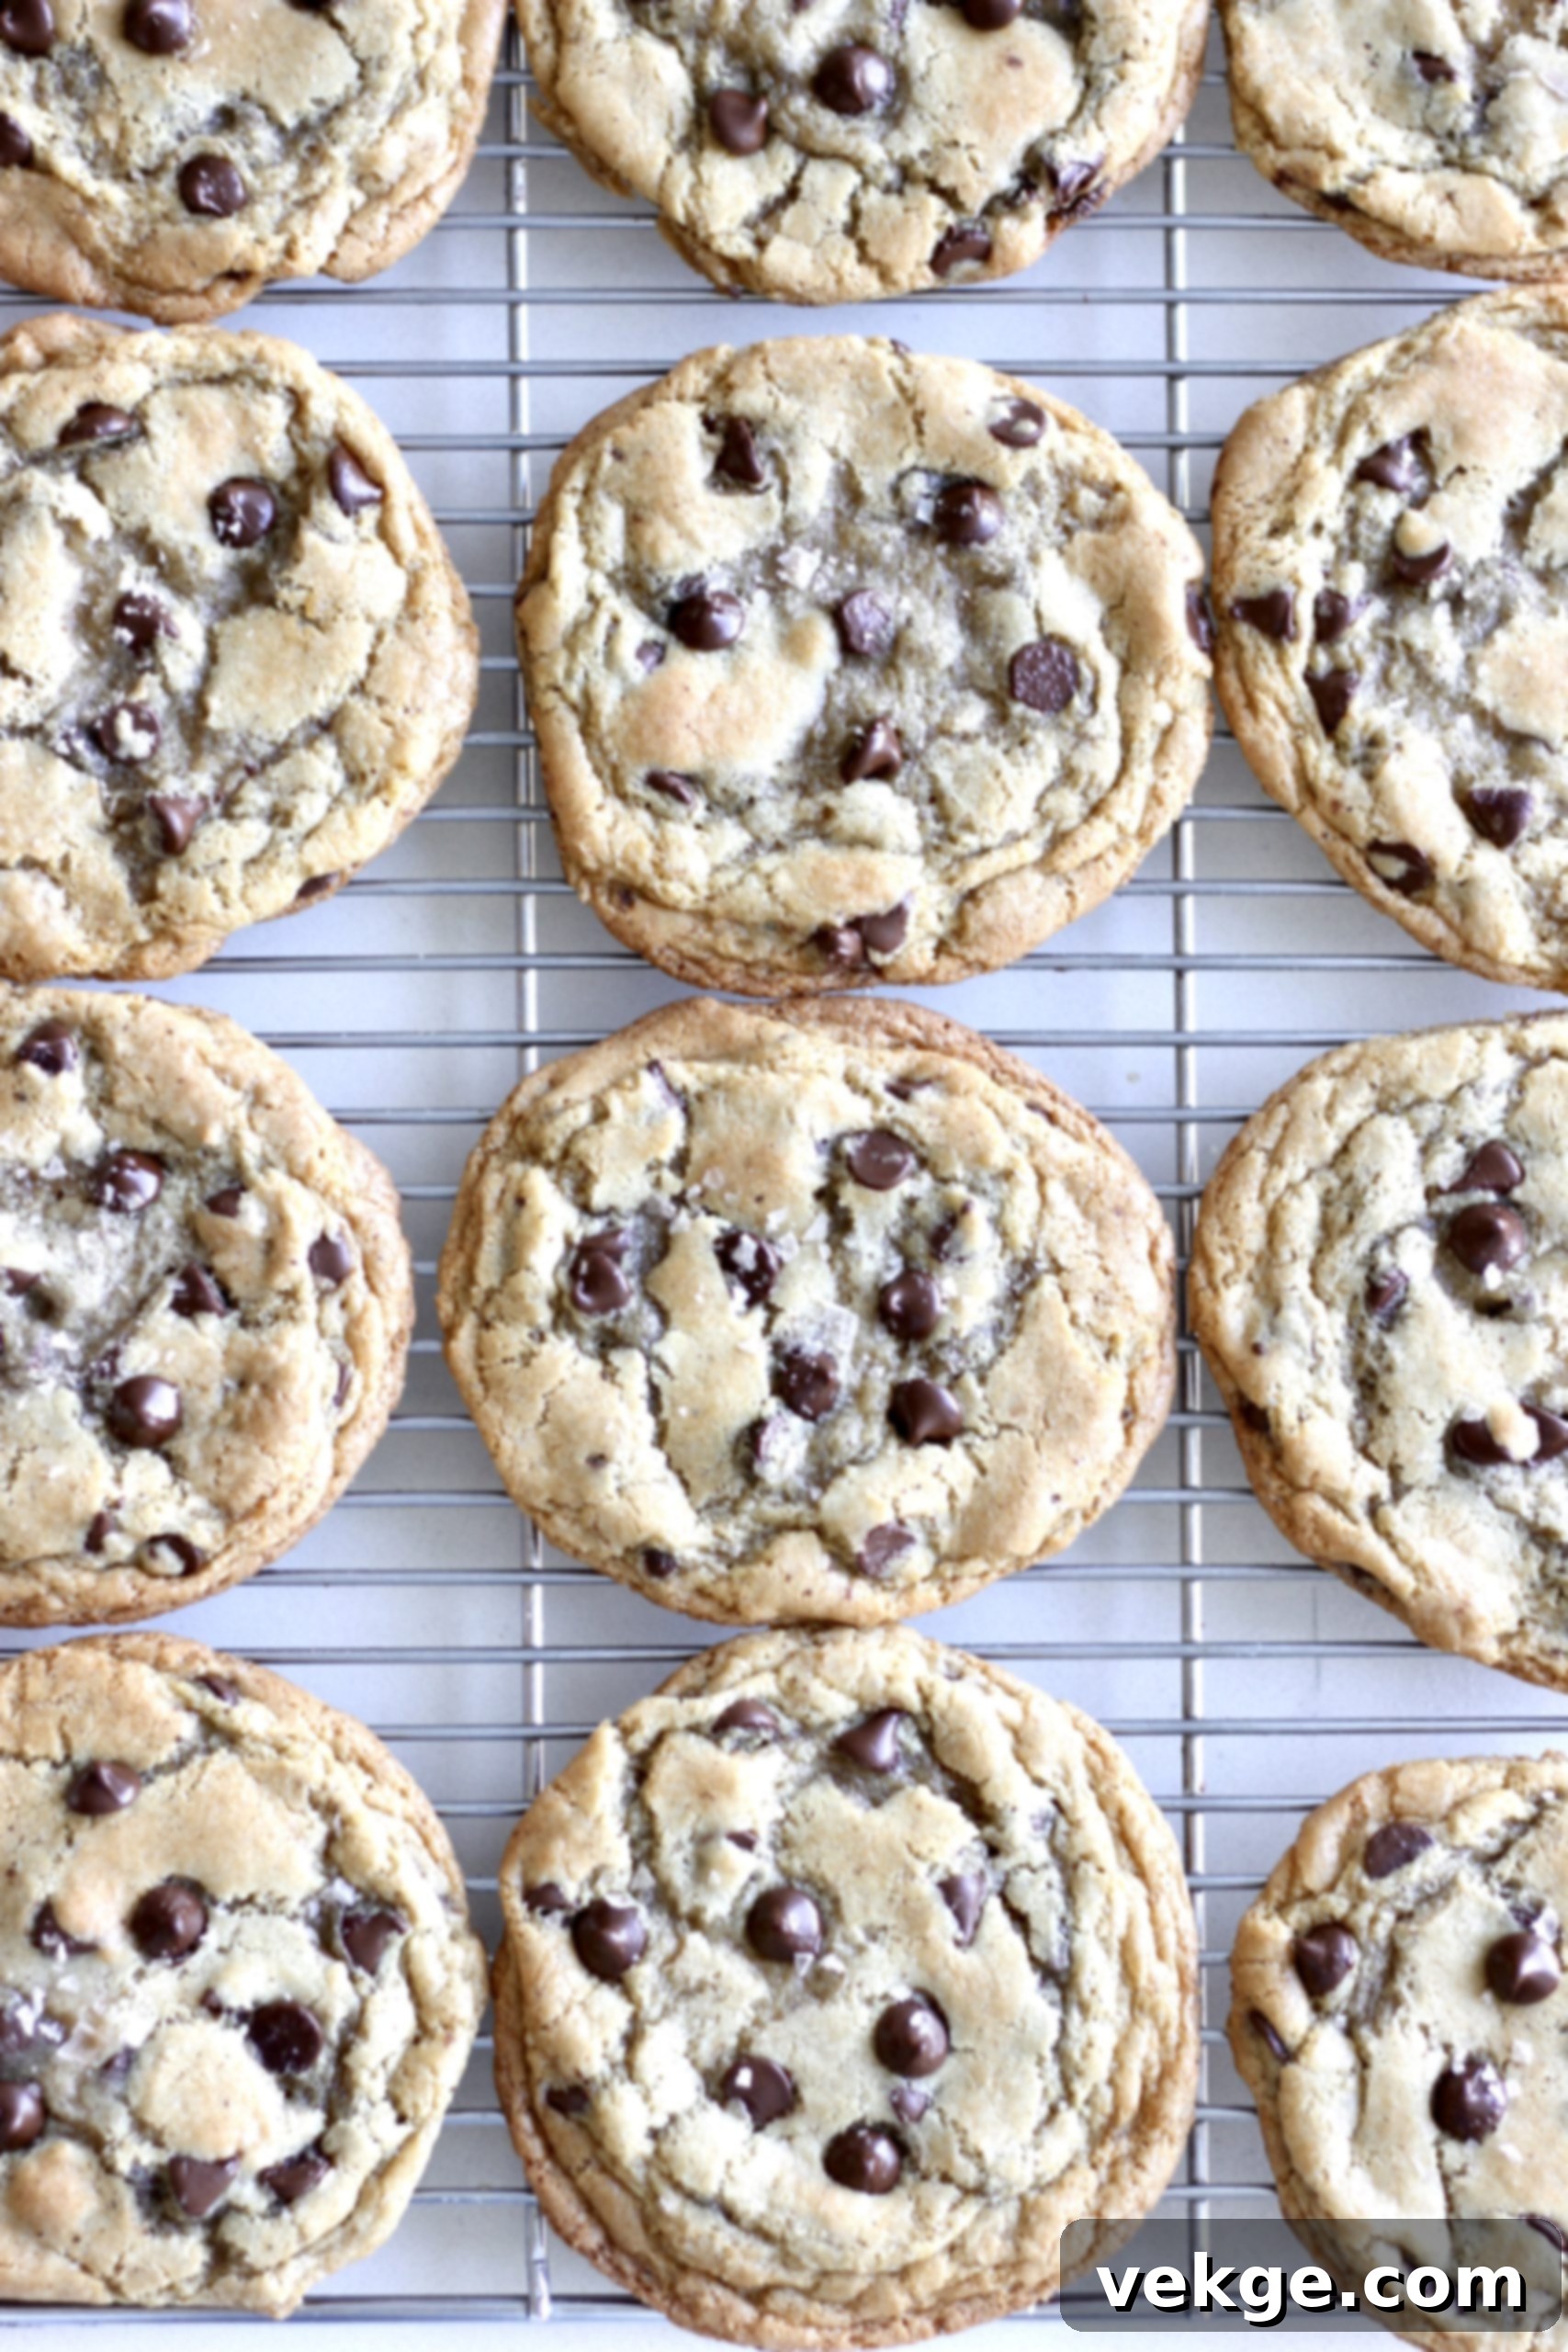
Browned Butter Sourdough Chocolate Chip Cookies
Hands down my favorite cookie! The browned butter combined with the sourdough discard takes the flavor to the next level! Oh, and the coarse salt on the top? It makes it! These are big, chewy, and delightful. I’m certain you will love them!
Pin
Rate
Ingredients
- 1 cup salted butter (188 g, see note above for unsalted butter adaptation)
- 1 cup white cane sugar (216 g)
- 1 cup packed brown sugar (190 g)
- 3 egg yolks (55 g)
- 1 cup flat and runny sourdough discard (248 g)
- 1 teaspoon baking soda (6 g)
- 1 teaspoon baking powder (4 g)
- ½ teaspoon fine sea salt (5 g)
- 1 teaspoon vanilla extract (6 g)
- 2 ½ cups all purpose flour (404 g)
- 12 oz. semi-sweet chocolate chips (about 340 g)
- ½ cup extra chocolate chips for pressing into the top of the cookies
- Sprinkle of coarse flake salt for the tops of cookies
Instructions
- Brown the butter by adding it to a saucepan over medium heat. Allow it to melt, then foam, and continue cooking until the liquid turns brown underneath the bubbles and brown flecks appear. Remove from heat immediately.
- Let the browned butter cool to room temperature, which will take at least 30 minutes.
- Prepare one cup of flat and runny sourdough discard (refer to notes above for details on preparing discard).
- In a large bowl, combine the cooled browned butter with both the white and brown sugars. Beat them together with an electric hand mixer or stand mixer until well combined and crumbly, like wet sand.
- Add the egg yolks to the mixture and beat with an electric mixer for a couple of minutes until the mixture becomes lighter and fluffier.
- Add the sourdough discard and beat until just barely combined. The dough will look more like a thick cake batter than cookie dough at this point.
- Stir in the fine sea salt, baking soda, baking powder, and vanilla extract until everything is mixed.
- Add the all-purpose flour and mix by hand until just barely combined. Be careful not to overmix.
- Fold in the 12 oz. of chocolate chips by hand.
- Test the Dough: (Optional but highly recommended) Bake one 1/4 cup sized ball of dough at 350°F (175°C) for 12-13 minutes. After cooling, check the texture. If it’s too flat, add about 1/4 cup more flour to the remaining dough. If it’s perfectly chewy, no adjustments are needed.
- Cover the bowl of dough with plastic wrap or a lid and refrigerate for 1 hour to 72 hours. For convenience, you can roll the dough into balls before chilling and place them in an airtight container in the fridge. The longer it chills, the more flavor develops.
- Preheat your oven to 350°F (175°C).
- Prepare a baking sheet by lining it with parchment paper.
- Remove the dough from the fridge. If not already done, scoop it into smooth 1/4 cup balls. Place six dough balls on each baking sheet, then press a few extra chocolate chips onto the top of each.
- Bake the dough balls for 13-14 minutes, or until the edges just begin to turn golden brown.
- Remove from the oven. Immediately place a few more chocolate chips on top of each cookie for a beautiful presentation. Then, generously sprinkle the cookies with coarse sea salt flakes. (Seriously, this step is essential for flavor!)
- Let the cookies cool on the baking sheet for a few minutes, then transfer them to a cooling rack to cool completely. Serve immediately, and freeze any leftovers for future enjoyment!
- ENJOY!
Notes
- Note 1 (Chocolate Chips): Since writing this recipe, I’ve found a new favorite chocolate chip: Guittard semi-sweet super cookie chips. They create amazing puddles of melted chocolate and are truly the best!
- Note 2 (Dough Consistency): This dough will feel wetter than typical cookie dough, but it should still hold its shape when formed into balls.
- Note 3 (Starter Hydration & Texture): The hydration level of your sourdough starter significantly affects whether these cookies will be flat or puffy. If your starter is thick and dry, consider using a couple of tablespoons less flour than specified and test one cookie first. If your starter is very wet and runny, the recipe as written might yield flatter cookies. Again, test one cookie first, then add 1 to 3 tablespoons of flour to achieve the desired chewy texture. (Less flour = flat cookie. Perfect flour = chewy cookie. Too much flour = cakey cookie.)
