Effortless No-Sew Curtain Hemming: A Complete Guide to Perfect Length Without a Sewing Machine
Are you tired of dealing with curtains that are too long, dragging on the floor, or pooling awkwardly? For many, the thought of hemming curtains conjures images of complex sewing machines, intricate stitches, and hours of frustration. What if we told you that achieving perfectly tailored curtains doesn’t require a single stitch? You’re not alone if traditional sewing methods feel overwhelming or simply aren’t an option. Whether you lack a sewing machine, sewing skills, or just want a quicker, simpler solution, no-sew curtain hemming is your answer.
This comprehensive guide is designed to empower you to transform your curtains with minimal effort and maximum impact. We’ll explore a variety of reliable no-sew methods, providing detailed instructions, essential tips, and common pitfalls to avoid. Get ready to discover how easily you can achieve clean, crisp hems that elevate the look and feel of any room, using tools you likely already have around your home.
No-Sew Methods for Hemming That Actually Work
When it comes to altering fabric, especially for home decor items like curtains, sewing isn’t the only path to a polished finish. Modern adhesives and clever techniques offer practical, durable alternatives to traditional needle and thread. These no-sew options are perfect for anyone seeking a quick fix, a temporary adjustment, or a permanent hem without the hassle of a sewing machine.
Below is a quick overview of the most popular and effective no-sew curtain hemming methods:
| Method | Best For | Reversible | Washable | Time to Set | Skill Level |
|---|---|---|---|---|---|
| Fusible Hem Tape | Cotton, linen, medium-weight fabrics | No | Yes | Cools in 10–15 min | Easy |
| Fabric Glue | Polyester, rayon, blends, curved hems | No | Some glues | 1 to 24 hours | Easy |
| Double-Sided Tape / Strips | Light fabrics, temporary use, renters | Yes | No | Instant | Very Easy |
| Curtain Clips or Rings | Light to mid-weight fabrics, decorative | Yes | Yes | No wait time | Beginner-Friendly |
Fusible Hem Tape: The Iron-On Solution
Fusible hem tape, often called “iron-on hem tape” or “fabric fusing tape,” is a heat-activated adhesive strip designed to create a strong, lasting bond between fabric layers. It’s a fantastic no-sew option for those who want a crisp, clean hem that can withstand washing. To use it, you simply sandwich the tape between the folded fabric layers and apply heat with an iron. The heat melts the adhesive, creating a permanent bond. This method is particularly effective for cotton and linen curtains, providing a neat and durable finish.
When choosing fusible tape, look for varieties that are suitable for your fabric type and intended use (e.g., washable, heavy-duty). Avoid using fusible tape on sheer or very delicate, heat-sensitive fabrics, as the tape might show through or the heat could damage the material. Always use a pressing cloth to protect your fabric and iron.
Fabric Glue: Flexible and Versatile
Fabric glue offers a flexible alternative for hemming without sewing or ironing. It’s applied as a thin line directly onto the fabric, creating a bond as it dries. This method is especially good for fabrics like polyester, rayon, and various synthetic blends, which might not react well to high heat or are too delicate for fusible tape. It also excels at curved hems where tape might be difficult to apply smoothly.
When selecting fabric glue, ensure it’s labeled as “washable” or “permanent” if you intend for the hem to endure laundry cycles. Application requires a steady hand to apply a thin, even bead to avoid stiffness or seepage through the fabric. While easy to use, it’s generally not recommended for very heavy curtains that will experience a lot of stress or items requiring frequent, vigorous machine washing, unless specified by the glue’s manufacturer.
Double-Sided Tape or Peel-and-Stick Strips: The Temporary Fix
For quick adjustments, temporary fixes, or renters who can’t permanently alter their curtains, double-sided fabric tape or peel-and-stick strips are invaluable. These adhesive strips allow you to secure hems without any heat or extensive drying time. You simply press the tape into place between the fabric layers and smooth the fold down. It’s an instant solution!
This method is best suited for lightweight curtains and situations where reversibility is key. It’s not designed for heavy fabrics or long-term, machine-washable applications, as the adhesive may weaken over time or with washing. However, for a test run of a new curtain length, seasonal decor changes, or a quick fix before guests arrive, it’s an absolute lifesaver.
Curtain Clips or Rings: The Adjustable & Decorative Choice
Curtain clips or rings provide a unique no-sew solution that not only shortens curtains but also adds a decorative element. Instead of altering the fabric itself, you use clips or rings with small teeth or hooks that grip the top edge of your curtain panel. By simply attaching these clips at a higher point on the curtain or adjusting their spacing, you can effectively raise the curtain off the floor. The rings then slide onto your curtain rod, creating soft, elegant pleats.
This method is wonderfully easy, completely reversible, and perfect for light to medium-weight fabrics. It allows for quick adjustments, making it ideal for seasonal changes, rental properties, or when you want to experiment with different curtain lengths without commitment. Plus, the clips and rings themselves come in various styles and finishes, adding to your room’s aesthetic.
Step-by-Step Instructions: Mastering Your No-Sew Curtain Hem
Achieving a professional-looking no-sew hem is straightforward when you follow a clear process. The success of your curtain hemming project hinges on precise measurements, careful preparation, and the correct application of your chosen adhesive. These steps are adaptable for any no-sew method, ensuring beautiful results every time.
Tools and Supplies You’ll Need
Before you begin, gather all your materials. Having everything within reach will make the process smooth and efficient:
- Tape Measure: For accurate length assessment.
- Tailor’s Chalk or Washable Fabric Pen: To mark your hemline clearly and temporarily.
- Fabric Scissors: Sharp scissors are crucial for clean, straight cuts if trimming is needed.
- Iron and Ironing Board: Essential for smoothing fabric and activating fusible tape.
- Pressing Cloth: A thin cotton towel or pillowcase to protect your fabric from direct iron heat.
- Straight Pins or Fabric Clips: To hold folds securely in place before applying adhesive.
- Your Chosen No-Sew Adhesive:
- Fusible Hem Tape: For strong, permanent, washable hems.
- Fabric Glue (washable or permanent): For flexible bonds on various fabrics.
- Double-Sided Fabric Tape: For temporary or lightweight applications.
Step 1: Pre-Wash and Iron the Curtain
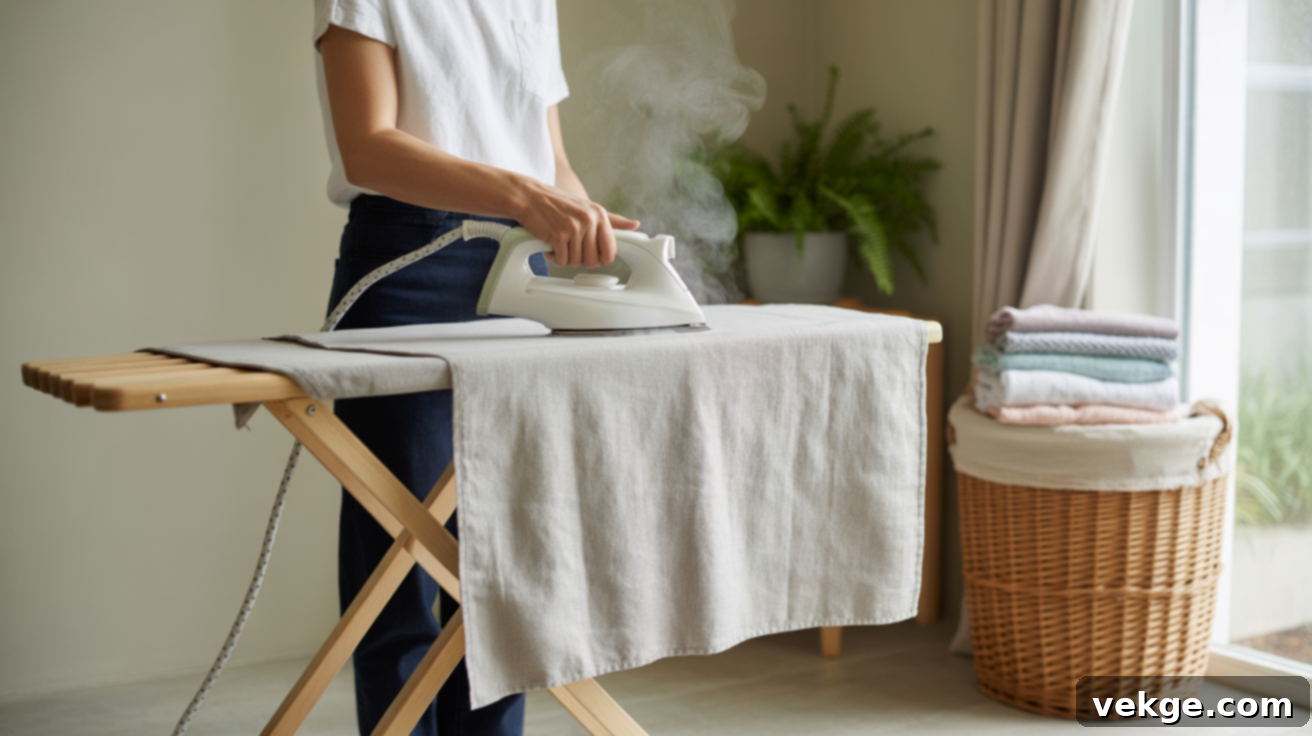
This preliminary step is often overlooked but is absolutely critical for a successful hem. If your curtains are new, wash and dry them according to the manufacturer’s instructions. Many fabrics, especially cotton and linen, can shrink significantly after the first wash. By pre-washing, you allow any shrinkage to occur *before* you hem, ensuring your chosen length remains consistent.
Once dry, thoroughly iron the curtain panels to remove all wrinkles, creases, and folds. A smooth, flat surface is much easier to measure accurately, fold crisply, and ensures that adhesives bond effectively and evenly. Wrinkles can lead to uneven hems or weak adhesive bonds.
Step 2: Measure and Mark Precisely
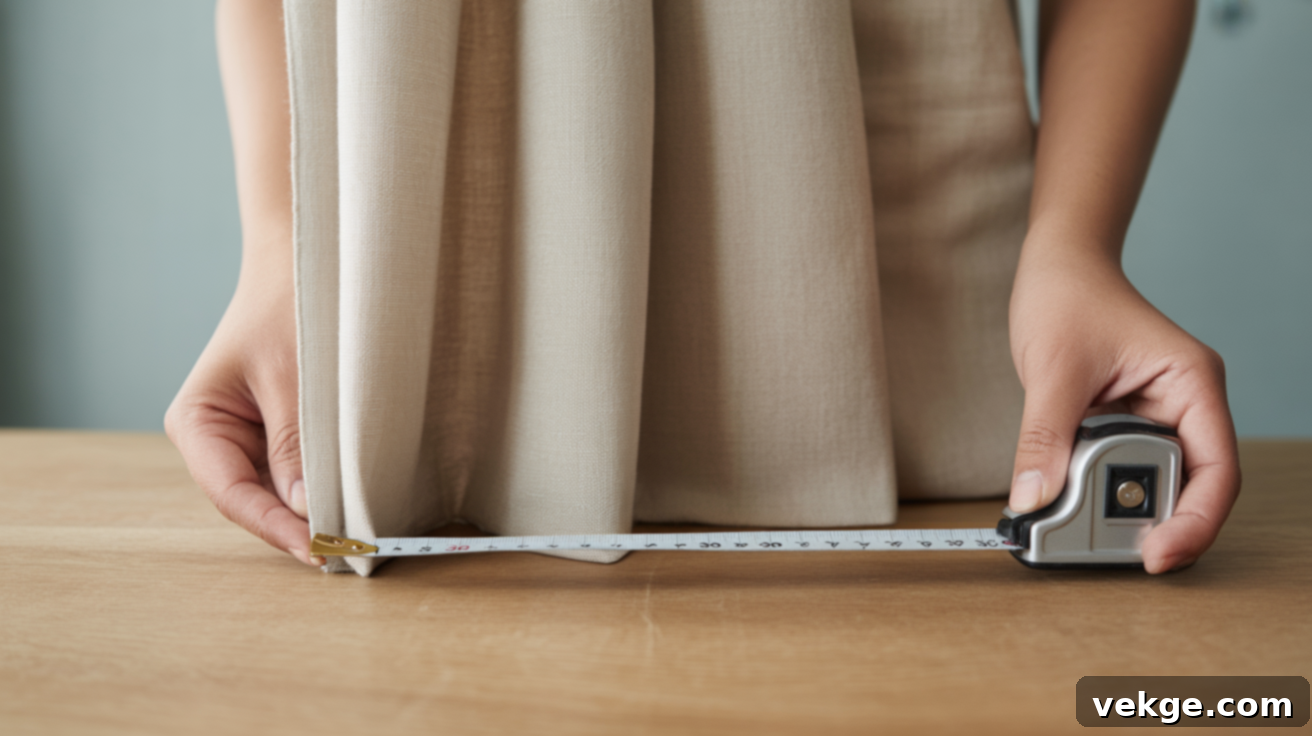
Hang your curtains temporarily on the rod they will eventually use. This allows you to measure the length accurately in its natural hanging position. Use a tape measure to determine your desired finished length, from the top of the rod (or where the curtain fabric begins) down to the floor. Consider your preferred curtain style:
- Floating: Just above the floor (0.5 to 1 inch gap) for a clean, crisp look and easy cleaning.
- Kissing: Barely touching the floor for a tailored appearance.
- Breaking: Pooling slightly (1 to 3 inches) for a softer, more relaxed feel.
- Puddling: Significantly pooling (6+ inches) for a dramatic, luxurious effect.
Once you’ve decided on the finished length, mark this point with tailor’s chalk or a washable fabric pen. Now, add an extra 2 to 4 inches below this mark for your hem allowance. This extra fabric will be folded up to create the hem. Mark this new hemline clearly and consistently across the entire width of the curtain panel. For best results, mark at multiple points across the width to ensure a straight line.
Step 3: Fold the Hem Neatly
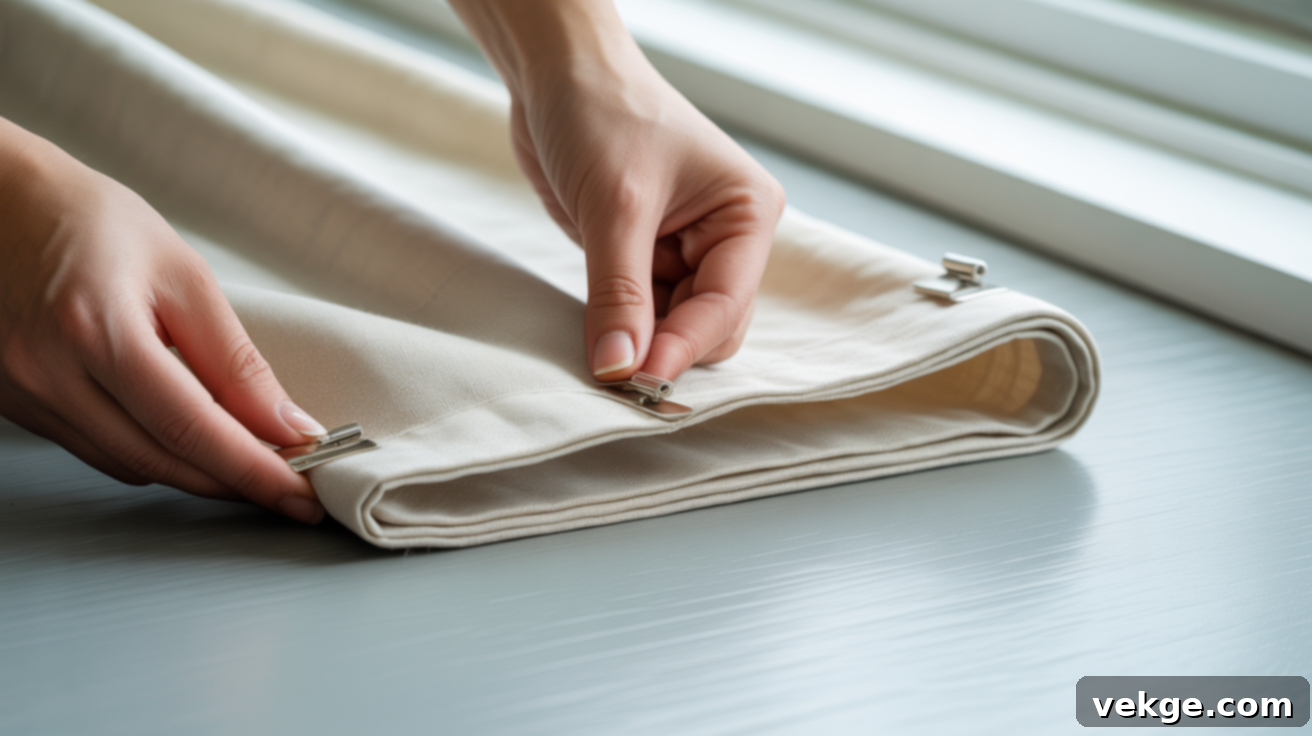
Lay your curtain panel flat on a clean surface. Carefully fold the fabric up to your marked hemline. You have two primary options for folding:
- Single Fold: Fold the fabric up once along your marked line. This is the quickest and easiest method, suitable for most no-sew applications.
- Double Fold: For an even cleaner, more professional finish that hides the raw edge of the fabric, fold the raw edge up by about 1 inch first, then fold it up again to your marked hemline. This encapsulates the raw edge within the fold, preventing fraying.
Once folded, use straight pins or fabric clips to securely hold the fold in place across the entire bottom edge of the curtain. Press the fold firmly with your hand or a cool iron (without steam) to create a crisp crease. This pre-creasing makes adhesive application much easier and helps maintain a straight hem.
Step 4: Apply the No-Sew Adhesive
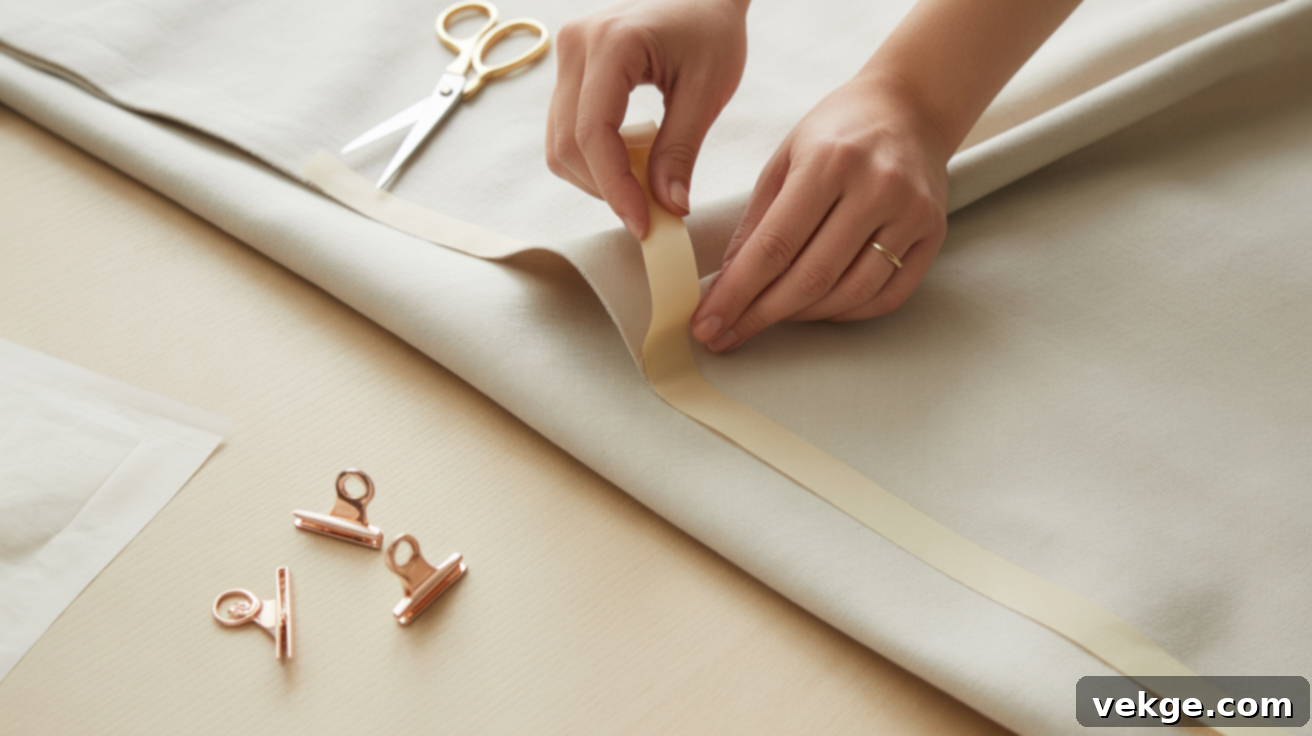
Now it’s time to bond the hem. Your application method will depend on the adhesive you chose:
- Fusible Hem Tape: Cut strips of the tape to match the width of your hem. Carefully slide the tape between the two folded fabric layers, ensuring it’s positioned just above the bottom edge of the inner fold. Make sure the tape lies flat and doesn’t overlap or wrinkle.
- Fabric Glue: Apply a thin, even line of fabric glue near the inside edge of the folded hem. Be conservative; too much glue can seep through the fabric or make the hem stiff. Work in small sections (e.g., 6-12 inches at a time) to ensure the glue doesn’t dry before you can press the fabric.
- Double-Sided Tape: Peel one side of the backing from the tape and carefully stick it to the inside of the folded hem. Once the tape is in place, remove the second backing and firmly press the folded fabric down onto the exposed adhesive.
Work slowly and steadily across the entire hem, removing pins or clips as you go, to ensure a straight and even bond. The goal is consistent application for a strong, smooth finish.
Step 5: Heat or Press to Secure
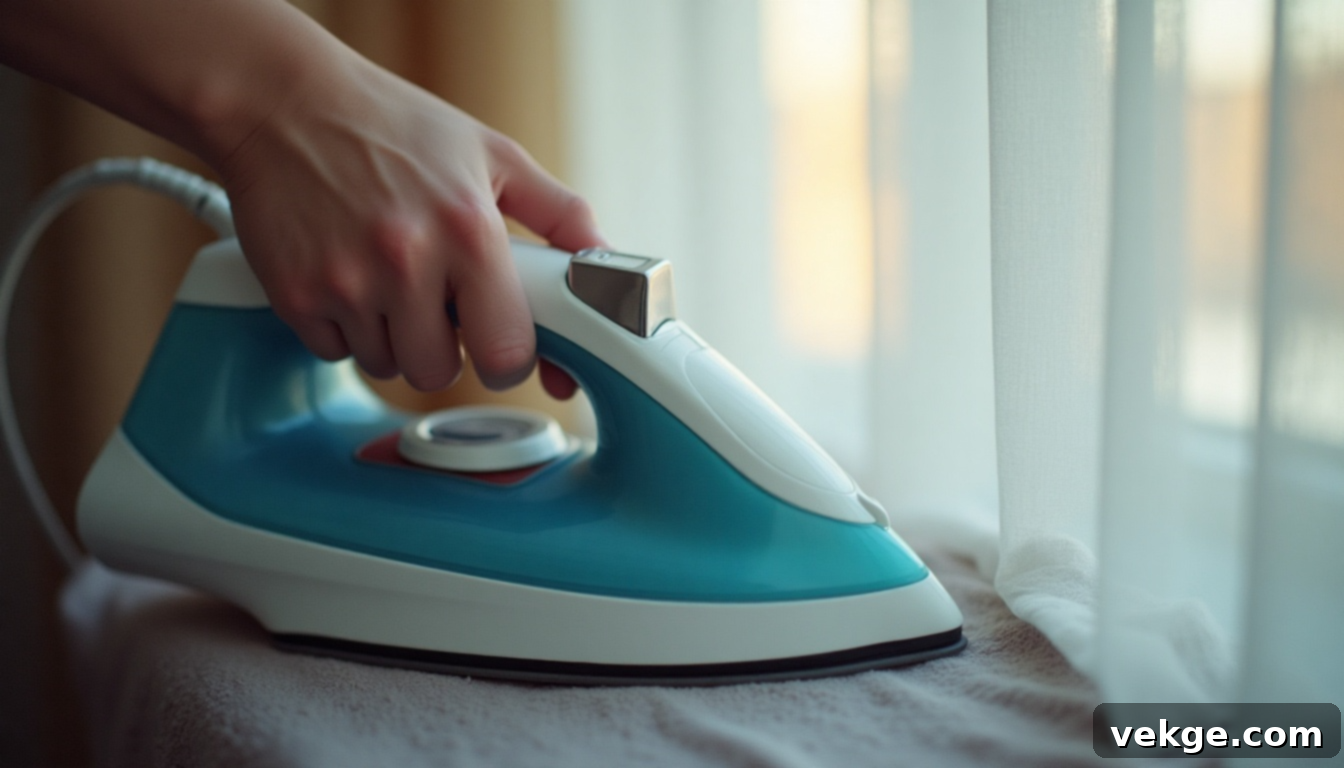
This step is crucial for activating fusible tape and ensuring a strong bond for other adhesives:
- For Fusible Tape: Set your iron to the appropriate temperature for your fabric type (medium heat for cotton/linen, low heat for polyester/blends). Place a pressing cloth (a thin cotton towel or pillowcase) over the folded hem to protect the fabric from direct heat and potential scorching. Press the iron firmly down onto each section for 10-15 seconds. Do not slide the iron; instead, lift it and reposition for the next section to ensure even heat distribution and prevent tape shifting. Apply consistent pressure.
- For Fabric Glue: Unless the specific fabric glue label indicates heat activation is required or safe, simply press the folded hem down firmly by hand. Apply steady pressure for a few seconds to ensure good contact between the glued surfaces.
- For Double-Sided Tape: No heat is required. Simply press the hem down firmly along its entire length to activate the adhesive.
Step 6: Let It Set and Cool Completely
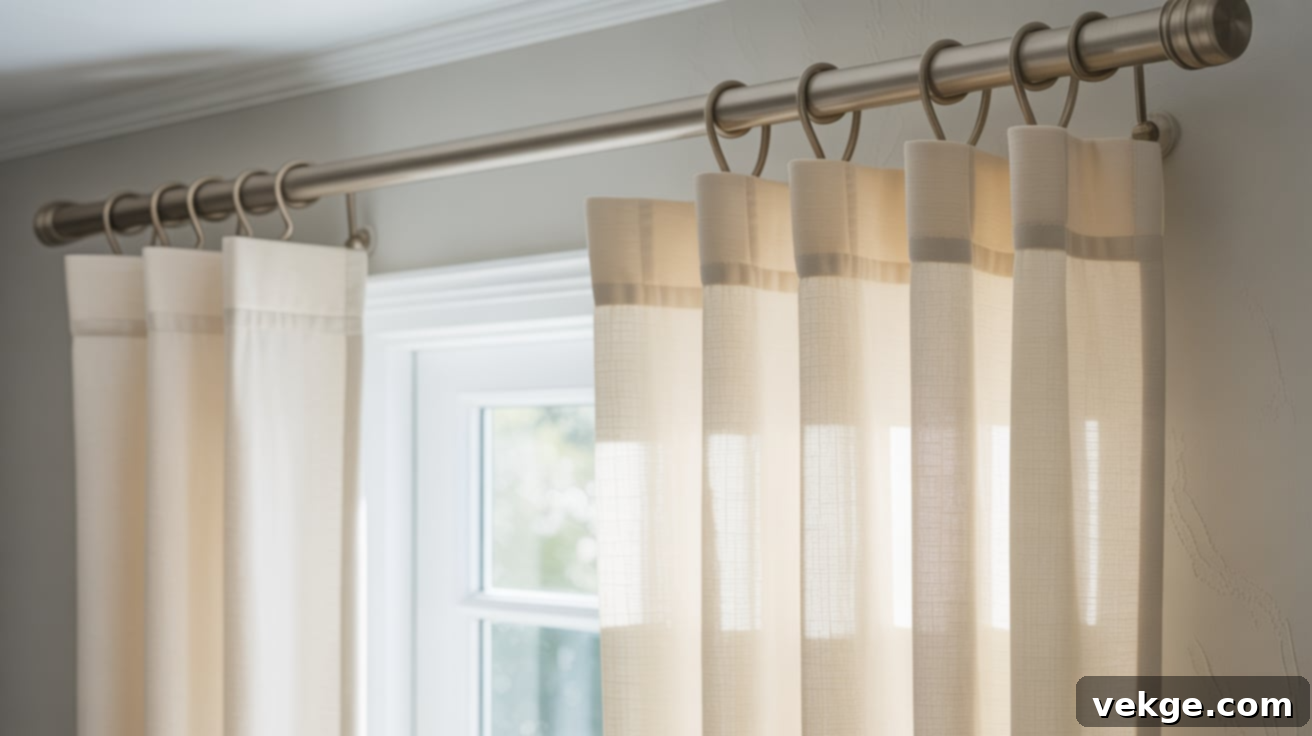
Patience is a virtue, especially in this final step. It’s vital to allow the adhesive to fully set and cure before you hang or manipulate your curtains. Rushing this step can significantly weaken the bond and compromise the longevity of your hem.
- For Fusible Tape: Allow the curtain to cool completely flat for at least 10-15 minutes, or even longer for heavier fabrics. The bond strengthens as the adhesive cools and solidifies.
- For Fabric Glue: Refer to the product label for specific drying times, which can range from 1 to 24 hours. Ensure the curtain lies flat during this period, avoiding any folding or hanging that could put stress on the wet glue.
Once fully set and cool, your no-sew curtain hems will be strong, smooth, and ready to hang, giving your windows a beautifully tailored look without a single stitch.
Final Check and Touch-Ups
After the adhesive has completely set, take a moment to inspect your work. This final quality check ensures a flawless finish:
- Inspect Edges: Gently check along the entire hem for any areas where the fabric might be lifting or not fully bonded.
- Re-Press or Reapply: If you find any loose spots, you can often fix them by reapplying a small amount of adhesive (glue or tape) and re-pressing firmly with your hand or iron (if using fusible tape).
- Trim Excess: Use sharp fabric scissors to carefully trim any stray threads or uneven edges along the hem for a truly professional appearance.
With these steps completed, your curtains are now perfectly hemmed, creating a refined and elegant look for your space, all achieved without the need for a sewing machine.
On-the-Rod Method: Quick Fixes for Already Hung Curtains
Sometimes, taking curtains down isn’t practical or desirable. The “on-the-rod” method is a fantastic solution for quick adjustments, especially for lightweight fabrics or temporary needs. This approach is ideal for renters, last-minute changes, or simply testing out a new length before committing to a permanent hem.
- Hang and Assess: Ensure your curtains are already hung on the rod. Let them fall naturally and observe where they hit the floor.
- Determine New Length: Using your hands, carefully gather and fold up the excess fabric at the bottom to achieve your desired length. Experiment with different amounts until it looks just right.
- Secure with Pins/Clips: Once you’ve found the perfect length, use straight pins or fabric clips to hold the fold firmly in place across the entire width of the curtain. Ensure the fold is even and straight.
- Apply Adhesive: While the fabric is still pinned, apply your chosen peel-and-stick fabric tape or adhesive strips to the inside of the fold. If using fabric glue, apply a thin line, being careful not to let it drip onto the front of the curtain.
- Press Firmly: Once the adhesive is applied, press the folded fabric firmly by hand along the entire hem. For this method, no ironing is typically needed or recommended due to the curtains being hung.
This quick and easy method is most effective for light to medium-weight fabrics and for adjustments that don’t require extreme durability or frequent washing. It’s a testament to how simple curtain hemming can be.
Fabric Type Considerations for No-Sew Hemming
The type of fabric your curtains are made from plays a significant role in determining the most effective no-sew hemming method. Different materials react uniquely to heat, adhesives, and manipulation. Understanding these differences will help you choose the right tools and techniques, ensuring a strong bond and a beautiful finish while avoiding common problems like visible glue lines, stiffness, or heat damage. Always perform a small test on an inconspicuous area or a fabric scrap before committing to the full hem.
Blackout Curtains: Managing Thickness and Layers
Blackout curtains are known for their thick, often multi-layered construction, designed to block light effectively. When hemming blackout curtains without sewing, consider these points:
- Fusible Tape is Key: High-quality, heavy-duty fusible tape is usually the best choice due to its strong bonding properties.
- Careful Heat Application: Apply heat with an iron for a few seconds longer than you would for lighter fabrics to ensure the adhesive penetrates and bonds all layers. However, be cautious not to overdo it, as excessive heat can potentially damage the backing, leave scorch marks, or cause the layers to separate. Always use a pressing cloth.
- Glue Limitations: Fabric glue might not be the best option for blackout curtains. The thickness can make it difficult for glue to create a consistent, strong bond across all layers, and it might not hold up well to the curtain’s weight or through washing.
- Check for Coatings: Some blackout fabrics have a rubberized or special coating on the back. Always check for this, as it can interfere with the adhesive’s ability to bond.
Due to their weight, ensure any chosen adhesive offers a robust, lasting hold.
Sheer or Lightweight Curtains: Avoiding Visibility and Stiffness
Sheer or lightweight curtains require a delicate approach to no-sew hemming. Their transparency and fine weave demand adhesives that are discreet and flexible:
- Invisible Adhesives: Avoid glues that dry stiff, yellow, or create a visible line through the sheer fabric. Look for specialized clear, flexible fabric glues designed for delicate materials.
- Lightweight Fusible Tape: If using fusible tape, opt for a very lightweight, thin variety. Heavy tapes can create a noticeable ridge or show through the sheer material. Use the lowest heat setting on your iron and always use a pressing cloth to prevent burning or melting the delicate fibers.
- Double-Sided Tape: For truly temporary hems, very thin, fabric-safe double-sided tape can work, but be aware it may lose adhesion quickly and may show through if not applied perfectly.
- Gentle Handling: Smooth out every fold gently and meticulously. Puckering or uneven folds will be highly visible on sheer fabrics.
The goal is to achieve a clean hem without compromising the ethereal quality of the fabric. A test strip is crucial to ensure the adhesive doesn’t alter the fabric’s appearance or texture.
Common Mistakes to Avoid for Perfect No-Sew Hems
While no-sew hemming is simple, a few common missteps can prevent you from achieving that perfect, professional finish. Being aware of these pitfalls can save you time, effort, and frustration, ensuring your curtains look impeccable.
- Skipping the Pre-Wash and Ironing: This is a foundational step. Neglecting to pre-wash new curtains can lead to shrinkage *after* hemming, resulting in curtains that are too short. Ironing ensures a smooth, flat surface, which is essential for accurate measuring and for adhesives to bond properly. Wrinkles create uneven surfaces where tape or glue won’t adhere effectively.
- Eyeballing Measurements Instead of Marking Precisely: Guessing the length or marking inconsistently across the curtain’s width is a recipe for disaster. This often leads to crooked or uneven hems. Always use a tape measure and tailor’s chalk or a washable fabric pen to mark a straight, consistent line across the entire hem allowance. Measure at several points to confirm accuracy.
- Using the Wrong Adhesive for Your Fabric Type: Not all adhesives are created equal, and not all fabrics respond the same way. Using heavy-duty fusible tape on sheer fabric, for example, will likely be visible or make the hem stiff. Conversely, lightweight glue won’t hold up on heavy blackout curtains. Always match your adhesive to your fabric’s weight, transparency, and washing requirements.
- Applying Too Much Fabric Glue: It’s tempting to use a generous amount of glue for extra hold, but this is counterproductive. Excess fabric glue can seep through the fabric, creating visible, unsightly spots, or dry stiff and brittle, making the hem inflexible and prone to cracking. A thin, even bead is all you need for a strong, flexible bond.
- Rushing the Setting and Cooling Time: Patience is key. Whether you’re waiting for fusible tape to cool or fabric glue to dry, interrupting this process prematurely can weaken the bond significantly. Hanging curtains before the adhesive is fully cured can cause the hem to unravel or sag under its own weight. Always follow the manufacturer’s recommended setting/drying times.
Maintenance Tips for Long-Lasting No-Sew Hems
Even though your curtains are hemmed without sewing, a little care goes a long way in preserving their neat appearance and extending the life of your no-sew hems. These simple maintenance habits will ensure your curtains continue to look fantastic.
- Wash Gently: When it’s time to clean your curtains, always opt for a gentle cycle with cold water. Harsh washing or strong spin settings can put undue stress on the adhesive bond, potentially causing it to loosen or peel. If possible, consider hand-washing for delicate fabrics.
- Dry with Care: High heat is the enemy of most adhesives. Whenever possible, air-dry your curtains or use the lowest heat setting on your dryer. Excessive heat can reactivate or degrade the adhesive in fusible tape or cause fabric glue to weaken and become brittle.
- Inspect After Washing: After each wash and dry cycle, take a moment to inspect your hems. If you notice any small areas where the adhesive is lifting or the hem is coming undone, address it immediately. A quick touch-up with a small amount of fabric glue or by re-pressing fusible tape can prevent further unraveling.
- Dust Regularly: Regular dusting with a lint roller, soft brush, or vacuum attachment can significantly reduce the need for frequent washing. Less washing means less stress on your no-sew hems, helping them last longer.
- Store Smart: If you take your curtains down for seasonal storage, avoid harsh folding directly on the hemmed edge. Instead, gently roll the curtain panel. This prevents sharp creases from forming along the adhesive line, which can weaken the bond over time.
By following these simple maintenance tips, your beautifully no-sew hemmed curtains will maintain their crisp, clean look for years to come.
Final Thoughts: Your Path to Perfectly Hemmed Curtains
Say goodbye to the stress and hassle of ill-fitting curtains and the daunting prospect of a sewing machine. This guide has shown you that achieving perfectly tailored curtain lengths is entirely possible without a single stitch. With the right no-sew method, a bit of careful measurement, and a steady hand, you can transform your windows with confidence and ease.
I’ve personally found these no-sew tricks to be incredibly empowering, simplifying home decor updates and making my living spaces feel more polished. If one of these methods has worked wonders for you, consider sharing your success – you might just inspire someone else looking for an efficient and elegant solution to curtain hemming. Embrace the simplicity and satisfaction of DIY and enjoy your beautifully finished curtains!
Eager to tackle more home projects with practical, real-life solutions? Explore the rest of my how-to guides on the website for more tips and tricks to enhance your home effortlessly.
