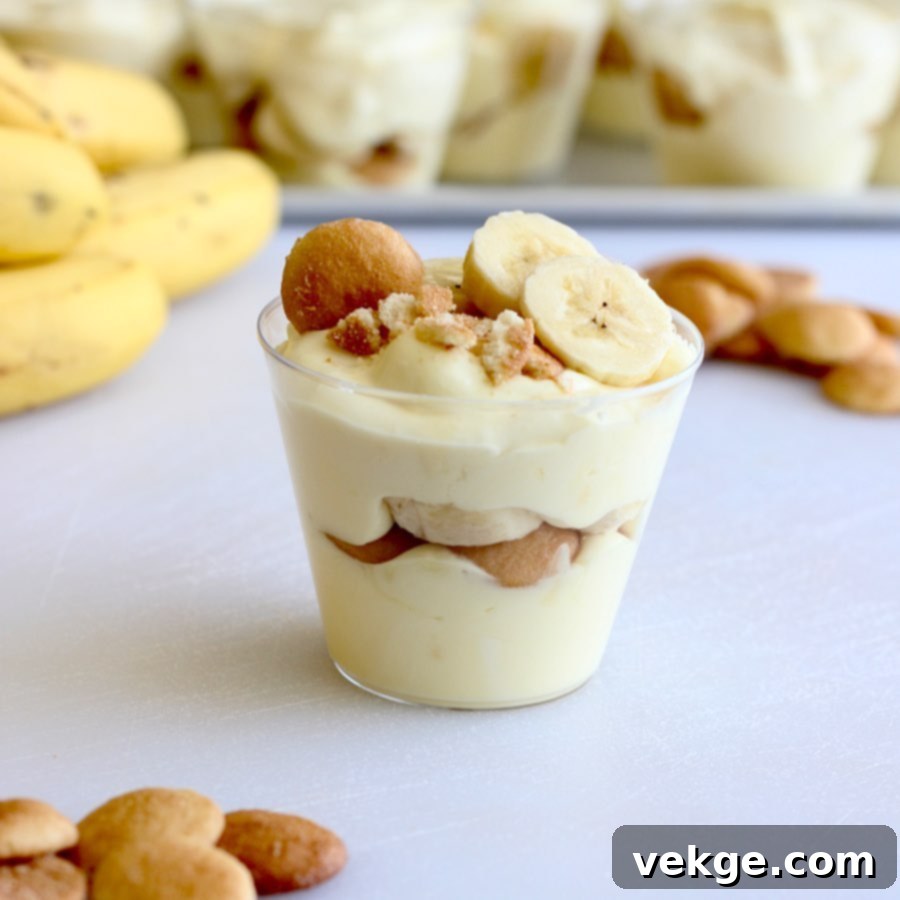
There are some dessert recipes that simply stand the test of time, becoming cherished favorites year after year. This delightful recipe for Banana Pudding Cups is exactly that – a classic Southern dessert that consistently earns rave reviews and brings smiles to every face. It’s a beautifully simple yet incredibly satisfying treat, combining layers of creamy banana pudding, luscious whipped cream, crisp vanilla wafer cookies, and fresh banana slices. The best part? These charming individual servings are not only irresistibly delicious but also incredibly convenient, making them the perfect grab-and-go dessert for any gathering or a special treat just for yourself.
Why You’ll Love These Banana Pudding Cups
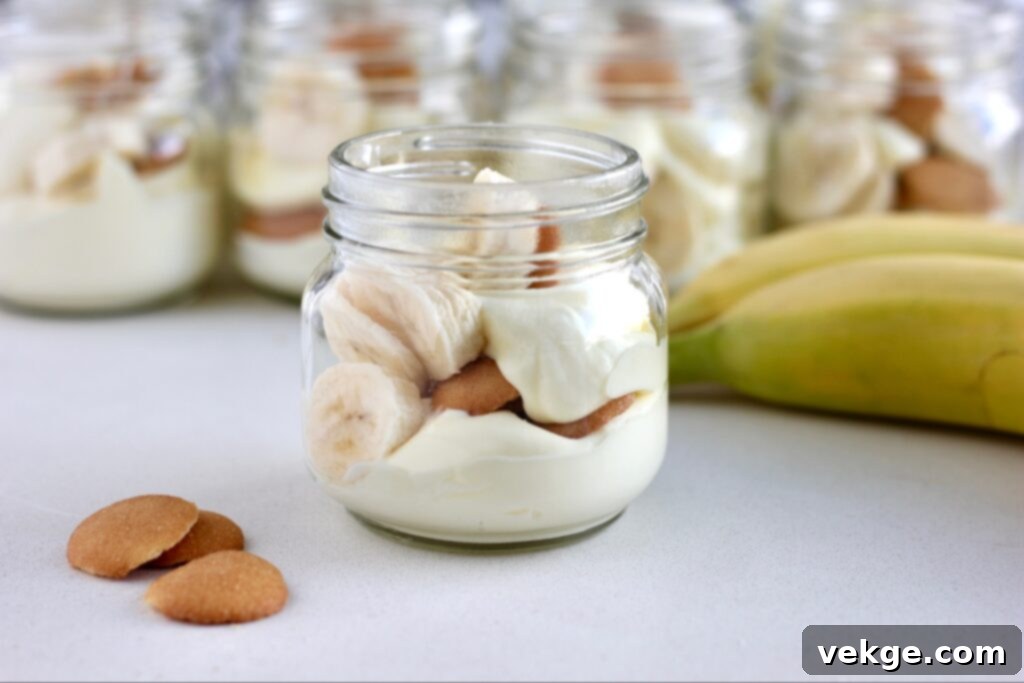
Beyond their undeniable deliciousness, these Banana Pudding Cups offer a host of reasons to fall in love. First, they are exceptionally easy to prepare, relying on readily available ingredients and straightforward steps. This makes them ideal for both seasoned bakers and complete novices. Second, the individual portioning eliminates the fuss of slicing and serving a large dish, making party planning a breeze. Each guest receives their own perfectly layered cup, ensuring a hygienic and elegant presentation. The combination of textures – from the soft pudding and creamy whipped topping to the tender bananas and crunchy wafers – creates a truly memorable dessert experience. Whether you’re hosting a potluck, a backyard barbecue, or simply craving a taste of comforting Southern tradition, these cups are guaranteed to be a hit.
Essential Ingredients for Your Perfect Banana Pudding Cups
Crafting these delectable banana pudding cups requires a handful of simple, yet essential ingredients. Each component plays a crucial role in building the classic flavor and irresistible texture that makes this dessert so beloved. Here’s a closer look at what you’ll need to create this iconic treat:
Banana Pudding Mix
For this particular recipe, we embrace the convenience and consistency of a boxed instant banana pudding mix. While making pudding from scratch is certainly an option and a rewarding culinary endeavor, a high-quality instant mix offers a fantastic shortcut without compromising on flavor, especially when combined with other fresh ingredients. It provides a creamy, perfectly sweet base with minimal effort, allowing you to focus on the layering and presentation. Opt for a 5.1 oz box of instant banana cream pudding for the best results, ensuring you have enough volume for all your cups.
Milk
The type of milk you choose will significantly impact the richness and creaminess of your pudding. While any milk can be used, whole milk is highly recommended for the most luxurious and velvety texture. Its higher fat content contributes to a denser, more indulgent pudding that truly melts in your mouth. If you prefer a lighter dessert, 2% or even skim milk can be used, though the final consistency may be slightly less robust. Whatever your preference, ensure it’s cold when mixing to help the pudding set properly.
Heavy Whipping Cream
This ingredient is the secret to transforming a simple pudding into a light, airy, and truly decadent dessert. When whipped, heavy cream incorporates air, creating a cloud-like texture that gently folds into the pudding base. This not only lightens the overall feel but also adds a rich, dairy undertone that complements the banana flavor beautifully. Ensure your cream is very cold before whipping for optimal volume and stability.
Powdered Sugar
Powdered sugar, also known as confectioners’ sugar, is used to sweeten the heavy whipping cream. Its fine texture dissolves instantly, ensuring a smooth and lump-free whipped topping. Unlike granulated sugar, which can leave a slightly grainy texture, powdered sugar creates a silky-smooth finish that enhances the luxurious feel of the cream. A little goes a long way in adding just the right touch of sweetness without overwhelming the natural flavors.
Bananas
The choice of bananas is critical for the success of this dessert. The key is to use bananas that are barely ripe or slightly under-ripe – those that are still firm and perhaps a little green at the stems. Overly ripe bananas, while sweet, tend to brown very quickly once sliced and can become mushy, compromising the texture and appearance of your pudding cups. Firm, slightly unripe bananas will hold their shape better, resist browning for longer, and offer a pleasant, subtle banana flavor that balances well with the sweetness of the pudding and cream.
Vanilla Wafer Cookies
No classic banana pudding would be complete without the iconic crunch and subtle vanilla flavor of vanilla wafer cookies. These delicate, crispy cookies provide a delightful textural contrast to the creamy layers of pudding and whipped cream. They also absorb some of the moisture from the pudding, softening slightly over time to create a tender, cake-like layer that’s utterly irresistible. Standard-sized wafers are perfect, but if you’re aiming for an extra adorable presentation, mini vanilla wafers can also be used.
Step-by-Step Guide: How to Craft Your Own Banana Pudding Cups
Creating these delightful banana pudding cups is a straightforward process, broken down into a few simple stages. Follow these instructions carefully, and you’ll have a batch of perfectly layered, creamy desserts ready to impress.
Step 1: Prepare the Banana Pudding Base
In a spacious mixing bowl, combine the instant banana pudding mix with the cold milk. Using a whisk, vigorously beat the mixture for at least two minutes. It’s crucial to whisk thoroughly to ensure all the powder dissolves and the pudding begins to thicken. You’ll notice it transforming from a liquid to a soft-set consistency. Avoid under-whisking, as this can result in a runny pudding.
Step 2: Chill and Set the Pudding
Once the pudding mixture is well combined and has started to thicken, transfer the bowl to the refrigerator. Allow it to chill for a minimum of 30 minutes. This crucial step permits the pudding to fully set and achieve the ideal firm yet creamy texture. If the pudding isn’t adequately chilled, it will be too soft and won’t hold its structure when layered, leading to a less appealing presentation.
Step 3: Whip the Cream and Fold into Pudding
While the pudding chills, prepare your whipped cream. In a separate, clean bowl, pour the heavy whipping cream. Using an electric mixer (either a stand mixer with a whisk attachment or a handheld mixer), beat the cream on medium-high speed until stiff peaks begin to form. This means when you lift the beaters, the cream stands up in firm points. Carefully add the powdered sugar and mix briefly until just combined. Gently, using a spatula, fold the freshly whipped cream into the chilled, set banana pudding. This folding technique is key to maintaining the airy, light texture of the whipped cream, resulting in a delightfully fluffy pudding that’s not too dense.
Step 4: Assemble the Banana Pudding Cups
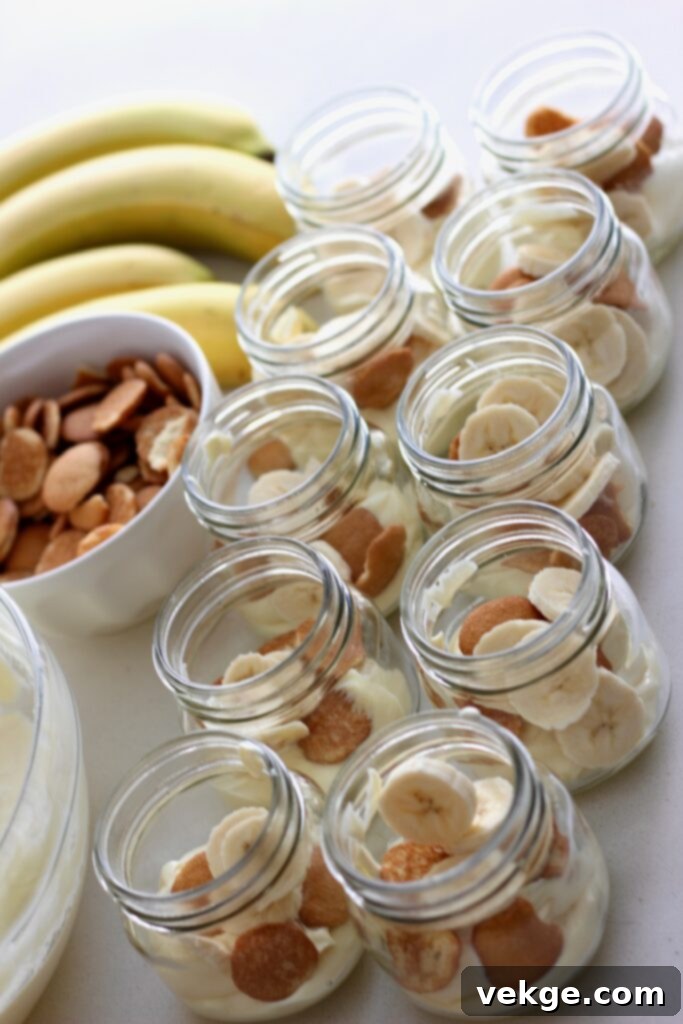
Arrange your serving cups on a clean work surface. Spoon approximately ⅓ cup of the lightened banana pudding mixture into the bottom of each cup, spreading it evenly. Next, thinly slice two of your firm bananas. Place about 5 banana slices over the pudding layer in each cup. Follow this with 4 vanilla wafer cookies, arranging them neatly. Finally, add another ⅓ cup of the pudding mixture on top of the cookies and bananas, gently spreading it to create the next layer. Repeat this layering process until all cups are assembled, adjusting amounts slightly if needed to fit your chosen cup size.
Step 5: Refrigerate for Best Flavor
Once assembled, cover each banana pudding cup securely, either with individual lids or plastic wrap. Place them back into the refrigerator to chill thoroughly. While they can be served after an hour or two, allowing them to chill for at least 4-6 hours, or even better, overnight, will allow the flavors to meld beautifully and the wafers to soften slightly, creating that signature banana pudding texture. They can be refrigerated for up to 24 hours before serving, making them an excellent make-ahead dessert.
Step 6: Garnish and Serve
Just before you’re ready to serve, enhance the presentation and add a final touch of flavor. Slice the remaining banana for fresh garnishes. Top each cup with a sprinkle of wafer crumbs (easily made by crushing a few extra cookies), a few fresh banana slices, and, for an extra elegant touch, stand a whole vanilla wafer cookie upright into the pudding. These garnishes not only make the cups visually appealing but also offer a lovely textural contrast. Serve chilled and enjoy the collective delight!
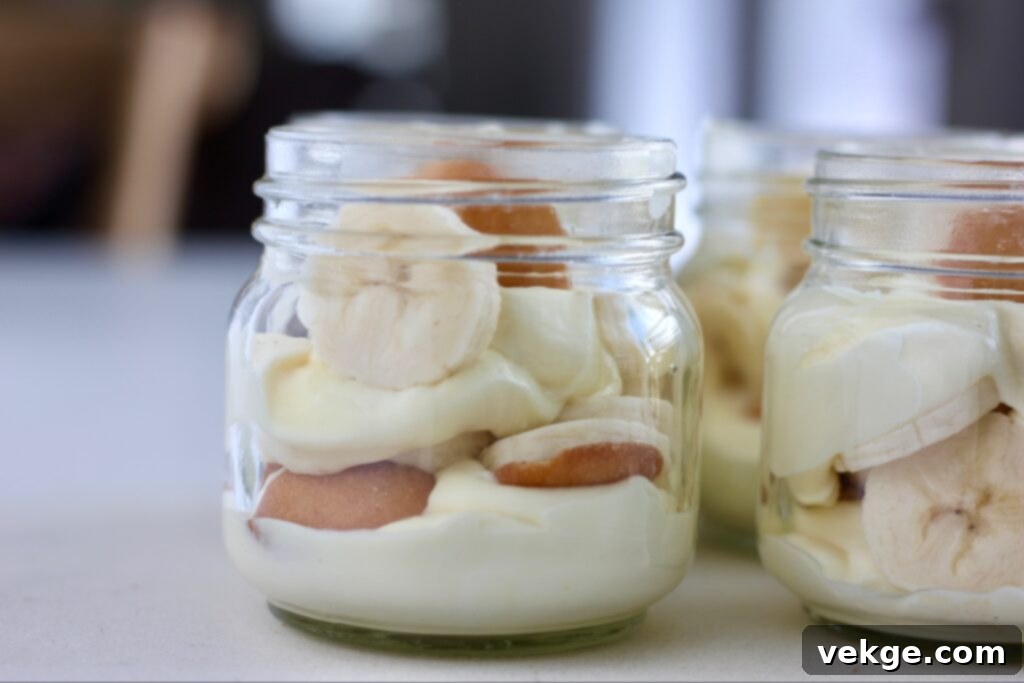
Expert Tips for Perfectly Irresistible Banana Pudding Cups
While this recipe is straightforward, a few expert tips can elevate your banana pudding cups from great to absolutely unforgettable:
- Banana Selection is Key: As emphasized, choose firm, barely ripe bananas. Avoid those with significant brown spots, as they will quickly turn mushy and discolor in the pudding. If you must use slightly riper bananas, add them just before serving to minimize browning.
- Prevent Banana Browning: To further prevent browning, you can lightly toss your sliced bananas in a tiny amount of lemon juice or pineapple juice. Be very sparing, as too much will alter the flavor.
- Don’t Rush the Chill Time: The chilling periods for both the pudding base and the assembled cups are crucial. They allow the pudding to set properly, the flavors to deepen, and the vanilla wafers to soften to the perfect cake-like consistency. Patience yields the best results.
- Gentle Folding: When combining the whipped cream with the pudding, use a gentle folding motion. Over-mixing will deflate the whipped cream, resulting in a denser, less airy pudding.
- Quality Ingredients: While a boxed mix is used for convenience, choosing a good quality instant pudding and fresh heavy whipping cream makes a noticeable difference in the final taste and texture.
- Adjust Sweetness: Taste your whipped cream before folding it in. If you prefer a sweeter dessert, you can add an extra teaspoon or two of powdered sugar.
Delicious Variations to Personalize Your Banana Pudding Cups
This classic recipe is wonderful as is, but it also lends itself beautifully to creative variations:
- Cookie Swaps: Experiment with different types of cookies! Graham crackers, shortbread cookies, Biscoff cookies, or even gingersnaps can offer exciting new flavor profiles and textures.
- Add-ins: Fold in some toasted pecans or walnuts for a nutty crunch, or a sprinkle of shredded coconut for a tropical twist. A drizzle of caramel sauce or a hint of dulce de leche can also be delightful.
- Different Pudding Flavors: While banana cream is classic, you could try vanilla instant pudding and rely solely on the fresh bananas for the fruit flavor, or even a butterscotch pudding for a richer, more complex taste.
- Extra Creaminess: For an even richer pudding, some recipes call for folding in a block of softened cream cheese with the whipped cream. This adds a subtle tang and an incredibly smooth consistency.
Storage and Make-Ahead Instructions
One of the best features of these individual banana pudding cups is how well they store and can be prepared in advance. Once assembled, cover each cup tightly with plastic wrap or an airtight lid to prevent air exposure, which can cause bananas to brown and the pudding to develop a film. Store them in the refrigerator for up to 24 hours. This timeframe allows the wafers to soften perfectly and all the flavors to fully meld, enhancing the overall taste. If you plan to make them further in advance, consider adding the final banana slices and wafer garnish just before serving to ensure they look their freshest.
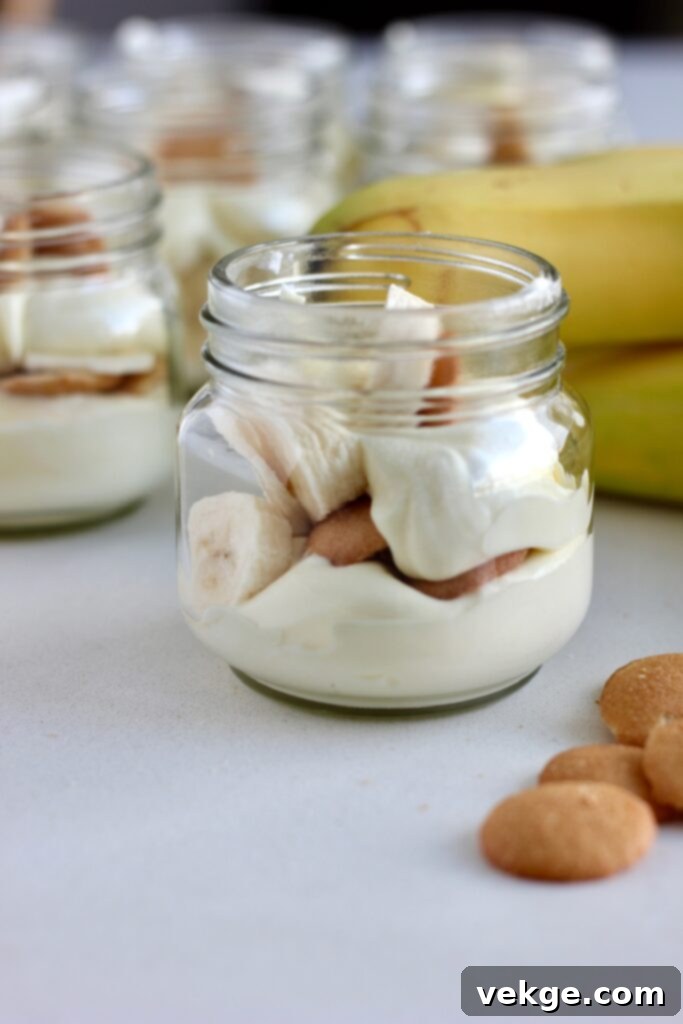
Frequently Asked Questions About Banana Pudding Cups
Can I make this recipe in a large serving dish instead of individual cups?
Absolutely! While this recipe is thoughtfully designed for individual banana pudding cups – a format perfect for easy serving at parties and ensuring everyone gets a perfect portion – you can certainly adapt it for a larger presentation. Simply layer the pudding, bananas, and vanilla wafers in a beautiful trifle dish, a large glass bowl, or even a 9×13 inch baking dish. The layering method remains the same, just on a grander scale. This makes for a stunning centerpiece at any gathering.
What type of containers are best for individual servings?
For individual servings, standard 8 oz disposable plastic cups, readily available at most grocery stores, are an excellent and convenient choice. They are the ideal size to hold a generous portion of this delightful dessert. Alternatively, if you prefer a more rustic or reusable option, small jam jars, mason jars, or even elegant dessert parfait glasses that can hold at least 8 oz are perfect. Choose containers that allow you to clearly see the beautiful layers for an appealing presentation.
Which banana pudding mix should I use?
For this specific recipe, a 5.1 oz box of Jell-O Banana Cream Instant Pudding mix was used, delivering consistent and delicious results. However, many brands offer excellent instant pudding mixes. If you have a preferred brand or even a beloved homemade pudding recipe that yields approximately 3 cups of prepared pudding, feel free to use that. The key is to have a creamy, well-set banana-flavored pudding base.
How many servings does this recipe yield?
This recipe is calibrated to produce 10 generous individual servings. The portions are quite substantial, making each cup a satisfying treat. If you’re hosting a larger crowd or prefer slightly smaller servings, you can easily adjust the amount of pudding per layer, perhaps using ¼ cup per layer instead of ⅓ cup. This small modification can potentially extend the yield to 12-15 servings without compromising the deliciousness.
More Easy Dessert Recipes to Explore
- Biscoff Spice No-Bake Cheesecake Cups – A delightful no-bake dessert offering individual portions with a unique spiced cookie flavor.
- Cake Mix Oreo Cookies – Discover how simple and satisfying it can be to create delicious cookies using a basic cake mix and Oreos.
- Texas Sheet Cake – A timeless, crowd-pleasing classic known for its moist texture and rich, fudgy frosting, perfect for any large gathering.
Happy Cooking!
I genuinely hope you cherish this Banana Pudding Cups recipe as much as I do. It’s truly a labor of love that brings so much joy. If you’re keen to follow my culinary adventures and discover more easy, delicious recipes, I invite you to connect with me on Instagram. You can find me sharing daily inspiration and cooking tips at@AMBERSKITCHEN. Happy baking!
Banana Pudding Cups
A delightful little treat for your next get-together. Or just to enjoy on your own!
Prep Time: 30 minutes
Servings: 10
Ingredients
- 1 (5.1 oz) box Instant banana pudding
- 3 cups milk (whole milk recommended)
- 1 pint heavy whipping cream (approx. 2 cups)
- 1/4 cup powdered sugar
- 3-4 bananas (barely ripe or slightly underripe)
- 1 box vanilla wafer cookies
Instructions
- In a large bowl, whisk the banana pudding mix and milk together for 2 minutes until well combined and starting to thicken. Refrigerate for 30 minutes, or until set.
- Using an electric stand or handheld mixer, whip the heavy cream until stiff peaks form. Add 1/4 cup of the powdered sugar and mix until just combined.
- Gently fold the whipped cream into the chilled banana pudding until fully incorporated, creating a light and fluffy mixture. Set aside. Slice two of the bananas thinly.
- Grab your individual serving cups and line them up. Add approximately 1/3 cup of the pudding mixture to the bottom of each cup.
- Layer 5 banana slices over the pudding in each cup, followed by 4 vanilla wafer cookies.
- Top with another 1/3 cup of the pudding mixture in each cup, gently spreading it over the cookies and bananas.
- Cover the pudding cups and refrigerate until ready to serve, or for up to 24 hours. Chilling allows flavors to meld and wafers to soften.
- Right before serving, garnish the top with about 1 tablespoon of wafer crumbs, a few more fresh banana slices, and stand a whole vanilla wafer cookie into the pudding for decoration. Enjoy!
